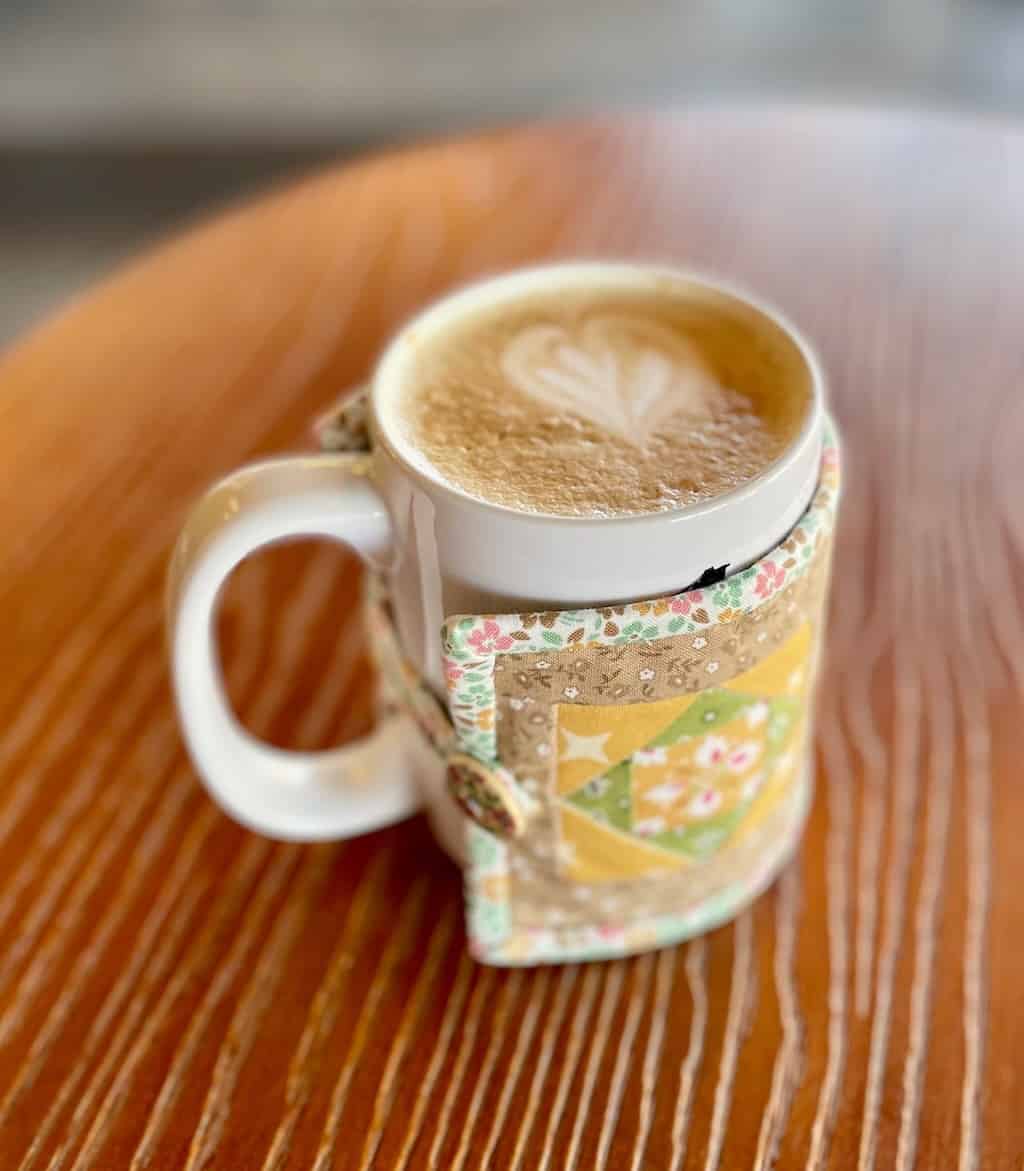
Mug Cozy *for cozy season* :)
Cozy season is here friends! Have you ever done any foundation paper piecing (FPP)? This is such a great way to piece together tiny little quilting blocks and have them come out perfectly. I’m fairly new to FPP, but I’ve written a little tutorial for you today: we’re going to be making a mug cozy! If you’re new to FPP like me, feel free to watch some YouTube tutorials on it – it’ll definitely make my instructions a bit more clear! Let’s get started by grabbing the following supplies:
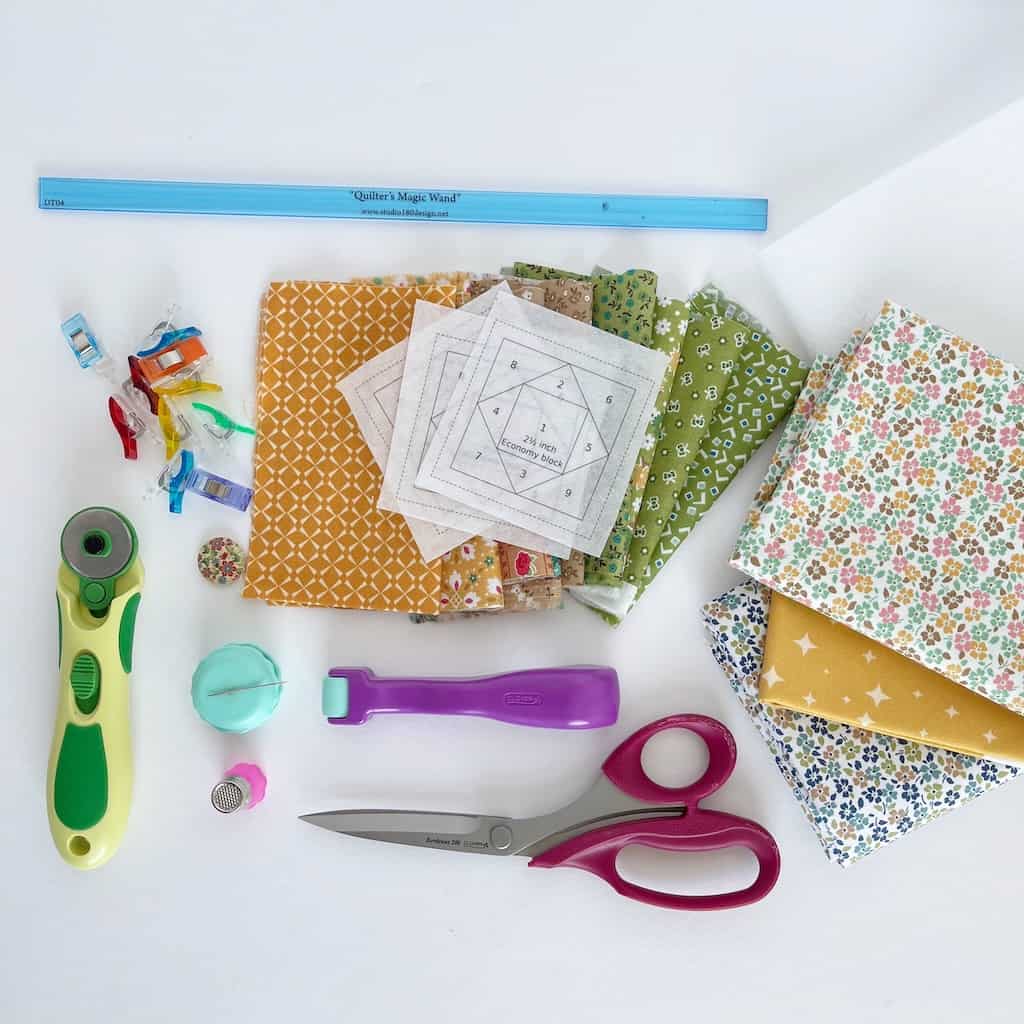
MATERIALS:
- Clover 28mm Rotary Cutter
- Clover Seam Roll & Press
- Clover Bordeaux Ultimate Scissors
- Clover Wonder Clips
- Clover Protect and Grip Thimble
- Clover Gold Eye Needle
- Clover Sweet ‘n Sharp Macaron
- fall-colored fabric scraps
- quilt batting scrap
- quarter-inch ruler
- foundation paper piecing (FPP) paper
- button
INSTRUCTIONS:
We are going to start with the foundation paper piecing part of this project first. We will be making three tiny Economy Blocks and I’ve used a free pattern that you can download here. Let’s talk just a minute about what kind of paper to use before you print the template. I’ve used regular paper before, as well as purchased foundation paper piecing paper. You can use a stiff interfacing as well. On this project though I used a foundation paper that is kind of like a stiff interfacing that is made specifically for FPP (you can purchase it here). Bottom line though is that you need paper stiff enough to sew, but easy enough to tear when you are finished.
Step 1: Print the FPP pattern. This pattern is for several different FPP blocks, but today we will be using the 2 inch Economy Block on page 2 of the template. It will print 6 templates, but we will only have to use 3. Rough cut 3 of them out, making sure to cut beyond the outer dotted line.
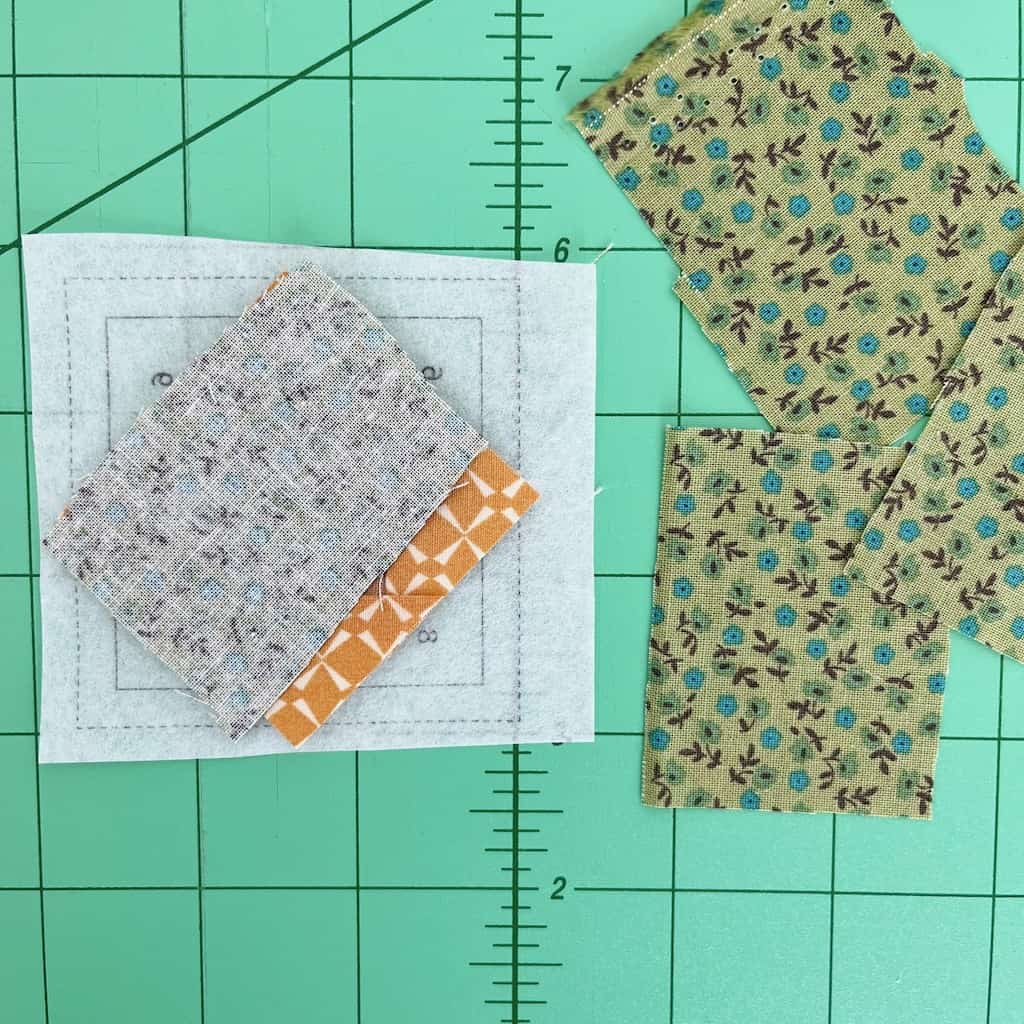
Step 2: Choose a tiny fabric scrap that you want to be the center of your block. Cut this piece so that it’s larger than the 1 inch center. It does not have to be cut square – just make sure it is large enough to cover that center with at least a 1/4 inch overhang. Place it right side up on the back of the printed template. Make sure it is centered (if you can’t tell for sure hold it up to the window and center it).
Step 3: Cut a contrasting scrap of fabric larger than the triangle labeled 2. You can cut a triangle size, or you can cut a different size. The important thing is to make sure it completely covers that triangle. Lay it top of the center square, right sides together.
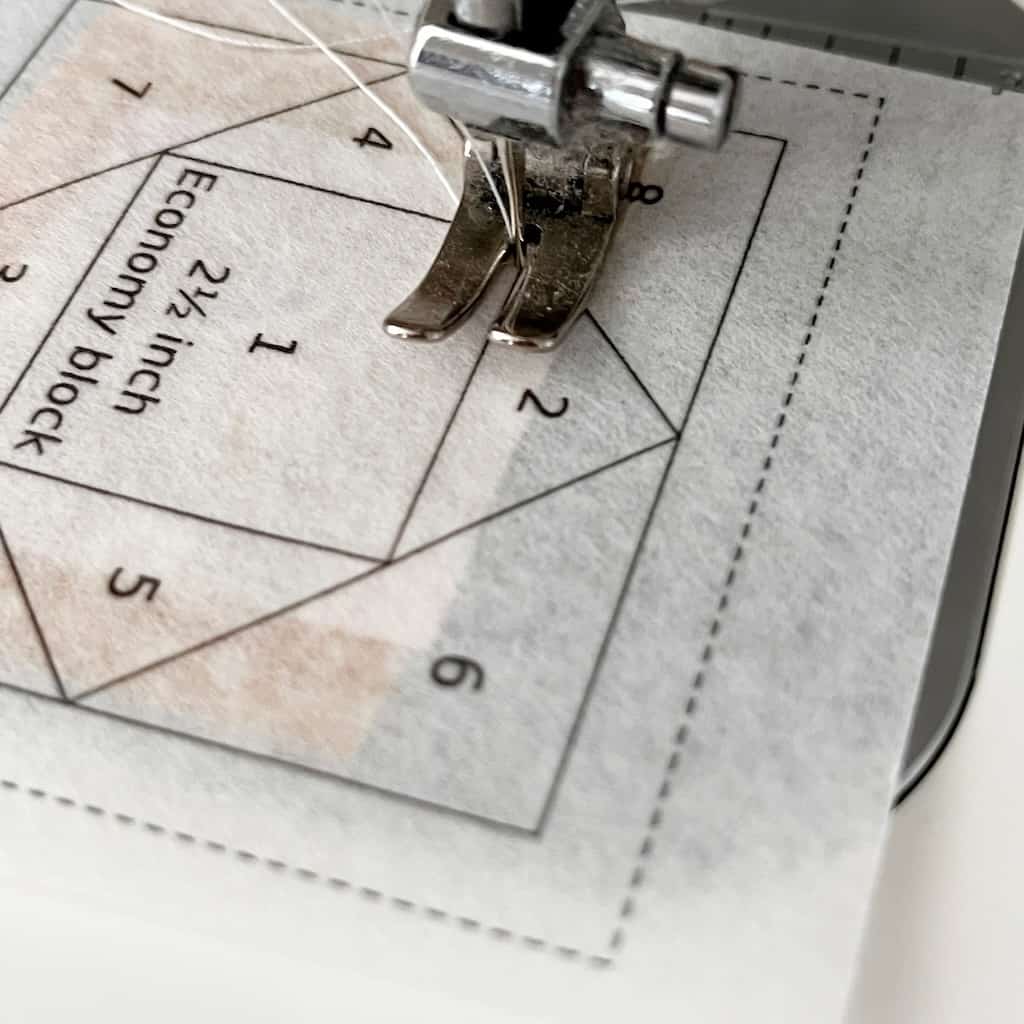
Step 4: Carefully flip the template over and take it to the sewing machine. Change your stitch length to 1.5. Sew the line between the blocks labeled 1 and 2. You will stitch only on that line.
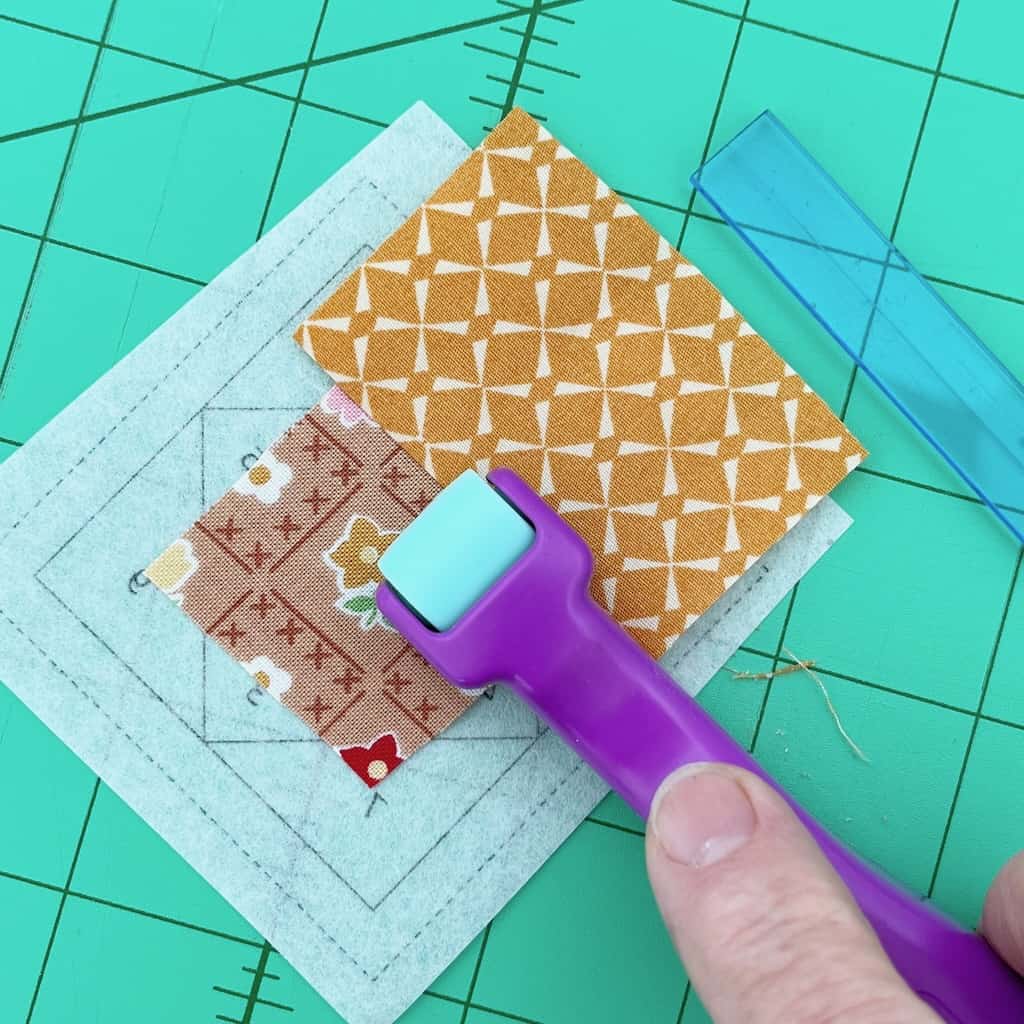
Step 5: Flip the template over and open the sewn fabric. Use the Seam Roll & Press to press that seam open. If you’ve never used this handy took before, you need one! It works almost as good as ironing.
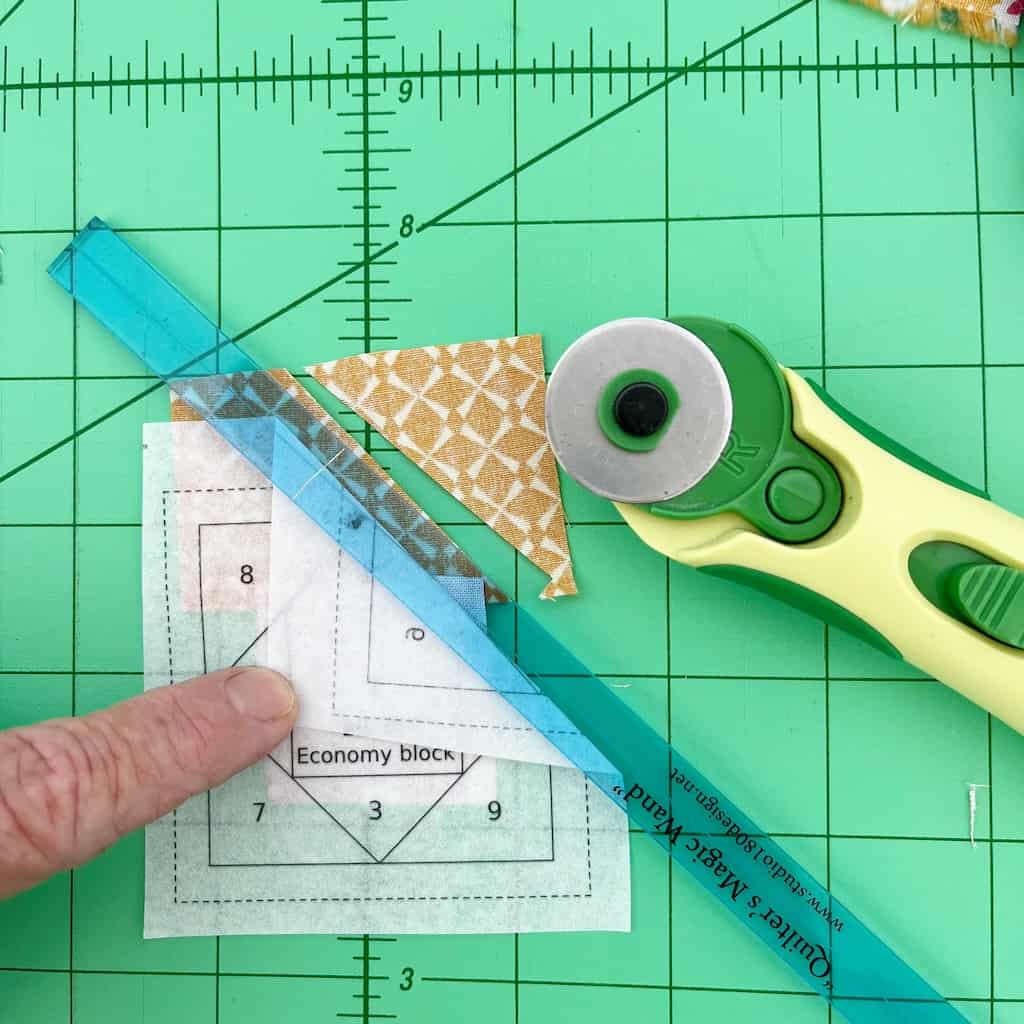
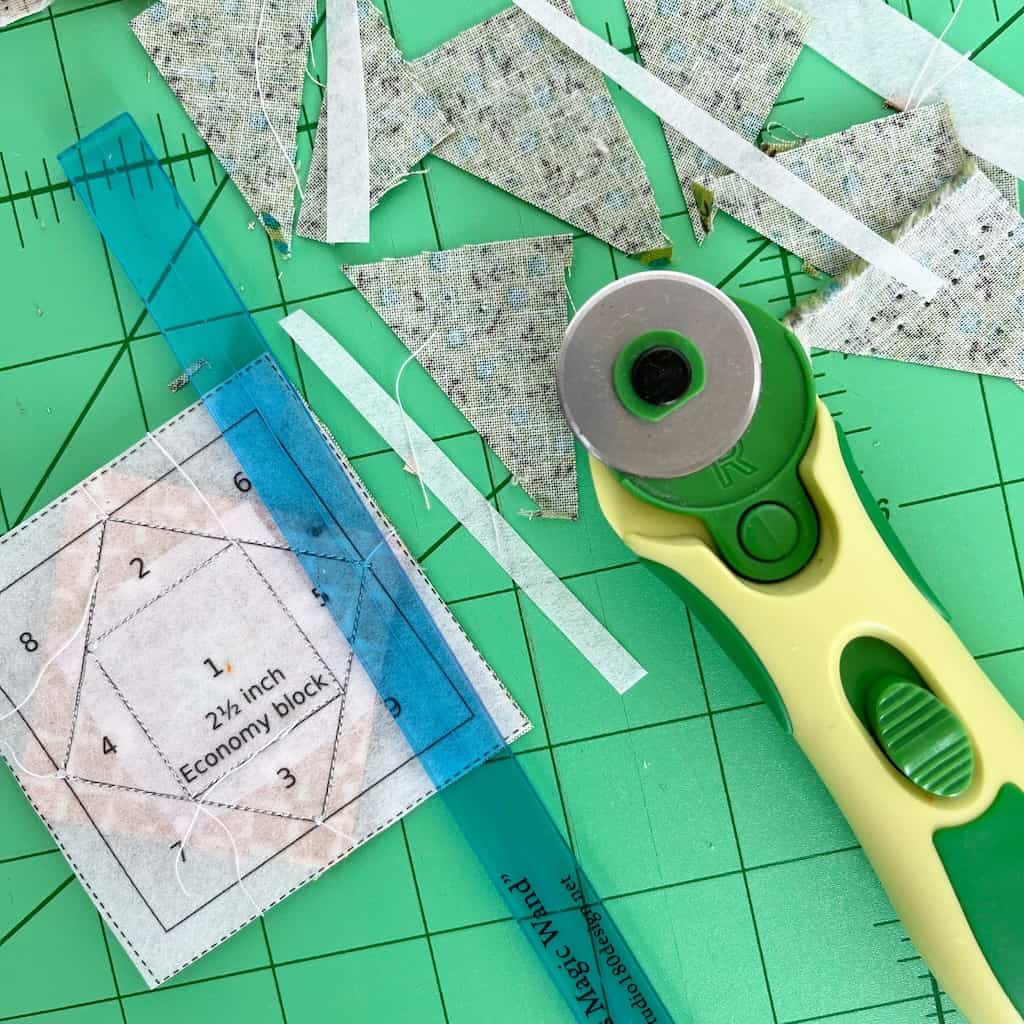
Step 6: Flip your template over again and fold over the line that forms the number 2 triangle. Use your quarter inch ruler and 28mm rotary cutter to cut a 1/4 inch. Repeat on the other side of the triangle.
TIP: I have found that the small 28mm Rotary Cutter is great for FPP!
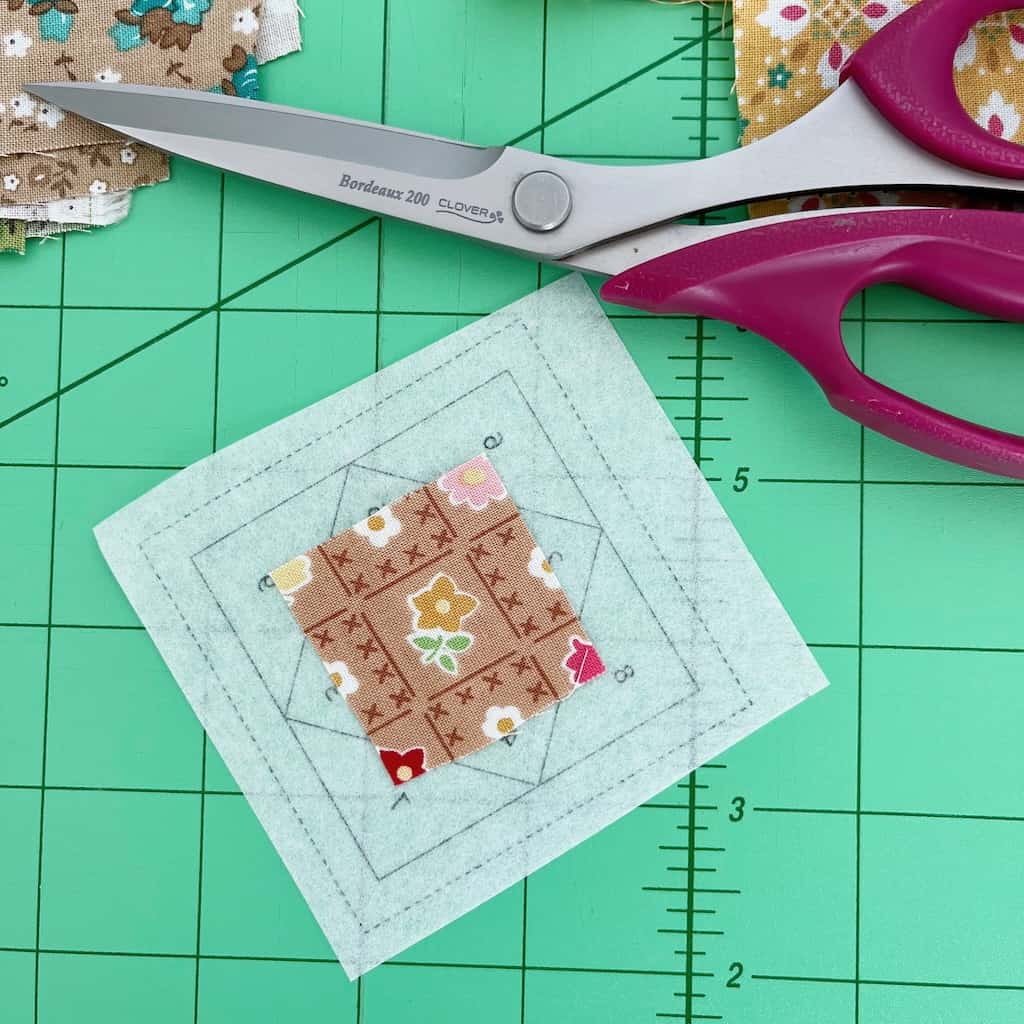
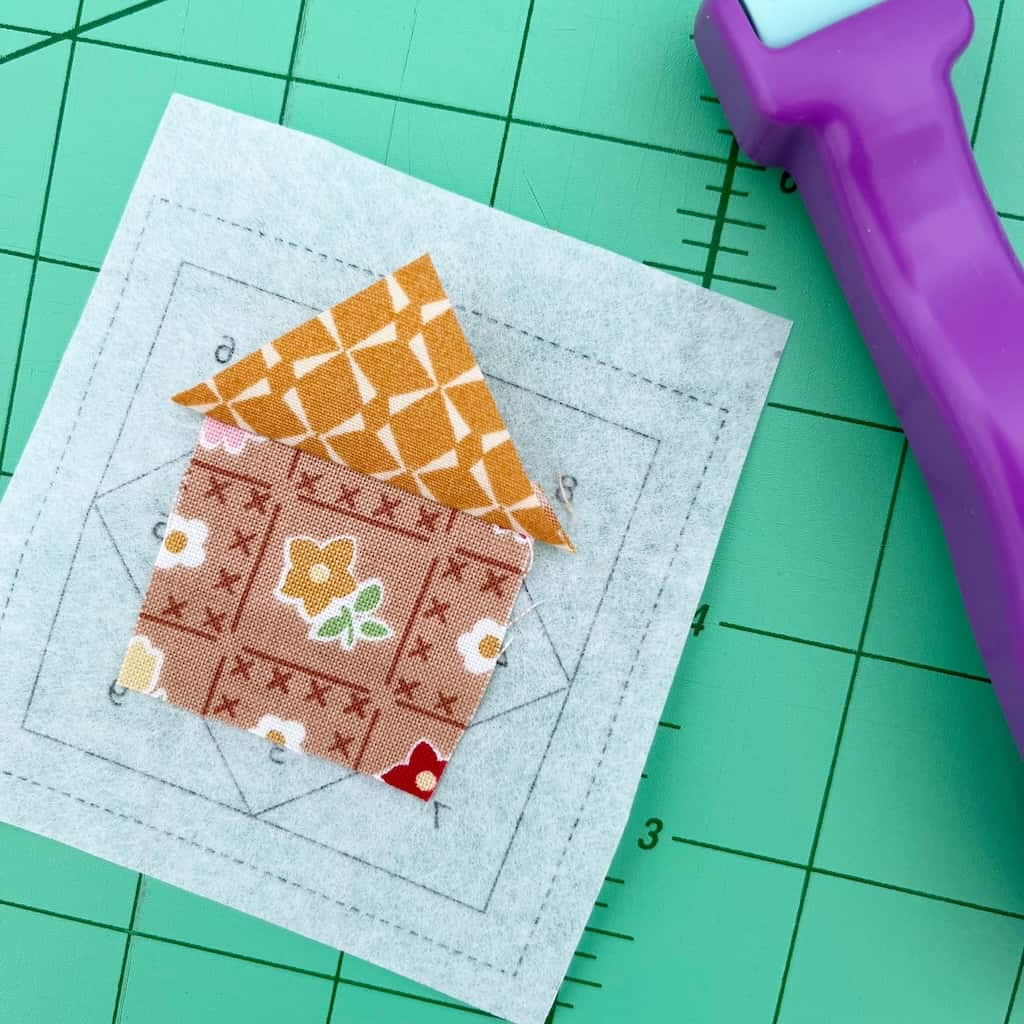
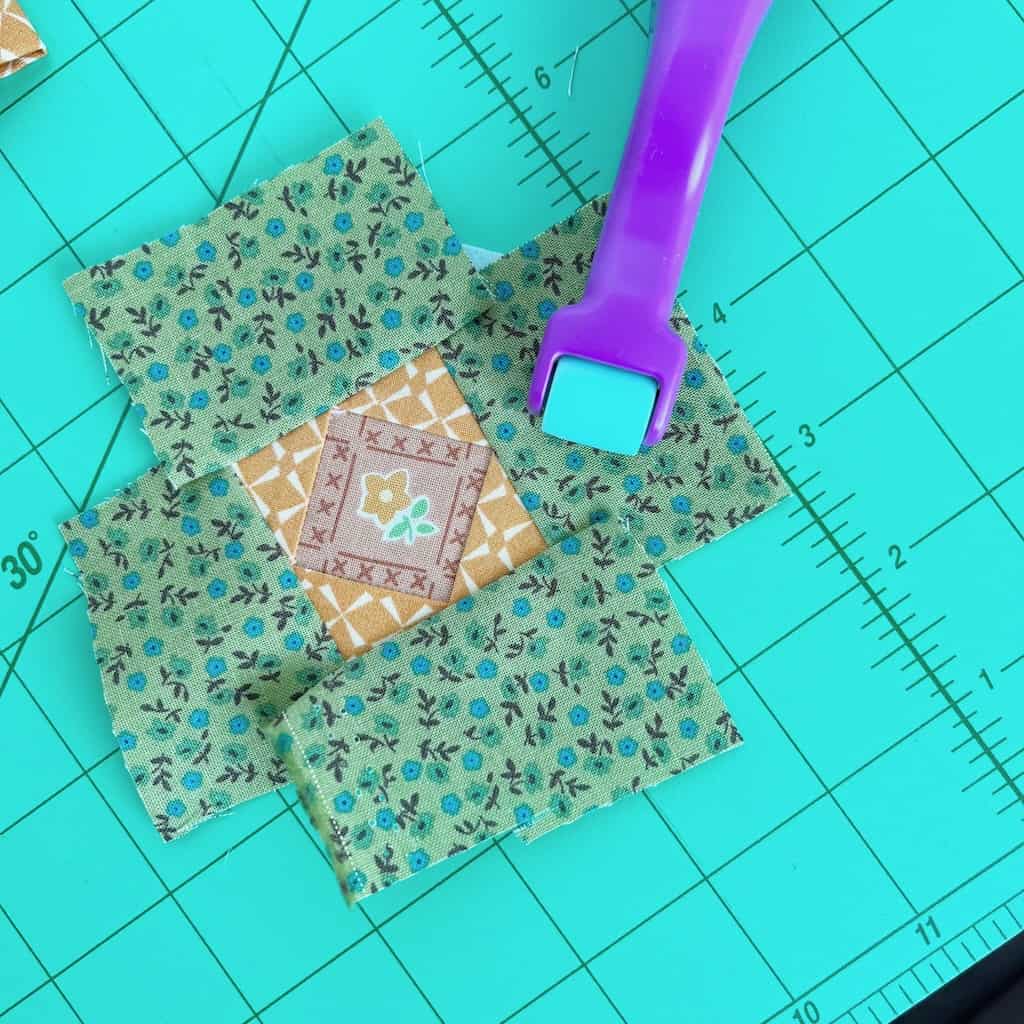
This is what your template should look like now:
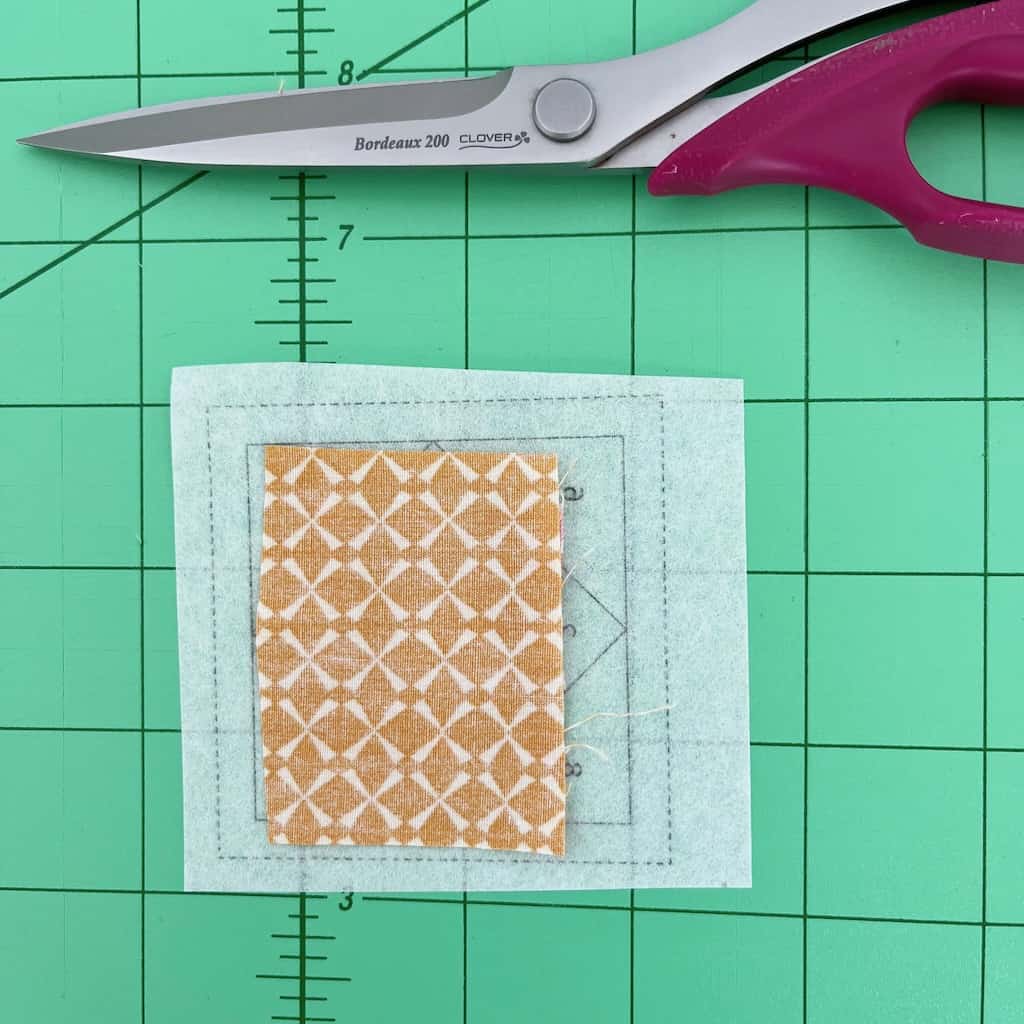
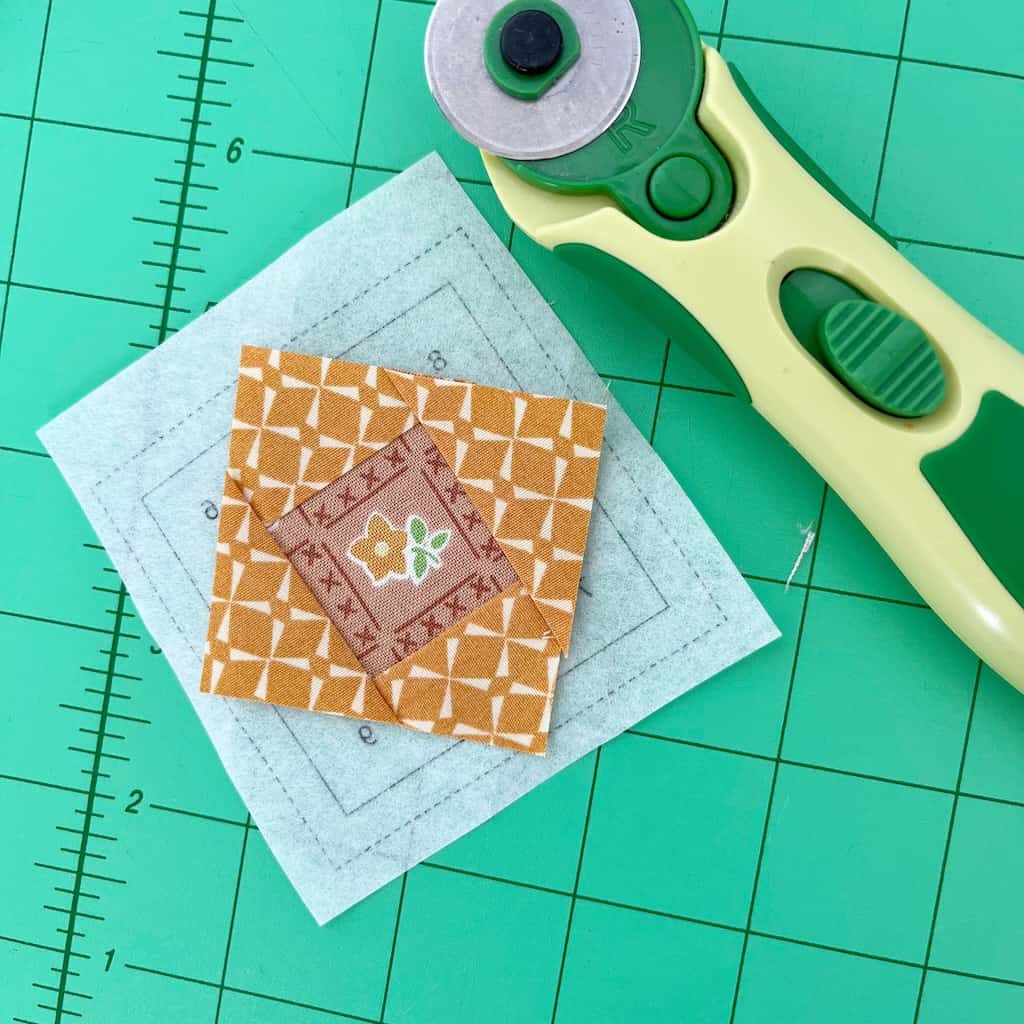
Step 7: Repeat the above steps on triangles labeled 3, 4 and 5. Your template should like this:
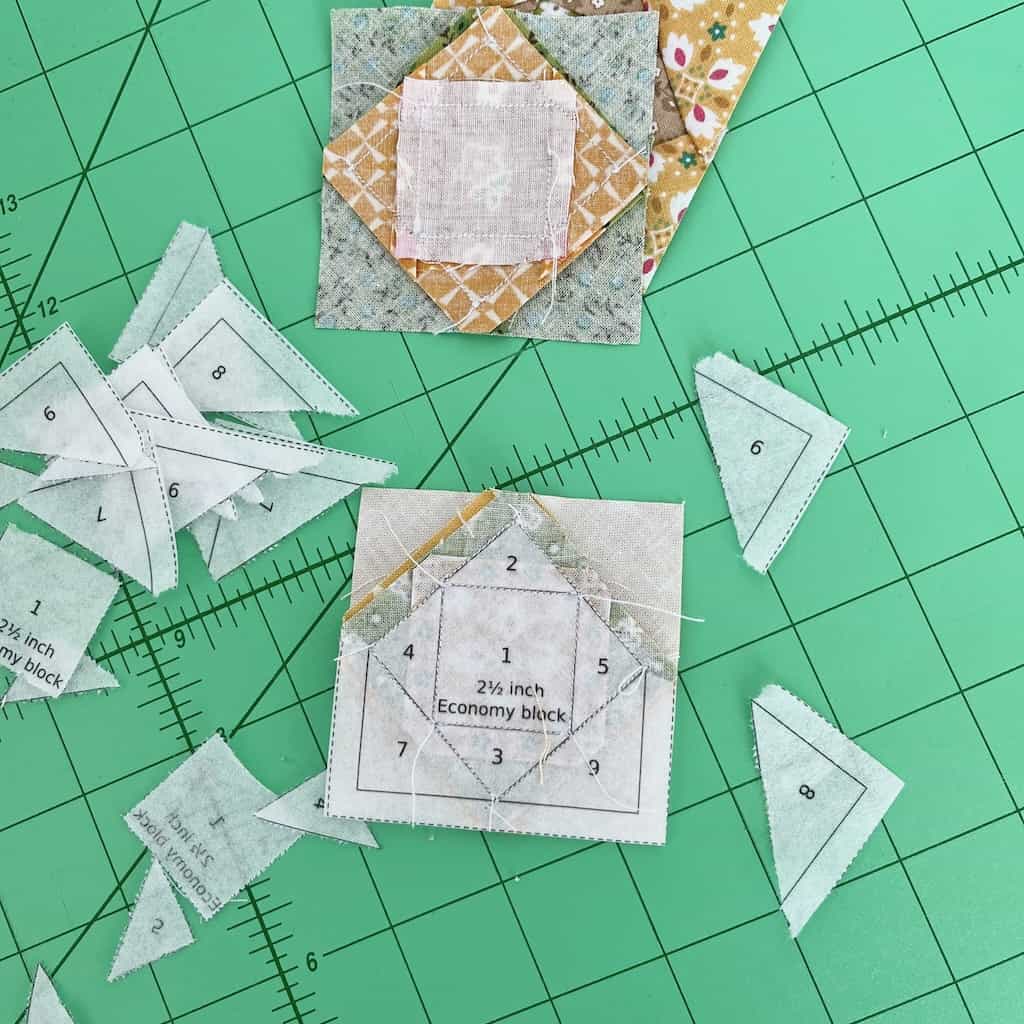
Step 8: You will continue the same as above on triangles 6, 7, 8 and 9. The only difference is that you will NOT trim them.
Step 9: Once all four remaining triangles are sewn, you will use your Seam Roll & Press to press the seams down completely. Flip your template over and use your rotary cutter to trim along the dotted line.
Step 10: Peel off all the paper off the back of your completed economy block.
Repeat the above process on the other two blocks, so you have a total of three Economy Blocks. And now, we can put it all together to form our little mug cozy!
Step 11: Cut the following from your fabric scraps:
- 6 fabric pieces (1.25 in x 2.75 in)
- 2 fabric pieces (1.25 in x 10 in)
- 1 quilt batting piece (4.5 in x 11 in)
- 1 backing piece (6 in x 12 in)
- 1 button loop piece (1.5 in x 6 in)
- 1 binding piece (1.25 in x 30 in)
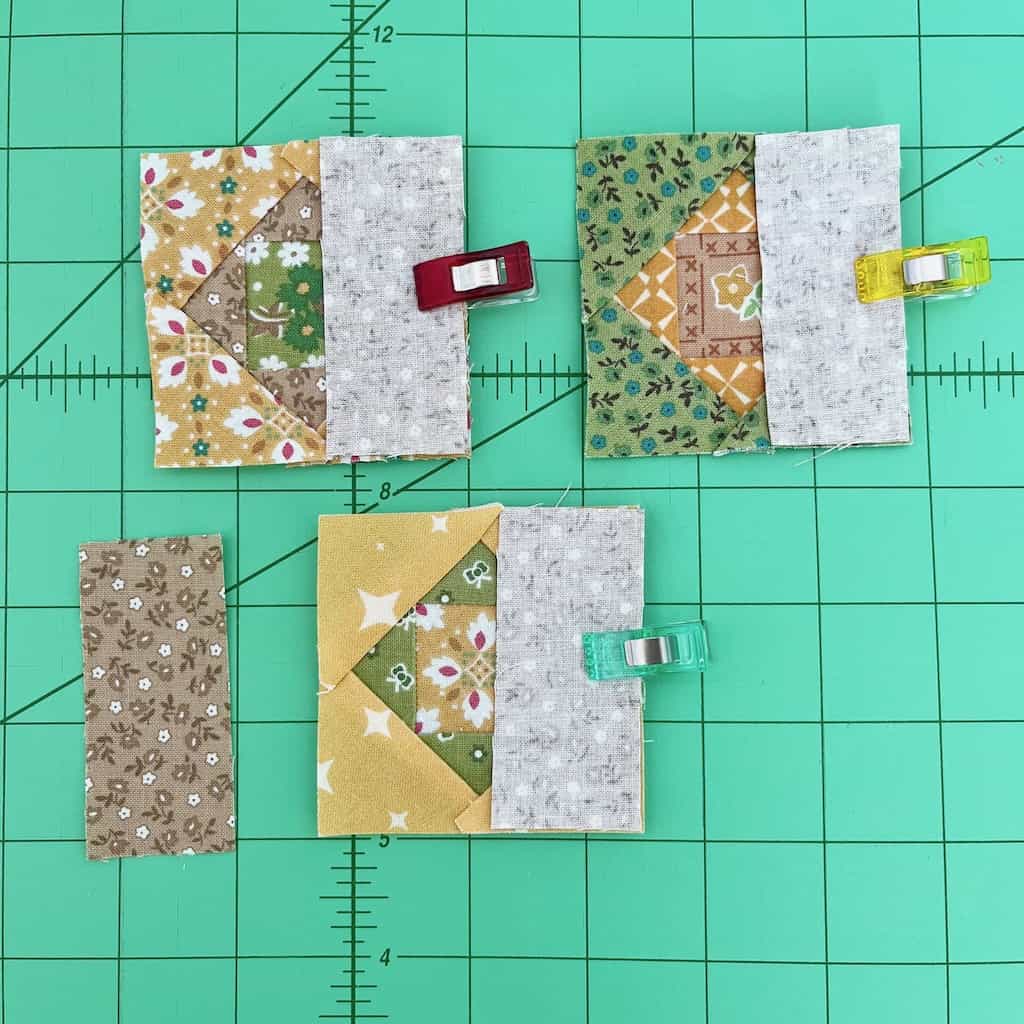
Step 12: Sew a 1.25 inch fabric scrap to the right side of each Economy Block. Sew all three blocks together, then sew the remaining 1.25 inch fabric scrap to the left side of the first block on the strip of blocks. Use Wonder Clips to hold in place.

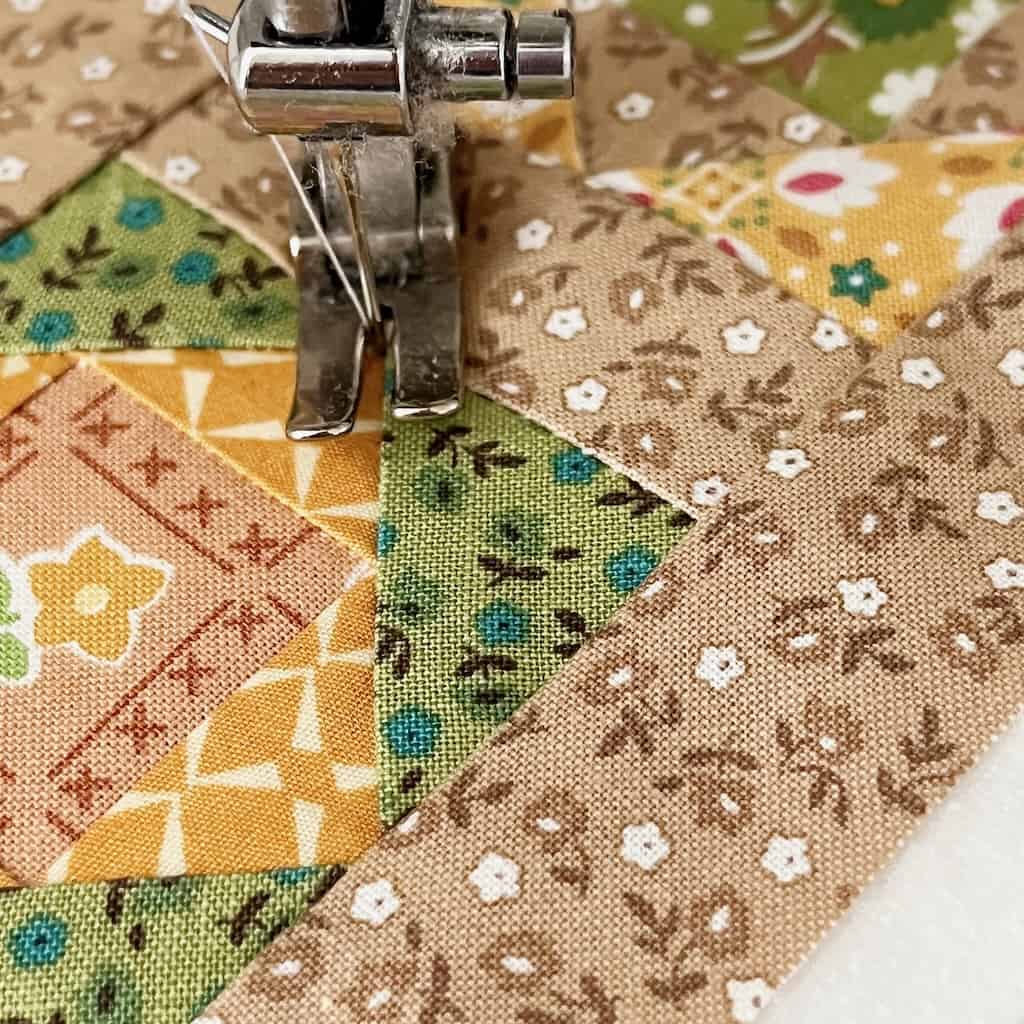
Step 13: Sew the two (1.25 in x 11 in) fabric pieces to the top and bottom of your Economy Block strip. Press all the seams flat. Trim any overlap to the size of the Economy Block strip. Use spray baste to attach the Economy Block strip to the batting and then the wrong side of the backing piece, forming a little “quilt sandwich”.
Step 14: Quilt the front of your mug cozy… you can quilt it by hand or a simple quilting stitch on the sewing machine. I chose to machine quilt mine very simply. Once quilted, trim the batting and backing to the exact size as the front.
Step 15: Take your button binding piece and fold it in half lengthwise, press. Open it up and fold both raw edges to the middle fold. Press again. Fold in half and give a final press. Sew the entire length along the open edge.

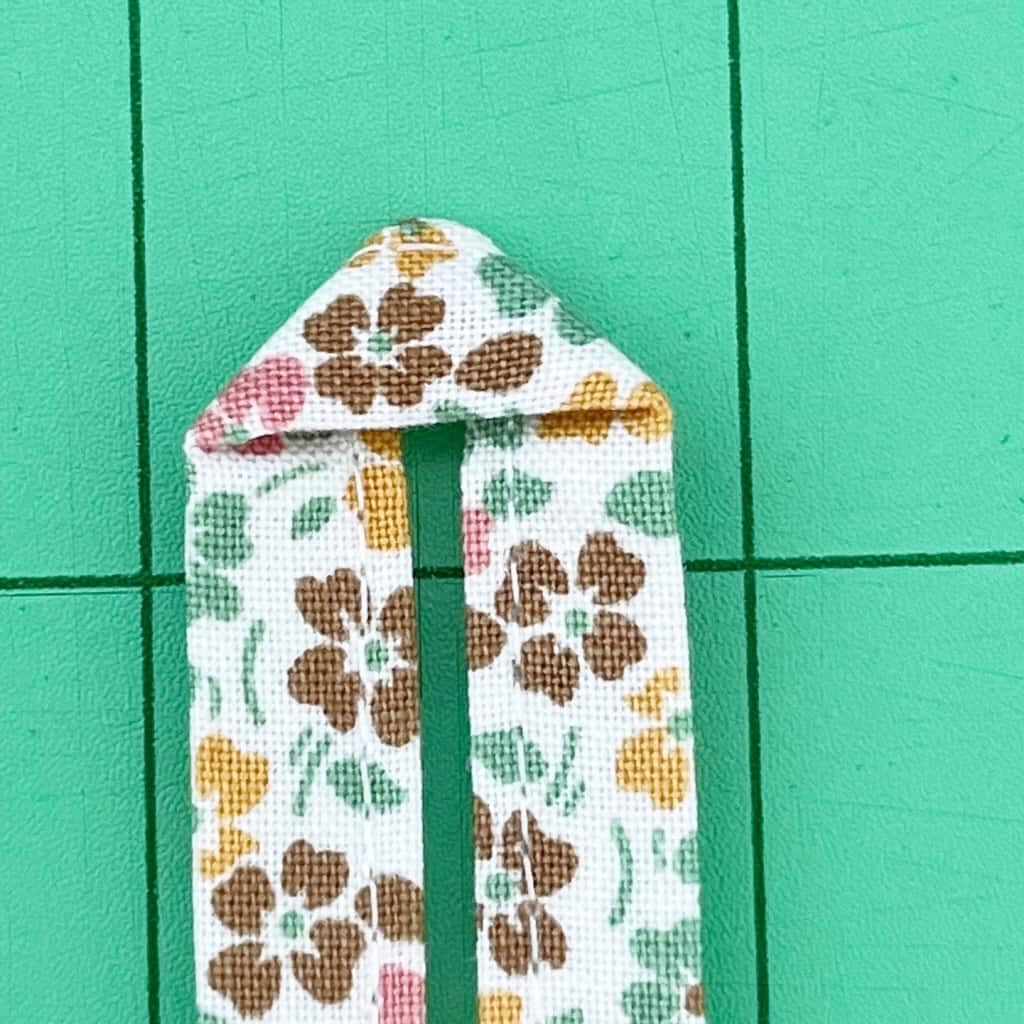
Step 16: Fold your button loop piece as pictured below and sew along the bottom of the fold to hold it in in place.
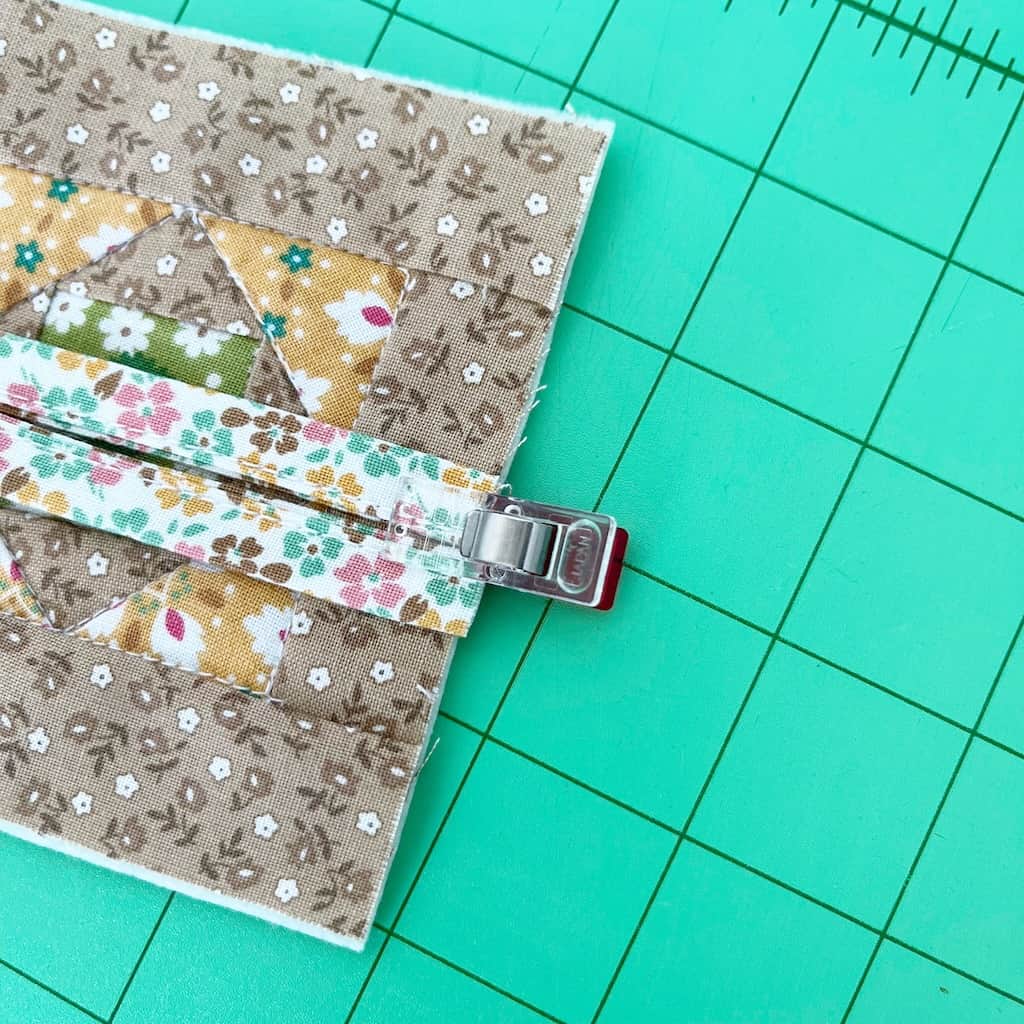
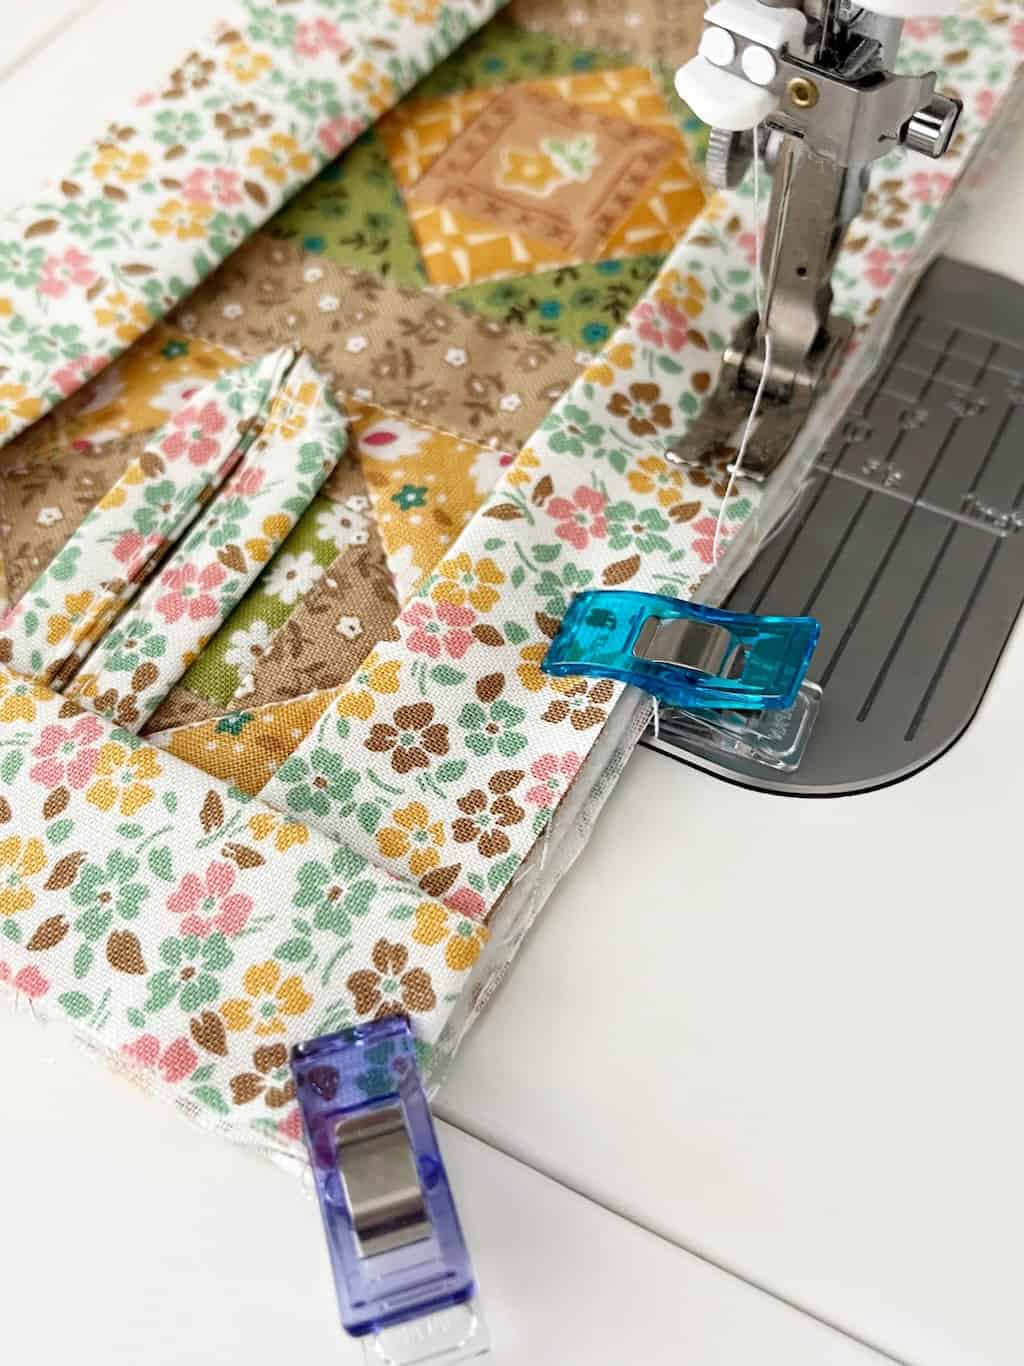
Step 17: Find the middle of the right side edge of your Mug Cozy, place the raw edges of the button binding to that middle spot. Use a Wonder Clip to hold it in place. Sew right along the edge.
Step 18: Fold your long binding piece in half, wrong sides together, press carefully. Lay the raw edge of the binding to the raw edge of the mug cozy and stitch 1/4 inch, pivoting at the corners. Sew all the way around, folding in the final raw edge.
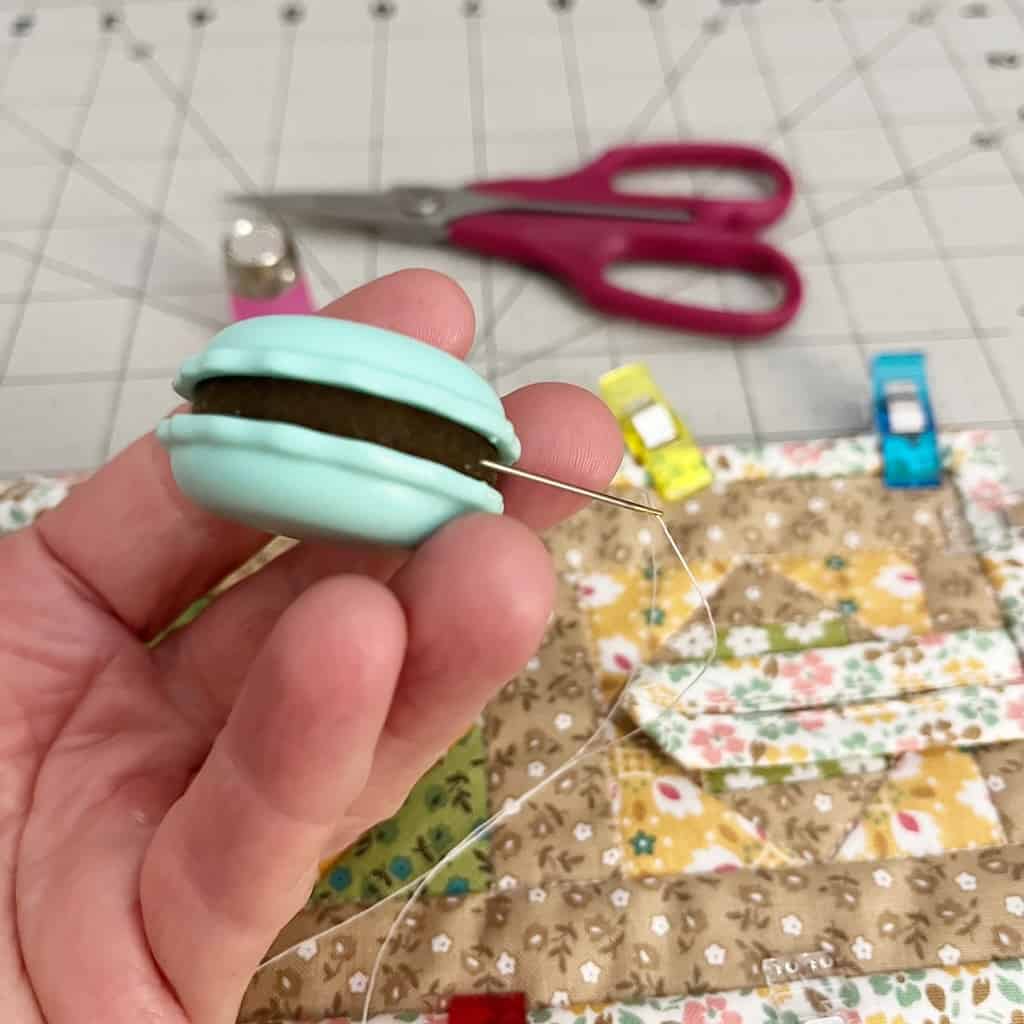
Step 19: Press the seam and fold the binding over to the back of the mug cozy. Use Wonder Clips to hold it in place. Hand-stitch the binding in place all the way around. I love to use the Sweet ‘n Sharp Macaron for all my hand-sewing! If you’ve never used it before, you need to! It’s a magnet on one side to hold the needle, and the center part of the macaron is the greatest needle sharpener!
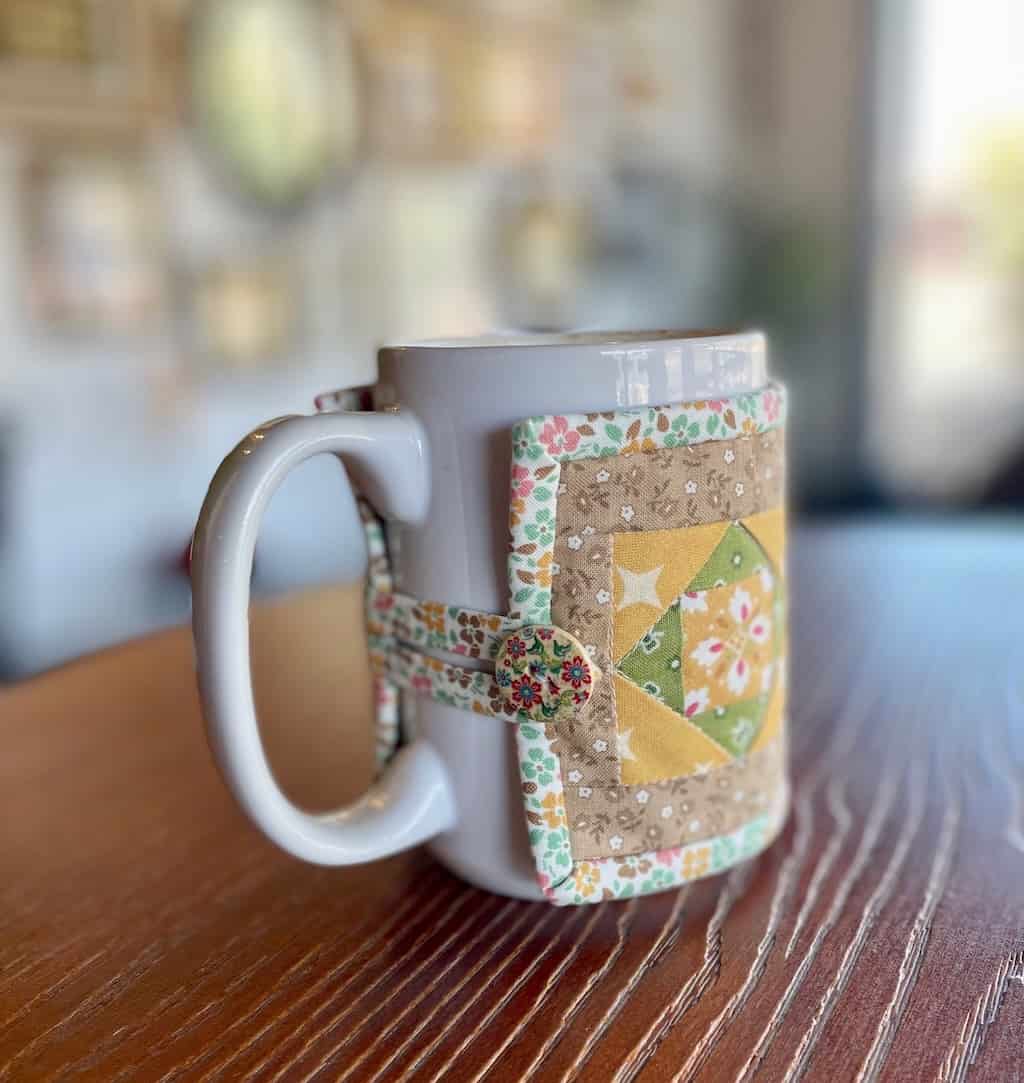
Step 20: Sew your button at the center edge of the opposite side of the mug cozy. And guess what? You are done! Simply place it around your mug with the button binding going through the handle. Button it, make yourself a hot drink and sit and enjoy it!
I know there are a lot of steps to this tutorial, but it’s really simple! Follow the steps and enjoy the process and you’ll be able to use your mug cozy before you know it! I hope you set aside some time this fall, not only to sew, but to enjoy some time sitting with a hot drink using your beautiful mug cozy!
If you want to keep up with me, Dori, on social media for other fun projects, follow me on Instagram @redfeedsack!
If you want to keep up with all things Clover:
Facebook | Twitter | Instagram | Pinterest | YouTube | Ravelry