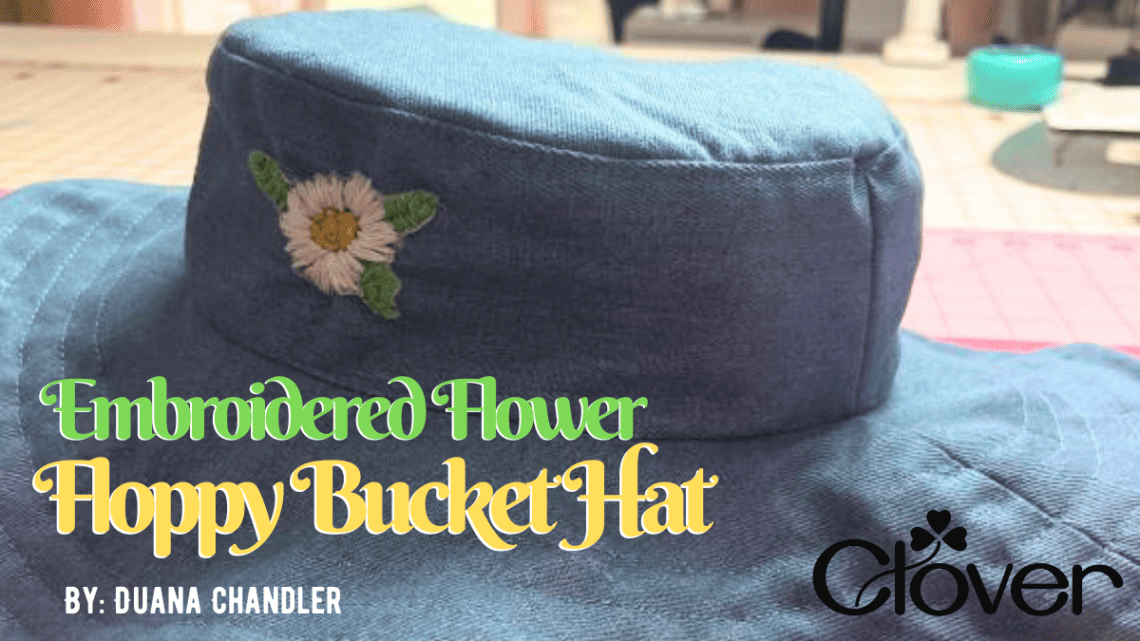
Embroider Flower Floppy Bucket Hat- DIY Craft
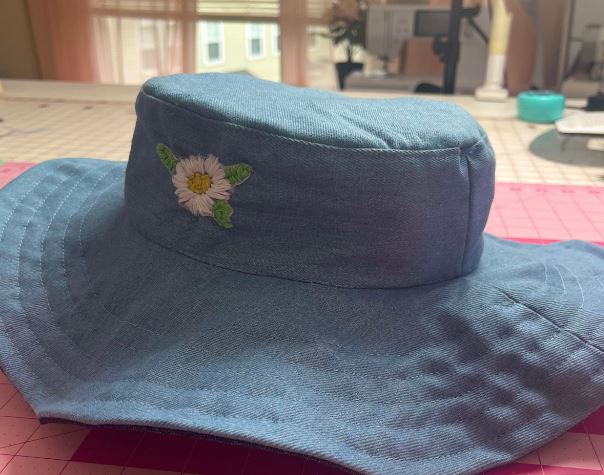
Hello! I’m Duana from Duana Studio and I’m excited to share my DIY Floppy Bucket hat with embroidered flower. With the weather finally warming up, I wanted a cute hat to go out in the sun and wear. These are very easy to make and the embroidered flower was also very easy to make. So let’s get right into it.
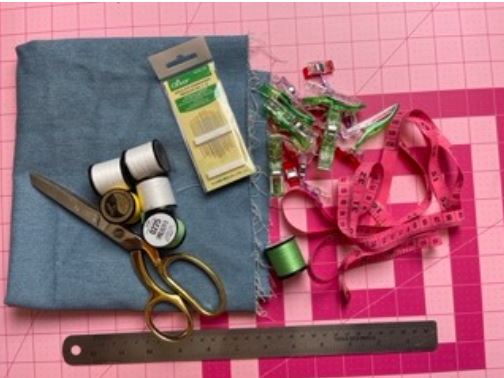
Supplies
-
Fabric (1/2 yard of outside and inside fabric)
-
small piece of interfacing
-
Clover Embroidery Needles- Art No. 235
-
Ruler/measuring tape
-
Circle Ruler (optional, but makes great circles)
-
scissors
-
embroidery thread
-
Clover Wonder Clips- Art No. 3190
-
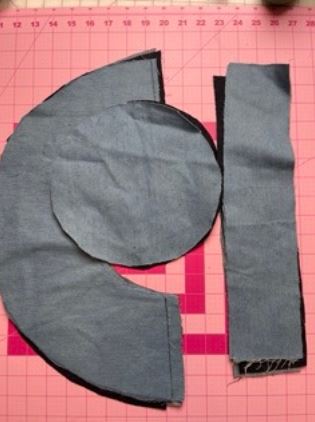
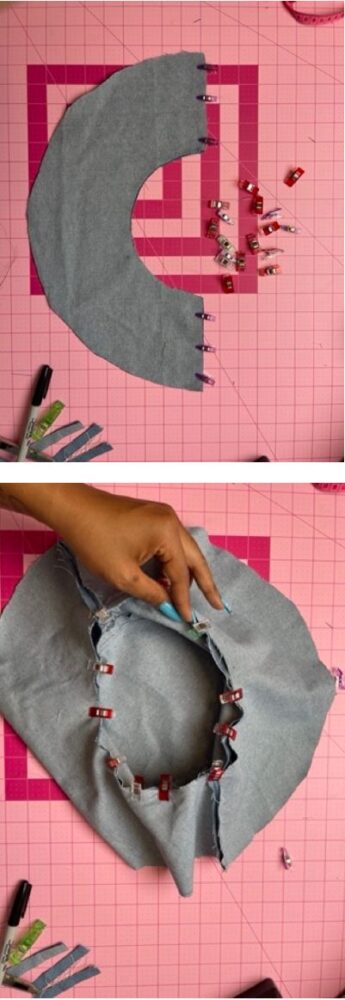
Cut out the fabric of the bucket hat by first cutting two circles (one of each fabric) with a diameter of 7.5 inches. I used that size based on my head circumference. You can make a smaller or larger size. Using the circumference of the circle, cut out the sides of the bucket hat by cutting out the length of the circumference divided by 2. Add 1/2″ seam allowance all around. There are 4 pieces of this. The last piece is the brim using the circle. You can make this as short or as long as you want. I decided to make mine about 4.5 inches long. Below is what your pieces should look like.
-
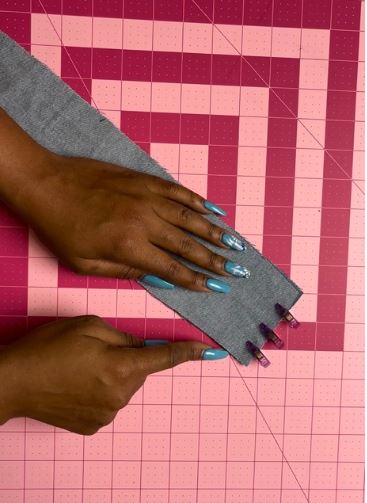
After cutting out the fabric, we are going to start stitching the two rectangular pieces together at the narrow ends, right sides facing. I am only showing the outside fabric first since that is the one that will show, but you can repeat these steps with the inside fabric.
-
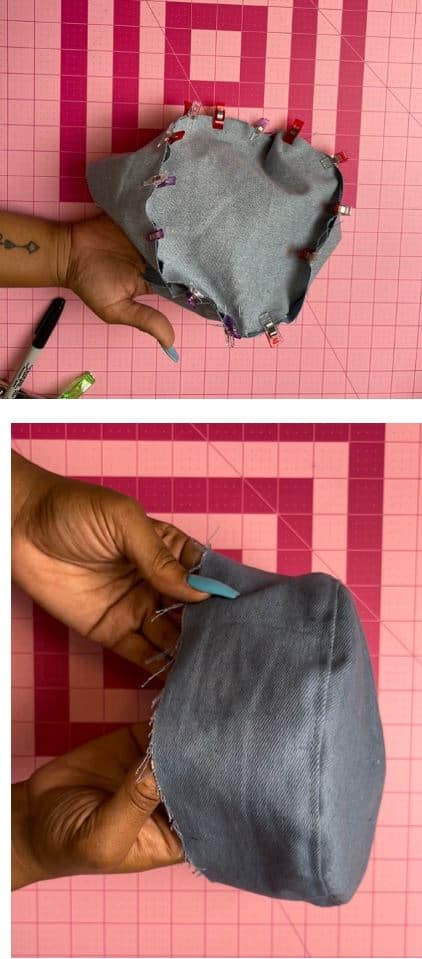
Then, stitch the rectangular pieces to the circle. This is the top of the hat. After stitching those parts together, I pressed/ironed the seams down and top stitched all the way around on the seam. Repeat with the inside fabric.
-
Put the two outer brim pieces together, right sides facing. Sew along just the narrow ends. Use a 1/2″ seam allowance. Repeat with the inside fabric. Make sure to press the seam areas really well. Stitch brim to the other part of the hat.
-
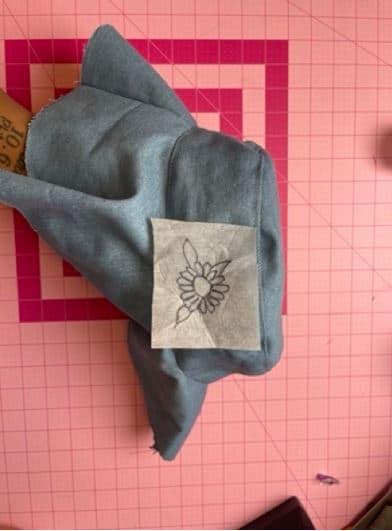
Using the small piece of interfacing, draw a picture of what you want to embroider onto the hat. You can freestyle it, but I like to do it this way since I am new to embroidery. I placed the drawing where I wanted it on the hat.
-
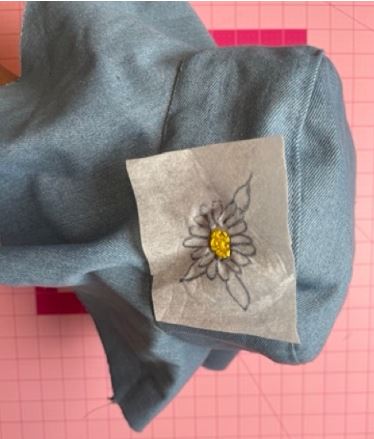
Pass the yellow embroidery thread through the needle and tied a knot at the end of thread. Enough for the use of the center of the flower.
-
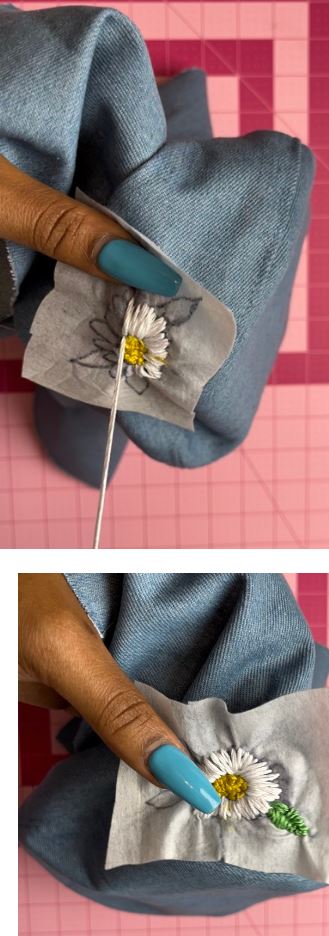
Start on the inside and pass embroidery thread through the fabric of the hat and through the interfacing. Continue to pass the thread in and out of the fabric in the design you would like to fill the flower. Change color as needed. Make sure to tie a knot at the end of each thread use.
-
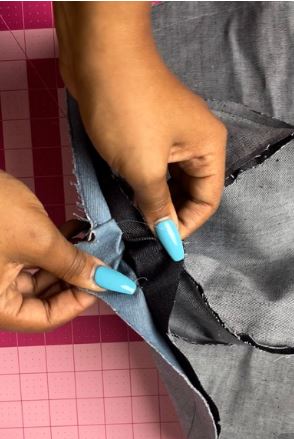
Once embroidered design is complete, you can tear of the interfacing or cut around it carefully. Place the inside of the bucket hat to the outside of the bucket hat right sides facing. Pin pieces together, matching seams. Stitch around the brim, but leave a slight piece open to turn the hat over.
-
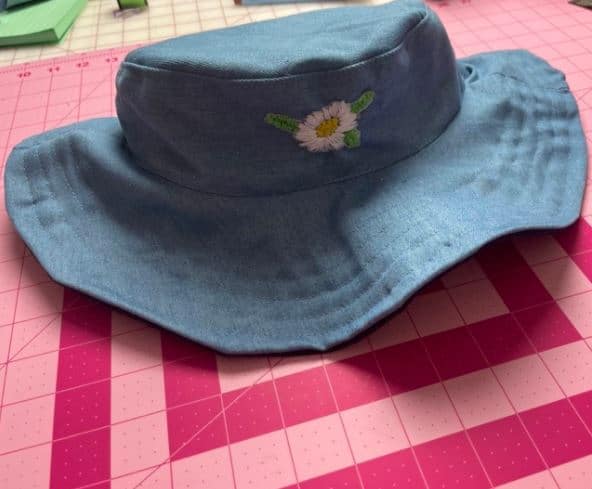
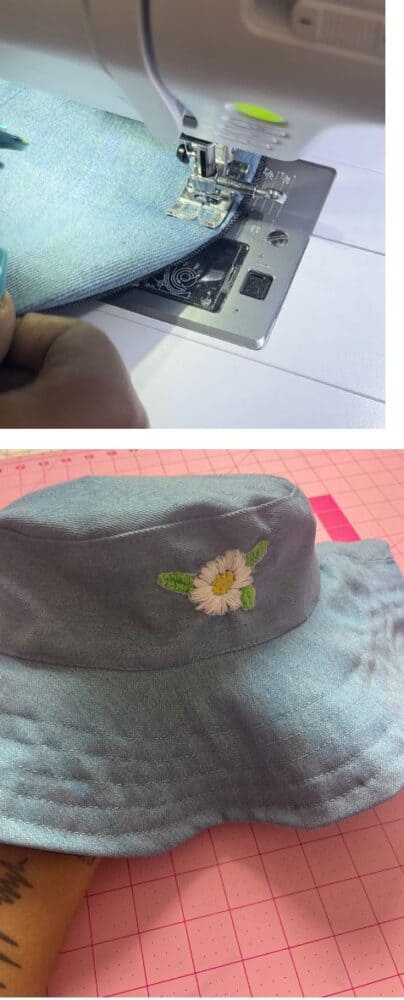
Turn hat over right sides out. Press really well. Top stitch around the brim. You can top stitch about 5-10 times around, but make sure there is about 1/2″ between each top stitch. This is not necessary, but can also be decorative.
-
Your hat is done! Enjoy staying cool this summer!
Stay connected with Clover on Facebook | Twitter | Instagram | Pinterest | YouTube | Ravelry