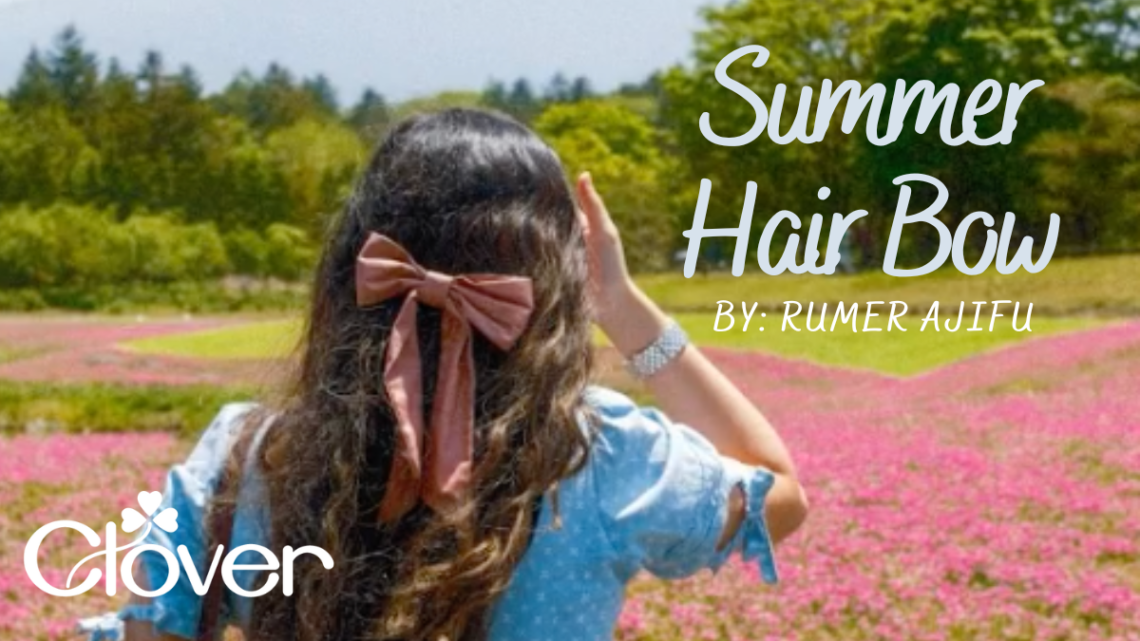
Summer Hair Bow- Sewing Pattern
Now that summer is just around the corner, here is a quick and easy project that will help keep your hair out of your face! Using a good ol’ hair bow! Depending on the fabric type and design you use for this, you can have an instant outfit boost of elegance or one of casual playfulness. This project would also be a great scrap buster if you’ve got some remnant pieces around.

What you’ll need:
- ¼ yard of fabric
- Water Erasable Fabric Marker- Art No. 515
- Ruler
- Needle
- Matching thread
- Wonder clips- Art nO. 3185
- Pinking shears
- Craft glue/Hot glue gun
- Scissors
- Hair barrette
- Point turner- Art No.7803
- Optional: loop turner
- Optional: fray check
Note: Seam allowance is 1cm unless otherwise specified.
Instructions:
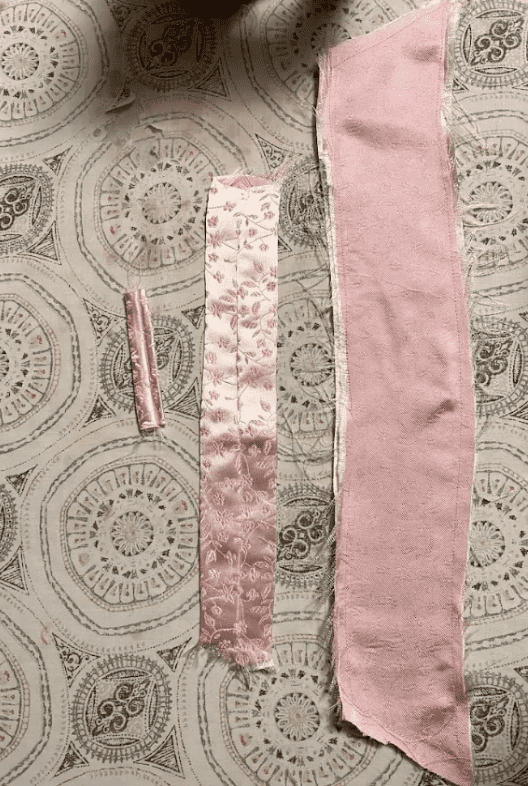
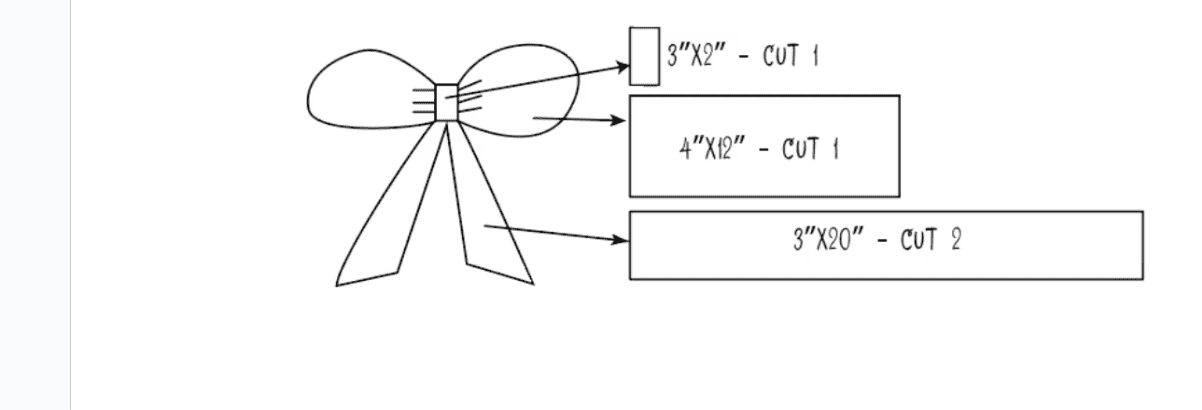
- Cut the fabric as illustrated below:Keep in mind that there is room to customize how wide you want the bow to be or how long you want the tails to be, so feel free to adjust it to your preference.

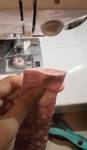
- Take the 4”x12” piece and fold it in half right sides together. Sew along the longest raw edge. Turn right sides out, use a loop turner if needed.
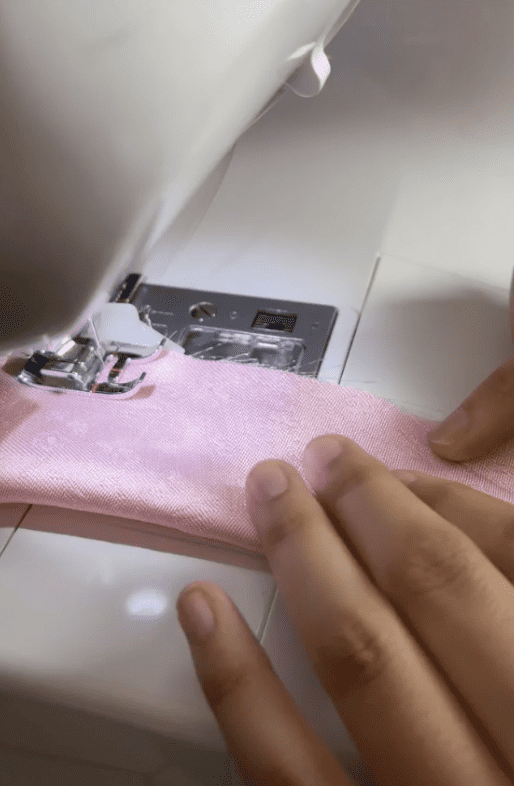
- Take the 3”x2” piece and fold it in half right sides together. Sew along the longest raw edge. Turn right sides out, use a loop turner if needed.
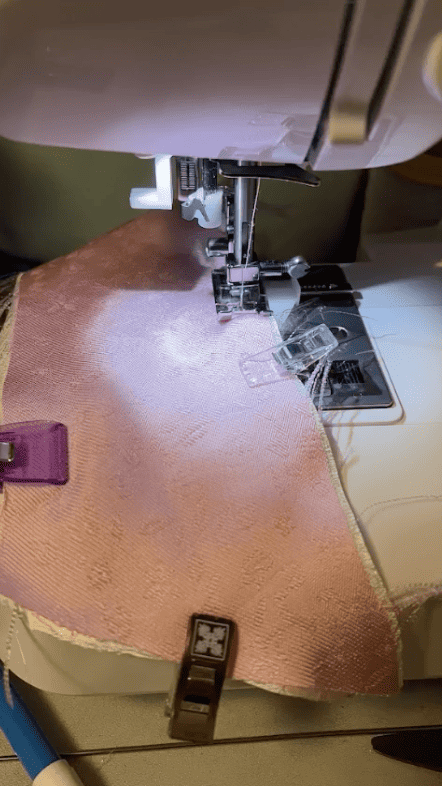
- Take the 3”x20” pieces and place them right sides together and pin. Use a water erasable pen to indicate a 2” gap at the center of one side of this piece, as illustrated below. Then trim the corners at roughly a 45 degree angle, about 1.5” up (totally okay to eyeball).

- Sew along edges, leaving the 2” gap unsewn. Trim down the seam allowance with pinking shears.
- Turn right sides out and press out the corners using a point turner.
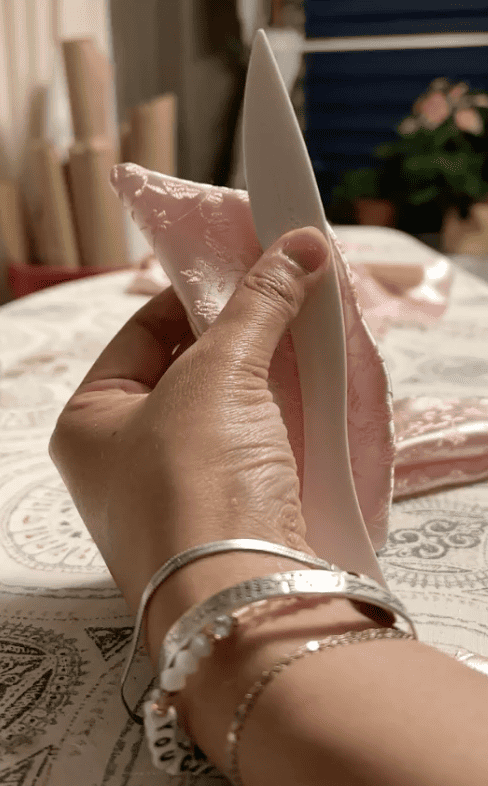
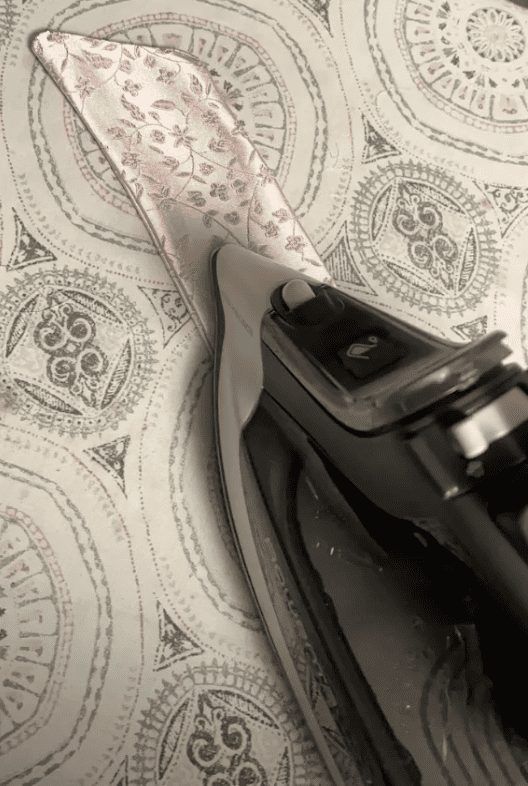
- Now it’s time to press everything! Press the 4”x12” and 3”x2” pieces so that the seam is centered at the back of one side (see image). Thus the seams will be concealed when wearing the hair bow. Then press the 3”x20” piece flat, making sure that the seam allowance of the gap is pressed in place.
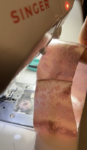
- Edgestitch the 2” gap on the 3”x20” piece closed.
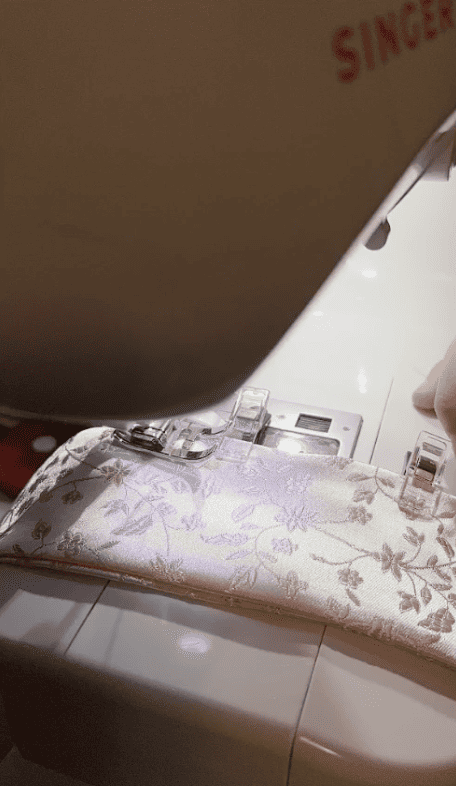
- Take the 4”x12” piece and press the raw edge on one of the short sides in ½”. Then take the raw edge on the opposite side and place it inside the side we just pressed. This creates a fabric tube. Edgestitch the tube in place.
- Create folds to your liking at the center of the 4”x12” piece and hand sew in place. You can thread the needle through all layers of the folds and then wrap your thread around the center of the fabric several times.
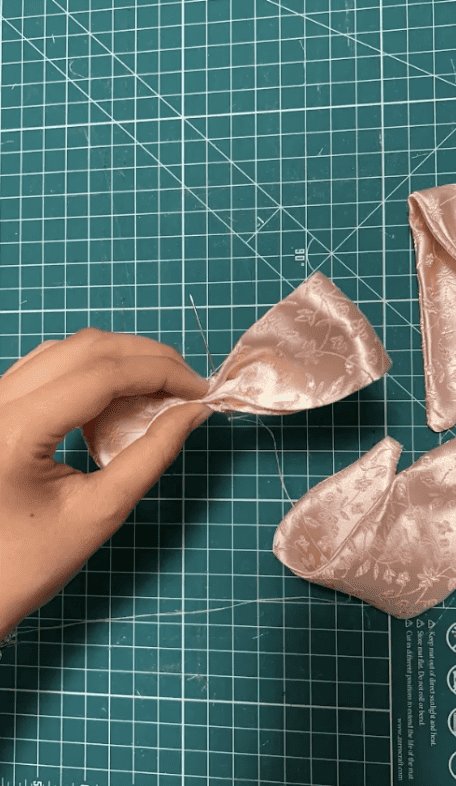
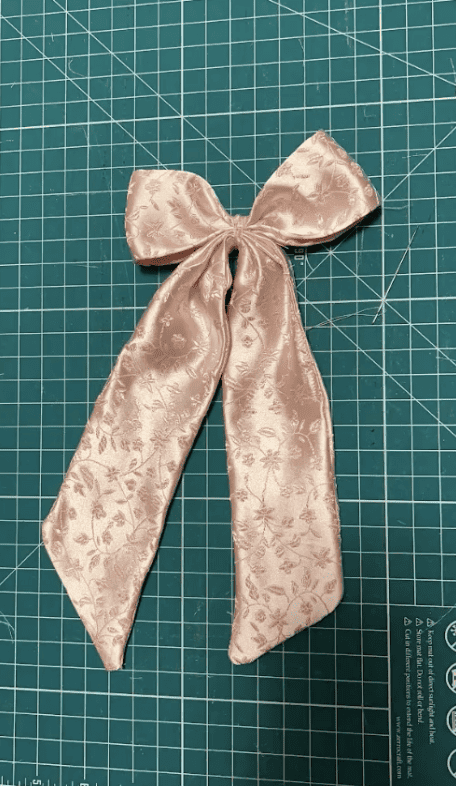
- Similarly, create a few folds to your liking at the center of the 3”x20” piece and use the needle with the remaining thread to sew through all the layers of the fold. Then wrap your thread around the center of the fabric several times and secure it with a knot.
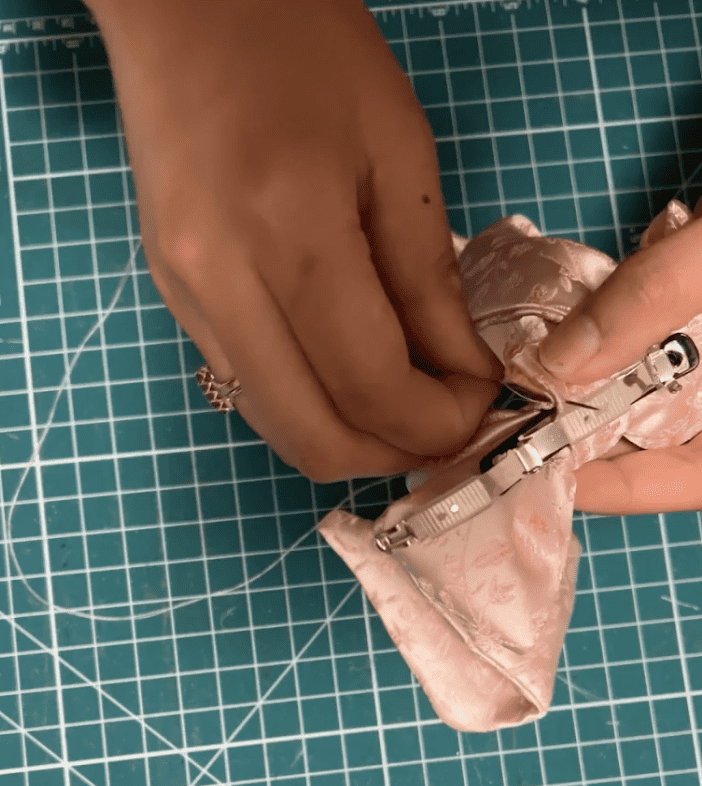
- Take the 3”x2” piece and dab a little glue on the back side (side with the seam going down the center). Wrap it around the front main body of the bow and through the opening in the hair barrette. Make sure it is concealing your wrapped around thread.
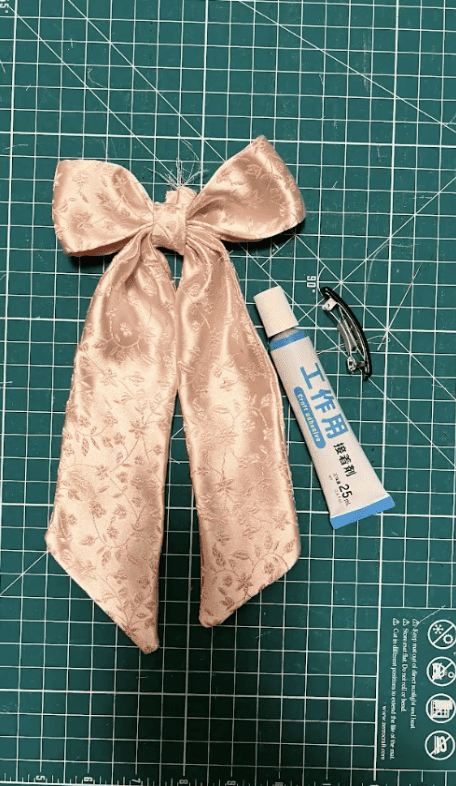
- Handsew the ends of the 3”x2” piece together so that it is snug against the barrette. Trim off excess and apply fray check to the raw edge if needed.
- You can also apply some glue to the left and right sides of the top of the barrette and press the fabric securely in place. Let everything dry and you’re all done!

If you make your own hair bow, feel free to tag me on IG, @rumer_has_it so I can see what you created!
Stay connected with Clover on Facebook | Twitter | Instagram | Pinterest | YouTube | Ravelry