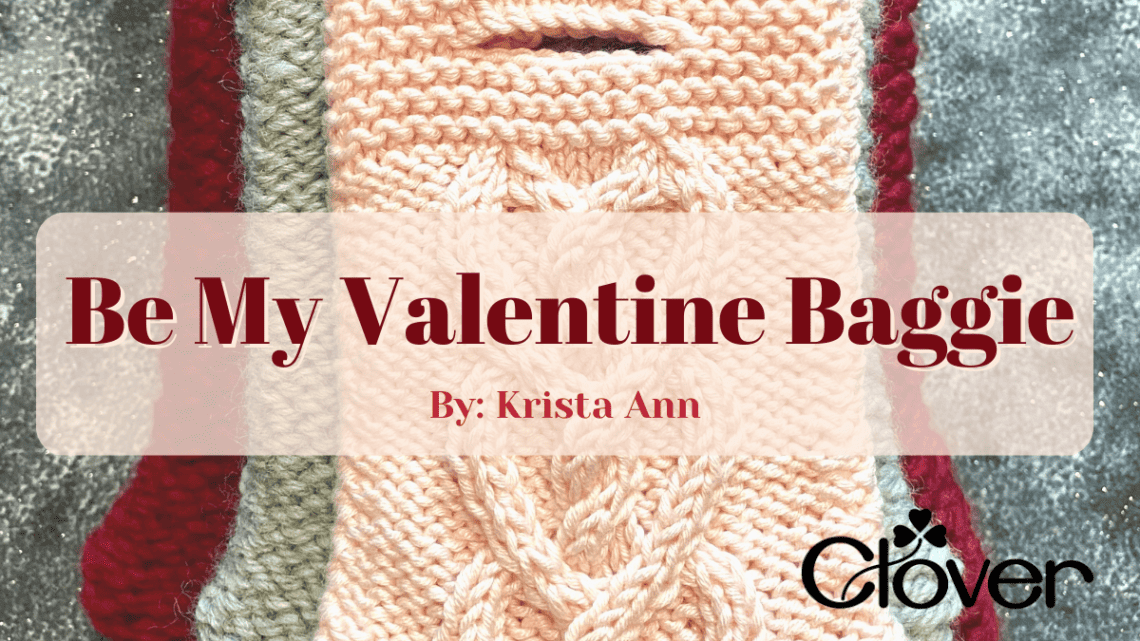
Be My Valentine Baggie- Knitting Pattern
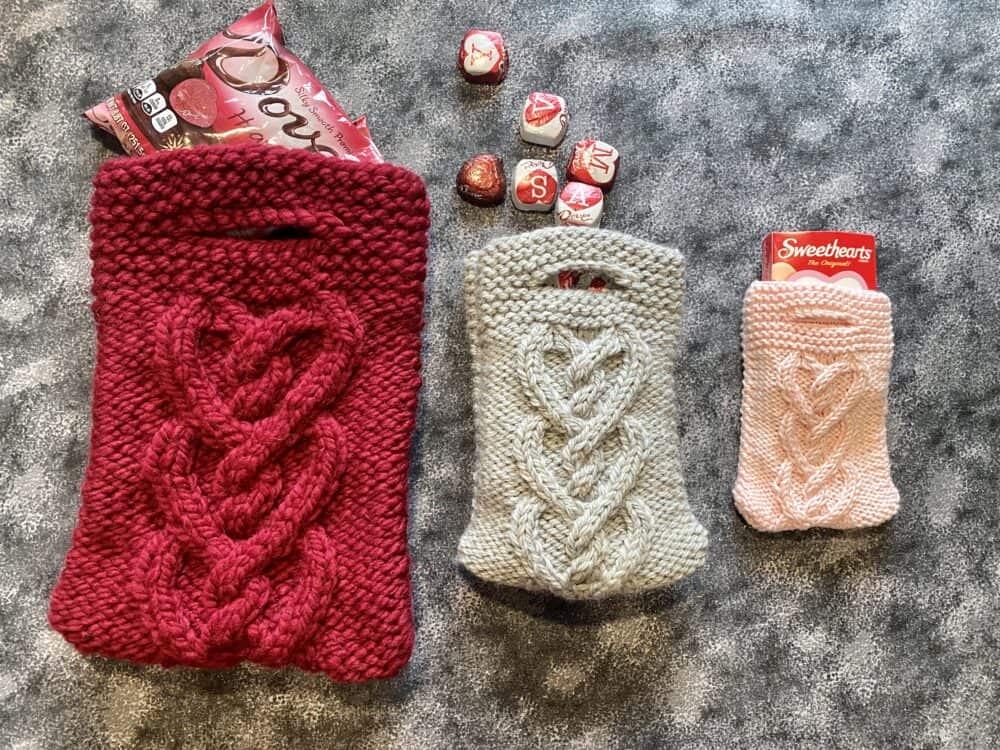
What could be better than receiving a baggie full of chocolates from someone you love? How about a baggie that you knit just for them full of chocolates?!
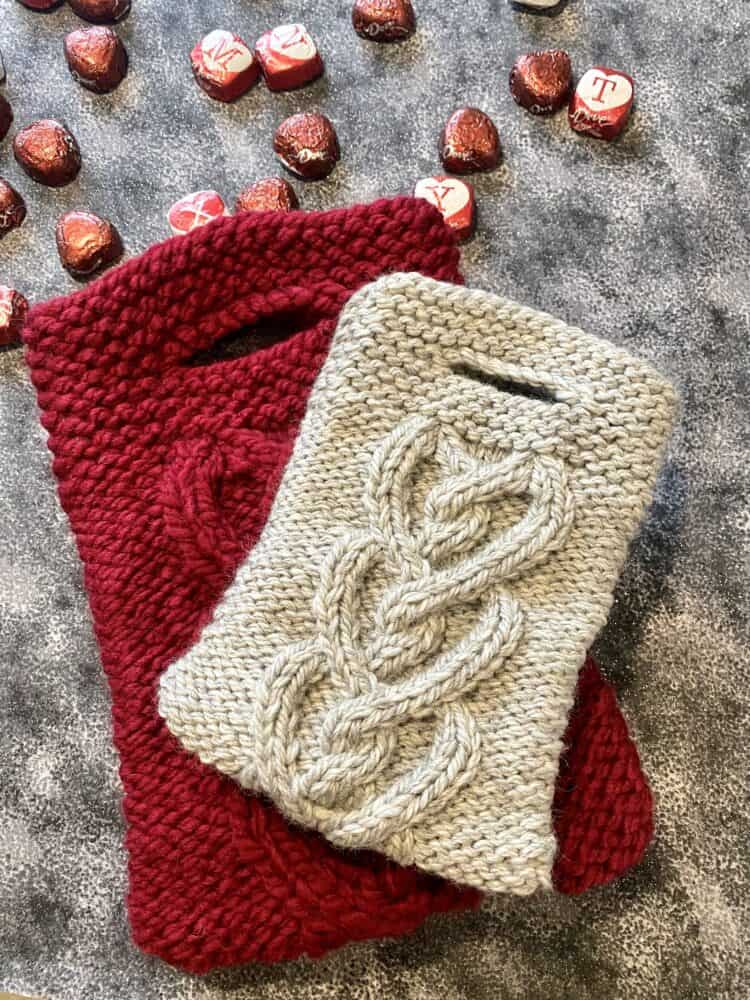
The Be My Valentine Baggie is a quick knit and the perfect little candy caddy for someone special in your life. Maybe your child’s teacher or a soccer coach? Or maybe you want to show your office co-workers how much you love working with them! Long after the chocolates are gone, this baggie will continue to remind them of your appreciation for all that they do.
This project is a great way to use up some leftover yarn from your stash remnants. You can also make several baggies from a single skein of yarn (depending on what yarn you use).
Don’t be intimidated by the cable work on this bag. Take each row one stitch at a time and before you know it – you’ll be a cable queen or cable king! And aren’t these cables perfectly heart-tastic?!
And the best part? Don’t worry about taking the time to get a gauge, just grab a pretty ball of yarn and the needle size it calls for and begin knitting away. You’ll have a finished baggie in your hands in no time at all!
MATERIALS
Needles
(Use needles to match your yarn. These are what I used.)
Takumi Bamboo Knitting Needles Single Pointed:
Takumi Bamboo Knitting Needle 9” No. 6 (4.0mm) (SKU 3011-06)(small baggie)
Takumi Bamboo Knitting Needle 9” No. 9 (5.5mm) (SKU 3011-09) (medium baggie)
Takumi Bamboo Knitting Needle 9” No. 13 (9.0 mm) (SKU 3011-13)(large baggie)
Yarn
I used leftovers from my stash.
Small sized baggie (light pink)
Lion Brand Yarns “Coboo” (http://shrsl.com/3w6fa)
51% Cotton, 49% Rayon from Bamboo in Color 102 (Pale Pink) ~ 55 yards/50 meters
Medium sized baggie (grey)
Cascade Yarns “220 Superwash Grande” (http://shrsl.com/3v0yt)
100% Superwash Wool in Color 1946 (Silver Grey) ~ 80 yards/73 meters
Large sized baggie (red)
Lion Brand Yarns “Wool Ease Thick & Quick” (http://shrsl.com/3w6f4)
80% Acrylic, 20% Wool in Color 138 (Cranberry) ~ 90 yards/82 meters
Notions
Cable Needle to Match Your Yarn
I used:
- Cable Stitch Holders (U-Shaped) (SKU 341) (small and medium baggies)
- Cable Stitch Holders (U-Shaped) (SKU 341)(SKU 3008) (large baggie)
Crochet Hook to Match Your Yarn (for seaming the bag together)
I used:
- Soft Touch Crochet Hook H (5mm) (SKU 1008/H) (small and medium baggies)
- Amour Crochet Hook M/N (9.0 mm) (SKU 1056/MN) (large baggie)
Gauge
Your gauge for this project does not matter and will vary depending on what weight of yarn you choose to use.
Finished Measurements
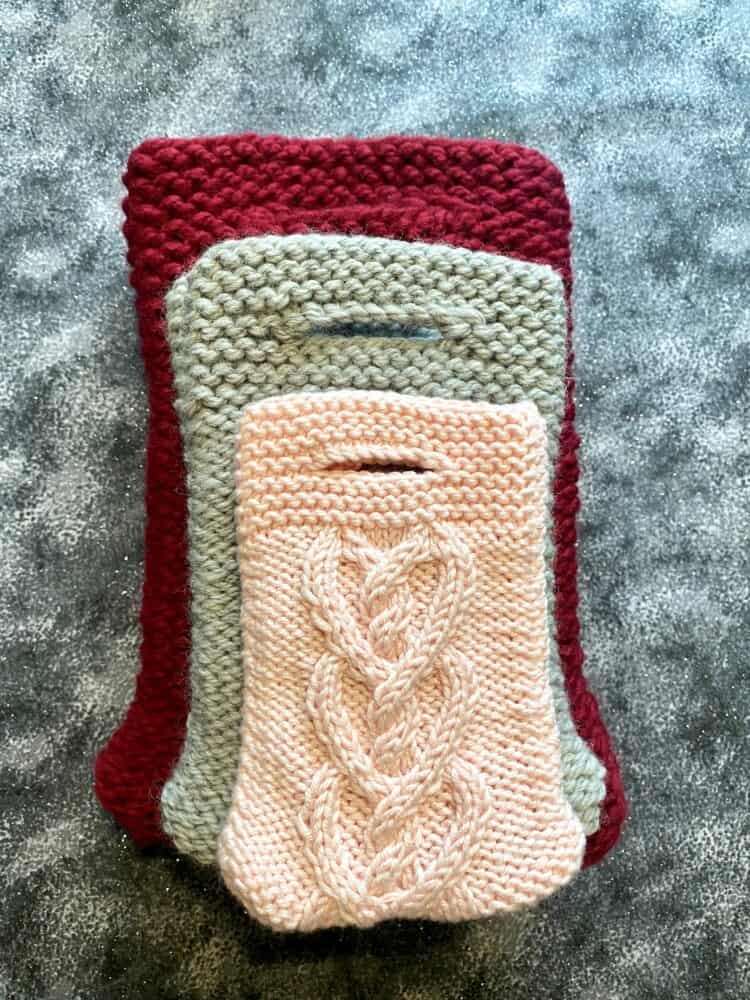
The size of your baggie will vary depending on what yarn you use. These are the measurements of my baggies:
Small: 5 in/13 cm wide by 5.5 in/14 cm tall
Medium: 5.5 in/14 cm wide by 7.5 in/19 cm tall
Large: 7.5 in/19 cm wide by 10.5 in/27 cm tall
Abbreviations
BO – bind off
C4L – place next 2 sts onto cn and hold to front, K2, K2 sts off cn
C4R – place next 2 sts onto cn and hold to back, K2, K2 sts off cn
C4LP – place next 2 sts onto cn and hold to front, P2, K2 sts off cn
C4RP – place next 2 sts onto cn and hold to back, K2, P2 sts off cn
C3LP – place next 2 sts onto cn and hold to front, P1, K2 sts off cn
C3RP – place next st onto cn and hold to back, K2, P1 st off cn
cn – cable needle
CO – Cast On
K2tog – knit two together (1 stitch decrease)
K – Knit
P – Purl
SSK – slip slip knit two slipped stitches together (1 stitch decrease)
st/sts – stitch/stitches
Notes
This adorable baggie can be knit using any weight of yarn. If you want a larger or smaller bag, simply choose a bulkier or thinner yarn and appropriate needles to make varying sizes.
Rows 6 and 14 have cables that might seem a bit strange. On these two rows, you will be working cables which are either knitting established purl stitches or purling established knit stitches. Be sure and check the abbreviations to be sure you are working the cable correctly.
The Pattern
(make two)
CO 26 sts.
Row 1: Purl
Row 2: sl1, P6, K12, P7
Row 3: sl1, K6, P12, K6, P1
Row 4: sl1, P6, K2, C4R, C4L, K2, P7
Row 5: sl1, K6, P12, K6, P1
Row 6: sl1, P6, C4RP, K4, C4LP, P7
Row 7: sl1, K6, P2, K2, P4, K2, P2, K6, P1
Row 8: sl1, P5, C3RP, P2, C4R, P2, C3LP, P6
Row 9: sl1, K5, P2, K3, P4, K3, P2, K5, P1
Row 10: sl1, P4, C3RP, P3, K4, P3, C3LP, P5
Row 11: sl1, K4, P2, K4, P4, K4, P2, K4, P1
Row 12: sl1, P4, K2, P4, C4R, P4, K2, P5
Row 13: sl1, K4, P2, K4, P4, K4, P2, K4, P1
Row 14: sl1, P4, C4LP, C4R, C4L, C4RP, P5
Row 15: sl1. K6, P12, K6, P1
Repeat Rows 6 – 15 two more times.
Next Row: sl1, K6, SSK, K2tog, K4, SSK, K2tog, K6, P1 – 22 sts
Next Row: sl1, K to last st, P1
Work last row a total of 5 times.
Next Row (RS): sl1, K6, BO 8 sts, K to last st, P1
Next Row (WS): sl1, K6, CO 8 sts, K to last st, P1
Next Row: sl1, K to last st, P1
Work last row a total of 6 times.
Bind off.
Your first piece: after you bind off, cut your yarn leaving a tail to weave in later.
Your second piece: don’t cut the yarn when you are done. Instead, use it to finish off the bag as follows:
Keeping the final bind off loop live, grab a crochet hook appropriate for your yarn weight and face both pieces so that the right sides are kissing each other. Place that bind off loop on your crochet hook and holding the sides together, crochet around three of the sides to close up the sides and bottom of your bag. Then you can cut your working yarn and weave in all your tails.
Turn bag right side out, fill with candy, and make someone’s day!
by Krista Ann
Instagram: @explorewithknitsy
Blog: www.explorewithknitsy.com
The Knitting Rockstar Academy: www.knittingrockstar.com