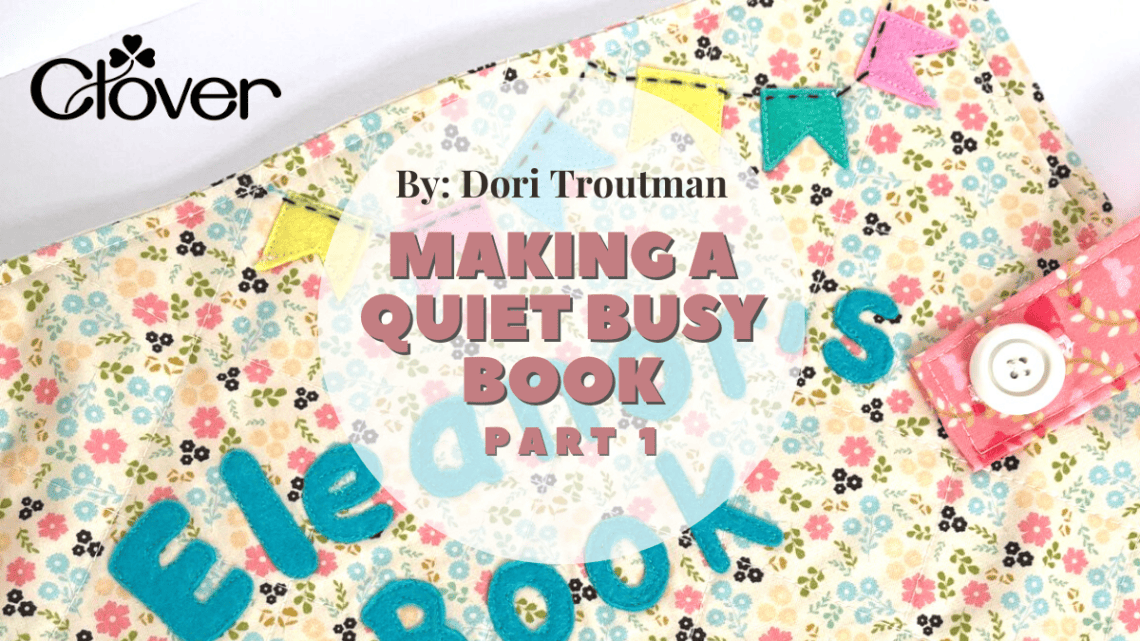
Making A Quiet Busy Book {Part One}- Sewing Tutorial
Happy New Year Friends!!!
I can’t even tell you how excited I am about this blog post today! I’ve had on my mind for some time the need to make a Quiet Book for a precious grand-baby in my life and it occurred to me that you might also want to make one – but maybe you’re not quite sure where to start! Well I’m happy to tell you that I’m going to make one with YOU!!! This will be a series of four blog posts and today we are jumping right into the first part of the book – the cover! But don’t worry, you’ve got time to gather supplies and get started! I hope you will join along with me; this is going to be such a fun project!
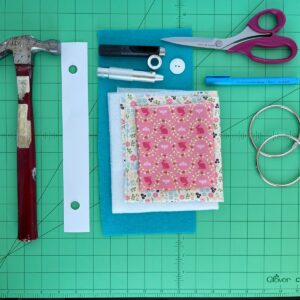
Necessary Supplies
- 2) 30 x 12 inch fabric pieces
- 29 x 11 fusible fleece
- Clover Water Soluble Maker- Art No. 515
- Bordeaux Ultimate Scissors- Art No. 4941
- Template for grommet placement
- Grommet Kit
- 2) 3 inch diameter binder rings
- Felt scraps for book title
- Letter templates for book title
- Clover Wonder Fuse- Art No. 4090
- Button
- 4 x 15 inch fabric strip
- 3 x 10 inch fusible fleece
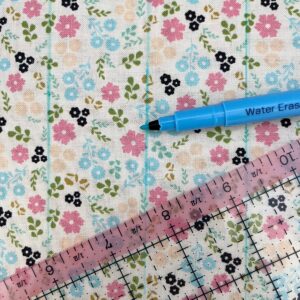
Step One: Center your fusible fleece to one of the 30 x 12 inch fabric pieces and carefully iron it in place. Fold the fabric in half forming a 15 x 12 inch “book cover”. Using your Clover erasable fabric marker, mark a line at the fold. Mark two more lines 1.5 inches on each side of the center fold. Using those little marks as a guide, carefully measure and draw all three lines the entire length of the book cover. (These will be part of the book binding of the cover.) Do this with both of the 30 x 12 inch pieces of fabric.
Step Two: Determine what you would like the title of your book to be. Now there are a few options on how to proceed. You can either draw out the letters yourself, or you can use a computer and printer. I chose the computer option and here is what I did. In my word processing program I found the font and size that I was happy with and printed it to make sure it was correct. Then, I flipped the letters to a mirror image. I cut a piece of Clover wonder fuse to 8.5 x 11 inches and inserted it right into my printer and I printed the letters directly to the paper side of the wonder fuse. Once this is done you can then iron it to your felt of choice.

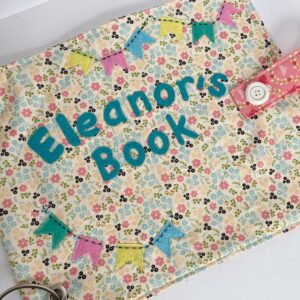
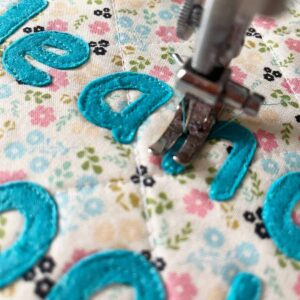
Step Three: Cut out your letters and remove the paper backing. Once you’ve got all your letters cut out, lay them out on your book cover in the design you want. Iron them to your book cover. At this point you can either zig zag stitch around your letters or you can sew with a straight stitch. I chose a straight stitch for my letters. (NOTE: I also opted to machine quilt diagonal lines spaced about 2 inches apart; this is completely optional.)
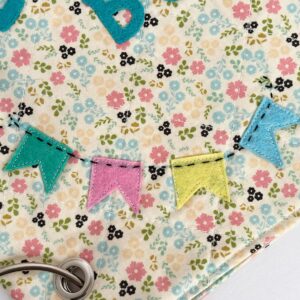
NOTE: This is the time to add any other embellishments that you want on the front of your book cover! I chose to cut felt into little buntings to “hang”. But the ideas are unlimited.
Step Four: Place your front and back together and sew all the way around, leaving an opening for turning. Turn right side out and push out all the corners. Iron flat. Top stitch all the way around, closing up the opening as you topstitch.
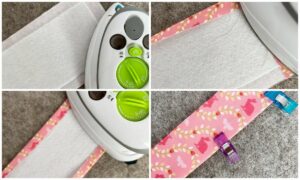
Step Five: Now we’ll finish out the outside of the book by adding a button closure! Fuse the 3 x 10 inch fusible fleece to the middle of the 4 x 15 fabric strip. Once it is completely fused, fold over the long edges and one short end and iron, fold in half lengthwise and iron again. Use wonder clips to hold in place. Top stitch on all sides.
Step Six: Find the center along the front side of your finished book cover. Mark an X with your fabric marker. Attach a button on that X. Using a buttonhole attachment on your sewing machine, make a buttonhole the size of your button on the finished short end of the finished fabric strip. (Note: You will leave the unfinished edge alone for now. When all the pages of the book are complete, we will finish that edge when we know the thickness of the book!)

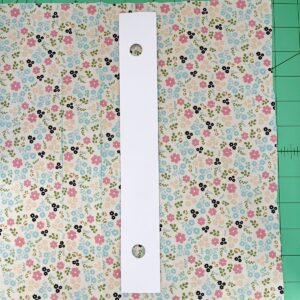
Step Seven: Now lets attach the grommets to form the “spine” of the book! I made a template for the grommet placement. It is simply a piece of card stock cut 1.25 x 11 inches. I’ve punched two holes at the distance that I plan to have my large binder rings. I decided on 1.5 inches from both the top and the bottom.
Step Eight: Lay the grommet template between two of the lines that were marked on the book cover in step one. Using the fabric marker, mark the holes. Do the same with the other side of the center. You will now have four marked holes. Attach the grommets according to directions in your grommet kit.

Step Nine: Now you can place your large binder rings!

You cover is complete and ready to begin making the pages!

I’ll be back on the 16th with all the details and some helpful tips in making your quiet pages. In the meantime, you can get your cover made and begin looking on my Pinterest board where I’ve gathered some fun ideas for Quiet Book Pages! I can’t wait to see you here next week!
~ Dori ~
Stay connected with Clover on Facebook | Twitter | Instagram | Pinterest | YouTube | Ravelry