Pom-Pom Mobile- Tutorial
Hey everyone, it’s Amy from curiouspapaya. There’s nothing sweeter than handmade decor for the special little one in your life! This colorful baby mobile can add the perfect touch to your nursery room. Watch this pom-pom maker speed tutorial here.

Here’s what you’ll need for this project:
——————–——————–——————–——————–——————–——————–——-
MATERIALS:
- Medium worsted acrylic yarn in 4 different colors
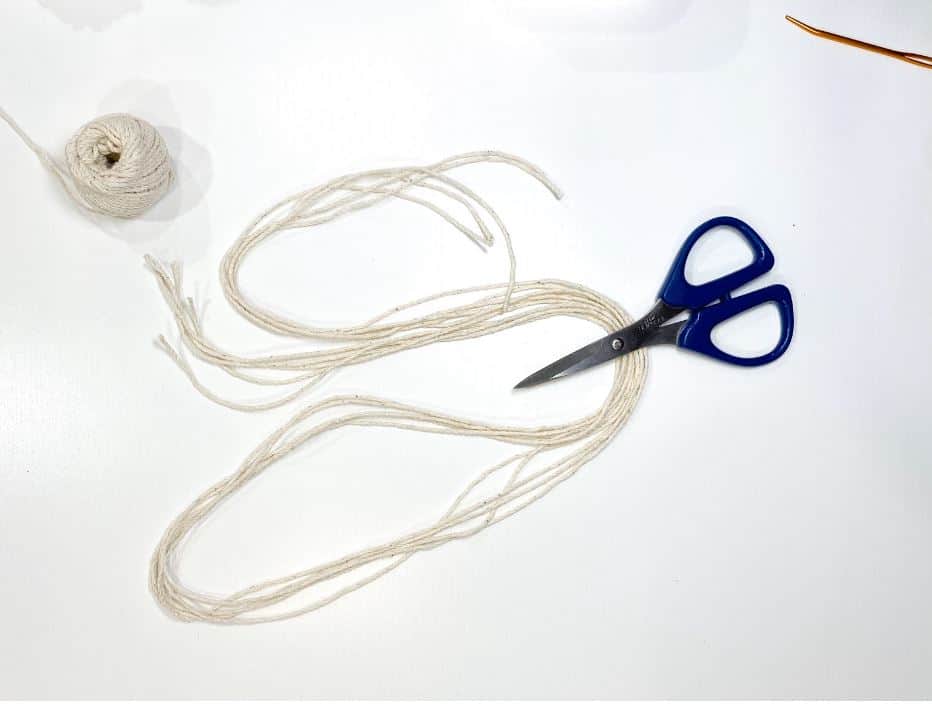
- Mini Patchworks Scissors – Art. No 493/CW
- Jumbo darning needle – Art. No 340
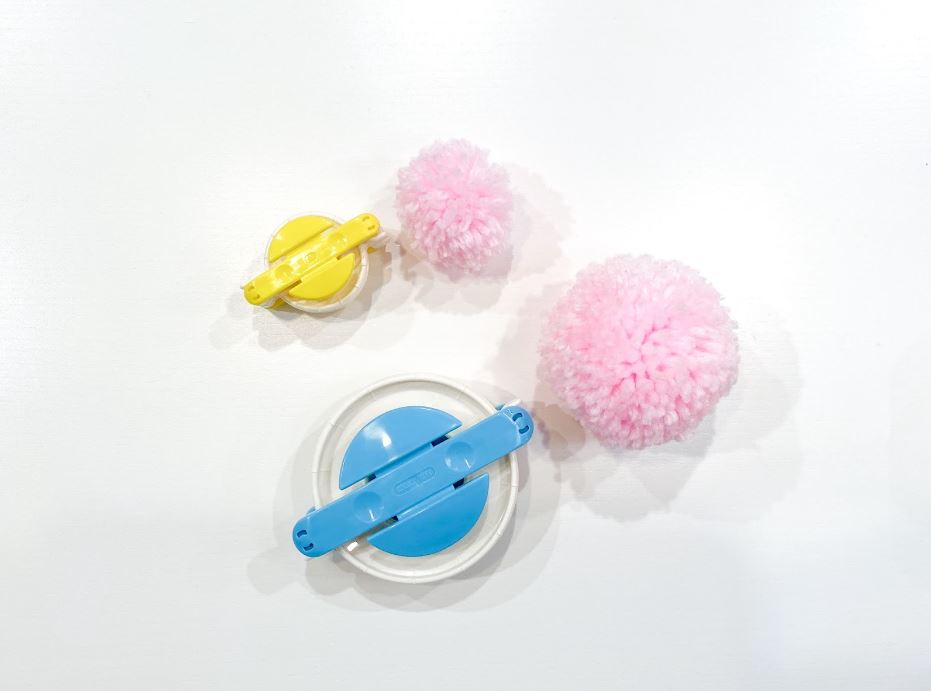
- Small pom-pom maker-Art. No. 3124
- Large pom-pom maker –Art No. 3126
- Gold hoop
- Hot glue
- String
NOTES/TIPS:
*When using these pom-pom makers, it’s important to wind enough yarn. It can feel like a lot – but “less is more” does not apply here! Skimping out will lead to very sparse, sad-looking pom-poms. More is MORE. 🙂
*Trim each pom-pom for a neater look.
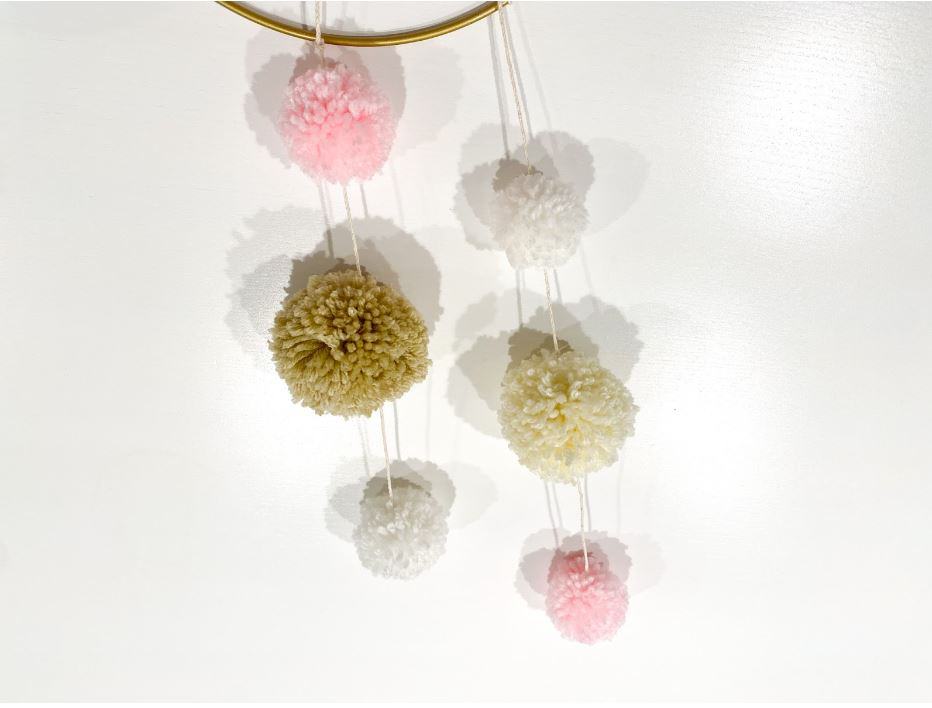
*Play around with different color combinations! The colors and quantities I used are shown below:
-6 small white pom-poms
-6 small pink pom poms
-1 large pink pom-pom (for the top of the mobile)
-2 large mint pom-poms
-2 large tan pom-poms
-2 large cream pom-poms
——————–——————–——————–——————–——————–——————–——-
Step 1: Watch the tutorial below to learn how to use the pom-pom maker tool. Then, create all of the pom-poms you will need.
Step 2: Cut 6 strands of string, each 2 feet long.
Step 3: Use your needle and thread 3 pom-poms through and space them out 4 inches.
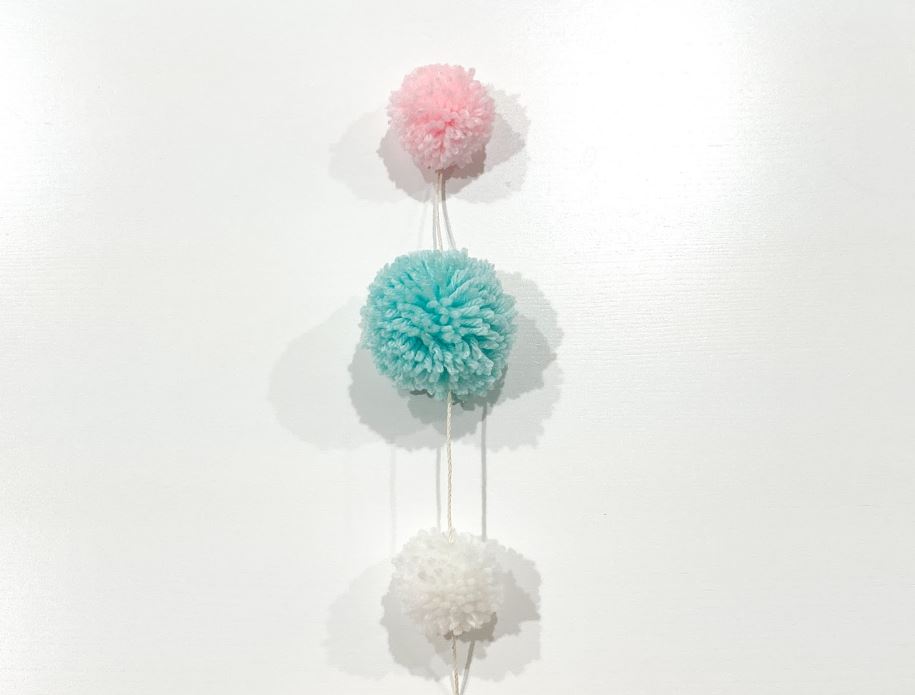
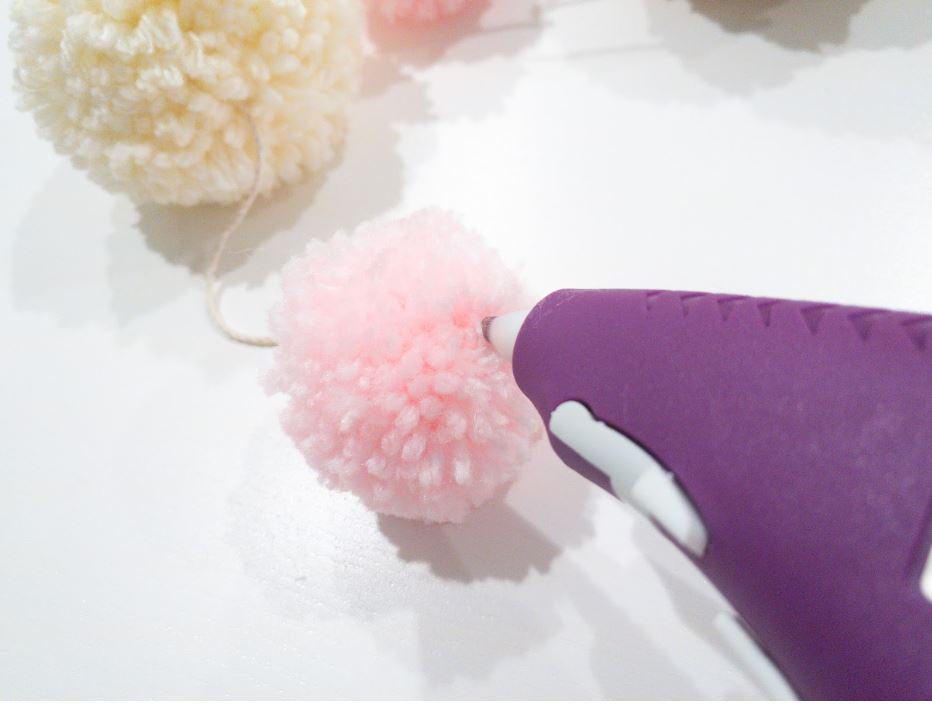
Step 4: Then, secure each one in place using hot glue. I like to spread out the fibers to glue it as close to the center as possible.
Step 5: Alternate the length of each string of pom poms by tying them 1 inch away from the hoop and then 3 inches away from the hoop. Leave a foot of string remaining. Then, evenly space each string out.
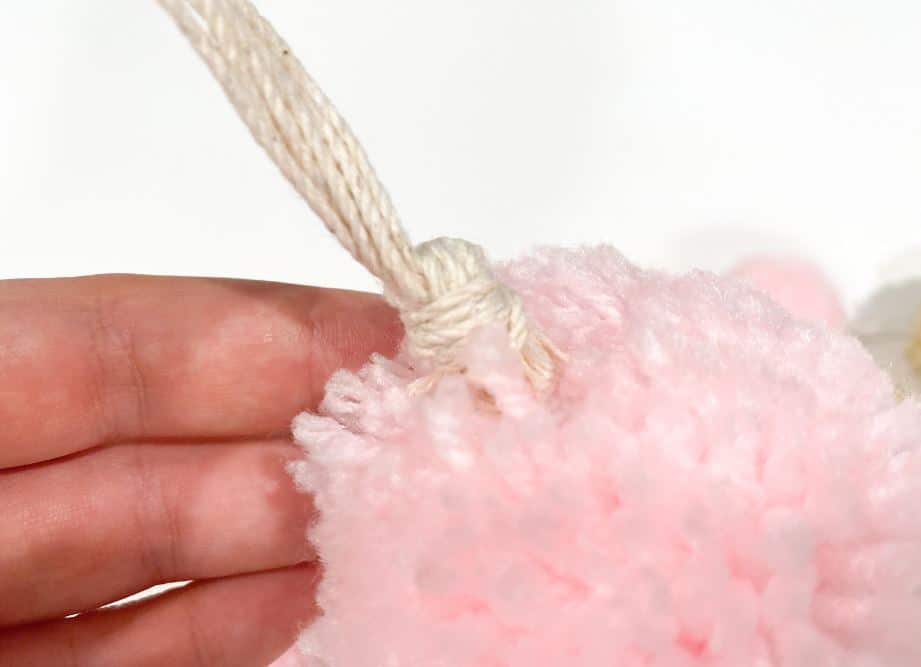
Step 6: Use your needle to thread each string through your centerpiece pom-pom, making sure that it is centered.
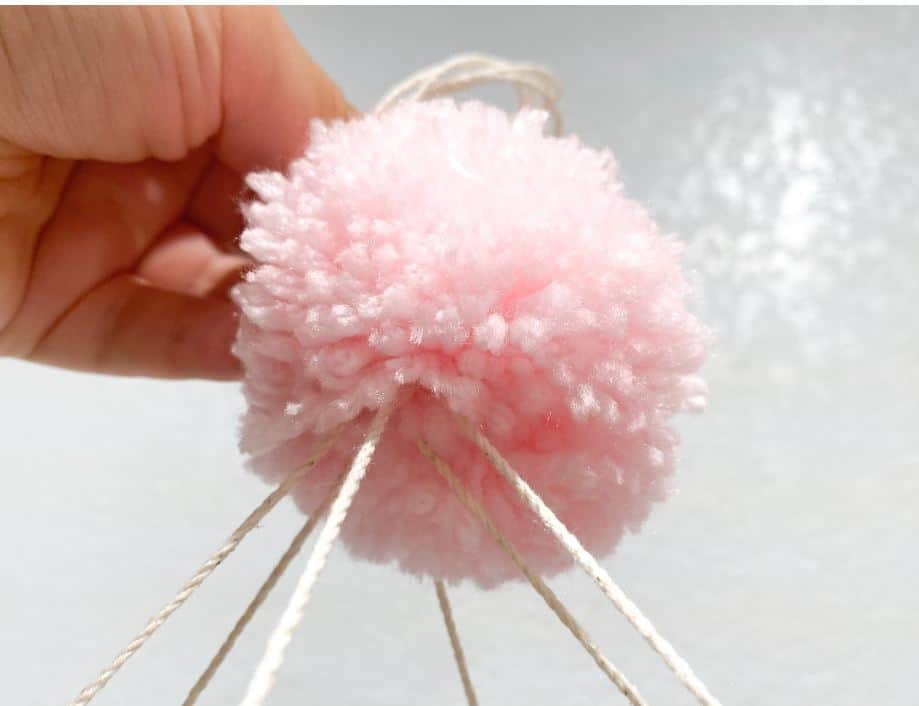
Step 7: Tie all of the tails into a secure knot and trim the excess off.
Stay connected with Clover on Facebook|Twitter|Instagram|Pinterest |YouTube|Ravelry