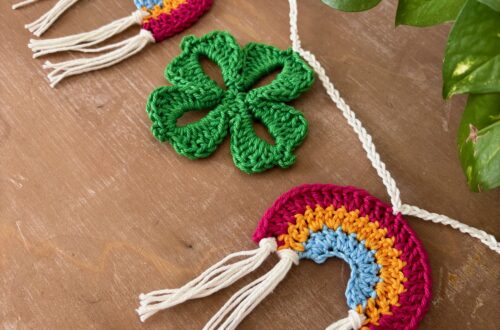
Coastal Macrame Wall Decor- Crochet Pattern
Hey Clover Family, today marks the first full week of spring and you know what that means, right? It’s time to switch out the fall decor and say hello to all things spring! With each new season, I like to look around our home to see what areas could use some sprucing up. I found a nice area in our living room that could benefit from some macrame wall decor, which in turn sparked my imagination to design this beginner-friendly pattern for you!
This macrame pattern can be used for a variety of different decor styles such as coastal, bohemian, and 70s chic. No matter how you design your living space, I am sure you will love this project. Alright, are you ready to dive into the art of macrame? If so, let’s gather the materials and get started!
Here are the materials needed for this macrame piece:
- Clover Bordeaux Ultimate Shears 200 Art No. 4942
- Clover Jumbo Wonder Clips Art No. 3157
- Clover Spring Tape Measure Art No.9610
- Clover Air Erasable Marker Art No. 5031
- 16 inch Ring
- Masking Tape
- Cotton Cording (4mm)
- Macrame Brush
- Hooks
Macrame knots you’ll learn Alternating Half Hitch Chain & Double Half Hitch.
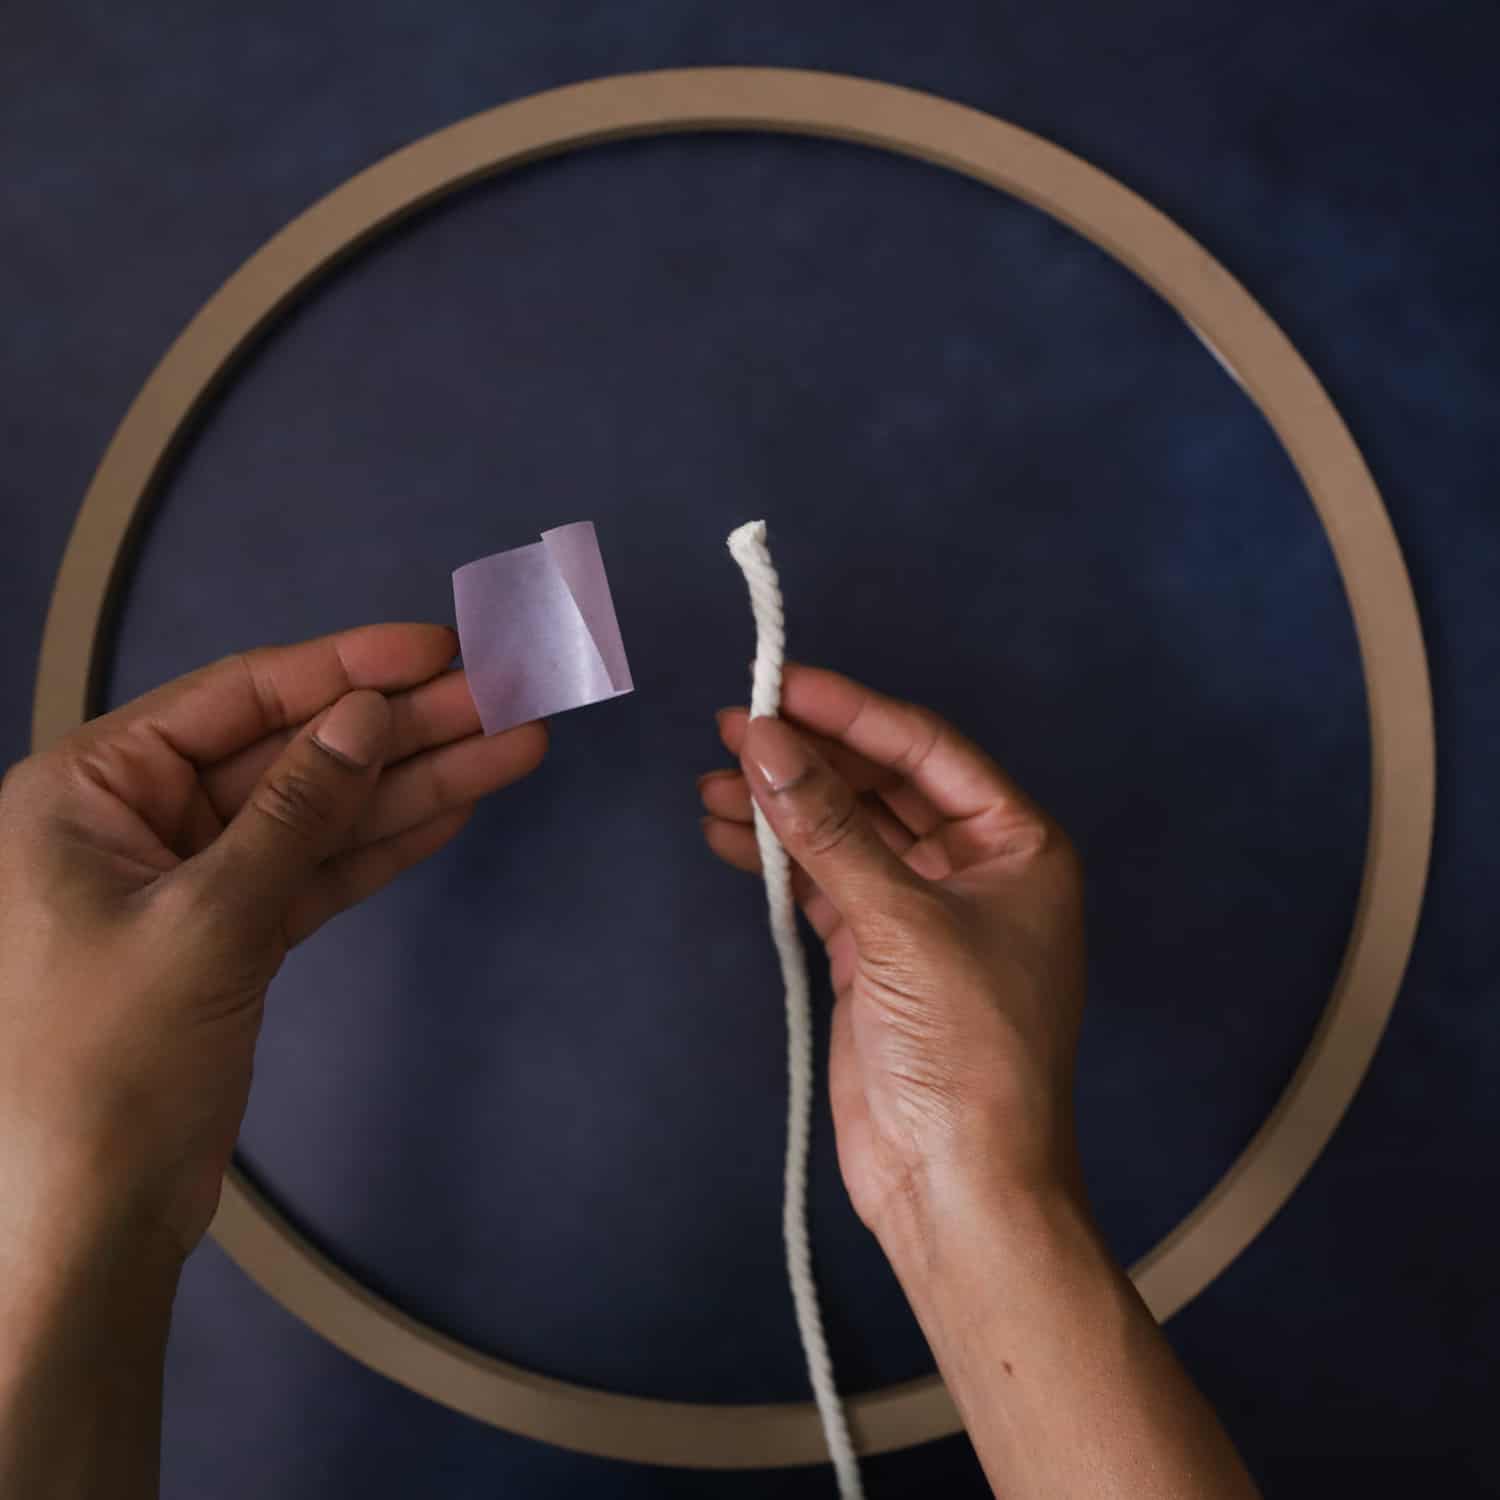
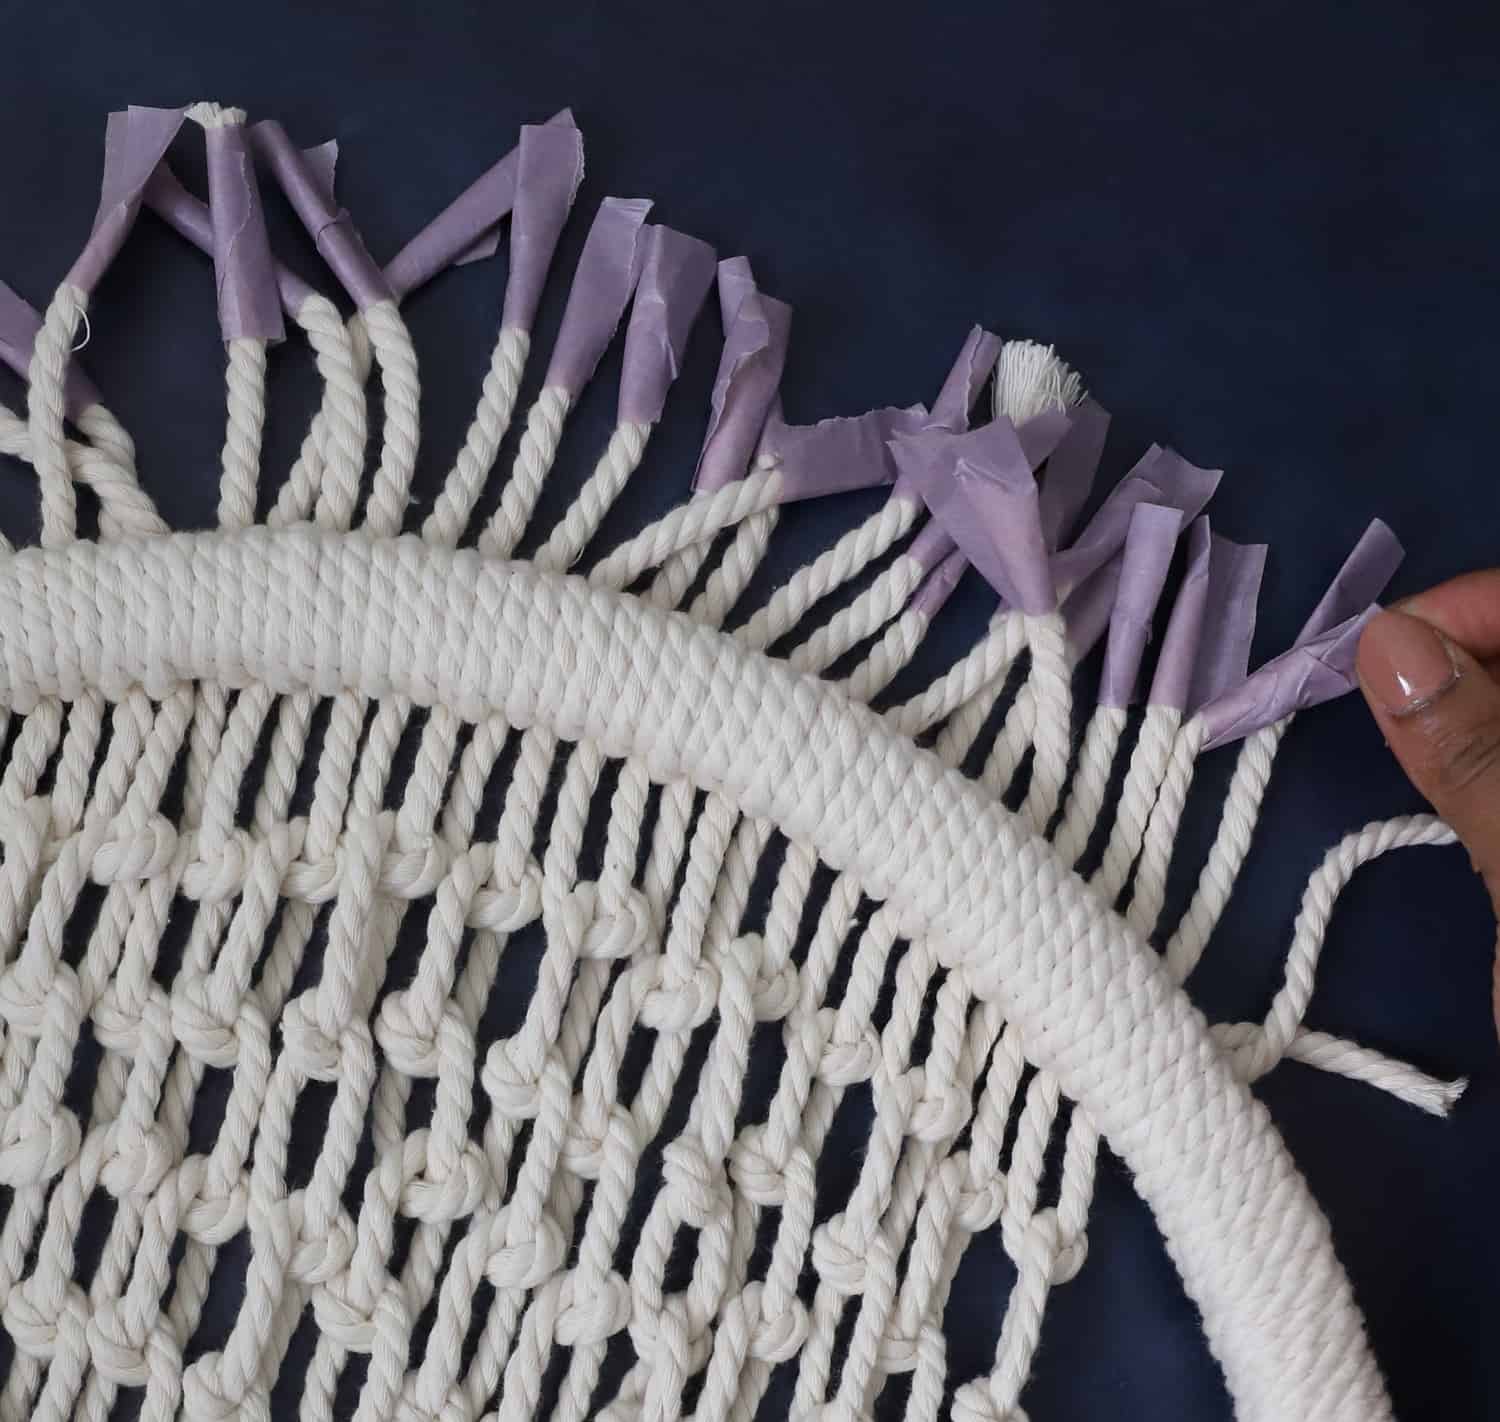
Step 1. Use Clover’s Bordeaux Shears to cut 30 pieces of cording at 48 inches each, then add masking tape to the ends to prevent the cords from unraveling.
Step 2. Set up Clover’s Spring Tape adjacent to the cording to create a folding dot at 8 inches.
If you are a lover of all things fringe, it’s totally okay to add 5 additional inches!

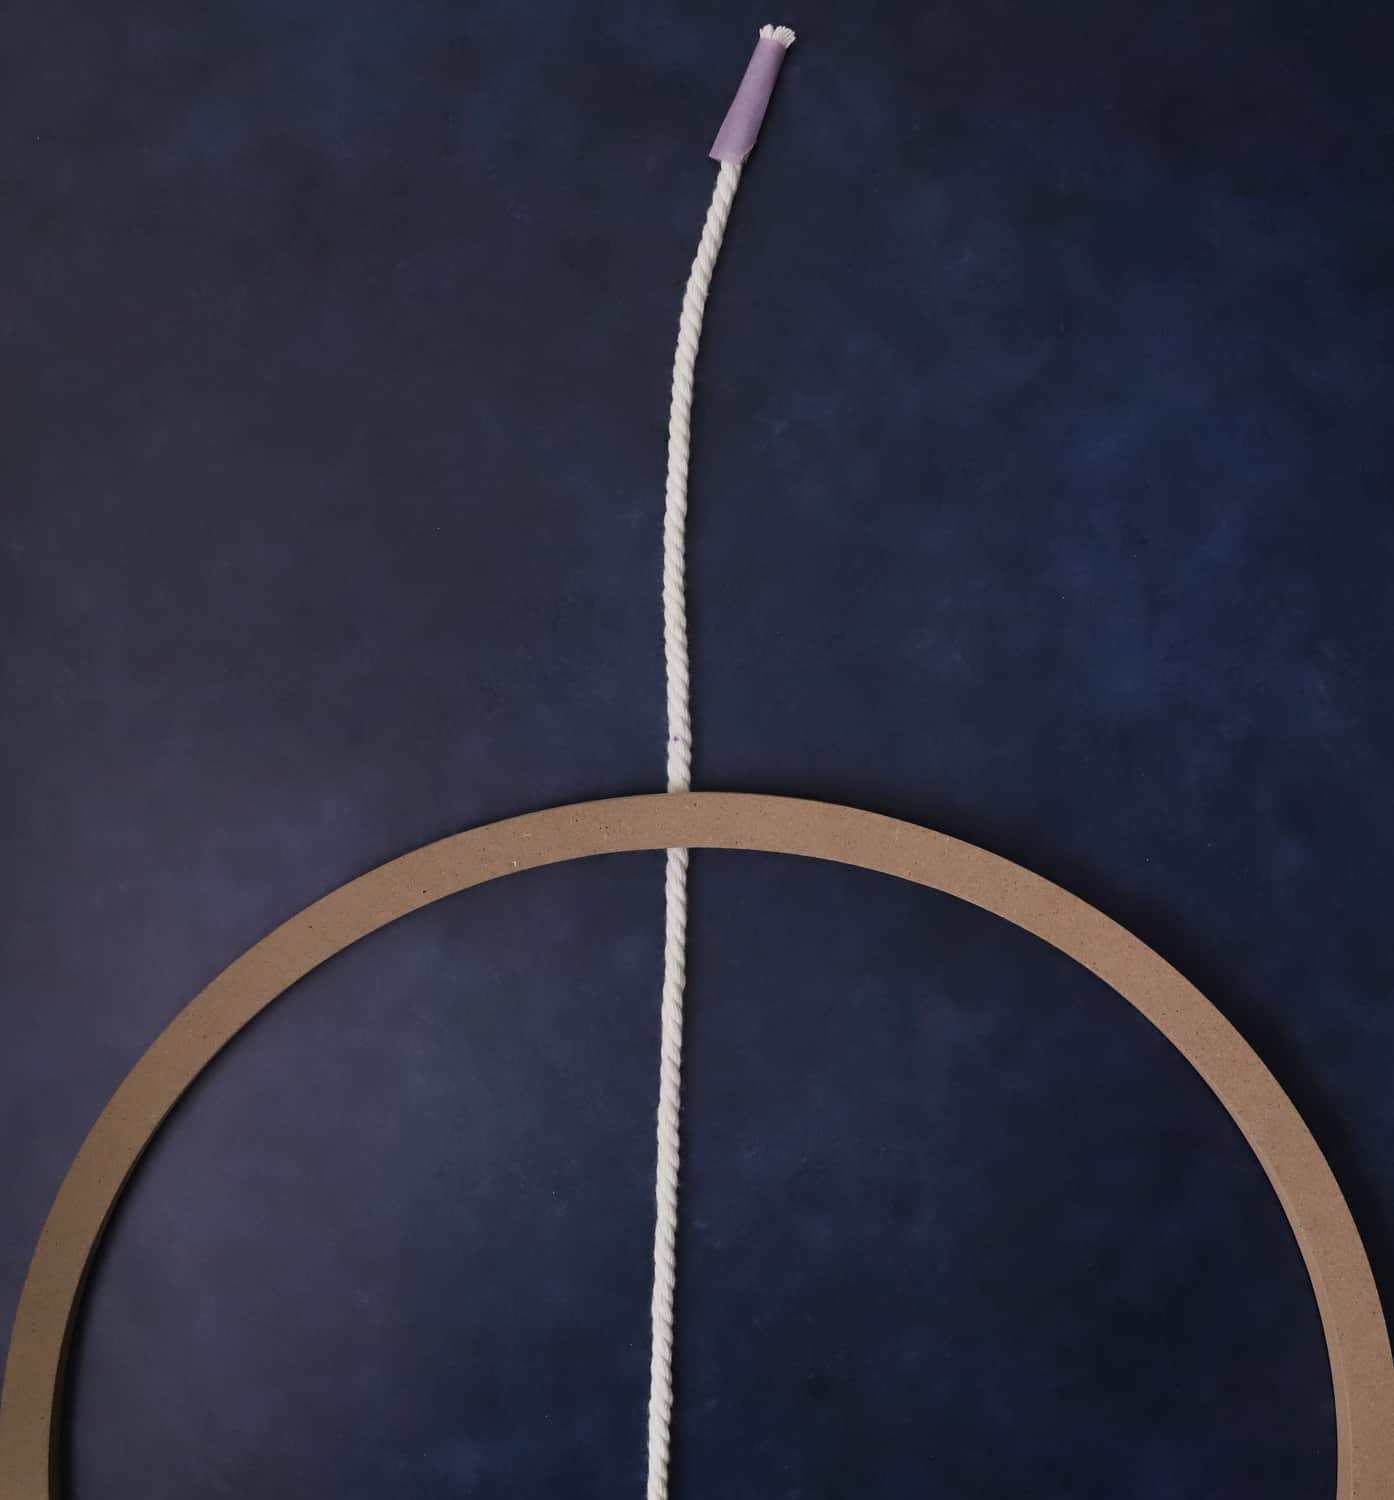
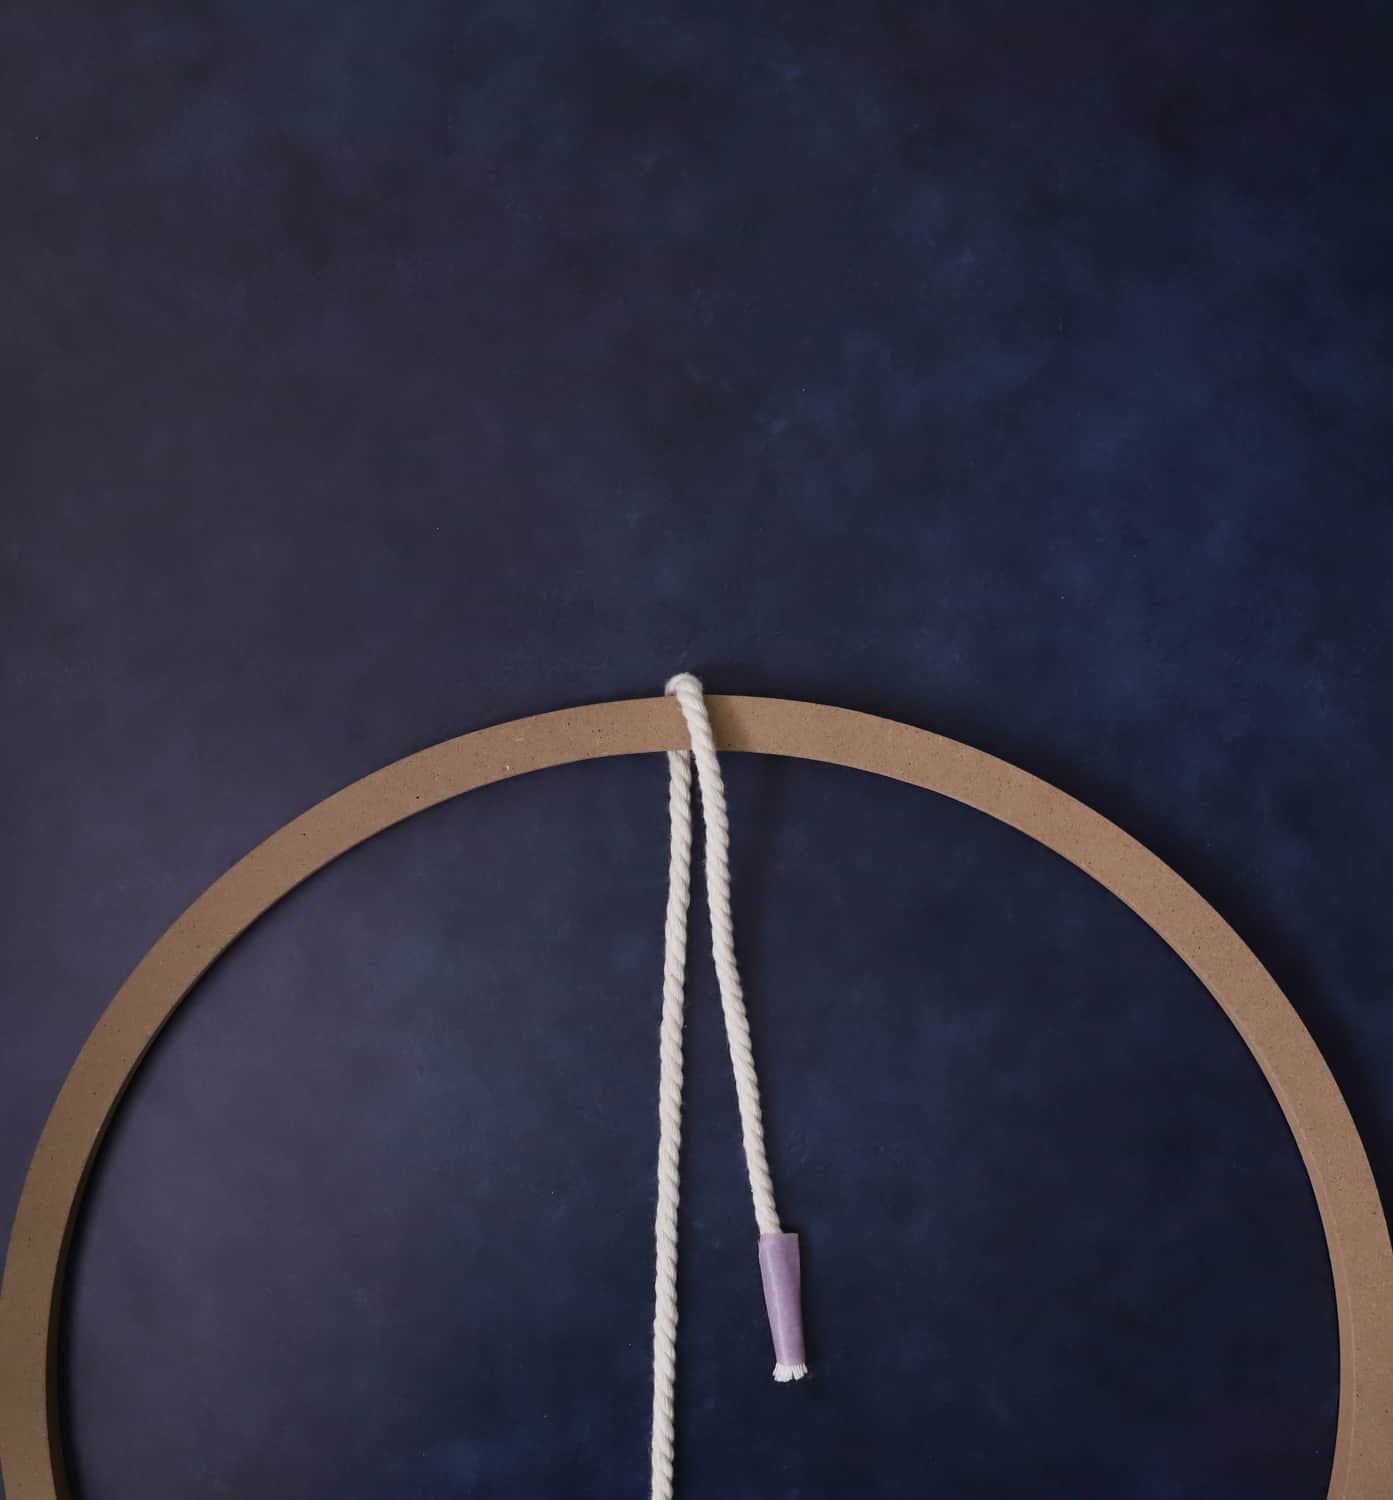
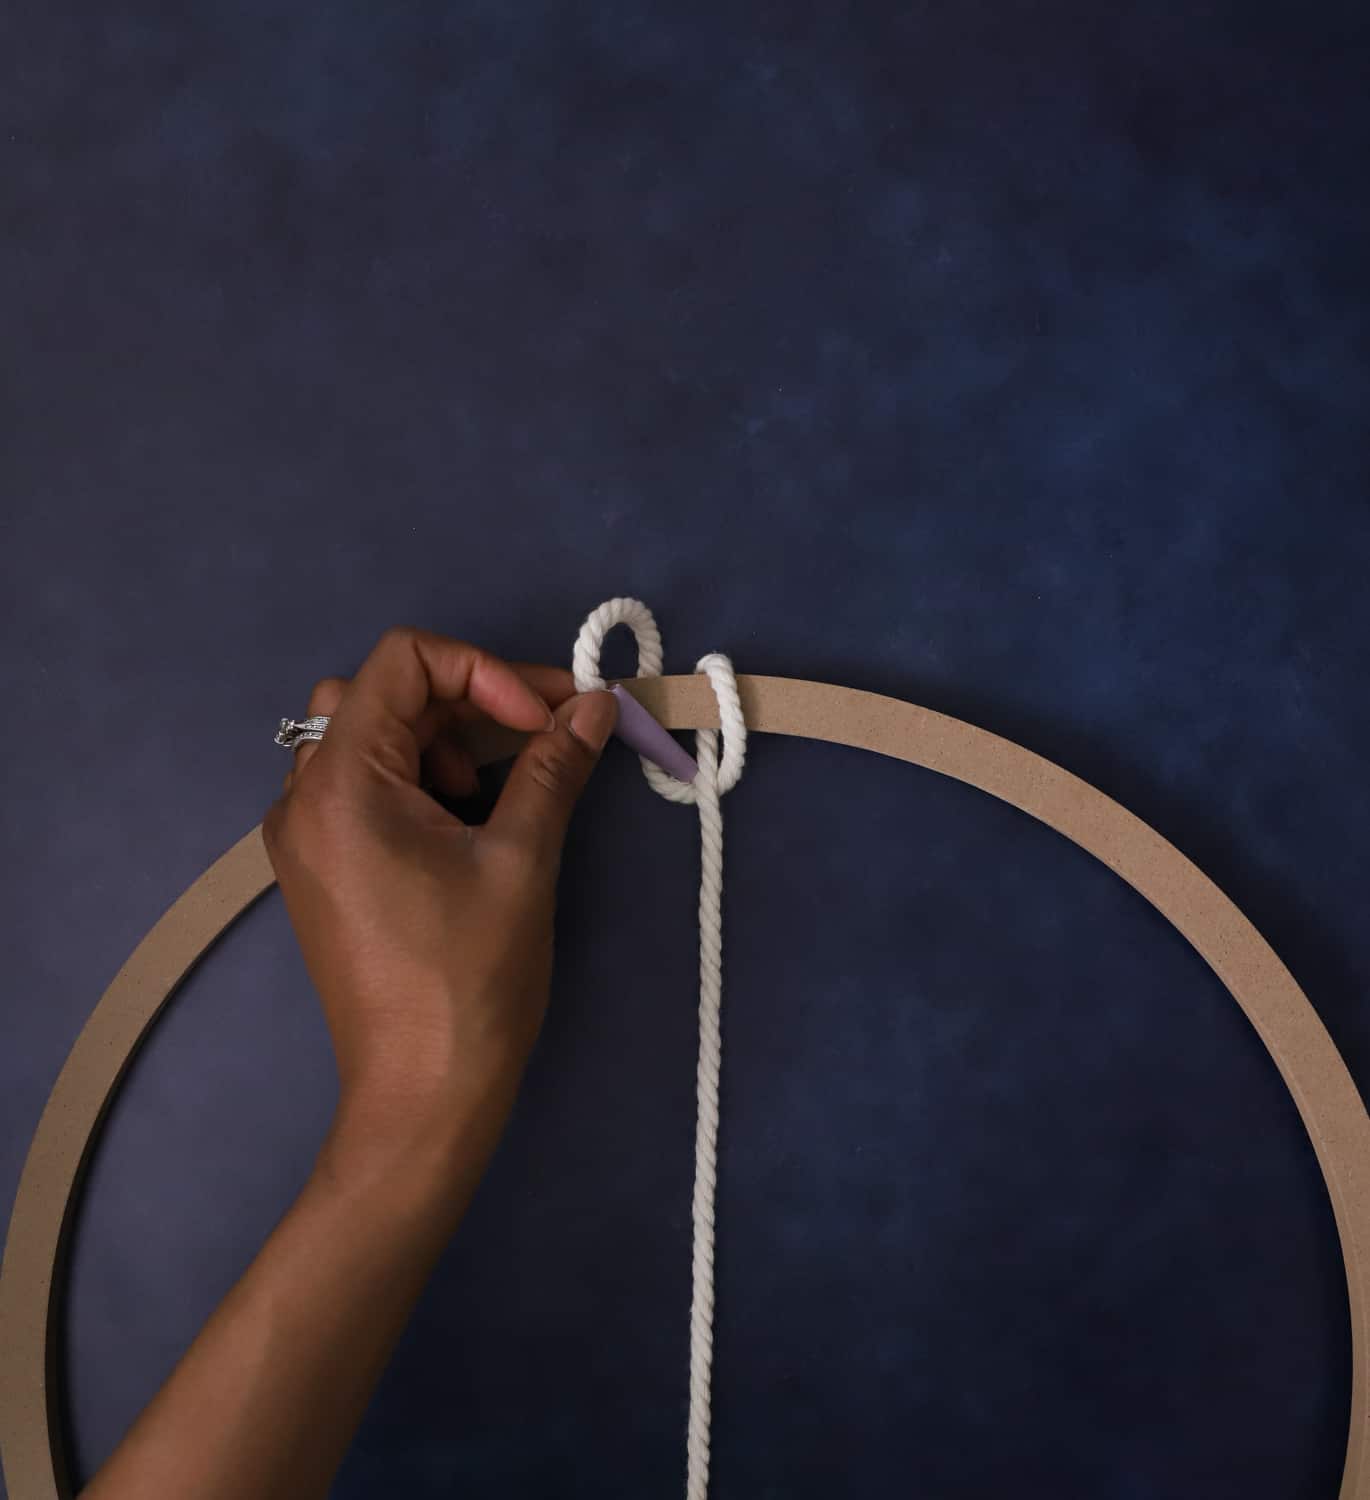
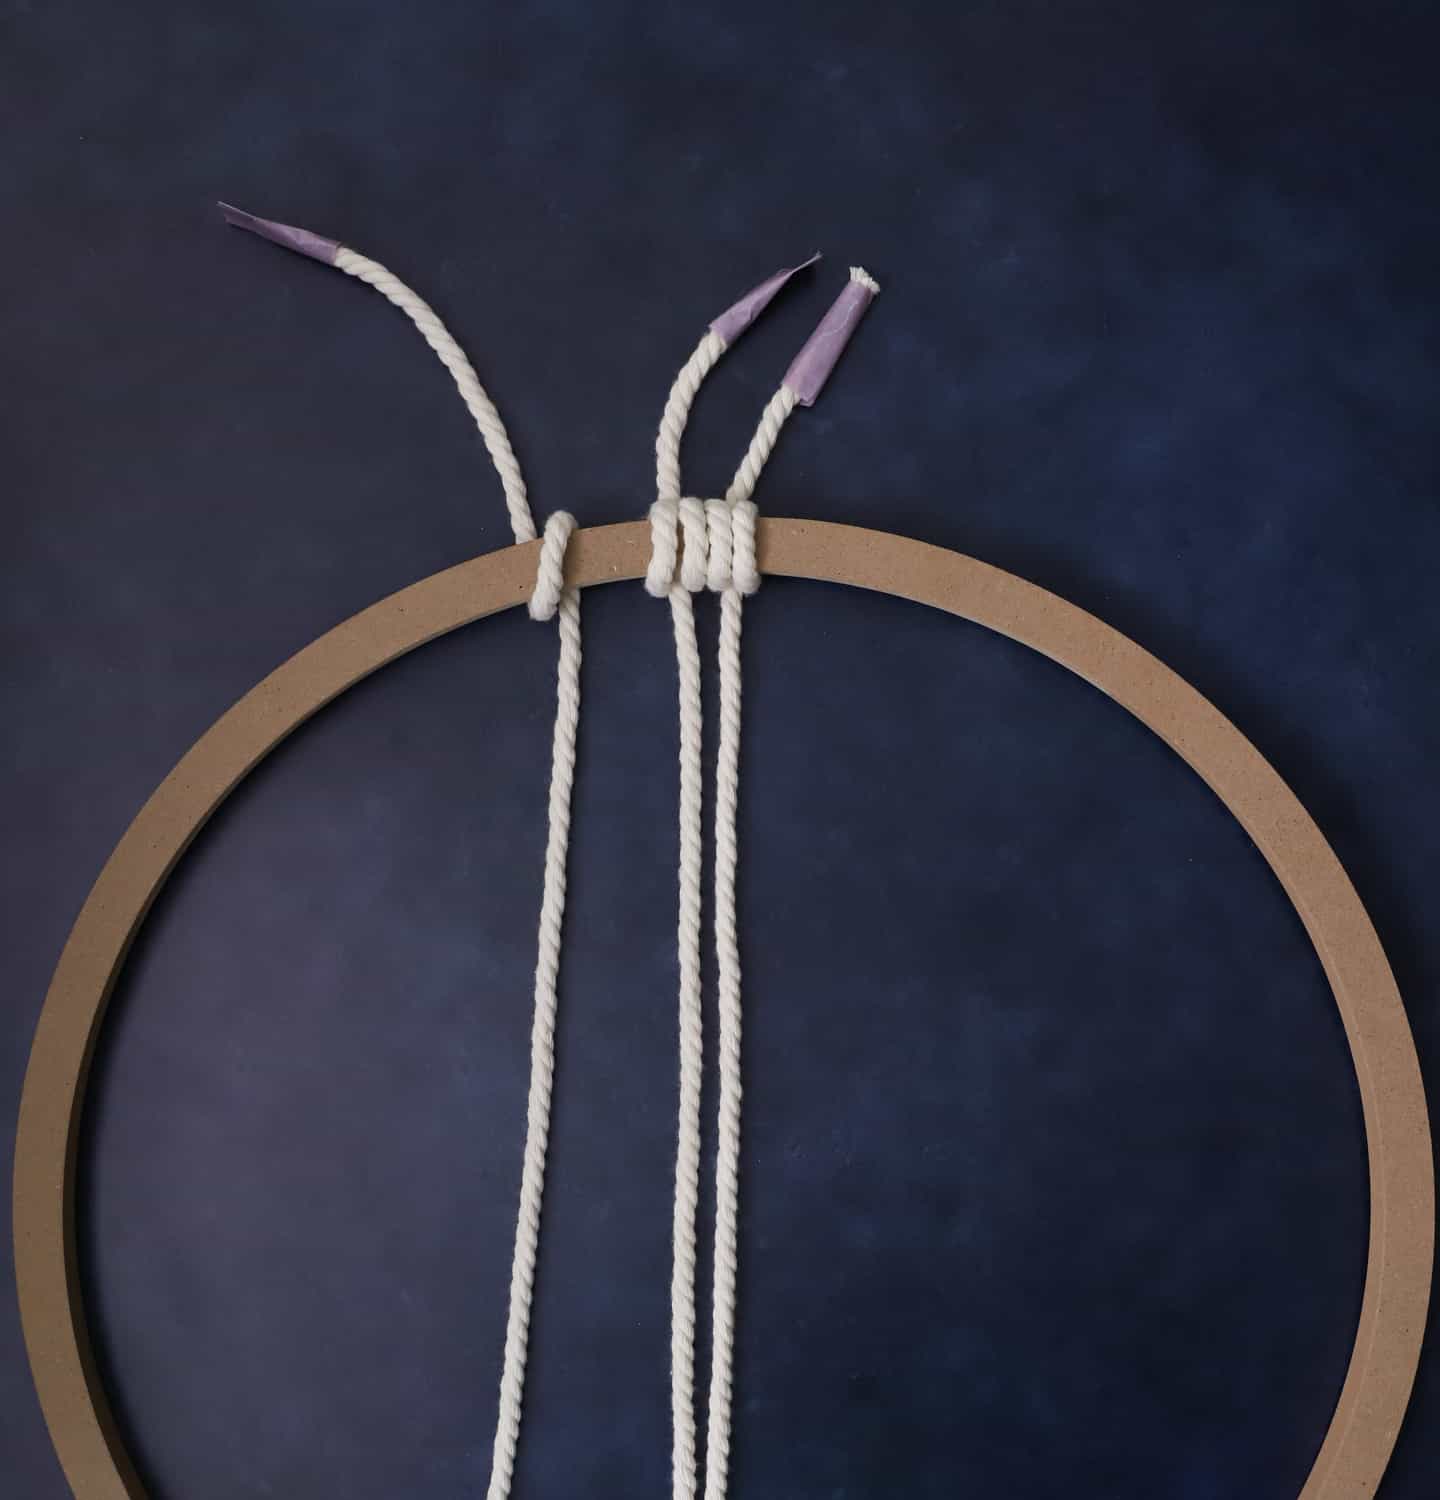
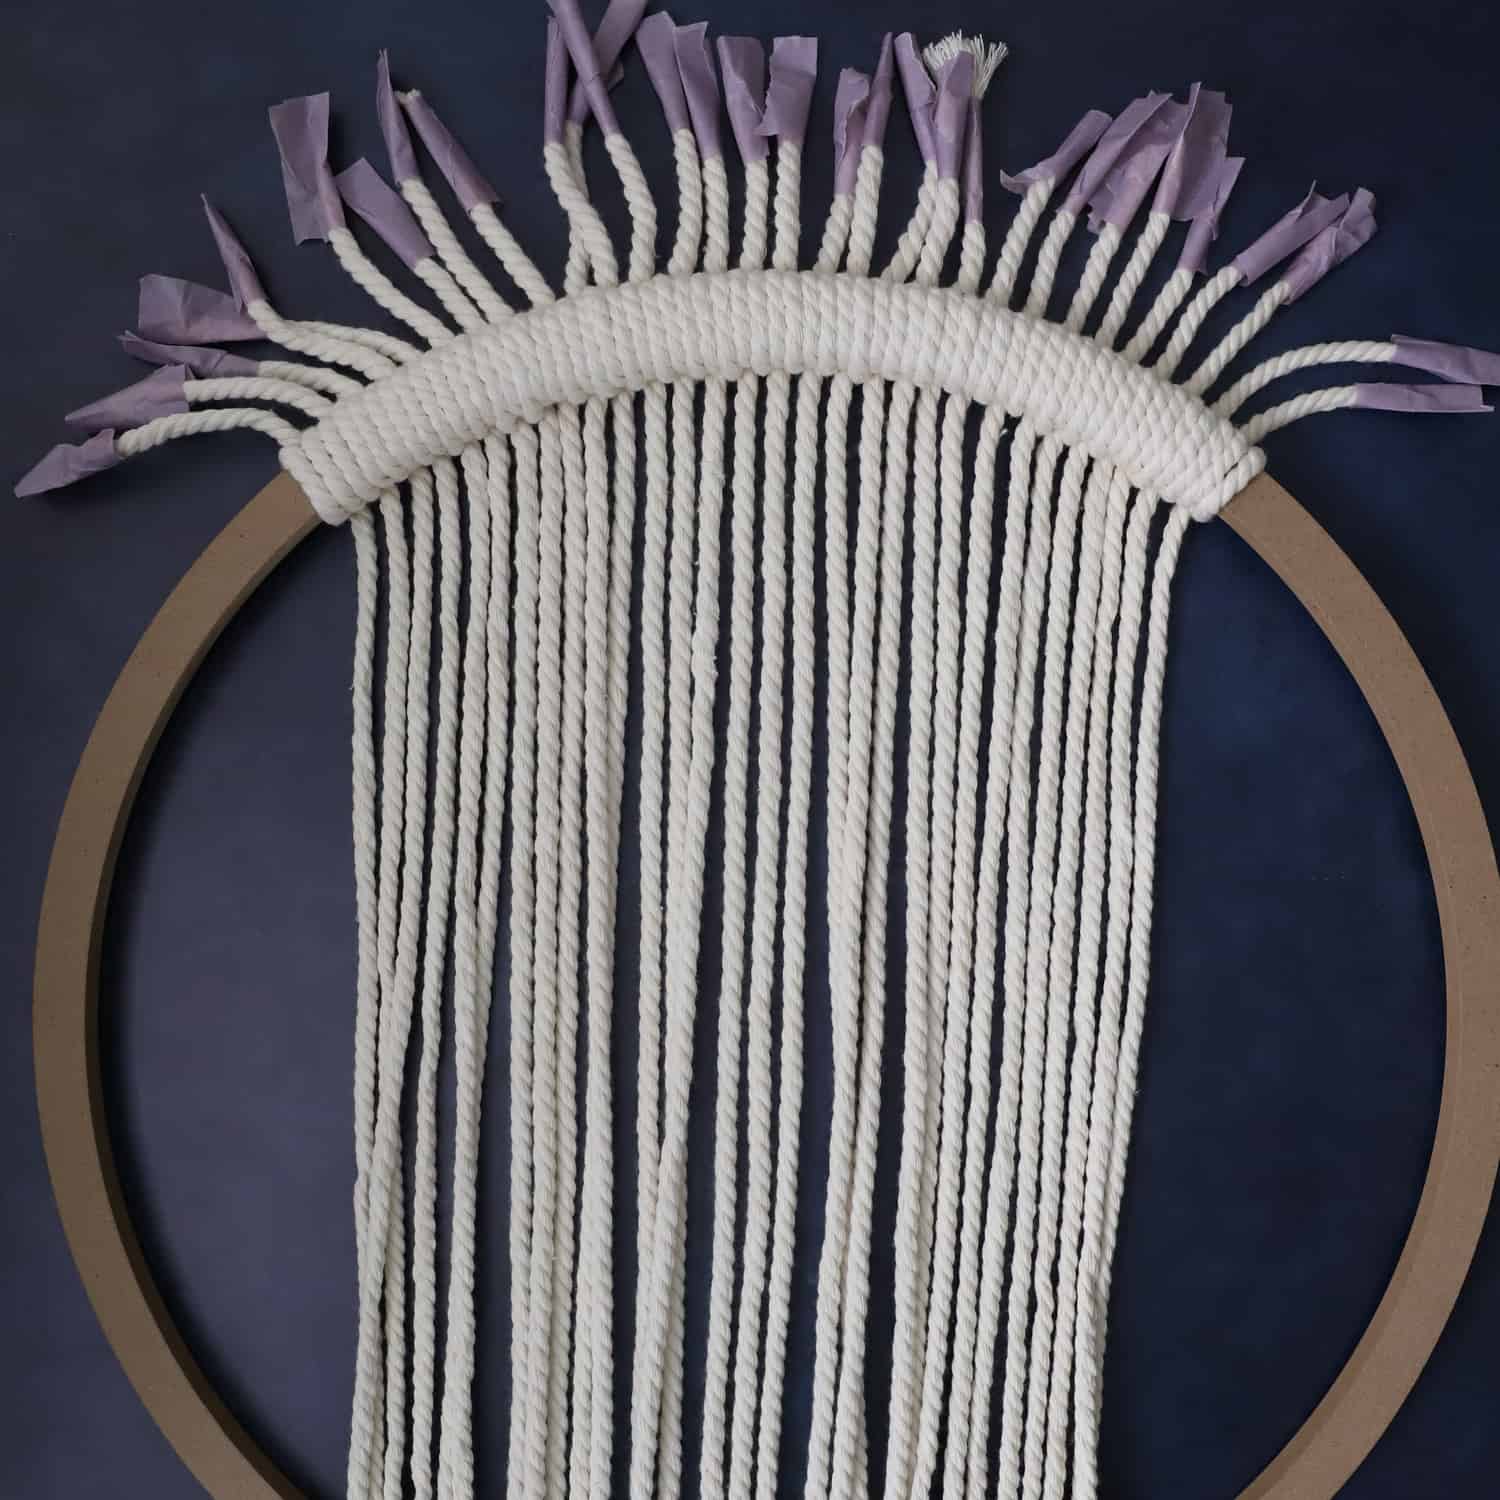
Step 3. Start by placing a cord underneath the circular wreath.
The folding dot should be above the top of the circular wreath.
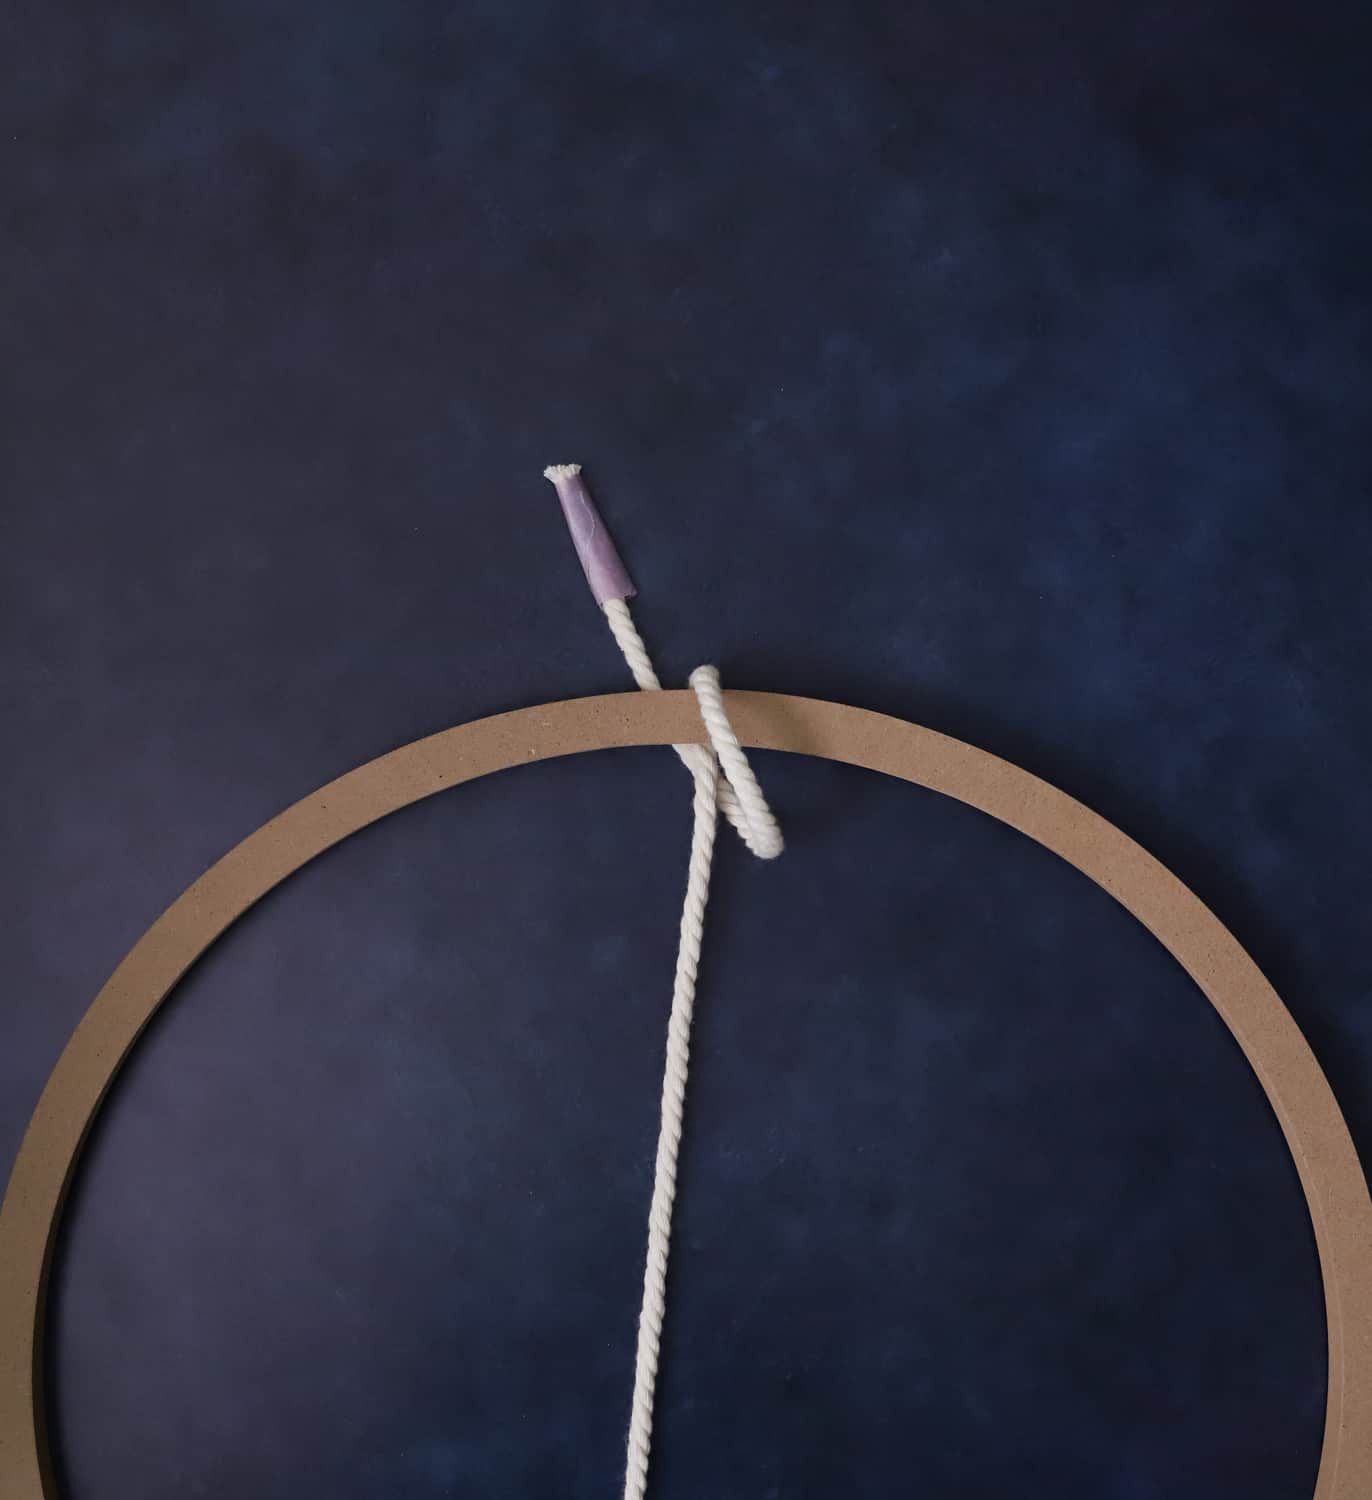
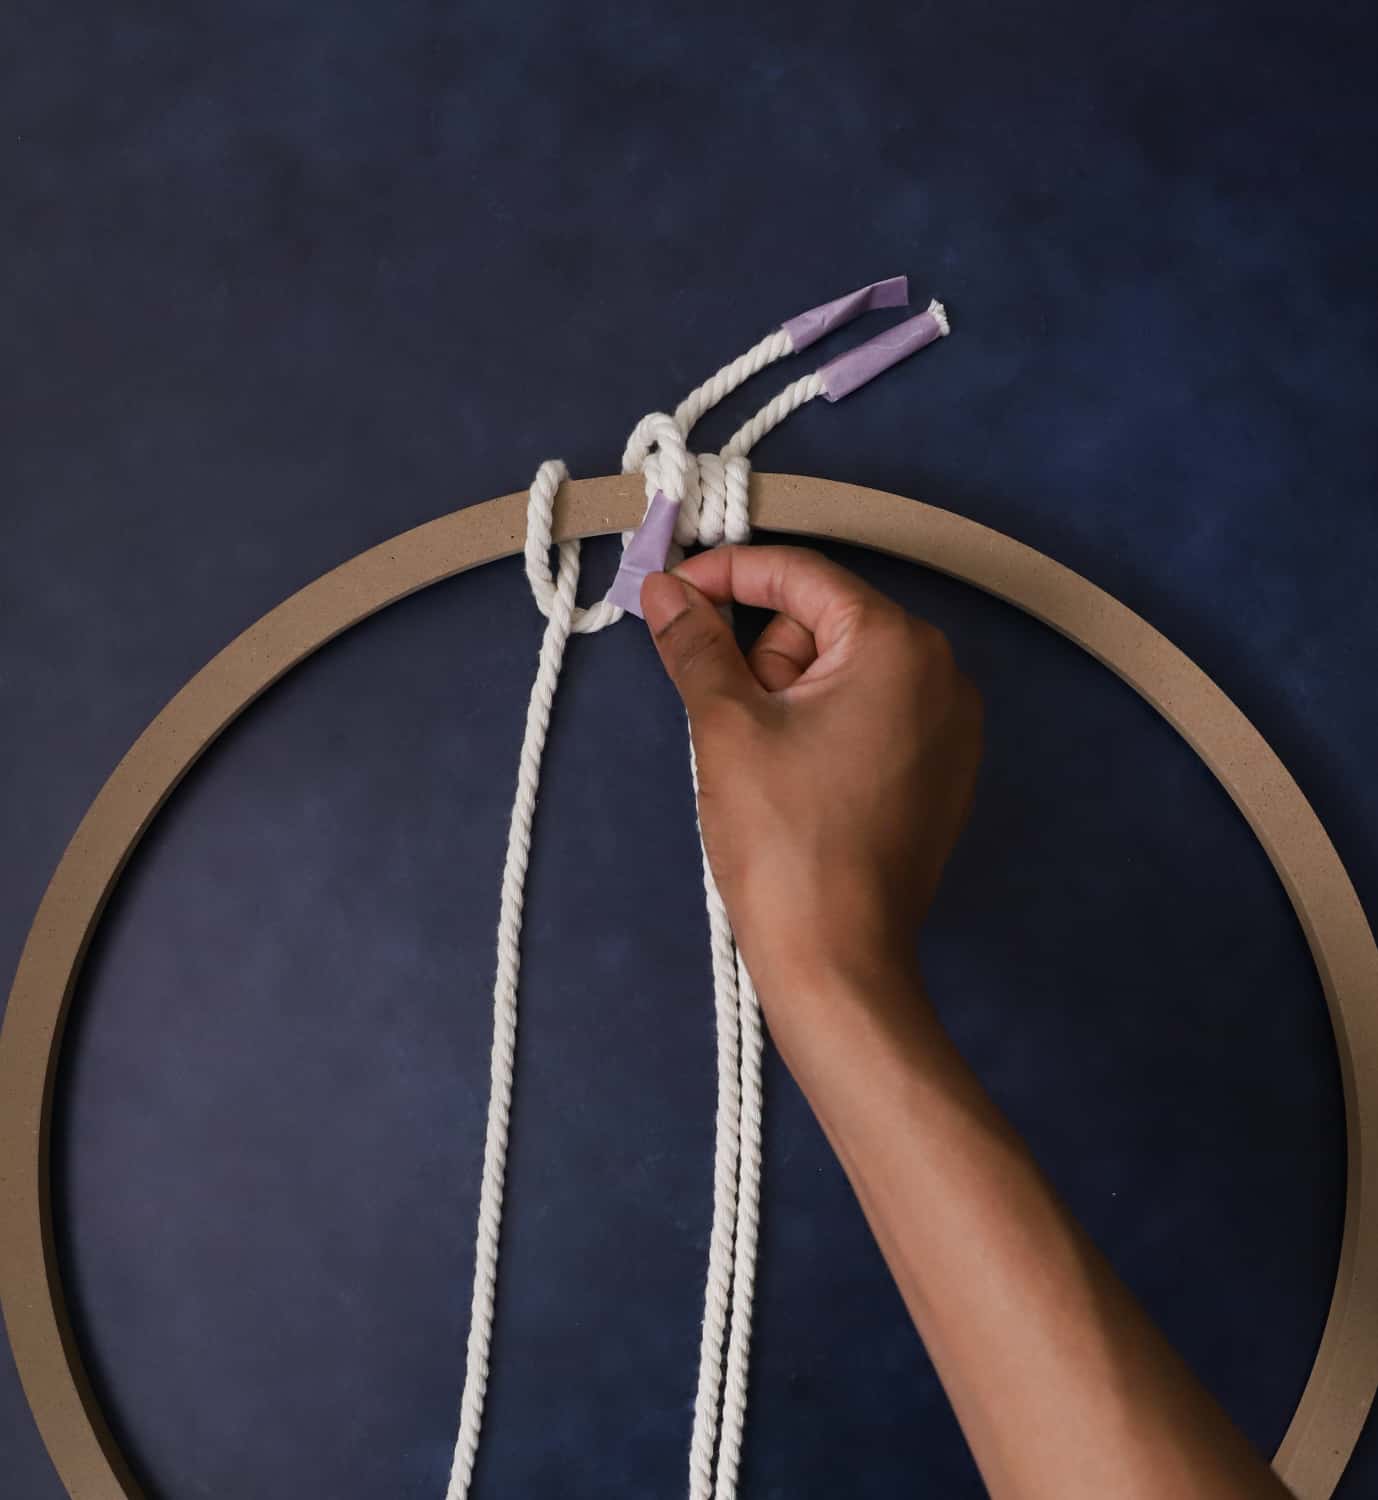
The Double Half Hitch Knot can be created on the left or right side of the wreath.
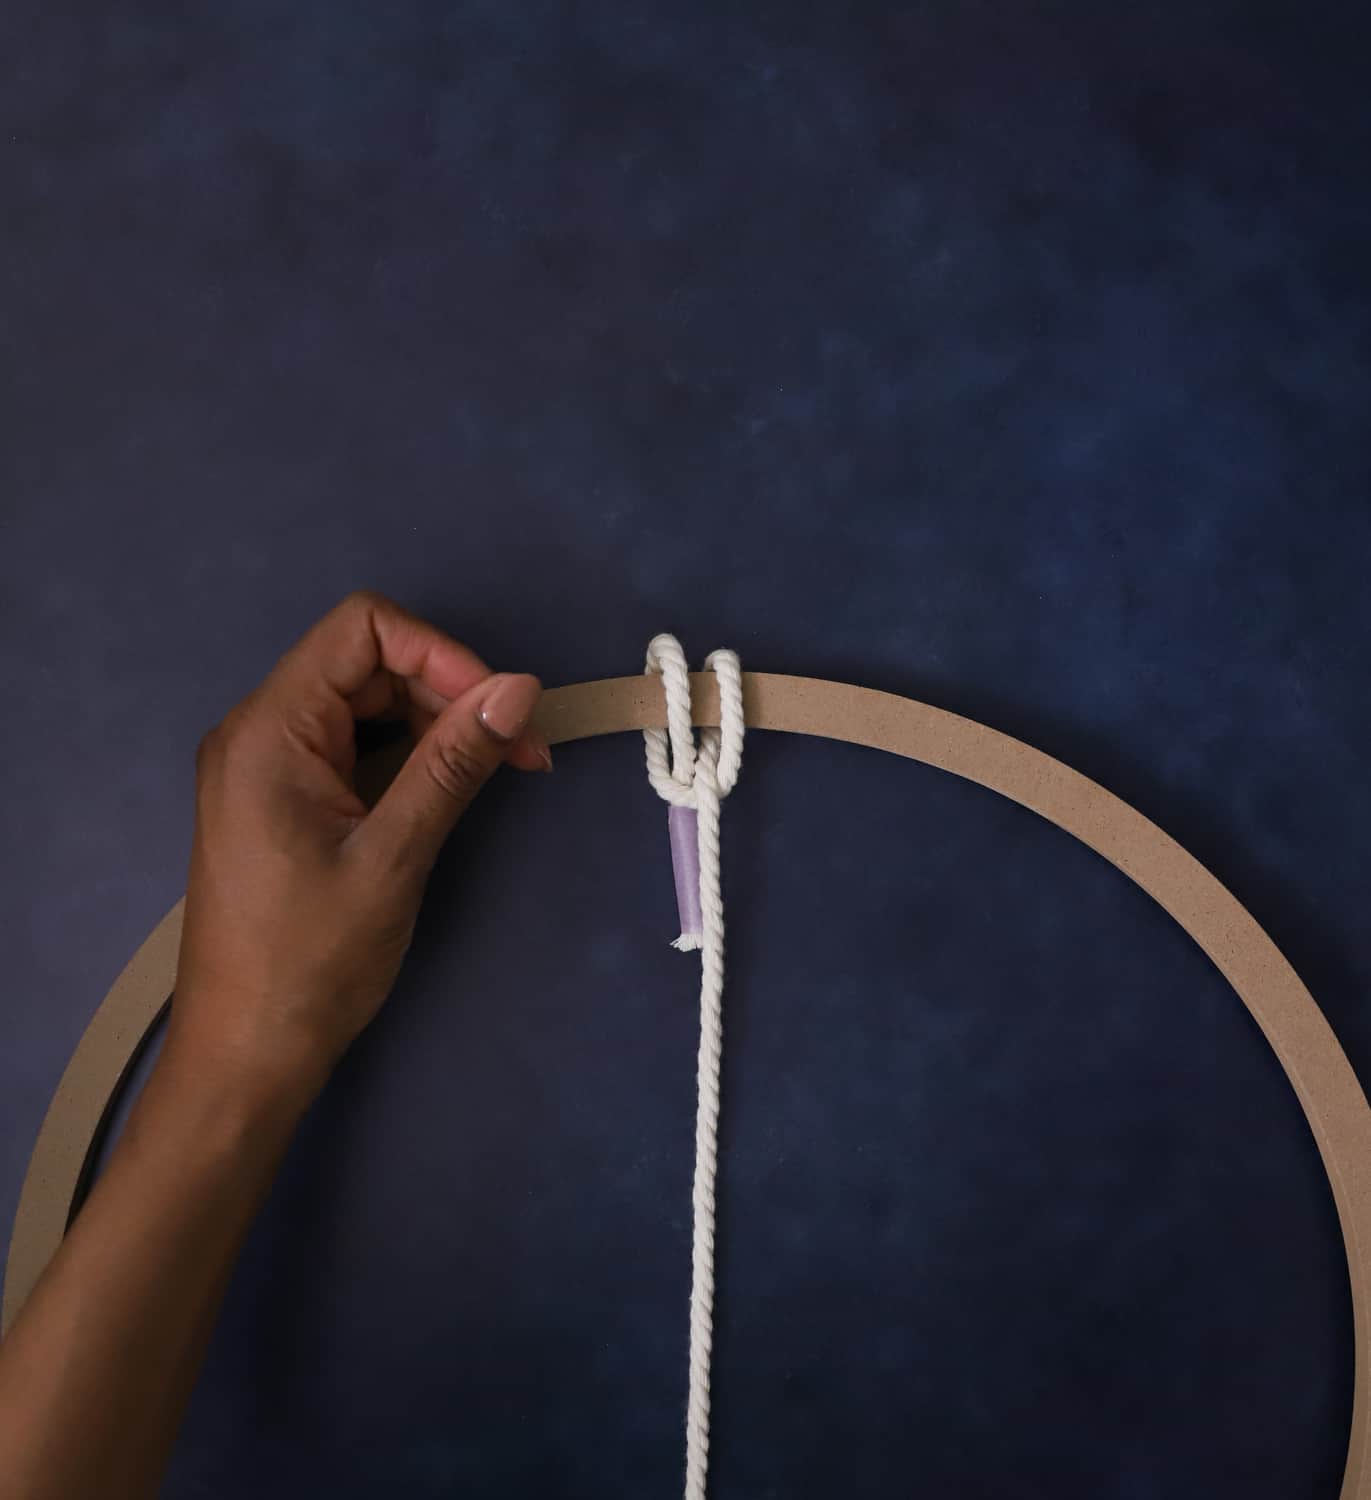
Follow the images below as a guide to add a double half hitch knot on the right side.
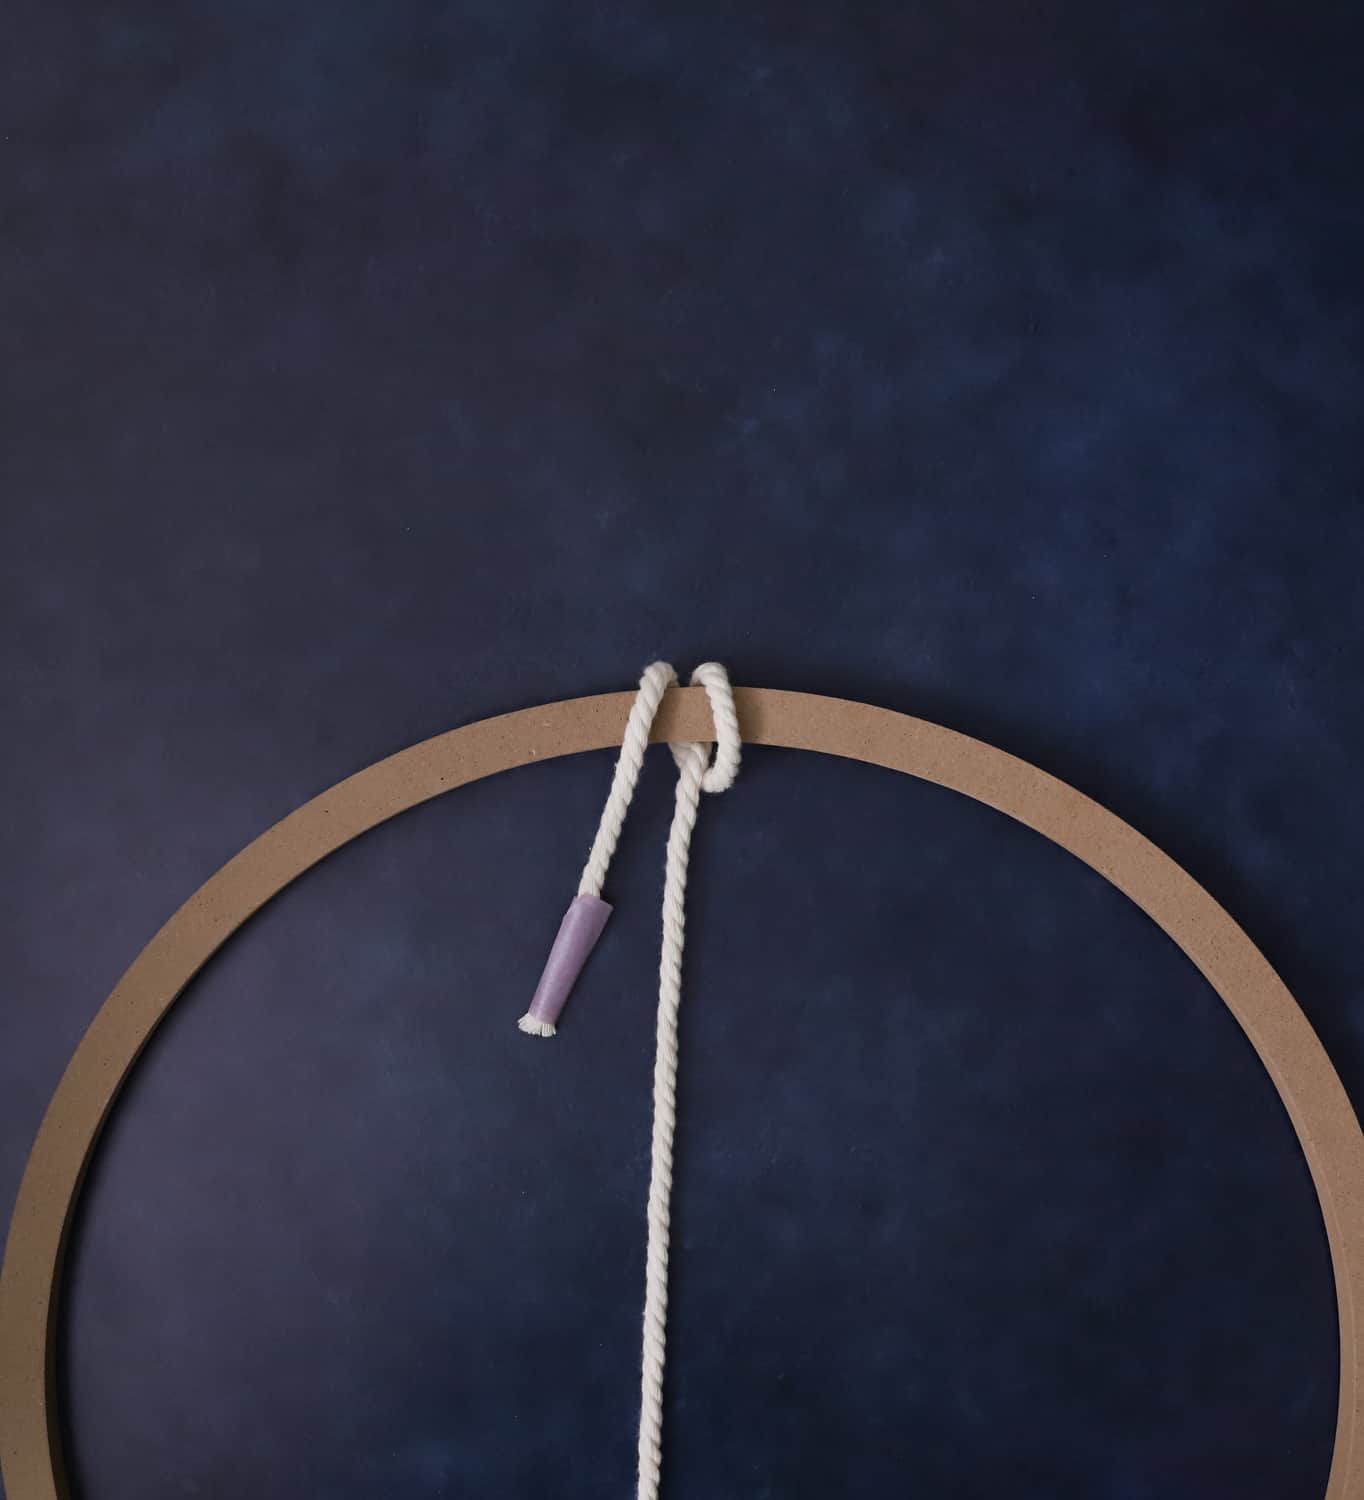
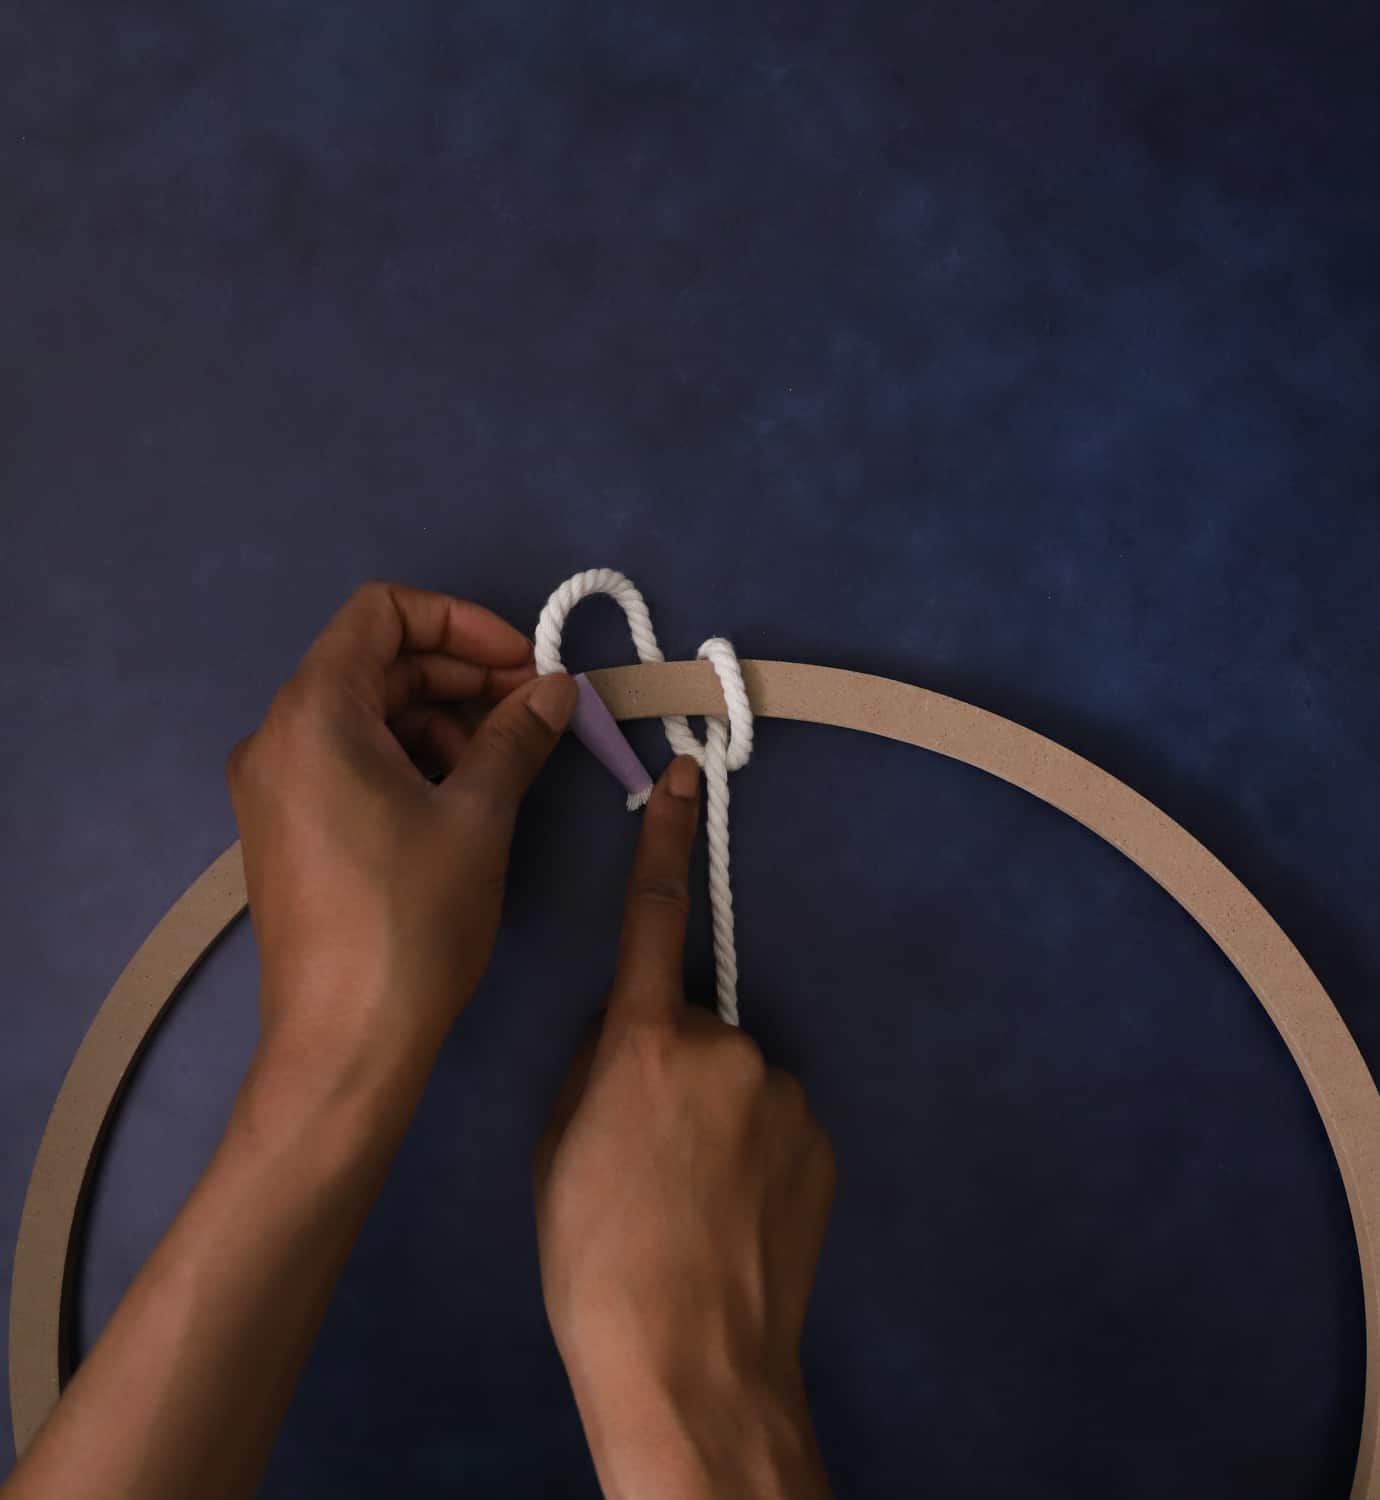
Here’s the Double Half Hitch Knot for the (Left Side)
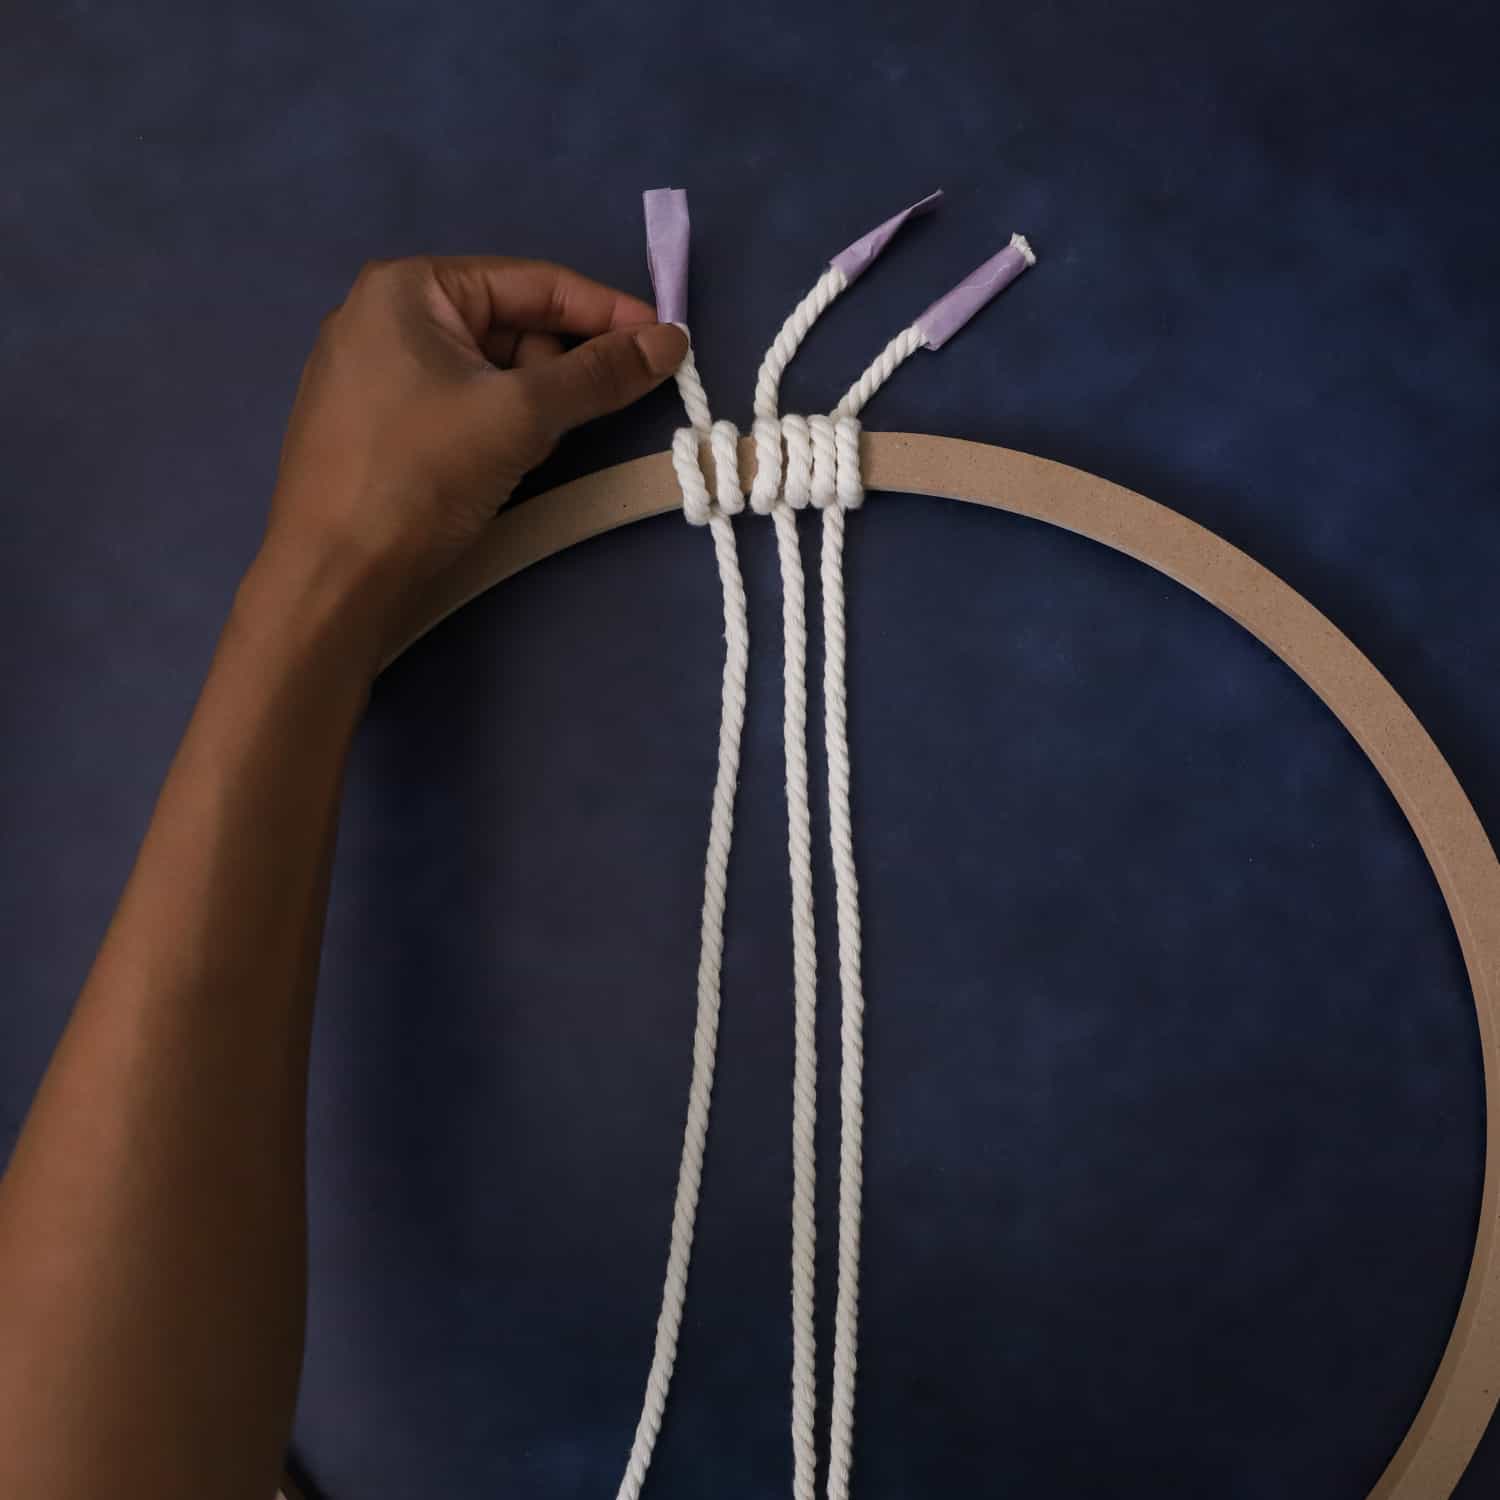
Double Half Hitch Knot Tip:
If you are having issues alternating between the left and the right side, complete one left stitch then continue adding the cording only to the right side. There is no difference shown on the front of the wreath and only a slight difference on the back.
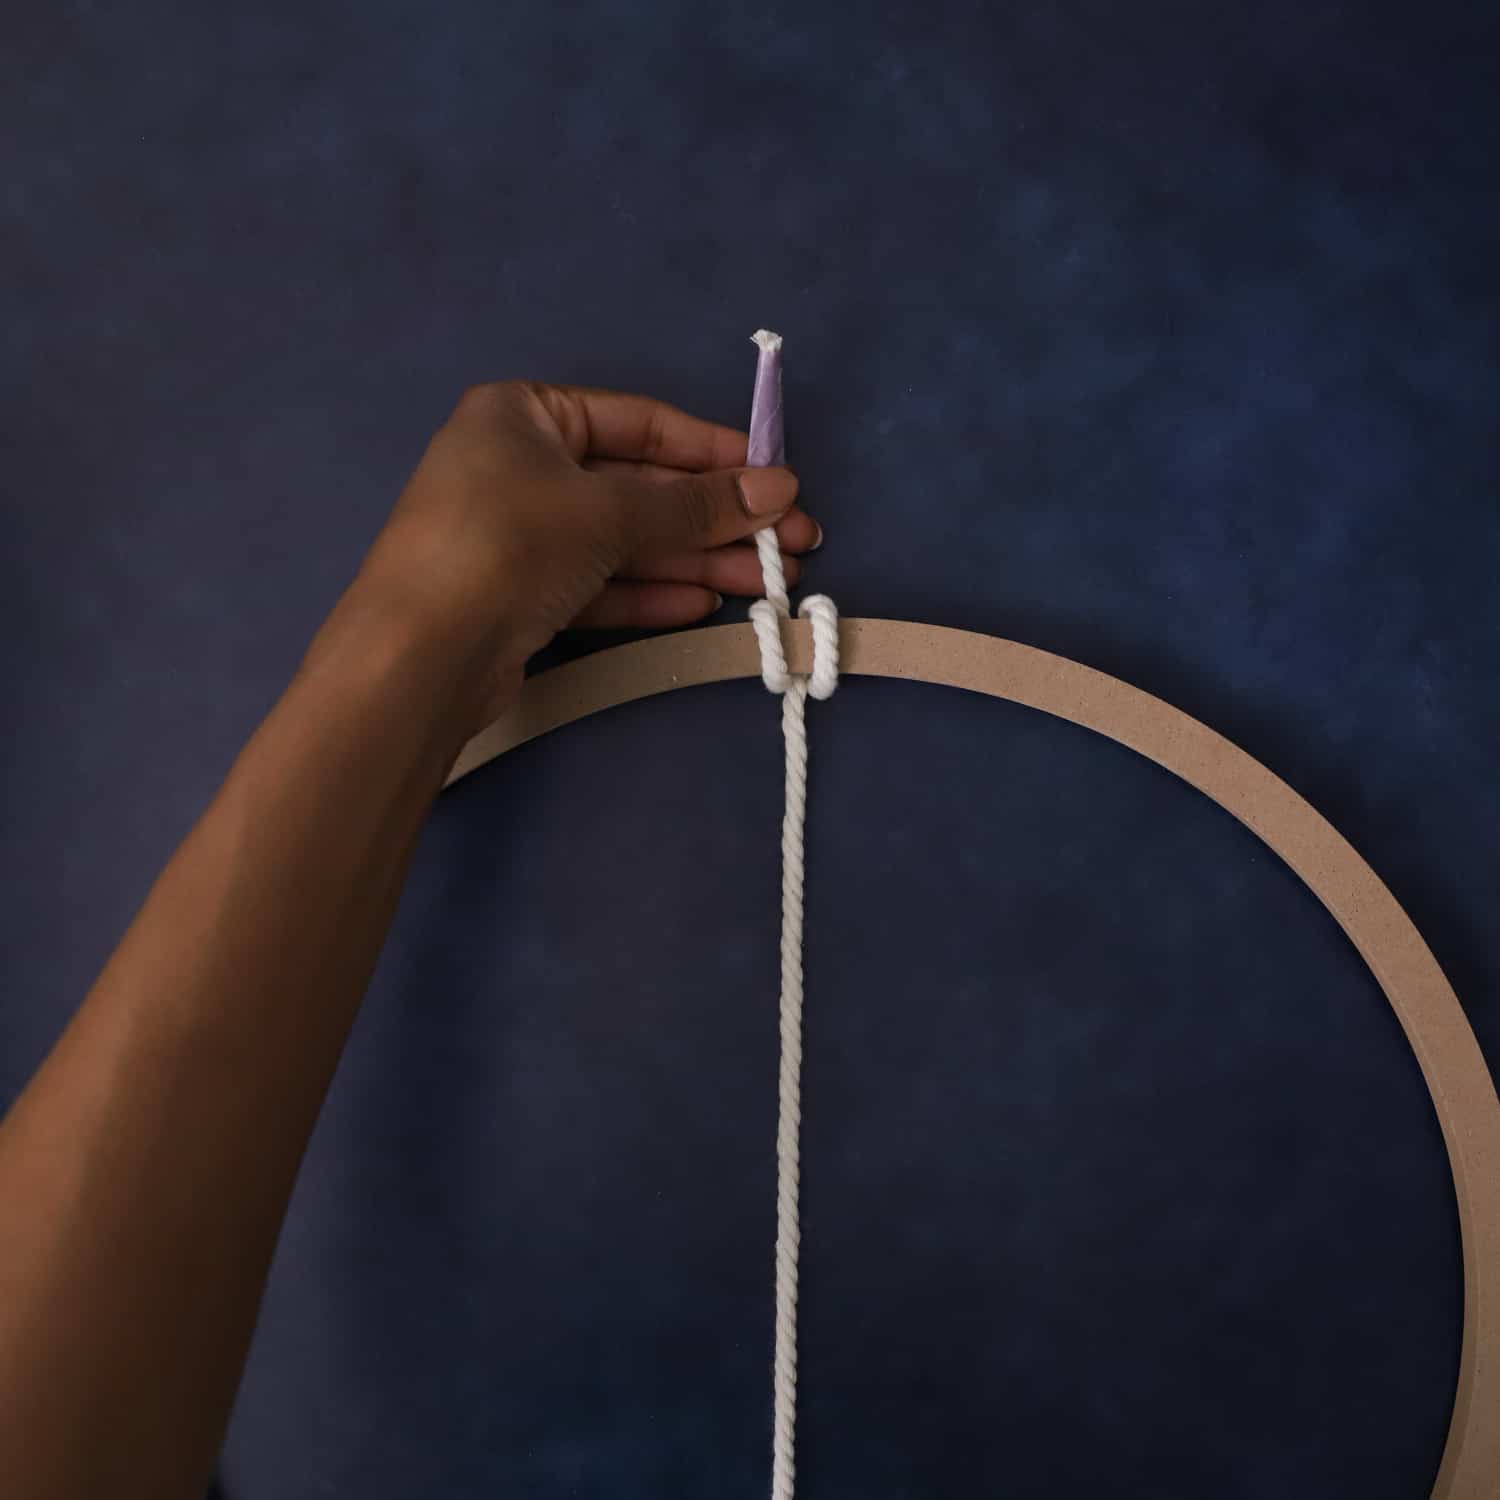
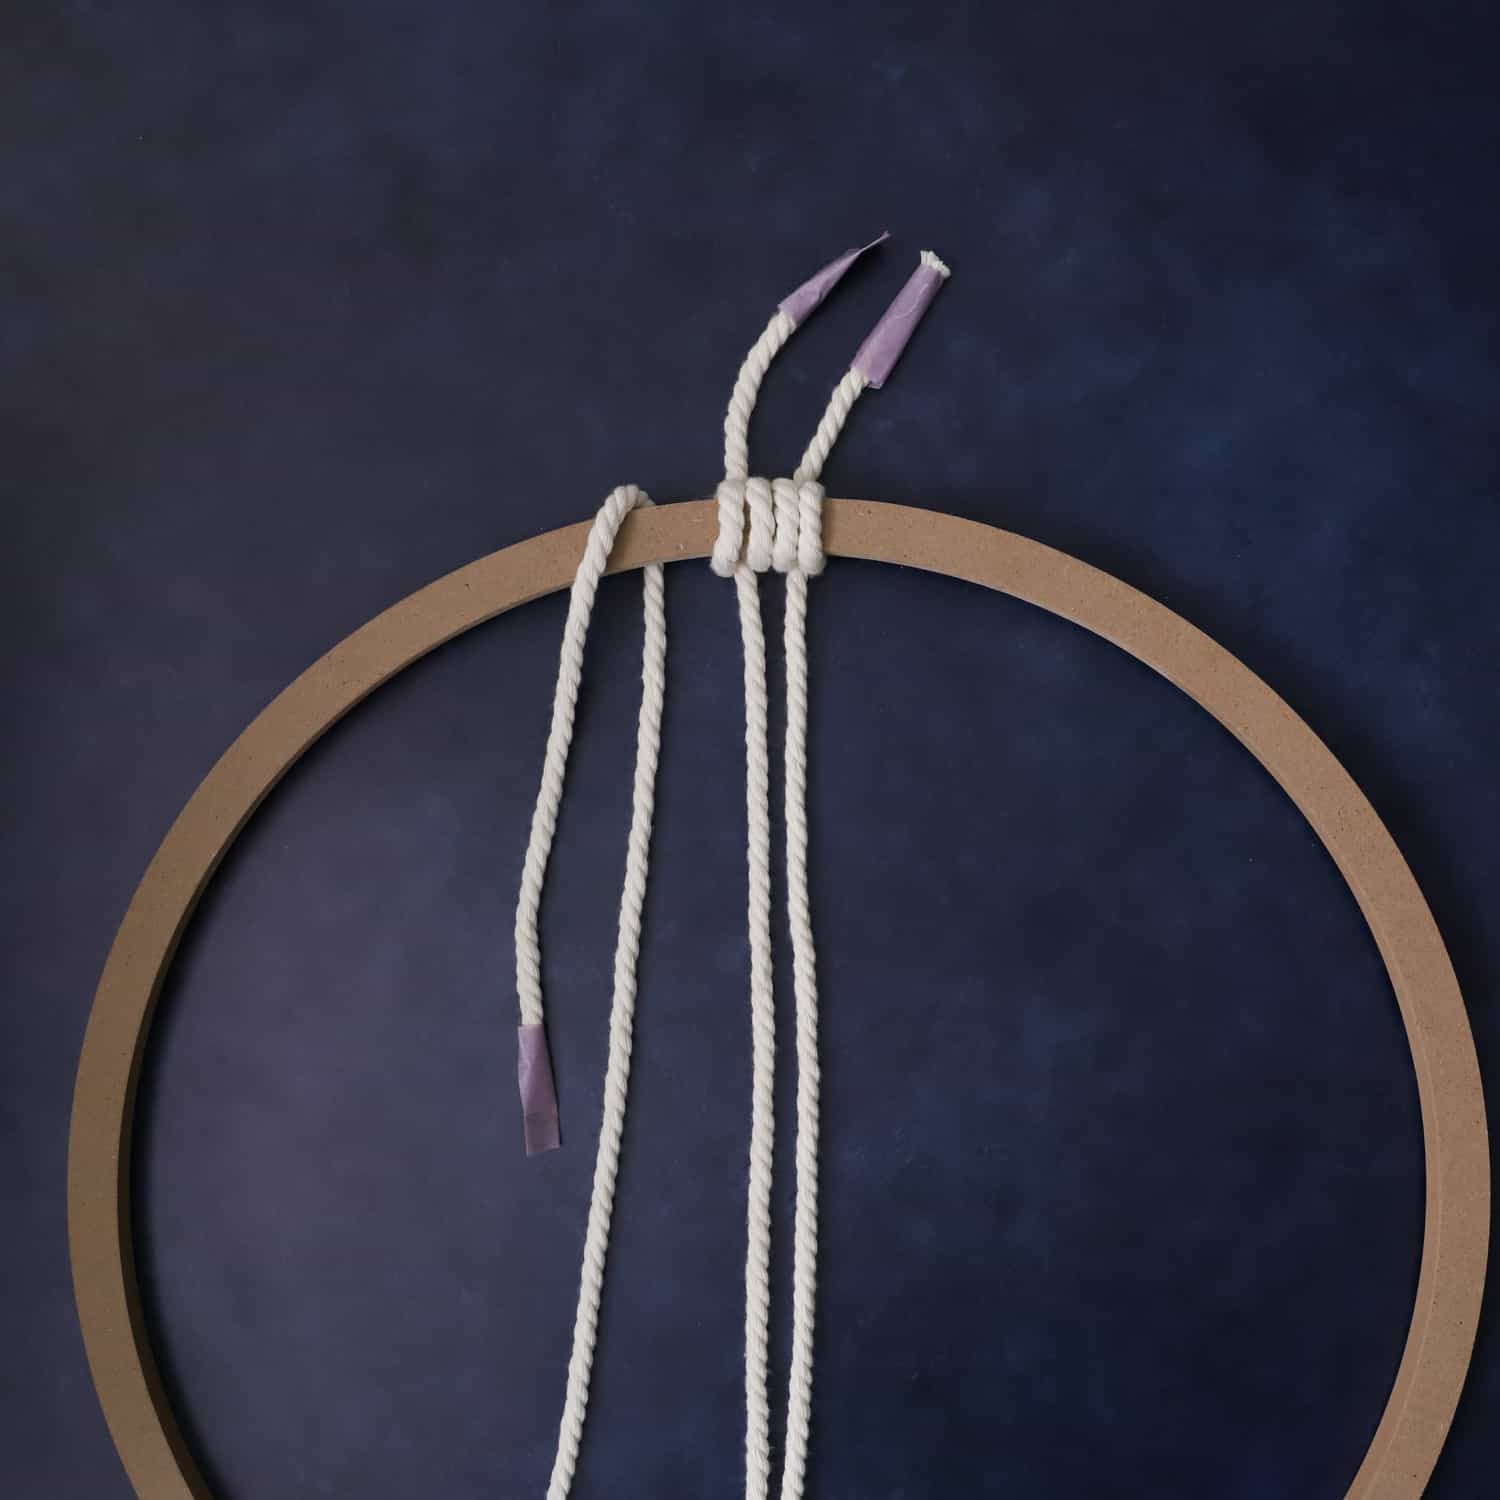
Step 4. Push the cords tightly together.
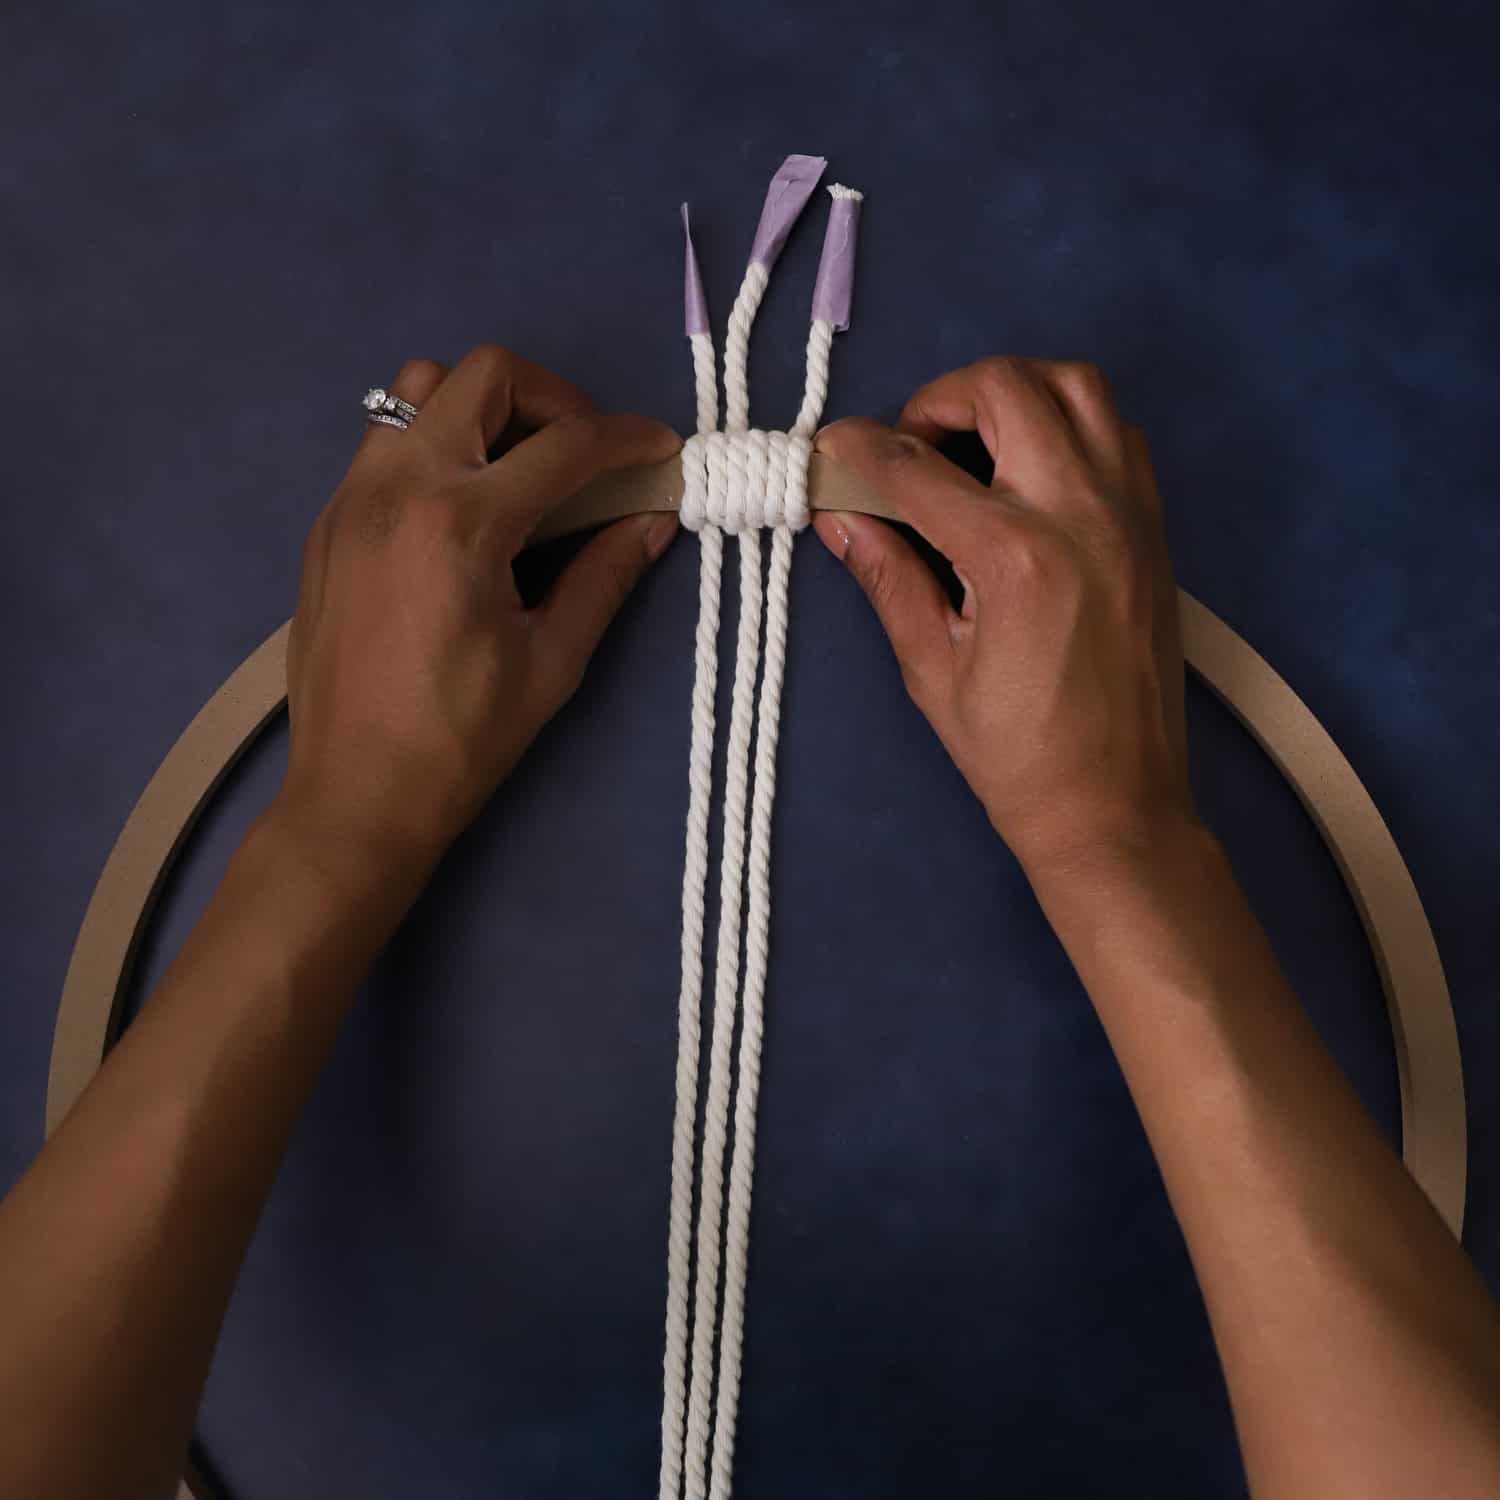
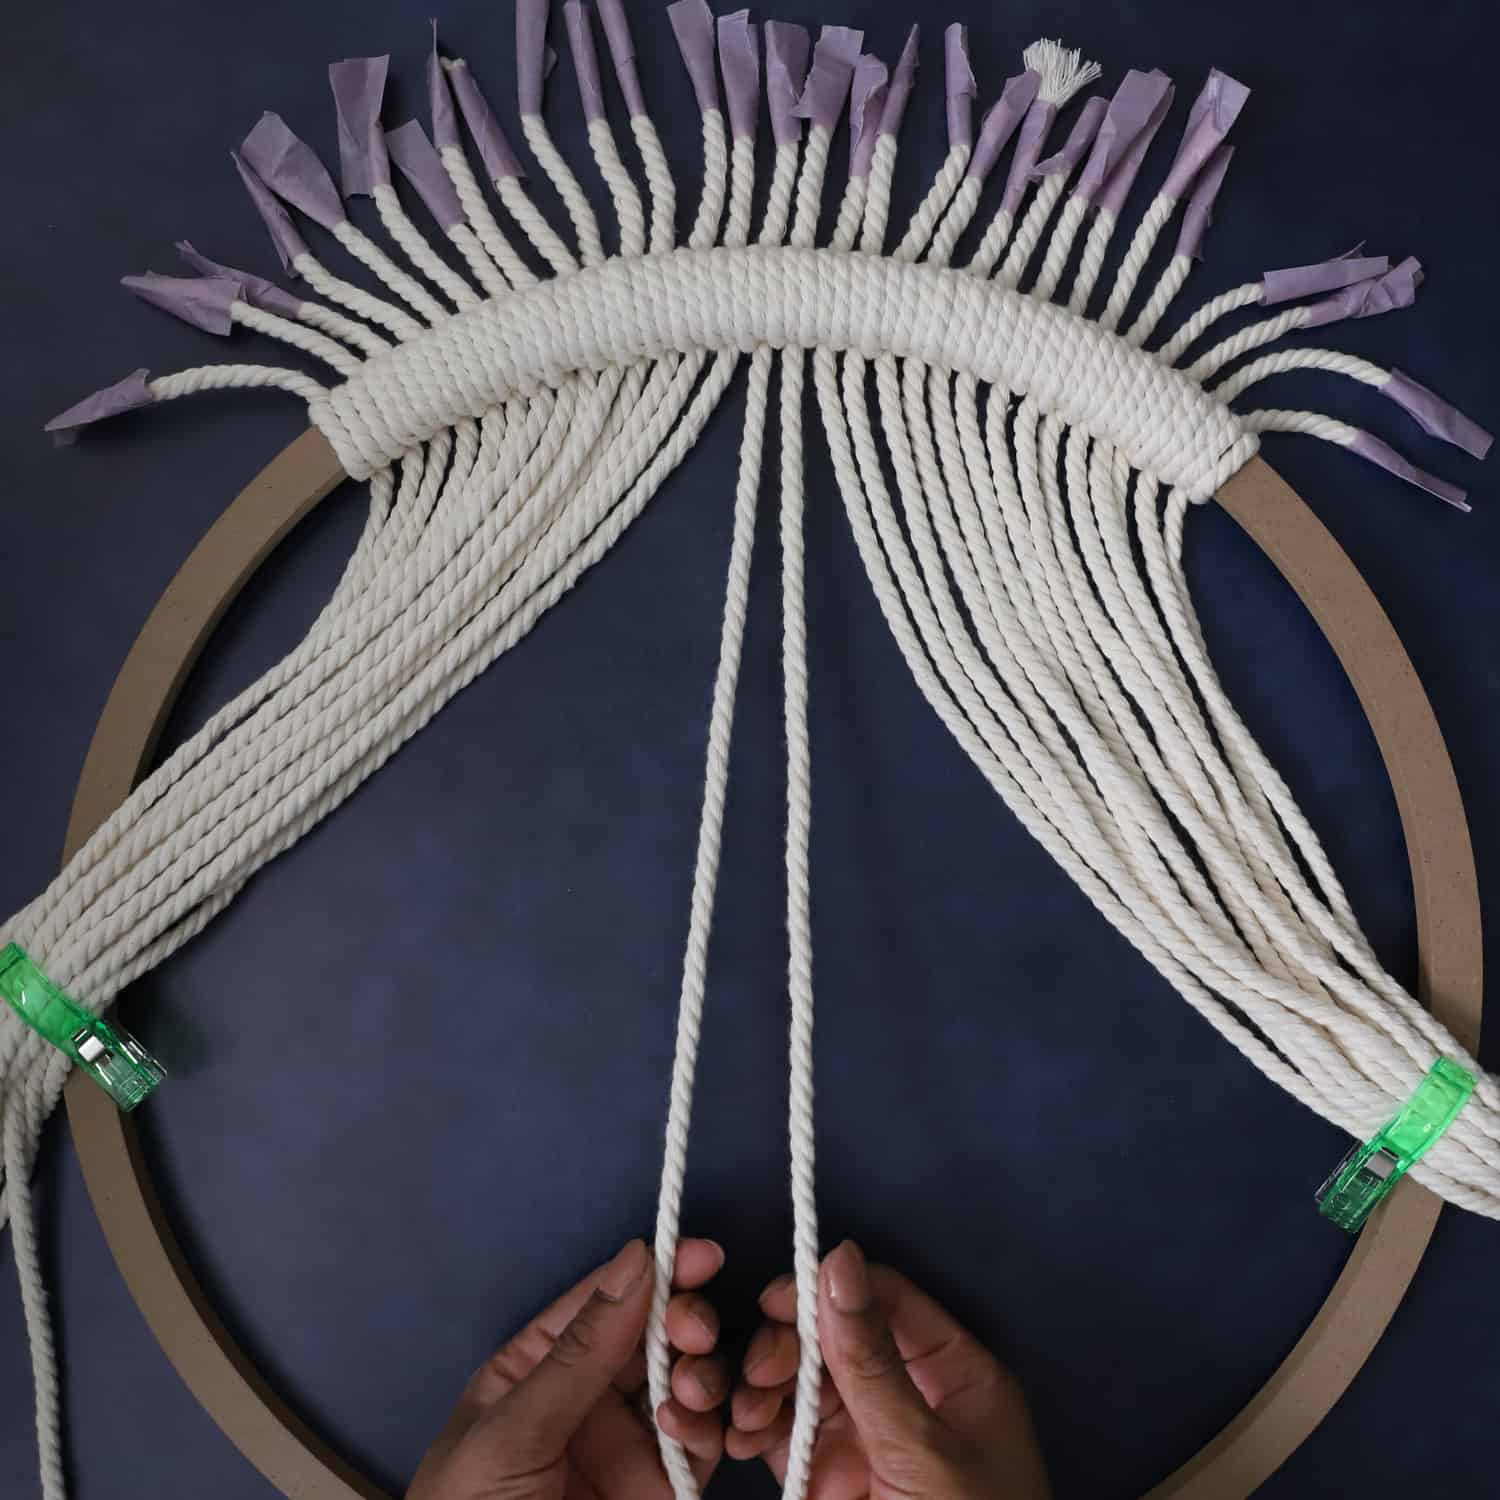
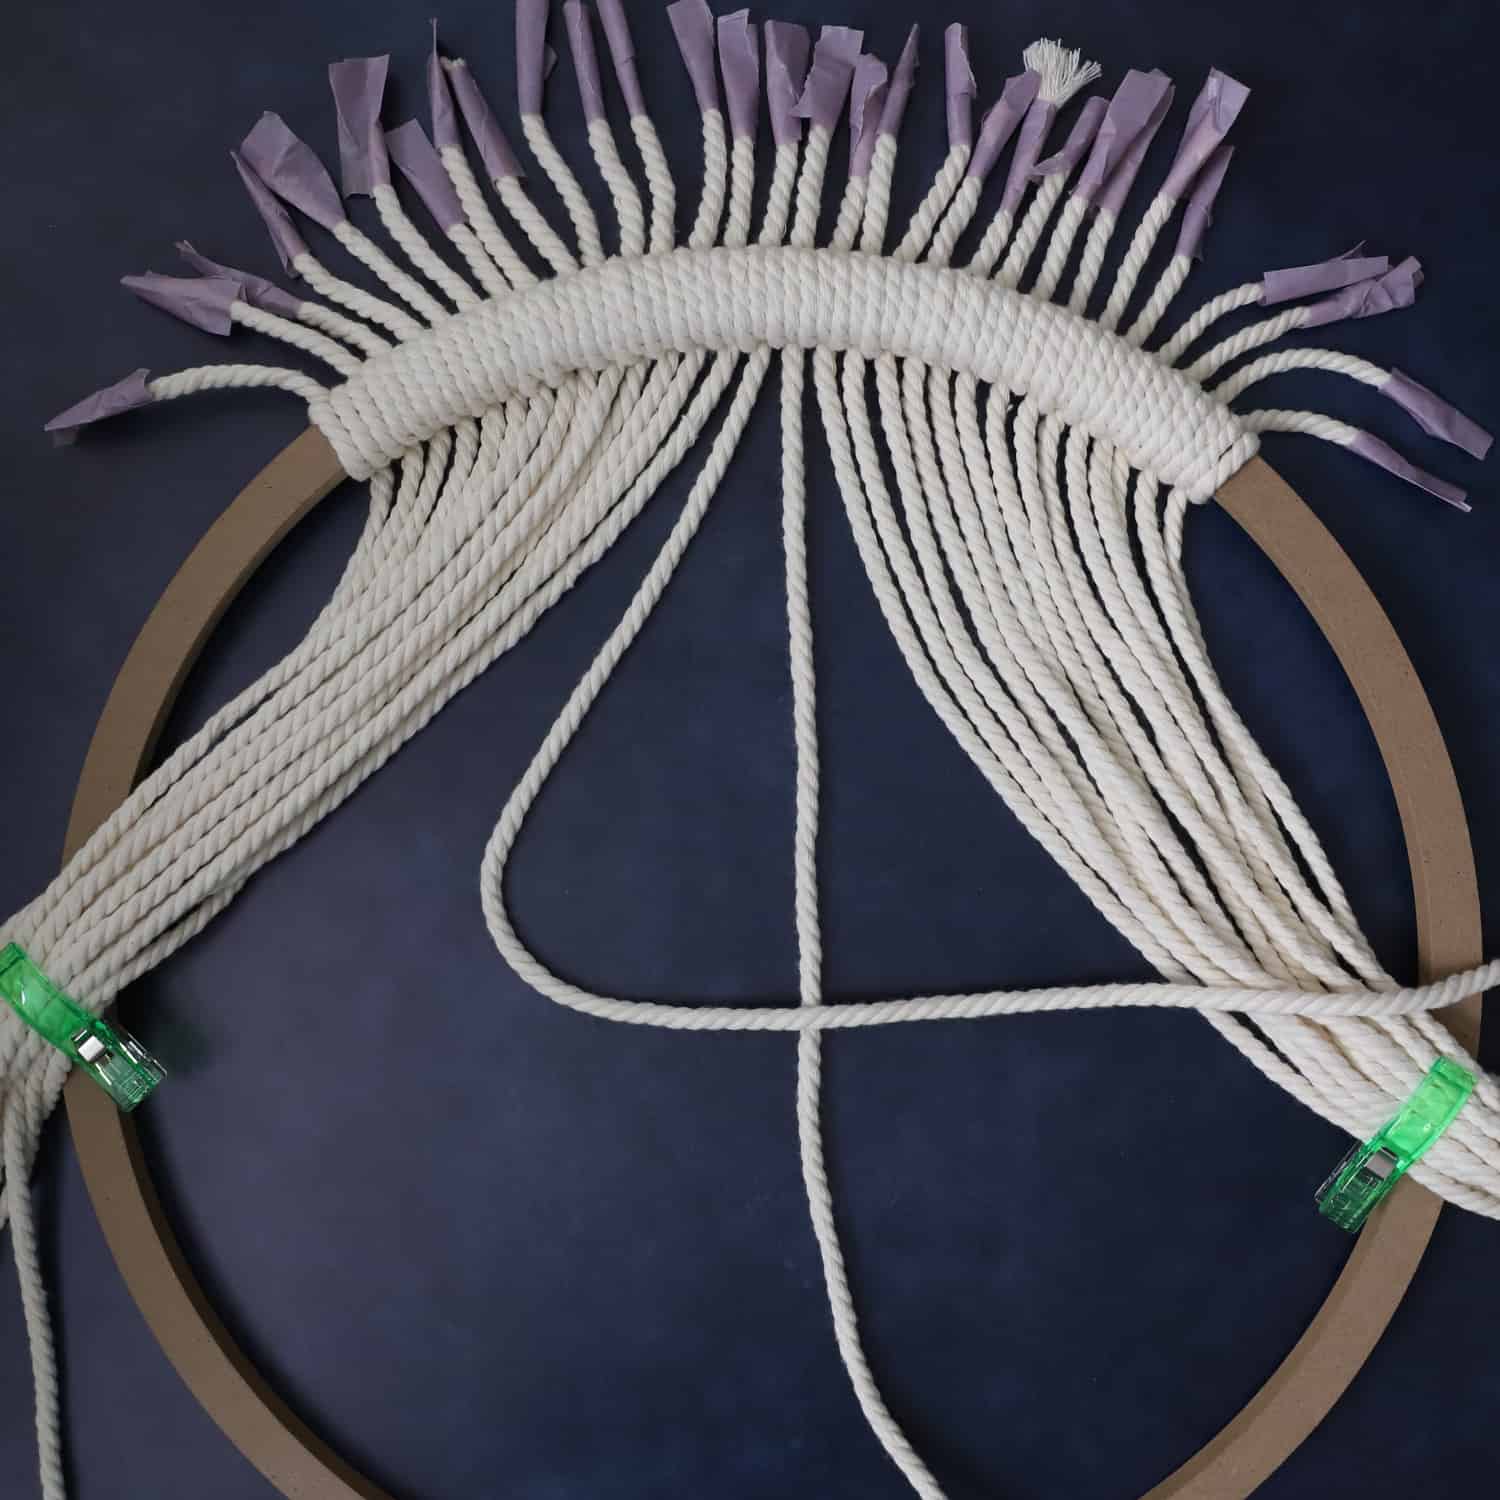
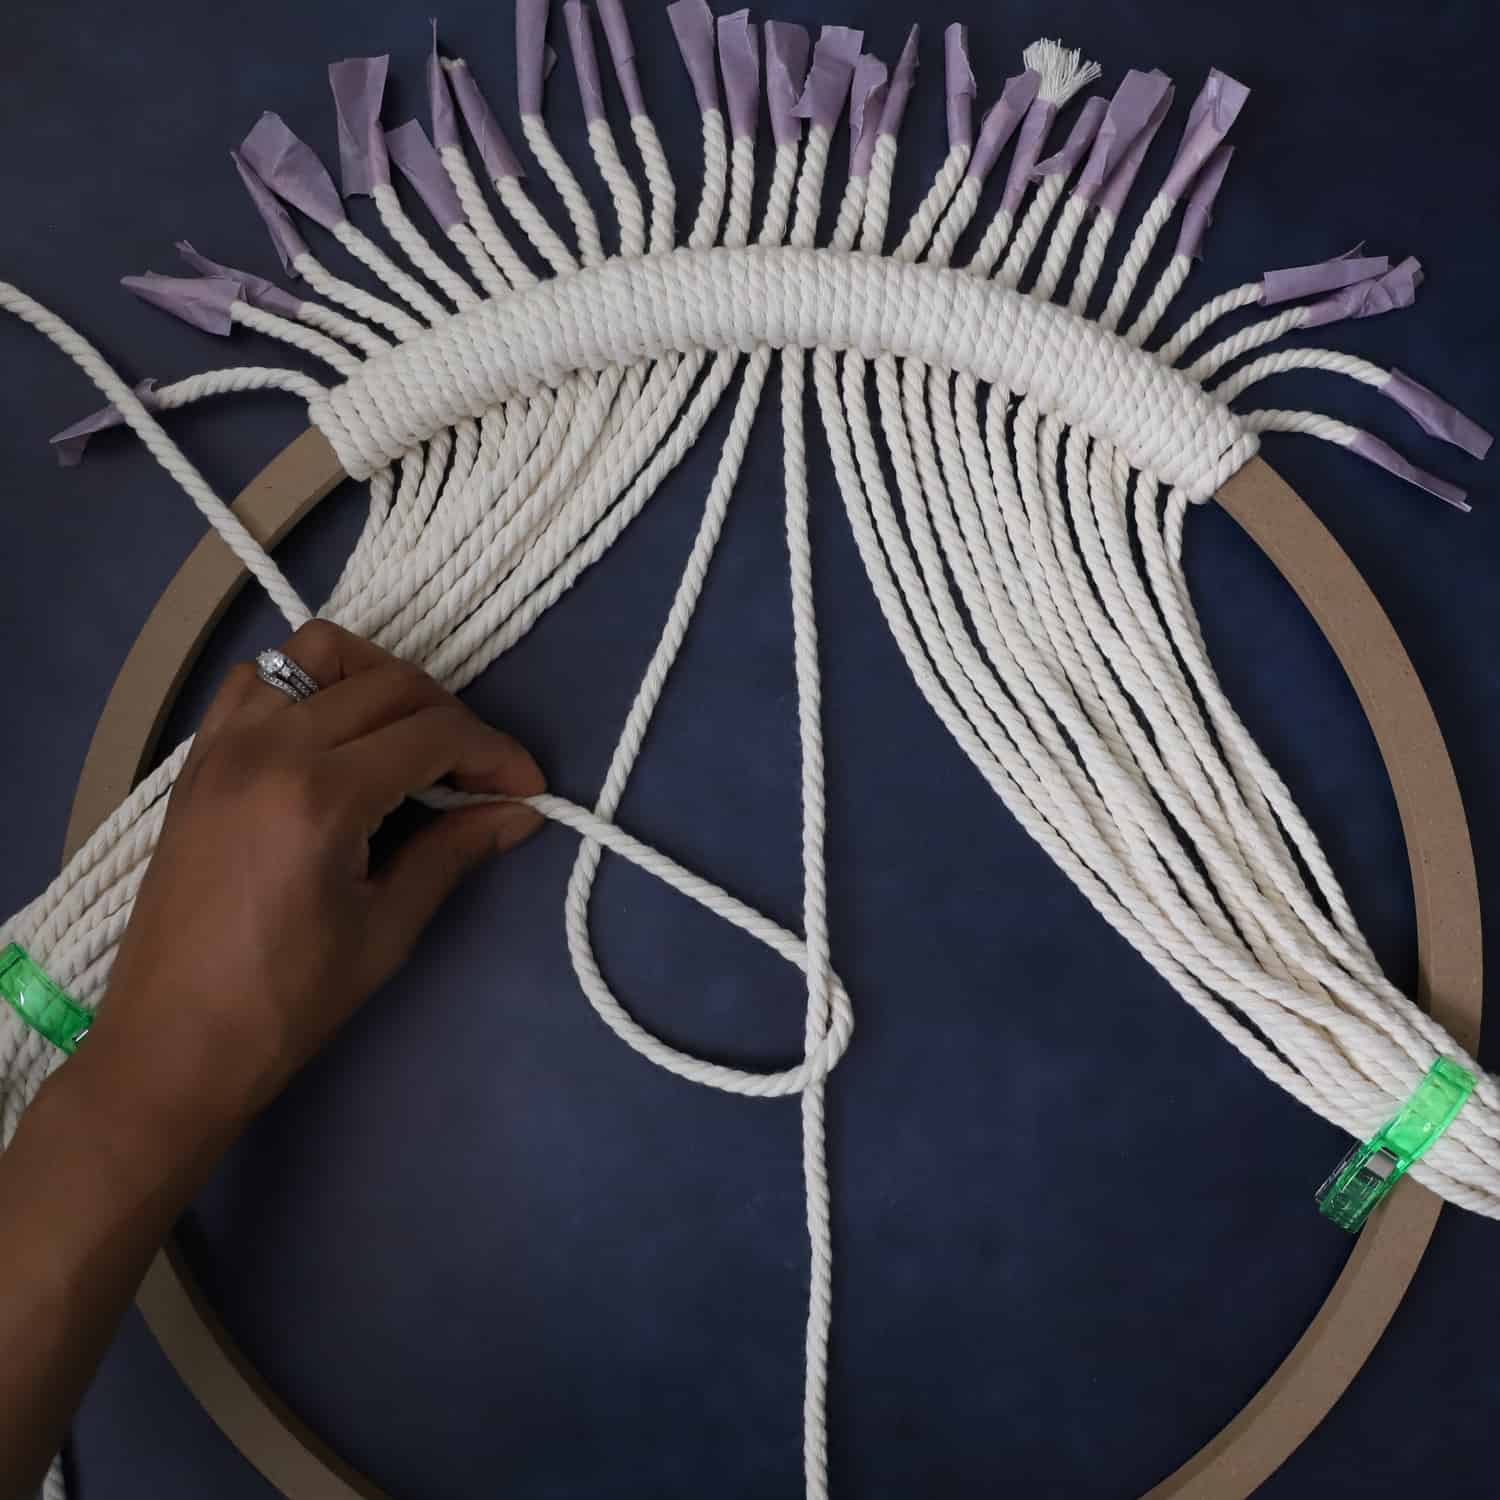
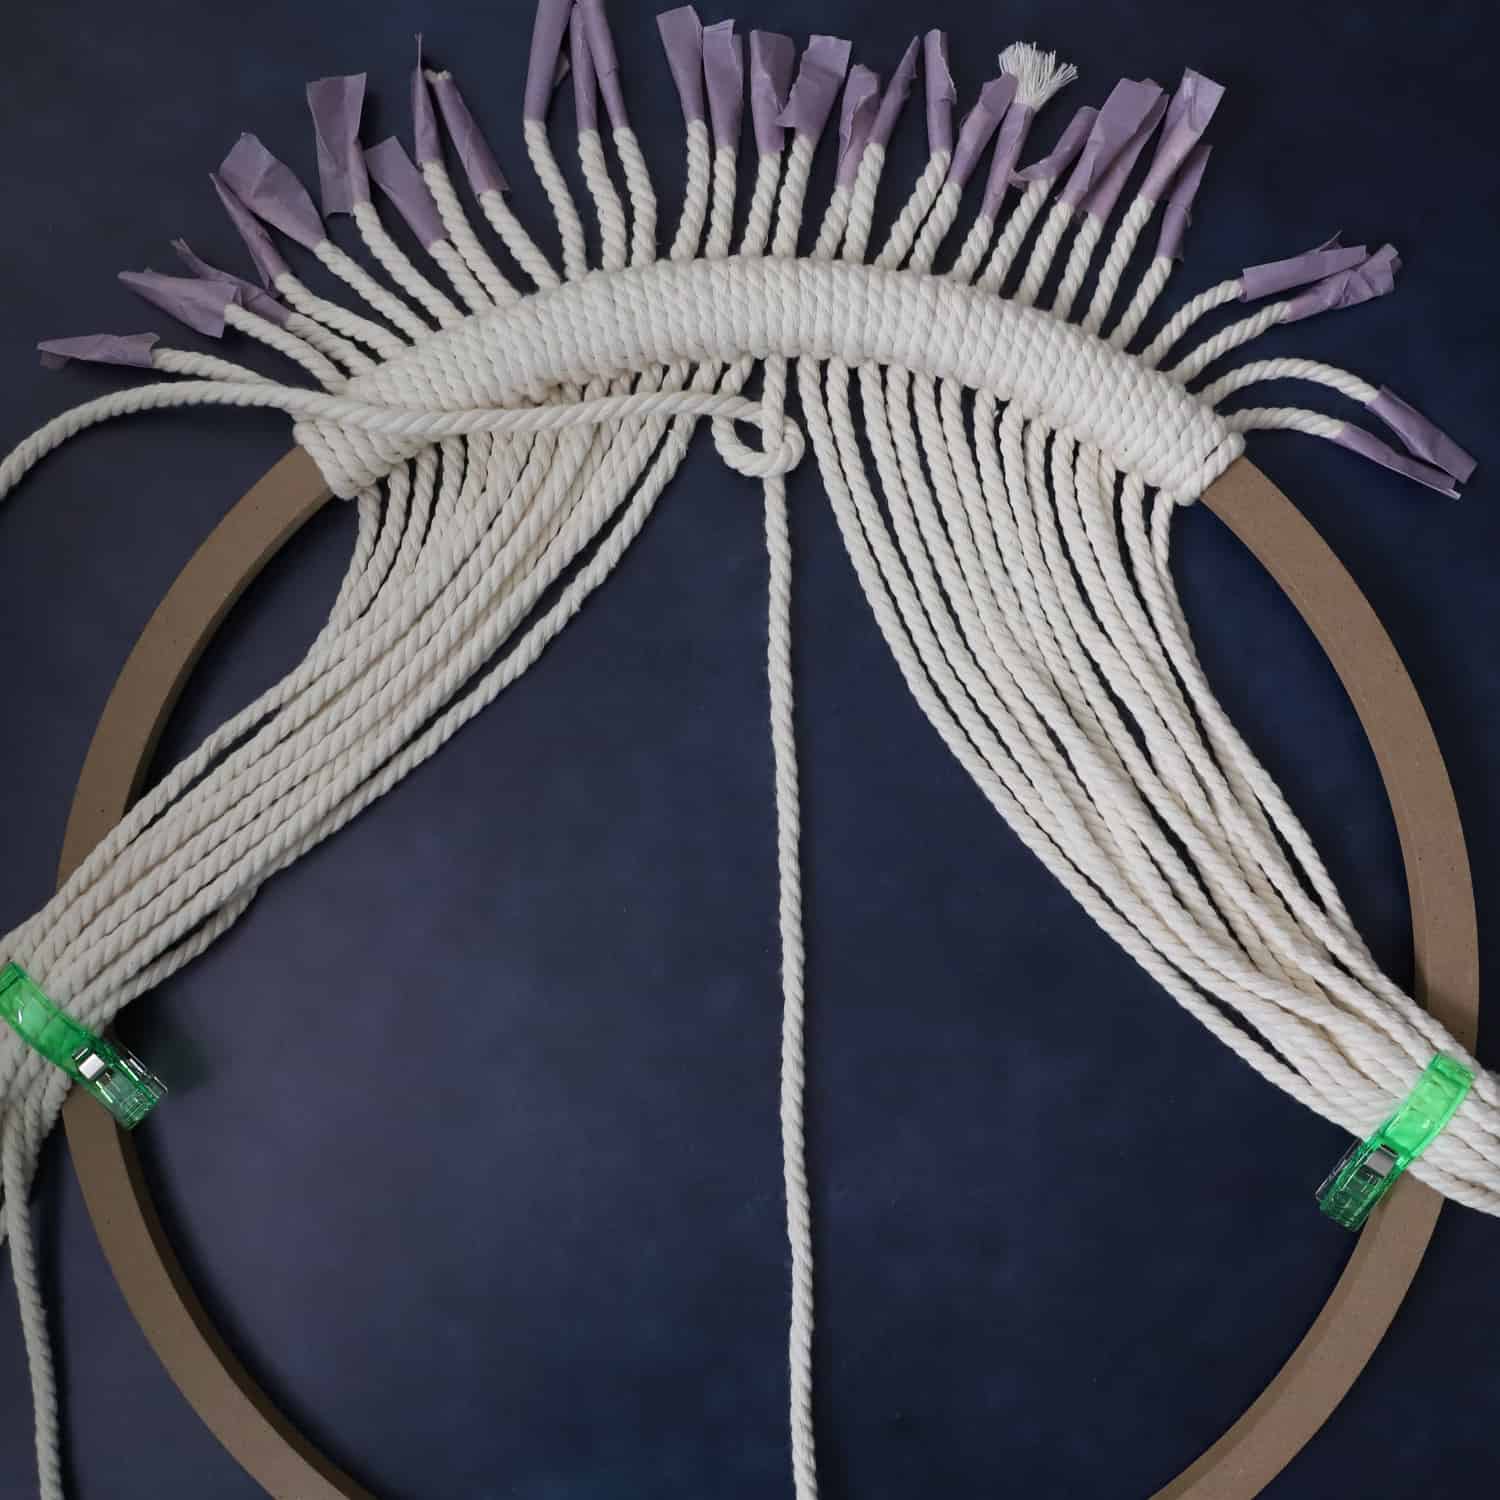
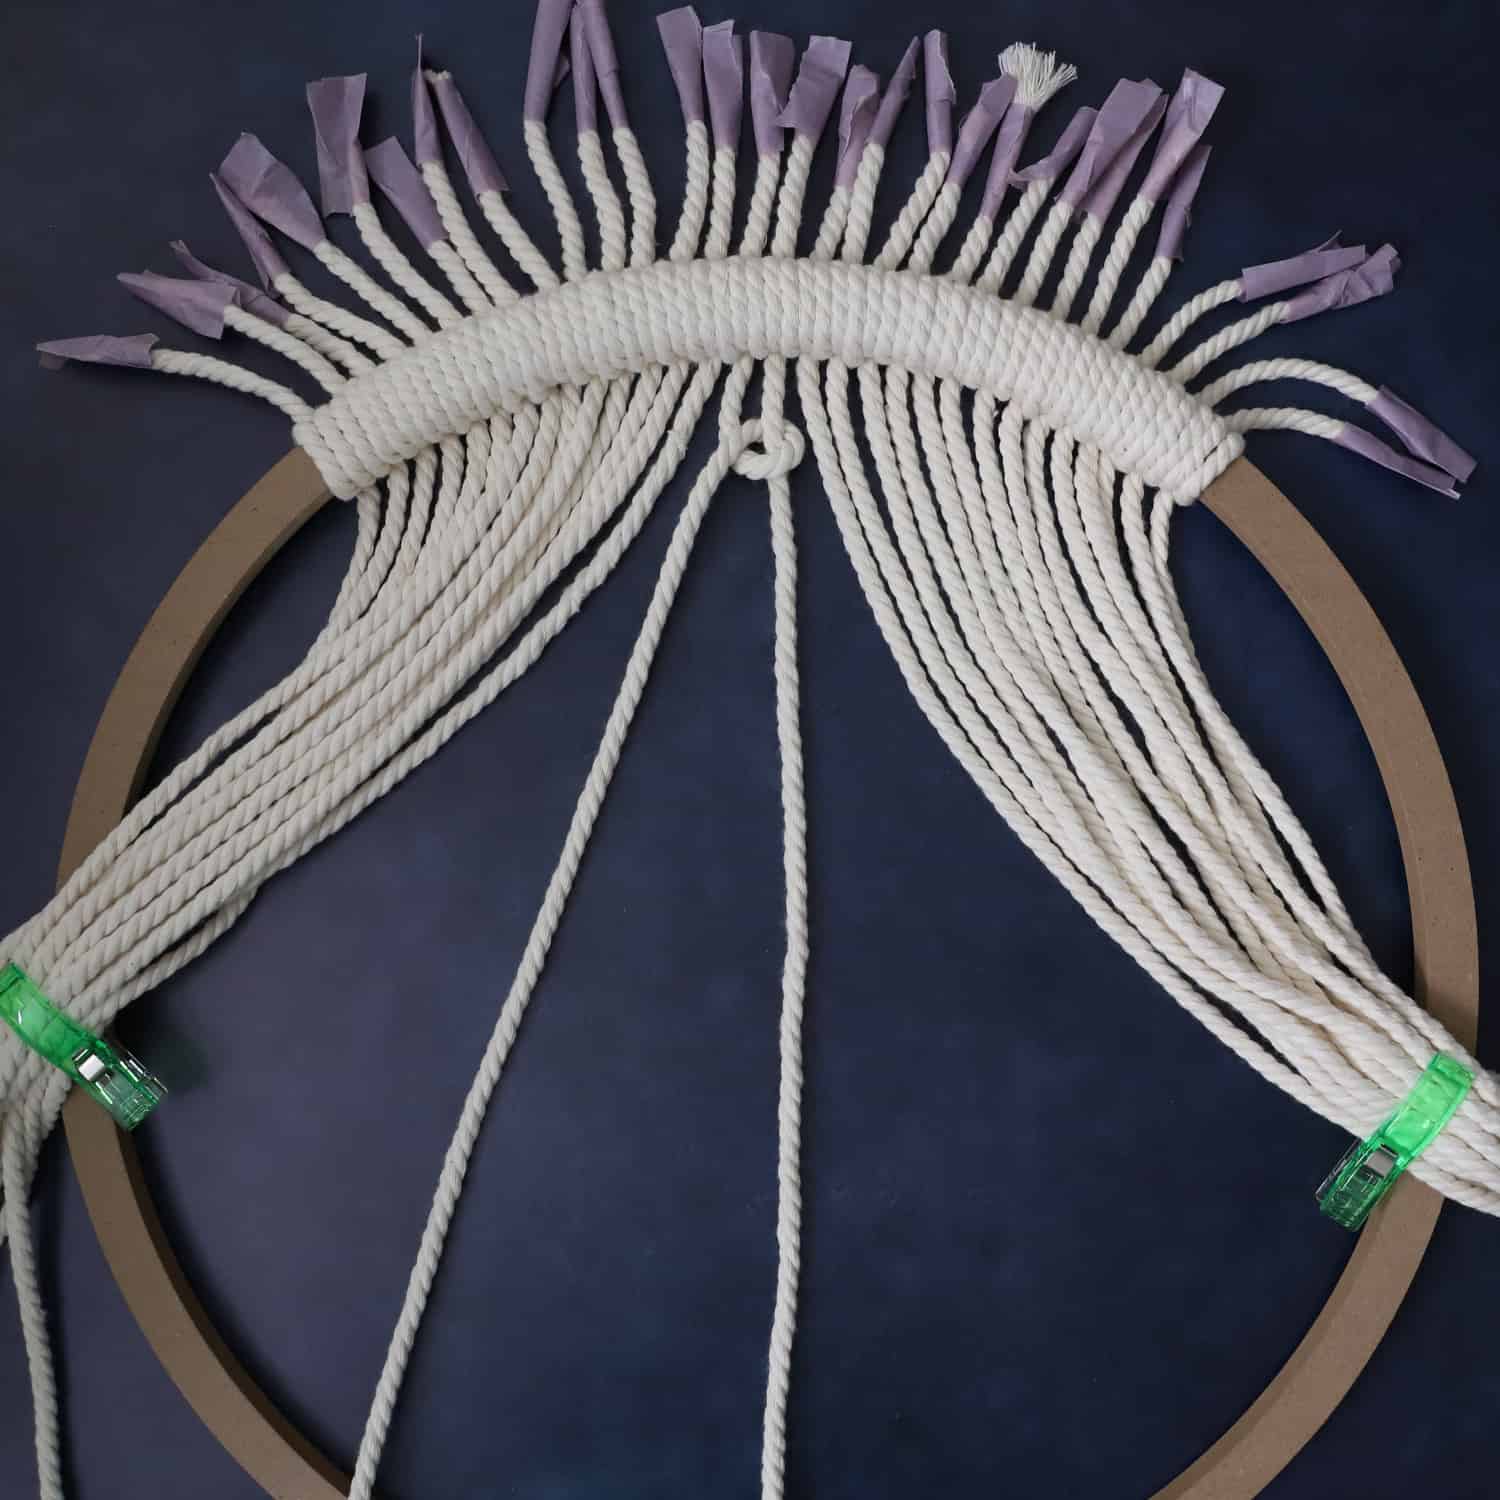
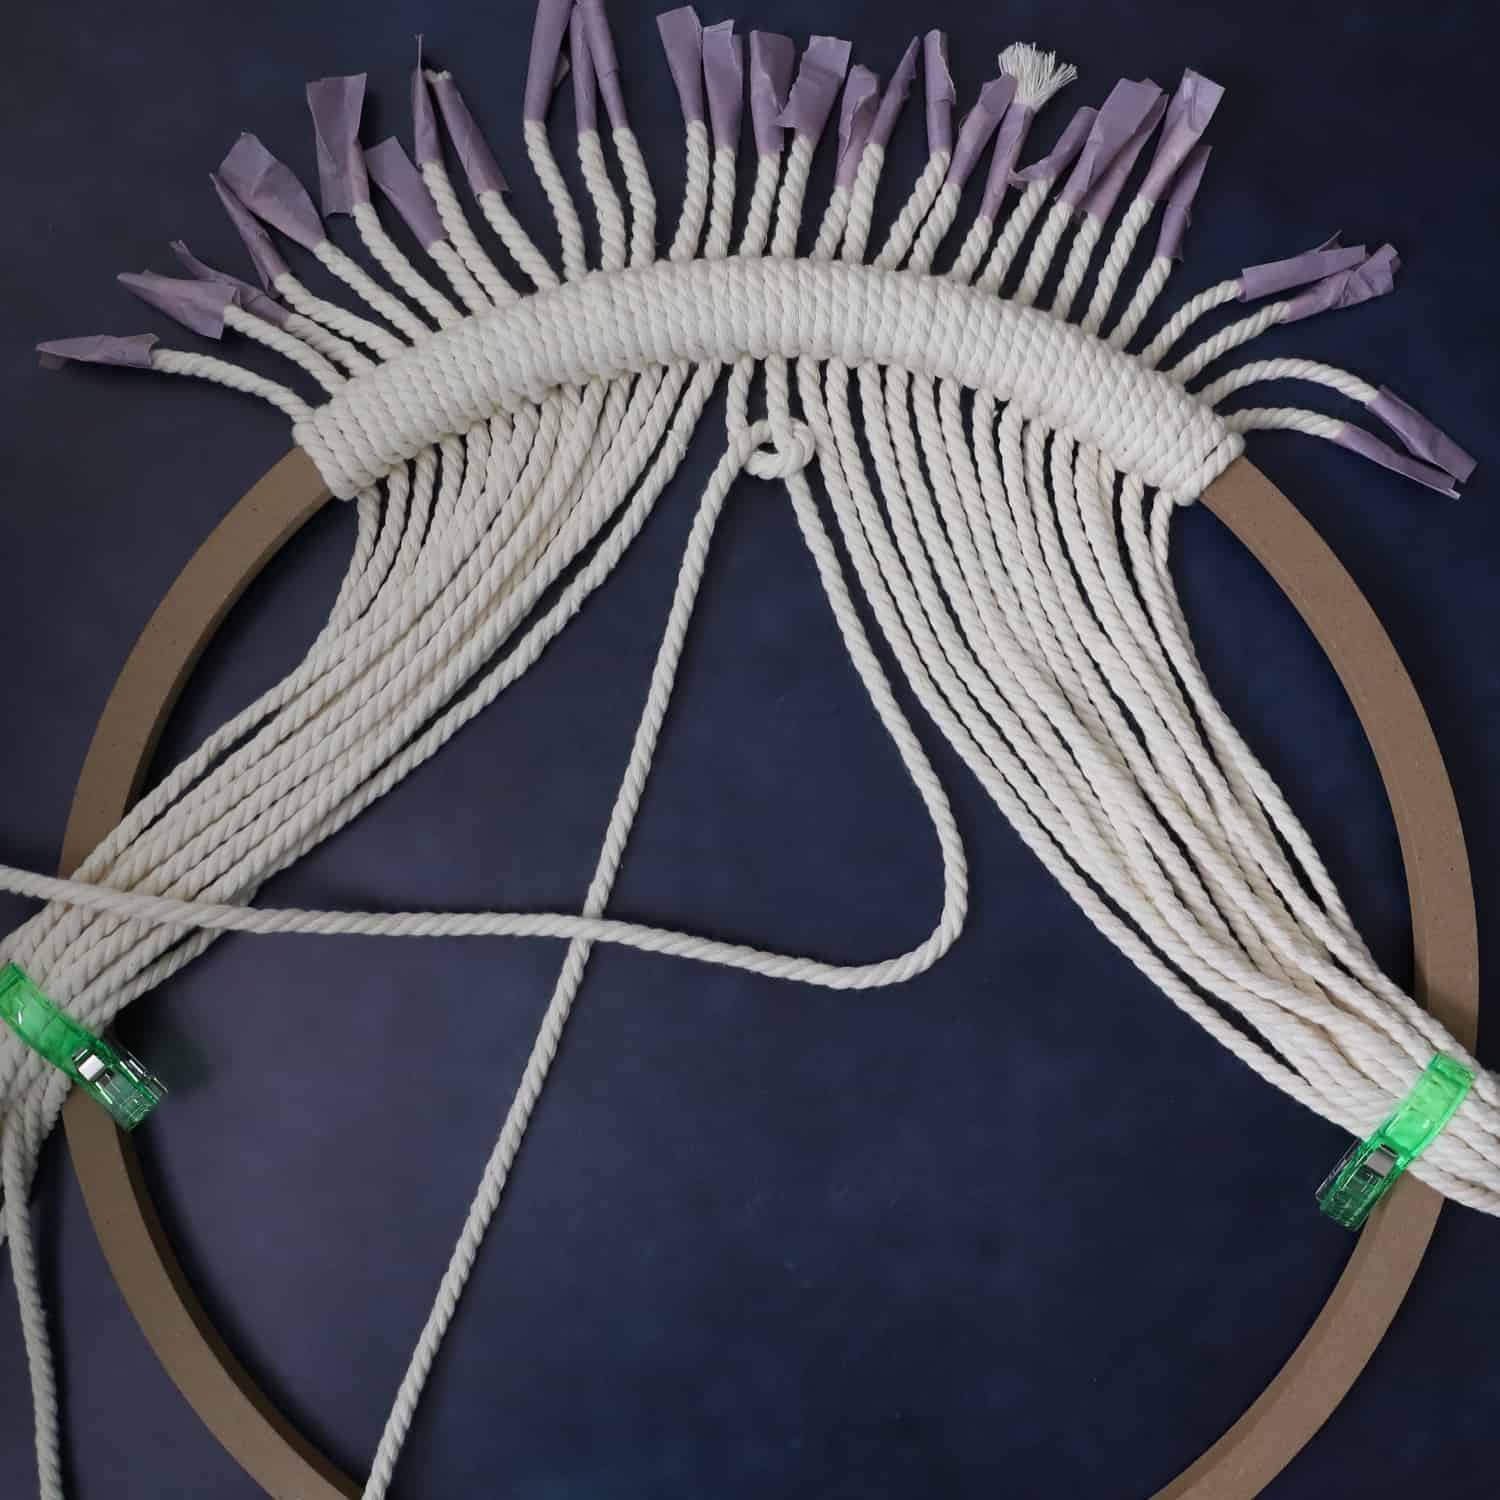
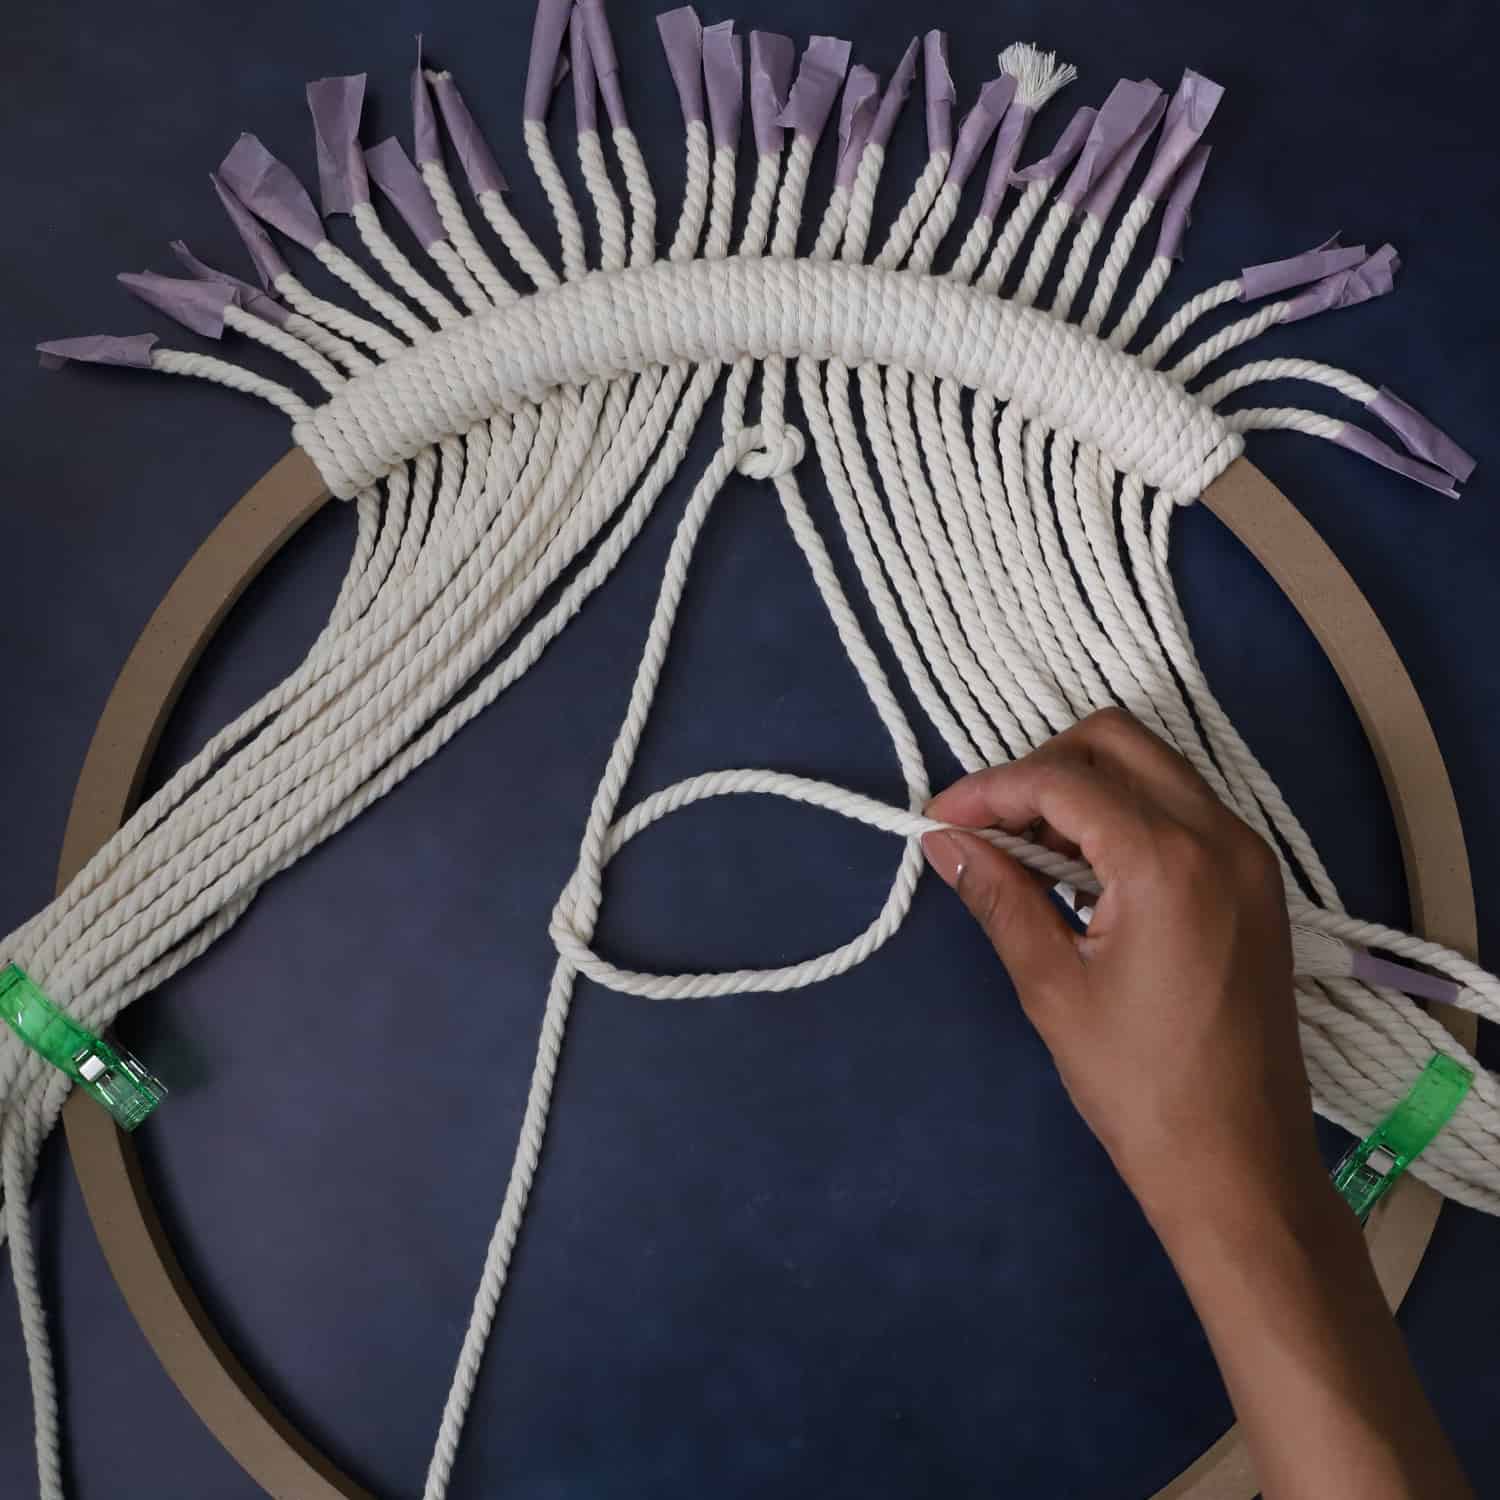
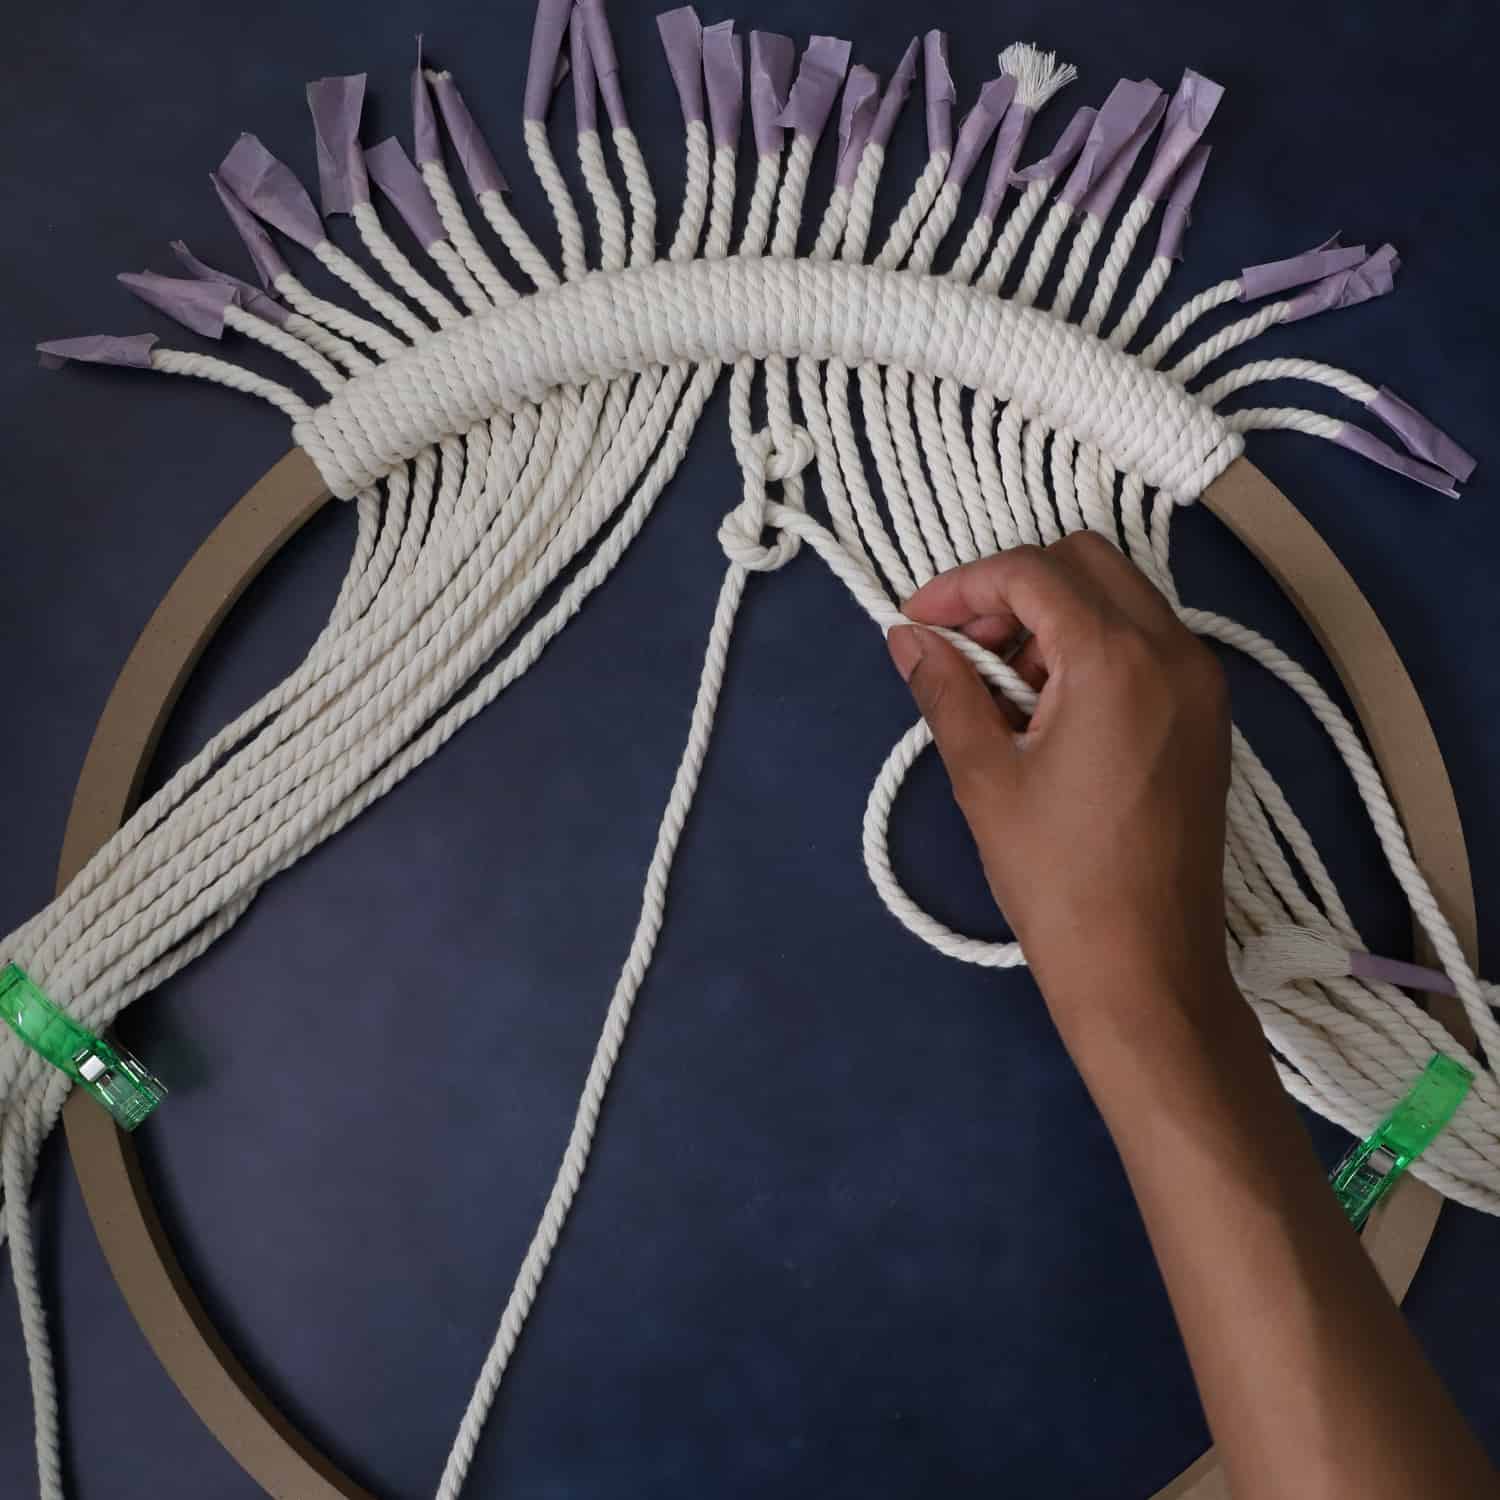
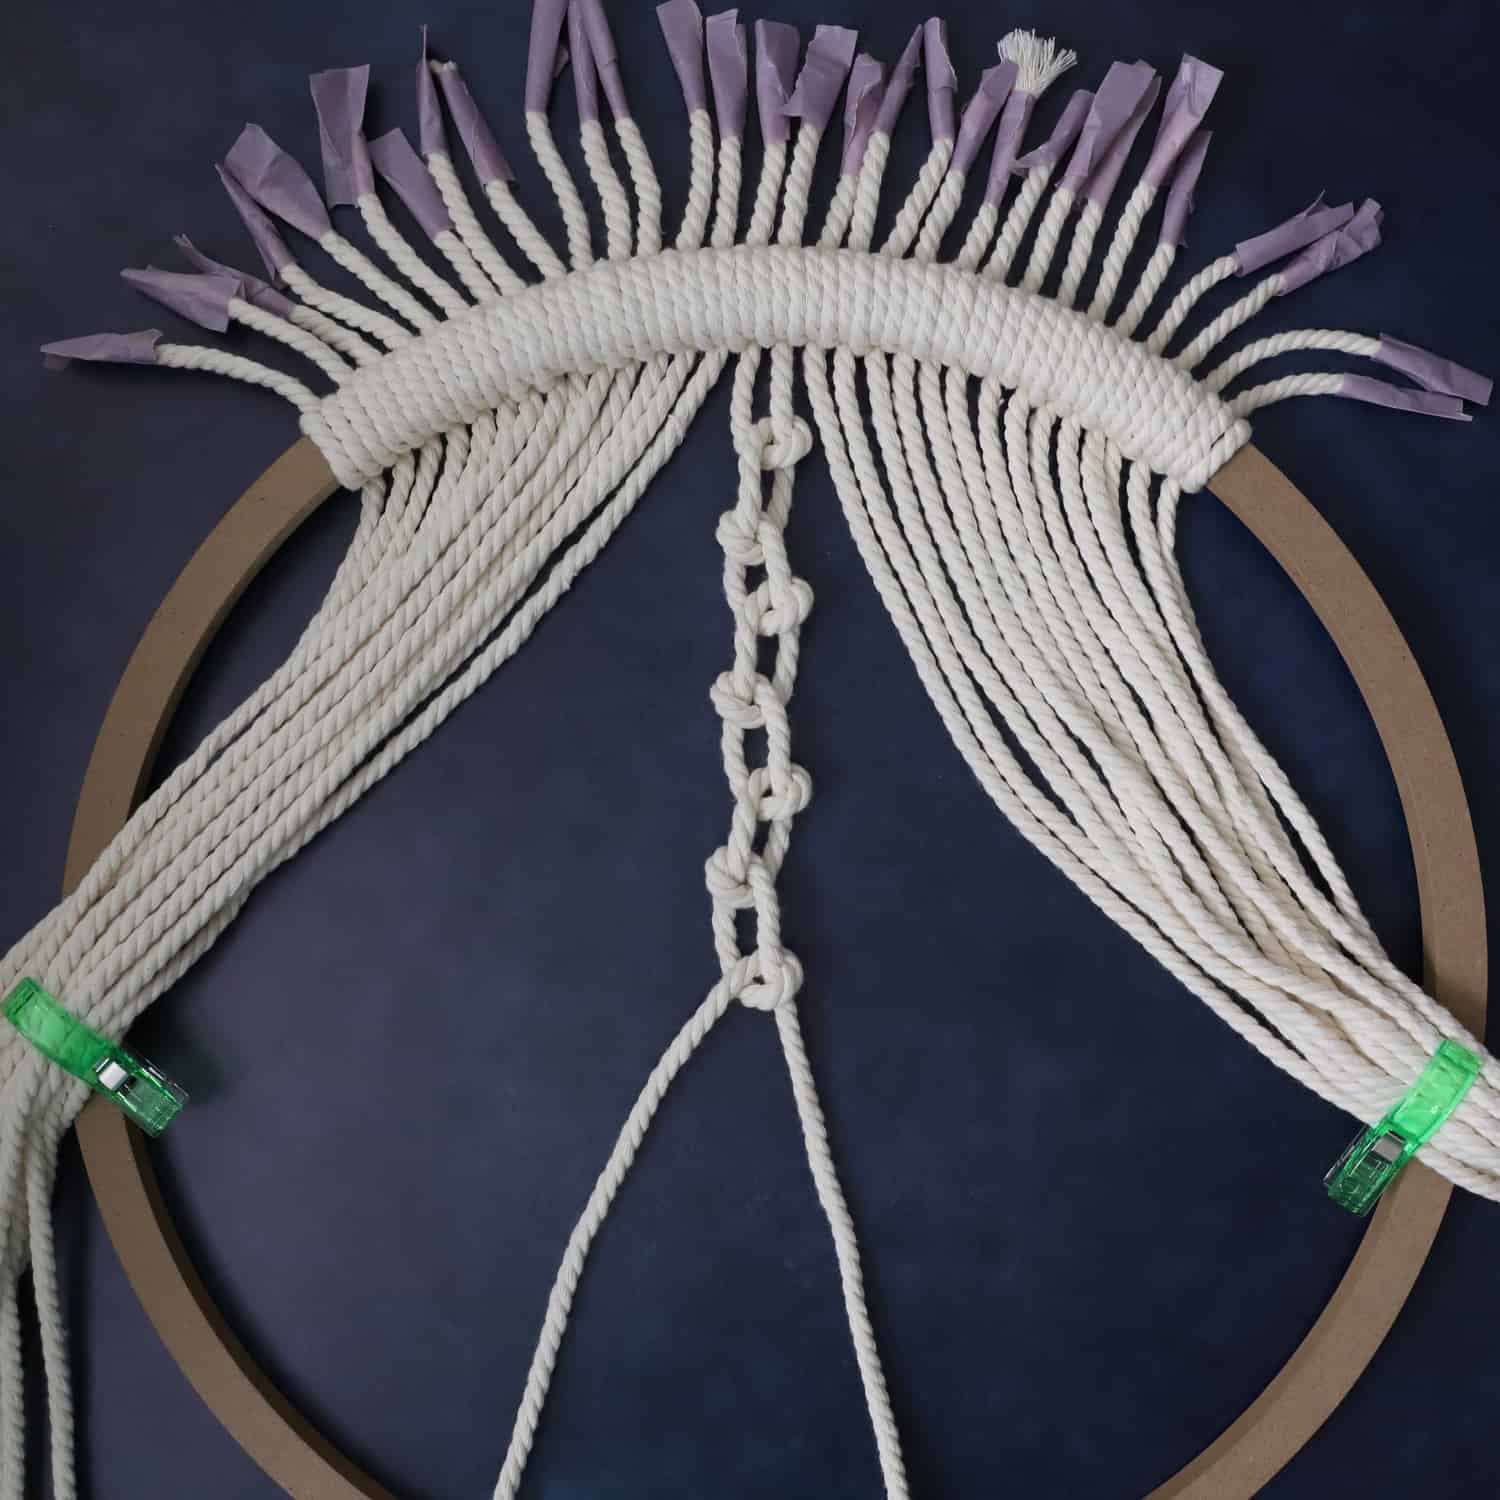
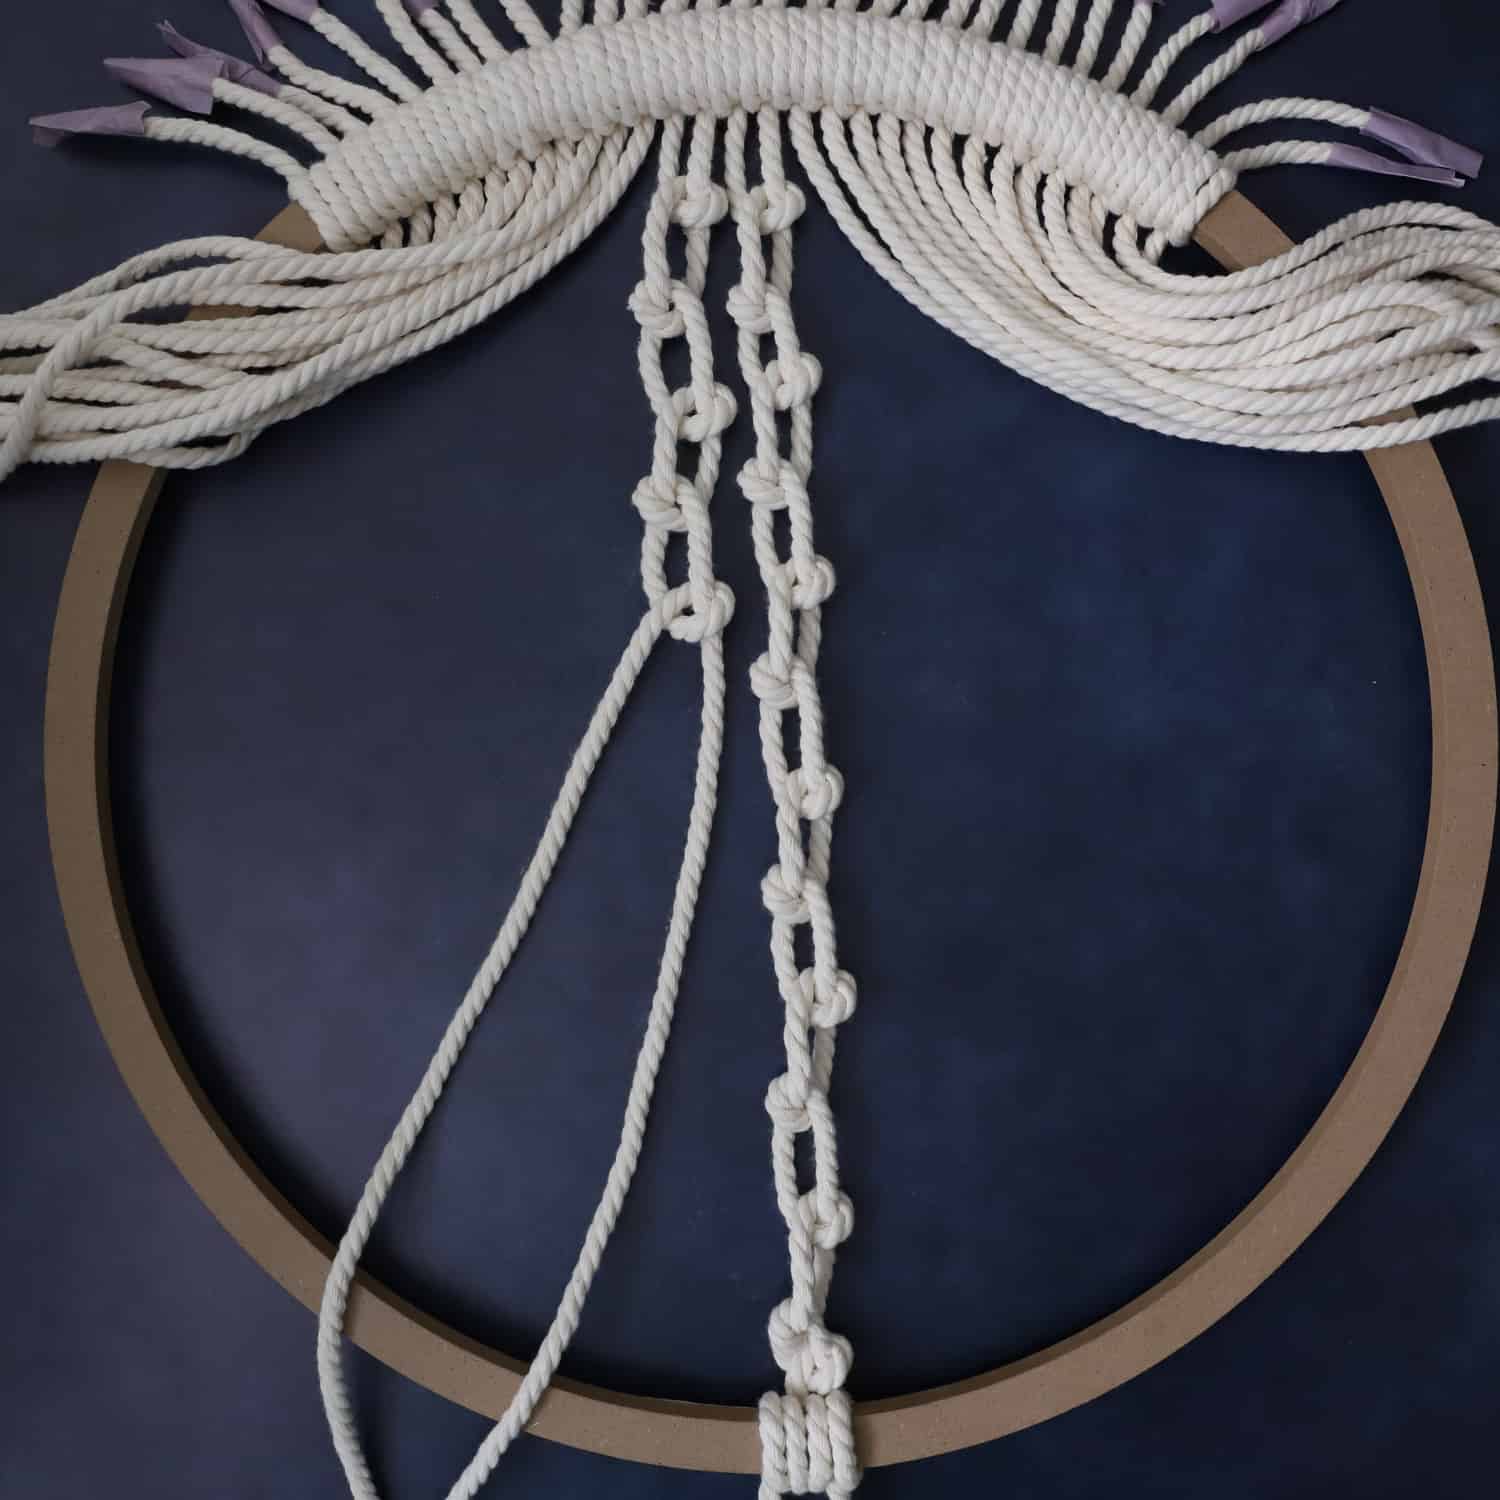
Step 5. Once the cords are attached, we can begin the Alternating Half Hitch Chain Knot.
Be sure to have Clover’s Jumbo Wonder Clips ready to section off the cords.
You will need to use two cords to achieve this knot.
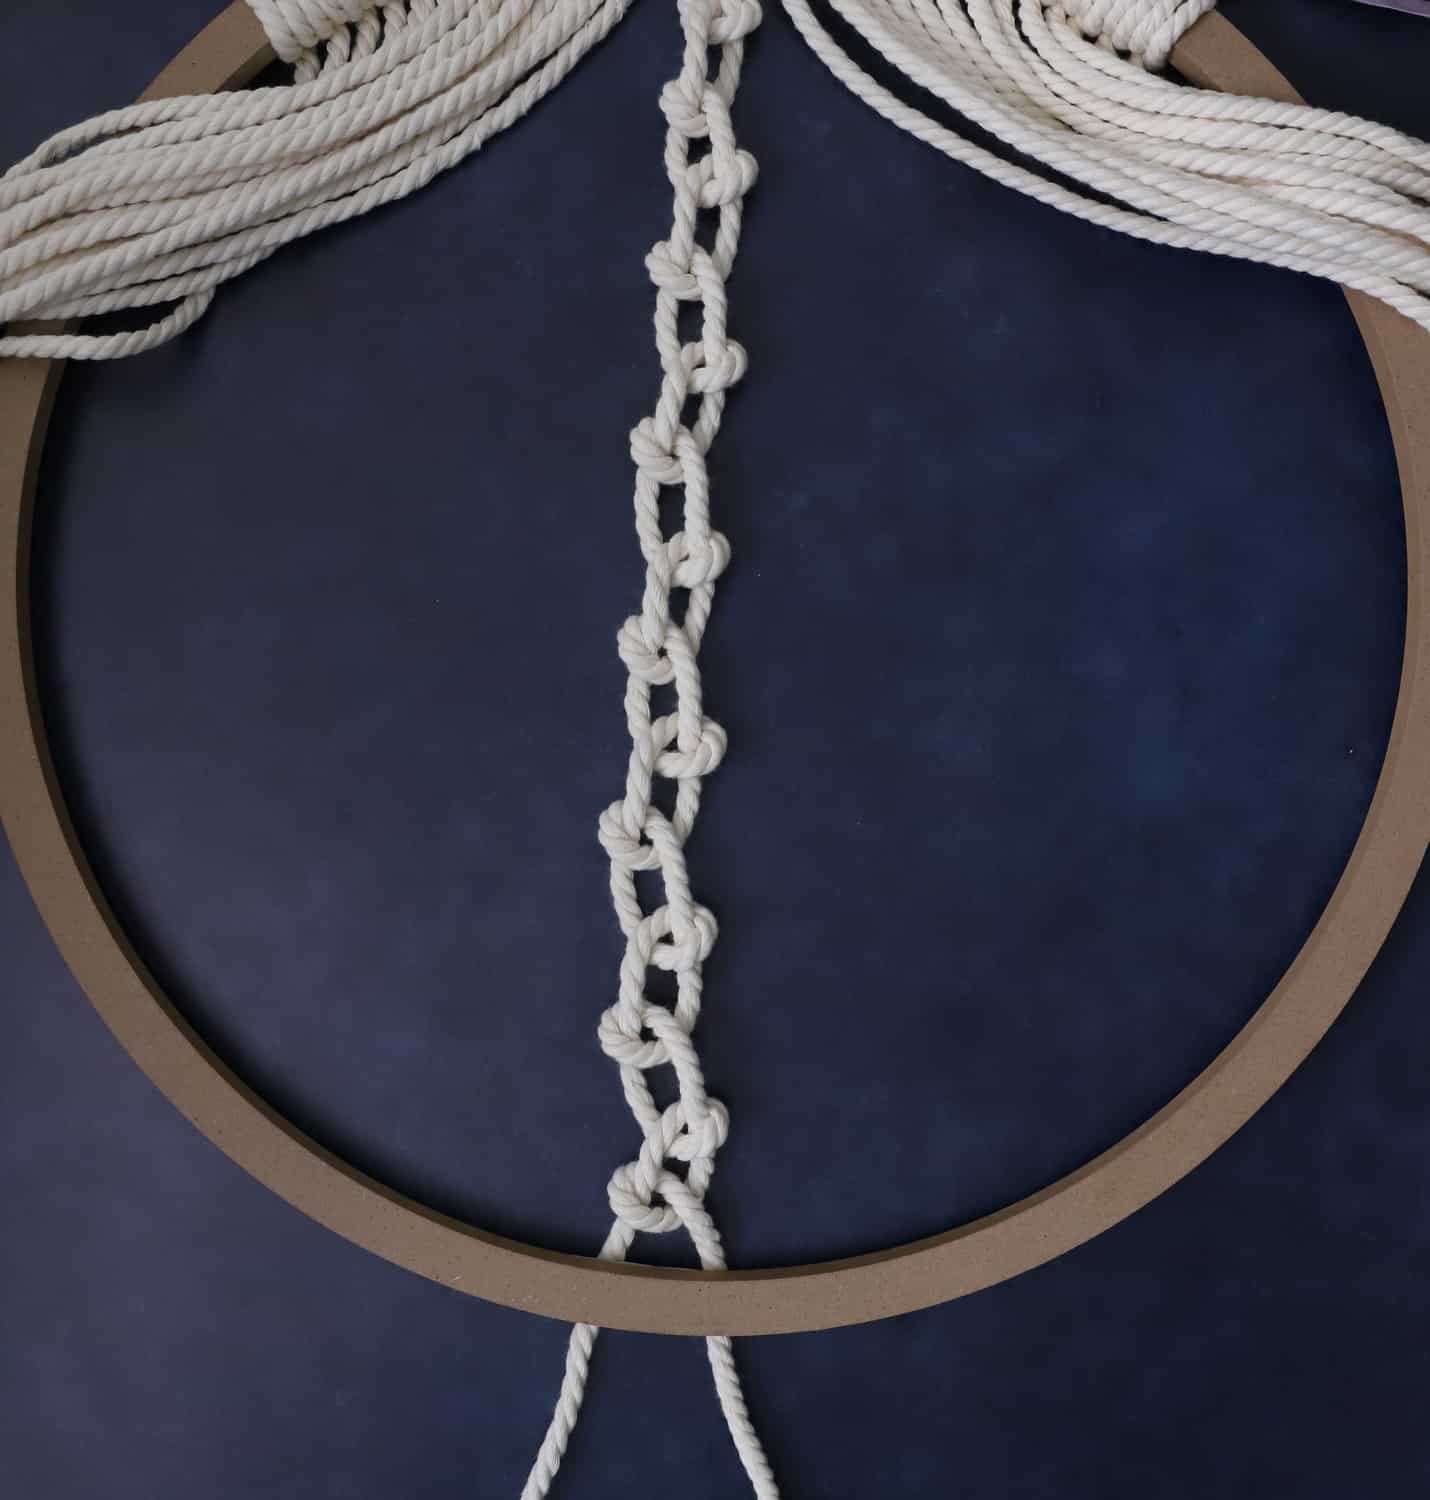
The Alternating Half Hitch Chain is another beginner-friendly macrame knot that will work up quickly.
I used a loose version for this pattern, but you can adjust the tightness as you please.
Follow the images closely to learn this stitch.
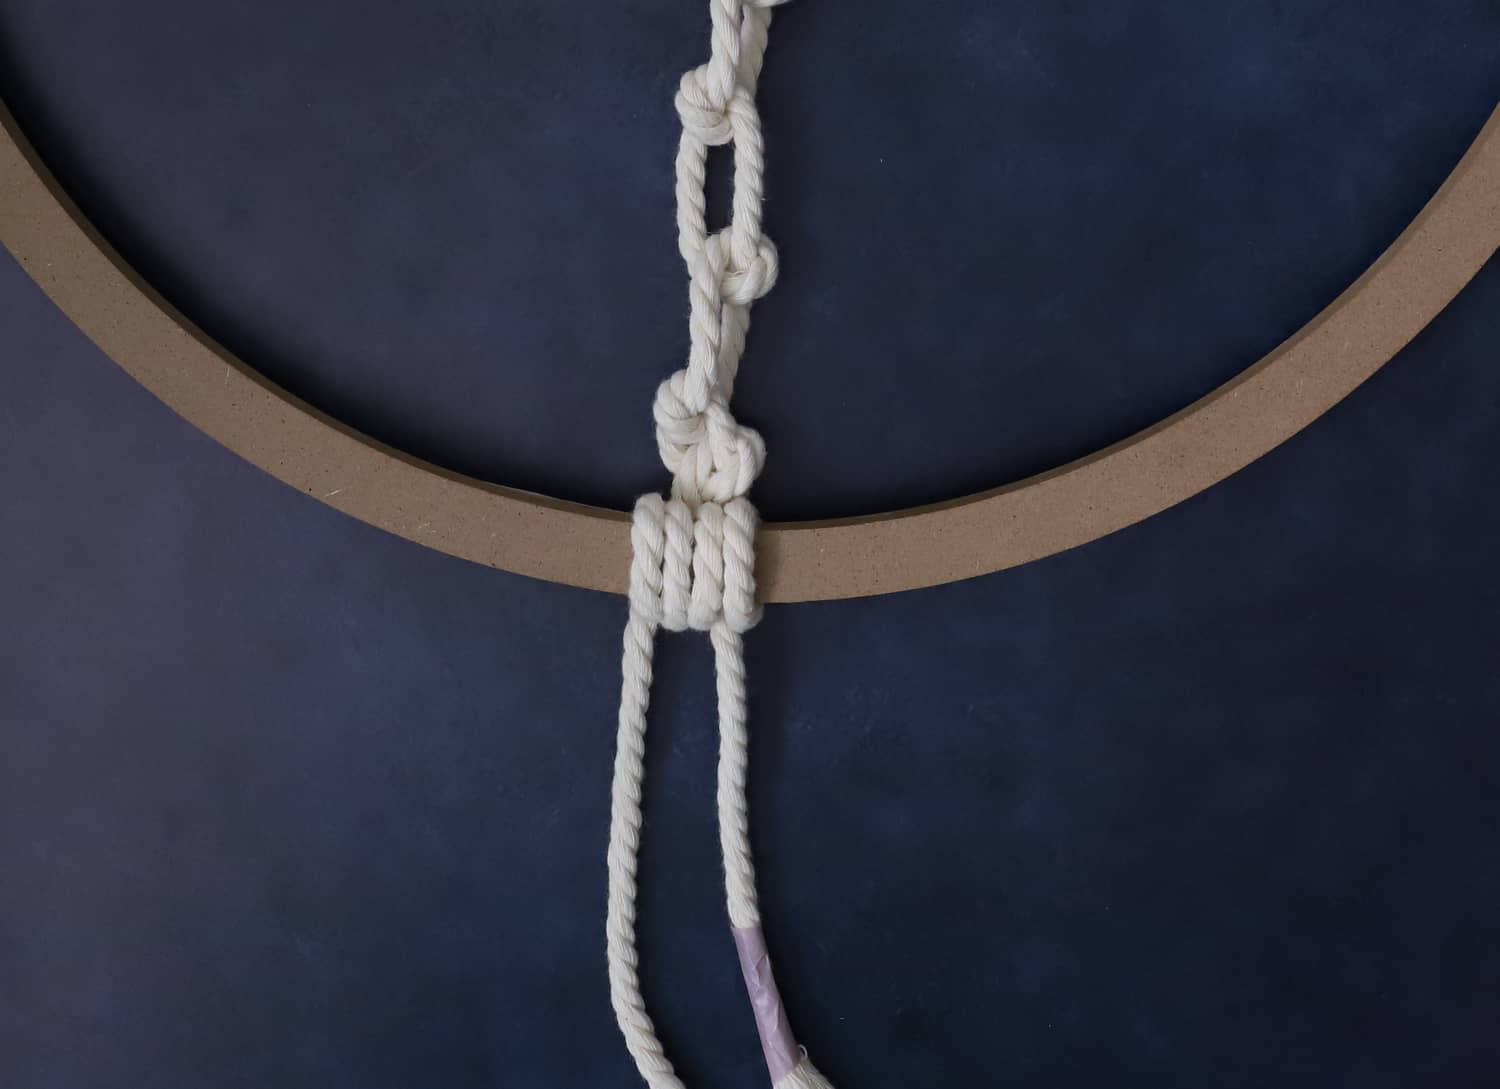
Step 6. Once you have reached the bottom of your wreath, attach the loose cords by repeating the same double half hitch knot from step #3.
Make sure the cords are under the wreath before starting the knot.
The only difference is that instead of wrapping the cording downward like in step 3, you will wrap them upwards.
Alternating Half Hitch Chain Tip:
For a 16-inch wreath, 10-12 alternating knots will work just fine, but if you have a smaller wreath, the knots will vary.
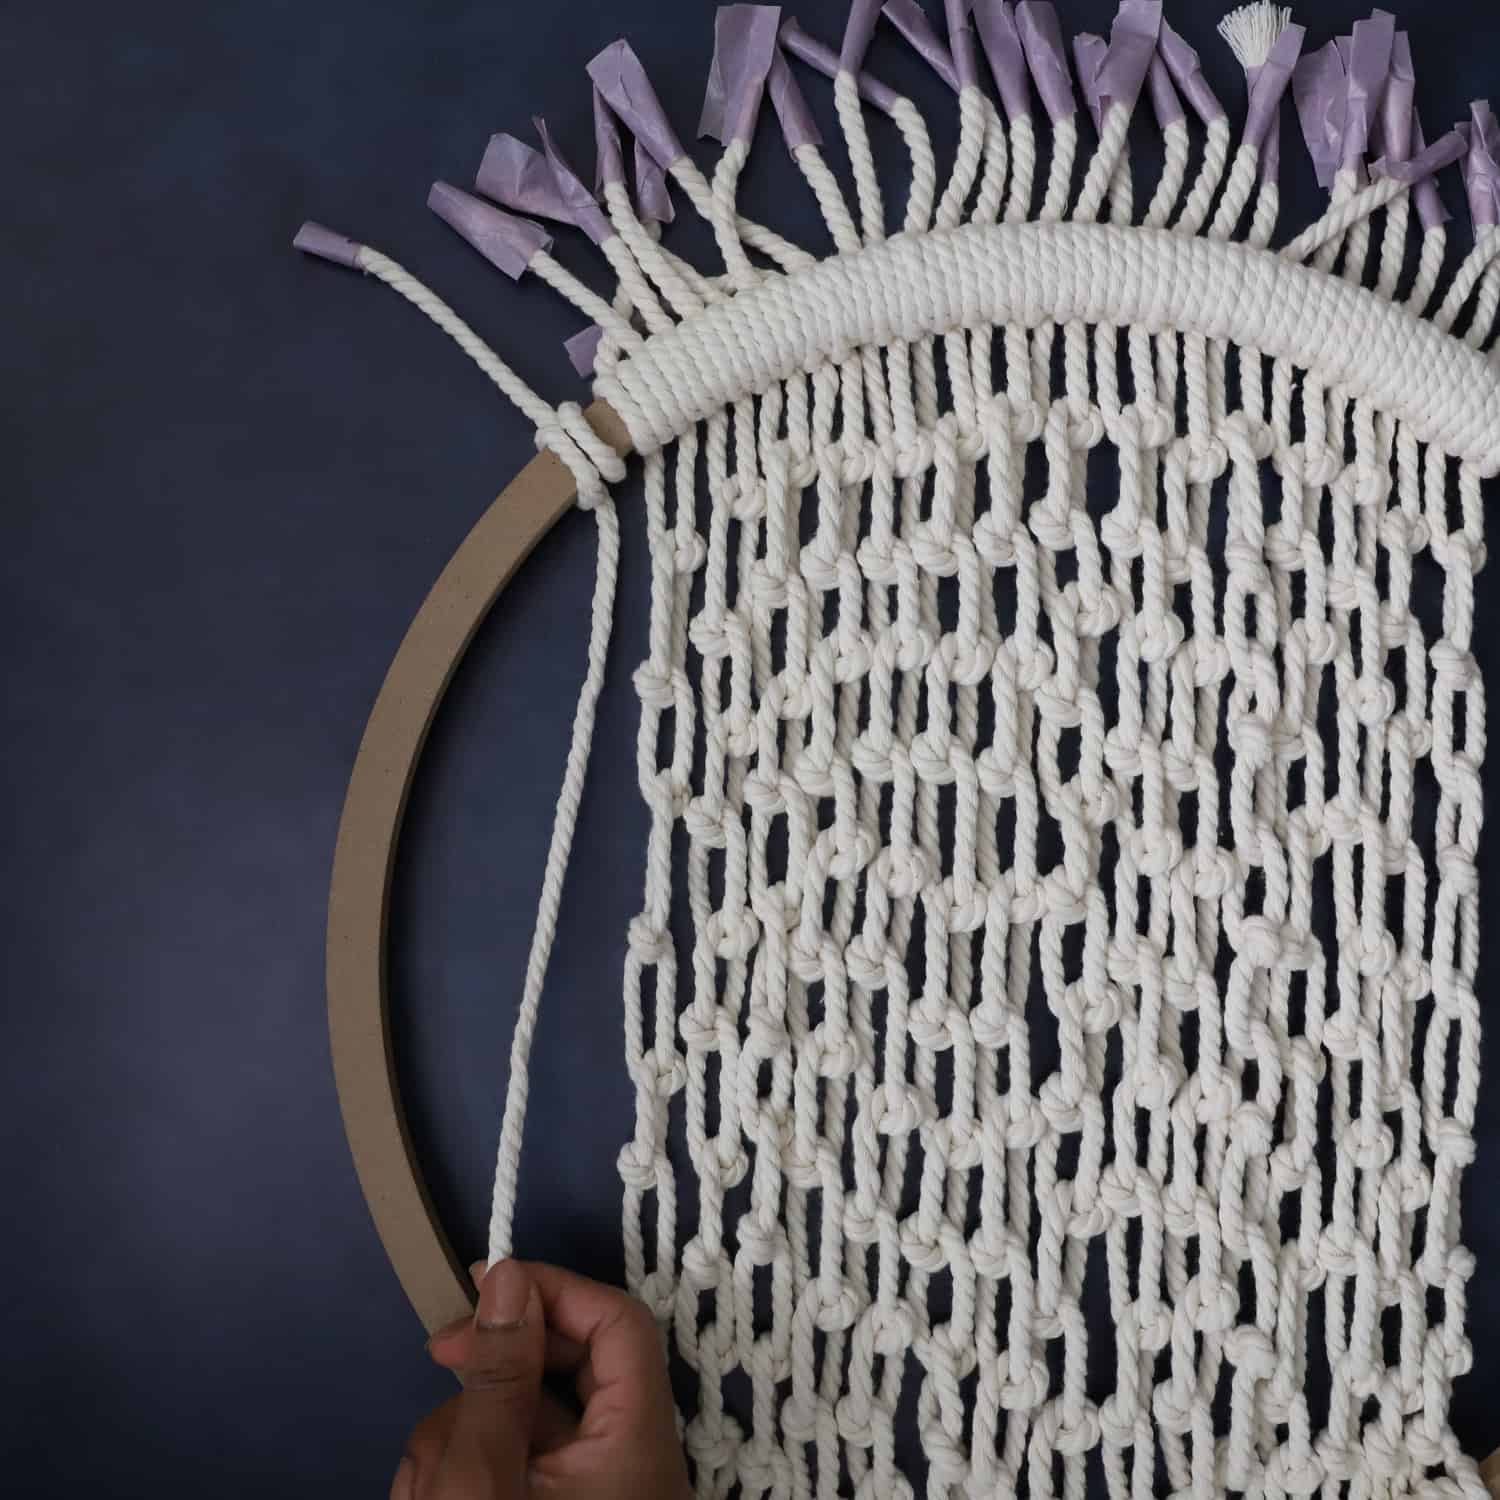
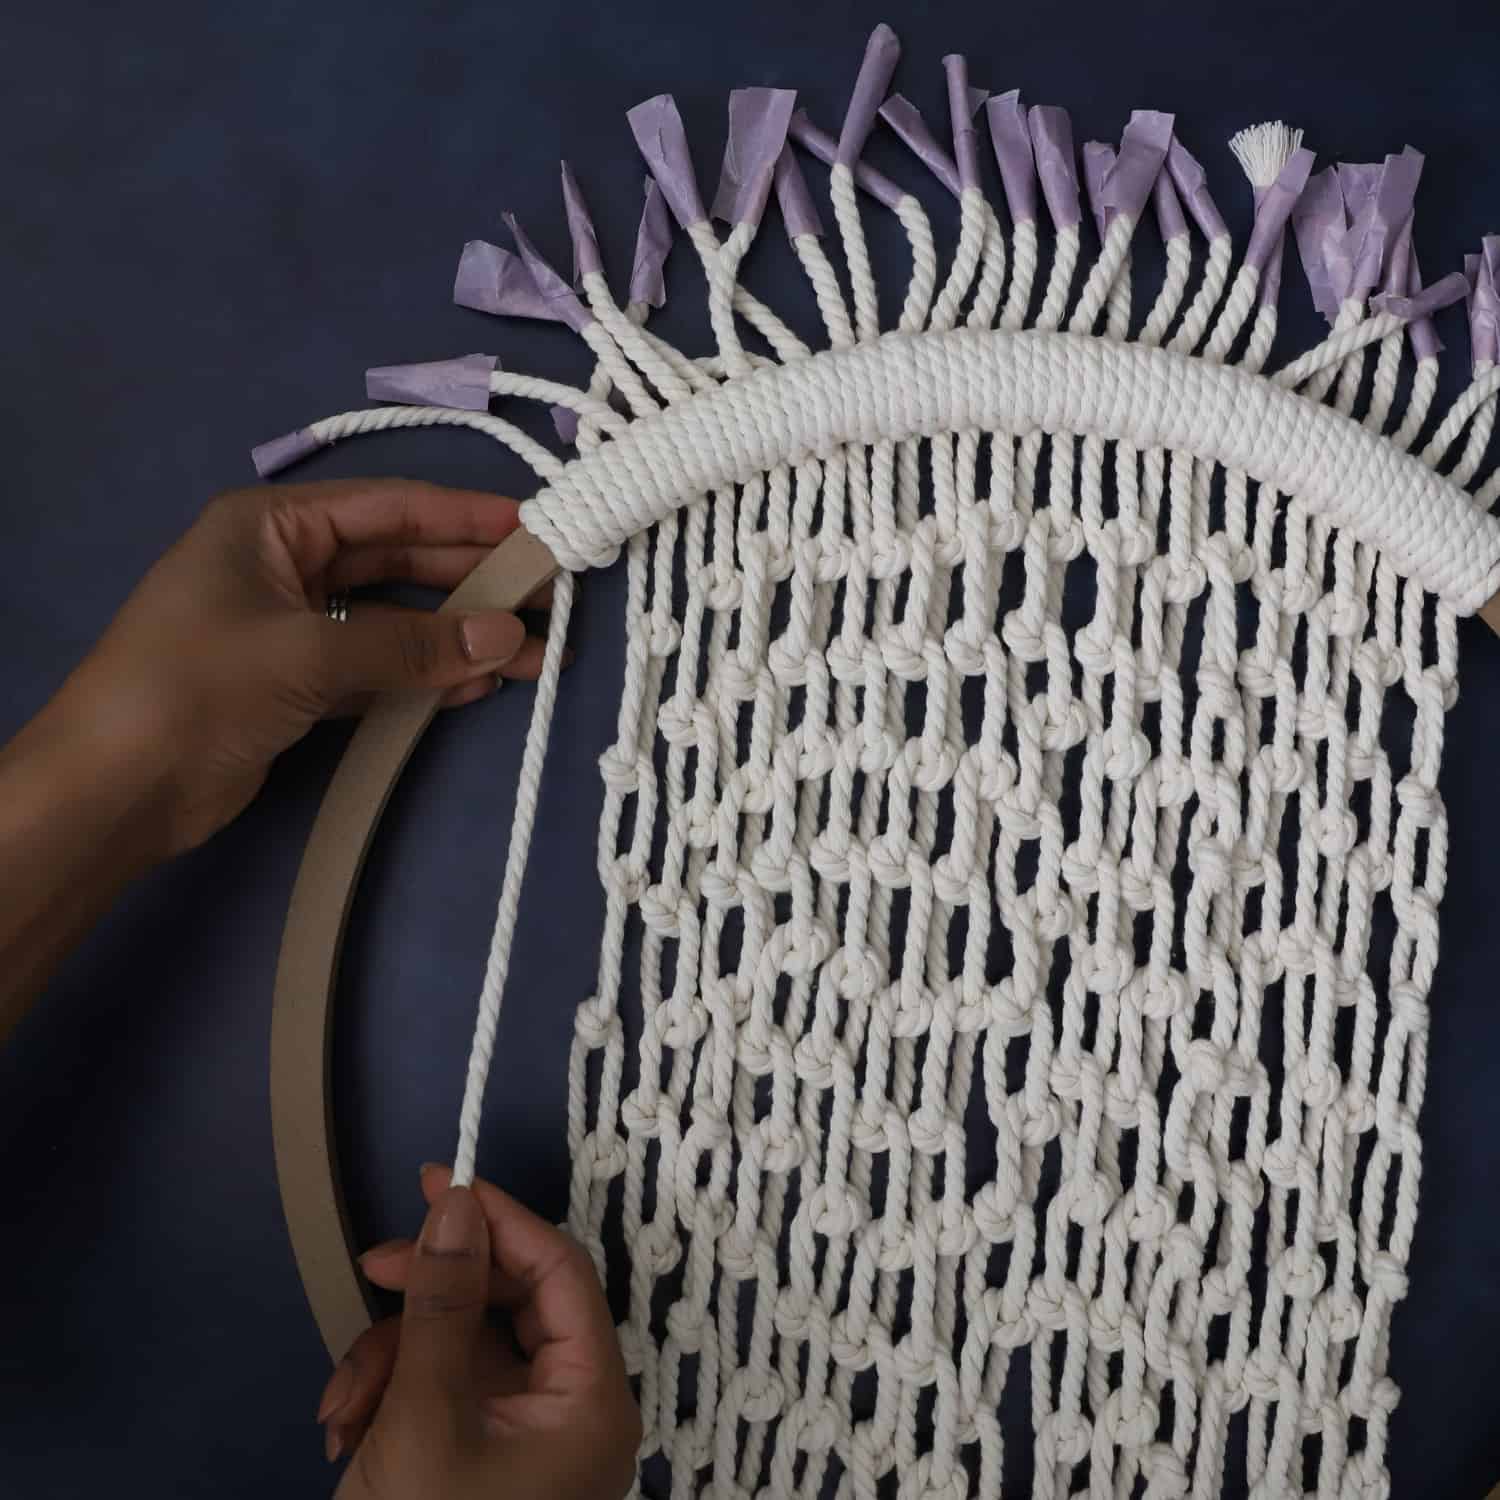
Step 7. Cut two 13 ft (164 inches) pieces of cording to finish off the sides of the wreath.
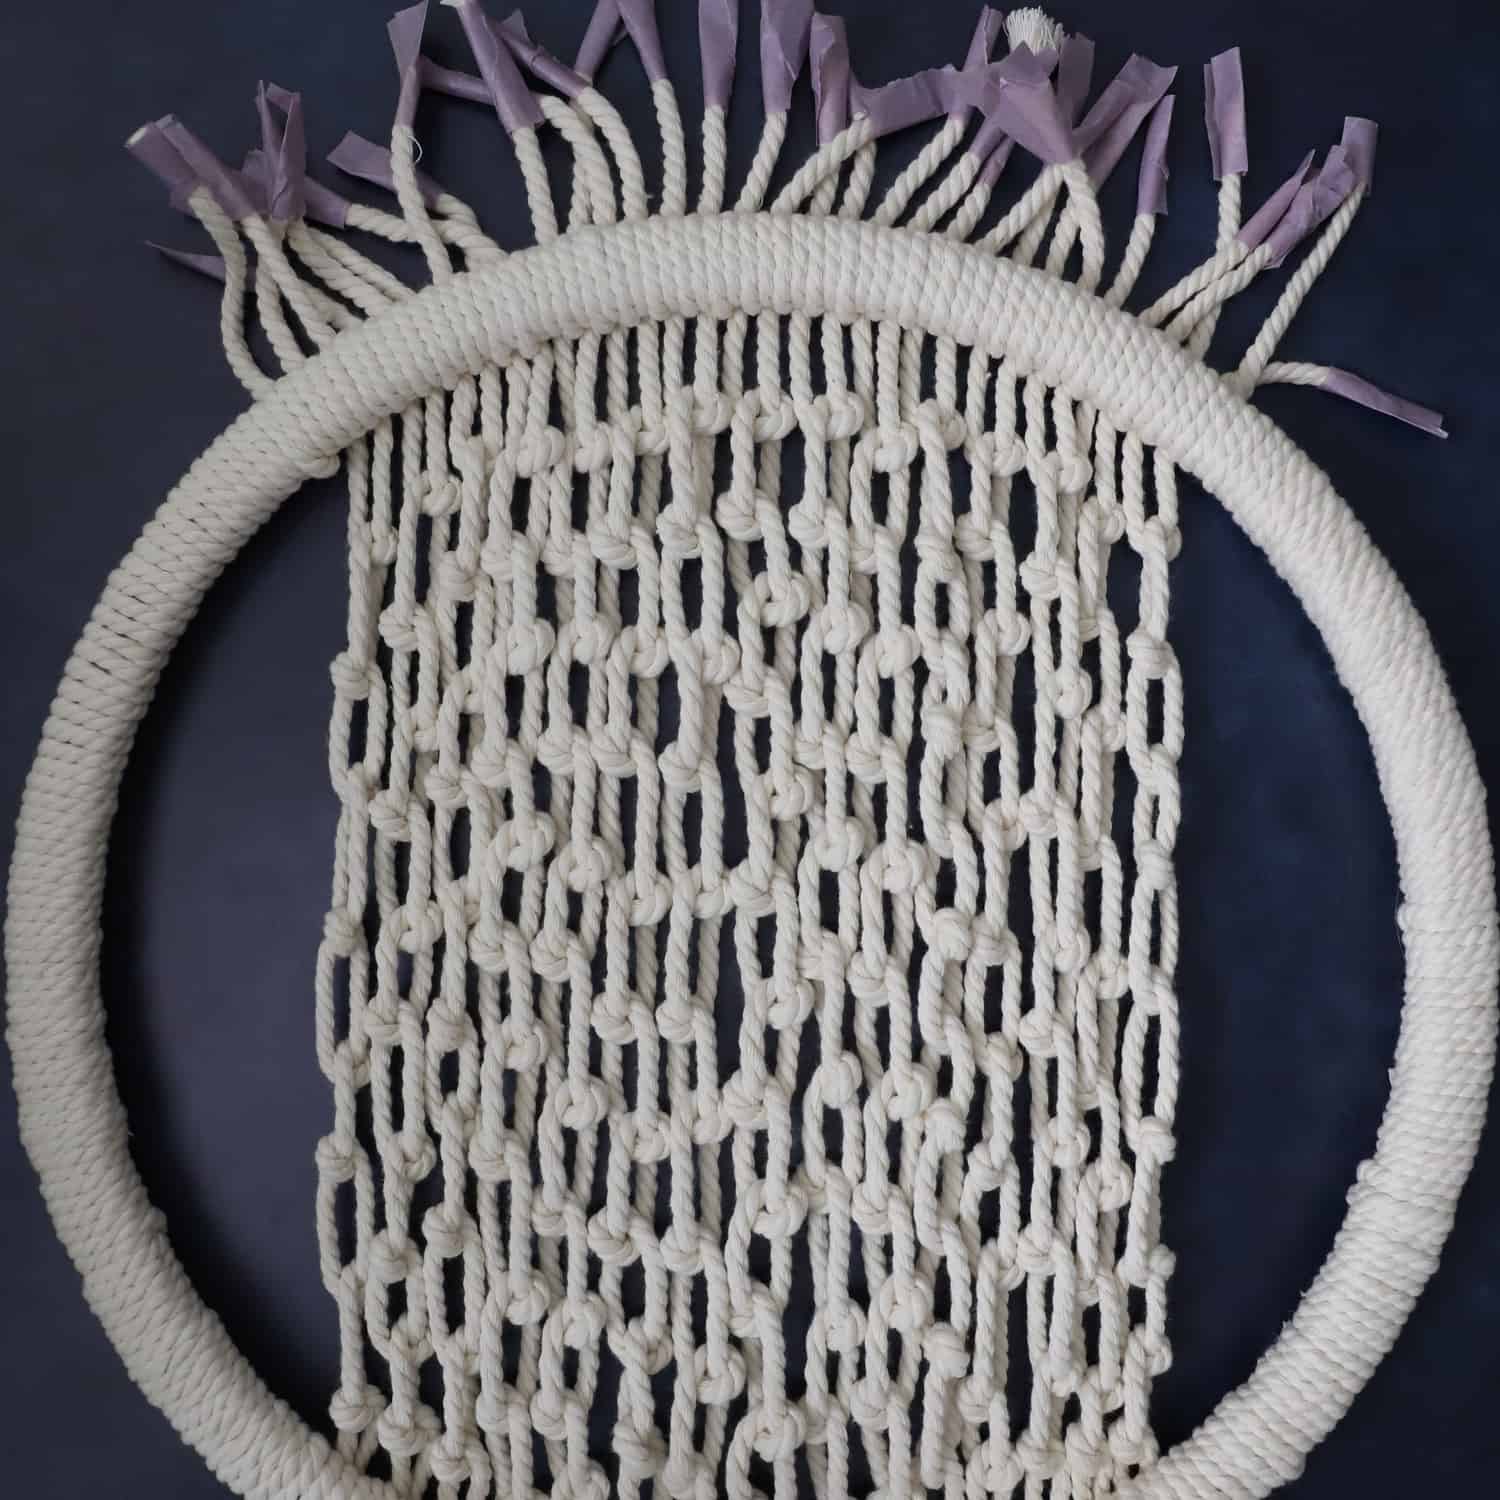
Begin by adding another double half hitch knot next to the first knots, then wrap the cording around the wreath
until you can no longer see the brown.
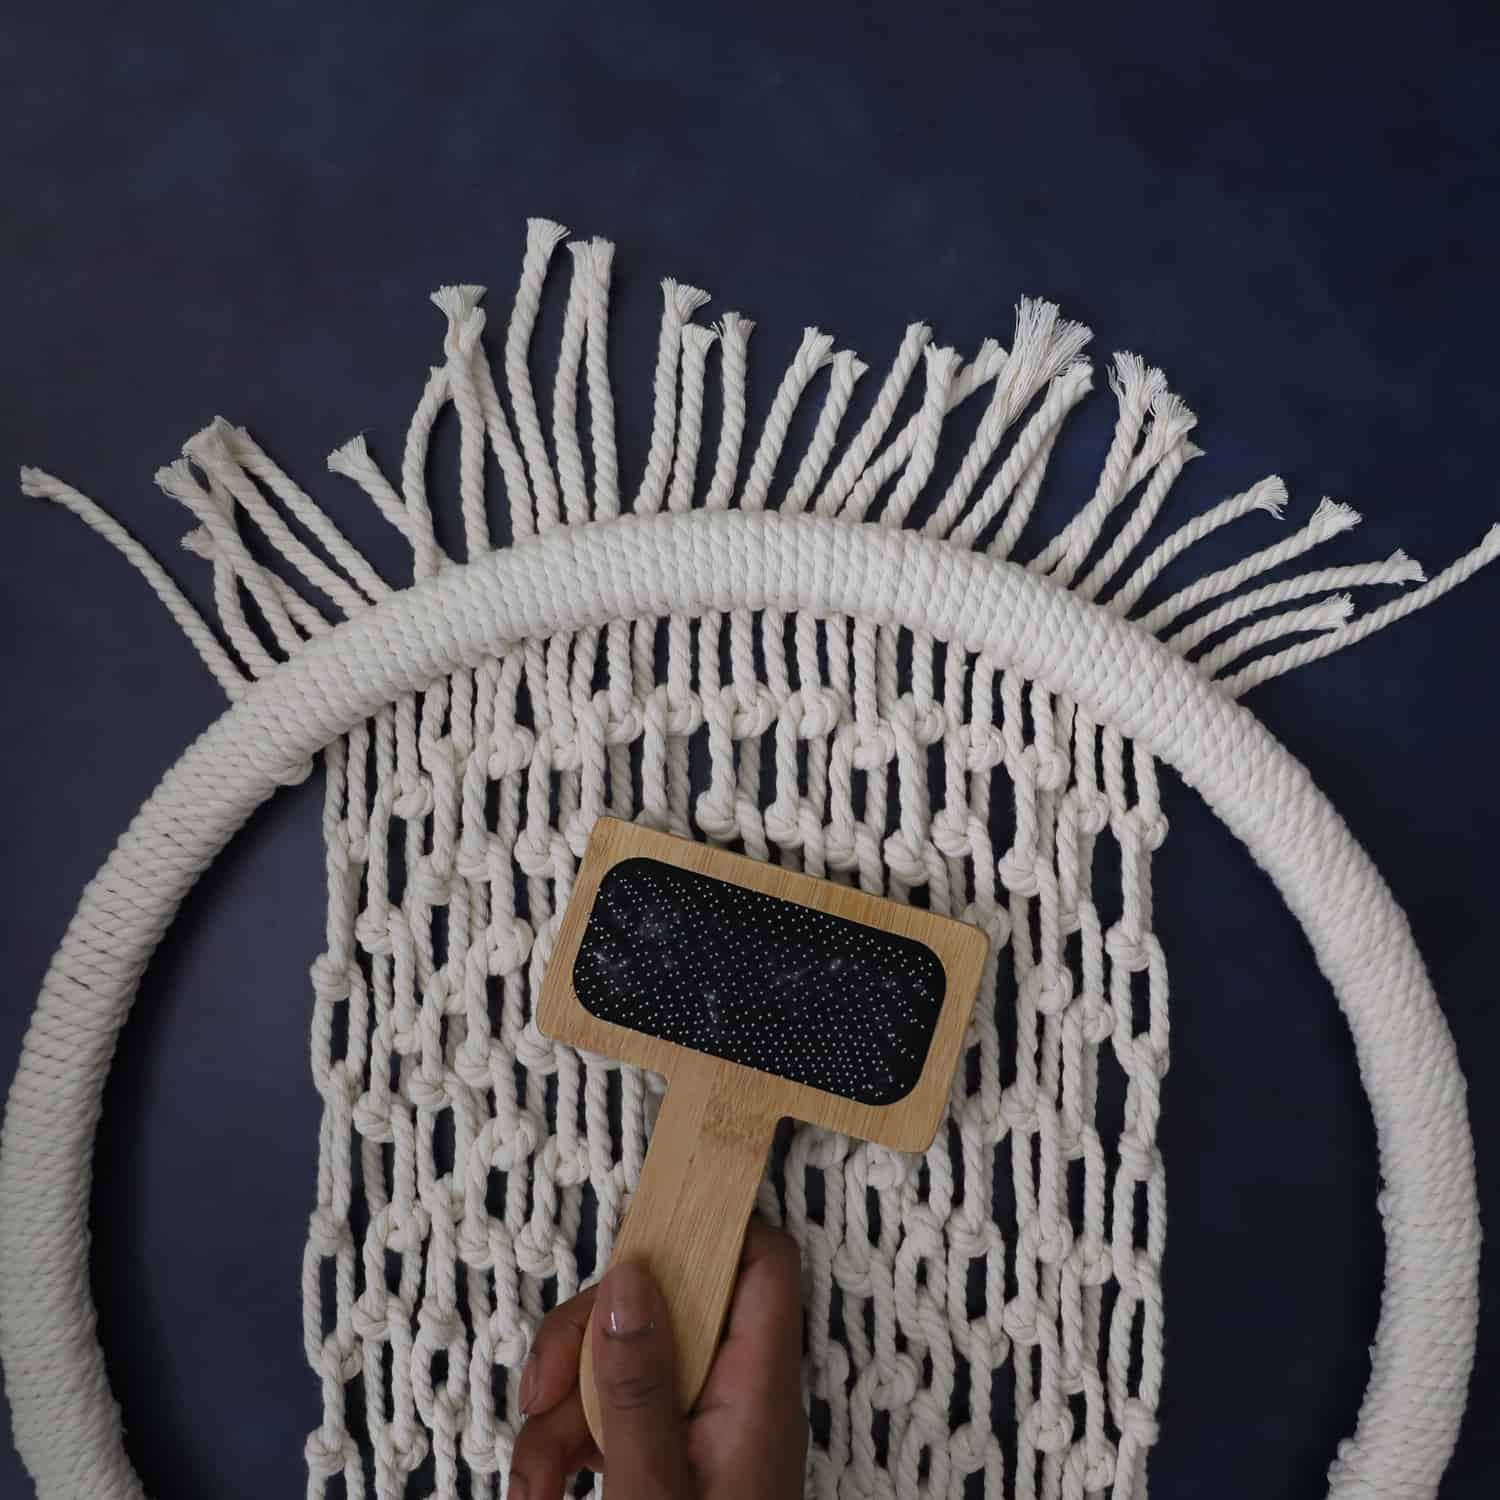
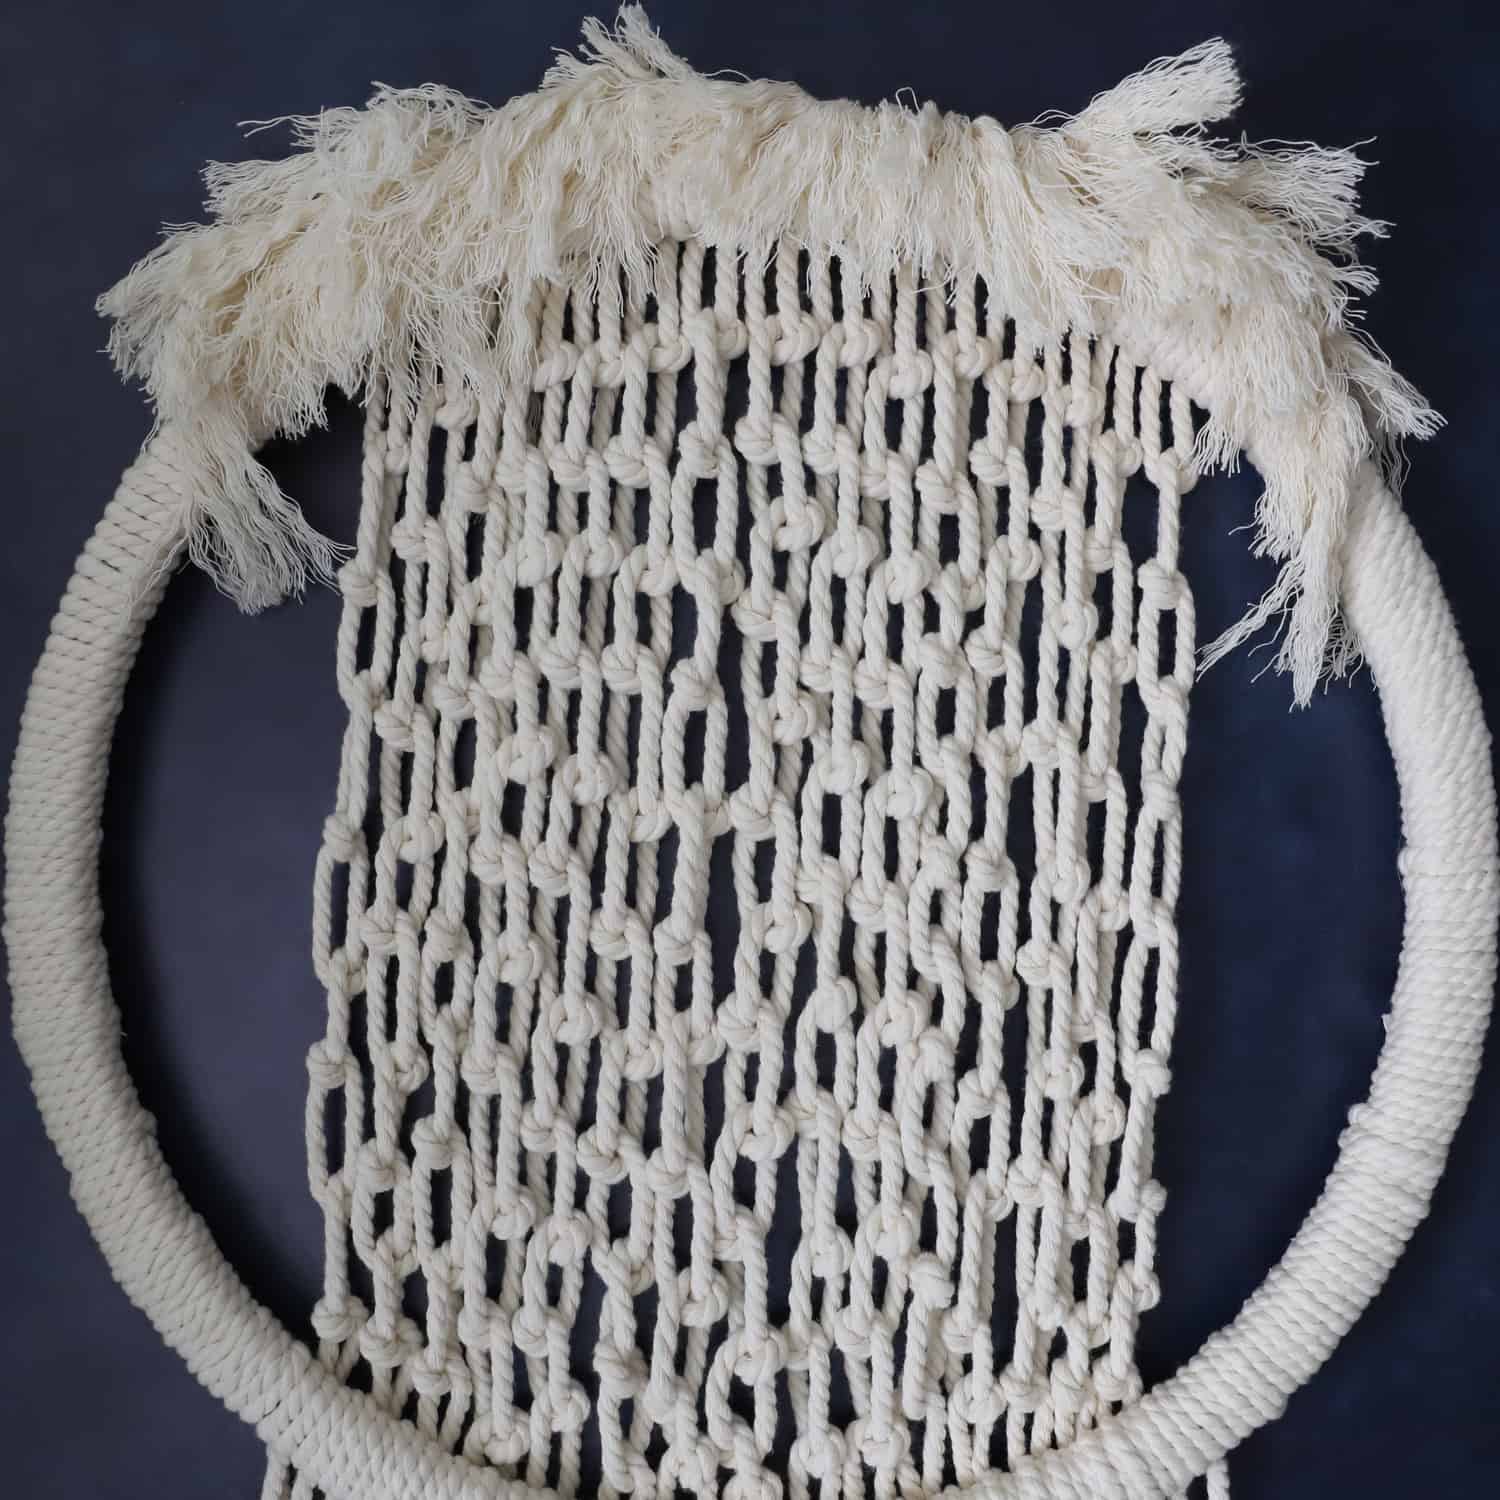
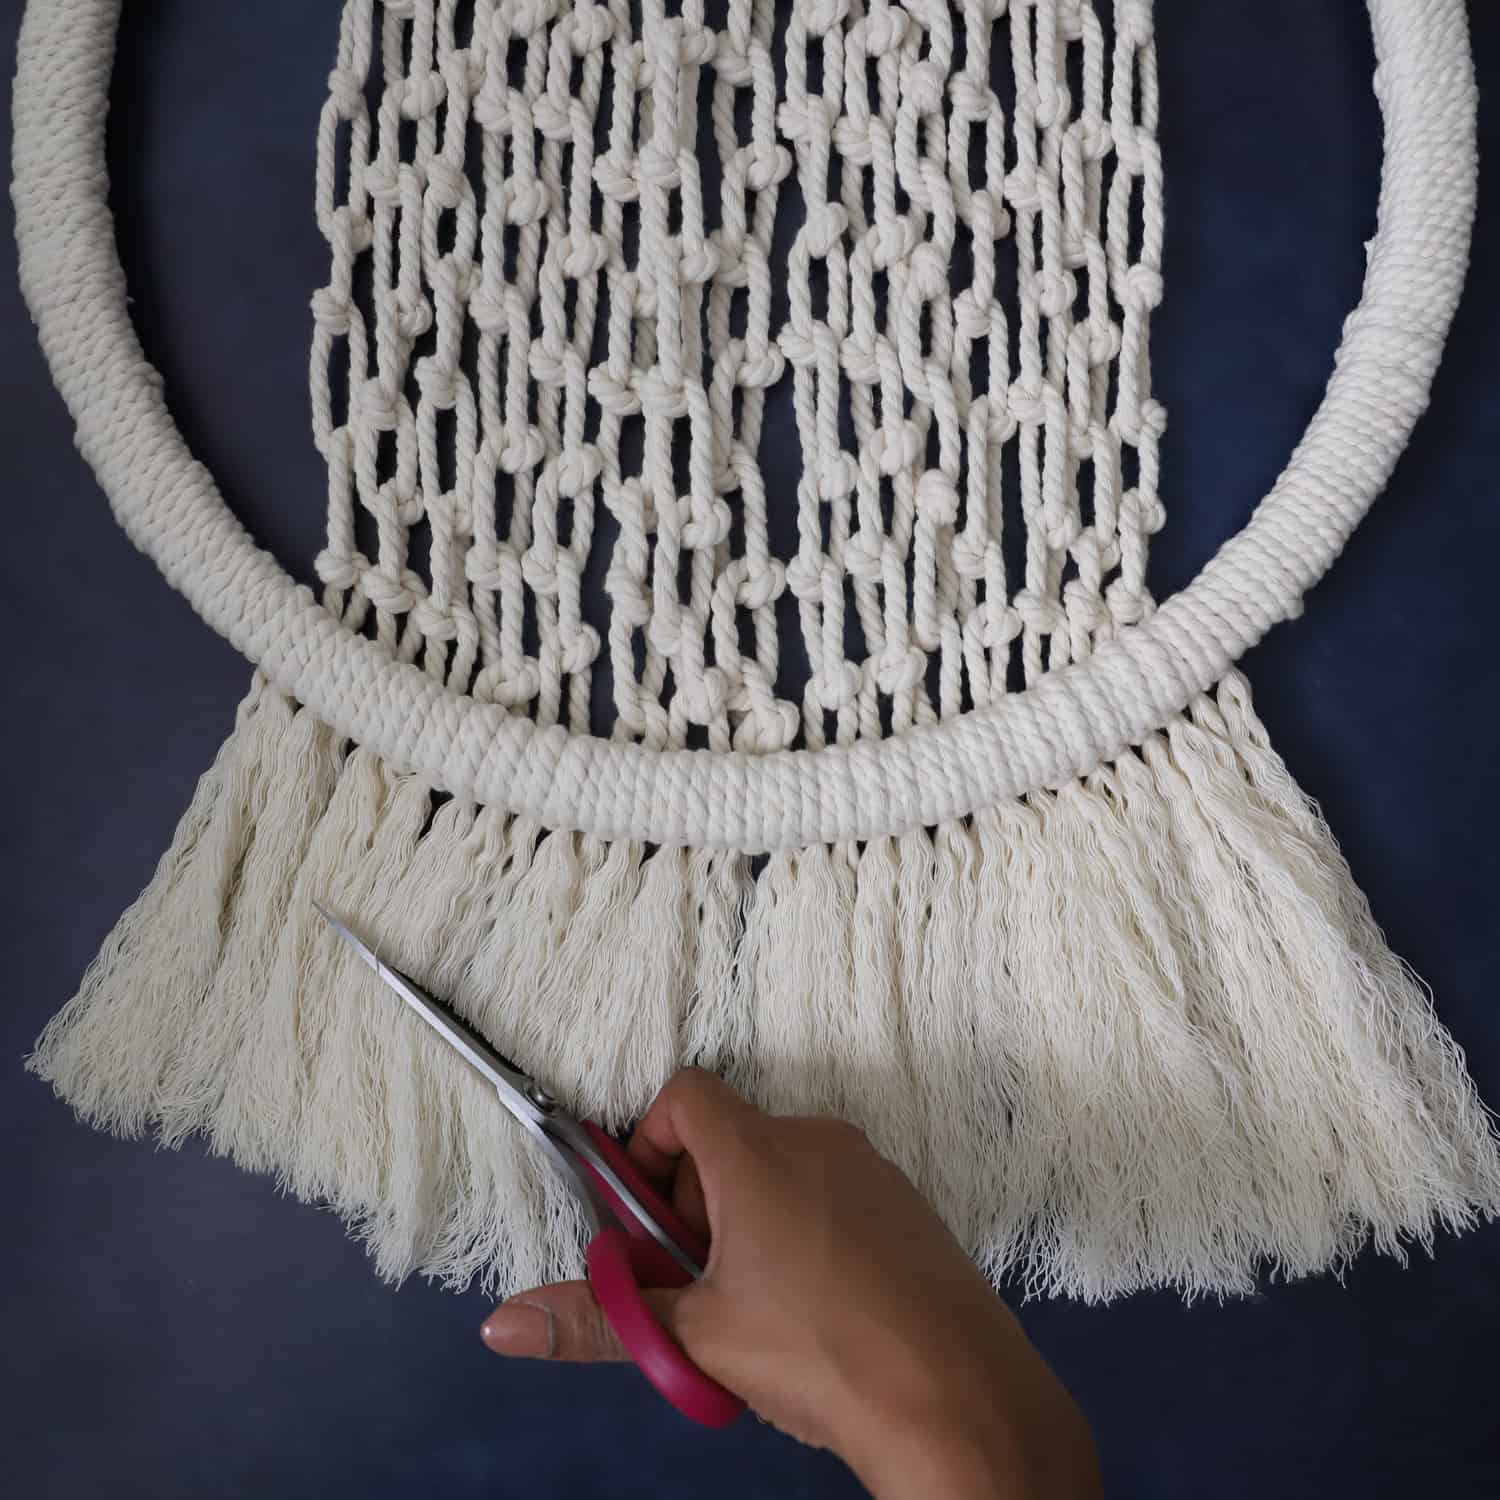
Step 8. Remove the masking tape from the ends, then use a macrame brush to comb out the cording for a fringe look.
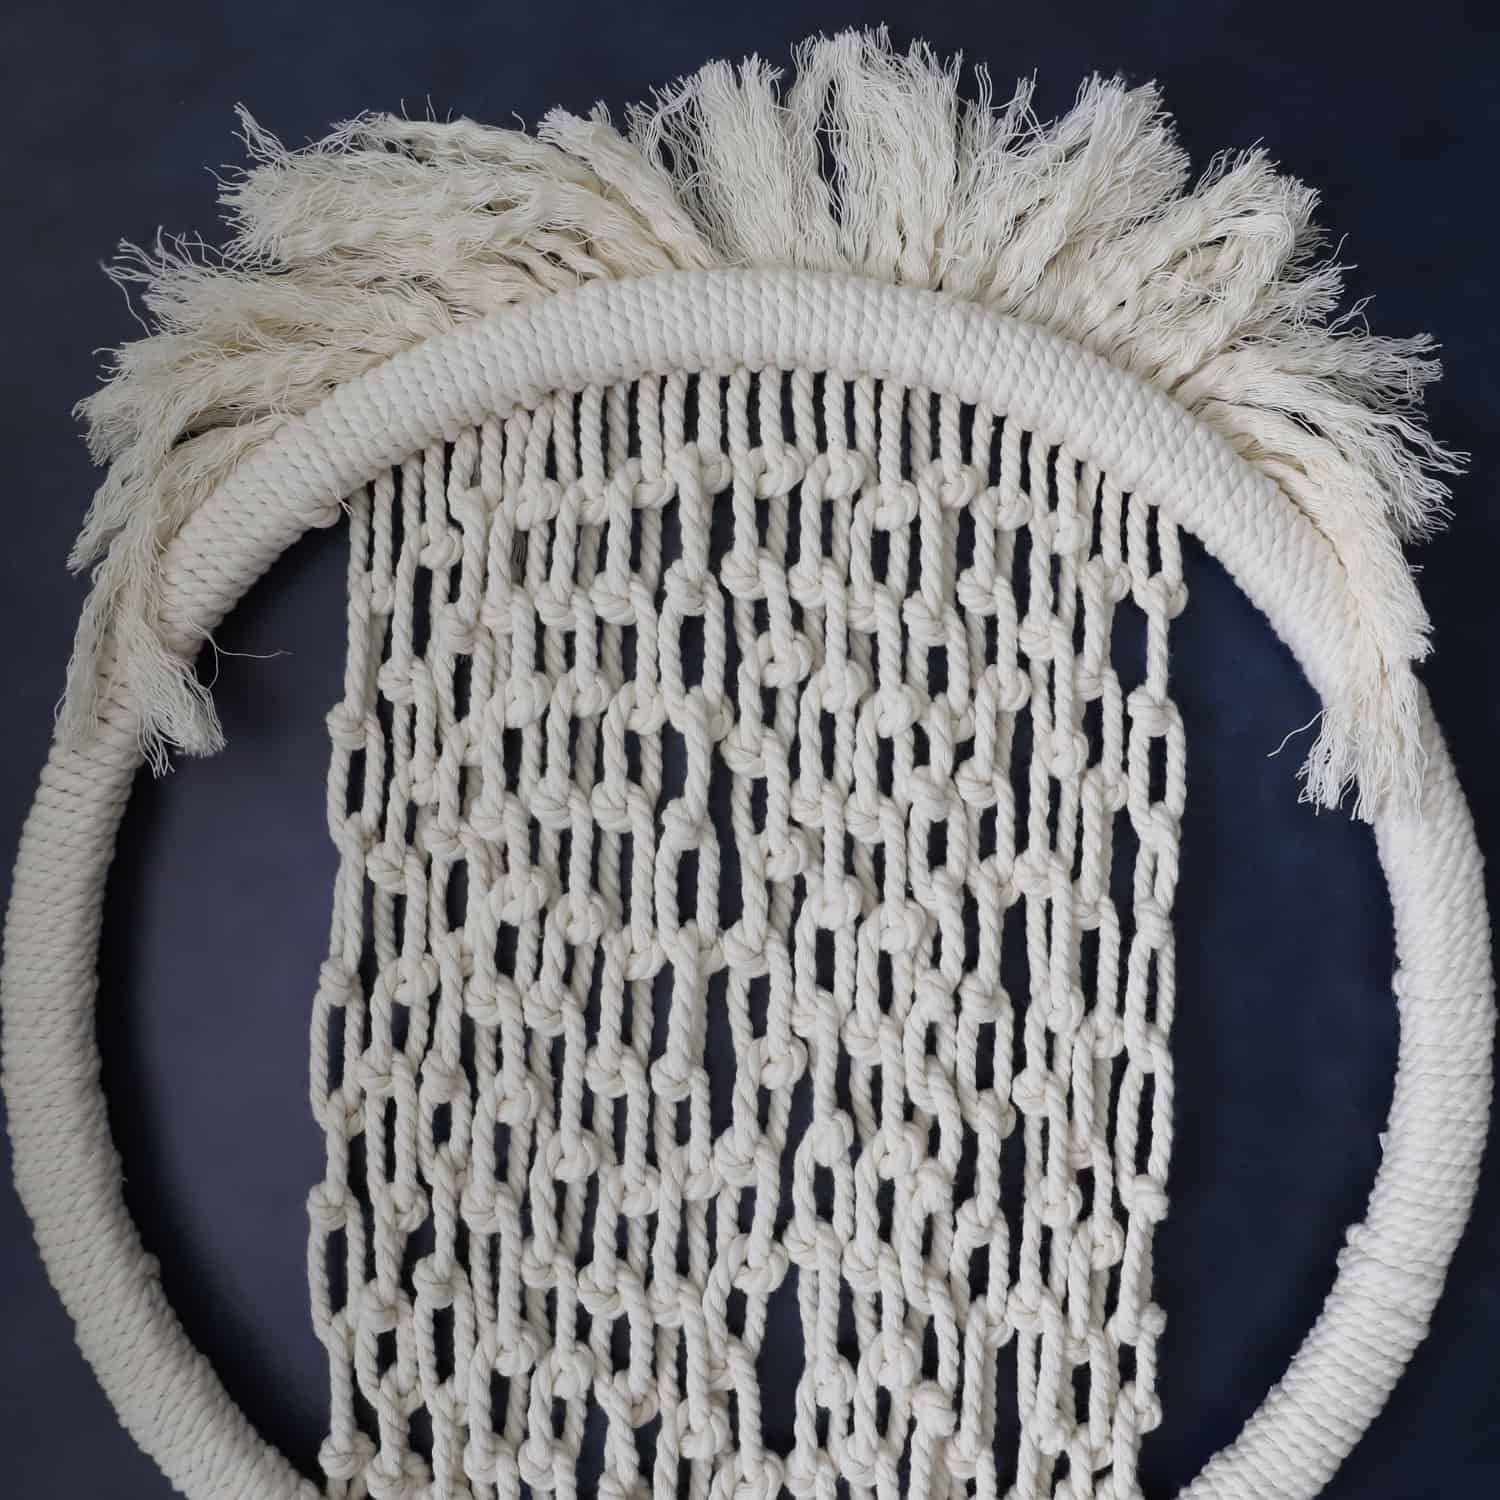
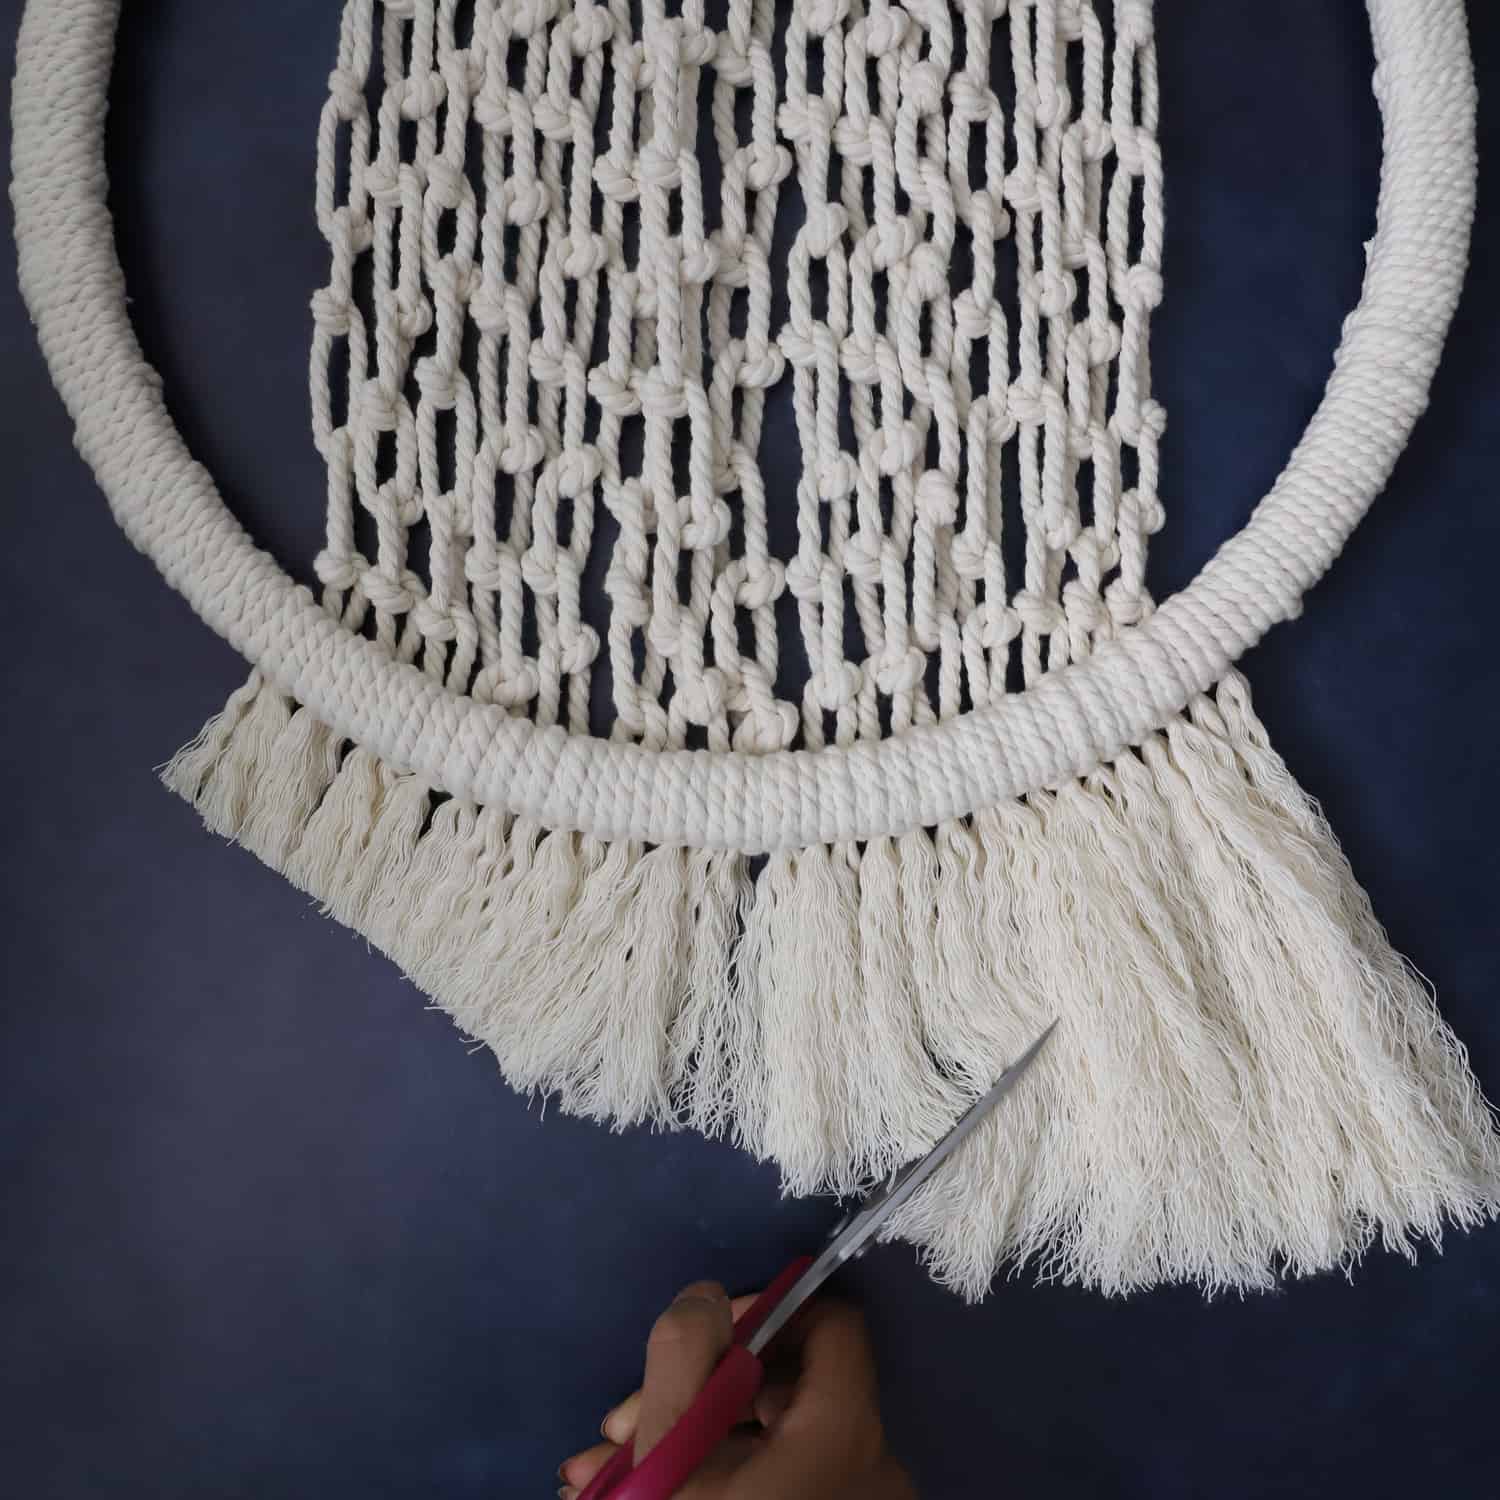
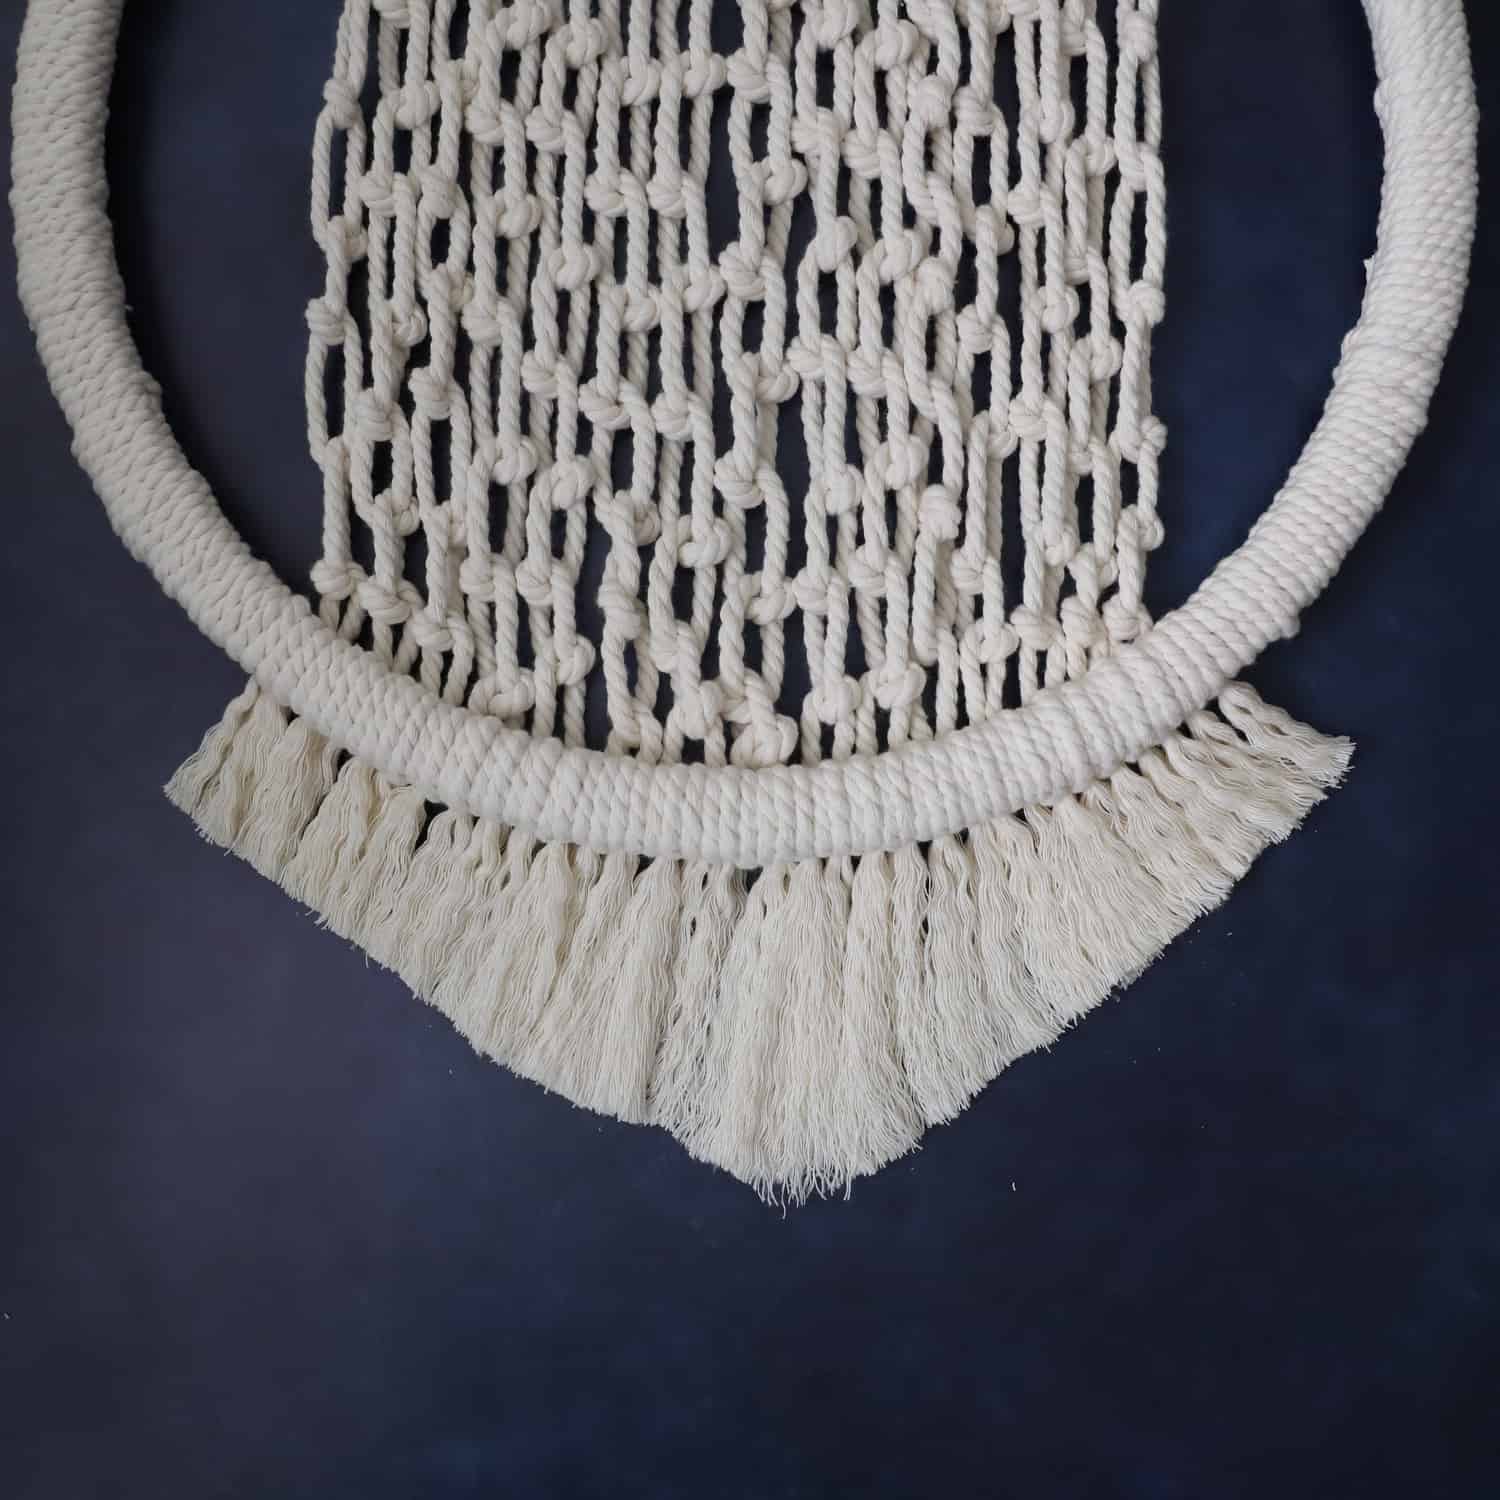
Step 9. Trim the bottom fringe straight or at an angle.
Step 10. Hang your macrame decor using nails or these clear hooks.
These have a 2 lb weight limit, so I would suggest using 2.

Here’s how the macrame wall decor looks in my home!
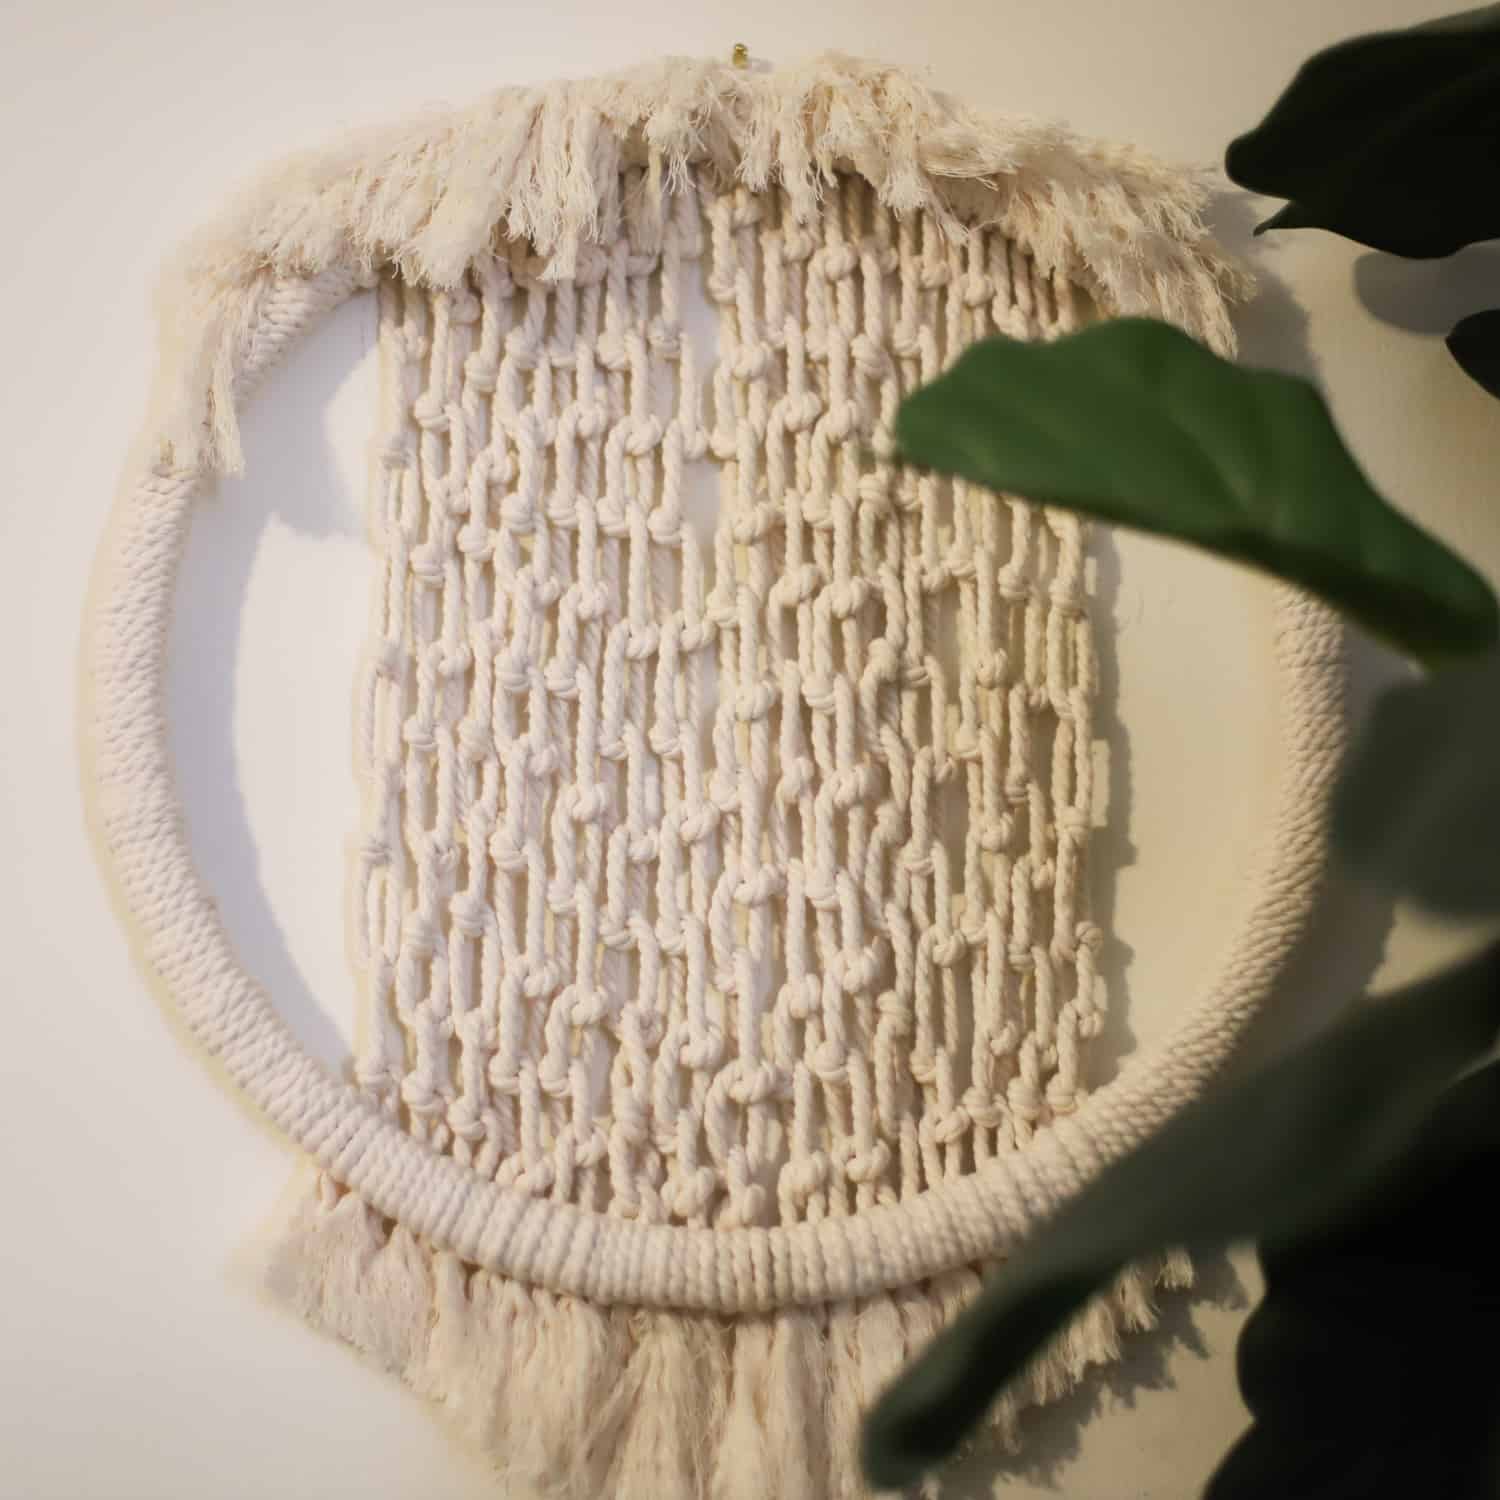
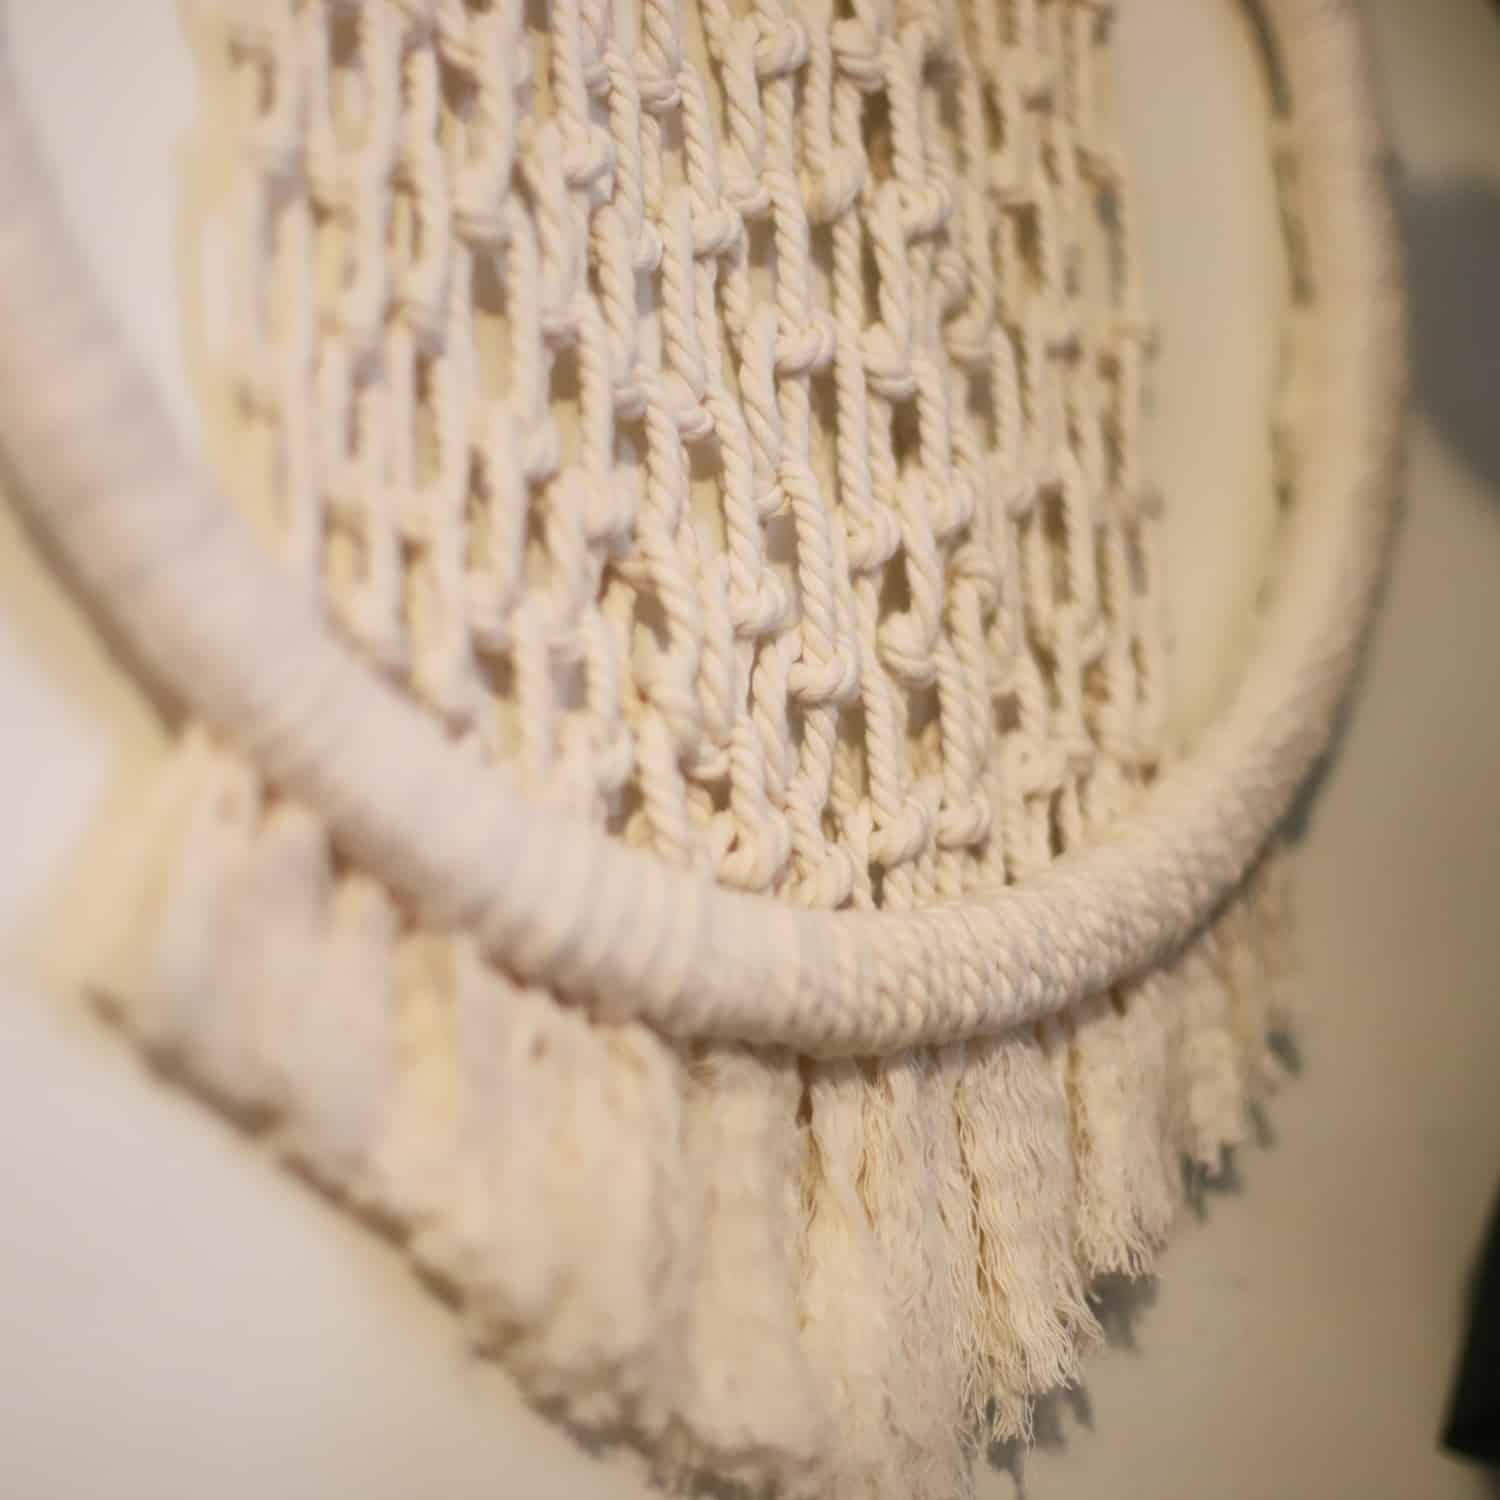
Look at the up-close details!
I hope that you enjoyed this macrame tutorial and if you’re looking for another macrame blog, check out this plant hanger!
Be sure to tag #cloverusa and #makeitwithzeal in your finished project.
Well, until next time, have a craftastic day!
-Danielle
Want to check out more of my blogs and tutorials? Here are my social links below!
Blog | Instagram | Facebook | Pinterest | YouTube
Stay connected with Clover on Facebook | Twitter | Instagram | Pinterest | YouTube | Ravelry