Twirl and Swirl Beanie Crochet Pattern
Hello fellow crafters! My name is Elisa from Strings and Cuddles. It’s been quite a while since I shared with you my design. Guess what? Exciting things happened and one of which is that I gave birth to my second baby girl! I am so excited to be back again!
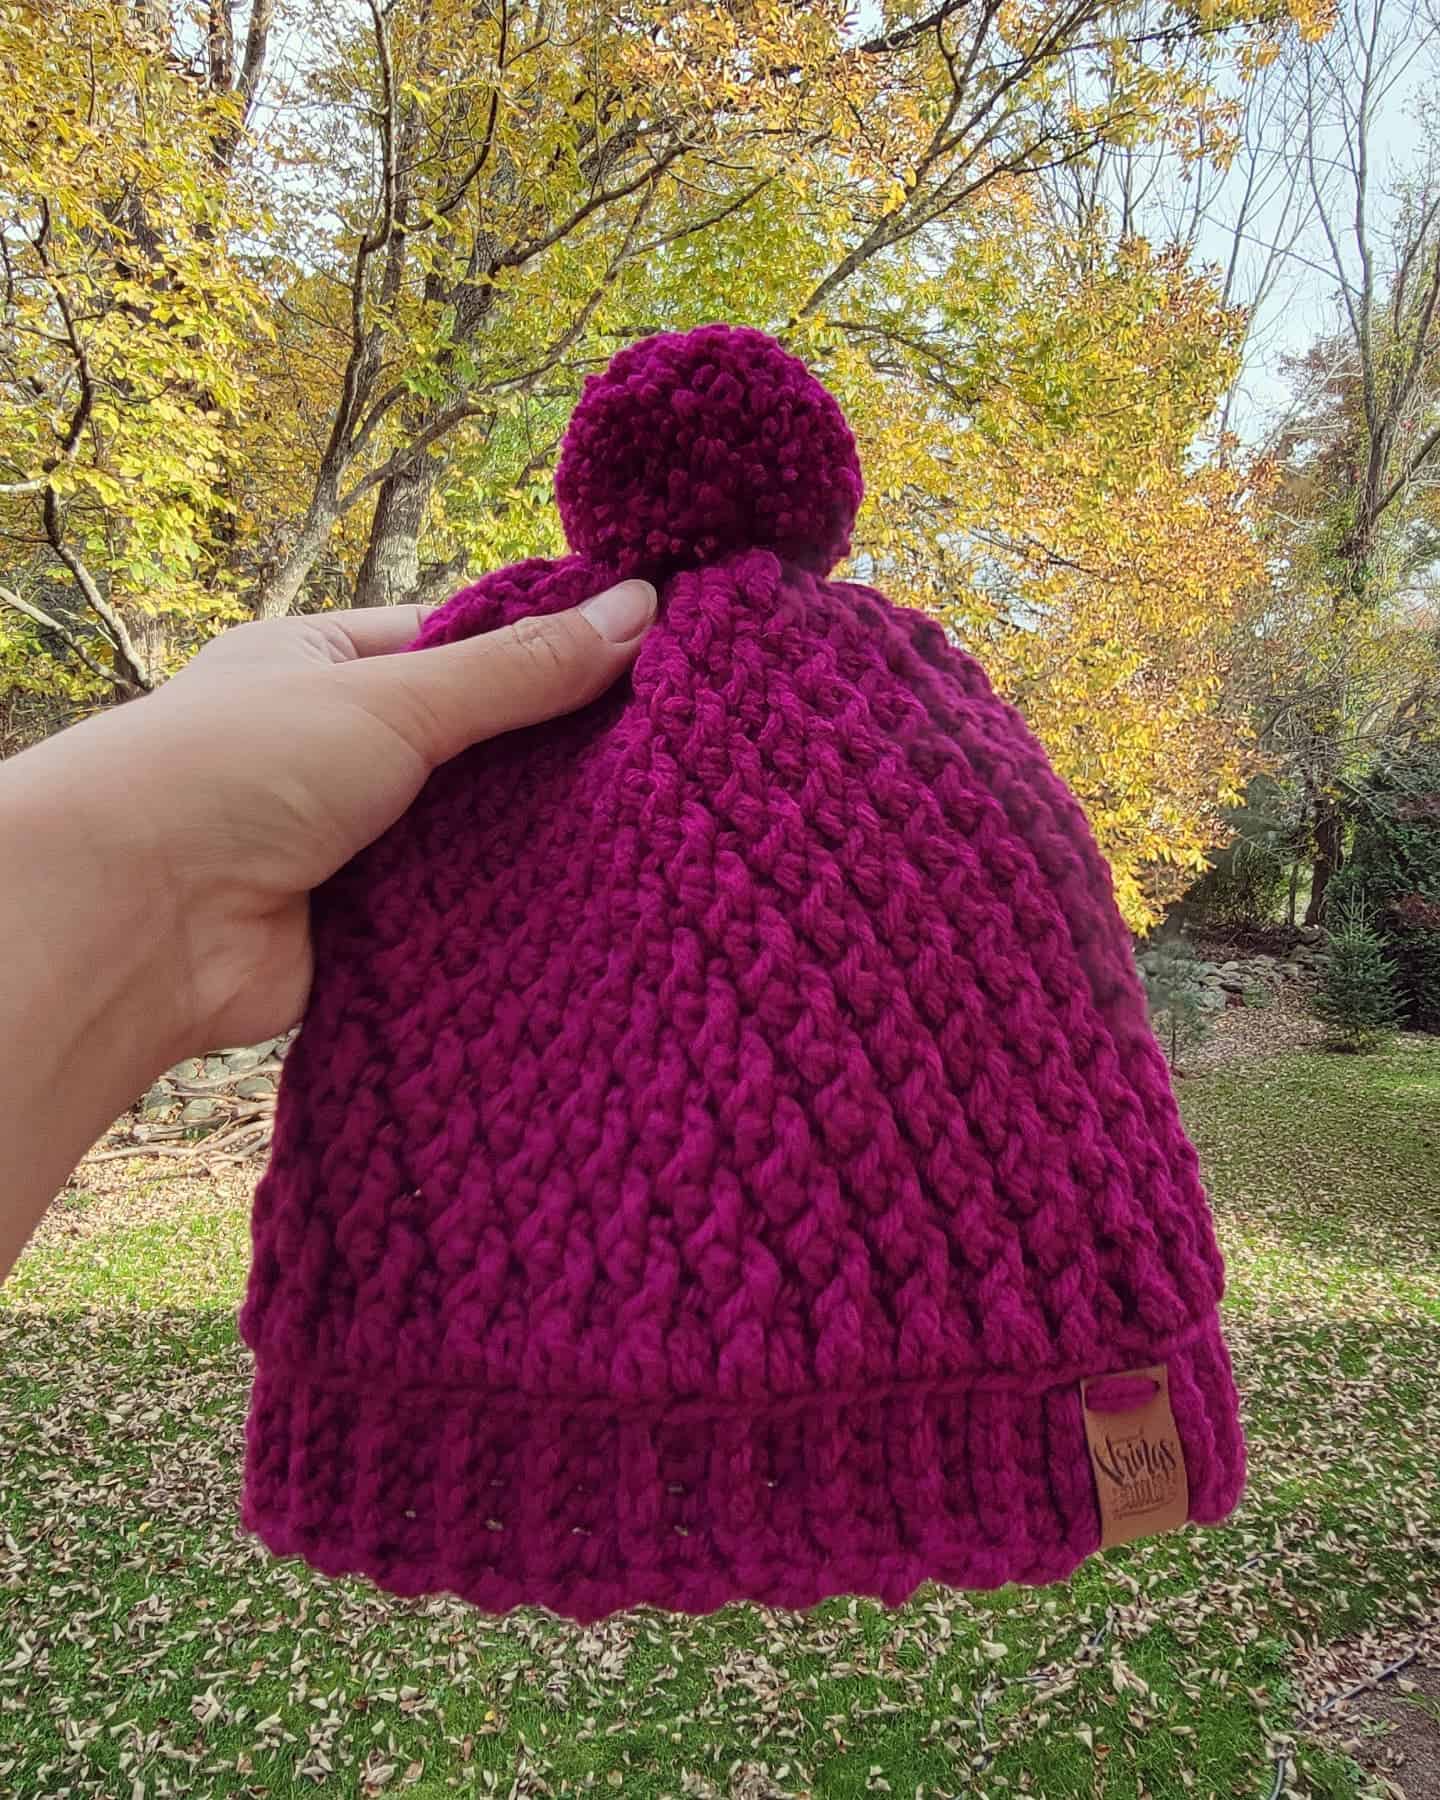
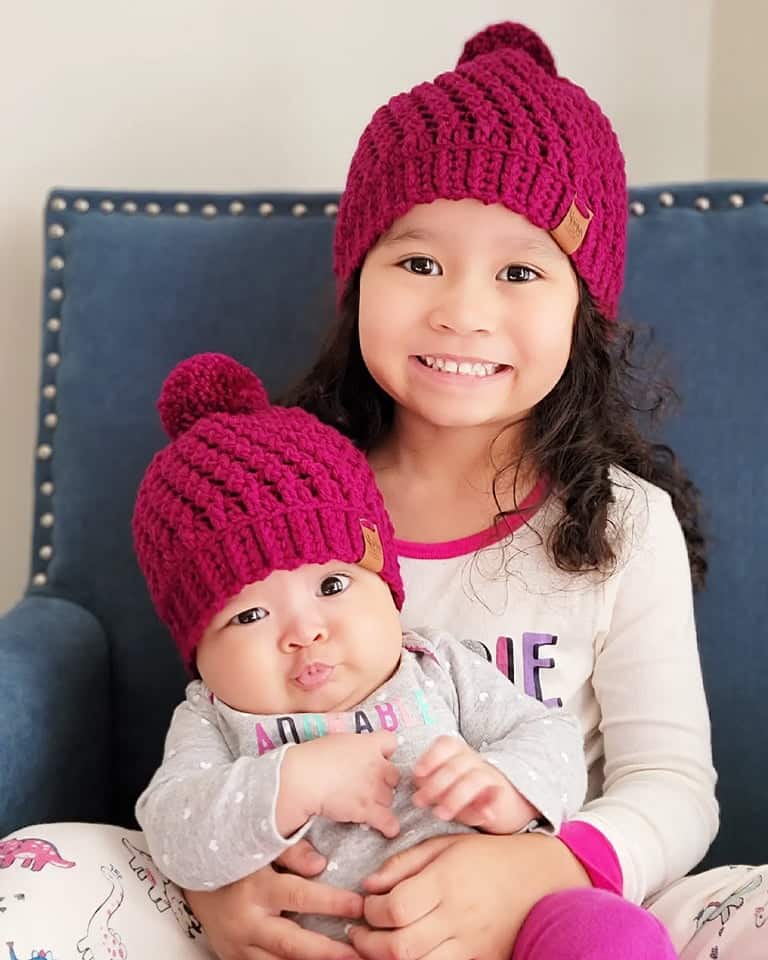
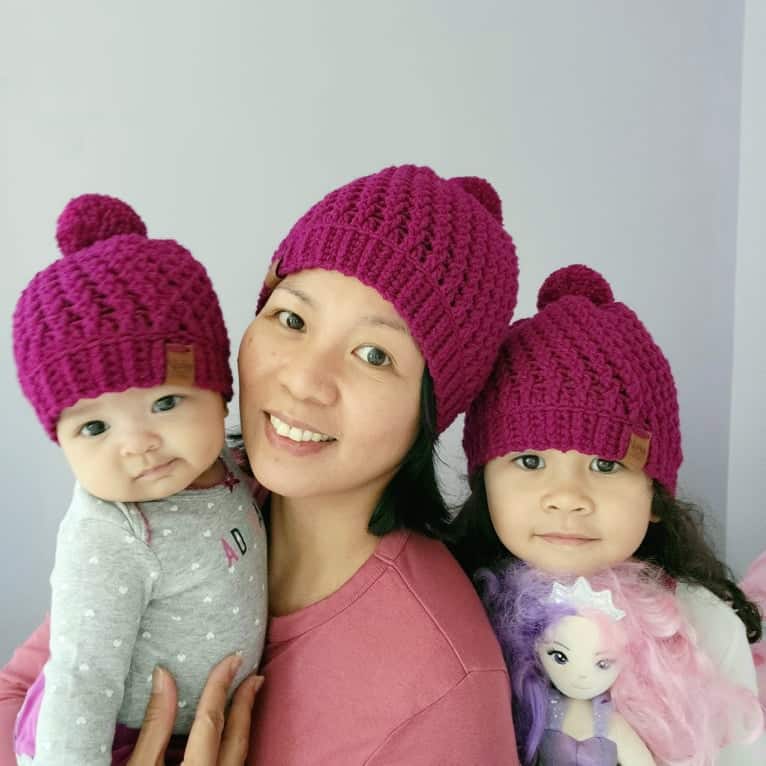
Cold weather is here! This means it is time to make something cozy and comfy! So today, I would like to share my latest beanie crochet pattern, the Twirl and Swirl Beanie! This pattern features fun and simple stitches that create a beautiful texture when combined.
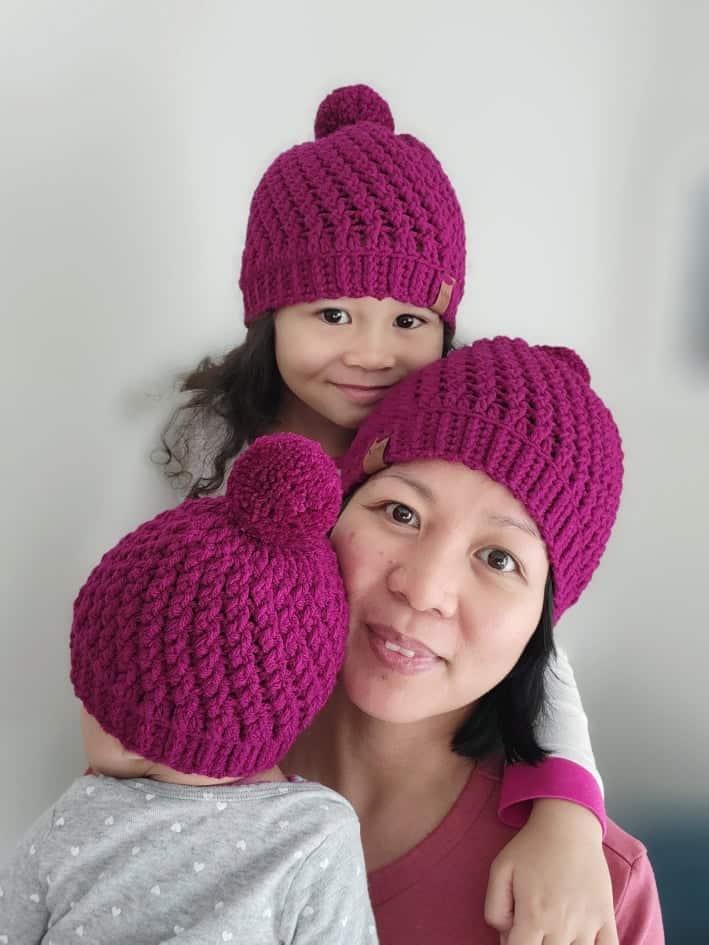
This beanie was first designed for adults only, but someone suggested if I could make it as mommy and me matching beanies. Well, your wish is my command, and thank you for that excellent suggestion! I went back to my design board and made the necessary adjustments to include baby and other sizes.
Without any more delay, let’s dive into the Twirl and Swirl Beanie pattern!
TWIRL AND SWIRL BEANIE CROCHET PATTERN
SKILL LEVEL: Advanced Beginner to Intermediate
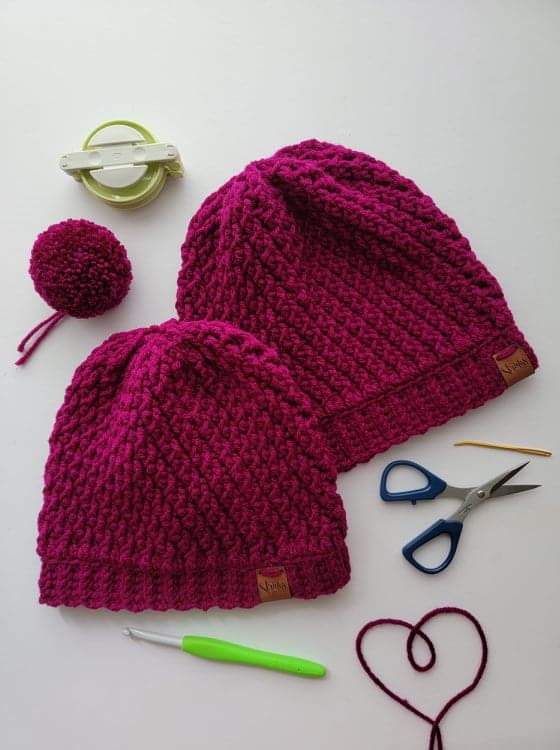
MATERIALS
Any Worsted Weight (#4) Yarn. I used Red Heart with Love (Acrylic Yarn; 198 g, 7 oz. approximately 370 yards) – 140 [150, 160, 170, 180, 190] yards
Amour Crochet Hook K (6.5mm) (or size needed to obtain gauge) – Art. No 1053/K
Mini Patchwork Scissors – Art. No 493/CW
Quick Locking Stitch Markers (Medium) – Art. No 3031
Jumbo Darning Needle Set – Art. No 340
Tape Measure
Clover Pompom Maker (Optional) – Art. No 3124
Faux Fur Pompom (Optional)
GAUGE: 6 sts x 4 rounds = 2 inches
Ch 20, sl st in the 1st ch to form a ring then follow the instructions under Body Rounds 2 – 5.
FINISHED MEASUREMENT
| SIZES | HEAD CIRCUMFERENCE | HAT HEIGHT |
| 0 – 6 Months | 13 – 15 inches | 6 inches |
| 6 – 12 Months | 16 – 17 inches | 6.5 inches |
| Toddler (1 – 3 Y/O) | 17 – 19 inches | 7.5 inches |
| Child (3 – 10 Y/O) | 19 – 20 inches | 8 inches |
| Teen/Small Adult | 20 – 21 inches | 8.5 inches |
| Medium/Large Adult | 22 – 23 inches | 9 inches |
STITCHES AND ABBREVIATIONS | US Terminology
BLO – Back Loop Only
Ch(s) – Chain(s)
DC – Double Crochet
FPDC – Front Post Double Crochet
FPDC2tog – Front Post Double Crochet 2 Together (decrease)
FPSC – Front Post Single Crochet
PM – Place Marker
Rep – Repeat
RS – Right Side
SC – Single Crochet
Sk – Skip
Sl St(s) – Slip Stitch(es)
St(s) – Stitch(es)
WS – Wrong Side
NOTES
- Read the pattern carefully before starting and circle the numbers that apply to your size.
- This pattern is worked from the bottom (brim) up.
- The pattern is written as follows: 0-6 Months (6-12 Months, 1-3 Y/O Toddler, 3-10 Y/O Child, Teen/Small Adult, Medium/Large Adult).
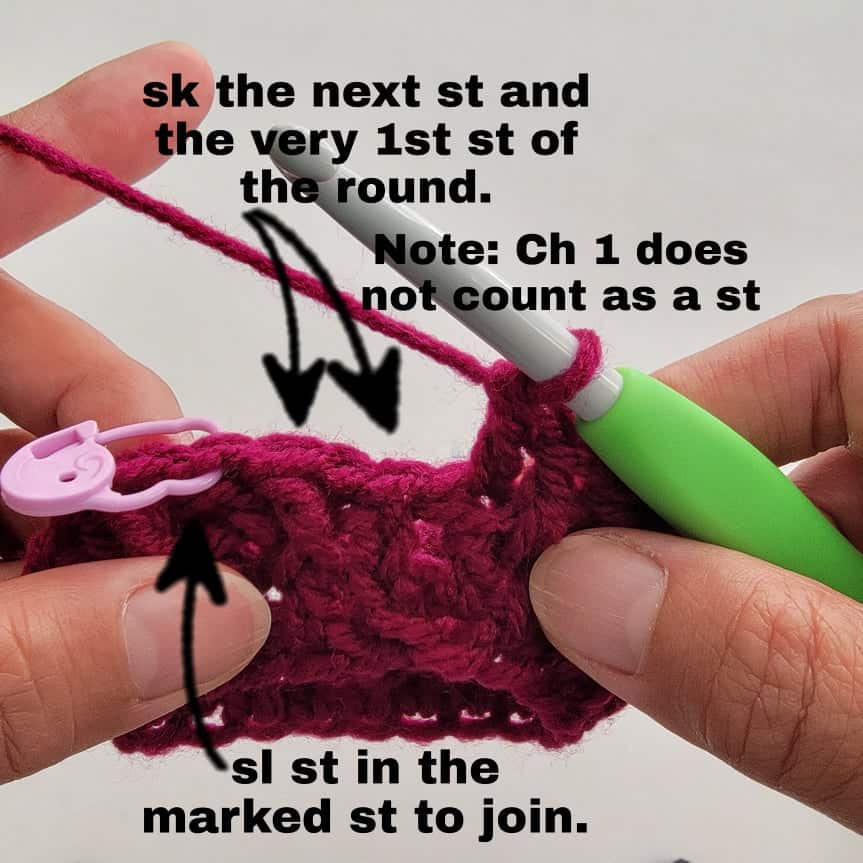
- The beginning ch 1 does NOT count as a stitch, while ch 3 counts as 1 DC.
- Not all heads conform to sizes by age; please measure for a more accurate fit. Please refer to the SIZES AND FINISHED DIMENSIONS table above under FINISHED MEASUREMENT.
- If you want your beanie to be slouchy, add a few more rows to the body of the beanie before continuing with the decreases or shaping of the crown.
- I recommend using stitch markers to mark the beginning st of each round of the beanie. Remember to move the stitch marker as you progress.
- The asterisk * indicates pattern repeats. You will need to repeat all the instructions between asterisks.
- Parentheses ( ) are used to indicate a group of stitches to be worked in the same st/post.
- Brackets [ ] are used to indicate the number of chs, rows, sts, and measurements.

PATTERN INSTRUCTIONS
BRIM
Ch 6 [6, 7, 7, 8, 8]
Row 1 (RS): SC in the 2nd ch from the hook and in each ch across. Turn. 5 [5, 6, 6, 7, 7] st
Row 2 (WS): Ch 1, FPSC to the last st, SC in the last st. Turn. 5 [5, 6, 6, 7, 7] st
Row 3 (RS): Ch 1, SC in each st across. Turn. 5 [5, 6, 6, 7, 7] st
Row 4 – 48 [52, 56, 60, 64, 68]: Rep Rows 2 and 3, ending with Row 2. 5 [5, 6, 6, 7, 7] st
Do not fasten off, place both short ends together (RS facing in), sl st closed through both loops in each st of the brim ends. Do not fasten off, turn brim inside out so the right side is facing out and sl st end is facing in. Continue with the BODY of the beanie.
BODY
Round 1: Ch 1, sl st (loosely) in each st around. Sl st in the 1st st to join. 48 [52, 56, 60, 64, 68] sts
Round 2: Ch 3 (counts as 1 DC), DC – BLO in each st around. Sl st in the 1st st to join. 48 [52, 56, 60, 64, 68] sts
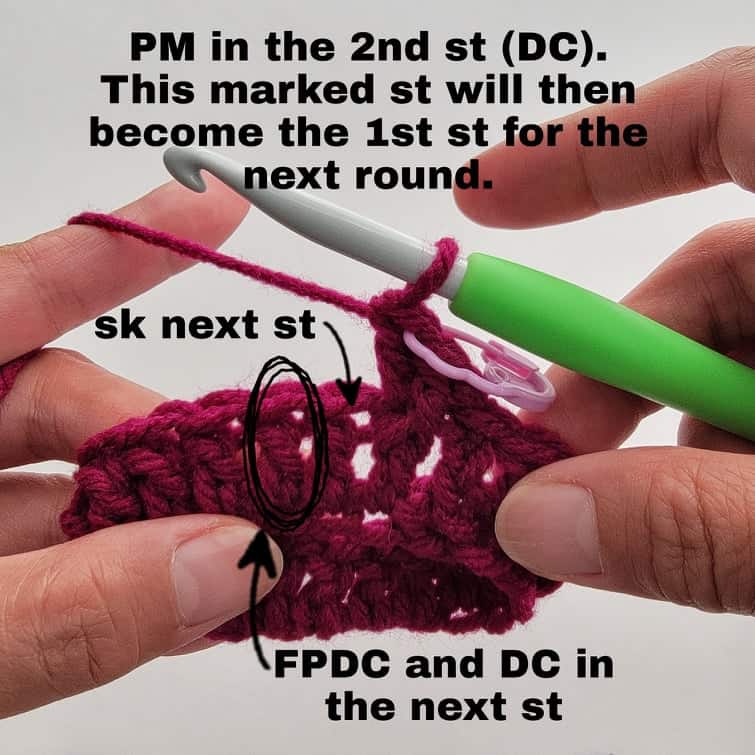
Note: From here onwards, PM in the very 1st DC of the round, unless otherwise stated. The marked st will become the 1st st of the next round.
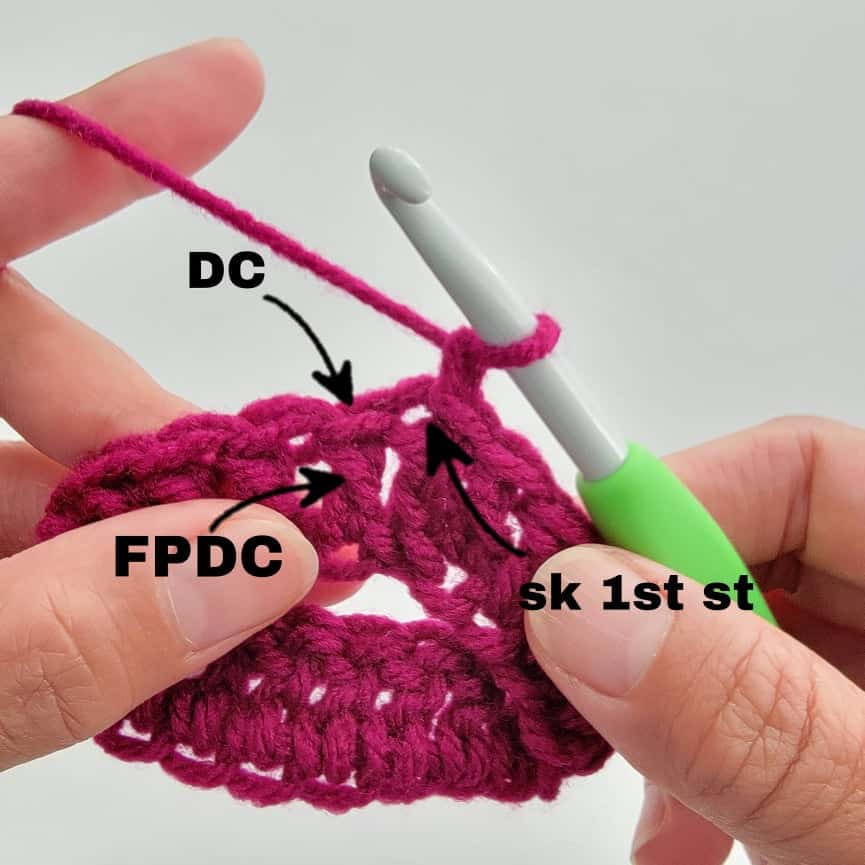
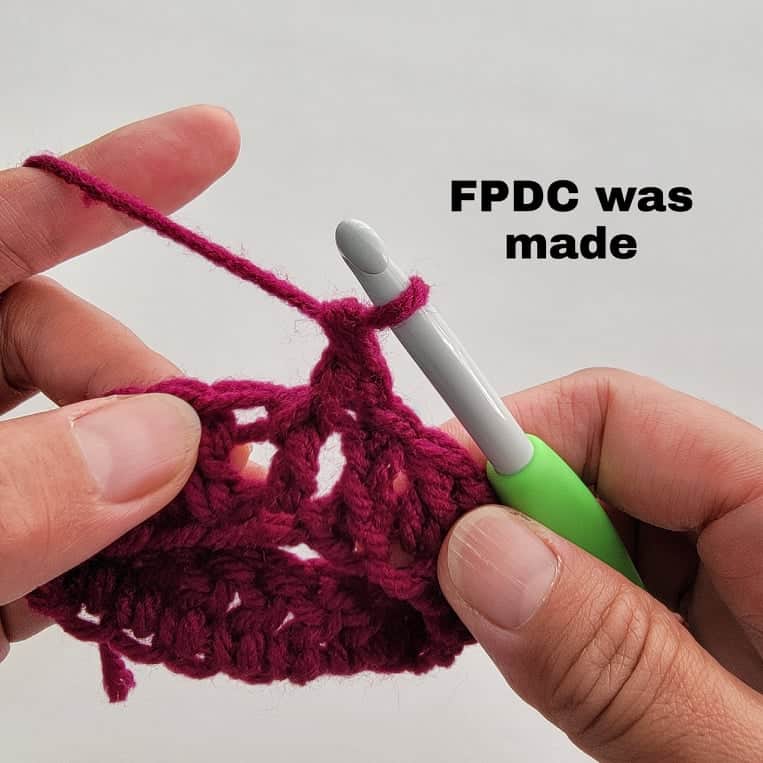
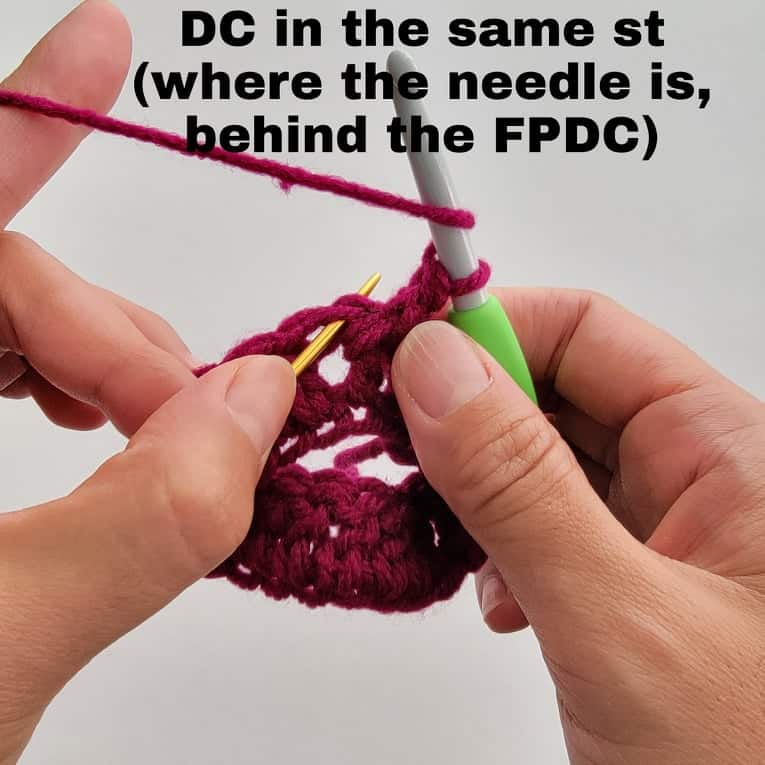
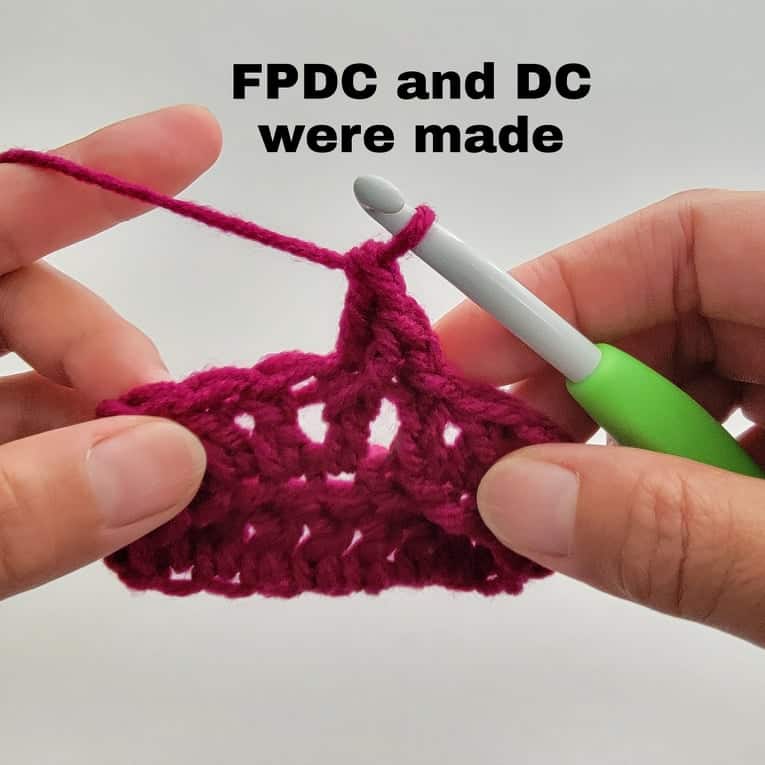
Round 3: Ch 1, sk 1st st, (FPDC in the next st, DC in the same st – PM), sk next st, *(FPDC in the next st, DC in the same st), sk next st*; Rep from * to * around, sk the 1st st and sl st in the marked st to join. 48 [52, 56, 60, 64, 68] sts
Note: From here onwards, work the FPDC and DC in the DC st (skipping the FPDC) from the prev row.
Round 4: Ch 1, (FPDC in the 1st st, DC in the same st – PM), sk next st, *(FPDC in the next st, DC in the same st), sk next st*; Rep from * to * around, sk the 1st st and sl st in the marked st to join. 48 [52, 56, 60, 64, 68] sts
Round 5 – 11 [12, 13, 15, 16, 17]: Rep Round 4
Round 12 [13, 14, 16, 17, 18]: Ch 1, FPDC in the 1st st, sk next st, *FPDC in the next st, sk next st*; Rep from * to * around sk the 1st st and sl st in the marked st to join. 24 [26, 28, 30, 32, 34] sts
Round 13 [14, 15, 16, 18, 19]: Ch 1, FPDC2tog around and sl st in the marked st to join. 12 [13, 14, 15, 16, 17] sts
FINISHING
Fasten off leaving a long tail (approximately 12 inches) for closing the top of the beanie. With the long tail yarn and tapestry needle, thread through the sts around to close the top. Thread through the sts for the second time then pull tight to cinch closed. Fasten off and weave in all ends.
Add your favorite pompom for a finishing touch!
That’s it, and you are done!
To download the PDF copy of Twirl and Swirl Beanie and my other patterns, please visit my Ravelry shop.
I would love to see your Twirl and Swirl Beanie! Please tag me @stringsandcuddles and use these hashtags, #stringsandcuddles, #stringsandcuddlesdesigns, and #TwirlandSwirlBeanie so I could see and share it too!
Please don’t hesitate to reach out with questions regarding this pattern.
As always, stay safe and happy crocheting!
XOXO,
Elisa
Connect with me Instagram | Pinterest | Facebook | Blog | Ravelry