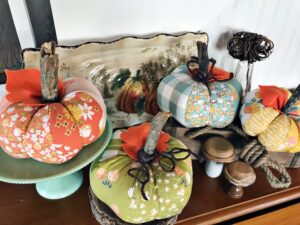
Fabric Pumpkins! {Sewing Tutorial}
Hello friends! Have you ever made a fabric pumpkin? If not, you are really missing out on a super fun project!
I’ve enjoyed making some new fresh ones for myself and gifting to friends as well and I thought a tutorial today would be a great idea! I have used an old tutorial on a blog post for a few years now that is probably my favorite. So I am using those pattern pieces from that post today, but writing my own tutorial!

So gather your supplies and lets get sewing!
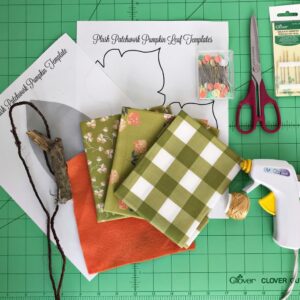
Necessary Supplies:
- Fabric scraps (you can use different fabric pieces or all of the same)
- Bordeaux Ultimate Shears 200 – Art. No 4942
- Flower Head Pins – Art. No Q2506
- Polyfill stuffing
- Embroidery floss
- Gold Eye Tapestry Needle, size 18 – Art. No 238
- Felt scrap
- Wooden stem (salvaged from a tree branch)
- Covered floral wire or ribbon (optional)
- Hot glue gun
- Pumpkin piece and leaf templates (download here and here)
Instructions:
Step One: Print your templates from the links in the above supply list. This will be for your pumpkin pieces as well as your leaf.
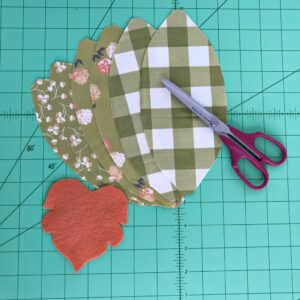
Step Two: Choose your fabric scraps. Cut six of the pumpkin pieces. You can use all different scraps or all the same. Use the leaf pattern to cut one felt leaf.
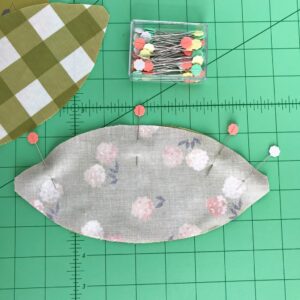
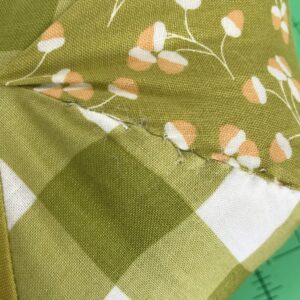
Step Three: Place two pumpkin pieced right sides together and pin along the curved edge. NOTE: If using different fabric pieces, alternate them the way that you would like.
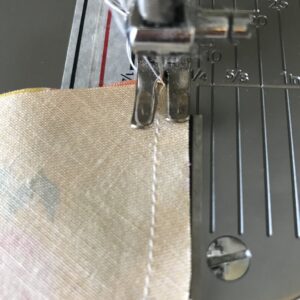
Step Four: Sew a 1/4 inch seam allowance along the curved edge.
Step Five: Pin and sew a third pumpkin piece to one of the pieces you’ve already sewn. This will create half of your pumpkin. Set this aside.
Step Six: Repeat steps 3 – 5 doing the same with the remaining three pieces.
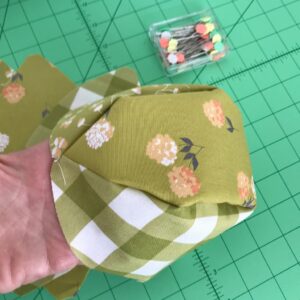
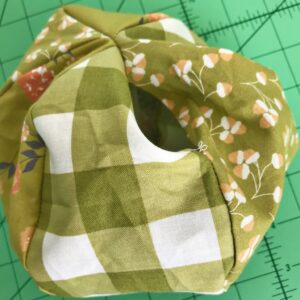
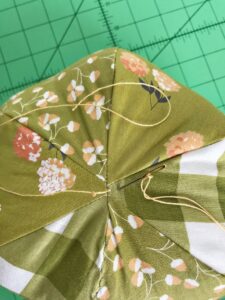
Step Seven: Now you will have two large pieces. Line these up, right sides together along the entire raw edges and pin carefully. You will have a large circle.

Step Eight: Sew along that entire pinned circle, leaving a 2 inch opening towards the bottom of the pumpkin. This will be for turning and filling. NOTE: I also backstitch several times where the top seams and bottom seams come together. This reinforces both the top and bottom of the pumpkin.
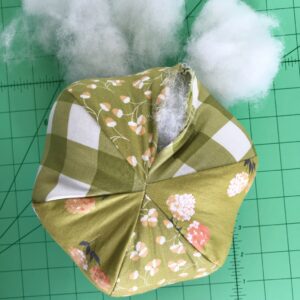
Step Nine: Turn right sides out.
Step Ten: Stuff your pumpkin with polyfill stuffing until it is slightly firm. You do not want to overstuff your pumpkin, but you do want it to be full enough to hold the shape well.
Step Eleven: Hand sew the opening closed using a ladder stitch.
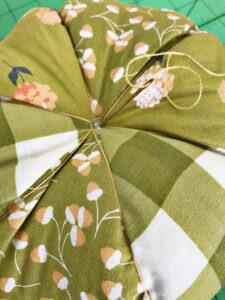
Step Twelve: Cut a strand of embroidery thread approximately 105 inches long. Thread the floss into your needle, tying a large knot about six inches from the bottom of the thread, creating a “tail”! Poke your needle into the bottom of the pumpkin and push the needle and thread all the way through the pumpkin and out the top.
Step Thirteen: Wrap the thread along the seams of the pumpkin to the bottom and repeat step twelve. Do this all the way around the pumpkin, snugging the thread tightly so that it creates a nice tufted pumpkin!
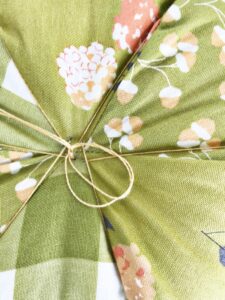
Step Fourteen: Tie the remaining thread to the existing “tail” and create a very tight knot. Trim threads a 1/2 inch from the knot.
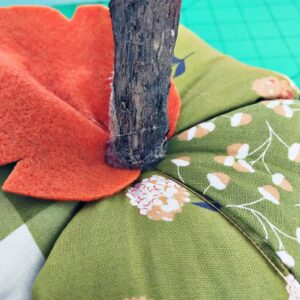
Step Fifteen: Using a hot clue gun, attach your felt leaf and stem.
Step Sixteen: You can finish decorating your pumpkin with a ribbon or you can use covered heavy floral wire to create pumpkin vine tendrils!
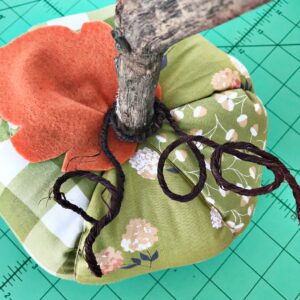
You have finished your pumpkin! They are super addicting to make and oh so fun to decorate with! You can use so many different fabric colors and styles and once you start you won’t know when to stop!

Happy Pumpkin Sewing!
~ Dori ~