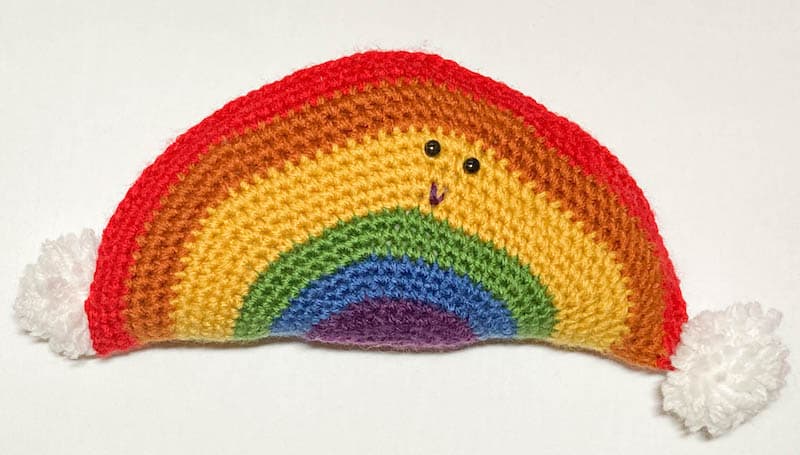
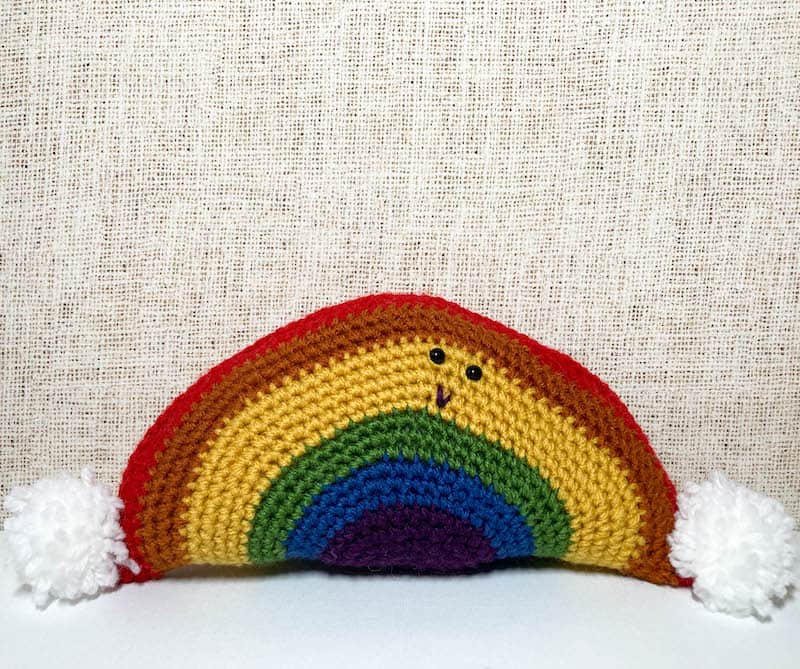
Smiling Rainbow Softie
Hello! This is Marie from Underground Crafter. I’m so excited to share my crochet pattern for the Smiling Rainbow Softie today. This is a beginner-friendly project using many of my favorite Clover tools, and I’ve linked up several helpful tutorials to guide you through making your own version.
Rainbows are such a wonder and they bring so many fun colors together! I added pom pom “clouds” to my version since we only get to see rainbows after the rain!
Finished Size
- Approximately 9” (23 cm) wide (diameter) x 4.5” (11.5 cm) height (radius).
Materials
- Clover Amour US Size G/4 mm (Art. No 1045/G) crochet hook, or size needed to obtain gauge.
- Clover Quick Locking Stitch Marker Set (Art. No 3033).
- Clover Darning Needle (Art. No 340).
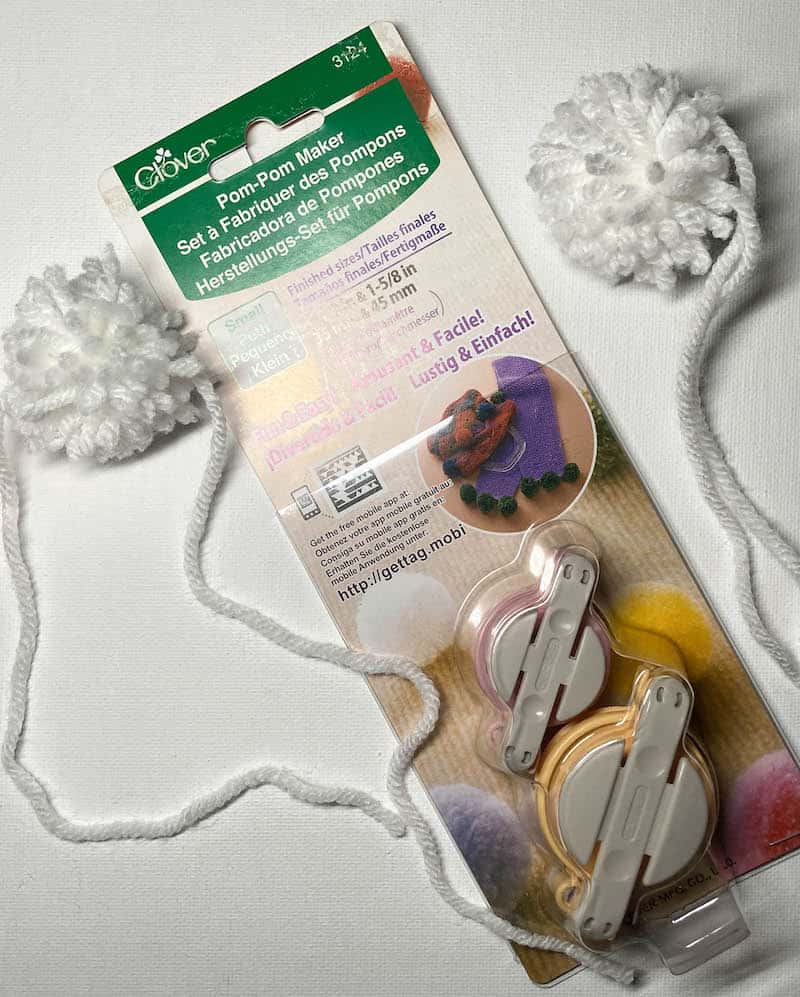
- Clover Pom Pom Maker, Small (Art. No 3124).
- Lion Brand Vanna’s Choice yarn (100% acrylic, 3.5 oz/100 g, 170 yd/156 m) – 1 skein each in 145 Eggplant (CA), 109 Colonial Blue (CB), 172 Kelly Green (CC), 158 Mustard (CD), 135 Rust (CE), 113 Scarlet (CF), and 100 White (CG), or approximately 32 yd (29.5 m) in each of 7 colors in any medium weight yarn.
- Fairfield Poly-Fil Premium Polyester Fiber Fill – 12 ounce bag.
- 6 mm black safety eyes – 1 pair.
Gauge
- Through Rnd 22 in pattern = 8.5” (21.5 cm). Exact gauge is not critical for this project. Stitches should be small so that fiber filling doesn’t show through.
Abbreviations Used in This Pattern (U.S. Terminology)
- CA – Color A
- CB – Color B
- CC – Color C
- CD – Color D
- CE – Color E
- CF – Color F
- CG – Color G
- ch – chain
- rep – repeat
- Rnd(s) – Round(s)
- RS – right (front) side
- sc – single crochet
- sl st – slip stitch
- st(s) – stitch(es)
- yo – yarn over
- Repeat instructions after asterisk as indicated.
- [] Repeat instructions between brackets as indicated.
Pattern Notes
- The video below demonstrates how to make a pom pom.
- Ch 1 at beginning and sl st at end of rounds do not count as stitches.
- Oombawka Design has helpful video and photo tutorials demonstrating the magic ring here.
- Change colors in last yo of final stitch of round, as demonstrated in this video from Stacey Trock.
- Crochet over your yarn tails as you work, as demonstrated in this video from Fiber Flux.
- Fiber Flux has a helpful video demonstrating the embroidery back stitch here.
- I have helpful photo tutorial demonstrating seaming with single crochet.
Instructions
Clouds
- Make 2 pom poms with 1-5/8” size Clover Pom Pom Maker (see Pattern Notes).
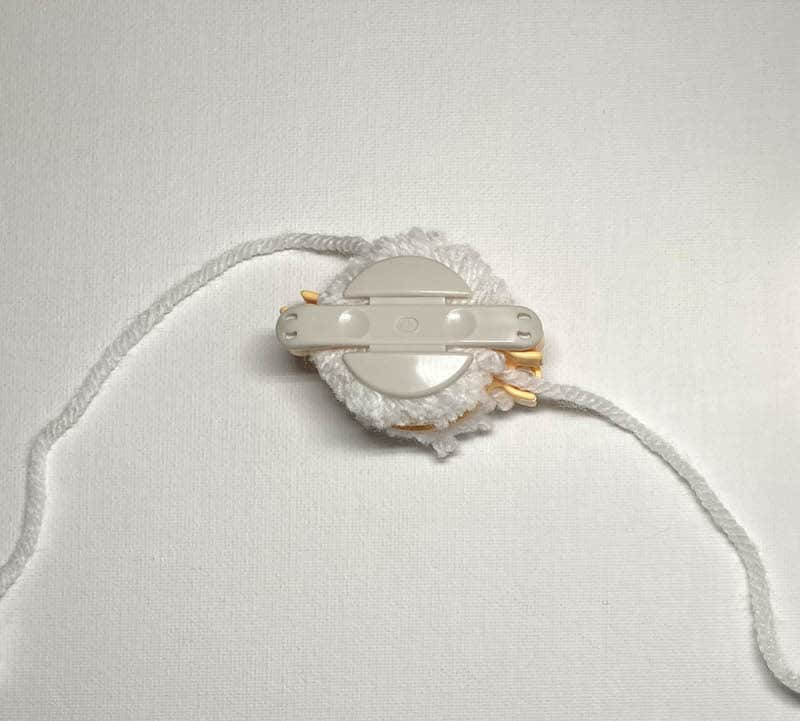
- Tie off with long yarn tails (approximately 12”/30.5 cm) for seaming. Set pom poms aside.
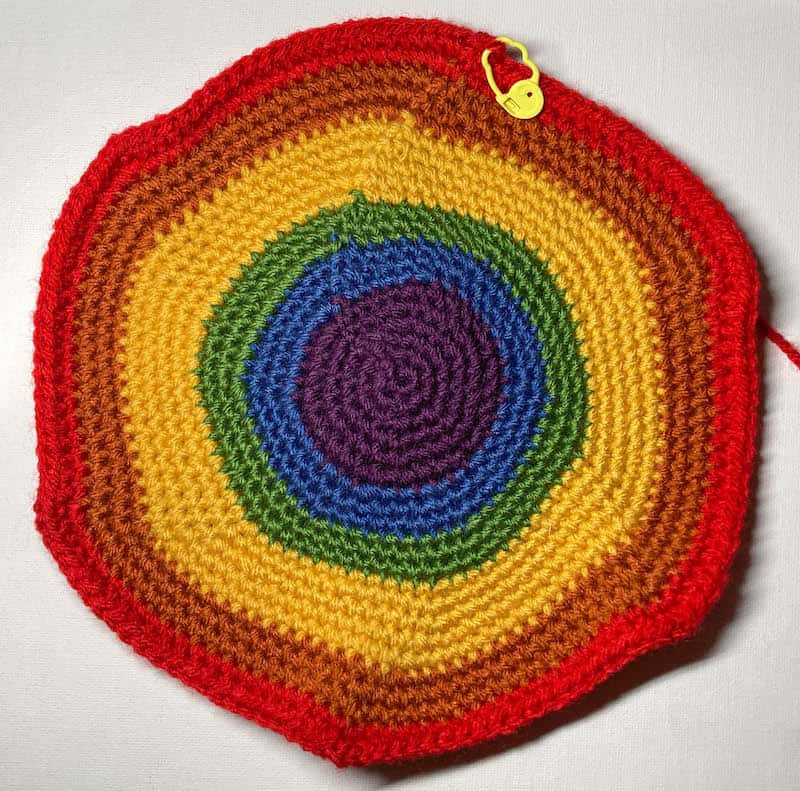
Rainbow
- With CA, start with magic adjustable ring (see Pattern Notes).
- Rnd 1: (RS) Ch 1, 6 sc in ring, pull yarn tail tightly to close ring, sl st to first sc to join (see Pattern Notes). (6 sts)
- Rnd 2: Ch 1, 2 sc in same st and in each st around, sl st to first sc to join. (12 sts)
- Rnd 3: Ch 1, starting in first st *2 sc in next st, sc in next st; rep from * around, sl st to first sc to join. (18 sts)
- Rnd 4: Ch 1, starting in first st *2 sc in next st, sc in next 2 sts; rep from * around, sl st to first sc to join. (24 sts)
- Rnd 5: Ch 1, starting in first st *2 sc in next st, sc in next 3 sts; rep from * around, sl st to first sc to join. (30 sts)
- Rnd 6: Ch 1, starting in first st *2 sc in next st, sc in next 4 sts; rep from * around, fasten off CA, join CB with sl st to first sc to join. (36 sts)
- Rnd 7: Ch 1, starting in first st *2 sc in next st, sc in next 5 sts; rep from * around, sl st to first sc to join. (42 sts)
- Rnd 8: Ch 1, starting in first st *2 sc in next st, sc in next 6 sts; rep from * around, sl st to first sc to join. (48 sts)
- Rnd 9: Ch 1, starting in first st *2 sc in next st, sc in next 7 sts; rep from * around, fasten off CB, join CC with sl st to first sc to join. (54 sts)
- Rnd 10: Ch 1, starting in first st *2 sc in next st, sc in next 8 sts; rep from * around, sl st to first sc to join. (60 sts)
- Rnd 11: Ch 1, starting in first st *2 sc in next st, sc in next 9 sts; rep from * around, sl st to first sc to join. (66 sts)
- Rnd 12: Ch 1, starting in first st *2 sc in next st, sc in next 10 sts; rep from * around, fasten off CC, join CD with sl st to first sc to join. (72 sts)
- Rnd 13: Ch 1, starting in first st *2 sc in next st, sc in next 11 sts; rep from * around, sl st to first sc to join. (78 sts)
- Rnd 14: Ch 1, starting in first st *2 sc in next st, sc in next 12 sts; rep from * around, sl st to first sc to join. (84 sts)
- Rnd 15: Ch 1, starting in first st *2 sc in next st, sc in next 13 sts; rep from * around, sl st to first sc to join. (90 sts)
- Rnd 16: Ch 1, starting in first st *2 sc in next st, sc in next 14 sts; rep from * around, sl st to first sc to join. (96 sts)
- Rnd 17: Ch 1, starting in first st *2 sc in next st, sc in next 15 sts; rep from * around, fasten off CD, join CE with sl st to first sc to join. (102 sts)
- Rnd 18: Ch 1, starting in first st *2 sc in next st, sc in next 16 sts; rep from * around, sl st to first sc to join. (108 sts)
- Rnd 19: Ch 1, starting in first st *2 sc in next st, sc in next 17 sts; rep from * around, sl st to first sc to join. (114 sts)
- Rnd 20: Ch 1, starting in first st *2 sc in next st, sc in next 18 sts; rep from * around, fasten off CE, join CF with sl st to first sc to join. (120 sts)
- Rnd 21: Ch 1, starting in first st *2 sc in next st, sc in next 19 sts; rep from * around, sl st to first sc to join. (126 sts)
- Rnd 22: Ch 1, starting in first st *2 sc in next st, sc in next 20 sts; rep from * around, sl st to first sc to join. (132 sts)
- Do not fasten off CF. Remove loop from crochet hook and place stitch marker in loop to prevent unraveling. Set crochet hook aside.
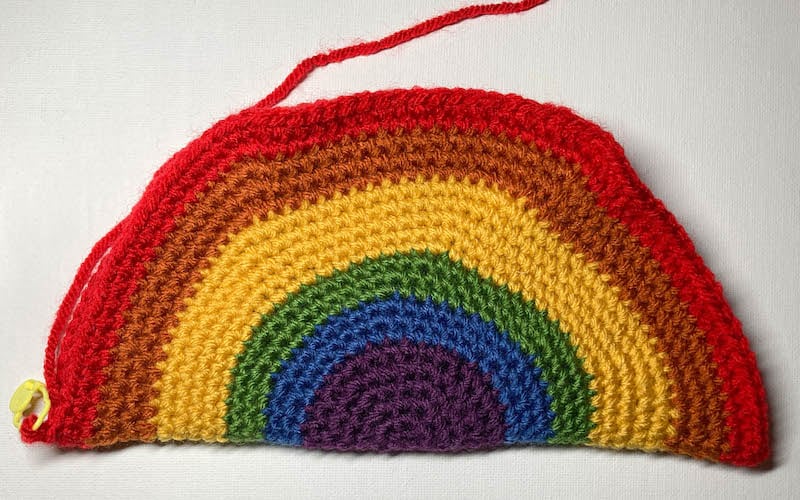
- Fold circle in half along diameter so that RS is facing out and wrong sides are together, seam line is on one half (the “back” of your project), and stitch marker is at corner.
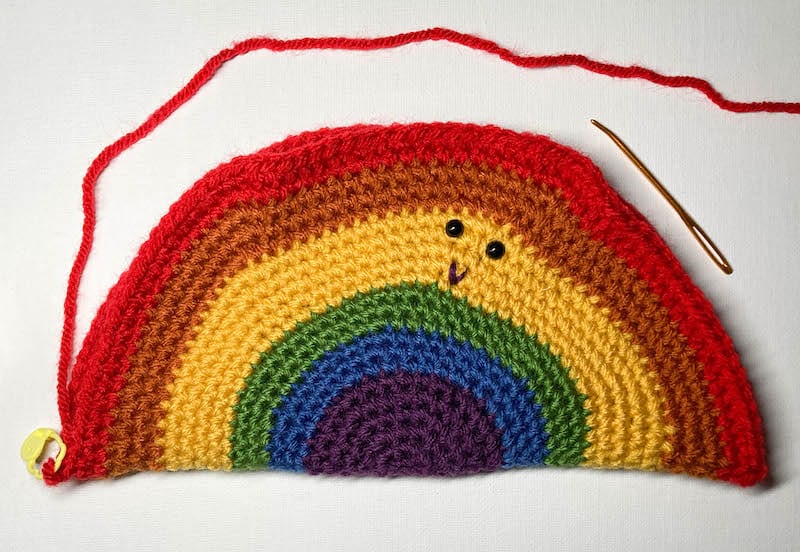
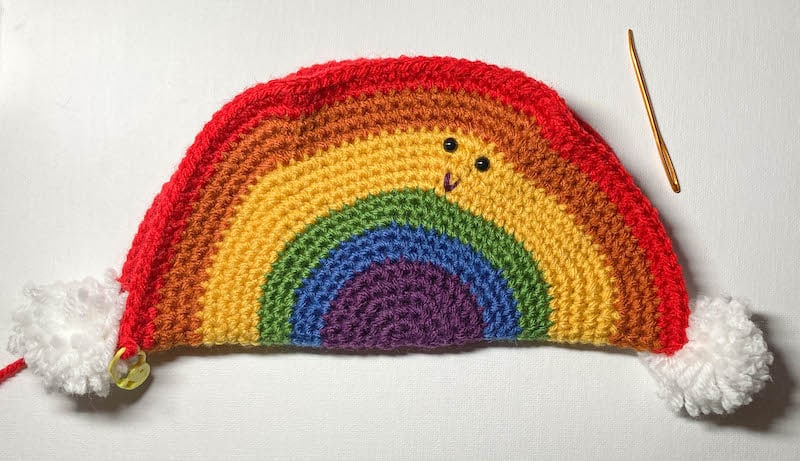
- Position safety eyes on wider CD section of rainbow on RS. When satisfied with position, secure by snapping washer firmly into position on back.

- Thread darning needle with 12”/30.5 cm piece of yarn in CA. Create a smile using back stitch (see Pattern Notes). Weave in yarn tails on wrong side (inside of fold).
- Thread darning needle with yarn tails in CG from first pom pom. Secure pom poms by sewing into inside of fold. Repeat for second pom pom. With darning needle, weave in ends on inside of fold.
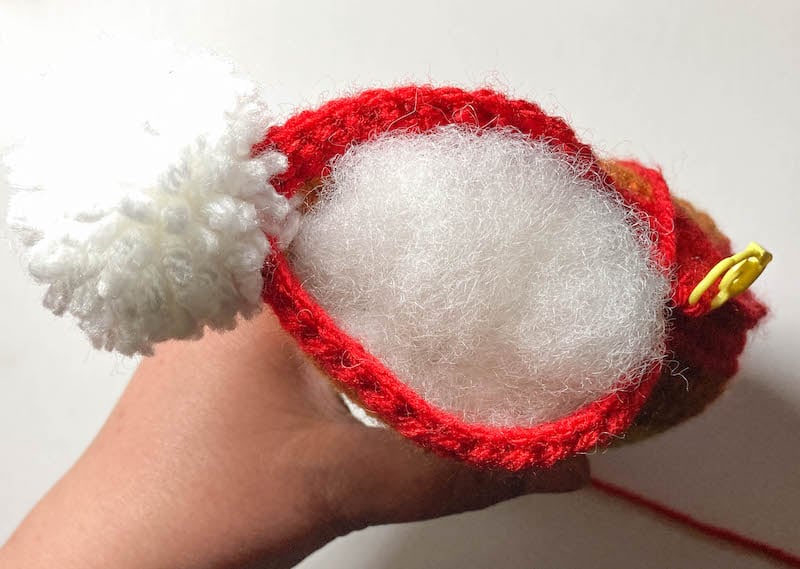
- Remove stitch marker and replace hook in loop. Line up stitches on both curved edges and join with a single crochet seam by working through both pieces (see Pattern Notes) as follows (as Rnd 23): Ch 1, 2 sc in first st, [sc in next 21 sts, 2 sc in next st] twice. (50 sts) Stuff firmly with fiber filling, sc in next 19 sts, adding additional fiber filling as necessary. Fasten off CF. (69 sts total)
- With darning needle, weave in ends on inside of Softie.
I hope you enjoyed this project! If you make your own Smiling Rainbow Softie, I’d love to see it. Tag me or follow me online to share! Newsletter | Underground Crafter Website | Facebook | Instagram | Pinterest | Ravelry | YouTube