How to Knit a Flat Panel with the Wonder Knitter
Hi Everyone! I’m Ashley, the designer and maker behind The Loopy Lamb. I’m so excited to be invited back to the Clover blog to teach you all how knit a flat panel on the Clover Wonder Knitter.
The Wonder Knitter is a fun and easy to use tool that is typically used to knit i-cords but you can do panel knitting too! So if you want to make flat panels to make things like little scarves for dolls or sew multiple flat panels together to make bigger projects, you can do that with this technique.

Supplies You’ll Need to Follow Along With This Tutorial:
- Clover Wonder Knitter with the Yellow disc attached, and the green loom tool included in the kit- Art. No 3101
- Yarn of any weight and colour. I’m using Lion Brand Vanna’s Choice worsted weight yarn (size 4) in Dusty Blue.
- A Sharp Pair of Scissors (Clover Patchwork Mini Scissors – Art. No 493/CW work great for this and are what I’m using here)
- Clover Tapestry Needle for weaving in ends – Art. No 339
Setting Up Your Wonder Knitter:
Step One: Place the end of your yarn through the center of the Wonder Knitter from the top and out through the bottom of the cylinder. You may find step two easier if you hold the end of the yarn with your pinky finger or between the cylinder and your hand that’s holding the Wonder Knitter.
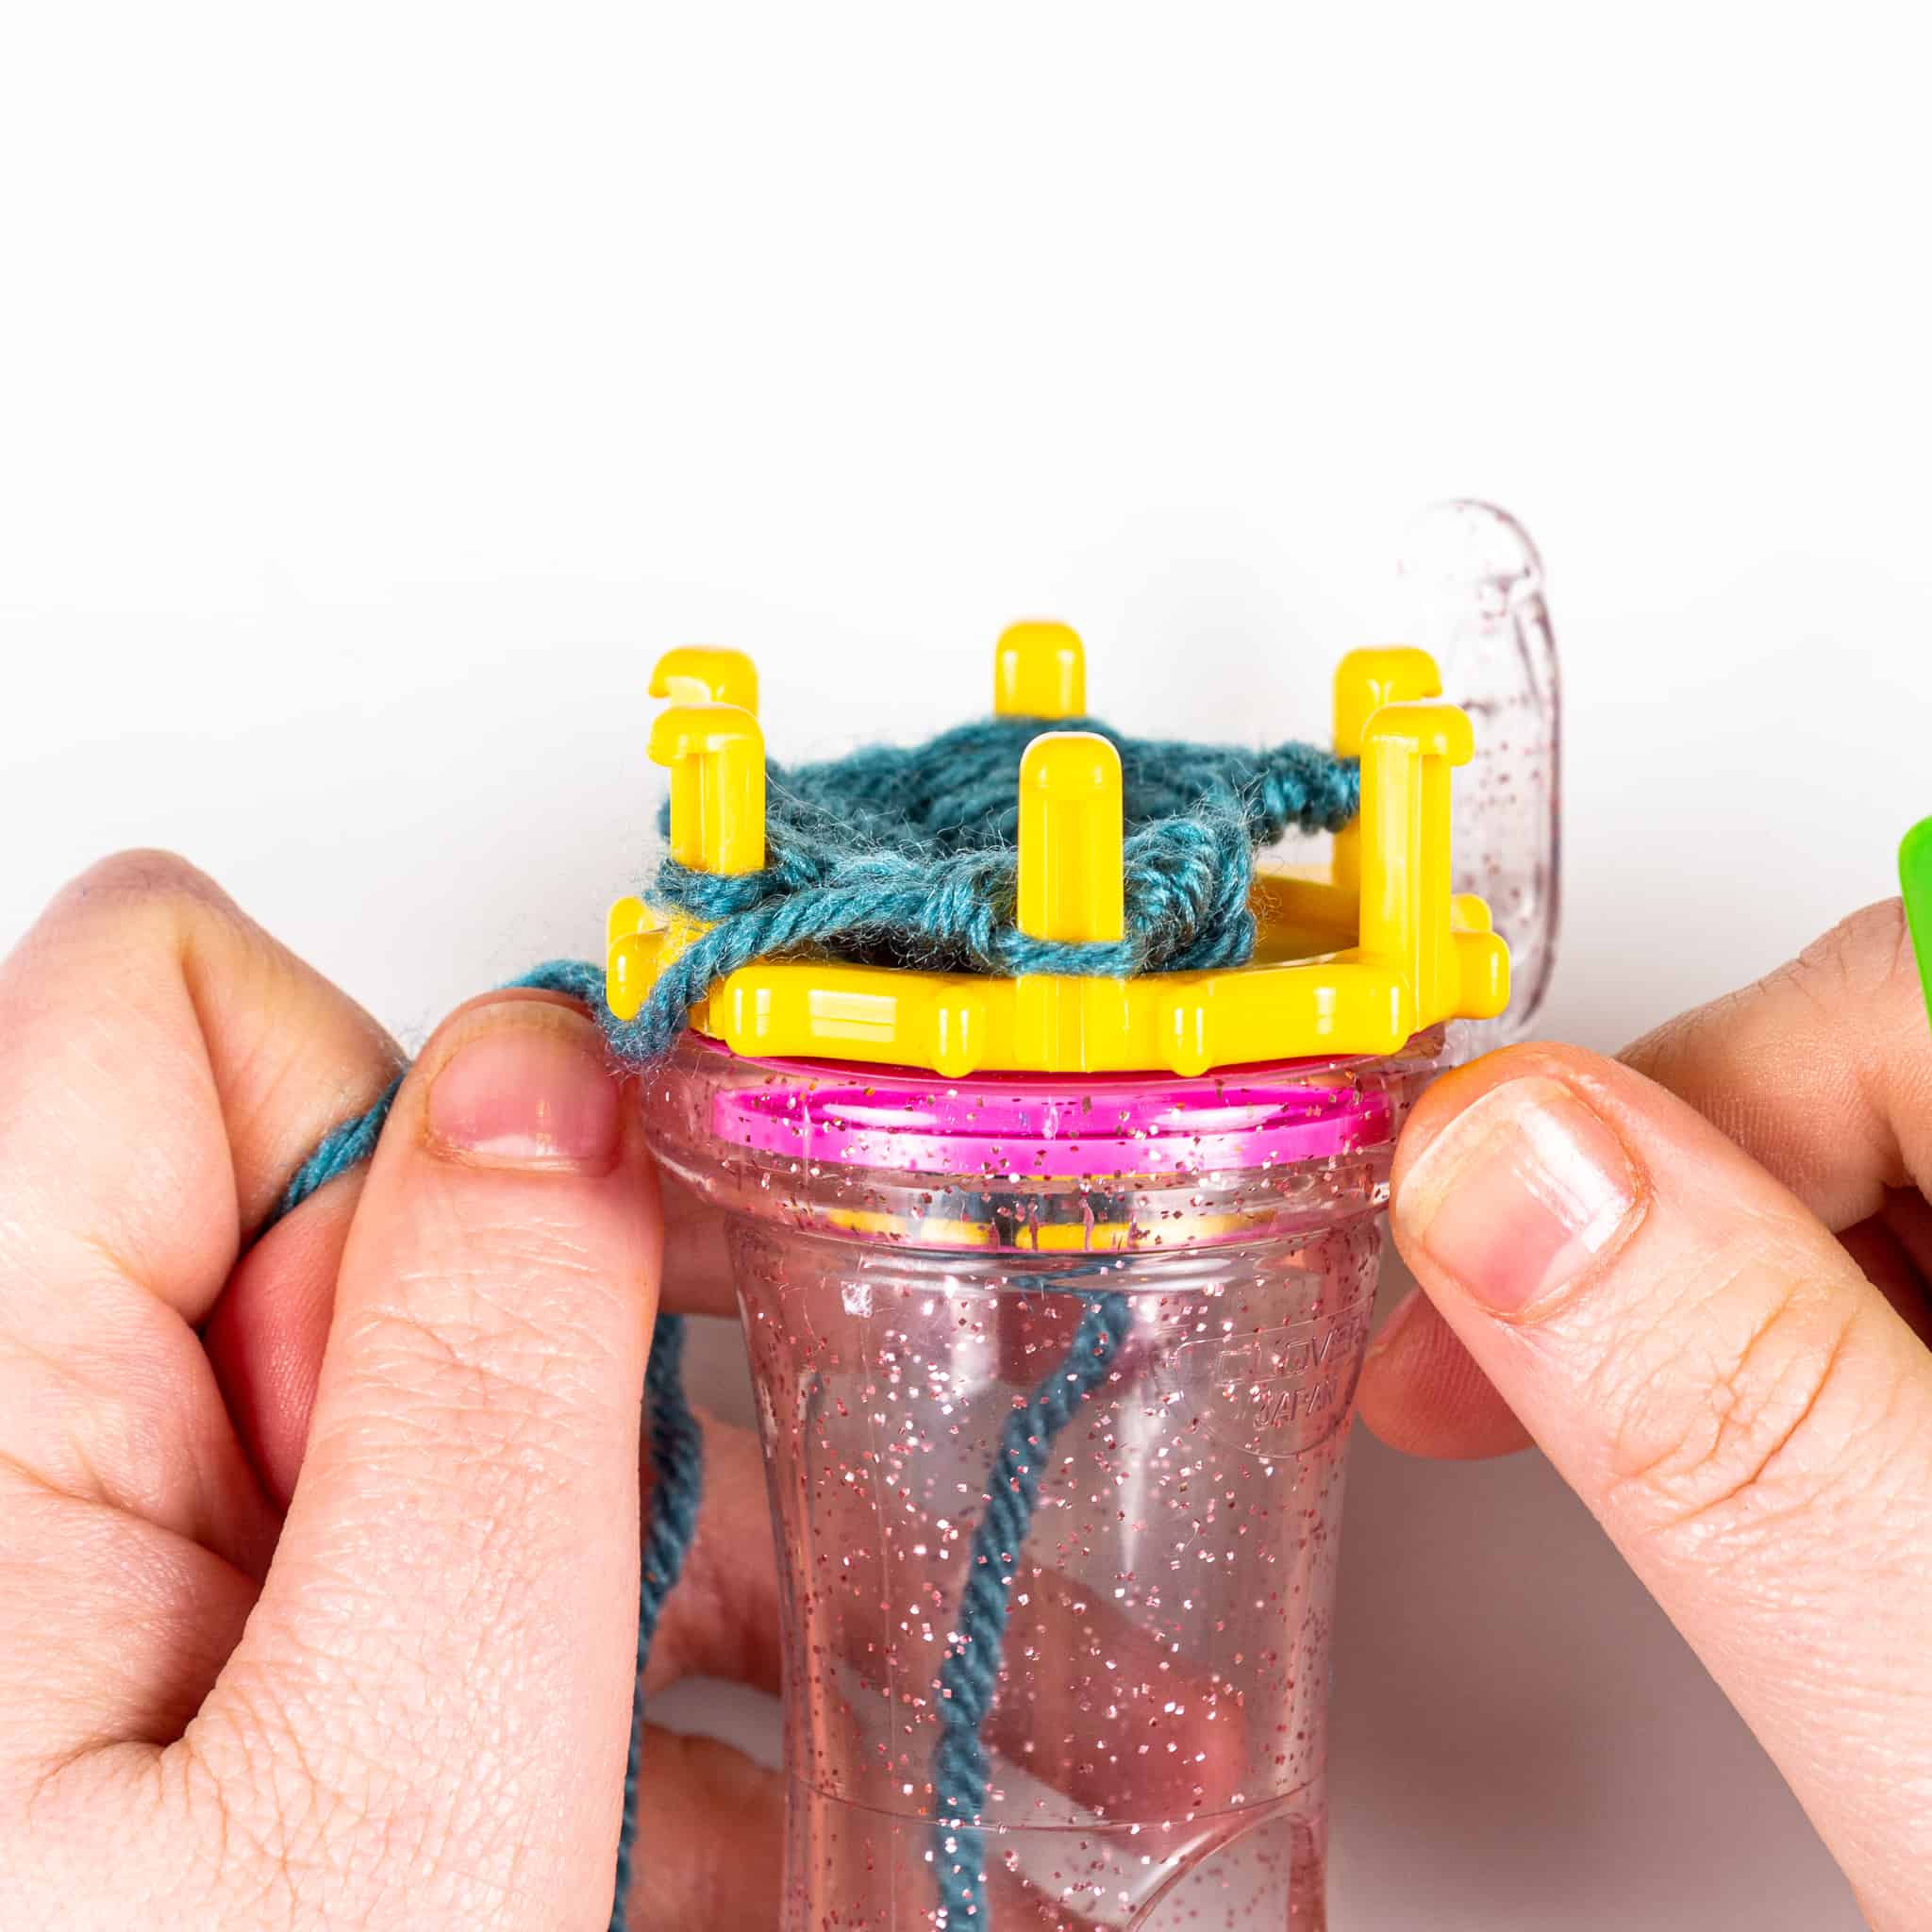
Step Two: Wrap the yarn around each pin on the disc clockwise. When you get to the last pin, wrap it twice.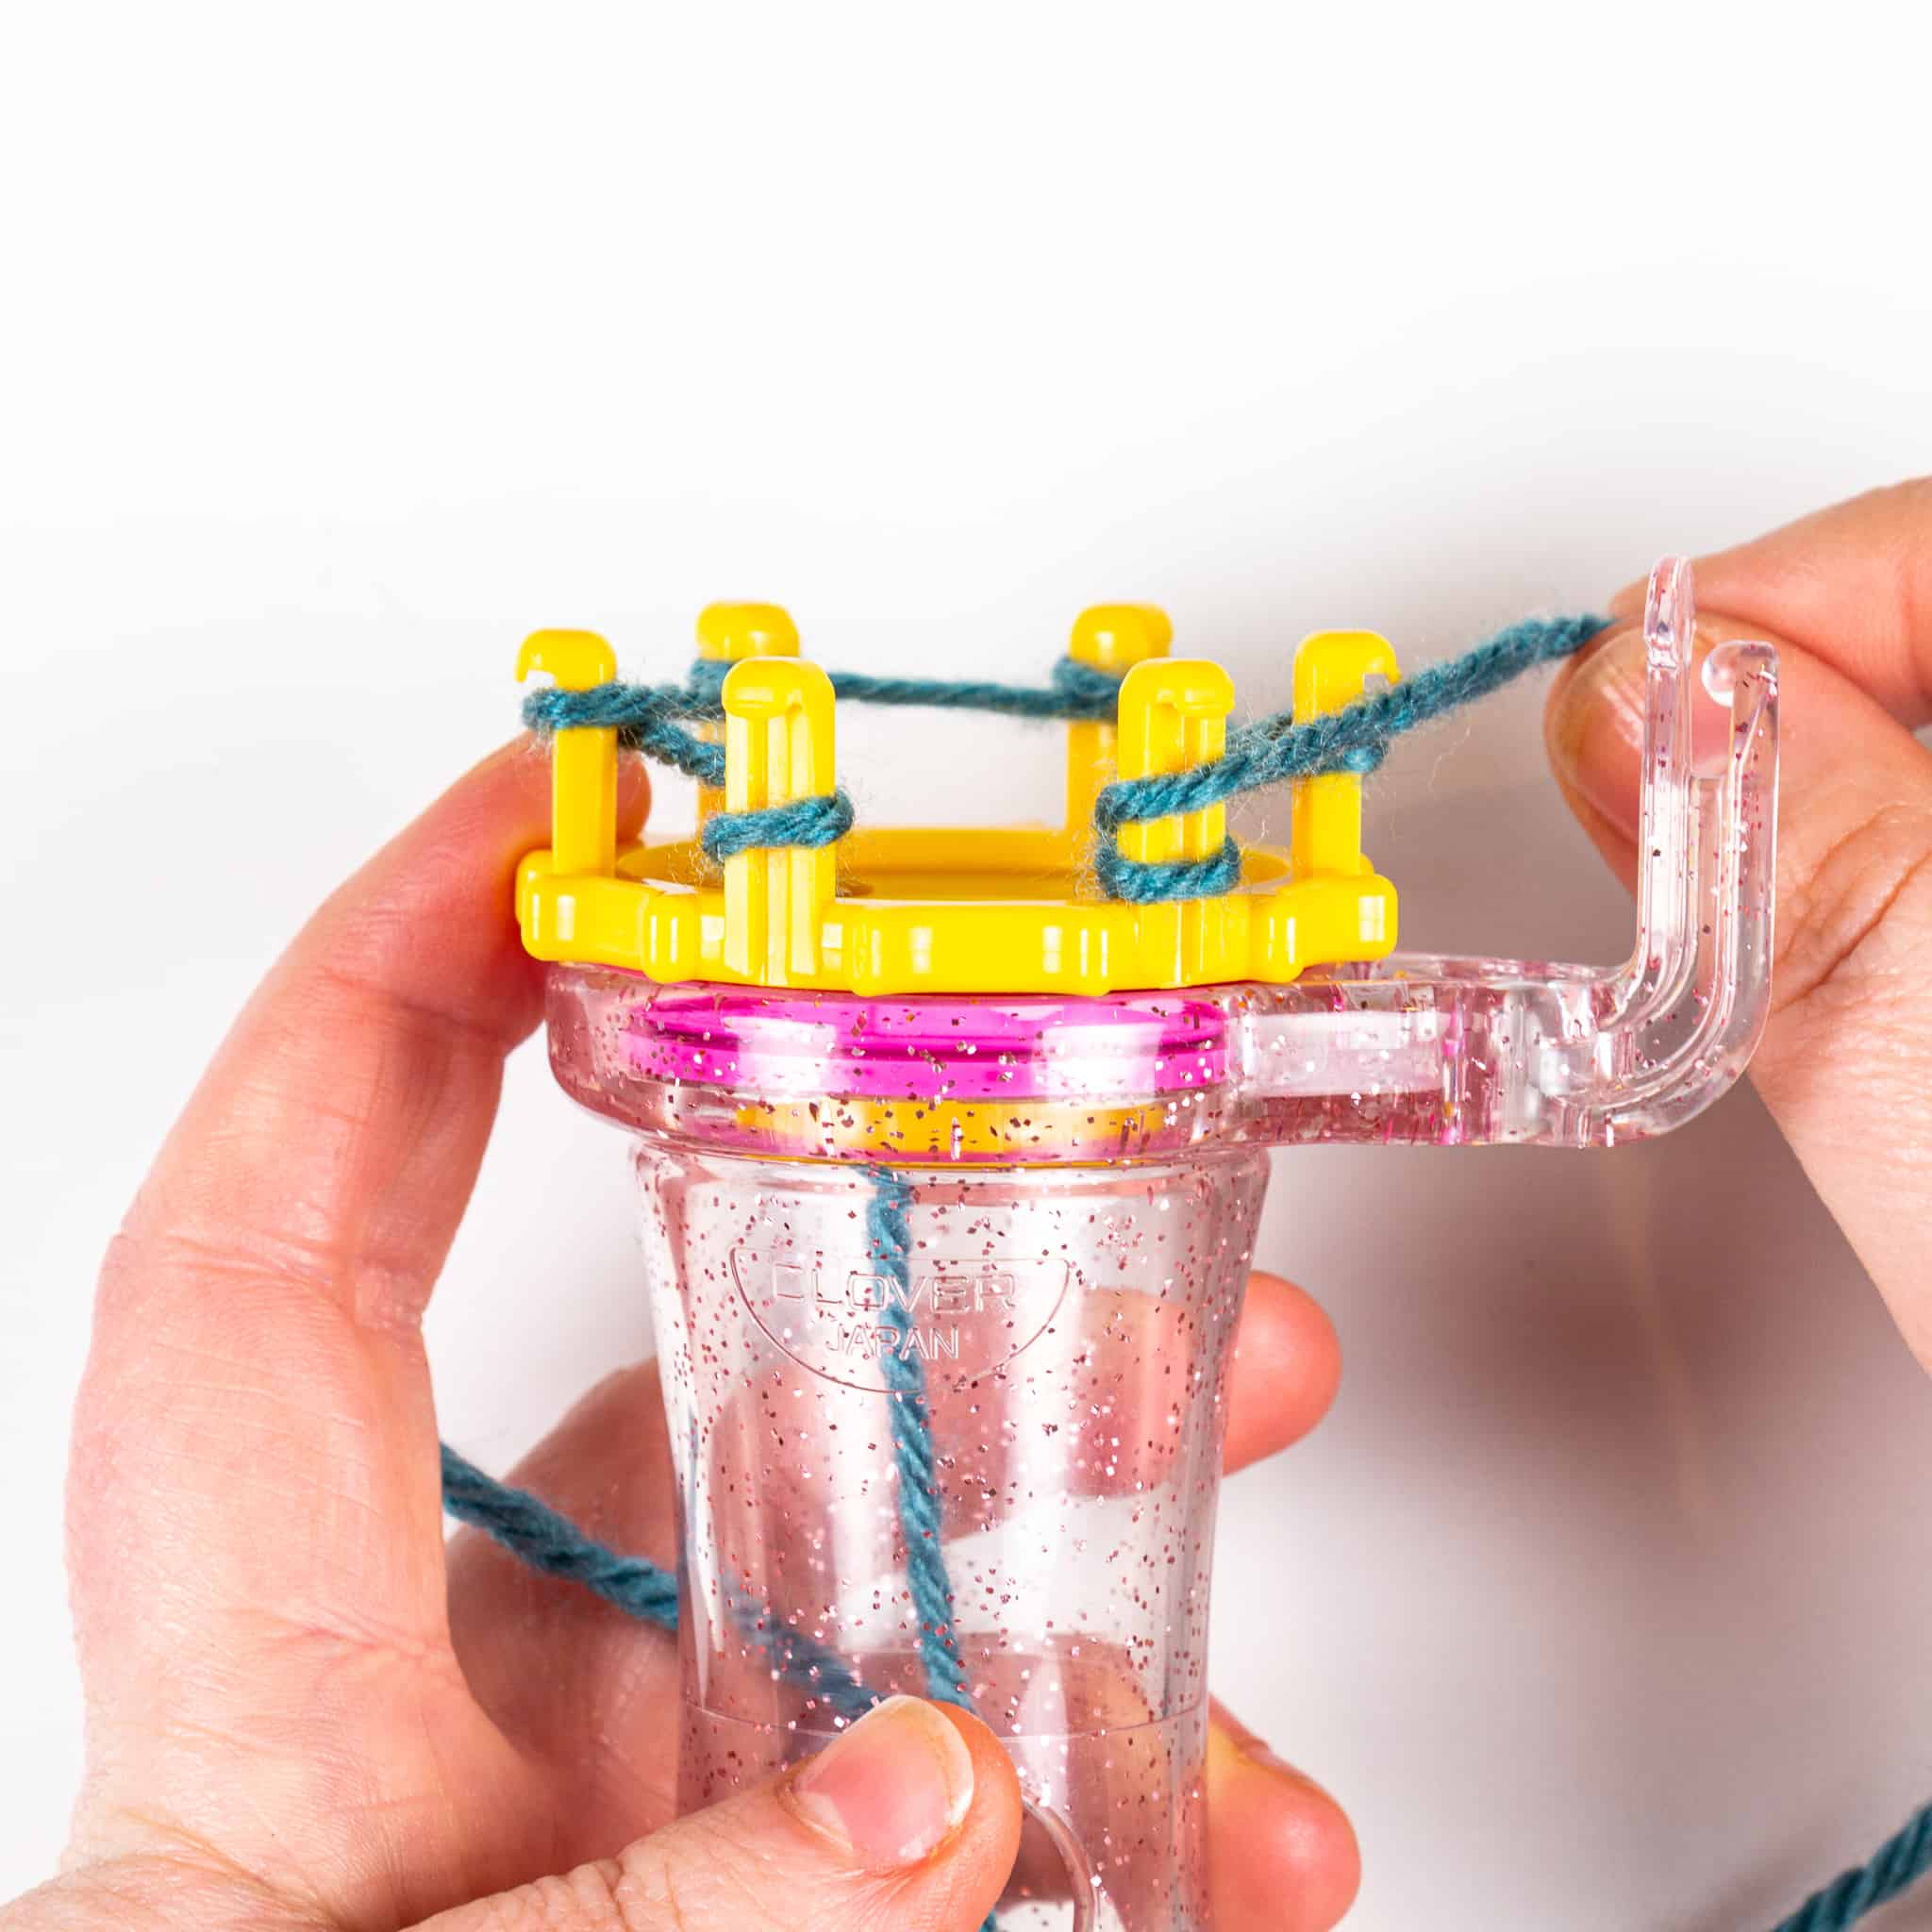
Step Three: Knit the bottom loop over the top loop of the peg you just wrapped twice. Bring the working yarn in front of the pegs, moving in the opposite direction of the way you just worked and knit the bottom loop over the top loop of each of the remaining pegs. Make sure you don’t join the first and last peg as that will turn your panel into a tube. First row cast on.
Flat Panel Knitting with Your Wonder Knitter:
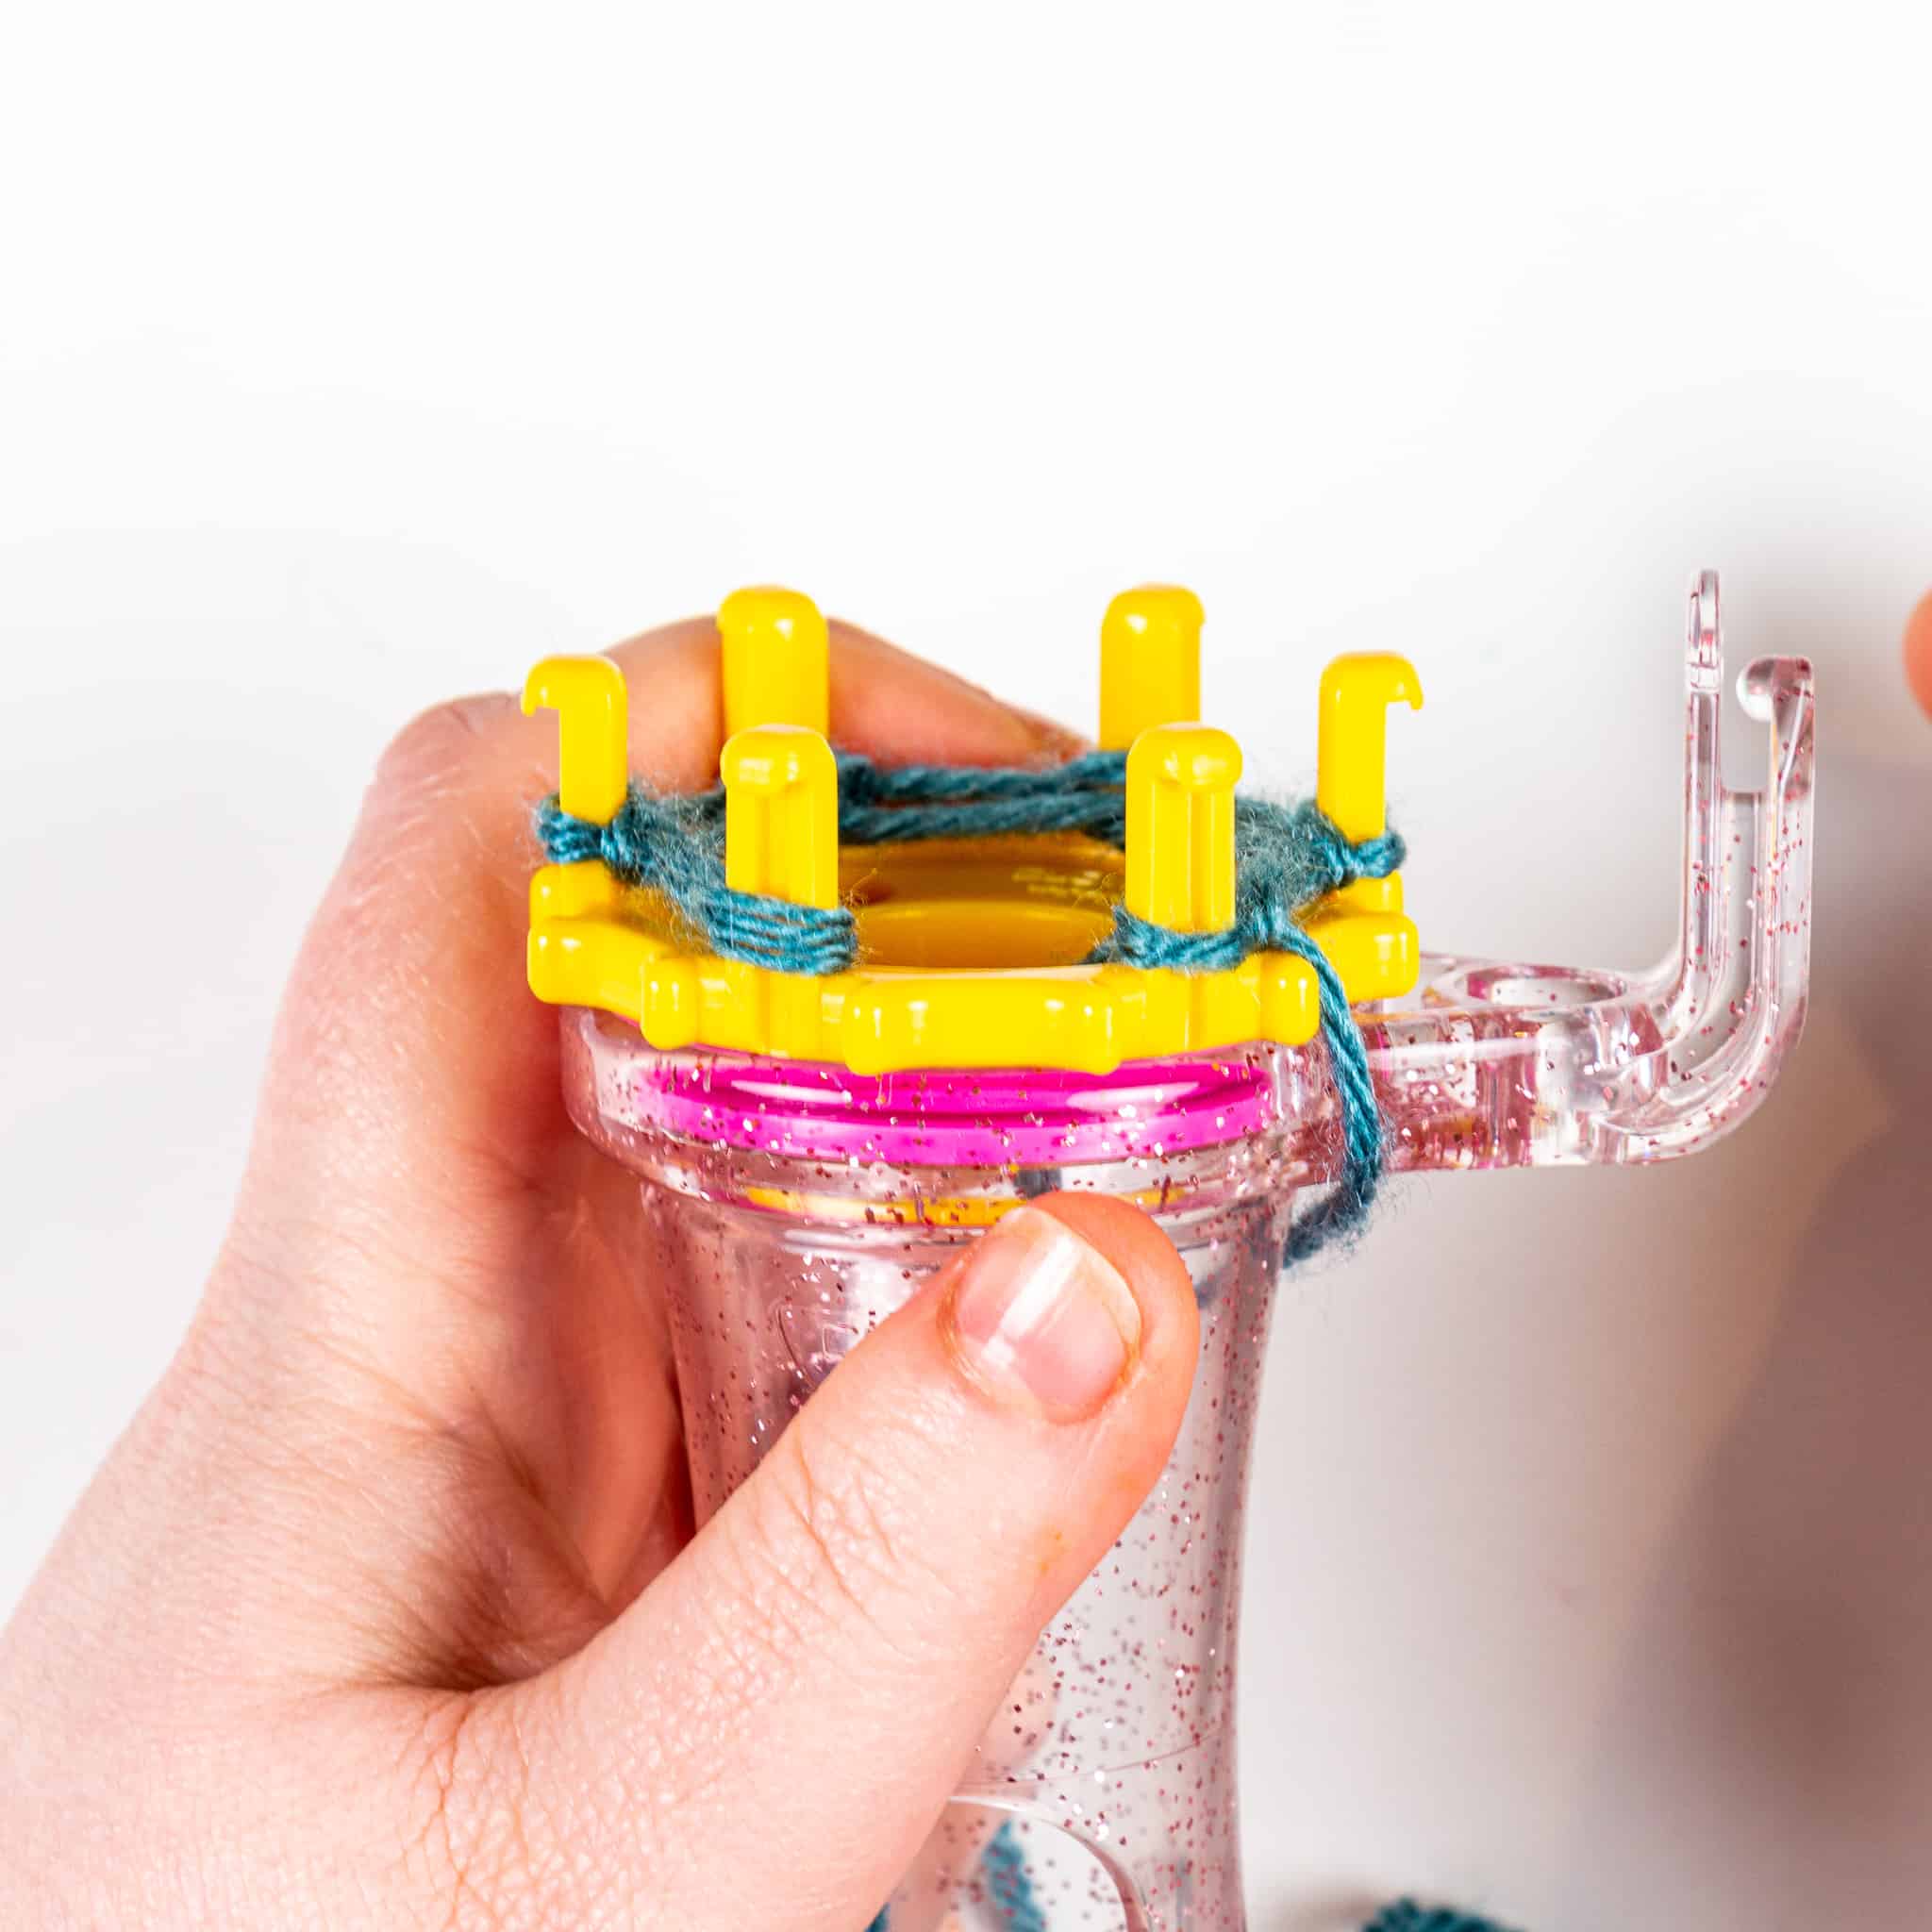
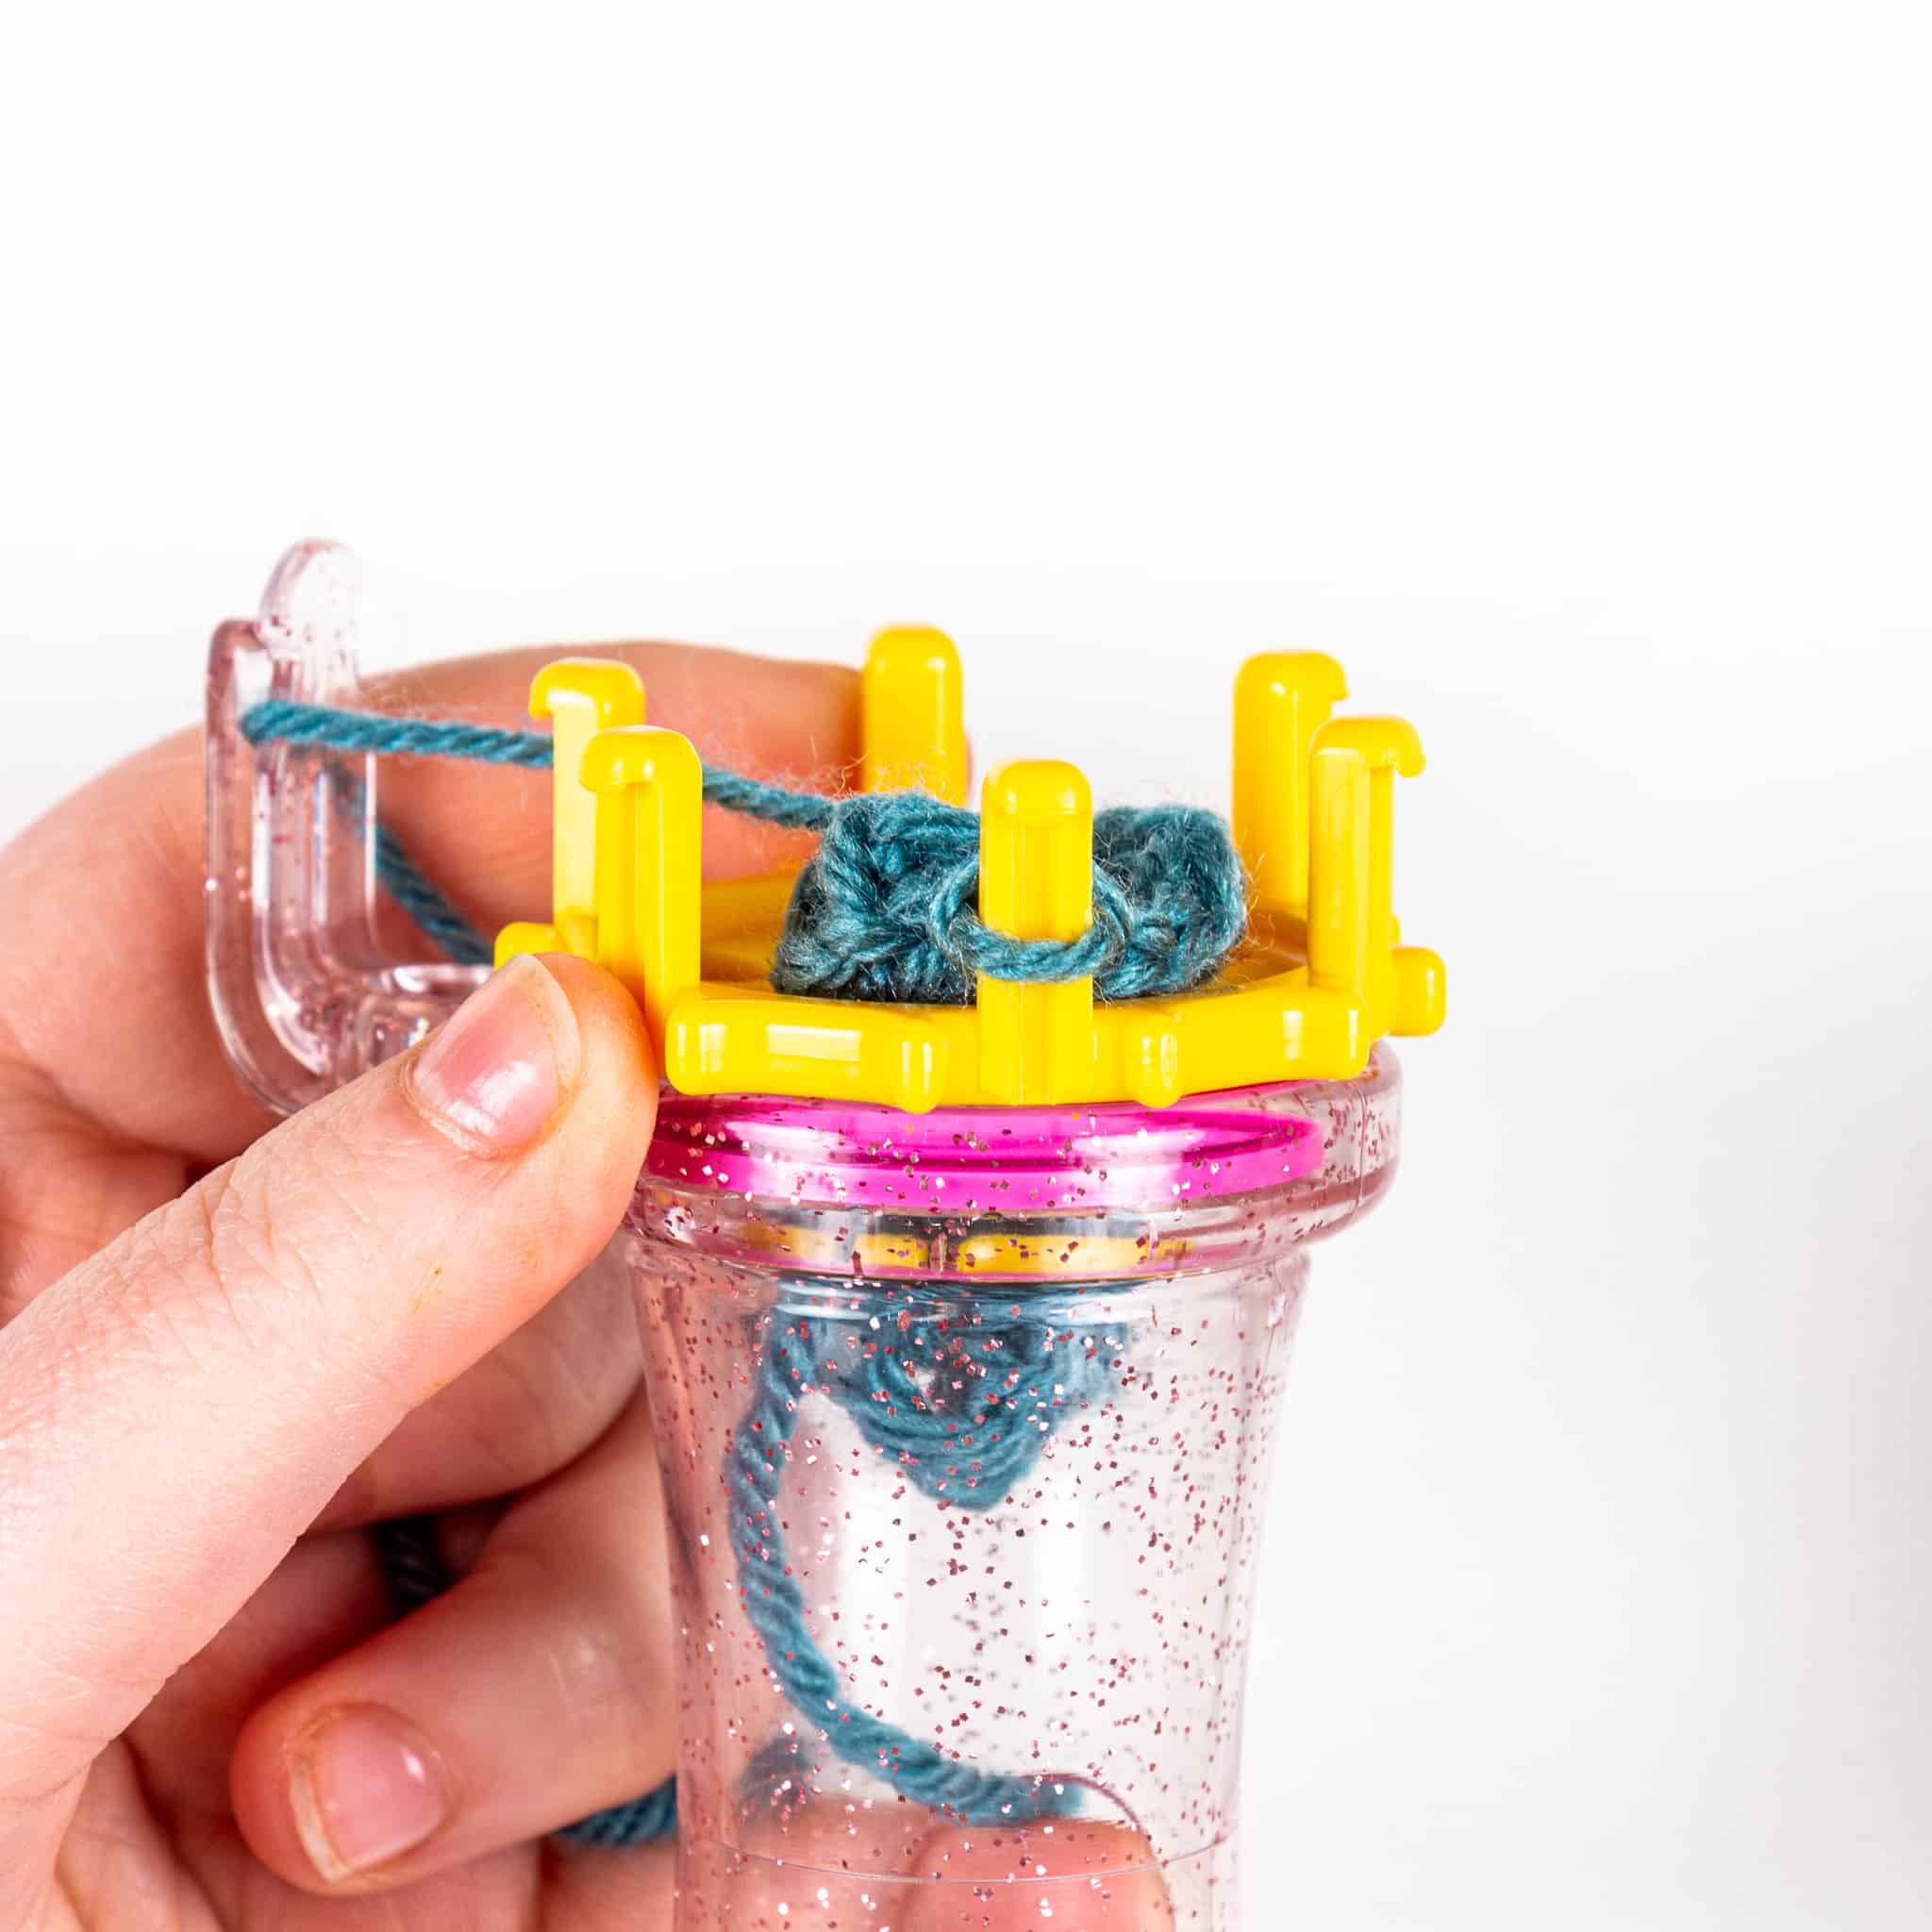
Step One: Bring your yarn to the front of the last peg worked and knit the bottom loop over the top loop.
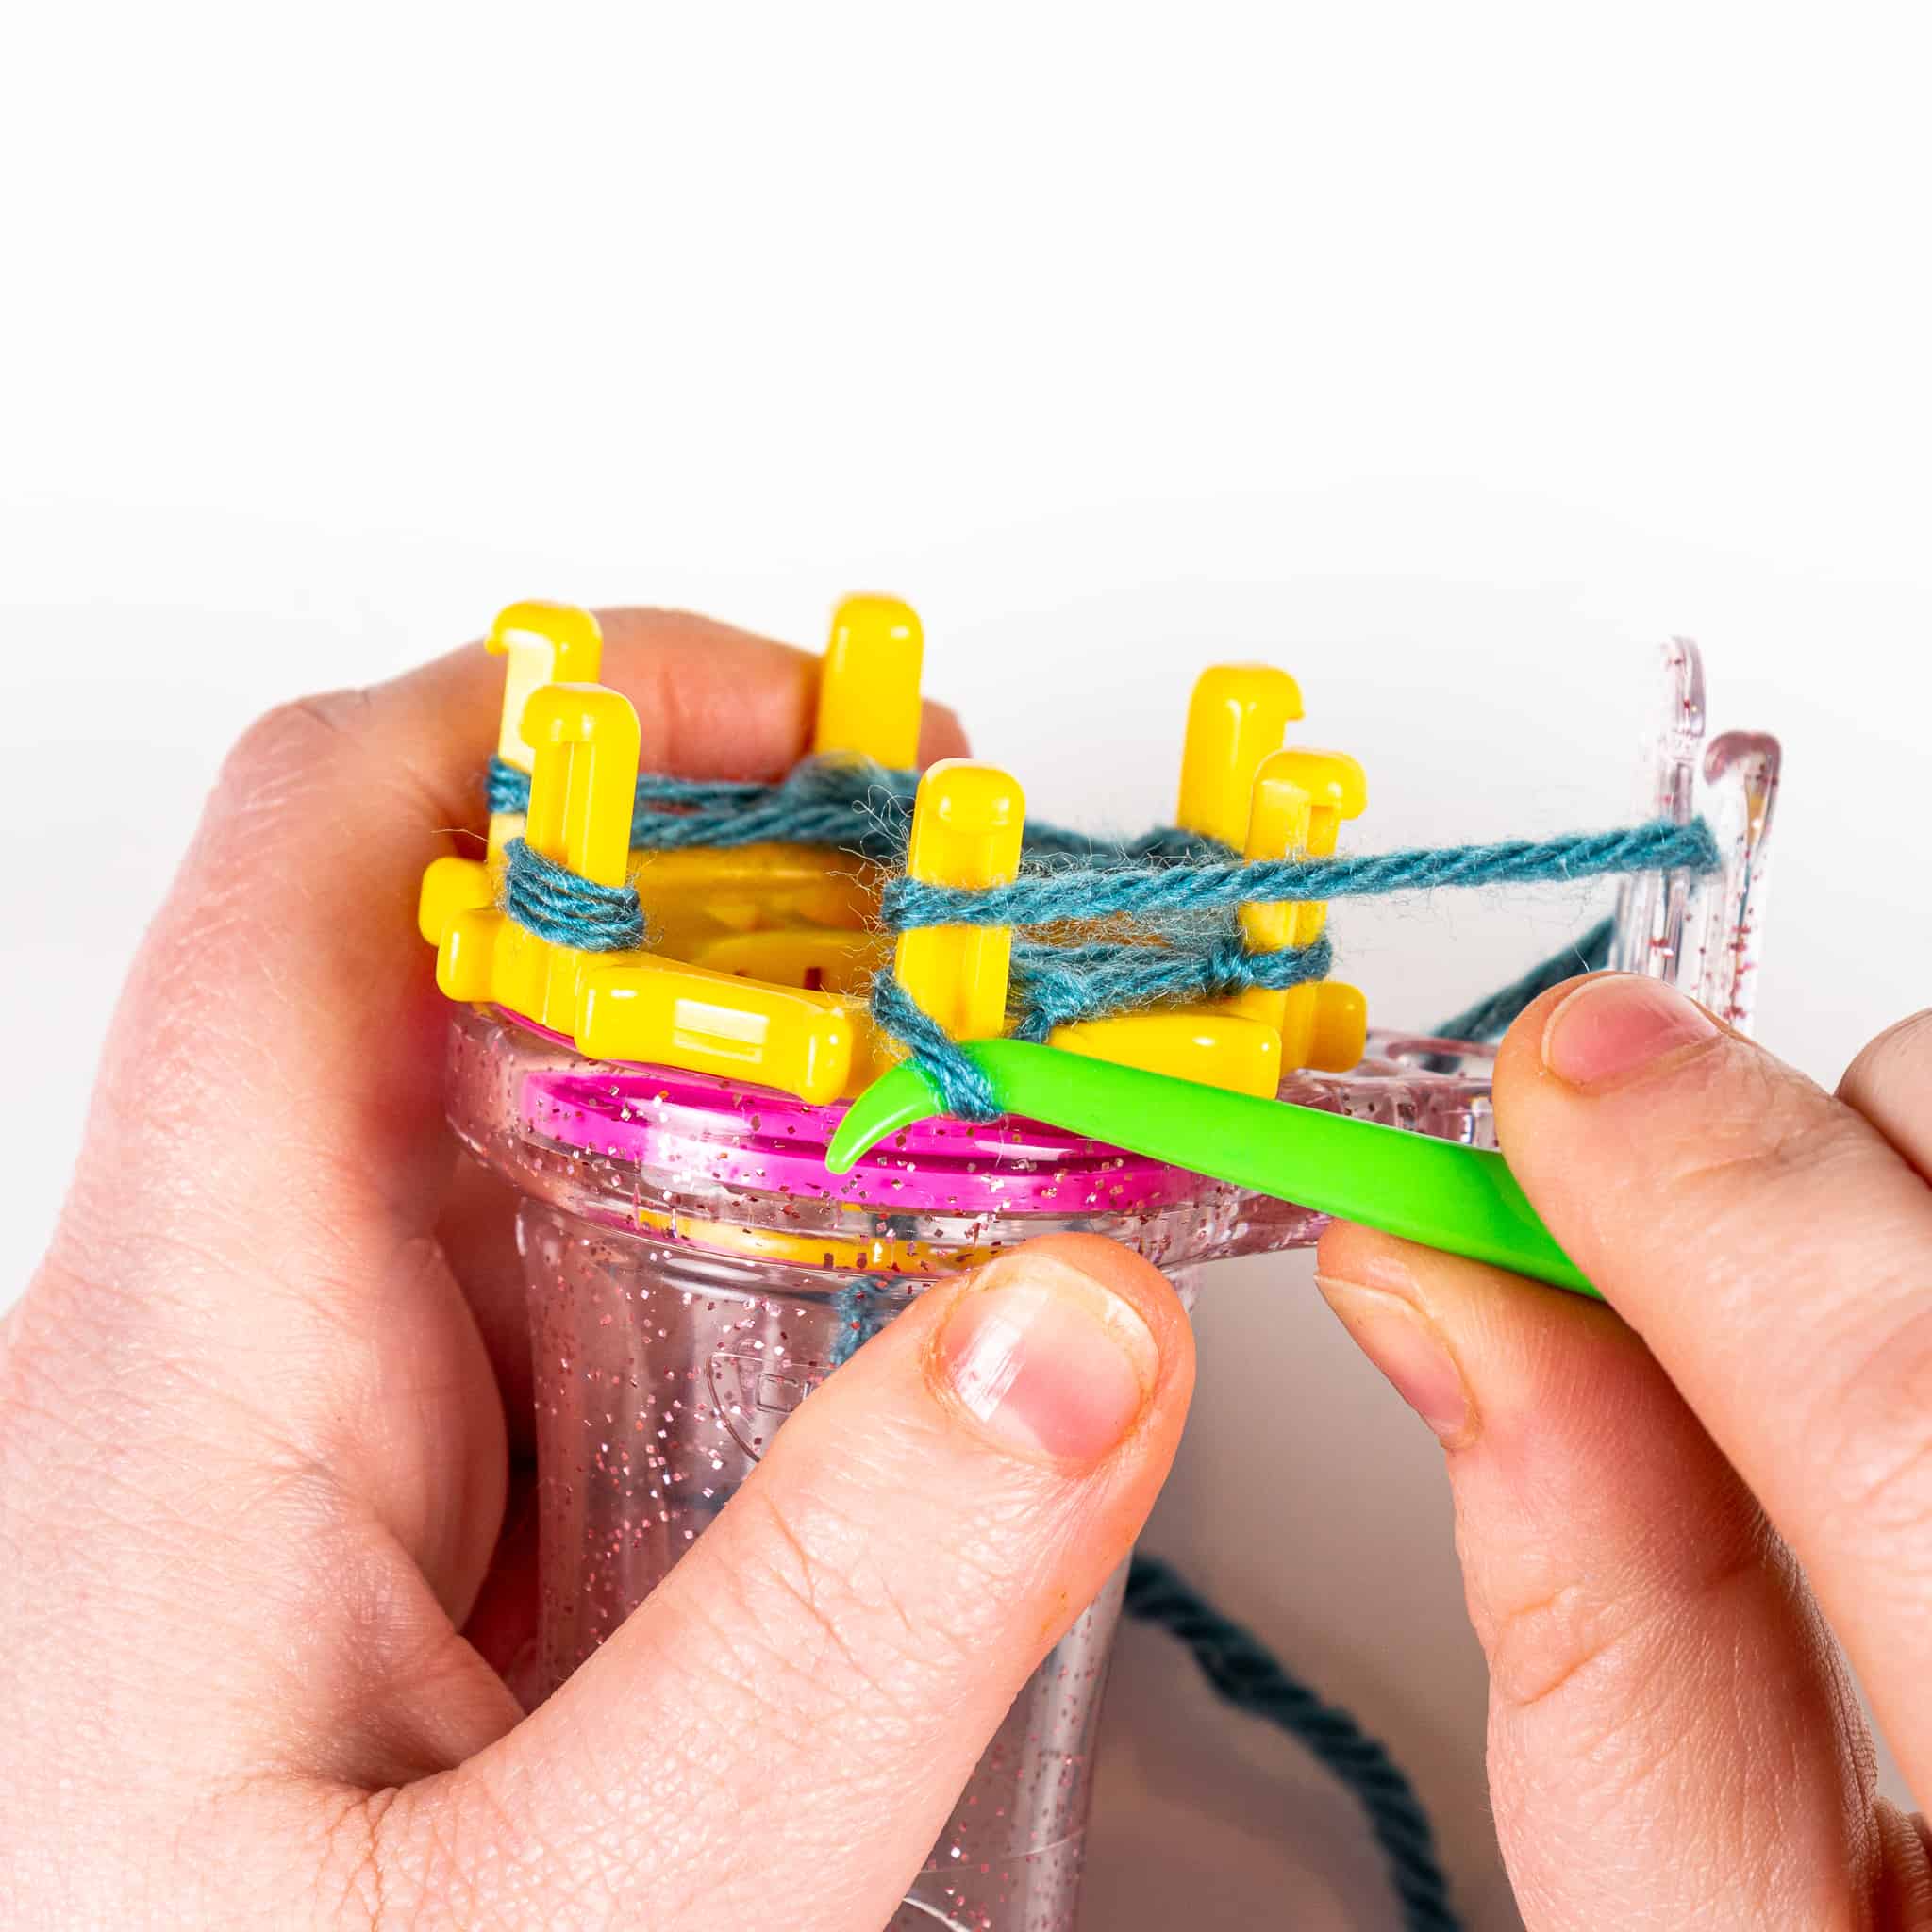
Step Two: Lay your working yarn across the rest of the unworked pegs and knit the bottom loop over the working yarn until each peg on the disc has been worked.
Step Three: At the end of the row, bring the working yarn back in front of the last peg worked and knit the bottom loop over the working yarn. Working in the opposite direction that you just came, lay the working yarn over each of the pegs and knit the bottom loop over the working yarn to knit each stitch.
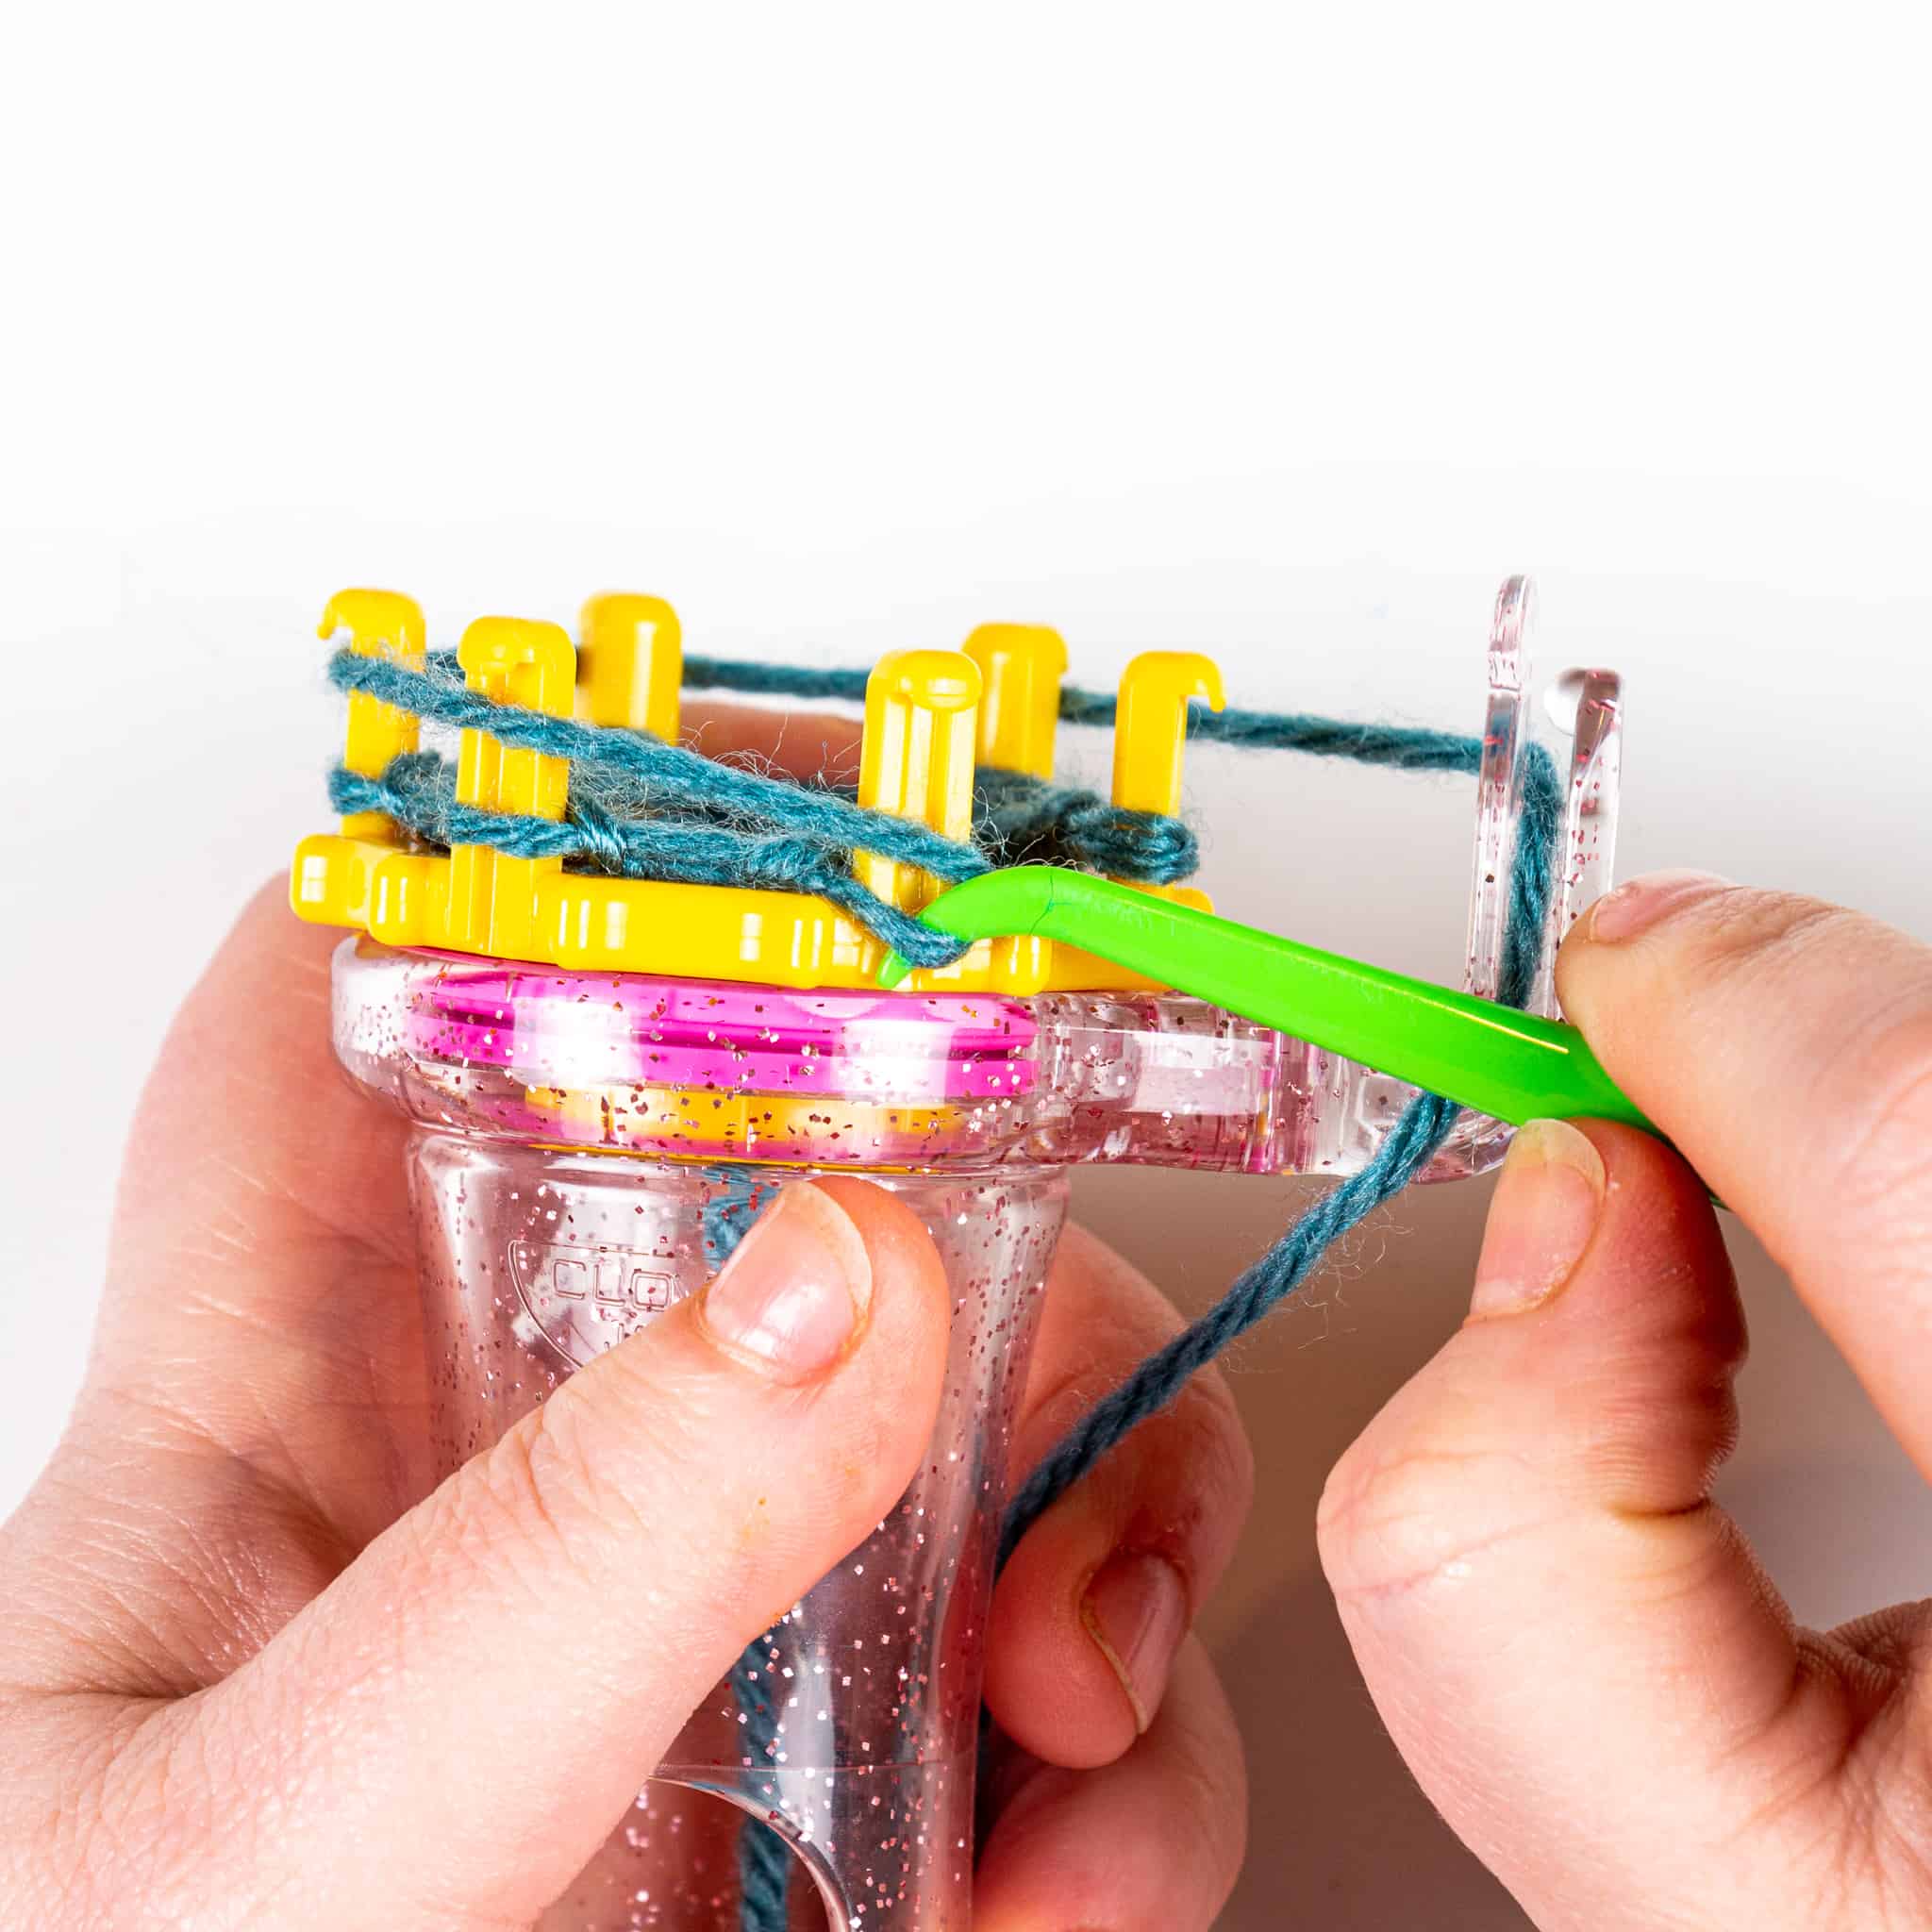
Step Four: Repeat Step 3 until your piece reaches the desired size/length.
Binding Off:
Step One: When you are ready to bind off, knit the first two stitches of your row as you would normally. After they have been knit, pick up the loop on your second peg and transfer it to the first peg. Knit the bottom loop on the first peg over the loop you just transferred. Pick the loop up off the first peg and transfer it to the second peg.
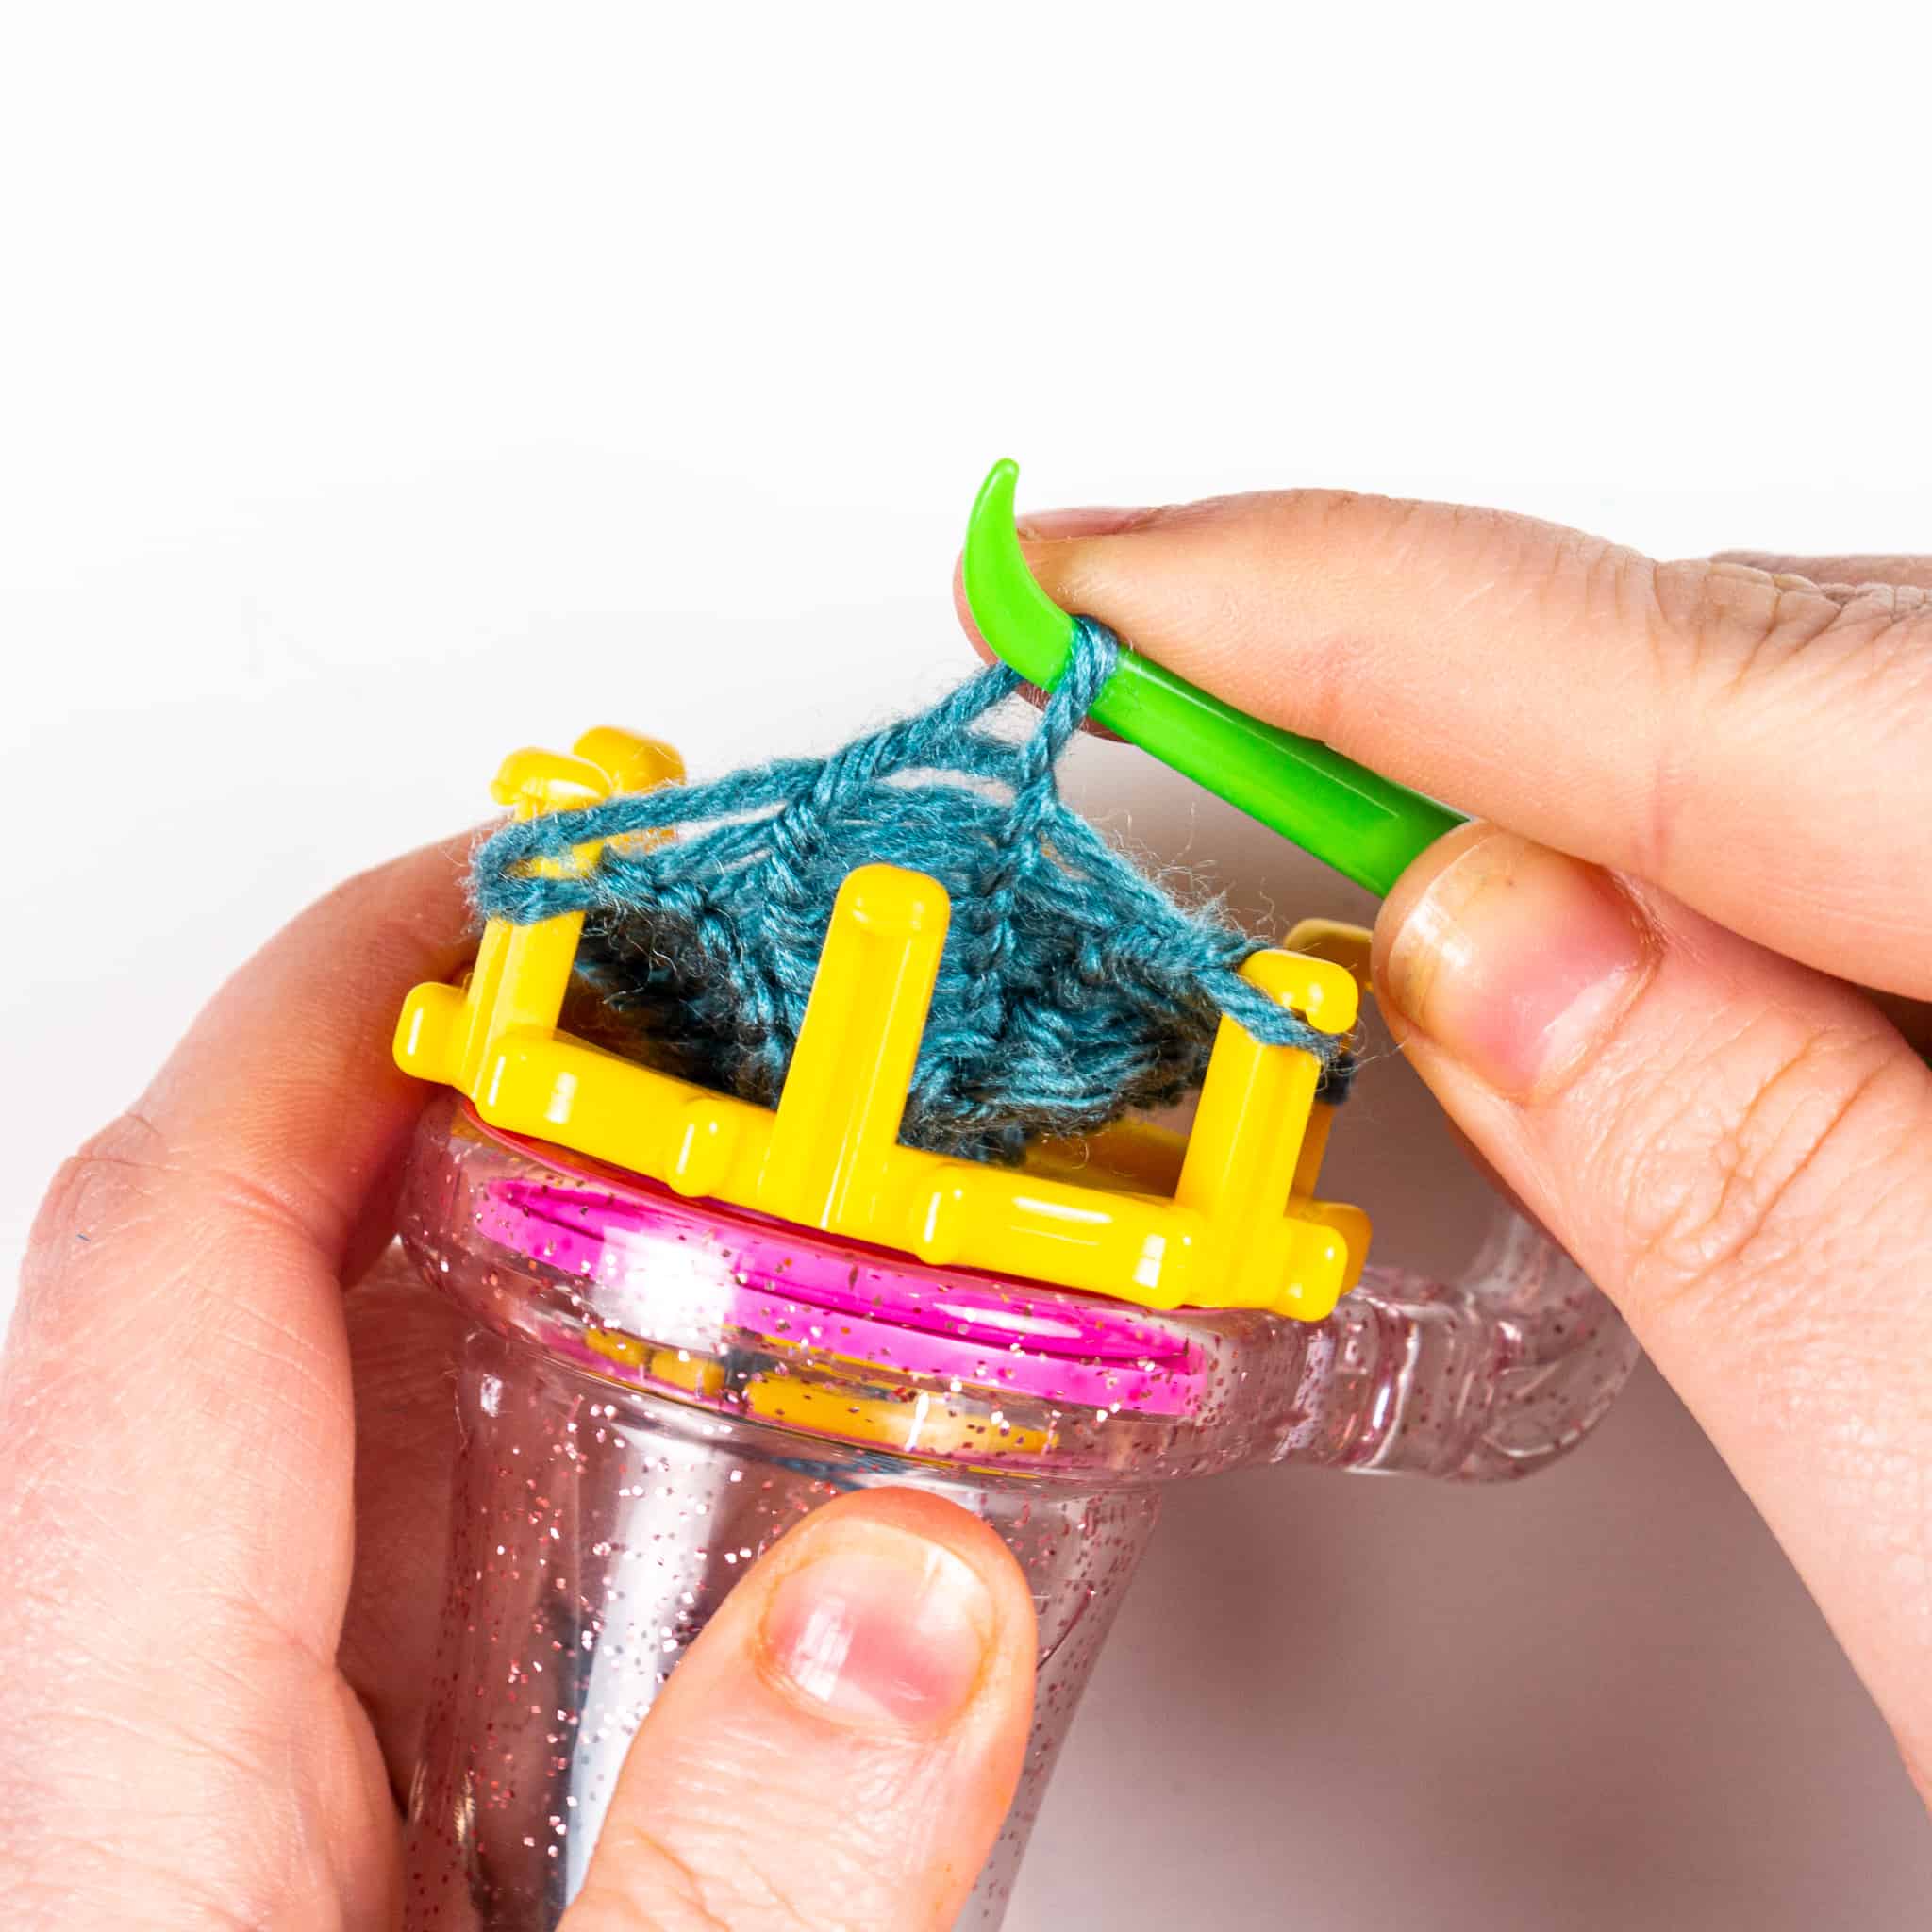
Step Two: Knit the next peg over your working yarn. Transfer the loop on the peg you just worked to the peg before it. Knit the bottom loop over the top loop and transfer that new loop to the back to the peg you started on.
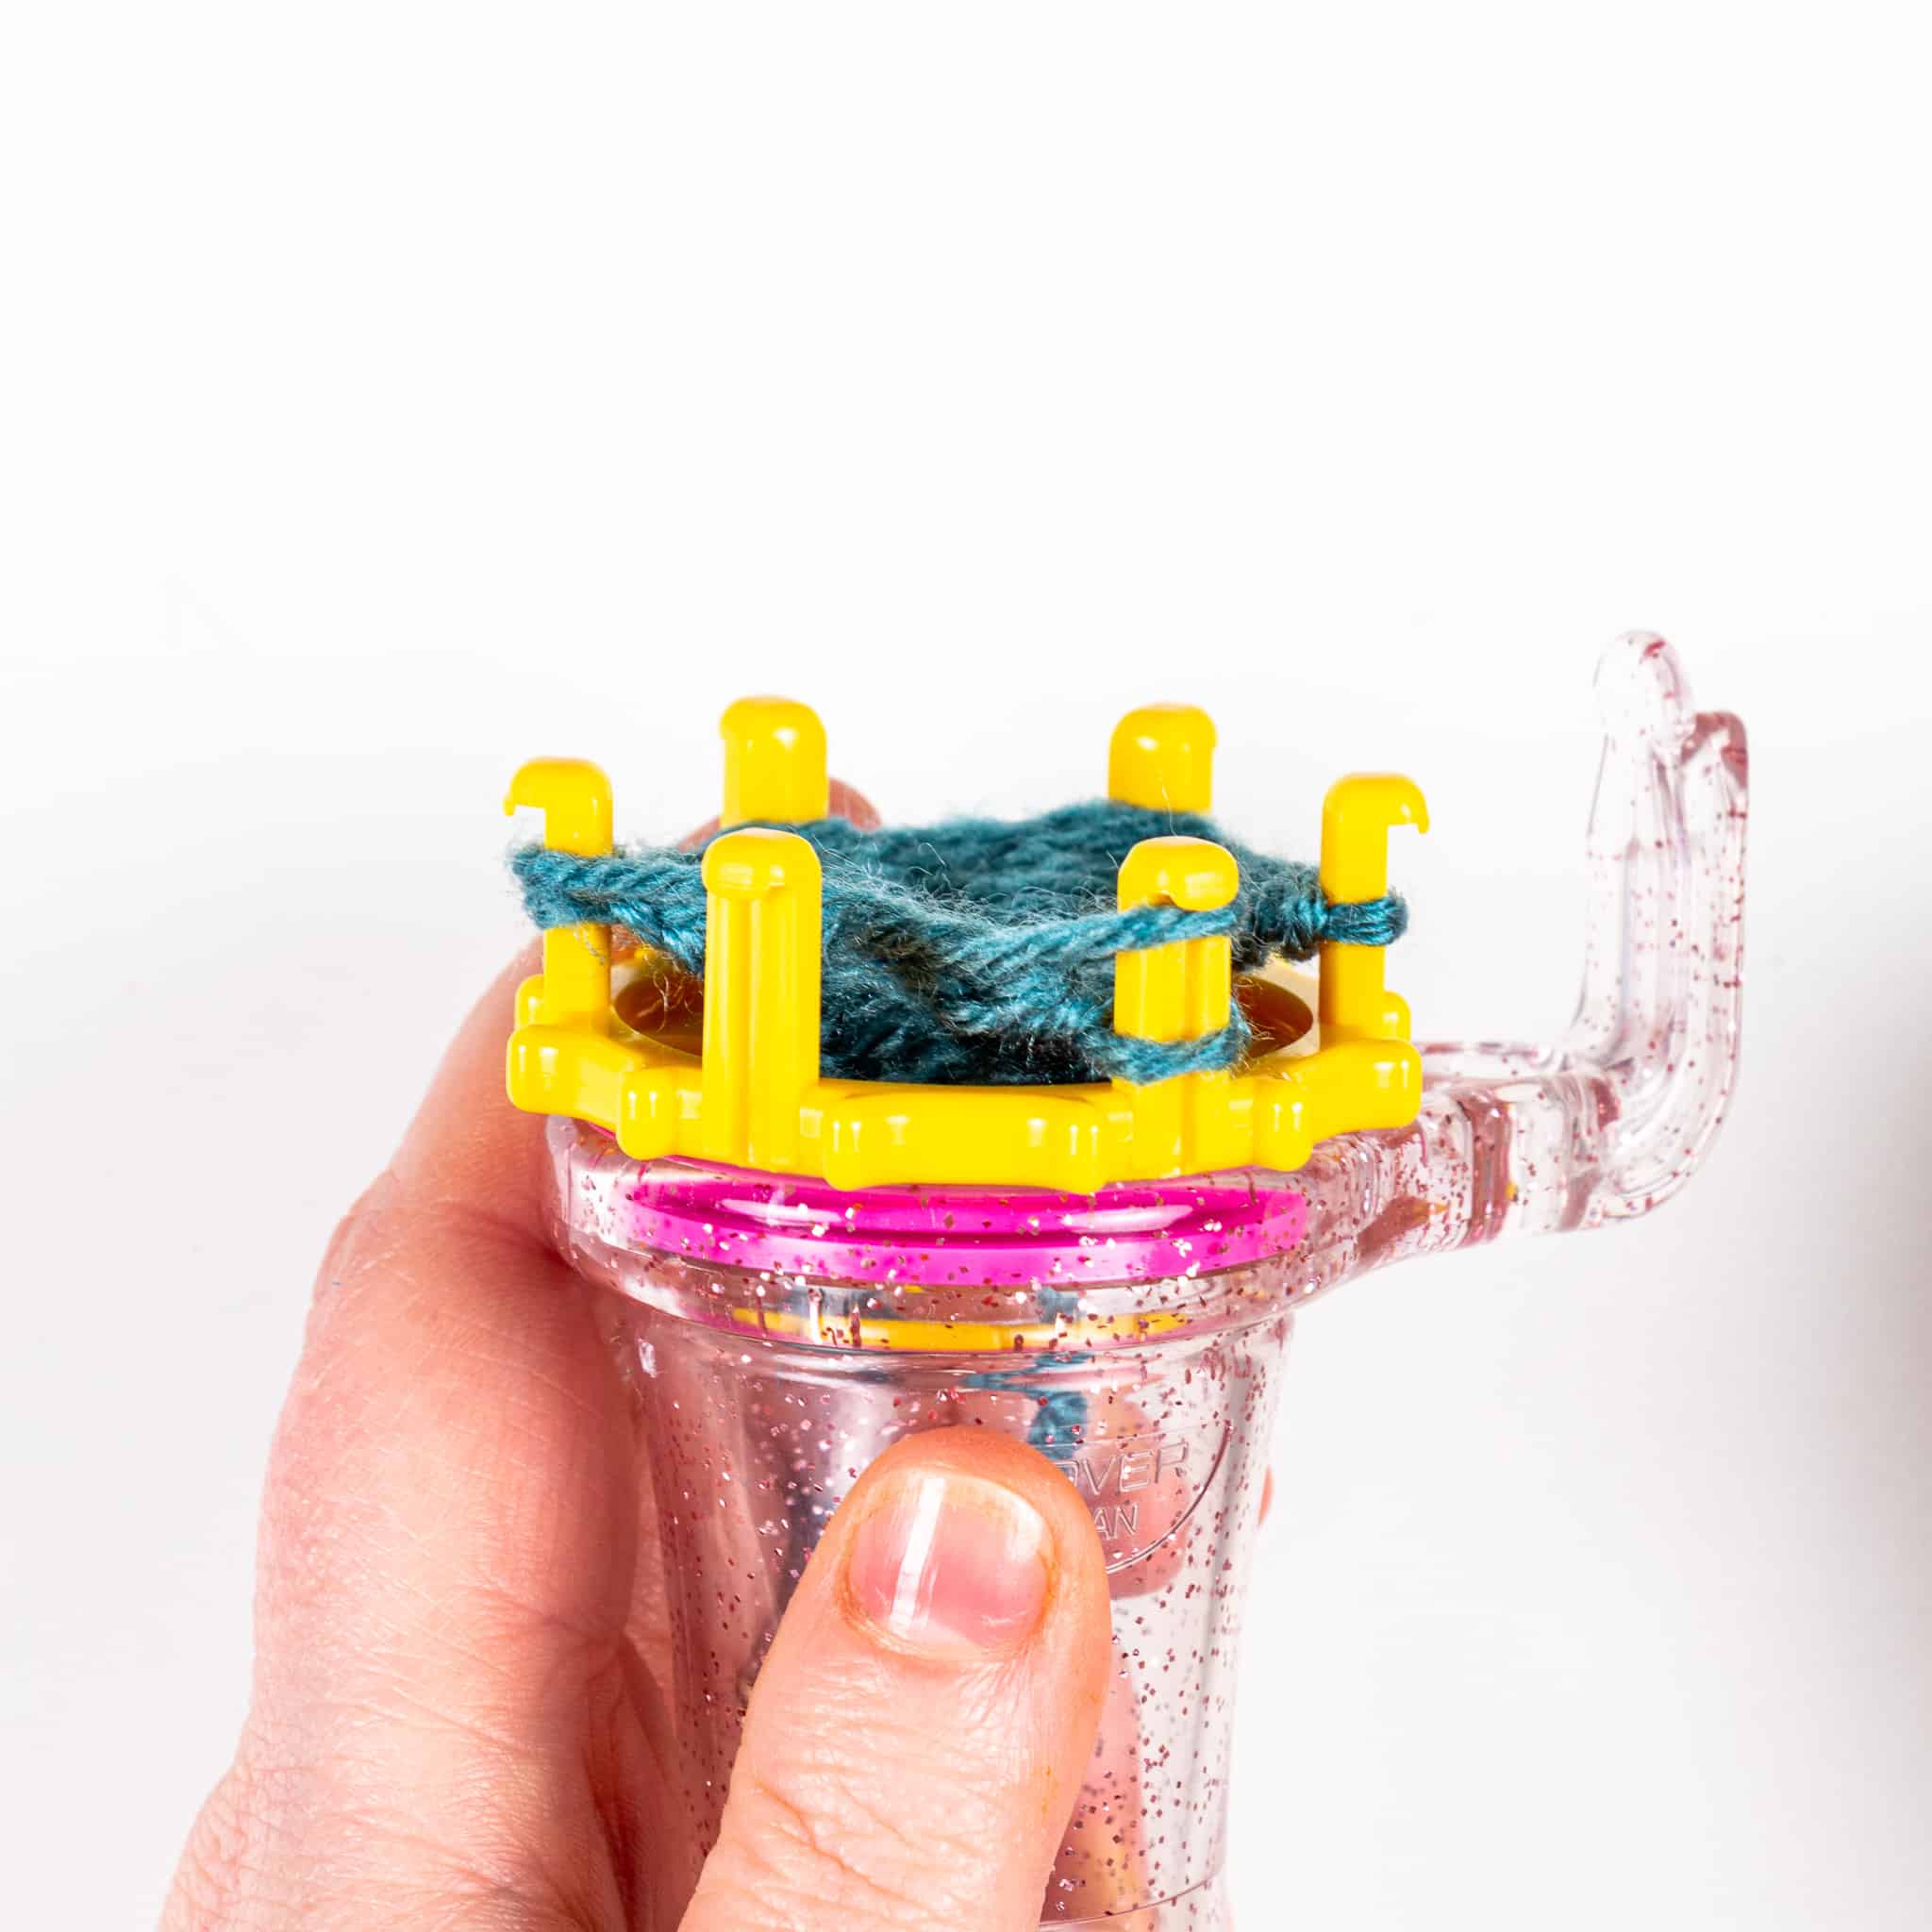
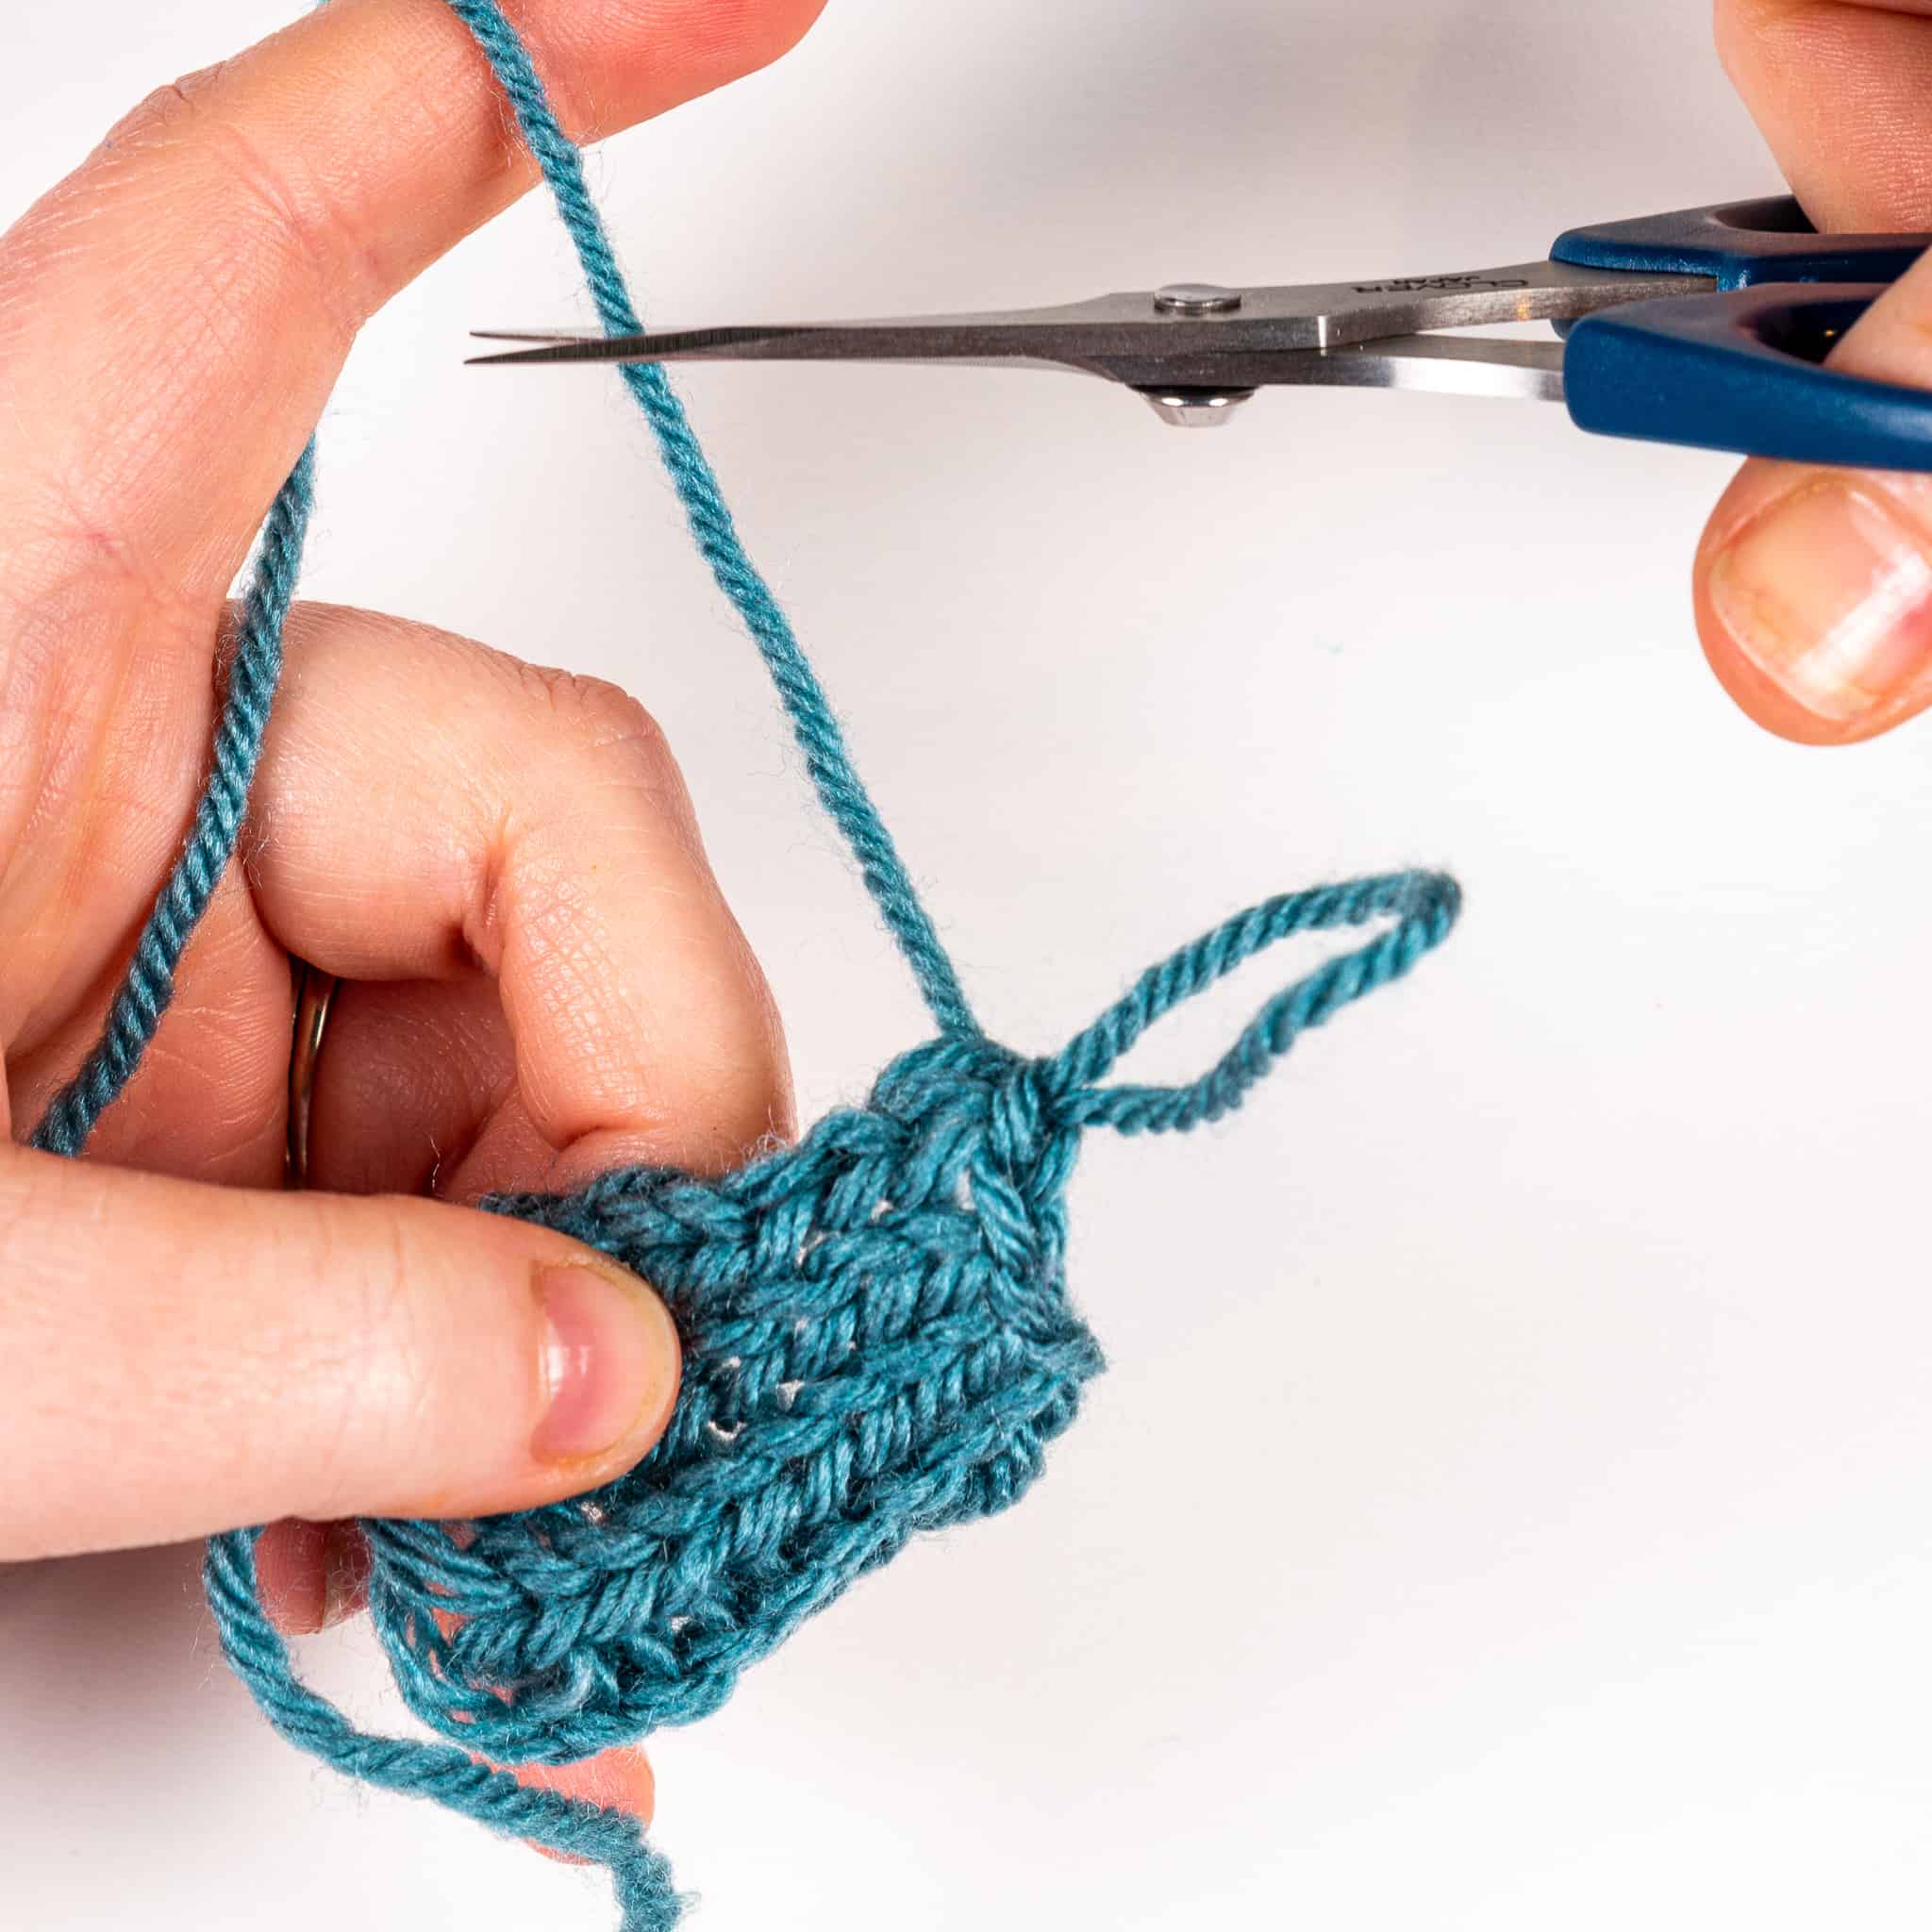
Step Three: Repeat the instructions for Step Two across your work, binding off until you have one loop remaining. Wrap the working yarn around the peg and knit the last loop over your working yarn. Cut your working yarn, leaving a tail of at least 5 – 6 inches (or longer depending on what you’ll be using your project for). Remove the project from the loom, pulling the working yarn through the last stitch.

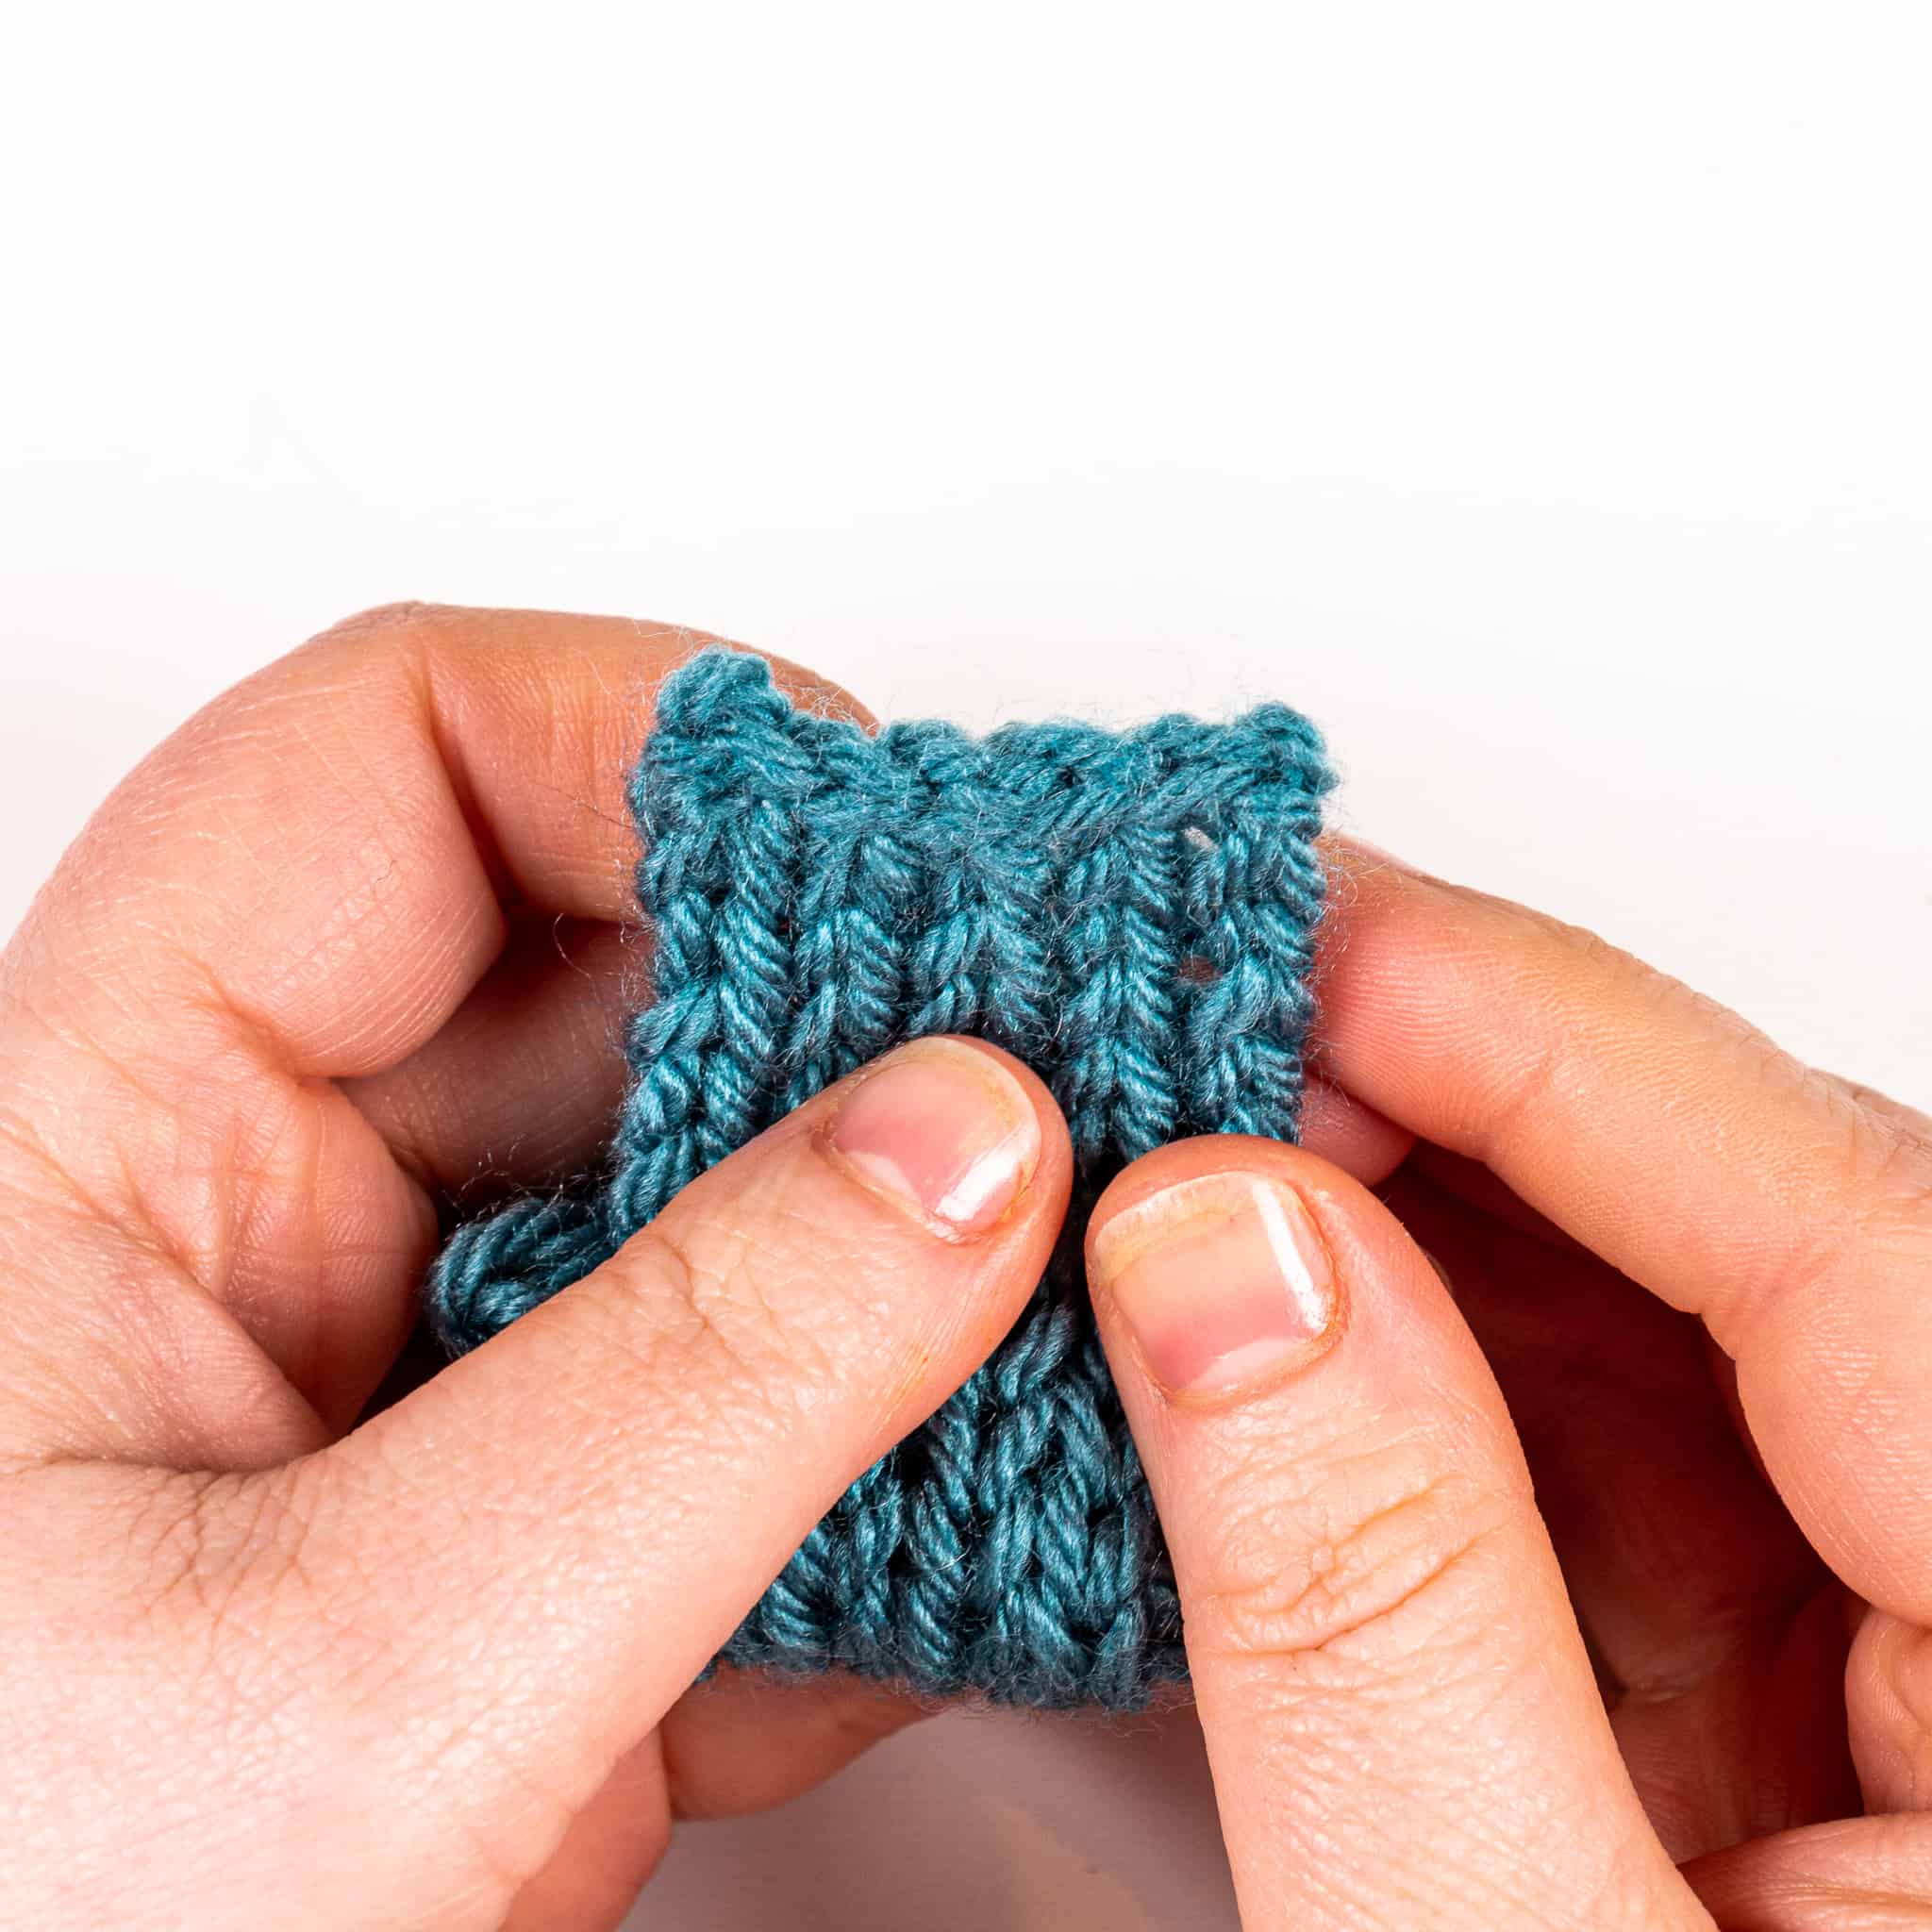

When you are finished, your project will likely curl inwards on itself. Block your piece in a manner appropriate for the fiber you are using and it will flatten out nicely.
I hope you enjoyed this tutorial and are excited to get started using your Clover Wonder Knitter.
Find me on social media and check out my free crochet patterns on my
Blog | YouTube | Instagram | Facebook | Pinterest
Stay connected with Clover on Facebook | Twitter | Instagram | Pinterest | YouTube | Ravelry