Astral Earrings and Necklace Set – Crochet Pattern
Hi, amazing friends!
It’s me again, Elisa! I am the maker and the designer behind STRINGS AND CUDDLES.
I have a new crochet pattern for you all! This is my very first crochet jewelry set design. You may be wondering where I got the inspiration in making this pattern. About 2 months ago, I shared here my Starry Midnight Sky Shawl crochet pattern. While I was making the mini sample of this shawl, it dawned on me to make this jewelry set. Easy peasy! Sometimes you just have to make it happen!

Now, let’s get straight to the pattern!
Astral Earrings and Necklace Set
*** This pattern is FREE but you can also purchase the inexpensive PDF file on my RAVELRY shop for easy printing and reading ***
Skill Level:
Intermediate
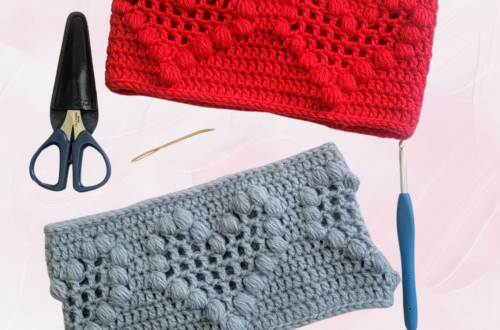
Materials
- Mercerized Cotton Crochet Thread – Size 8 (I used Monaco Crochet Thread, approximately 60 – 80 yards. See Notes for yarn substitutions)
- Amour Steel Crochet Hook Size 1.5 mm (or size to obtain gauge) – Art. No 1221
- A pair of 35 mm Hoop Earrings
- 18 – 20 inches Chain Necklace (See Notes for chain details)
- Mini Patchwork Scissors – Art. No 493/CW
- Spring Tape Measure – Art. No 9610
- Gold Eye Tapestry Needle – Art. No 238/24

Gauge
8 sts (4 Star Stitch) x 4 rows = 1×1 inch
Gauge Pattern
(see Star Stitch pattern)
Row 1: Ch 12, work Star Stitch to the last ch, HDC in the last ch as the last loop pulled up on the last Star Stitch just made. Turn.
Row 2: Ch 1, sk 1st st, work 2 HDC in every eye of the star stitch across, HDC in the top st/spike of the Star Stitch from the prev row. Turn.
Row 3: Ch 3, work Star Stitch across, HDC in the last st as the last loop pulled up on the last Star Stitch just made. Turn.
Row 4: Rep Row 2.
Finished Measurement
- Earrings: Approximately 2.5 (length) x 2 (width) inches including the hoop earring
- Necklace: Approximately 10 (length) x 5.5 (width) inches including the necklace (chain)
Stitches and Abbreviations | US Terminology
- Ch(s) – Chain(s)
- HDC – Half Double Crochet
- Prev – Previous
- Rep – Repeat
- RS – Right Side
- SC – Single Crochet
- Sk – Skip
- Sl – Slip
- Sp – Space
- St(s) –Stitch(es)
- WS – Wrong Side
Special Stitch
STAR STITCH – It takes 2 rows to complete the look of a finished star stitch.
Row 1: The following steps refer to the First Row of Crochet Star Stitch.
a. Make an even number of foundation chains.
b. Insert hook in 2nd ch from the hook, yarn over, pull up a loop — 2 loops on hook. Insert hook in 3rd ch from hook, yarn over, pull up a loop — 3 loops on hook. Insert hook in 4th ch from hook, yarn over, pull up a loop — 4 loops on hook. Insert hook in 5th ch from hook, yarn over, pull up a loop — 5 loops on hook. Insert hook in 6th ch from hook, yarn over, pull up a loop — 6 loops on hook.
c. Yarn over and pull through 6 loops on hook.
d. Ch 1 – this creates the “eye” of the Star Stitch. One Star Stitch just made.
To make the next Star Stitch, follow the following steps:
a. Insert hook in ch-1 space (‘eye’ of the star stitch), yarn over, pull up a loop — 2 loops on hook.
b. Insert hook in the last spike (in between the last two spikes) of the Star Stitch just made, yarn over, pull up a loop — 3 loops on hook.
c. Insert hook in same ch/st as the last loop pulled up on the Star Stitch just made, yarn over, pull up a loop — 4 loops on hook.
d. Insert hook in next ch/st, yarn over hook, pull up a loop — 5 loops on hook. Insert hook in next ch/st, yarn over hook, pull up a loop — 6 loops on hook.
e. Yarn over and pull through 6 loops on hook.
f. Ch 1 – this creates the “eye” of the Star Stitch. One Star Stitch just made.
Repeat the last a – f steps to the last chain or stitch of the row. Then HDC in the last ch/st as the last loop pulled up on the last Star Stitch just made. This completes the 1st row of the Star Stitch.
Row 2: Ch 2 (does not count as a st), work 2 HDC in every ch-1 space (the ‘eye’ of the Star Stitch from prev row) across, HDC into the top st/spike of the Star Stitch from prev row.
You just completed the Star Stitch pattern. For a better understanding of the Star Stitch pattern, watch this video tutorial (not mine), but always refer to my pattern as I made a modification to achieve the design I have in mind.
Notes
- Read the pattern carefully before starting.
- This pattern is worked flat, sideways.
- The turning ch 1 does not count as a st.
- Asterisks * * indicates pattern repeats. You will need to repeat all the instructions between asterisks.
- Remember, when working on the Star Stitch, always count the loops on your hook before pulling through 6 loops on the hook. The ch 3 and ch 5 are set-up chains for working the first Star Stitch.
- You increase/decrease 1 Star Stitch in every other row.
- For yarn substitutions, you may use crochet thread size 3 or 10.
For the chain necklace, just make sure that your hook will fit into the chains. If not, you can use a smaller hook size that fits into the chains when working on the set-up row.

Pattern Instruction
Earrings Pattern
(make 2)
Set-Up Row: Work 15 SC into the hoop earring. Turn. (15 SC)

Row 1 (RS): Ch 6, work Star Stitch, HDC in the last ch as the last loop pulled up on the last Star Stitch just made, sk the 1st and 2nd sts of the set-up row and sl st in the next st. Turn. (1 Star Stitch, 1 HDC)


Row 2 (WS): Ch 1, sk 1st st, work 2 HDC in every ch-1 space (the ‘eye’ of the Star Stitch from prev row), HDC into the top st/spike of the Star Stitch from prev row. Turn. (3 HDC)

Increasing Rows
Row 3 (RS): Ch 5, work Star Stitch across, HDC in the last ch as the last loop pulled up on the last Star Stitch just made, sk the next st of the set-up row and sl st in the next st. Turn. (2 Star Stitches, 1 HDC)


Rows 4 – 7: Rep Row 2 and 3. (4 Star Stitches, 1 HDC)
Note: End Row 8 with a sl st (rather than HDC) into the top st/spike of the Star Stitch from prev row. Turn.
Row 8 (WS): Rep Row 2. (8 HDC, 1 sl st)
Decreasing Rows
Note: The 1st Star Stitch is worked where ch 3 and the last sl st were made.
Row 9 (RS): Ch 1, sk 1st st, sl st in the next 2 sts, ch 3, work Star Stitch across, HDC in the last ch as the last loop pulled up on the last Star Stitch just made, sk the next st of the set-up row and sl st in the next st. Turn. (3 Star Stitches, 1 sl st)


Row 10 (WS): Ch 1, sk 1st st, work 2 HDC in every ch-1 space (the ‘eye’ of the Star Stitch from prev row) across, sl st into the top st/spike of the Star Stitch from prev row. Turn. (6 HDC, 1 sl st)

Rows 11 – 14: Rep Row 9 and 10. (2 HDC, 1 sl st)
Fasten off and weave in all ends.
Note: Remember to make the second earring on the opposite side of the hoop as the first one (like a mirror image) to distinguish the RS/WS of the pattern.

Now that you’ve finished your earrings, let’s make the matching necklace.
Necklace Pattern
Set-Up Row
First, mark the center ch of your necklace. From the marked ch, count 17 chains on either side of the chain. Attach your yarn in the first ch and work down to the center and up to the other side of the chain.

Work 2 SC in the 1st chain, *sk the next ch, 2 SC*; rep from * to * until you have 34 sts, sk the next ch, and work 1 SC into the next ch. Turn. (35 SC)

Row 1 (RS): Ch 6, work Star Stitch, HDC in the last ch as the last loop pulled up on the last Star Stitch just made, sk the 1st and 2nd sts of the set-up row and sl st in the next st. Turn. (1 Star Stitch, 1 HDC)

Row 2 (WS): Ch 1, sk 1st st, work 2 HDC in every ch-1 space (the ‘eye’ of the Star Stitch from prev row), HDC into the top st/spike of the Star Stitch from prev row. Turn. (3 HDC)
Increasing Rows
Row 3 (RS): Ch 5, work Star Stitch across, HDC in the last ch as the last loop pulled up on the last Star Stitch just made, sk the next st of the set-up row, and sl st in the next st. Turn. (2 Star Stitches, 1 HDC)
Rows 4 – 17: Rep Row 2 and 3. (9 Star Stitches, 1 HDC)
Note: End Row 18 with a sl st (rather than HDC) into the top st/spike of the Star Stitch from prev row. Turn.
Row 18 (WS): Rep Row 2. (18 HDC, 1 sl st)
Decreasing Rows
Note: The 1st Star Stitch is worked where ch 3 and the last sl st were made.
Row 19 (RS): Ch 1, sk 1st st, sl st in the next 2 sts, ch 3, work Star Stitch across, HDC in the last ch as the last loop pulled up on the last Star Stitch just made, sk the next st of the set-up row and sl st in the next st. Turn. (8 Star Stitches, 1 HDC)
Row 20 (WS): Ch 1, sk 1st st, work 2 HDC in every ch-1 space (the ‘eye’ of the Star Stitch from prev row) across, sl st into the top st/spike of the Star Stitch from prev row. Turn. (16 HDC, 1 sl st)
Rows 21 – 34: Rep Row 19 and 20. (2 HDC, 1 sl st)
Fasten off and weave in all ends.
Congratulations! You’ve just finished your Astral Earrings and Necklace Set.
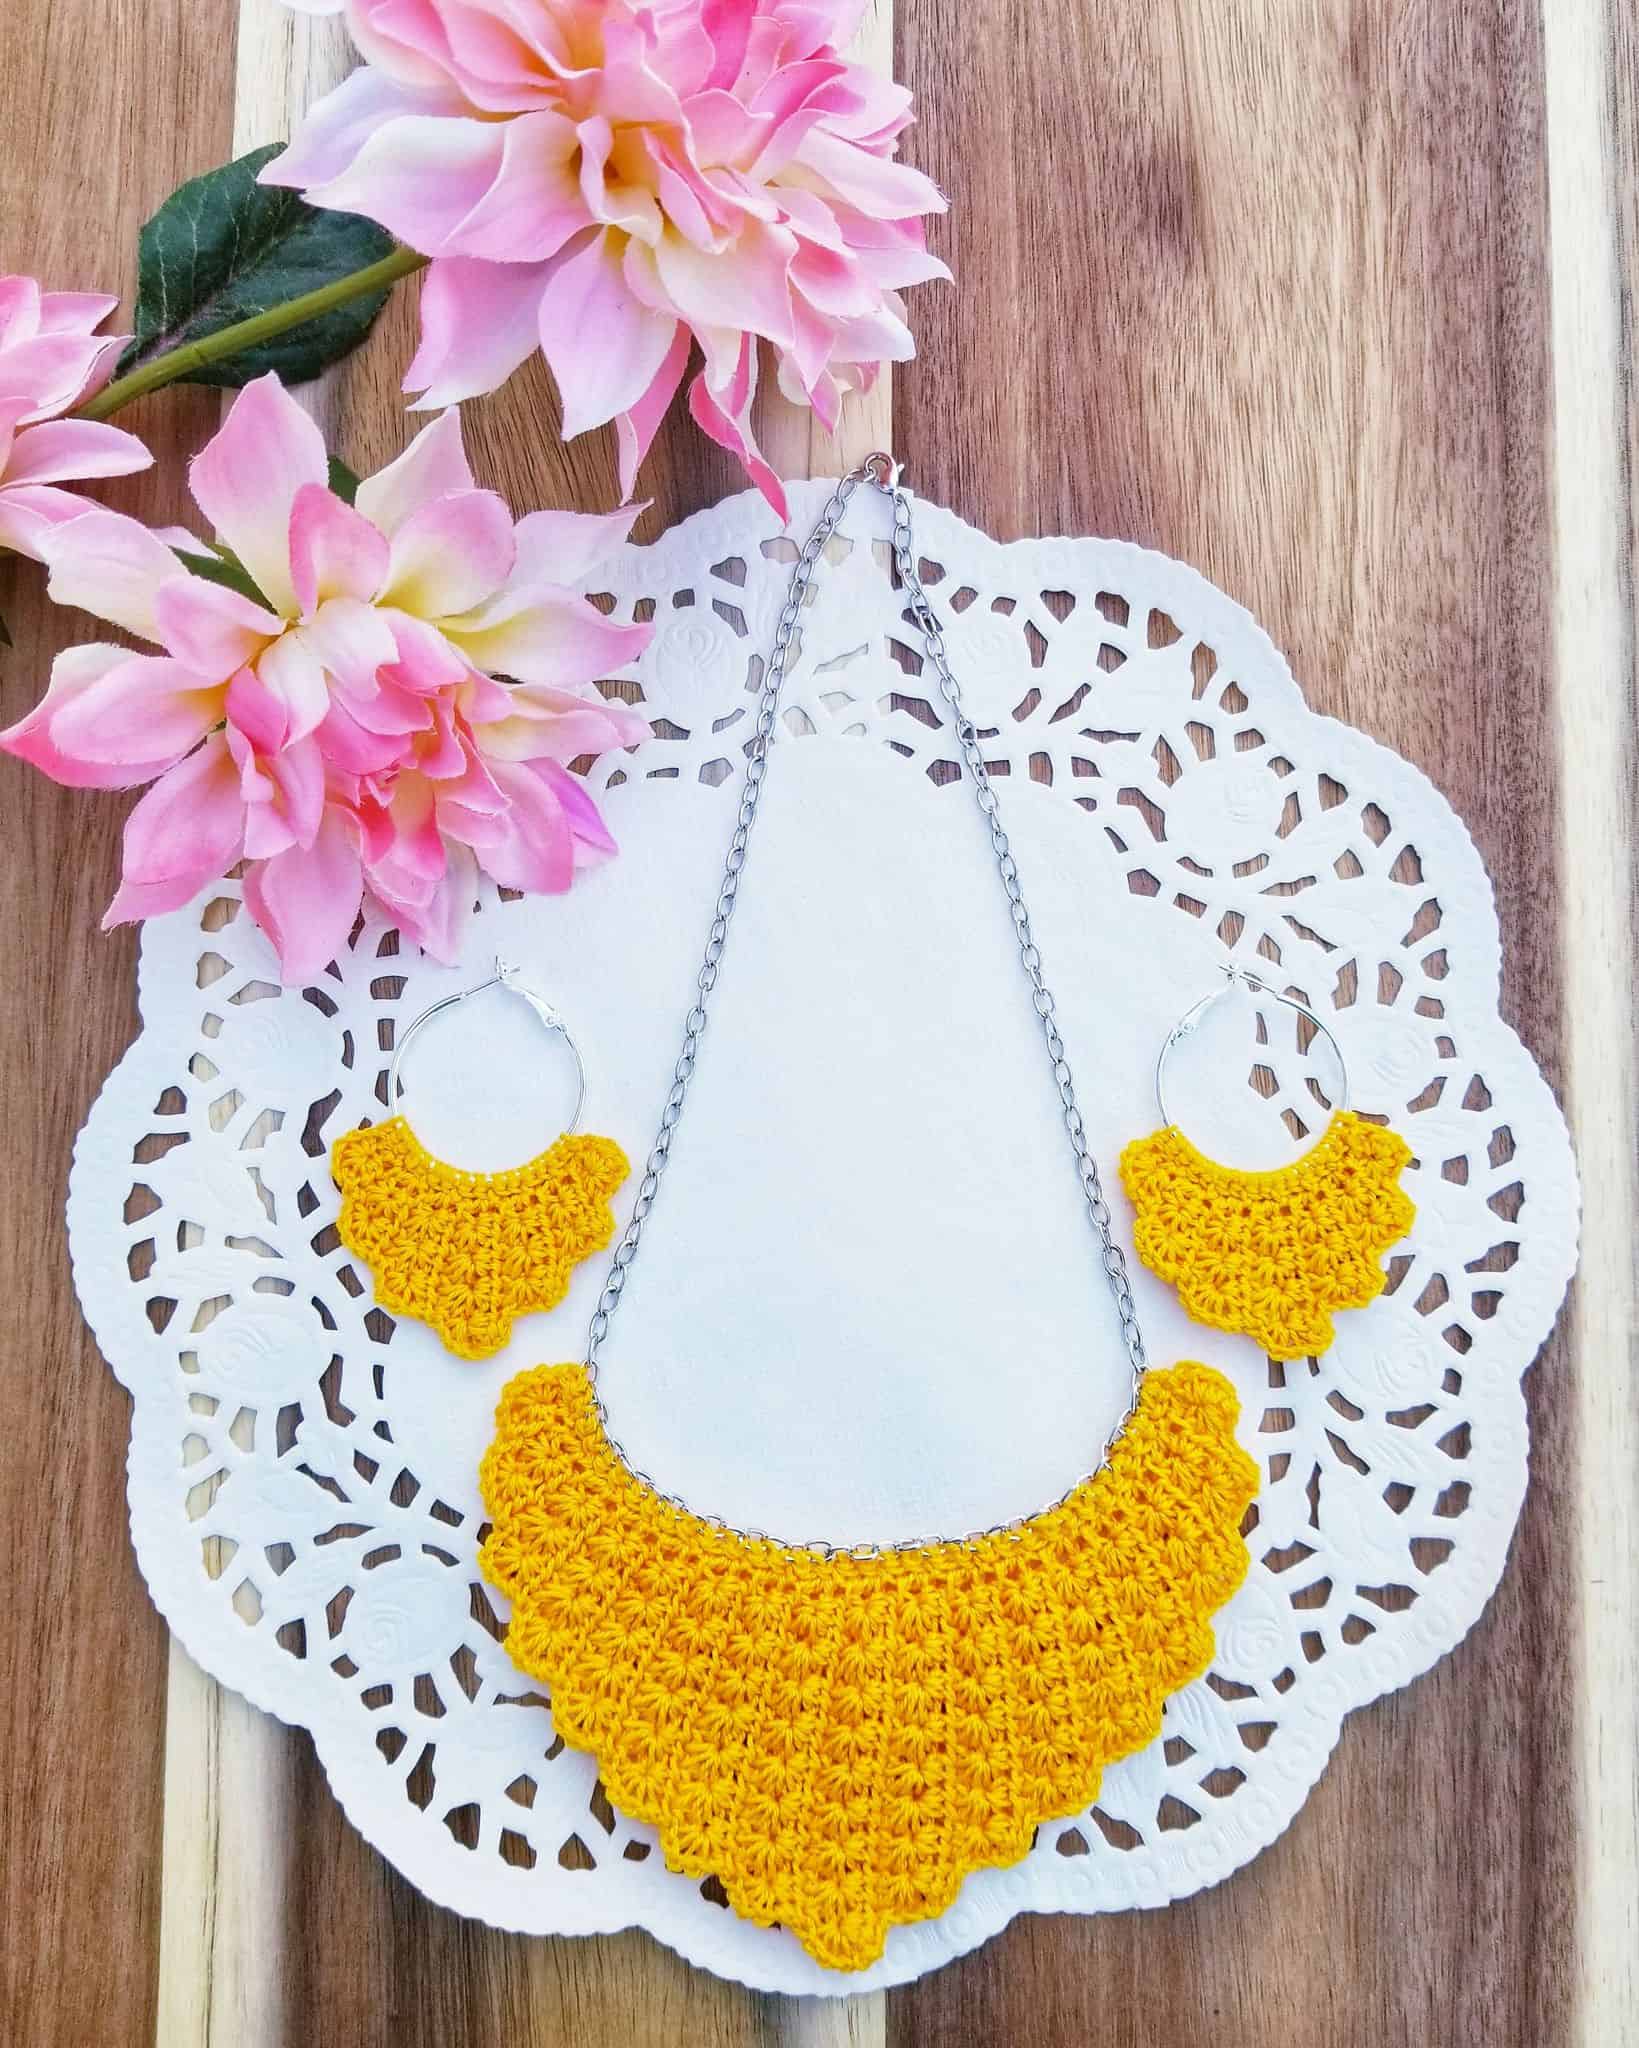
Hope you enjoy and love your new crocheted jewelry set!
To download the PDF copy of Astral Earrings and Necklace Set and my other patterns, please visit my Ravelry shop.
I would love to see your Astral Earrings and Necklace Set. Please use these hashtags #stringsandcuddles #stringsandcuddlesdesigns #astralearrings #astralnecklace and #astralearringsandnecklaceset to share so I could see it!
Please don’t hesitate to reach out for questions regarding this pattern.
*** *** ***
All images and patterns are copyright of STRINGS AND CUDDLES. You may sell any items that you make from this pattern. You may NOT use my images. Please DO NOT copy, redistribute or claim as your own. If selling items from this pattern, please give credit to STRINGS AND CUDDLES by linking to my shops or on social media @stringsandcuddles.
Connect with me Instagram | Pinterest | Facebook | Blog | Ravelry
*** *** ***
Stay connected with Clover on Facebook | Twitter | Instagram | Pinterest | YouTube | Ravelry
[mc4wp_form id=”11289″]