Quilted Kanzashi Flower Tote
Happy National Quilting Month and National Craft Month friends!
I’ve got such a fun Quilted Tote project for you to make today – its a great way to start out the month! Get ready, because not only are we going to do a little quilting, we are going to incorporate some crafting too with some beautiful Japanese Kanzashi fabric flowers!

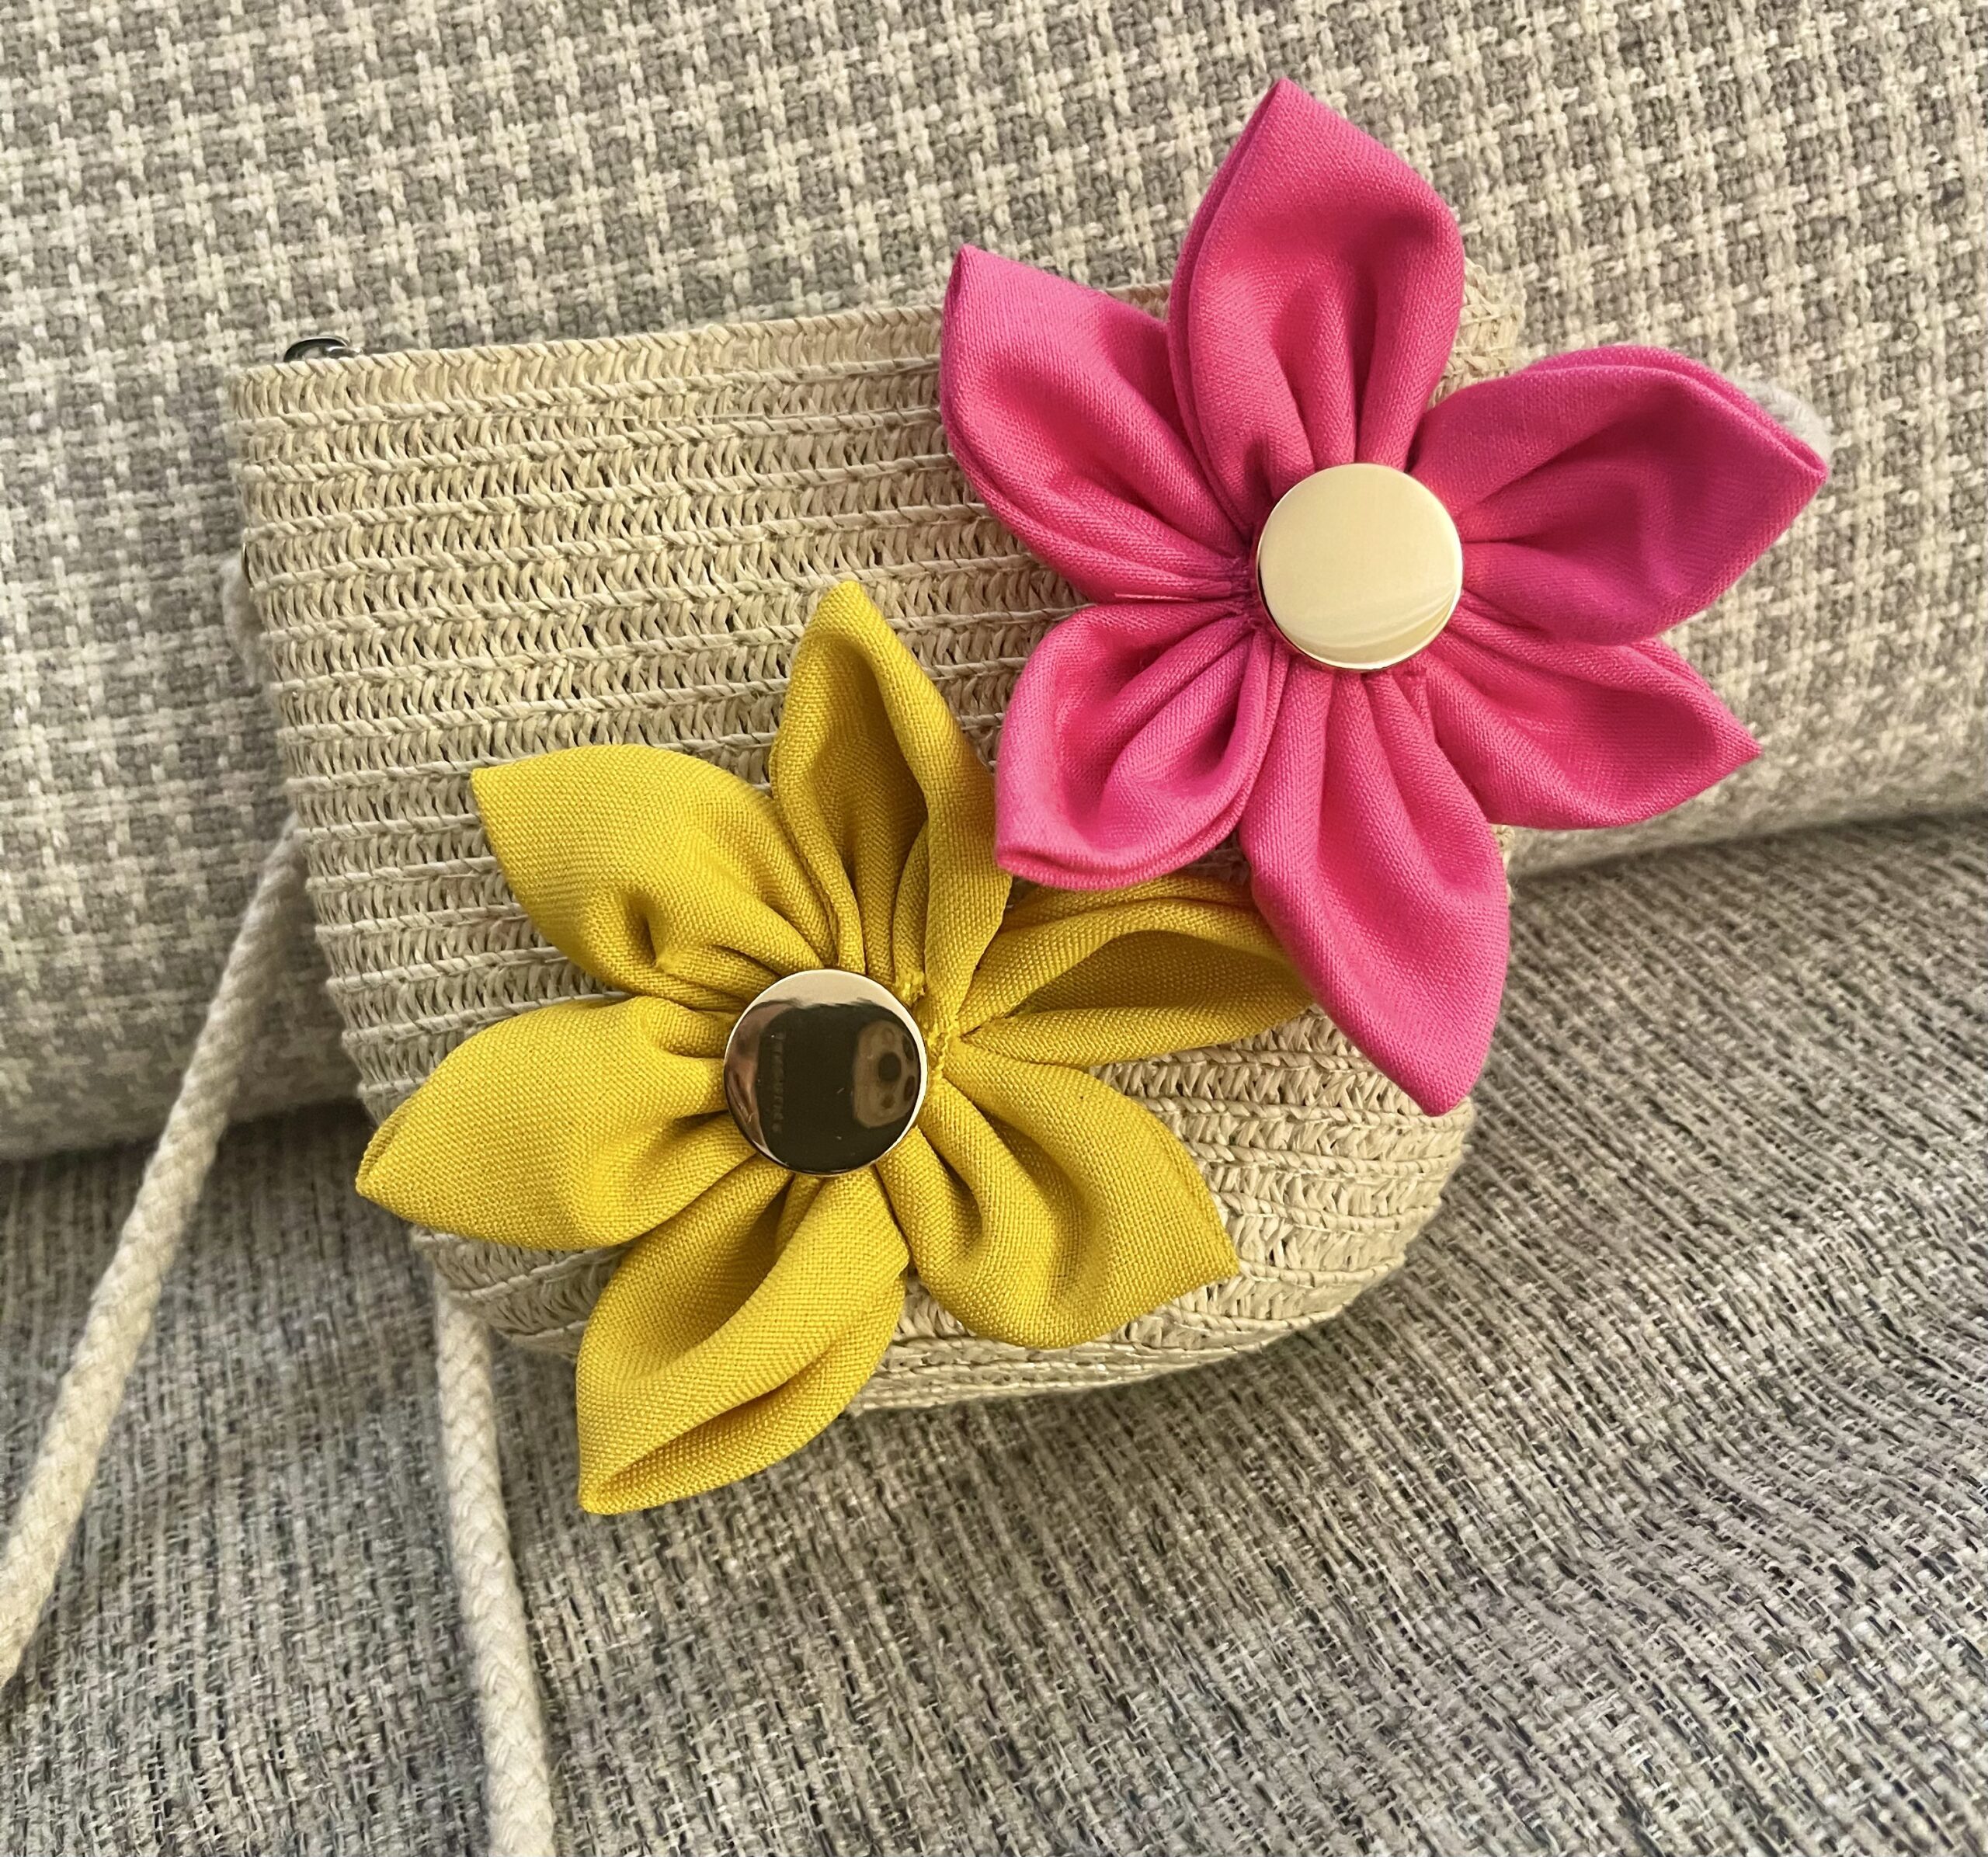
Before we get started making the Tote, lets talk just a little bit about the Kanzashi flowers. Have you ever made them before? I never had. So when I received the set of Clover Kanzashi Flower Makers in the mail I grabbed some fabric scraps, needle and thread and whipped out a flower. My first few petals were a little wonky (smile!) but I very quickly got the hang of it and they just got more fun with each flower. I followed a great Clover YouTube tutorial here, but honestly the written instructions are so simple to follow. What I love about these is that each Flower Maker has numbers on it with the order that you hand sew your thread. Anything that has instructions that clear is fun to do!

I want to take a quick minute to point out this amazing new sewing tool that is new to Clover. It is called the Sweet ‘n Sharp Macaron! Not only does it have this amazing product in between the macaron layers that sharpens your needle, but it also has a magnet to hold your needle!!! I used this amazing tool for keeping my needle sharp and safe while I was making my Kanzashi flowers as well as when I was doing the hand quilting on my Tote. Another favorite Clover tool!

Lets make our Kanzashi flowers first! I tried all the different flower types, but settled on two that I thought would be the prettiest on my Tote. I recommend that you do the same, because your choice of flowers may be different than mine.

There are a couple things to keep in mind before making your flowers. They use fabric scraps which is great, but you need a piece of fabric for each petal. (Most have 5 petals, a couple of the flowers have 10.) So when you are digging through your scrap bin be sure to choose a fabric that you have enough of. Or you could mix and match the fabrics, using a different one for each petal!
One very important thing that I highly recommend is that you will want small, very sharp scissors to cut the fabric around the Kanzashi Flower Makers. The Clover Bordeaux Ultimate Scissors in the tiny size were my favorite for this. I can’t imagine trying to cut around the Flower Maker tool with dull scissors.
Lastly, you will want some pretty buttons! A number of years ago, a friend gave me some vintage buttons that I’ve used for so many projects and I just knew they would be perfect at the center for these beautiful flowers. I also attached the buttons with thread, but you could use a little dab of craft glue or hot glue to hold your buttons in place.

Make your Kanzashi Flowers of choice and set them aside for now. Gather your sewing supplies and lets make the Quilted Tote.
Materials:
Tools
- Clover Wonder Fuse (optional) – Art. No 4090
- Kanzashi Flowers (made with Clover Kanzashi Flower Maker)
- Clover Water Erasable Marker- Art. No 515 or 516
- Clover Wonder Clips or Fork Pins – Art. No 240 or 2401
- Clover Bias Tape Maker 18mm (optional) – Art. No 464/18
- Clover Bordeaux Scissors 130 – Art. No 4940
- Clover Rotary Cutter – Art. No 7500-7503
Fabric
- square fabric scraps
- 1/2 half yard of outer fabric
- 1.5″ x 36″ accent fabric
- 1/2 yard of lining fabric
- 1″ x 40″ webbing for handle
- 1.5″ by 40″ fabric to cover webbing (optional)
- 1/2 yard fusible fleece
Instructions:
Step 1: Using a Rotary Cutter and ruler, cut fabric and batting as follows:
- 48) 2.5″ fabric scraps
- 2) 10.5″ x 16″ outer fabric
- 2) 1″ x 16″ accent fabric
- 2) 16″ x 16-3/4″ lining fabric
- 2) 16″ x 16-3/4″ fusible fleece quilt batting
- 2) 1″ x 19″ webbing for handles
- 2) 3/4″ x 19″ Wonder Fuse for handles (optional)
- 2) 1-5/8″ x 19″ accent fabric for handles (optional)

Step 2: Lay the tiny fabric squares out to form three rows of eight squares in each row. (You will have enough fabric squares to do this again for the back of your tote.) Rearrange them until you find a pleasing look. Sew each square together, forming the rows. Iron each row, pressing all the seams to one side, then on the next row press the seams to the opposite side. This makes it easier to lock those seams when you sew your rows together.

Step 3: Sew your patchwork rows together, carefully matching the seams. I usually use the Clover Wonder Clips for this step but I was excited to use the new Clover Fork Pins today and they really held those seams in place. Repeat this process for the other three rows that will go on the back of the tote.

Step 4: Once your rows are sewn together, press them carefully. You will now have two patchwork panels measuring approximately 16.5″ x 6.5″.

Step 5: Take your accent fabric pieces and press in half lengthwise. Repeat for both pieces. Place folded accent piece to top right side of outer fabric piece, matching raw edges. Use Wonder Clips to hold in place. Baste in place using scant 1/4 inch seam. Repeat for both front and back of Tote.

Step 6: Using Wonder Clips, place a patchwork panel to the outer fabric piece, right sides together. Sew a 1/4 inch seam. Repeat for both front and back of Tote. Press seams down on both front and back panels.

Step 7: Using a ruler and Clover Water Erasable Marker, mark quilting lines on both front and back of Tote pieces in any way that you choose. I chose to quilt diagonal lines that ran through the middle of each of the little patchwork squares.

Step 8: Once you have your quilting lines marked, carefully press the fusible fleece to the back of each of the outer Tote pieces. Feel free to quilt in any way that you choose. You can machine quilt by simply sewing along the marked lines. Or you can hand quilt. I love the look of hand quilting on a project like this. I use the size 8 Perle Cotton embroidery thread and make my stitches a little longer. It actually goes very quickly! If you’ve never done any hand quilting before; this is a great project to try it out on! (Once you’ve completed your quilting, use a spray bottle of water to remove the blue pen lines.)

Step 9: Now it is time to attach your Kanzashi flowers to the front of the Tote. Lay your front piece on a table and experiment with different placement options for the flowers. Once you have chosen where you want to position them, use the Water Erasable Marker and mark a large dot where the center of each flower will go. Using a needle and doubled thread, hand sew each flower in place. I stitched numerous stitches on each flower so that they were very firmly sewn on. You could also choose to glue the flowers with dab of hot glue, but I just felt that sewing them was a better option. Repeat this step until you have your flowers sewn on.

Step 10: Optional: Cover Tote handles. If you choose not to cover your handles with contrasting fabric, skip to Step 11. Using the red (size 18) Clover Bias Tape Maker make two 19″ strips of perfect bias binding strips. (If you are not familiar with using the Clover Bias Tape Maker you can see the Clover video tutorial here.) Press a strip of Wonder Fuse to the back side of the binding and remove the paper backing. Press this to one side of webbing. Sew close to both edges of the fabric binding, adhering it to the webbing. Repeat this process for both handles.

![]()
Step 11: Using the Clover Water Erasable Marker and a ruler, mark the exact center of the top of the Tote. Make another mark 2.5 inches on both sides of the center mark. Place handle with raw edges and right sides together at the outside edge of each line and baste in place. Repeat this step for both front and back.

Step 12: Place front and back of Tote right sides together. Be sure to carefully match the sides of the patchwork panels so that when sewn they will line up together. Use Wonder Clips or Fork Pins to hold in place. Sew all three sides with a 1/4 inch seam, leaving the top open. (Tip: pin carefully and then baste in place, checking to make sure the patchwork sides line up before the final sewing.)

Step 13: Repeat for lining, except this time leave a 6 inch opening in the middle of the bottom of the lining. (This is left open for turning later.)

Step 14: Box all four corners (both outer and lining of Tote) by carefully following these instructions: fold each corner into a triangle by aligning the side seam and the bottom seam. Lay it on the table to get it nice and flat and to make sure your inside seams are aligned. Press with an iron. Place a ruler on the triangle and move it until it measures exactly 3 inches. Mark that line with a Water Erasable Marker. Sew along the drawn line, back stitching at each end to make sure it holds it securely. Cut that corner of fabric off about 1/2 inch from the sewn line. Repeat with all four corners.

Step 15: Turn the outer Tote so that the right sides are facing out. Leave lining with the right sides facing in. Place outer Tote into the lining, (double check that right sides are together). Carefully match side seams and use Wonder Clips to hold in place on the raw edges. Make sure the handles are between the lining and the outer Tote. Sew a 3/8 inch seam all the way around removing the Wonder Clips as you go.

Step 16: Push the outer Tote through the opening in the bottom of the lining.

Step 17: Press the raw edges of the lining opening towards the inside so the raw edges are hidden. Sew a narrow stitch to close the opening. Push the lining into the outer Tote.

Step 18: Carefully press the top opening the Tote, making sure the lining is pressed into the tote.

Step 19: Using embroidery thread, hand sew a top stitch along the the top edge of the Tote to hold the lining in place. You can also do this step using your sewing machine if you’d prefer.

Step 20: Hand sew two small Kanzashi flowers at the base of the handle if you prefer! You could also embellish it with buttons instead.

Step 21: Iron your completed Tote, using spray starch to give it a nice crisp finish!

Your Quilted Kanzashi Flower Tote is complete and ready to use!
I know you’ll enjoy this month of National Quilting and Crafting projects here on the Clover Blog!
~ Dori ~
Find Dori on her Blog | Instagram | Pinterest
Stay connected with Clover on Facebook | Twitter | Instagram | Pinterest | YouTube | Ravelry


