Learn to Crochet the Double Crochet Stitch
Hi Everyone! I’m Ashley, the designer and maker behind The Loopy Lamb. I’m so excited to be invited back to the Clover blog to teach you all how to do the Double Crochet Stitch.
The double crochet stitch is a basic crochet stitch that all beginners need to learn in order to crochet. The double crochet stitch is used in a really wide variety of projects. The double crochet stitch, when written in crochet patterns will be abbreviated as DC. Check out the end of this post when you’re done to find some free crochet patterns that use the double crochet stitch that you can use to practice doing the double crochet stitch.
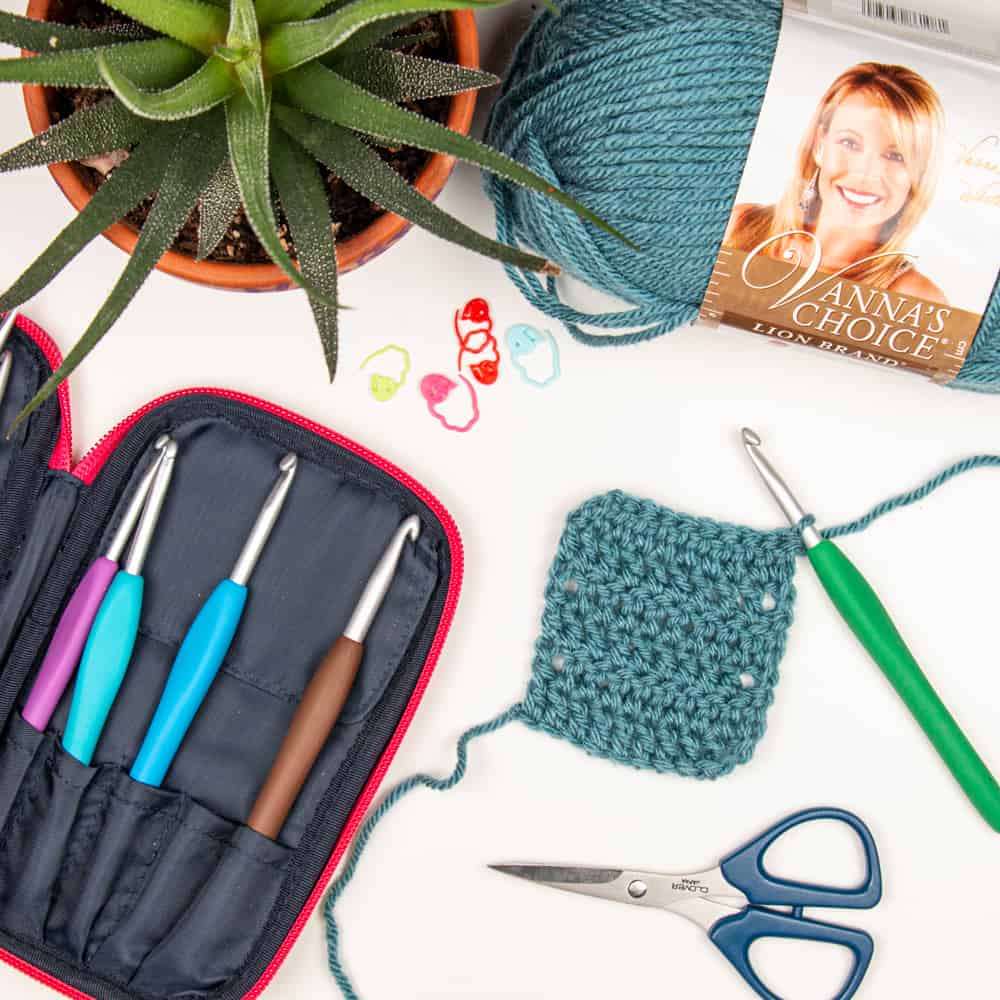
Supplies You’ll Need to Follow Along With This Tutorial:
- 5mm Clover Amour Crochet Hook (Art. No 1048/I)
- A ball of worsted weight yarn (size 4) in any colour. I’m using Lion Brand Vanna’s Choice
Watch this helpful video tutorial or continue scrolling for a picture tutorial!
Abbreviations:
- DC = Double Crochet
- CH = Chain
- YO = Yarn Over
Creating a Slip Knot: Create a slip knot and place the loop onto your hook (see how to do a slip knot HERE).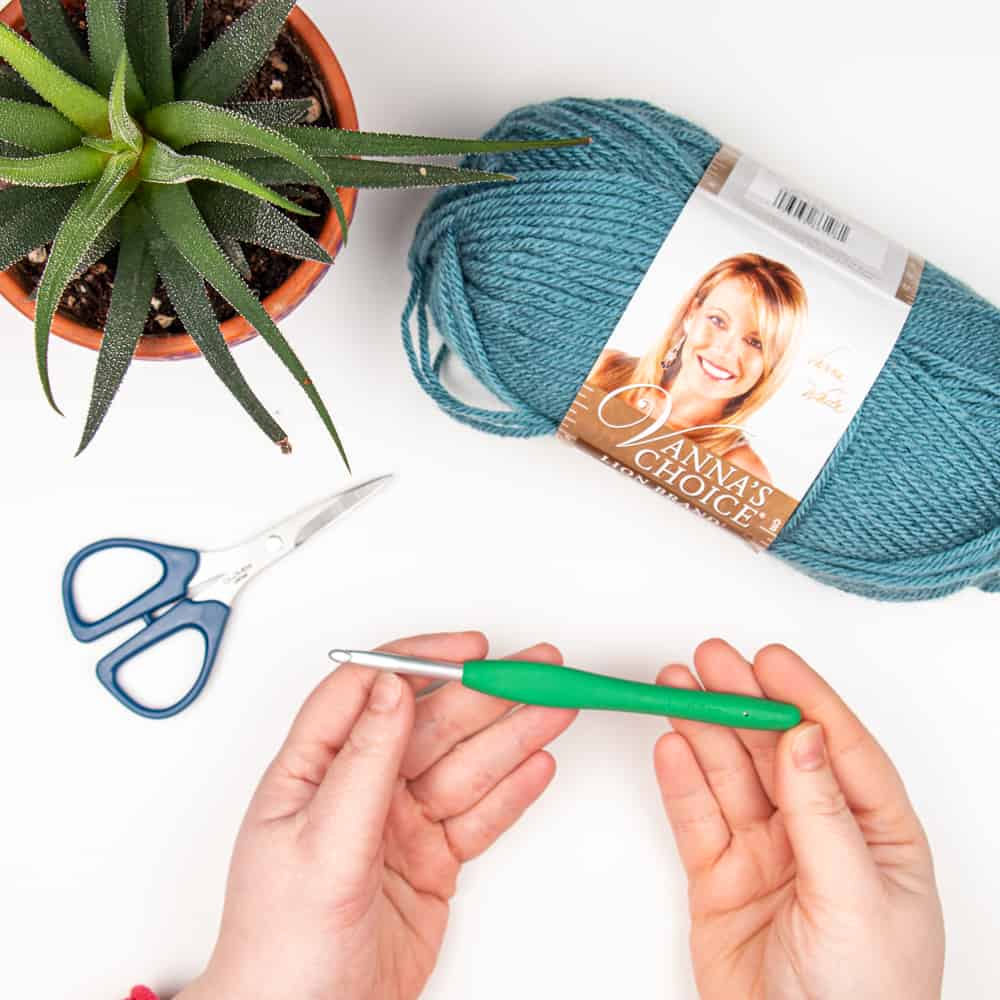
Creating a Chain: Now we’re going to create a chain for us to work our double crochet stitches into. This can be any length that you wish but for today’s tutorial, I want to have 10 stitches so I am going to create 12 chains.
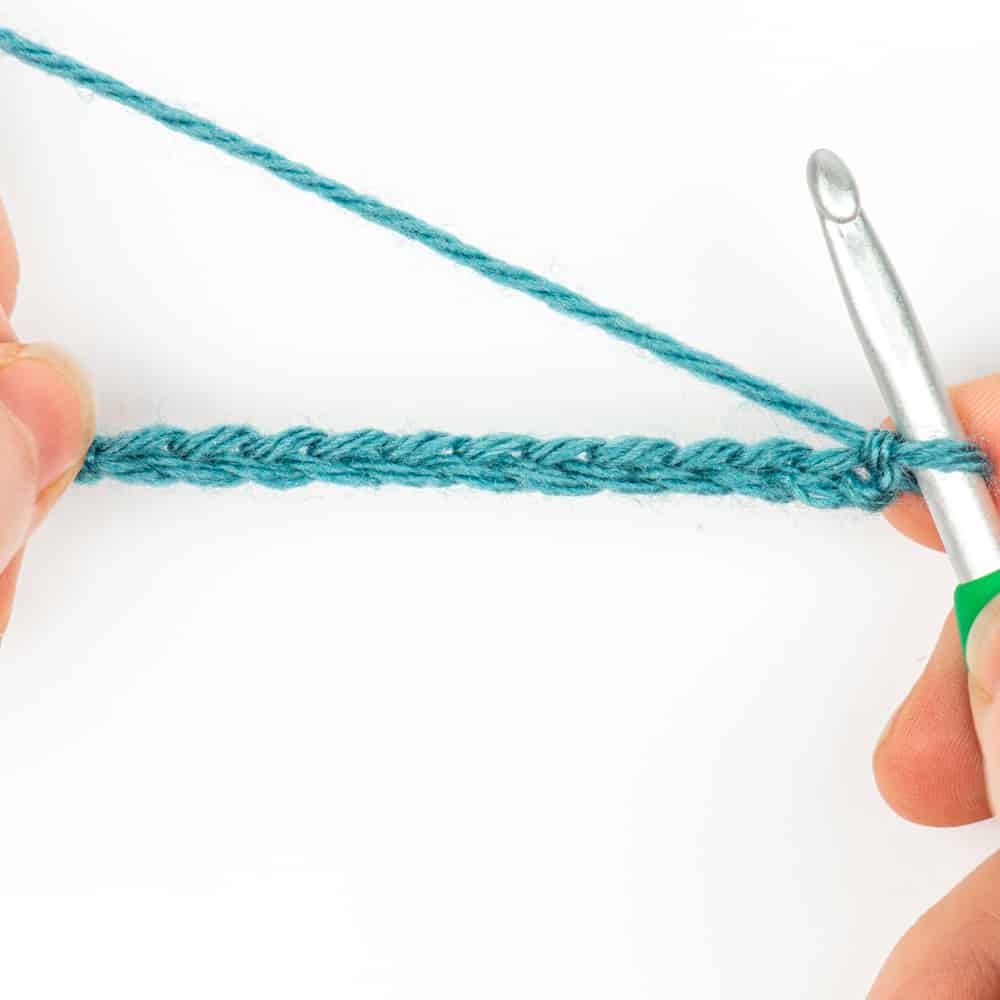
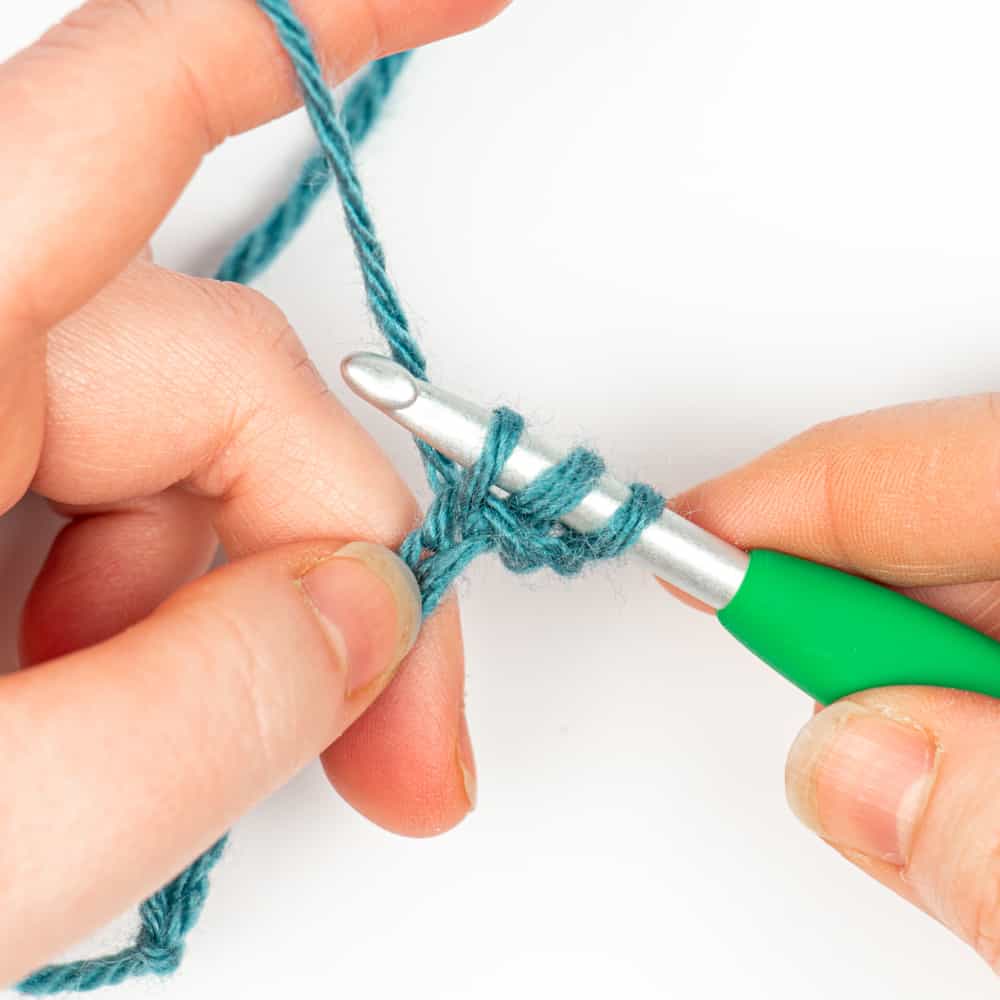
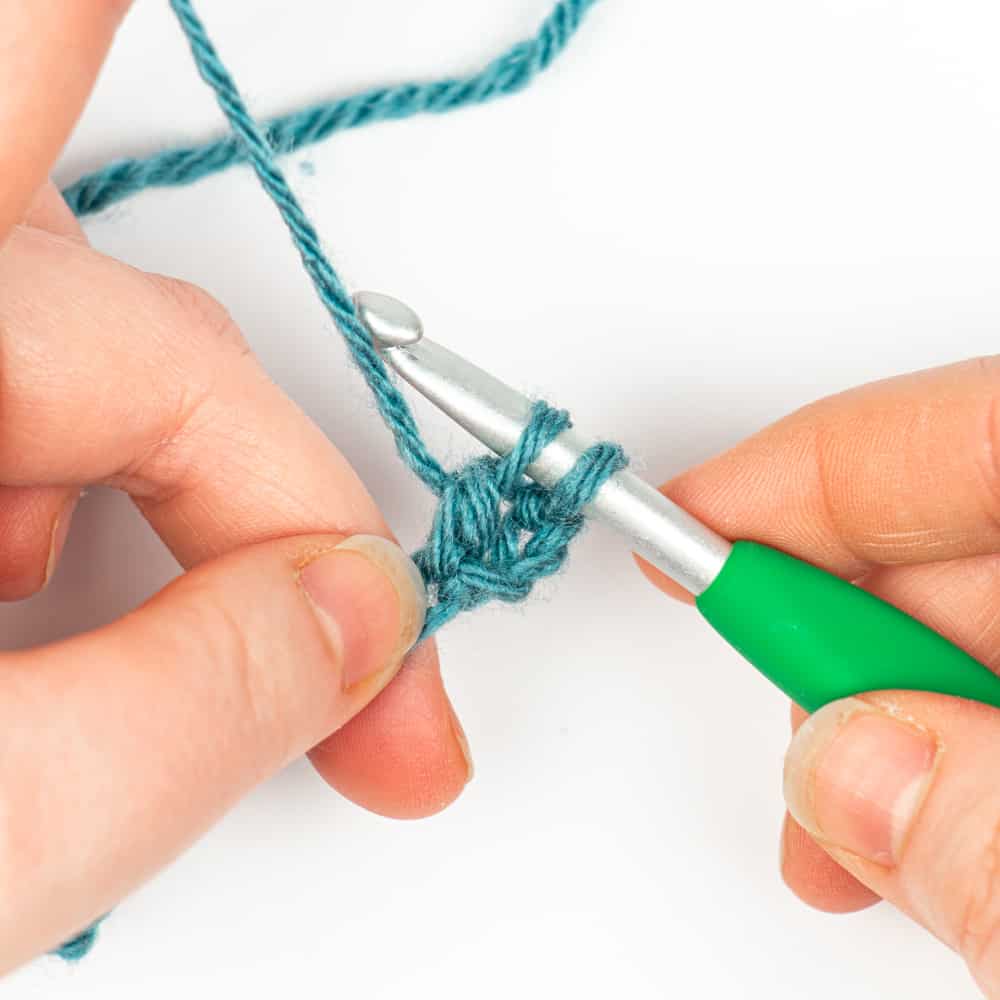
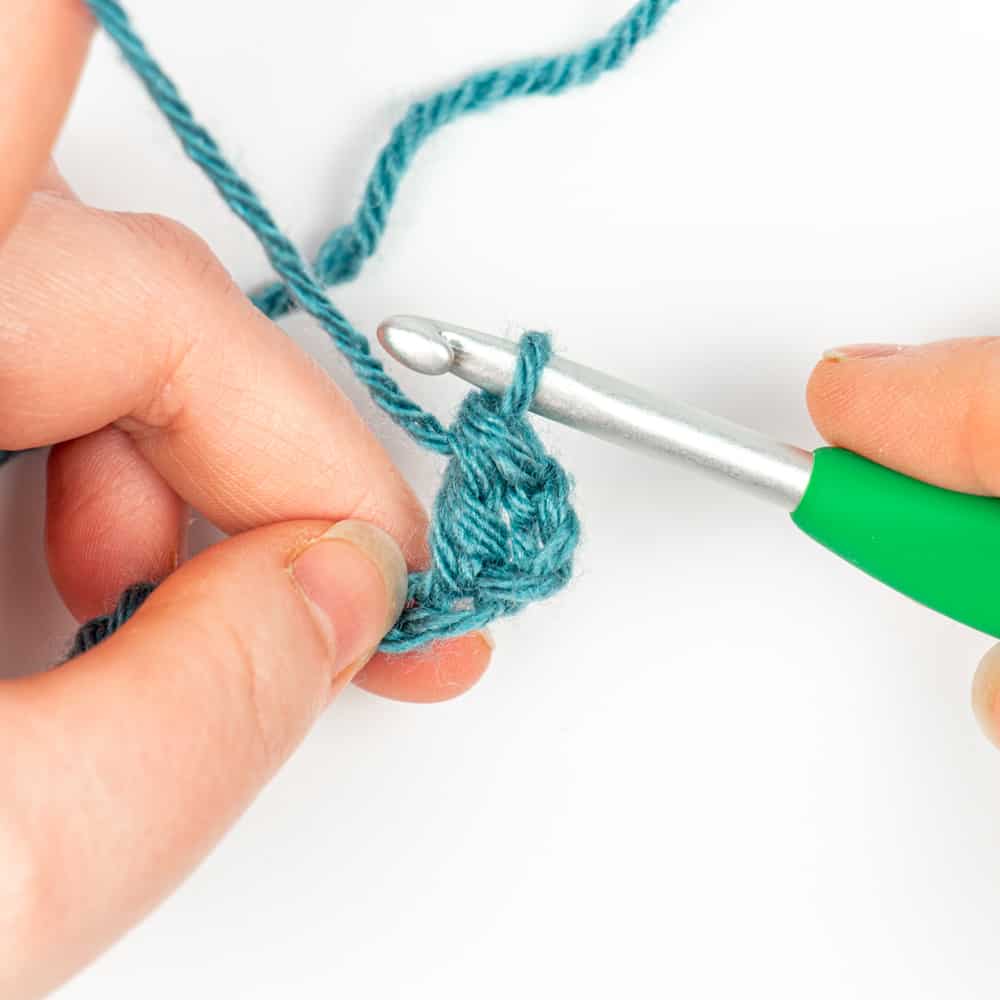
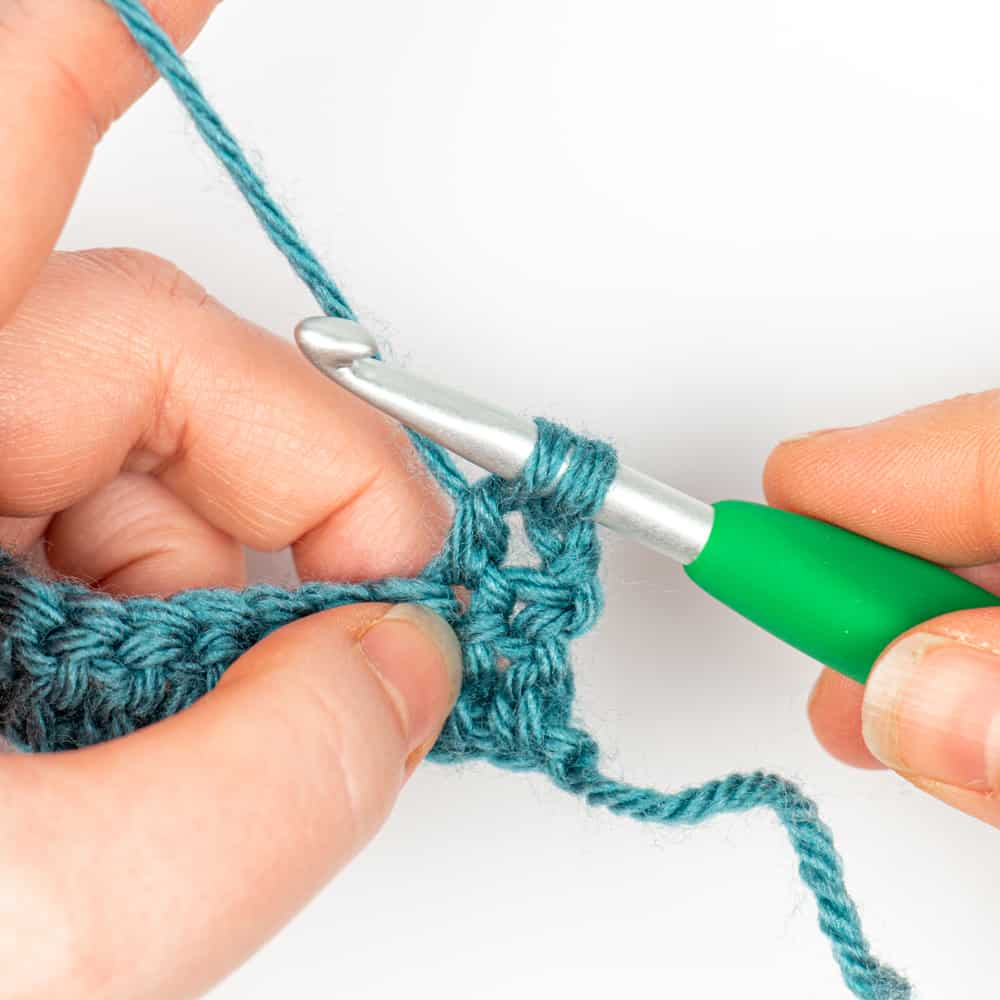
Row 1: Wrap your yarn around the hook (referred to as a yarn over and abbreviated as YO in crochet patterns) and insert your hook into the fourth chain (CH) from the hook (remember not to count the loop on your hook as a chain). Yarn over (YO) and pull the loop through the chain. You should have three loops on your hook. YO and pull the yarn through the first two loops on your hook. You should have two loops remaining on your hook. YO and pull through the remaining loops on your hook. That’s your first double crochet stitch (DC) created.
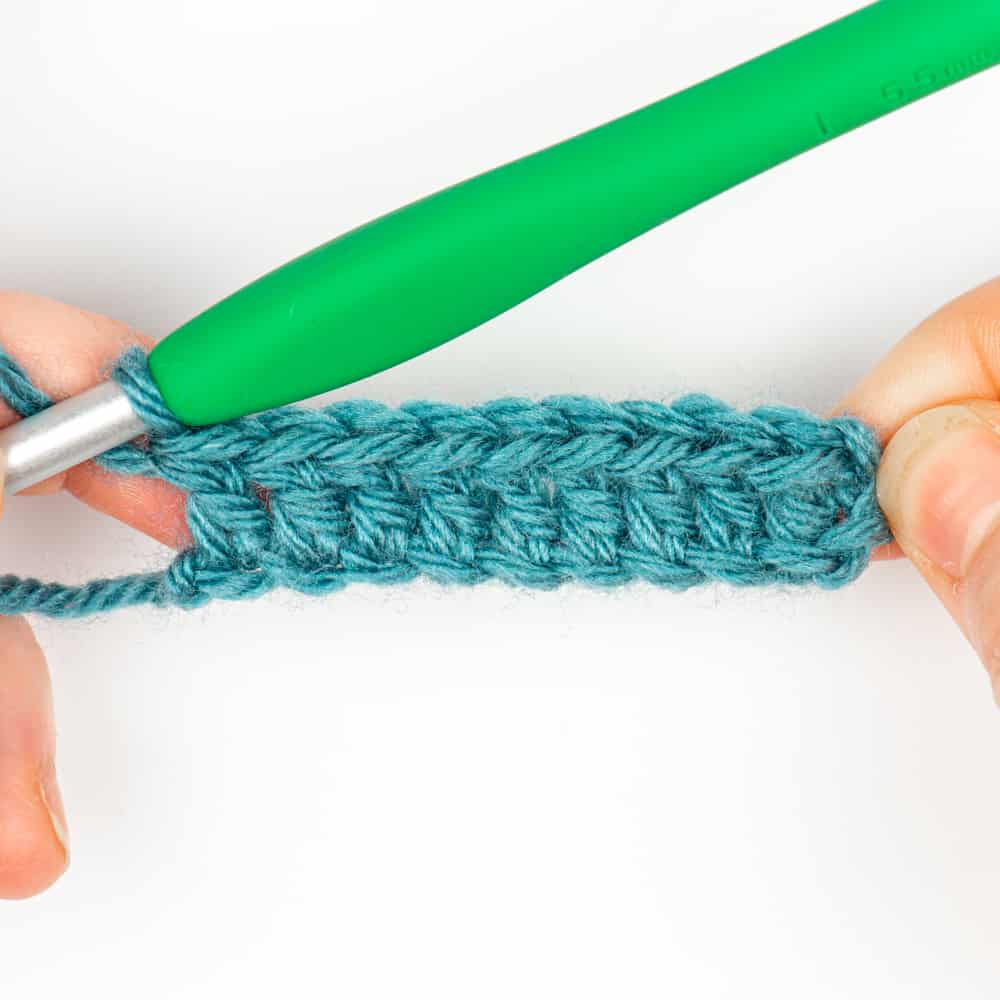
Repeat this step in each of the chains you created. You should have 10 double crochet stitches when you are finished. You count the stitches by counting the V’s at the top of your row and you would also count the 3 chains you skipped at the beginning as a DC stitch.
Row 2: To start your second row, you will need to create a CH 3 to raise the yarn to the correct height. This CH 3 is called your turning chain. Turn your work so you will be working from right to left again. We will be working this row into the tops of the stitches from the first row.
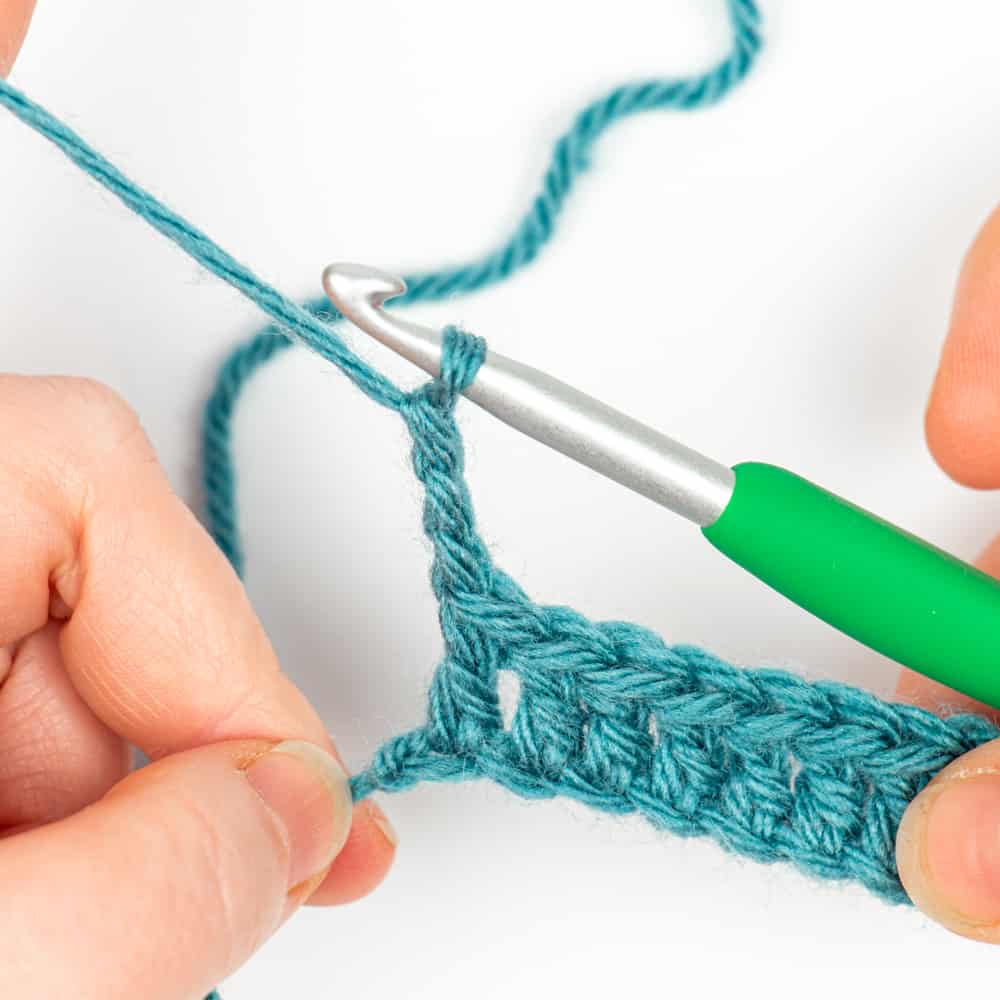
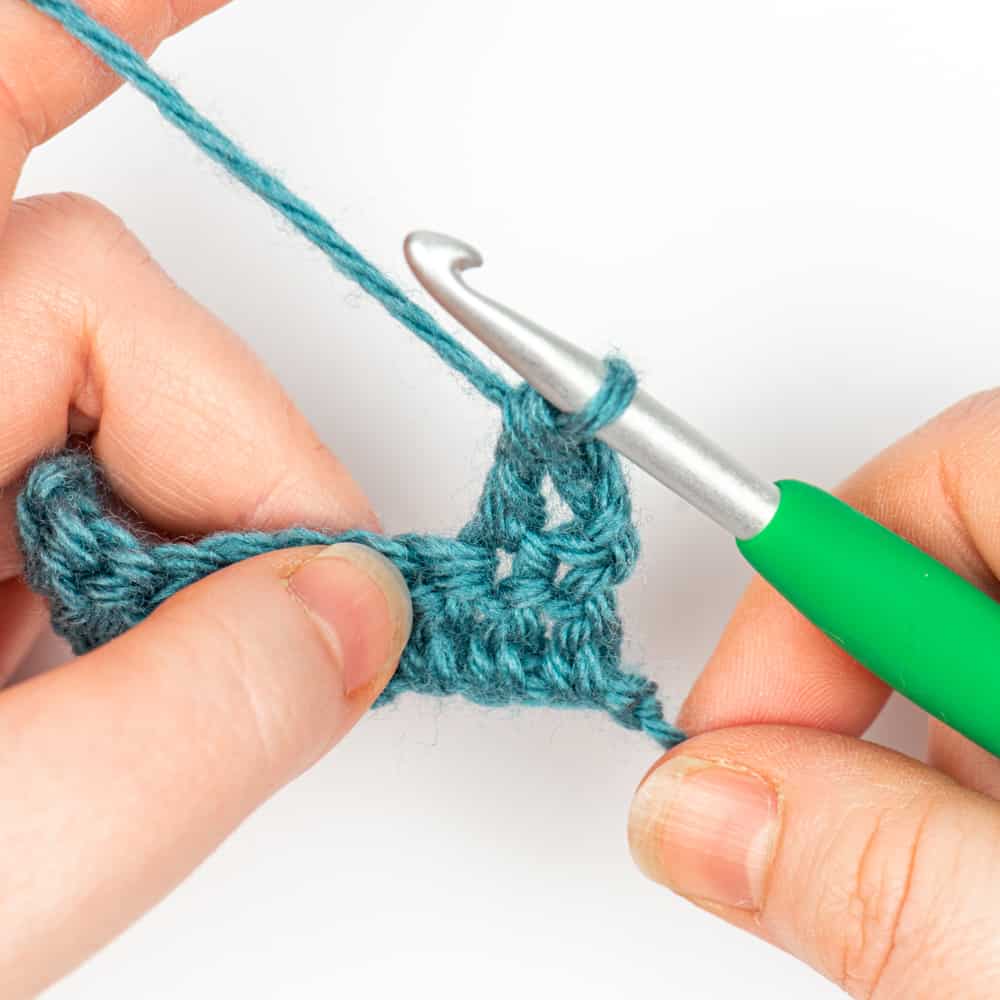
Working into the second stitch (skipping the first), YO and insert your hook into the stitch, making sure you’re working under both the loops of that “V”. YO and pull the yarn through the stitch to the front of your work. You will have three loops on your hook. YO and pull the yarn through the first two loops on your hook. You should have two loops remaining on your hook. YO and pull through the remaining loops on your hook. That’s your second double crochet stitch (DC) of Row 2 created. The CH 3 turning chain you created counts as your first DC of this row.
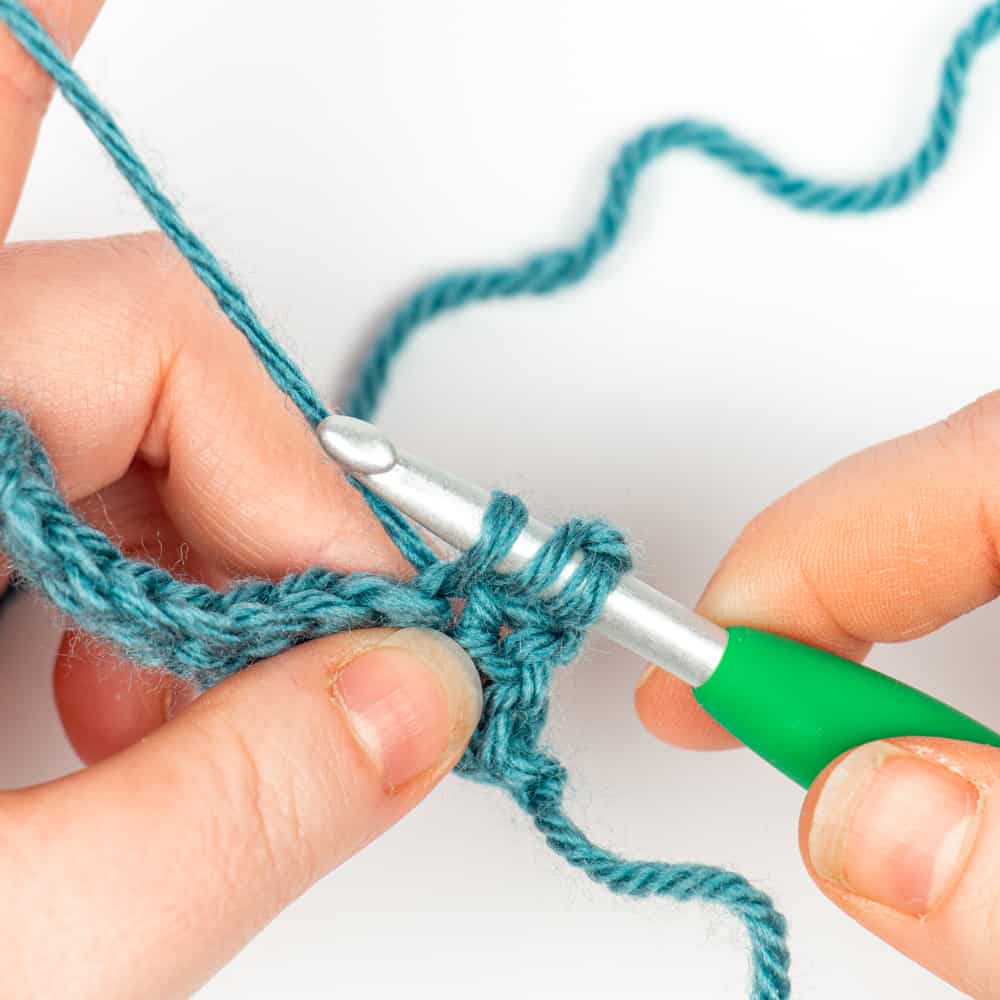
Continue this across your row until all stitches have been worked. Make sure that you work your last double crochet of the row in the top of the 3 chains that you skipped at the beginning of Row 1. This makes sure that you have a straight edge and that you maintain the same amount of stitches as your previous row.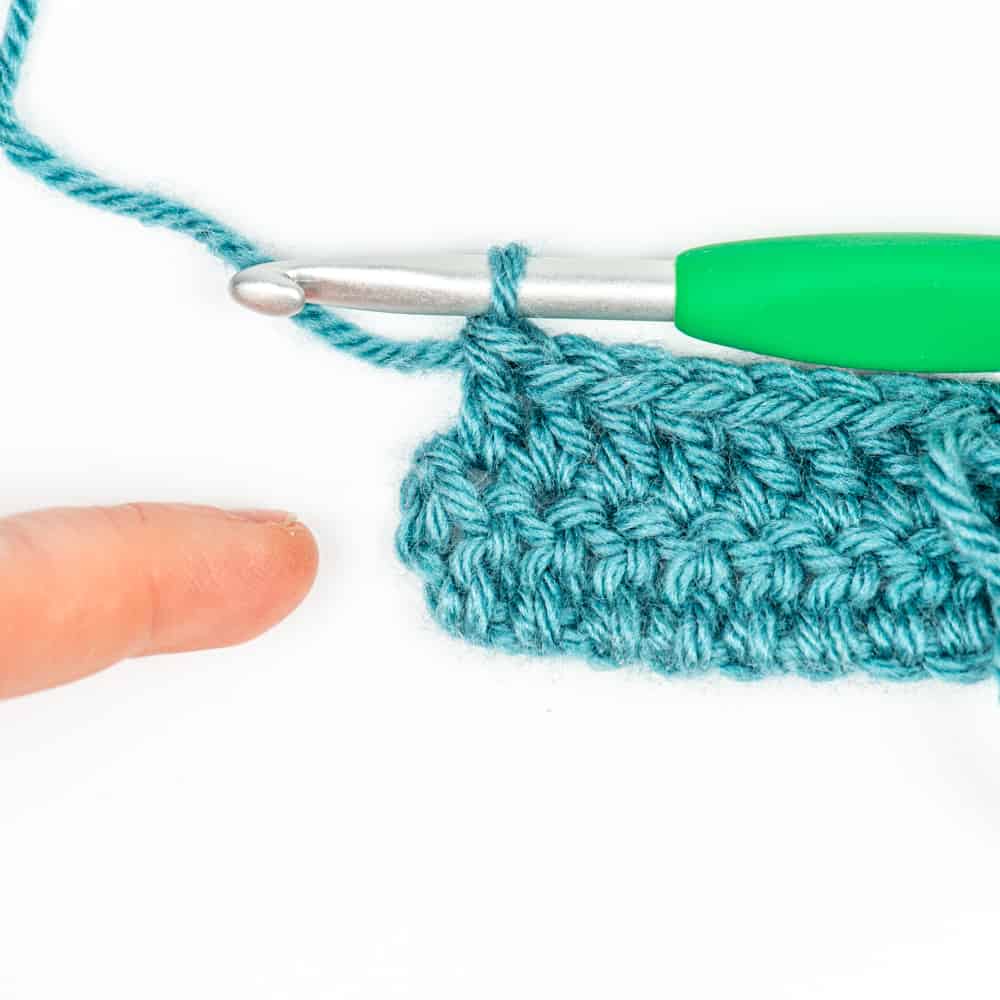
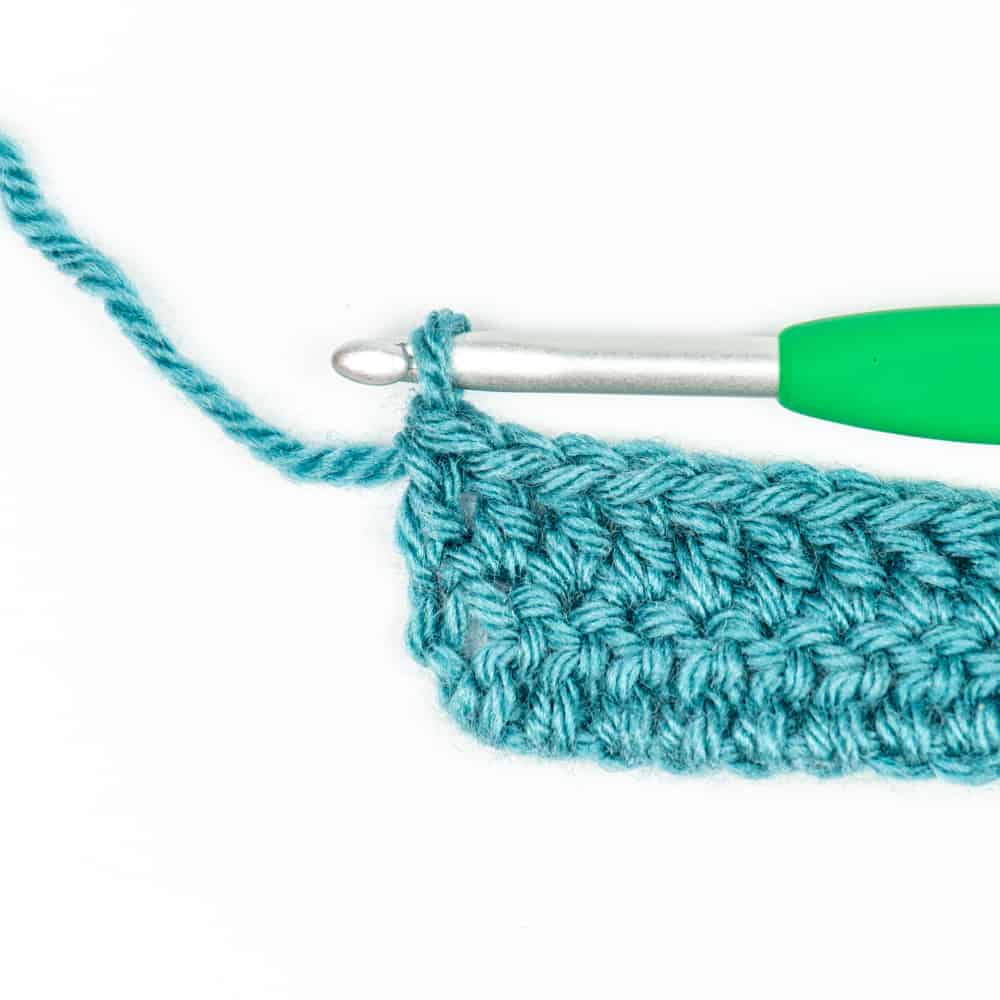
To work consecutive rows: To work consecutive rows of double crochet stitch, repeat the instructions for Row 2 until your work is the desired length.
I hope you enjoyed this tutorial and are excited to get started learning more crochet stitches.
Patterns that use Double Crochet:
- Colour Pop Beanie by Lovable Loops
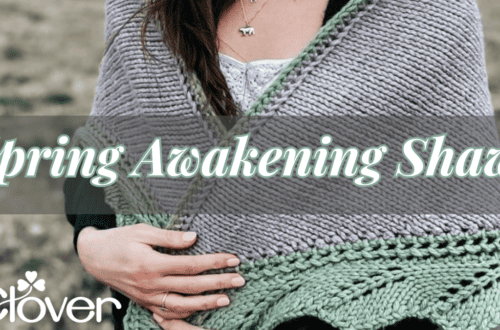
- Sunset Peaks Crochet Shawl by My Poppet Makes
- Learn How to do the Alpine Crochet Stitch (a fun stitch using double crochets) with Dora Does
- C2C Poncho Pattern from Dora Does
You can find more of my free crochet patterns on my Blog | YouTube | Instagram | Facebook | Pinterest
Stay connected with Clover on Facebook | Twitter | Instagram | Pinterest | YouTube | Ravelry
[mc4wp_form id=”11289″]