Winter Explorer Doll – Amigurumi Pattern
Hello my dear crochet friends!
I’m Jade, the designer at Sweet Softies, and I’m so thrilled to be sharing a special amigurumi pattern here with you on the Clover blog!
As a brief introduction, I’m an amigurumi and crochet enthusiast who loves to share my joy for yarn crafts and the sweet things in life on my blog, Sweet Softies and YouTube channel. I design a variety of toys (e.g., dolls, animals, foods, desserts), clothing and accessories, baby items, home décor, and more! My favorite thing about sharing my patterns for free and hosting fun crochet-a-long events is seeing other crocheters’ finished products from my designs, hearing your stories, and being part of this tight-knit crochet community!
Now, onwards to a sweet creation…
Here’s my Winter Explorer doll, which is shared for free exclusively on Clover’s blog! This adorable, little girl wears a fur hood and flared dress. Her cozy, frost-colored outfit keeps her warm during the cold season. This mini amigurumi is quick and easy to crochet, and the newest member of Sweet Softies’ Pocket Pixie Series. This pint-sized doll makes a great toy for kids who love to play with small “pocket buddies”, and also makes for a cute birthday, Christmas, or holiday present!

Size:
Height is 6 inches (15 centimeters)
Level:
- Easy / Familiar Beginner.
- Requires familiarity with stitches used (below), attaching plastic safety eyes, changing yarn colors, and sewing parts together.
Stitches/Terms Used (US Terms):
- FO: fasten off
- MR: magic ring
- Ch: chain
- Sl st: slip stitch
- Sc: single crochet
- Hdc: half dc
- Inc: increase
- Dec: decrease
Materials:
- Medium weight 4 yarn in desired colors for skin, hair, dress, and socks. (I used Caron Simply Soft yarn in peach, black, blue, and white)
- Fluffy bulky yarn (I used Bernat® Pipsqueak Yarn in white)
- Clover Amour Crochet Hook C (2.75mm) – Art. No 1041/C
- Tapestry Needle Set – Art. No 339
- Mini Patchwork Scissors – Art. No 493/CW
- 7mm plastic safety eyes
- Fiberfill Stuffing
- Blush Powder & Q-Tip
Pattern
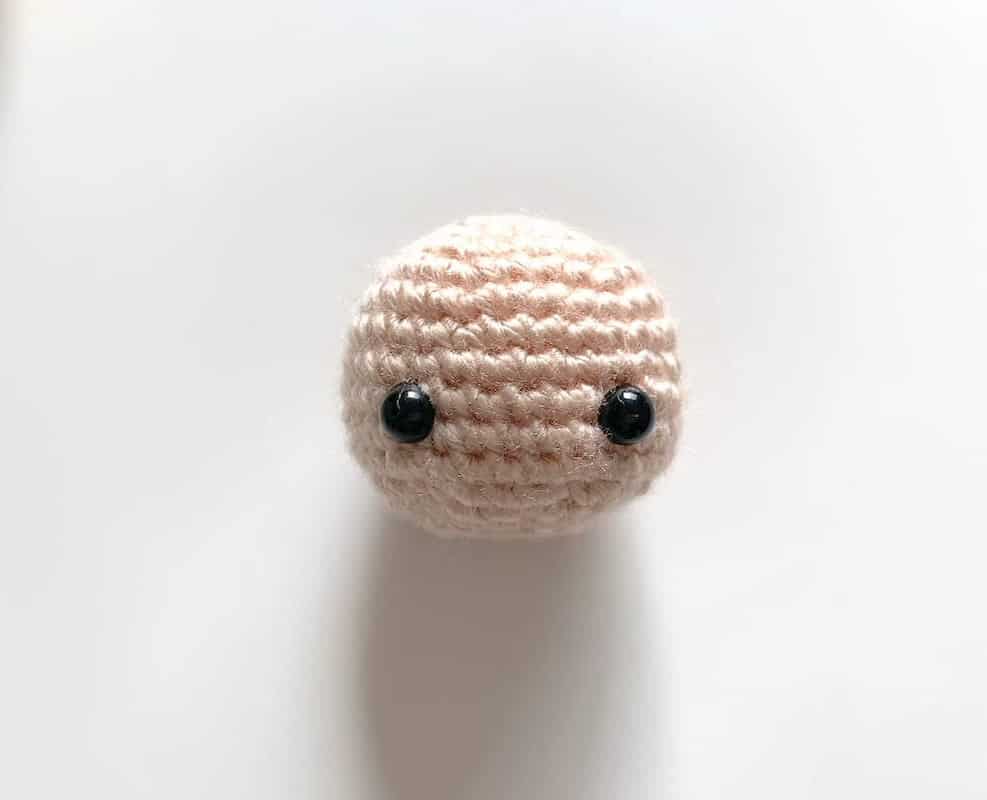
Head
Use skin-colored yarn (peach).
R1: In MR, sc 6. (6 sts)
R2: Inc around. (12 sts)
R3: (Sc, inc) x 6. (18 sts)
R4: (Sc 2, inc) x 6. (24 sts)
R5: (Sc 3, inc) x 6. (30 sts)
R6-R11: Sc around. (30 sts)
R12: (Sc 3, dec) x 6. (24 sts)
Insert 7mm plastic safety eyes between R9-R10, 6 sts apart.
R13: (Sc 2, dec) x 6. (18 sts)
R14: (Sc, dec) x 6. (12 sts)
FO and weave in the ends.
Hair Cap
Use hair-colored yarn (black).
Repeat R1-R10 of the ‘Head’ section.
FO with a long tail for sewing later.

Hood
Start with hood-colored yarn (blue).
R1: In MR, ch 2 and hdc 10. *Join with a sl st to the first hdc. (10 sts)
R2: Ch 2, hdc-inc around. *Join. (20 sts)
R3: Ch 2, (hdc, hdc-inc) around. *Join. (30 sts)
R4: Ch 2, (hdc 2, hdc-inc) around. *Join. (40 sts)
R5: Ch 2, hdc 32. Leave the last 8 sts unworked. We will now crochet in rows, instead of joined rounds. (32 sts)
R6-R8: Ch 2, turn. Hdc across. (32 sts)
Switch to the fluffy, white yarn.
R9: Ch 1, turn. In BLO, sc across. (32 sts)
FO and weave in the ends. With a long yarn tail (as a hood strap), attach blue yarn back to the bottom edge of the hood and sc across. Then, FO with a long tail as the second hood strap.

Add Hood Straps.
Have your completed hood ready. With a long yarn tail, insert hook into the bottom edge.

Attach yarn and make a sc.

Sc across the bottom edge of the hood.

FO with a long tail as the second strap.

Arms (x2)
Note: Arms and legs are made using the “i-cord” crochet technique. Find a tutorial here.
Start with skin-colored yarn (peach).
Set up the i-cord: Ch 3. Insert hook into 2nd ch from hook, YO, pull up a loop, insert hook into next ch, YO, and pull up a loop. (3 loops on hook)
R1: Drop 2 loops from hook, but hold onto them tightly with your non-hook hand so that they do not come undone. YO, pull through loop on hook. Insert hook into first dropped loop, YO, pull through. (2 loops on hook.) Insert hook into second dropped loop, YO, and pull through. (3 loops on hook)
Switch to dress-colored yarn (blue).
R2-R8: Repeat R1.
To finish, YO and pull through all 3 loops on hook. FO with a long tail for sewing later.

Legs (x2)
Start with shoe-colored yarn (blue).
Set up the i-cord the same way as you did for the Arms (above).
R1: Repeat R1 instructions from the ‘Arms’ section.
Switch to stocking-colored yarn (white).
R2-R12: Repeat R1 instructions from the ‘Arms’ section.
FO with a long tail for sewing later.

Body
Start with underwear-colored yarn (white).
R1: In MR, sc 6. (6 sts)
R2: Inc around. (12 sts)
R3: (Sc, inc) x 6. (18 sts)
R4-R8: Sc around. (18 sts)
R9: (Sc 4, dec) x 3. (15 sts)
Switch to dress-colored yarn (blue).
R10: Sc around. (15 sts)
R11: In BLO, (sc 3, dec) x 3. (12 sts)
R12: Sc around. (12 sts)
FO with a long tail for sewing later.
Dress Skirt
Note: You may sew the arms and legs onto the body before starting the dress skirt. Alternatively, you can also choose to do so after the dress skirt is complete.
Start with dress-color yarn (blue). Attach yarn to the back loops created in R11 of Body.
R1: Ch 2, hdc around. *Join with a sl st to the first hdc. (15 sts)
R2: Ch 2, (hdc 2, inc) x 5. *Join. (20 sts)
R3: Ch 2, (hdc 3, inc) x 5. *Join. (25 sts)
R4: Ch 2, (hdc 4, inc) x 5. *Join. (30 sts)
R5: Ch 2, (hdc 5, inc) x 5. *Join. (35 sts)
R6: Ch 2, (hdc 6, inc) x 5. *Join. (40 sts)
Switch to the fluffy, white yarn.
R7: In BLO, ch 1, sc around. *Join. (40 sts)
FO and weave in the ends.

Finishing Instructions:
Step 1: Stuff the head and body firmly. Be careful not to stretch the stitches.
Step 2: If you haven’t done so yet, sew the arms and legs to the body using a yarn needle and the long yarn tails.
Step 3: Add hair to your doll’s hair cap. Sew the hair cap to the doll’s head and sew bangs if desired. Tutorial for adding hair here.
Step 4: Sew the head to the body.

Step 5: Lastly, add blush to cheeks using blush powder & Q-Tip. Tutorial for adding blush here.

Finished Product

Congratulations on finishing your Winter Explorer!
I hope you had lots of fun making this doll! For me, the best part about designing amigurumi is to see finished dolls made from my patterns, so I’d love it if you could share a picture of your Winter Explorer with me on Instagram by using the #sweetsofties and tagging me @sweetsofties.
This pattern is free exclusively on the Clover blog, but if you’d like to purchase the inexpensive and print-friendly PDF pattern, you can buy it on Ravelry or Etsy.
Thank you and I wish you the very best in your crafting journey!
Warm wishes,
Jade from Sweet Softies
P.S. If you enjoyed my Winter Explorer doll, you may also like my other amigurumi designs. Or, check out all my free patterns.
***
This pattern is © 2020 Sweet Softies, www.sweetsofties.com. For personal use only. You may not copy, alter, sell, or redistribute this pattern in any way. You may sell finished items made with this pattern if you credit Sweet Softies (@SweetSofties) as the designer and link to my website (www.sweetsofties.com). No wholesale.
Find Sweet Softies on her Blog | Instagram | Pinterest | Twitter | Facebook | YouTube | Ravelry | Etsy
Stay connected with Clover on Facebook | Twitter | Instagram | Pinterest | YouTube | Ravelry
[mc4wp_form id=”11289″]


