Felted Crochet Watermelon Bowl

Designed by Debbie von Grabler-Crozier
A cute and easy crochet project perfect for crochet beginners and aspiring needle felt artists!
Two essential tools for creating the Felted Crochet Watermelon Bowl are the Quick Locking Stitch Marker Set and the Mini Knitting Counter.
I love the Quick Locking Stitch Marker Set! It has a nice selection of sizes and colors and you can keep track of what you are doing. I use one color and size to show where I started and another to keep track of the rows. They are strong and flexible and really great with all sorts of yarn.
The Mini Knitting Counter was designed for knitters, but we crocheters can steal it! It is fun to use and so satisfying. Keeping track of rows is as important as keeping track of stitches and this handy tool gets the job done. It makes precision easy.
Gather these supplies
Yarn
- 1x 50g ball green felting wool
- 1x 50g ball off white felting wool
- 1x 50g bll pink felting wool
Tip: I am using Drops Eskimo yarn
Tools
- Amour Crochet Hook 7mm (Art. No 1054)
- Patchwork Scissors -Small (Art. No 493/S)
- Quick Locking Stitch Marker Set (Art. No 3033)
- Mini Knitting Counter (Art. No 3118)
- Pen Style Needle Felting Tool (Art. No 8901)
- Needle Felting Mat – Large (Art. No 8911)
Everything Else
- Natural wool roving: Black
Abbreviations
- ch: chain
- ss: slip stitch
- sc: single crochet
Please read all instructions through and assemble the equipment before beginning.
This make is to be machine felted at 50°Celcius and there may be some variation in the felted size
– this method of felting is easy but the trade-off is that you do lose some control over the size.
What you put in with it and how long the cycle goes for also affect the outcome.
Here’s How:
Green yarn: Begin with a ch 4.
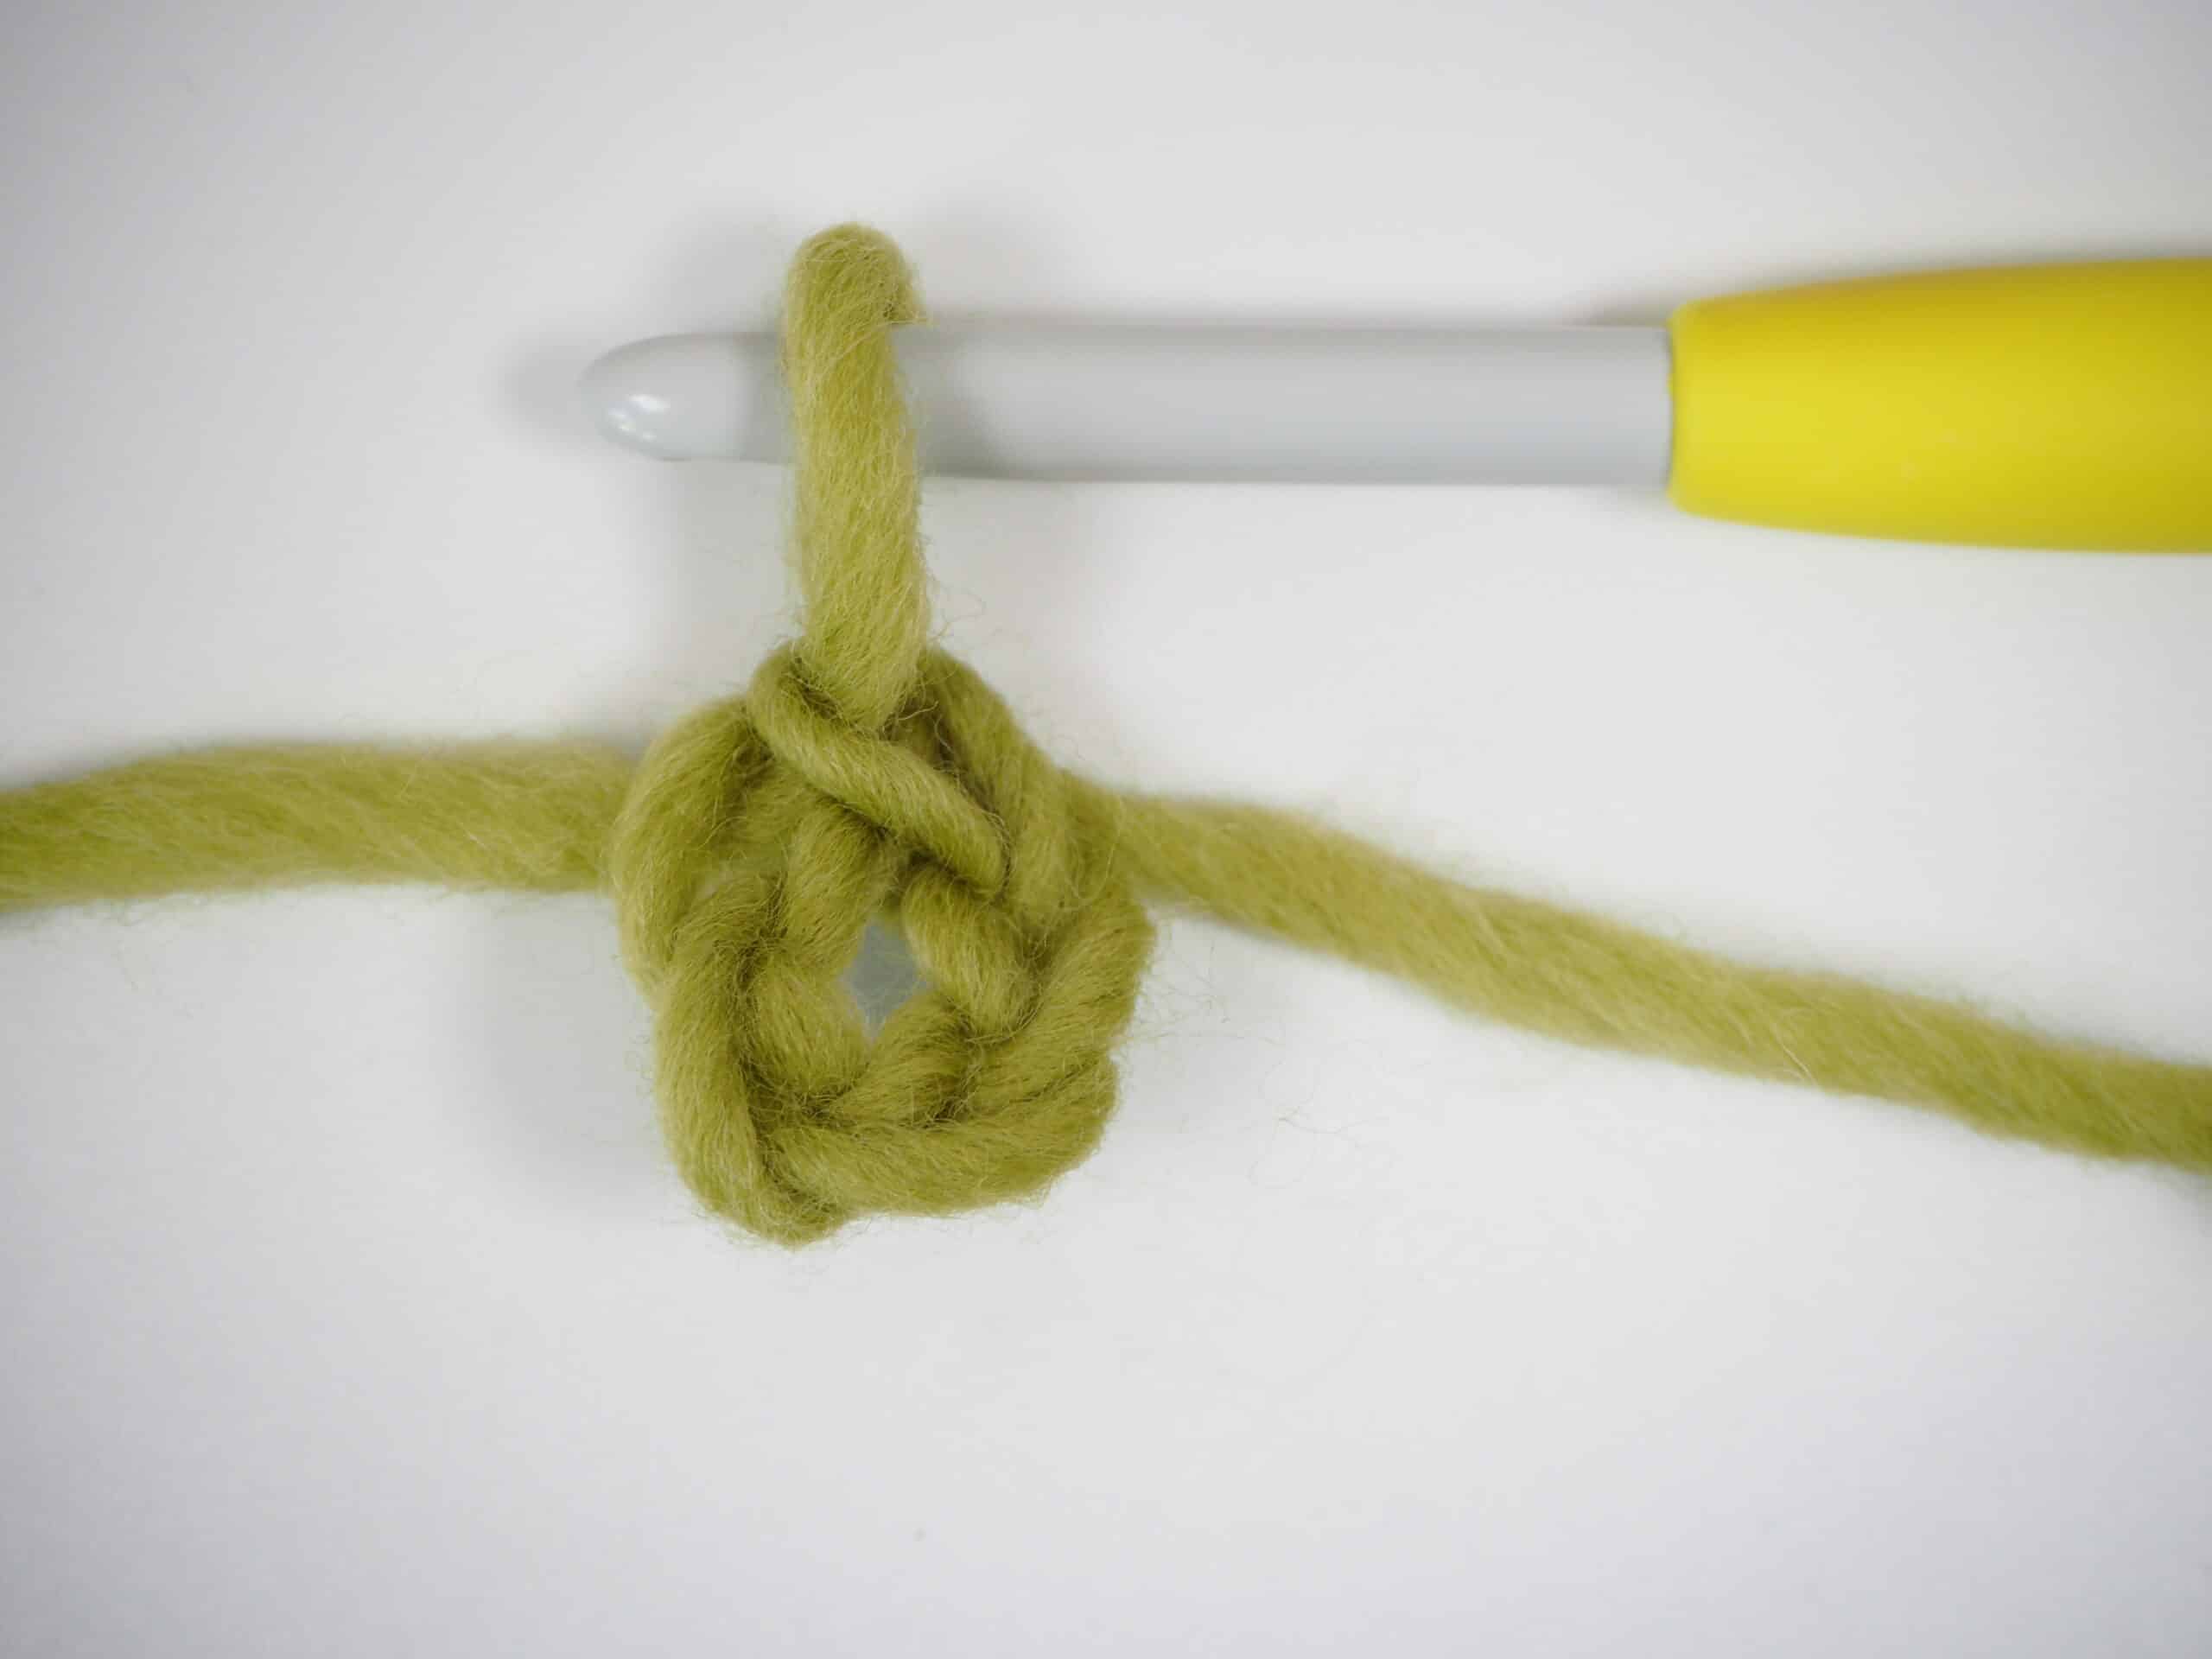
Slip Stitch to form a ring and then ch 1 and sc 9 stitches into the ring (10 stitches).

Row 2: ch1 and then sc 2 stitches into each stitch, ss to finish (20 stitches)
Row 3: ch 1 and then sc into each stitch, ss to finish (20 stitches)
Row 4: ch 1 and then sc 1 into the first stitch and 2 into the second. Repeat to the end of the round and ss to end (30 stitches)
Row 5: ch 1 and then sc into each stitch, ss to finish (30 stitches)
Row 6: ch 1 and then sc into first 2 stitches, 2sc into the third stitch. Repeat to end of row and ss to fasten (40 stitches)
Row 7: Ch 1 and sc into each stitch, ss to fasten (40 stitches).
Row 8: ch 1 and sc into first three stitches, 2sc into the fourth stitch.
Repeat to end of row and ss to fasten off (50 stitches).
Row 9: ch 1 and sc into each stitch. Ss into last stitch to fasten (50 stitches)
Row 10 – 13: sc into each stitch.
Tip: This is where you begin to build the sides. Because there are no more increases, the sides will naturally curve.

Change color at row 13 to off white.

White yarn: 2 rows (rows 14-15)
Tip: When you slip stitch closed at the end of each row, you will be less likely to have a step color change when the bowl is felted.
Change to pink yarn and complete the sides of the bowl (rows 16- 25).
The bowl is now finished and ready to felt.

Tip: Notice how it is a bit wonky? It has a tendency to slightly collapse under its own weight. This is normal and when it is felted, it will all stand nicely.
I put mine into the washing machine with something like bath towels or jeans to help the felting process along.
Wash at about 50°Celsius. Add soap as if washing normally.
When the bowl is finished, pull in into shape and leave somewhere to dry completely.

You don’t have to be gentle at all and you can mold it rather like clay.
Finally, add some watermelon seeds!
Use the wool top and needle felting tools to place random teardrop shapes of black wool onto the pink portion of the bowl.
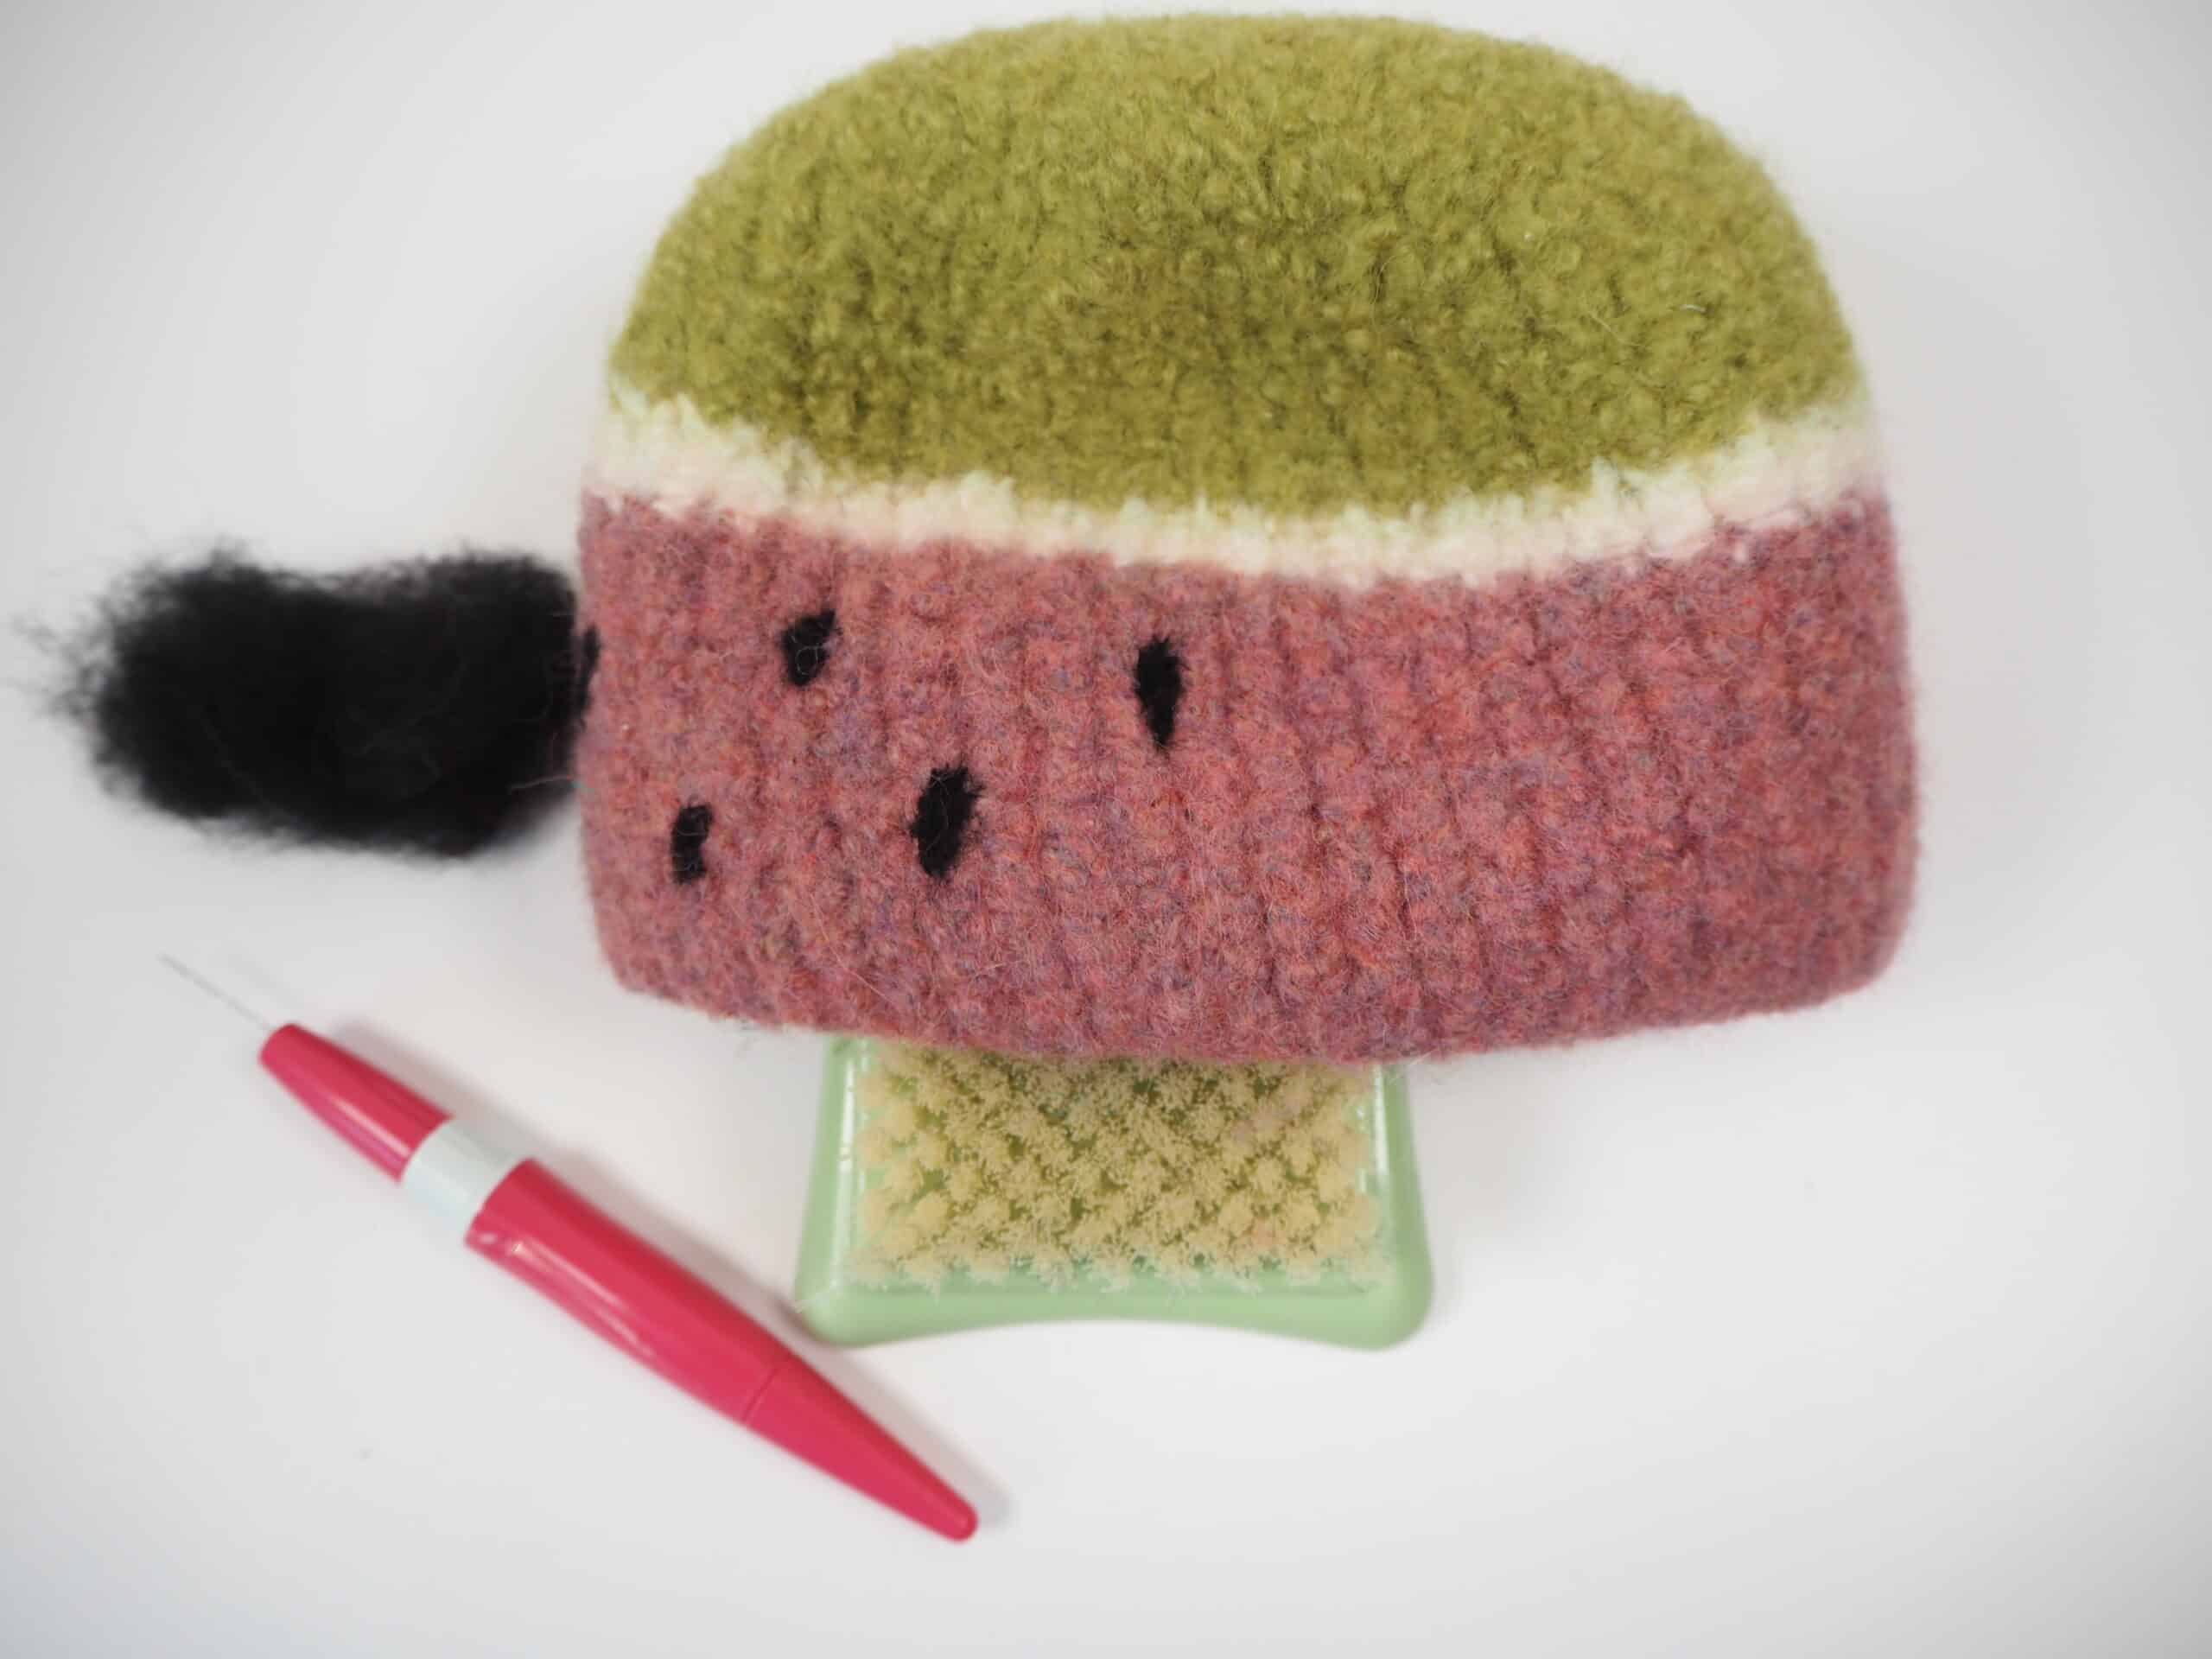
Tip: Needle felting is a breeze – simply decide where you want to have a seed and tear off a small section of wool.
Roll the wool into a little pellet between your fingers and create a point at one end and then use the felting needle to secure it in place.
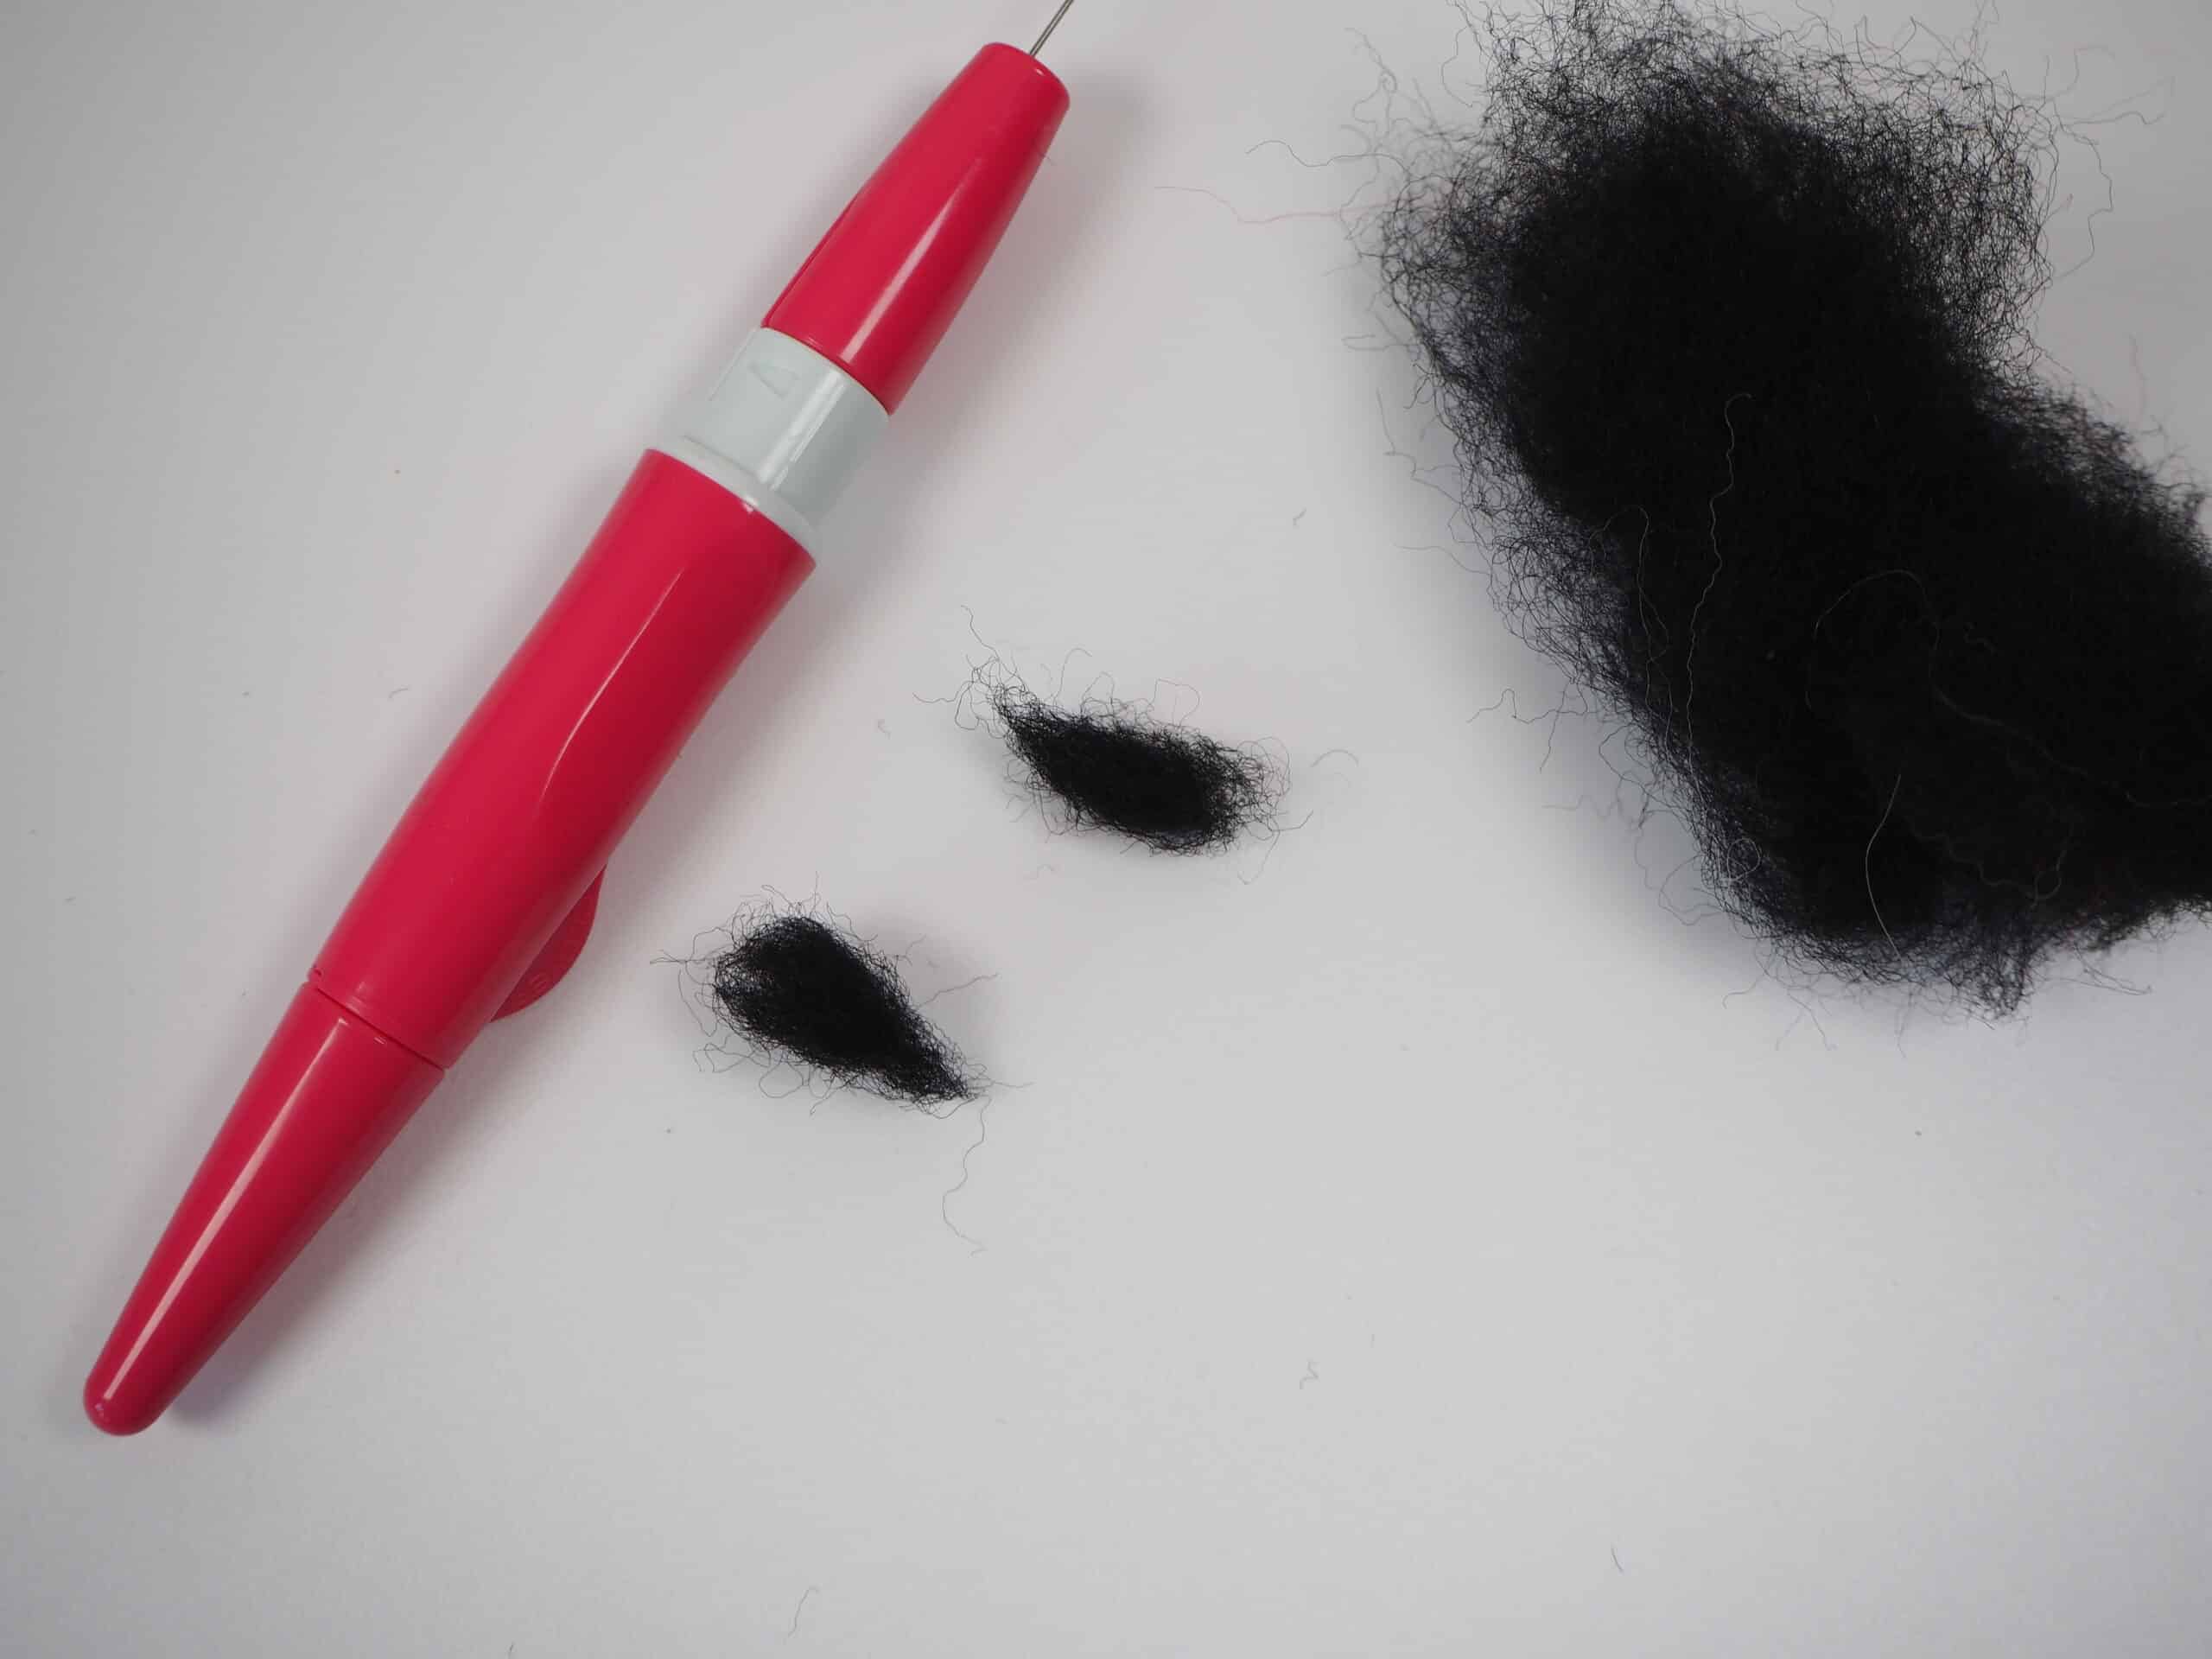
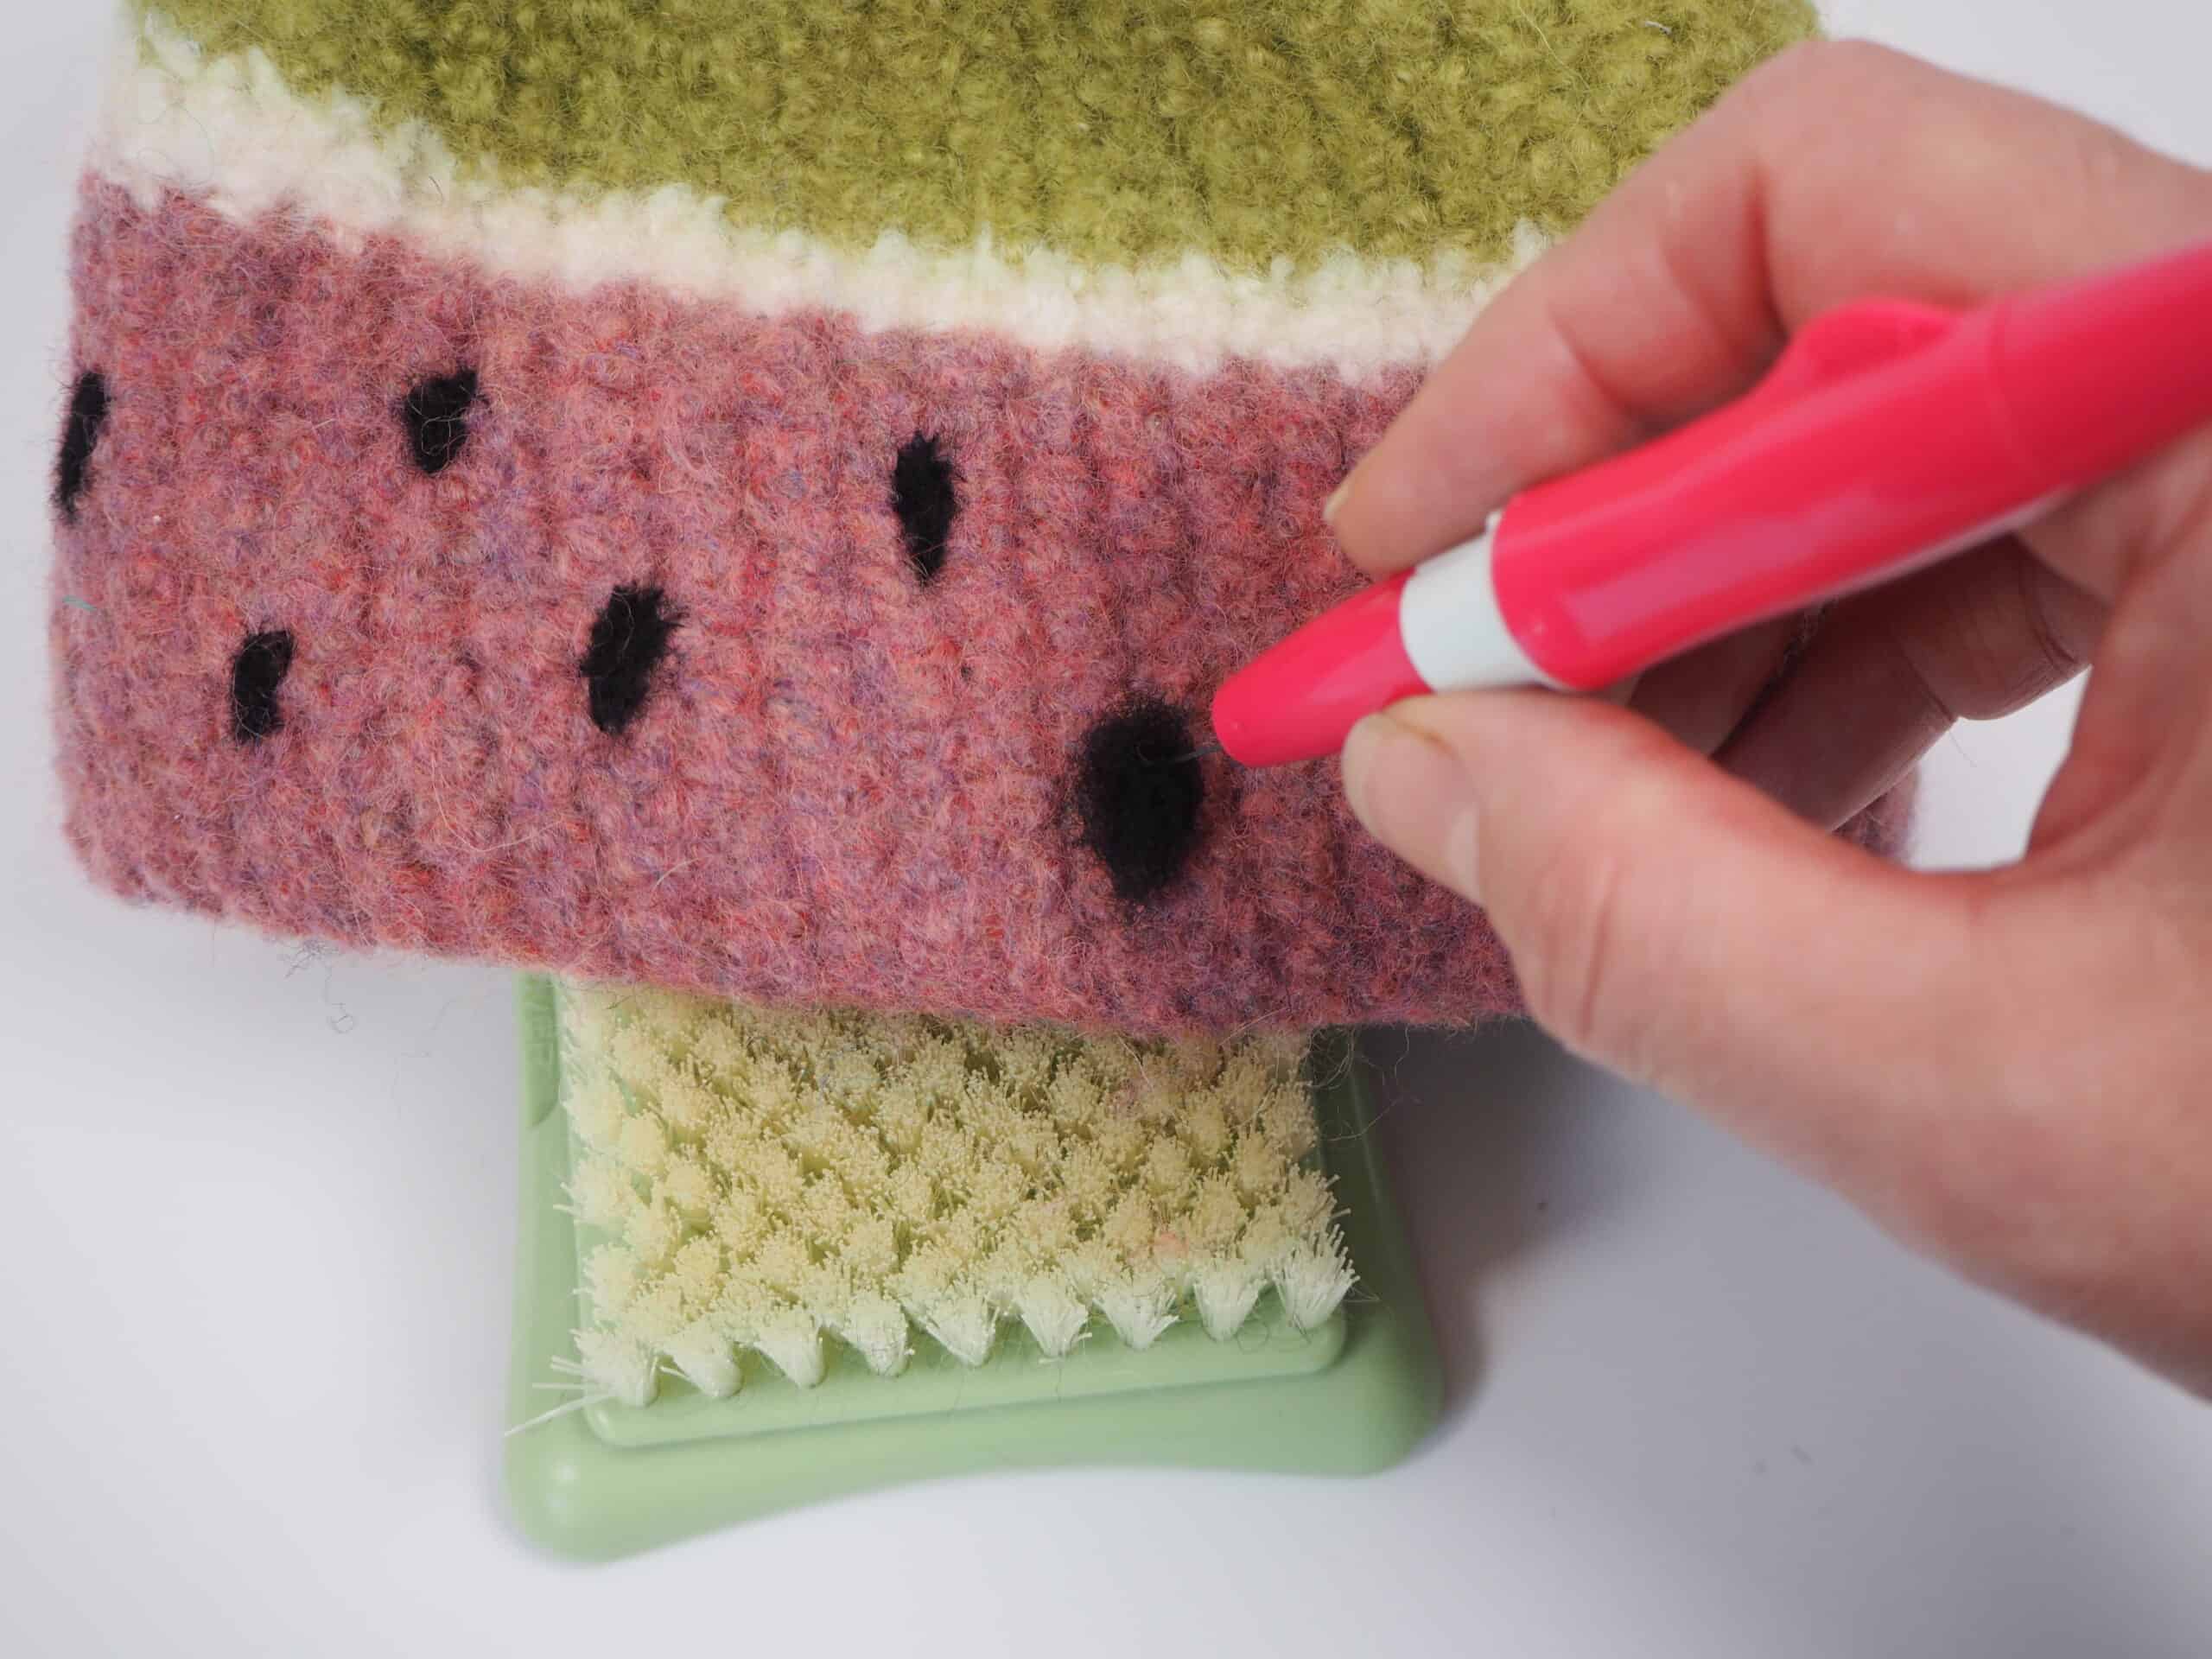
Tip: I am using one needle in my pen felting tool. This helps with precision.

© Debbie von Grabler-Crozier 2020
Stay connected with Clover on Facebook | Twitter | Instagram | Pinterest | YouTube | Ravelry
[mc4wp_form id=”11289″]
