Hi everyone!
I’m Sandra, the Aussie designer behind Little Golden Nook and I’m excited to be here for the first time.
I’ve been crocheting for about eight years and designing for only two or three years but have managed to pack in a whole lot in that time!
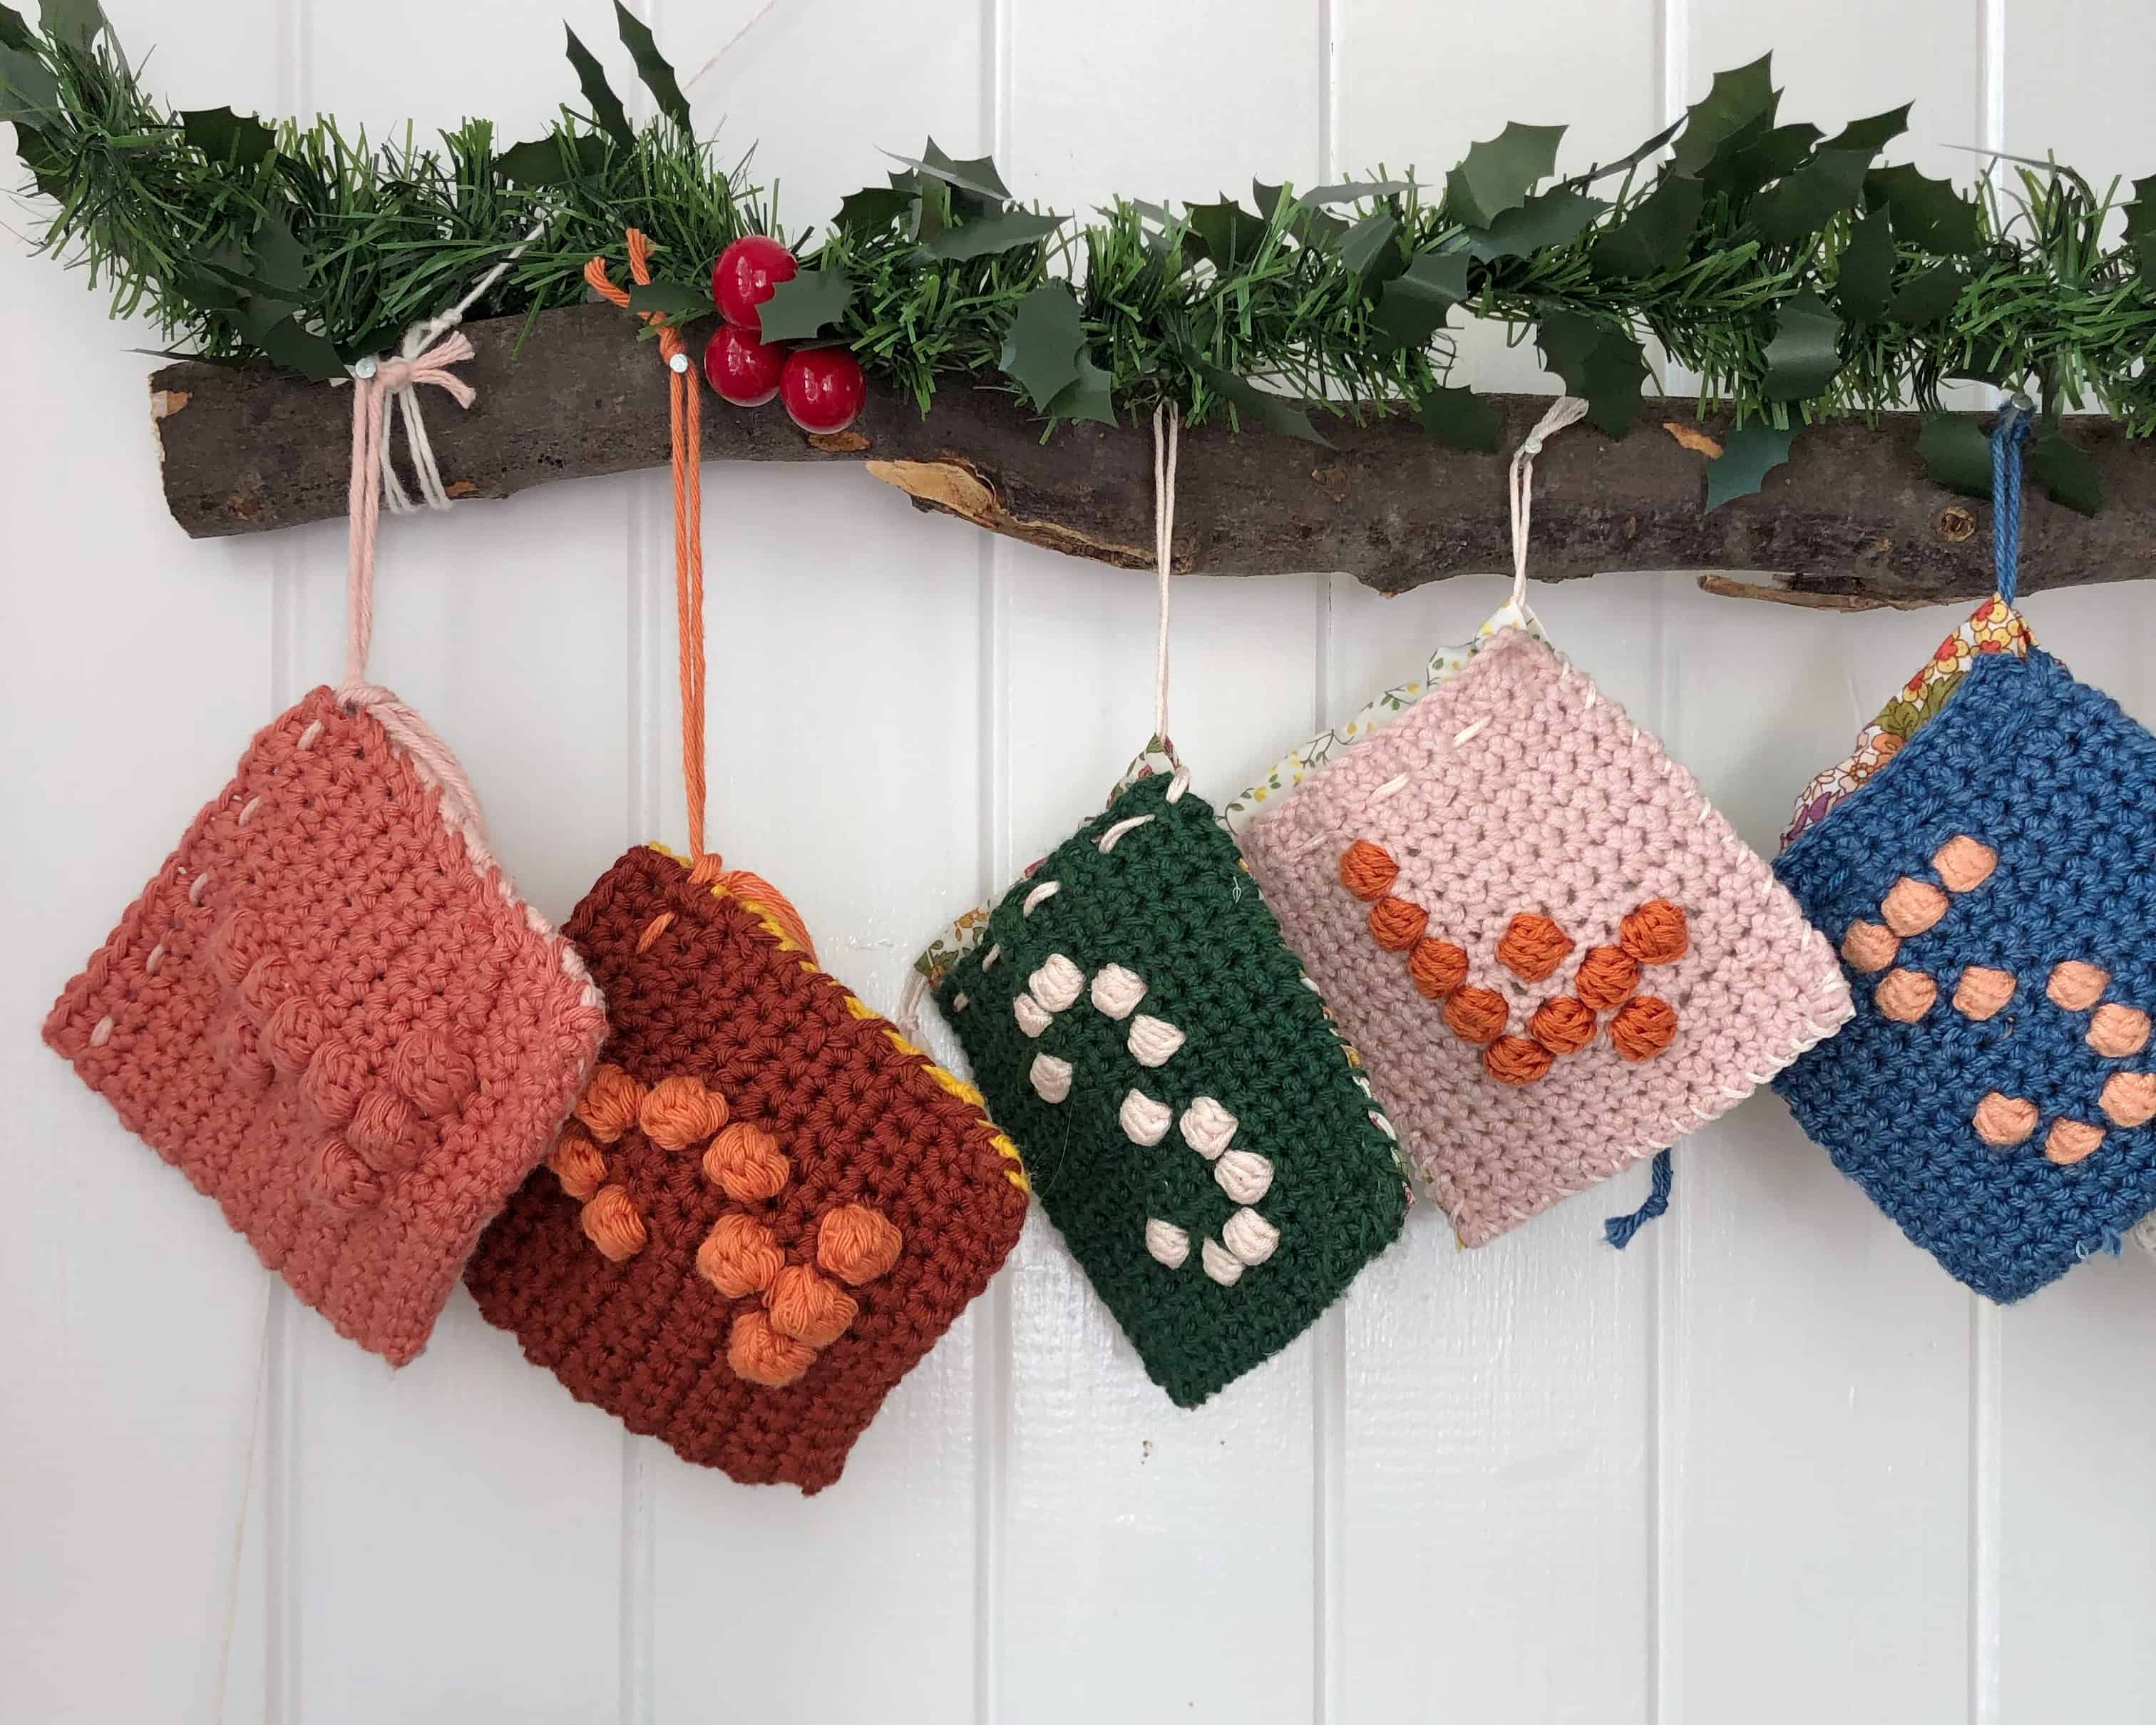
I’ve found myself drawn to the ever popular bobble (or popcorn) stitch and all of my latest patterns feature it in some way. I thought it’d be fun to share a simple little Christmas pattern of mine which of course includes bobbles.
My favorite way to work bobble stitch is against a single crochet (dc for UK readers) background. But the other stitch that you can use it with is your hdc (htr). I have several tutorials for the techniques required for this pattern, I’ve included links here but you are also welcome to pop over to my Instagram page and have a look at my IGTV and highlights for more including one for absolute beginners.
I’ve only recently discovered Clover hooks (I know, where have I been, right?) and cannot believe how much easier they are to work with especially with bobble stitch where snagging is common. I could go on about how much more enjoyable my work is with these hooks but I think you all get it!
The following is my Bobble Advent Bag pattern. Instructions here are for the first bag (the number ‘1’) and while all of the bags are the same pattern (rows and stitch counts), you will need to follow a simple chart to complete the remaining 24 bags. For this pattern I’m including instructions for a contrast colored crocheted back piece instead of the fabric backs you may have seen in some of my photos.
Stitches:
- ch – Chain
- sc- Single crochet
- bobble – dc5tog
Materials:
- Dk or Aran weight cotton yarn in different colors eg. 8 different colored 50g balls.
- Amour Crochet Hook-4mm (Art. No 1045/G)
- Tapestry Needle Set (Art. No 3121)
Front piece:
chain 17
Row 1: sc in 2nd chain from hook, sc in each remaining chain, ch 1, turn (16)
Row 2-4: 1 sc in each stitch across to end, ch 1, turn (16)
Row 5: sc 6, bobble, sc 1, bobble, sc 1, bobble, sc 5 to end, ch 1, turn (16)
see video for row 5 here
Row 6: 1 sc in each stitch across to end, ch 1, turn (16)
Row 7: sc 8, bobble, sc 7 to end, ch 1, turn (16)
Row 8: repeat row 6
Row 9: repeat row 7
Row 10: repeat row 6
Row 11: sc 6, bobble, sc 1, bobble, sc 7 to end, ch 1, turn (16)
Row 12: repeat row 6
Row 13: repeat row 7
Row 14-18: repeat row 6
fasten off leaving a long tail for sewing to the back piece
Back piece:
With a different color, chain 17
Row 1: sc in 2nd chain from the hook, sc in each remaining cchain, ch 1, turn (16)
Row 2-18: 1 sc in each stitch across to end, ch 1, turn (16)
Fasten off
Sew together:
Using the long tail from your front piece, use your tapestry needle to sew the front and back pieces together,
Place pieces together with wrong sides facing, whip stitch down the side, along the bottom and back up the other side. Weave in ends.
Drawstring:
With a piece of contrast colored yarn, approximately 30-35cm long, fold it in half and thread both ends onto your tapestry needle.
Thread your needle through the stitch holes from the second-last row on each piece, see video here.
See contrast colored bobbles tutorial for help with creating different colored bobbles.
I hope you’ve enjoyed this pattern. Once you’ve mastered working with bobbles you’ll find endless ways and different patterns to make ordinary pieces more fun!
Thanks for having me and have a wonderful Christmas 🙂
Find Little Golden Nook on Instagram | Ravelry
Stay connected with Clover on Facebook | Twitter | Instagram | Pinterest | YouTube | Ravelry
[mc4wp_form id=”11289″]
