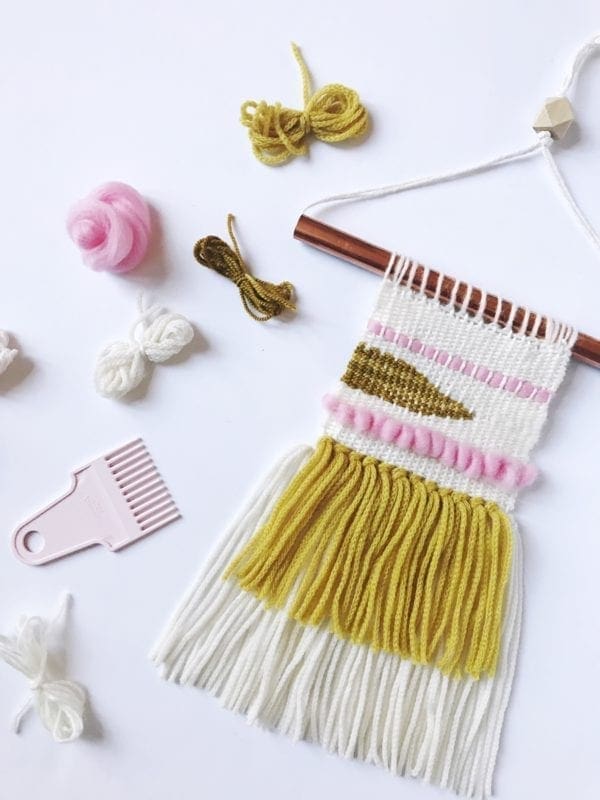
Clover Mini Weaving Loom: Woven Wall Hanging | Vickie Howell

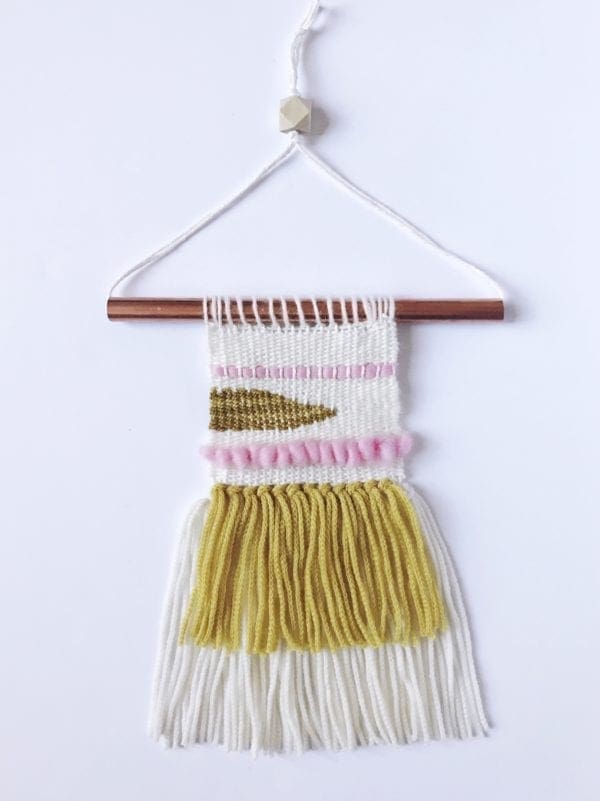
Wall Hangings: the Clover Mini Weaving Loom
Woven wall pieces are once again at the forefront of home decor. Prominently featured on Pinterest, fashion magazines, home catalogues, etc. — you’d be hard pressed to peruse any of them without glimpsing a piece of woven work! Now, thanks to the affordability and accessibility offered by the Clover Mini Weaving Loom you can jump on the trend for maximum home decor happiness, but with a minimum time commitment. You know how I love totally doable DIY and this my friends, makes weaving fit the bill!
Below you’ll find a step-by-step guide to making the wall-hanging pictured above. Follow it exactly, or use it as a jumping off point for creating your own design. Either way, be sure to tag @vickiehowell and @cloverusa with your finished, woven pieces. We loving seeing your work. Happy weaving! xx, Vickie
How to Make a Clover Mini Weaving Loom Wall Hanging
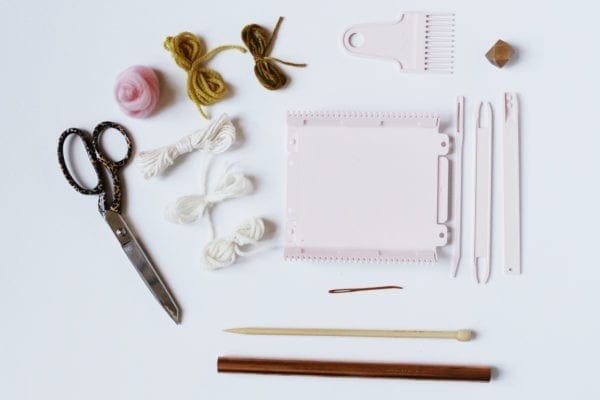
MATERIALS
Clover Mini Weaving Loom (Single)
Worsted or sport-weight cotton yarn (A). I used this.
Worsted-weight yarn, in same color as A. (B)
Chunky-weight yarn, in same color as A & B (C) I used this.
Chunky-weight yarn in contrasting color (D) I used this.
Worsted or sport-weight yarn in contrasting color (E) I used this.
Clover Natural Wool Roving in contrasting color (I used Pink)
1 Takumi Bamboo Knitting Needle (any size)
Clover Jumbo Tapestry Needle
Scissors
10″ piece of copper piping, dowel or branch wood
1 large wooden bead (optional)
FINISHED SIZE
12″/30.5 cm (excluding pipe and hanger yarn)
DIRECTIONS
- Want a primer before you dive into a project? No problem. We’ve got you. Watch the rebroadcast of the Facebook Live stream, Ask Me Monday featuring this product and my tutorial for assembling the loom, using the tools, and general weaving method. Go ahead, I’ll wait for you!
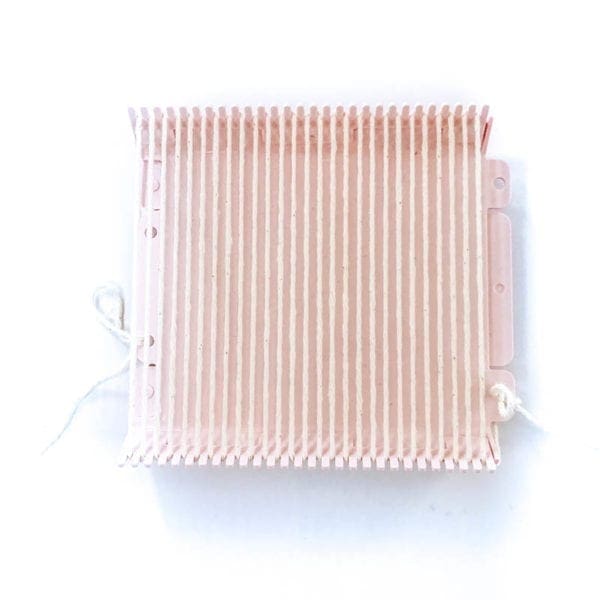
- Ok, now let’s do this! Using cotton yarn, set-up Clover Mini Weaving Loom warp.
- LONG FRINGE (Make 13):With C cut 3, 20??/51 cm, strands of yarn. Holding strands together, fold in half. Slide folded yarn under first two warp strands. Pull yarn up through next warp space, from back to front, just enough to create loop. Use fingers to fold the loop over the edge of the project, pulling the ends of the yarn through the loop. Pull tight-ish, and slide towards bottom of loom.Repeat process, attaching fringe over two warp strands at a time, across the row. Trim if necessary.
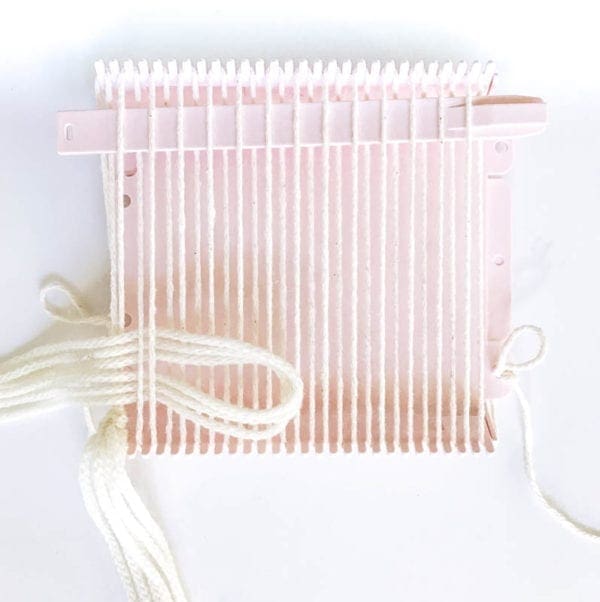
- SHORT FRINGE (Make 12): With D, cut 2, 12″/30.5 cm strands of yarn. Repeat the process as for LONG FRINGE, except starting one warp strand in so that SHORT FRINGE alternates warp strand couplings established by LONG STRANDS.

- Load shuttle with B for weft. Weave 8 or so rows.
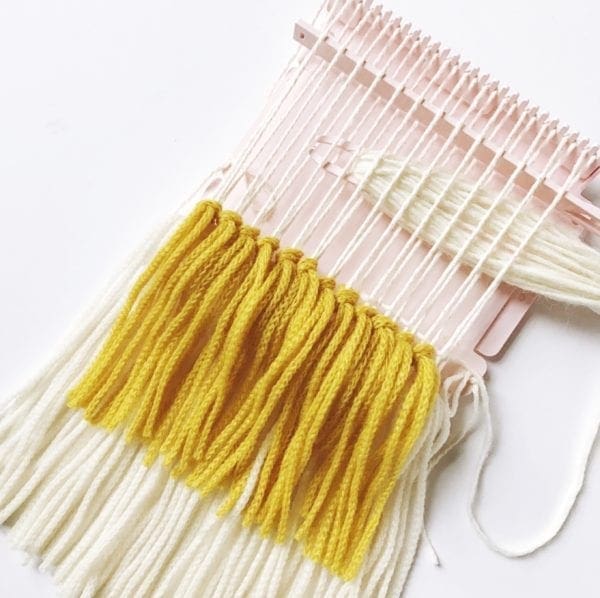
- PILE WEAVE ROW:

1. Slide a long piece of roving under the even warp strands, and a few inches up from existing work. Take care to leave a significant tail on either side of loom.
2. Introduce Takumi knitting needle by coming up under the roving and in between the first warp space.
3. Rotate Takumi needle counter-clockwise to twist roving, and dip the tip of the needle into the next warp space to the left. Pile established. From here, you essentially just want the roving to wrap around the needle.
4. *Twist needle so it’s pointing upward in wrap space while grabbing the next bit of roving; dip down in next wrap space. Repeat from * to end.
5. One needle is fully loaded, slide the pile piece down so it sits just above the weaving below. Carefully remove the needle.NOTE: Due to the small scale of this piece is found that weaving in the roving and yarn ends along the back of the piece later, to be less bulky looking.
- With B, return to plain weaving for 6 rows.
- Next row: With B, weave to halfway point of row; turn around and weave back.
NOTE: I found that ditching the shuttle for this portion in favor for the plastic needle, was much easier.
- Next row: Weave to 2 warp strands before last turning point; turn around and weave back. Repeat this step until only the first 2 strands have been woven.
- Next row: Now we’ll reverse the process, weaving 2 warp strands further, only this time we’ll go past the halfway point and continue until an entire row has been woven. (You’ll have an open, non woven section now.)
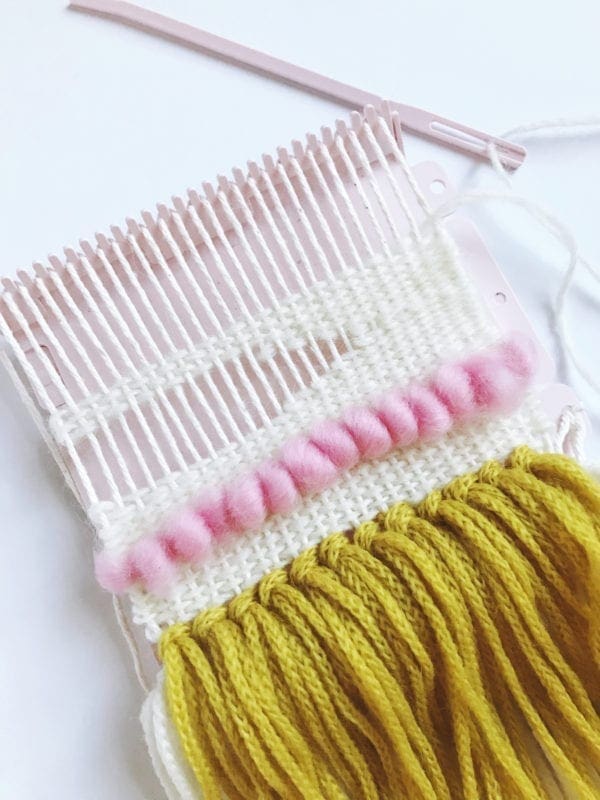
- Weave back from last row, and weave two more rows. Set B aside.
- With E and Clover Jumbo Tapestry Needle, fill in open space by weaving using the same method as for creating the space in the first place.
- With Roving, plain weave a piece above last full row of weaving.
- Revert back to B, and finish weaving until loom is full.
FINISHING
- Using tapestry needle, wave in ends on the back of piece. Since this piece won’t get a lot of wear and tear once it’s hung, don’t worry about weaving in more than an inch or two of tails.
- With A, whip stitch piece to copper piping or the like. Tie off.
- Cut 2, 30″/76 cm or so strands of A. Double strand and feed through pipe (if you’re using a dowel instead, cut pieces in half and tie on either end.). Knot strands together, to form a triangle of yarn above the dowel. If desired, slide bead over all strands and knot again. Create hanging loop by knotting one last time.
YOU DID IT! Now hang and gaze ine awe at your new art piece.
Listen while you weave!
Looking for some auditory inspiration for while you’re weaving? Check out my interview with DIY Woven Art‘s Rachel Denbow on the CRAFT*ish Podcast!
[soundcloud url=”https://api.soundcloud.com/tracks/304725207″ params=”color=ff5500&auto_play=false&hide_related=false&show_comments=true&show_user=true&show_reposts=false” width=”100%” height=”166″ iframe=”true” /]
