The Little Remedies Wrap
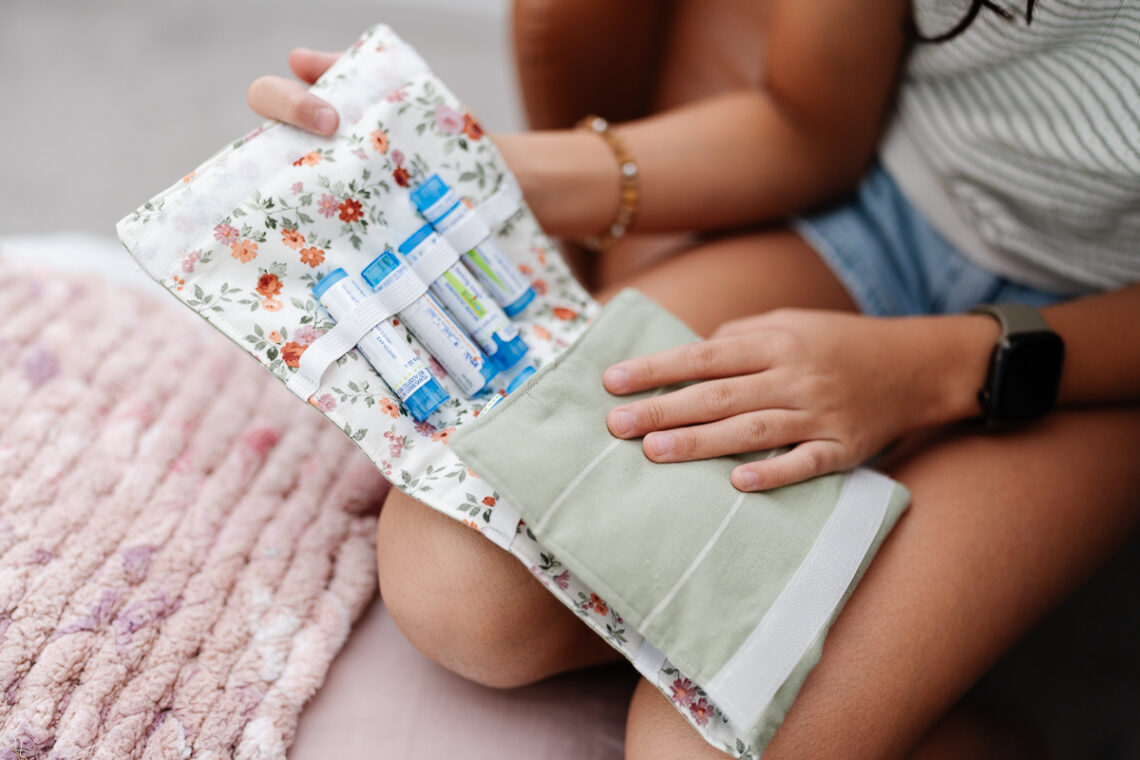
Hey everyone! Today I’m super excited to share a fun project I made for my mom! Her homeopathic tubes used to just roll around in a plastic bag, so I decided to make her a super cute and organized Little Remedies Wrap. It keeps all her tubes safe, tidy, and ready to take on the go. This project is really easy, super useful, and so much fun to sew—especially with all my favorite Clover tools!
TOOLS:
- Clover Rotary Cutter (45mm)
- Clover Metal Hera with Stylus
- Clover Wonder Clips (Standard Size)
- Clover Triple Wide Wonder Clips
- Clover Point 2 Point Turner
- Clover Seam Ripper
- Clover Craft Storage Wrap (Kiku)
- Clover Heart-Shaped Pins
- Clover 5-in-1 Sliding Gauge
- Clover Patchwork Scissors
- Clover Magnet Pin Caddy
- Clover Bobbin Tower
MATERIALS:
- main outer fabric: 1 piece (20″ x 6.5″) – green fabric
- lining fabric: 1 piece (20″ x 6.5″) – floral fabric
- batting / fusible fleece: 1 piece (20.5″ x 7″ — cut about 1/2″ larger)
- elastic strips: 4 pieces (9″ each)
- velcro strip: 1 piece (6″)
- matching thread

THE LITTLE REMEDIES WRAP TUTORIAL:
Step 1: Cut Your Fabric, Elastic & Velcro
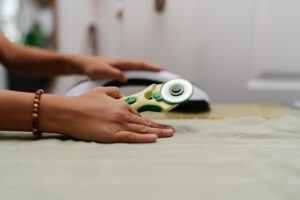
First, pull out your favorite fabrics and prep your pieces! Using the Rotary Cutter (45mm), cut out 20″ x 6.5″ rectangles for your main outer fabric and lining fabric. For the batting, cut it slightly larger (about 20.5″ x 7″) so you have plenty of room while stitching! Then grab your Patchwork Scissors to trim your four 9″ elastic strips and your 6″ piece of Velcro.

Step 2: Pin & Clip Your Layers
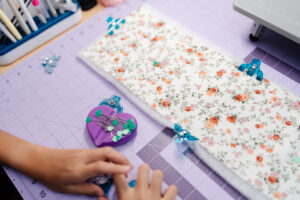
I love using my Magnet Pin Caddy so I can grab my pins easily. Pin your interior lining fabric directly onto your slightly oversized batting piece. Head over to your sewing machine and sew right along the edge of the interior fabric to secure it to the batting. Once sewn, use your Patchwork Scissors to trim off the excess 1/2″ of batting right along your stitch line!

Step 3: Mark Elastic & Liner Fabric with Heat Pens
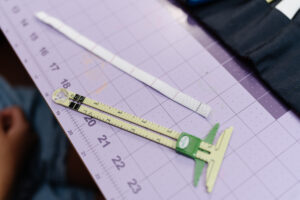
I keep my Craft Storage Wrap (Kiku) open right next to my sewing machine so all my tools stay organized! Grab your 5-in-1 Sliding Gauge and two heat erasable pens (one black and one red).
-
Mark the Elastic: On all four 9″ elastic strips, use the black pen to mark 1/2″ in from both outer ends. Then use the red pen to make marks every 1″ starting after the black mark, all the way across to the other black mark.
-
Mark the Liner Fabric: On the short side of your liner fabric, draw a straight vertical line every 4″ across the entire length. These lines will show you exactly where each section of elastic loops needs to be sewn down!
-
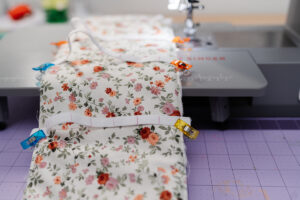
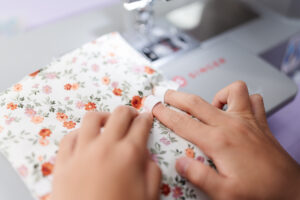
Position & Clip: Place each elastic strip centered over the 4″ vertical lines you created, making sure the outer edges of the elastic line up evenly with the edges of your fabric. Secure the elastic along the edges using your Wonder Clips (Standard Size)! Match the center red mark on the elastic to the longwise center line of the fabric and sew down that center line first to lock the elastic in place! Then, eyeball the spacing for the remaining red marks by using the previous stitched lines as a guide and sew across to complete all your tube slots.
- Press to Erase: Press the fabric with an iron so all those heat pen lines magically disappear!
Step 4: Add the Soft Velcro Side to the Liner
Still working on the lining side, grab the soft/fuzzy side of your 6″ Velcro strip. Position it on the right side of the lining, about 1/2″ in from the right short edge. Stitch all the way around all four sides of the Velcro strip to secure it tightly to the liner.
Step 5: Add Rough Velcro Side to Outer Fabric
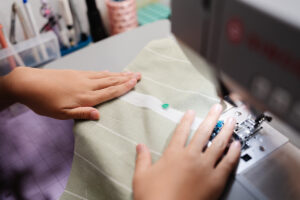
Now grab your main outer fabric piece. Take the rough side of your 6″ Velcro strip and position it on the left side of the outer fabric, placed 5 1/2″ in from the right edge on the short side. Stitch around all four sides of the Velcro to attach it securely.
Step 6: Clip Thick Layers & Stitch Around
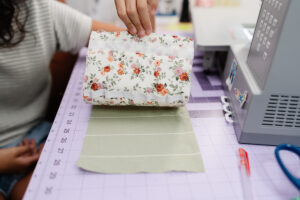
Lay your main outer fabric right-sides together on top of your prepared lining section.
- Pro tip: Make sure the Velcro strips are on opposite ends from each other when placing the fabrics right-sides together, otherwise the wrap won’t secure properly when rolled up!
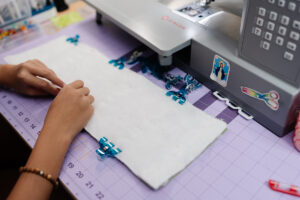
Because there are so many thick layers now, grab your Triple Wonder Clips! They give you an extra-strong hold across thick fabric sandwiches so nothing shifts. Using a 1/4” seam allowance, sew around the edges, leaving a small gap on one of the short ends for turning. Use the Point 2 Point Turner to safely guide the edges as you sew!
Step 7: Trim Corners, Flip & Push Out Corners
Once stitched, use your Patchwork Scissors to trim the extra bulk off all four corners (be careful not to cut into your stitching). Turn the pouch right-side out through the gap on the short end, and use your Point 2 Point Turner to gently poke out all the corners so they look nice, crisp, and sharp!
Step 8: Close Gap & Topstitch
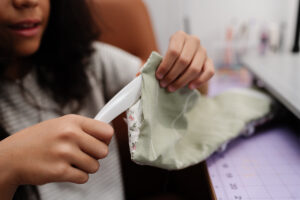
Tuck the raw edges of your turning gap inside so they line up evenly with the rest of the edge. Then head over to your machine and topstitch all the way around the entire outer edge using a 1/4” seam allowance. This closes up your gap and gives your wrap a super clean, professional finish!
Step 9: Load It Up!
Give it a final press, insert your homeopathic tubes into the slots, seal it up with the Velcro, and roll it up! You now have a custom, handmade Little Remedies Wrap that’s perfect for travel or everyday organization.

You’re done! No more messy bags rolling around!
Happy Sewing!
— Cataleya
If you want to keep up with me, Cataleya, on social media, follow her on social media: Instagram
If you want to keep up with all things Clover, follow us on: Facebook | Twitter | Instagram | Pinterest | YouTube | Ravelry