Mini Beading Loom Woven Ring by Carol Porter

We’ve had a lot of fun learning what can be done on this mighty little loom. One evening my son Jon and I were talking about how to create a ring on the loom. Here is how we figured out how to make the ring.
We needed the warp to be stretchy, but realized the weft could be done with the regular 100% polyester thread. A great bead design and we were ready to weave!
Supplies
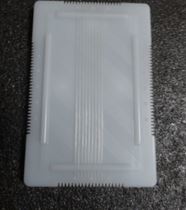
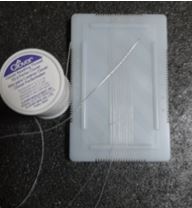
Mini Bead Weaving Loom Clover Art No.
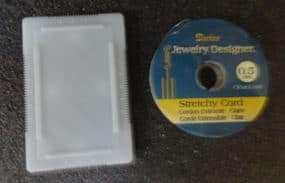
0.5 mm clear stretchy cord
100% polyester thread gray
Beads 11/0 cylinder (see Bead Placement Chart for colors)
Scissors
Bead Placement Chart
Instructions
- The number of beads in this design is 8 so we will need 9 warps.
- String 9 warps on the loom (follow package instructions for warping).
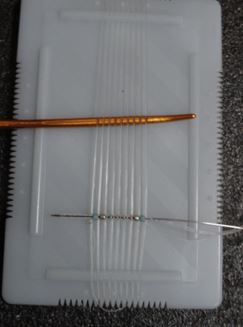
3.Tie the weft thread on the leftmost warp. Pass the beading needle under the warp.
4. Use the darning needle to hold the warps up. Pick up the entire first row of the bead pattern and position one bead between each warp. Remove the darning needle and push the warps toward the loom back. Pass the eye of the needle through the beads on top of the warp.
5.Continue weaving the design until the piece measures 2”.
6.Tie the weft thread off on the leftmost warp.
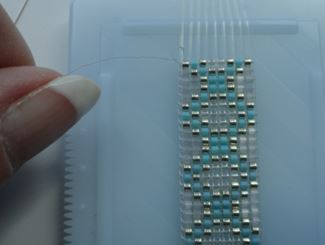
7. Remove the piece from the loom.
8. Hide the warp threads by following the package instructions.
Note: Since the warp threads are stretchy they are slightly harder to pull. Just make sure you hold the body of the piece flat as you pull.
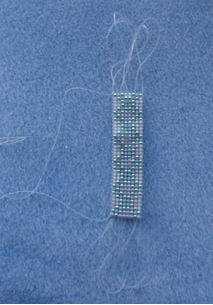
There should be only four threads left to hide when you finish pulling,… the beginning and ending wefts and two long warps.
9. Hide the weft threads as directed.
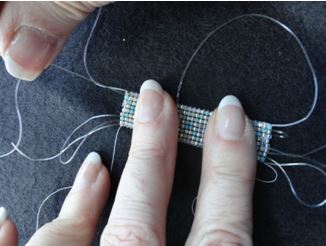
10. I use the warp threads to join the piece into a circle for the ring. Thread the stretchy cord in to a beading needle, then run it through the first bead on one side and pick up the second bead on the opposite end (this makes a ladder stitch).
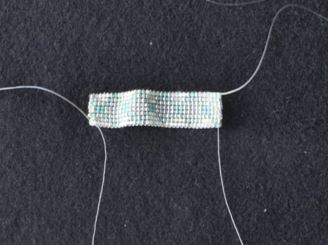
11. When you get to the end of the seam hide the warp thread as normal.
12. Pick up the last warp thread and make the ladder stitch again going back the other way. Hide the warp thread.
You have just made a seamless join and are ready to try on the ring!


Note: This ring can be made smaller by reducing the number of rows and by pulling a little tighter on the warps as you are closing the rows off. Puckering may happen, but that’s normal…it will stretch out for a proper fit.
Are you looking for more Mini Beading Loom inspiration? Visit our website here, under project sheets and get a Mini Beading Loom Accessories project sheet for free!!