


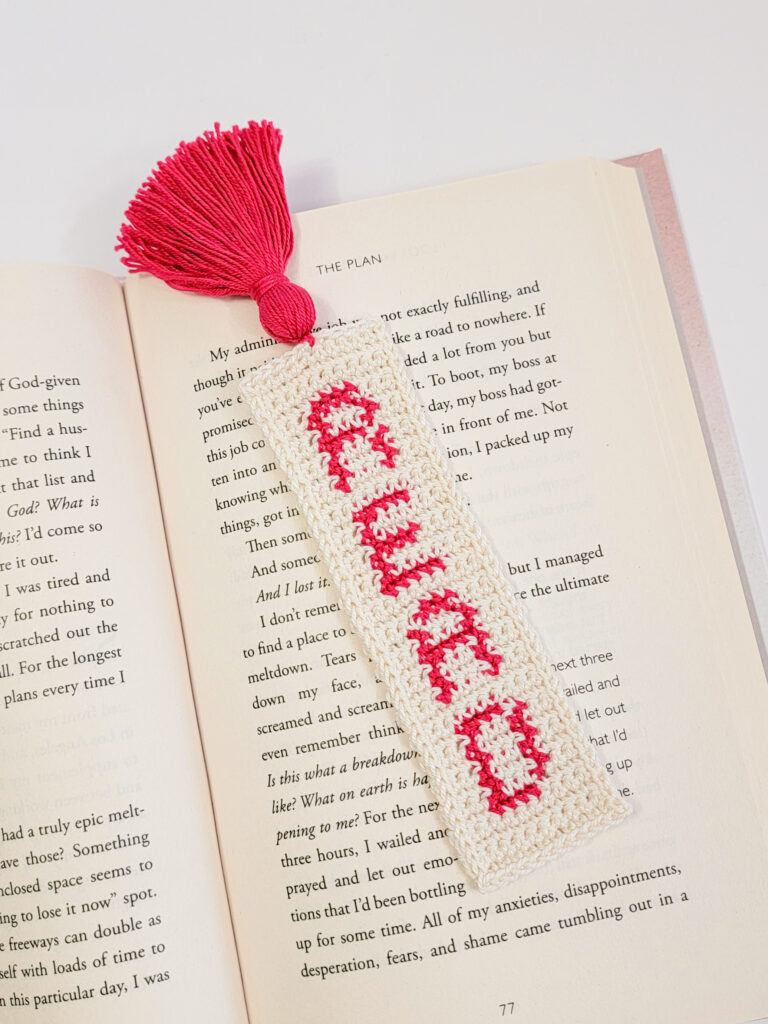
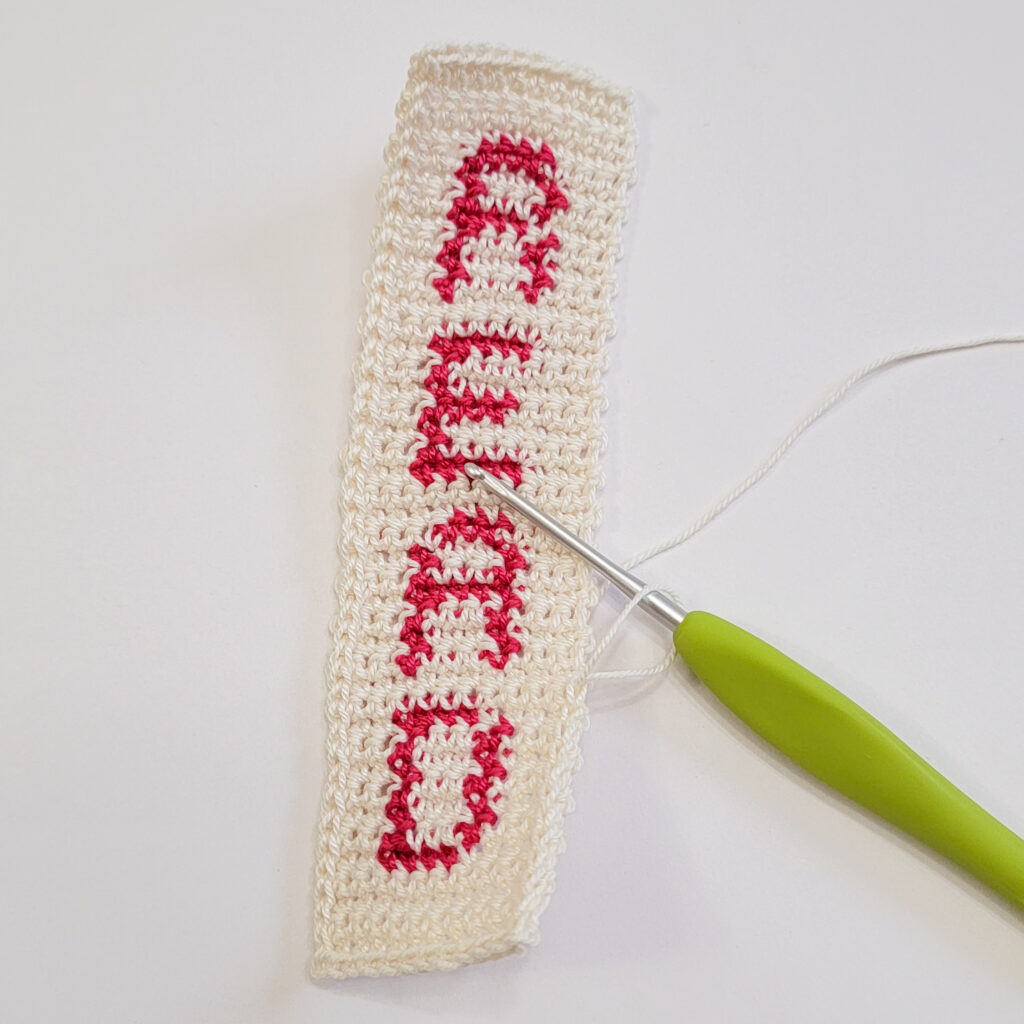
Since the school year is just getting started, I created a pattern that both students and bookworms can enjoy using. I came up with the word “READ” for today’s project, which incorporates tapestry crochet. This is a reminder to all of our students and readers to keep reading and expanding their knowledge.
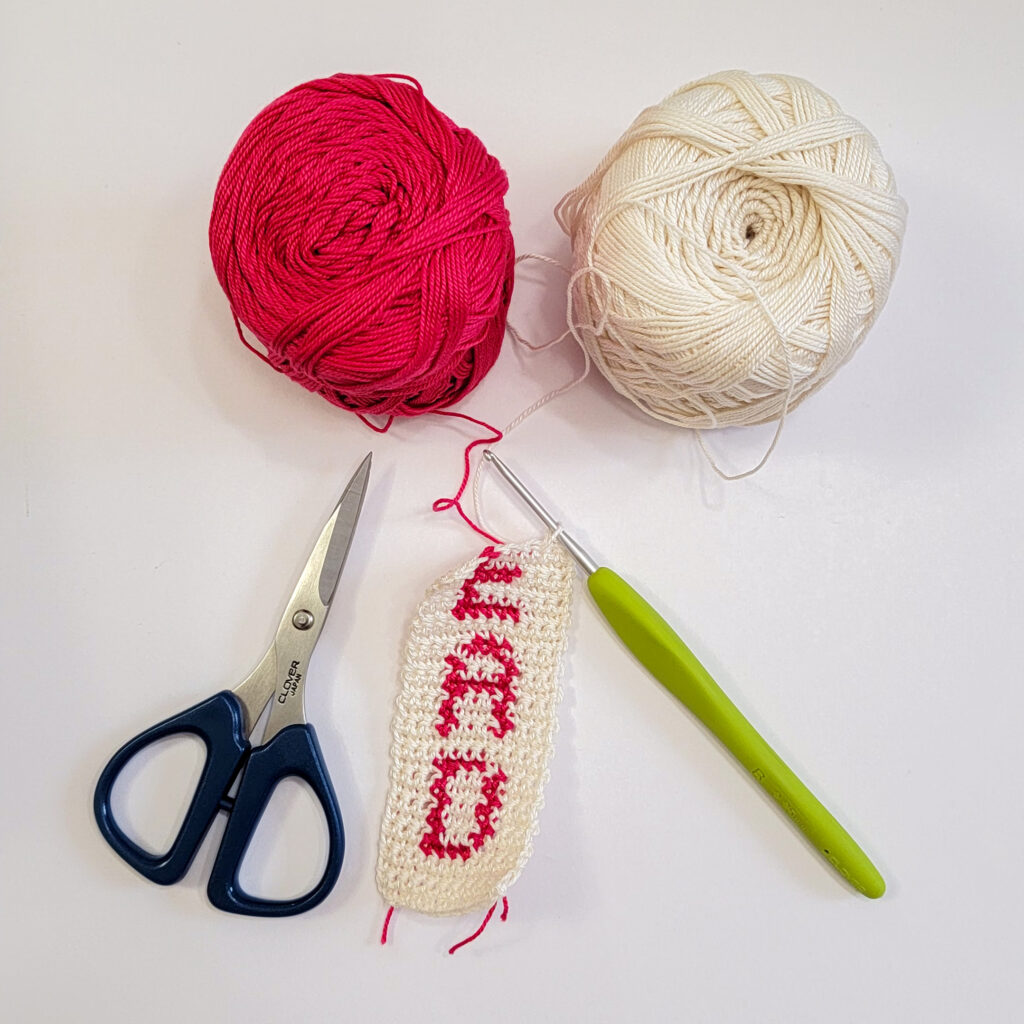
Tapestry crochet is a colorwork technique that creates letters, geometric objects, or pictures by combining two or more yarn colors in a single row. You can find many online tutorials to learn this method.
The Basics of Tapestry Crochet:
- Single crochet (US) stitches are most frequently used.
- The unused yarn color is carried horizontally along the top of the previous row.
- You work your active stitches directly over the hidden, carried yarn to trap it inside the stitches.
- You change colors by completing the final pull-through of the last stitch with the new color.
MATERIALS:
- Clover Amour Crochet Hook B (2.25 mm)
- Clover Darning Needle (bent point)
- Clover Patchwork Mini Scissors
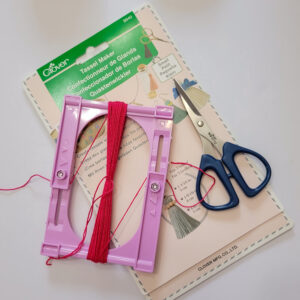
- Clover Tassel Maker (small)
- tape measure
- cotton yarns: any cotton thread or fingering/lace weight (1) – 2 contrasting colors
NOTES:
- read the pattern carefully before starting.
- this tapestry pattern is worked from the bottom up using a single crochet stitch. Ch 1 and turn at the end of each row.
- gauge: not so crucial for this pattern
- skill level: adventurous beginner to intermediate
- finished measurement: about 5.5” height x 1.5” width, after blocking – excluding tassel
ABBREVIATIONS:
- ch(s) – chain(s)
- sc – single crochet
- slst – slip stitch
- st(s) – stitch(es)
- RS – right side
- WS – wrong side
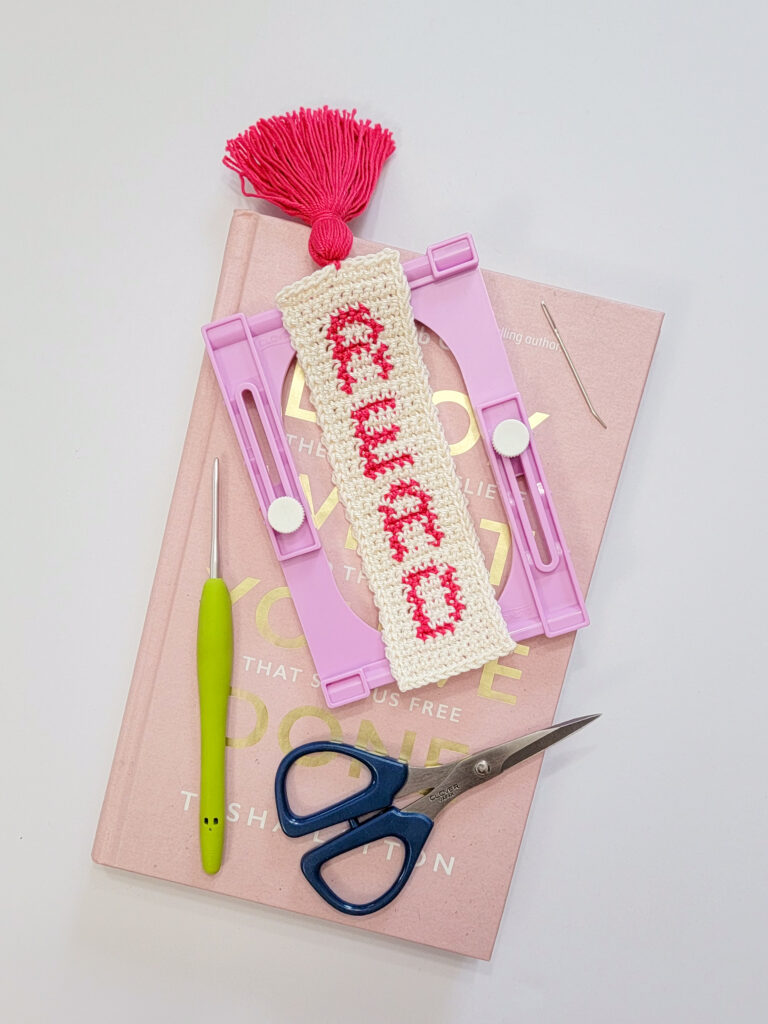

CROCHET “READ” BOOKMARK PATTERN:
Legend: r – red, w – white
- Row 1 [RS]: (w) Start with the foundation ch 12 and work 1 sc in the 2nd ch from the hook and in each ch across.
- Note: Ch 1 and turn from here, and in every row of the entire pattern.
- Row 2 [WS]: (w) x 11
- Row 3 [RS]: (w) x 11
- Row 4 [WS]: (w) x 11
- Row 5 [RS]: (w) x 4, (r) x 4, (w) x 3
- Row 6 [WS]: (w) x 3, (r) x 1, (w) x 3, (r) x 1, (w) x 3
- Row 7 [RS]: (w) x 3, (r) x 1, (w) x 3, (r) x 1, (w) x 3
- Row 8 [WS]: (w) x 3, (r) x 1, (w) x 3, (r) x 1, (w) x 3
- Row 9 [RS]: (w) x 3, (r) x 1, (w) x 3, (r) x 1, (w) x 3
- Row 10 [WS]: (w) x 3, (r) x 1, (w) x 3, (r) x 1, (w) x 3
- Row 11 [RS]: (w) x 4, (r) x 4, (w) x 3
- Row 12 [WS]: (w) x 11
- Row 13 [RS]: (w) x 11
- Row 14 [WS]: (w) x 3, (r) x 1, (w) x 3, (r) x 1, (w) x 3
- Row 15 [RS]: (w) x 3, (r) x 1, (w) x 3, (r) x 1, (w) x 3
- Row 16 [WS]: (w) x 3, (r) x 1, (w) x 3, (r) x 1, (w) x 3
- Row 17 [RS]: (w) x 3, (r) x 5, (w) x 3

- Row 18 [WS]: (w) x 3, (r) x 1, (w) x 3, (r) x 1, (w) x 3
- Row 19 [RS]: (w) x 3, (r) x 1, (w) x 3, (r) x 1, (w) x 3
- Row 20 [WS]: (w) x 4, (r) x 3, (w) x 4
- Row 21 [RS]: (w) x 11
- Row 22 [WS]: (w) x 11
- Row 23 [RS]: (w) x 3, (r) x 5, (w) x 3
- Row 24 [WS]: (w) x 3, (r) x 1, (w) x 7
- Row 25 [RS]: (w) x 7, (r) x 1, (w) x 3
- Row 26 [WS]: (w) x 3, (r) x 4, (w) x 4
- Row 27 [RS]: (w) x 7, (r) x 1, (w) x 3
- Row 28 [WS]: (w) x 3, (r) x 1, (w) x 7
- Row 29 [RS]: (w) x 3, (r) x 5, (w) x 3
- Row 30 [WS]: (w) x 11
- Row 31 [RS]: (w) x 11
- Row 32 [WS]: (w) x 3, (r) x 1, (w) x 3, (r) x 1, (w) x 3
- Row 33 [RS]: (w) x 3, (r) x 1, (w) x 3, (r) x 1, (w) x 3
- Row 34 [WS]: (w) x 3, (r) x 1, (w) x 3, (r) x 1, (w) x 3
- Row 35 [RS]: (w) x 4, (r) x 4, (w) x 3
- Row 36 [WS]: (w) x 3, (r) x 1, (w) x 3, (r) x 1, (w) x 3
- Row 37 [RS]: (w) x 3, (r) x 1, (w) x 3, (r) x 1, (w) x 3
- Row 38 [WS]: (w) x 3, (r) x 4, (w) x 4
- Row 39 [RS]: (w) x 11
- Row 40 [WS]: (w) x 11
- Row 41 [RS]: (w) x 11
- Row 42 [WS]: (w) x 11. Do not fasten off. Continue with the edging pattern.
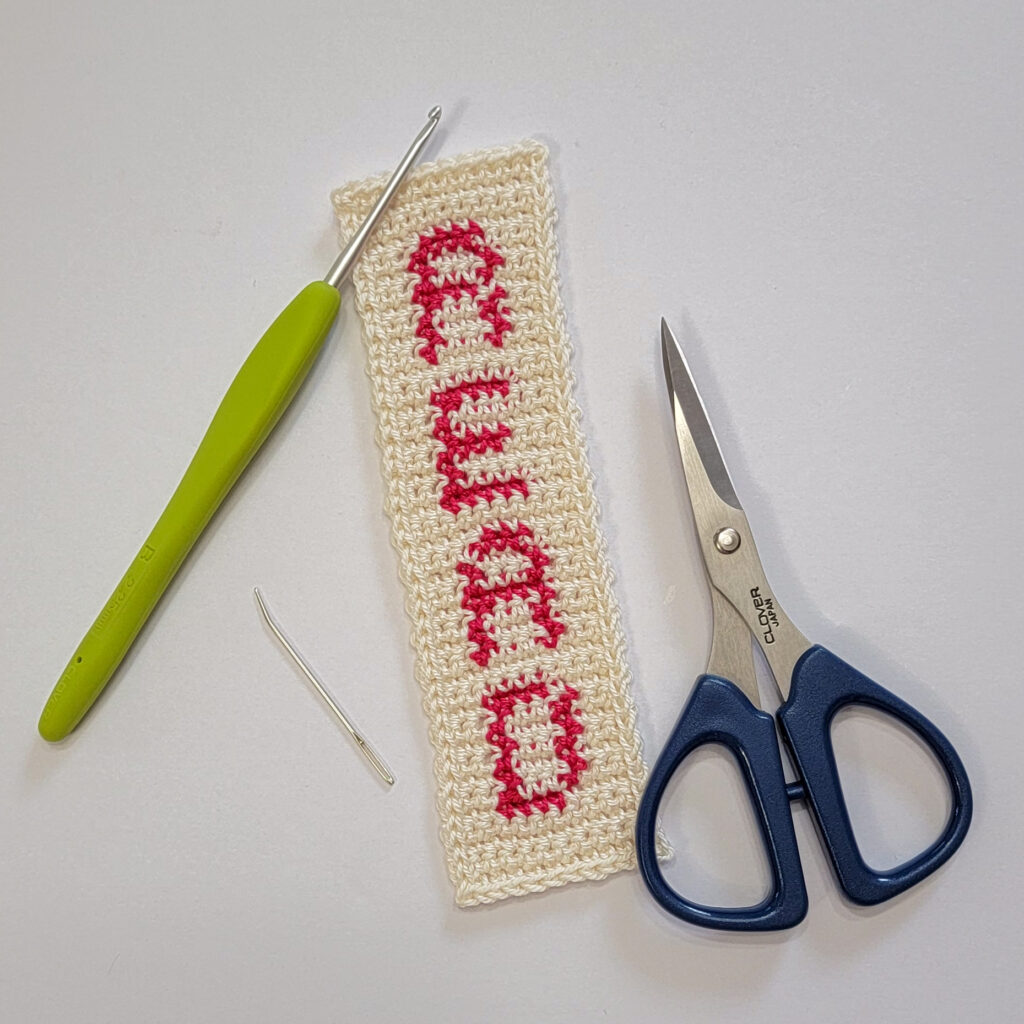

Edging:
- ch 1 (does not count as a st), slst in each st across. Do not turn; continue working around the edges of the bookmark, ch 1 and 1 slst into the side of each row going down to the end, ch 1 and 1 slst in each foundation ch across, and lastly, ch 1 and 1 slst into the side of each row going up to the end, slst to the 1st st to complete the round.
- fasten off and weave in all ends.

Adding the Tassel:
- Using a Clover Tassel Maker (small) or your favorite way of making a tassel, wrap your yarn about 50 times to make your tassel.
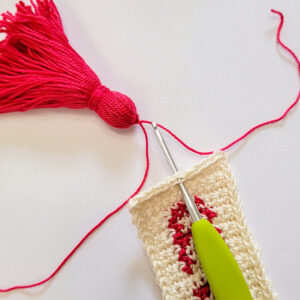
- Add it to the top of the bookmark. Find the center (6th) st of your bookmark and attach it there. Finish by tying a few knots to secure it before cutting the yarn. Weave all ends in.
You’re all done!
Please don’t hesitate to contact me with questions regarding this pattern. You may also reach out to me on Instagram (@stringsandcuddles)!
If you want to keep up with me, Elisa, on social media for other fun projects, follow me on social media: Instagram | Pinterest | Facebook | Blog | Ravelry
If you want to keep up with all things Clover, follow us on: Facebook | Twitter | Instagram | Pinterest | YouTube | Ravelry