Baby Sleeper PJ’s *free sewing pattern*
Hello everybody! It’s Duana with @duana_m_chandler and @duanastudio. I recently sewed the cutest baby sleeper for my little one, and I couldn’t be more excited to share it! There’s something so special about creating something cozy for your own child. I even made a pattern for this sleeper, and I’ll be sharing it right here in the blog. Keep reading to see how it turned out and get inspired to make one for your baby or someone special in your life.
MATERIALS:
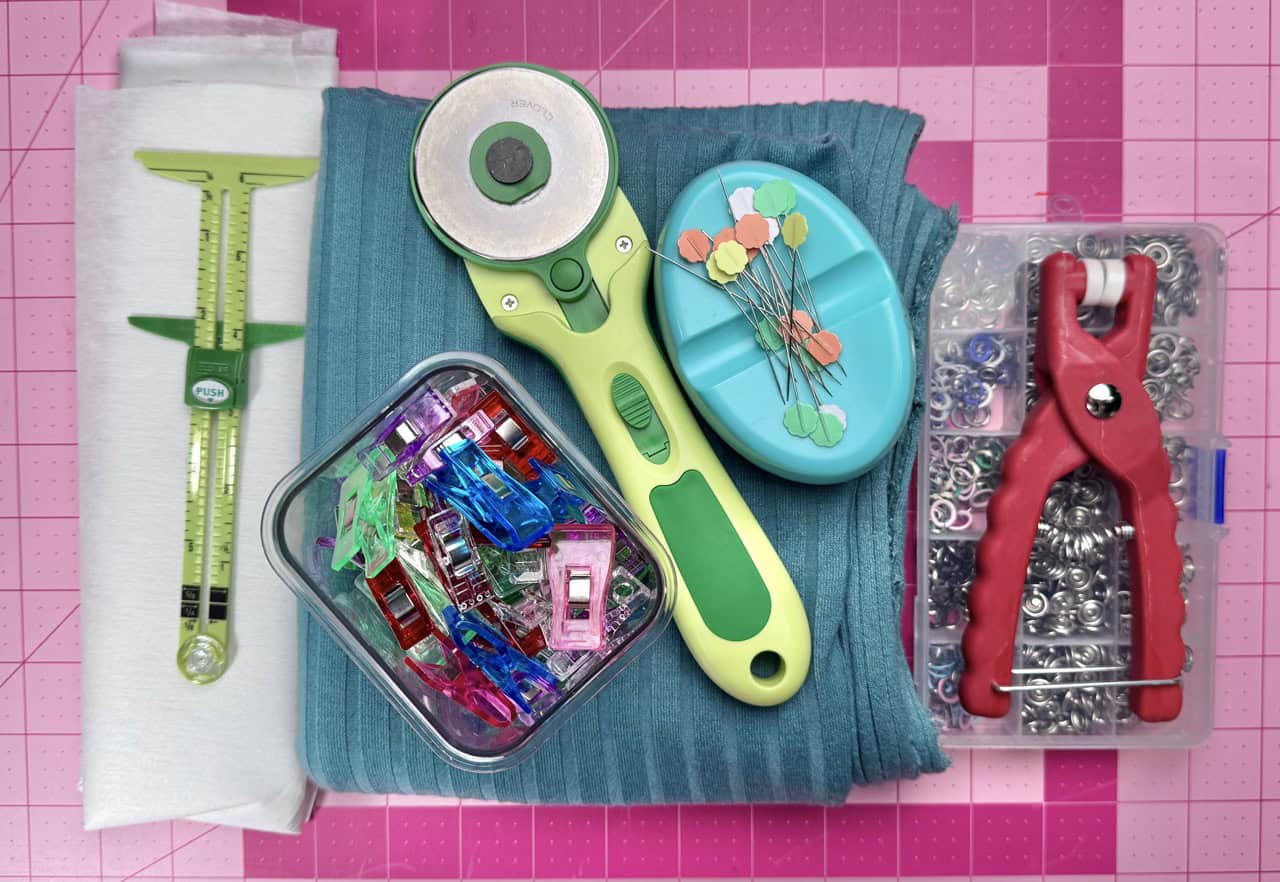
- Clover Rotary Cutter (60 mm)
- Clover Flower Pins
- Clover Wonder Clips
- Clover 5-in-1 Sliding Gauge
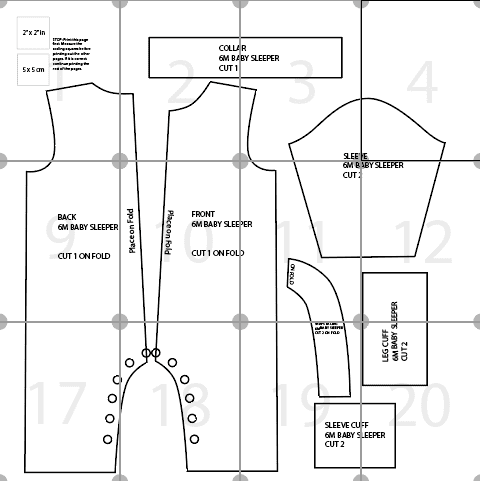
- Sleeper Pattern
- 1 yard stretch fabric
- snaps
INSTRUCTIONS:
1. Cut out all of the pattern pieces using the Clover Rotary Cutter (60 mm). I love using rotary cutters on knits because it is much easier to cut since knits move around a lot. I also use the Clover Flower Pins and Clover Wonder Clips to hold the pattern in place. I used a gauge to help measure out the pieces.
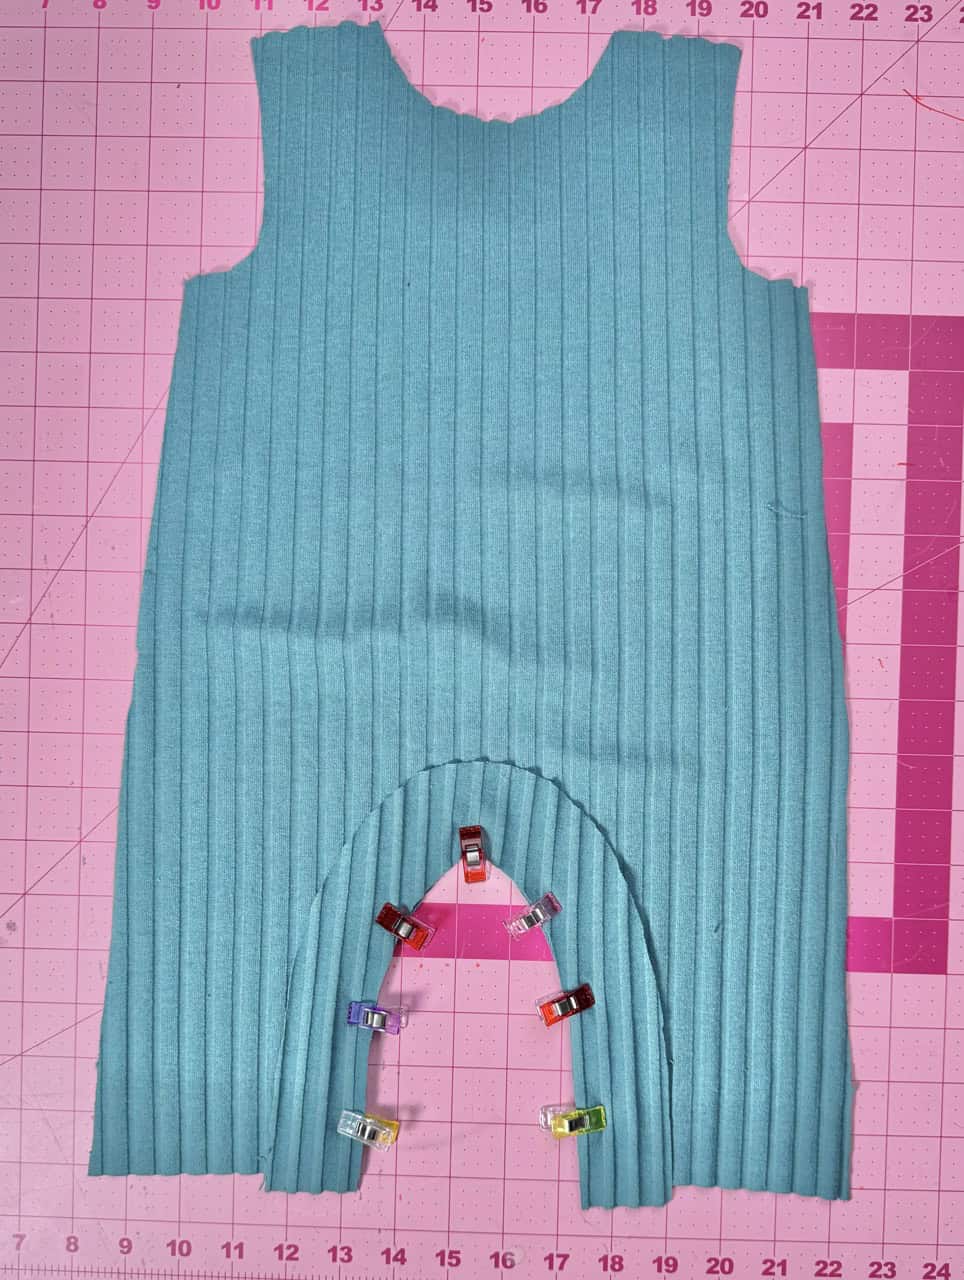
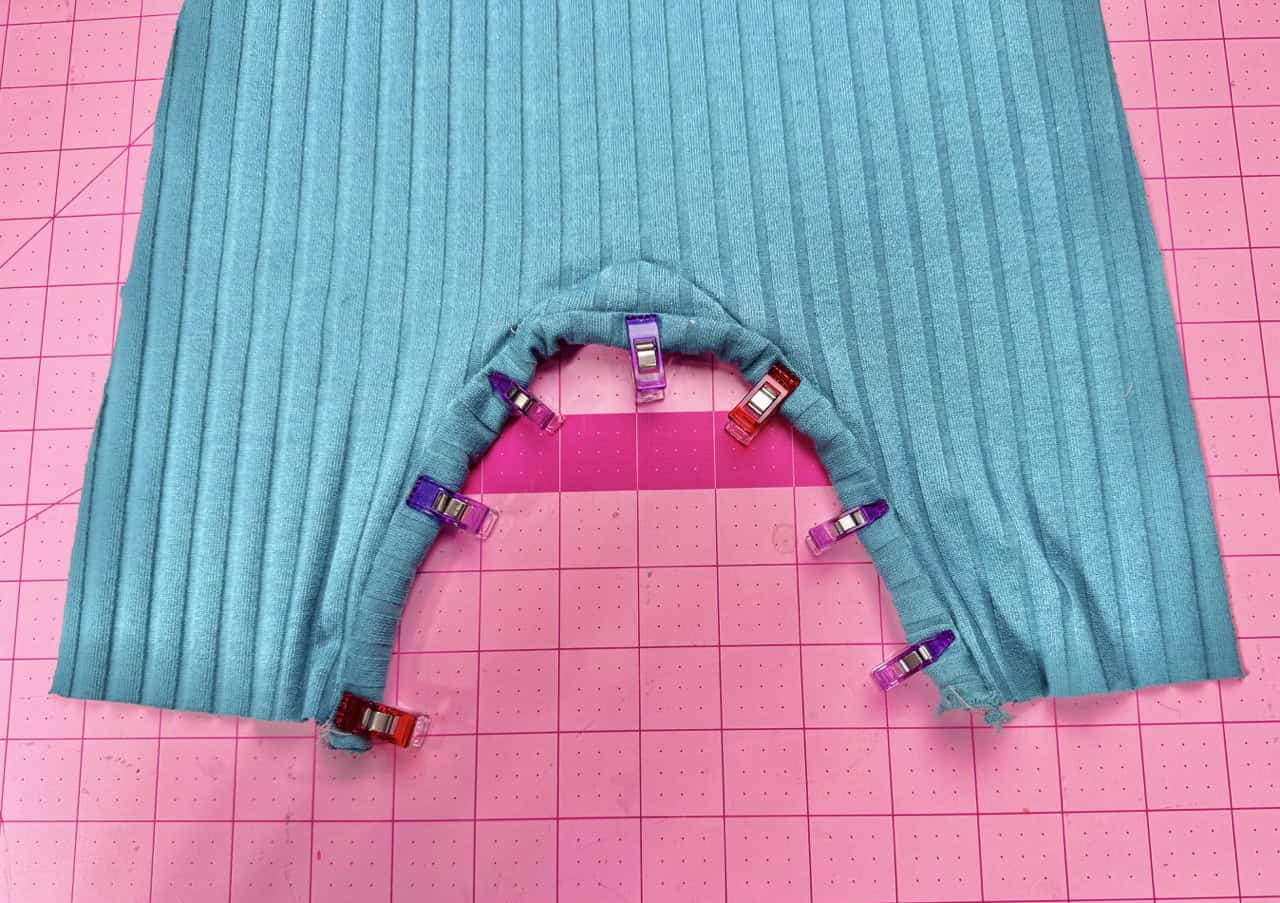
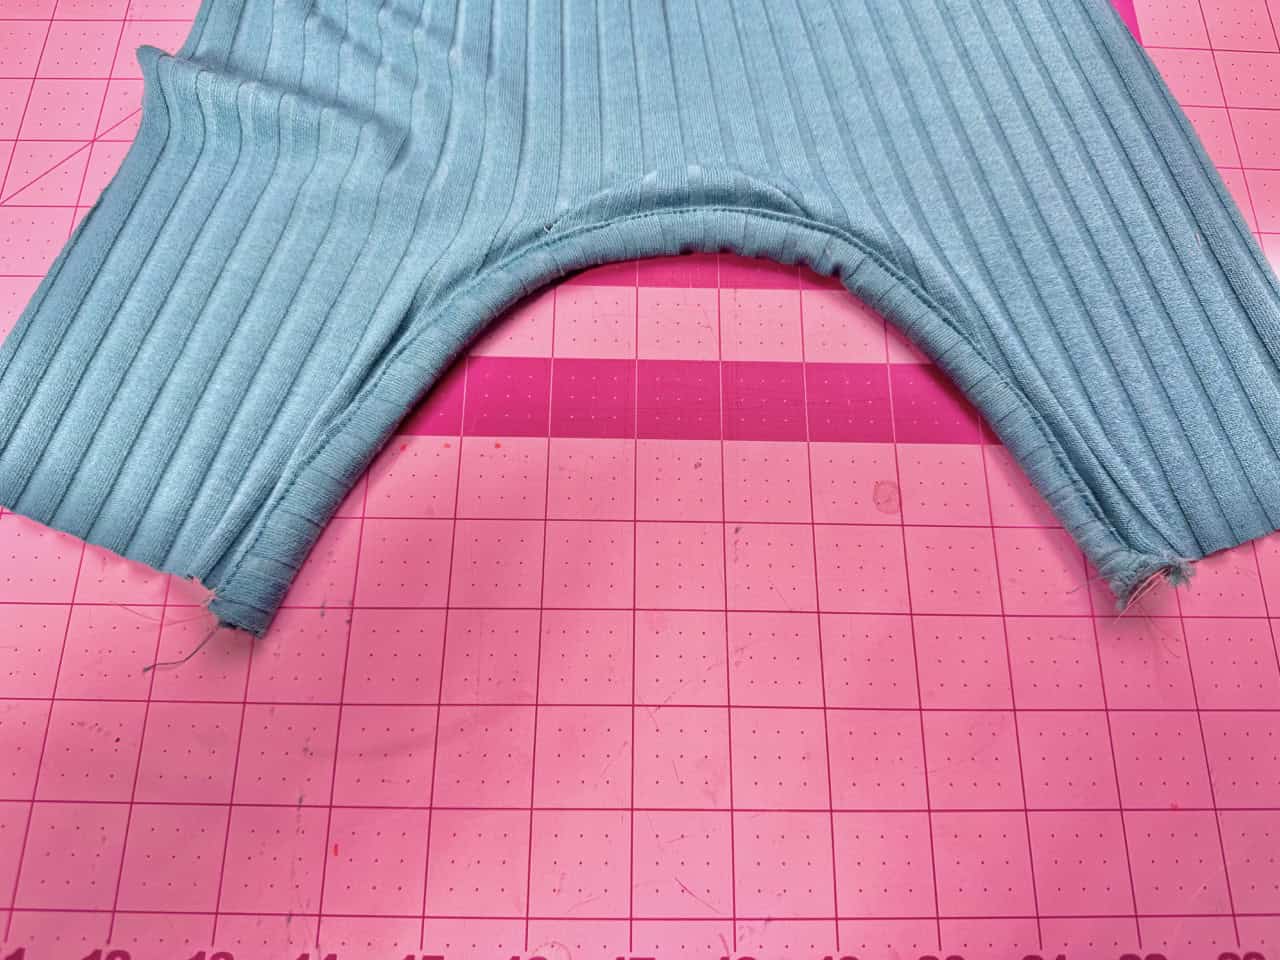
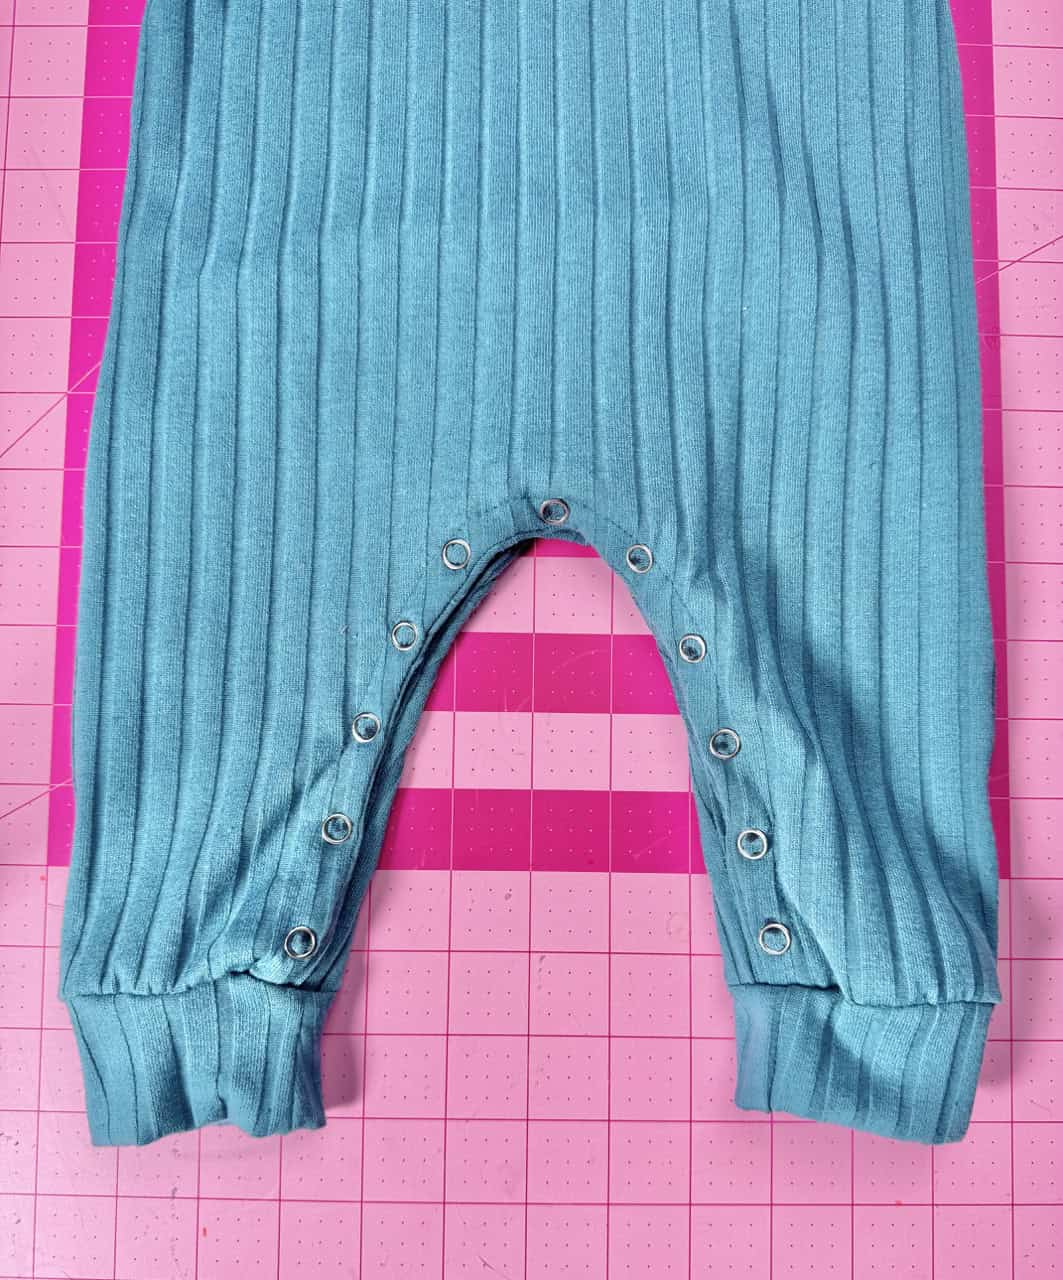
2. Take the snap facing and attach to the bottom of front and back bodice with right sides facing. You can use interfacing on this area, but it’s not a requirement. This is where the snaps are going to go, so it might help when adding snaps later. I ended up doing it a slight bit different when in the drafting process, but this way is easier for anyone to try moving forward. Fold the facing back and press. Finish the edges and top stitch the front and back on top of the facing. I found this way a lot easier for beginner sewers. You can also fold over twice to form a placket. I think this can get tricky if you are not great with knits.
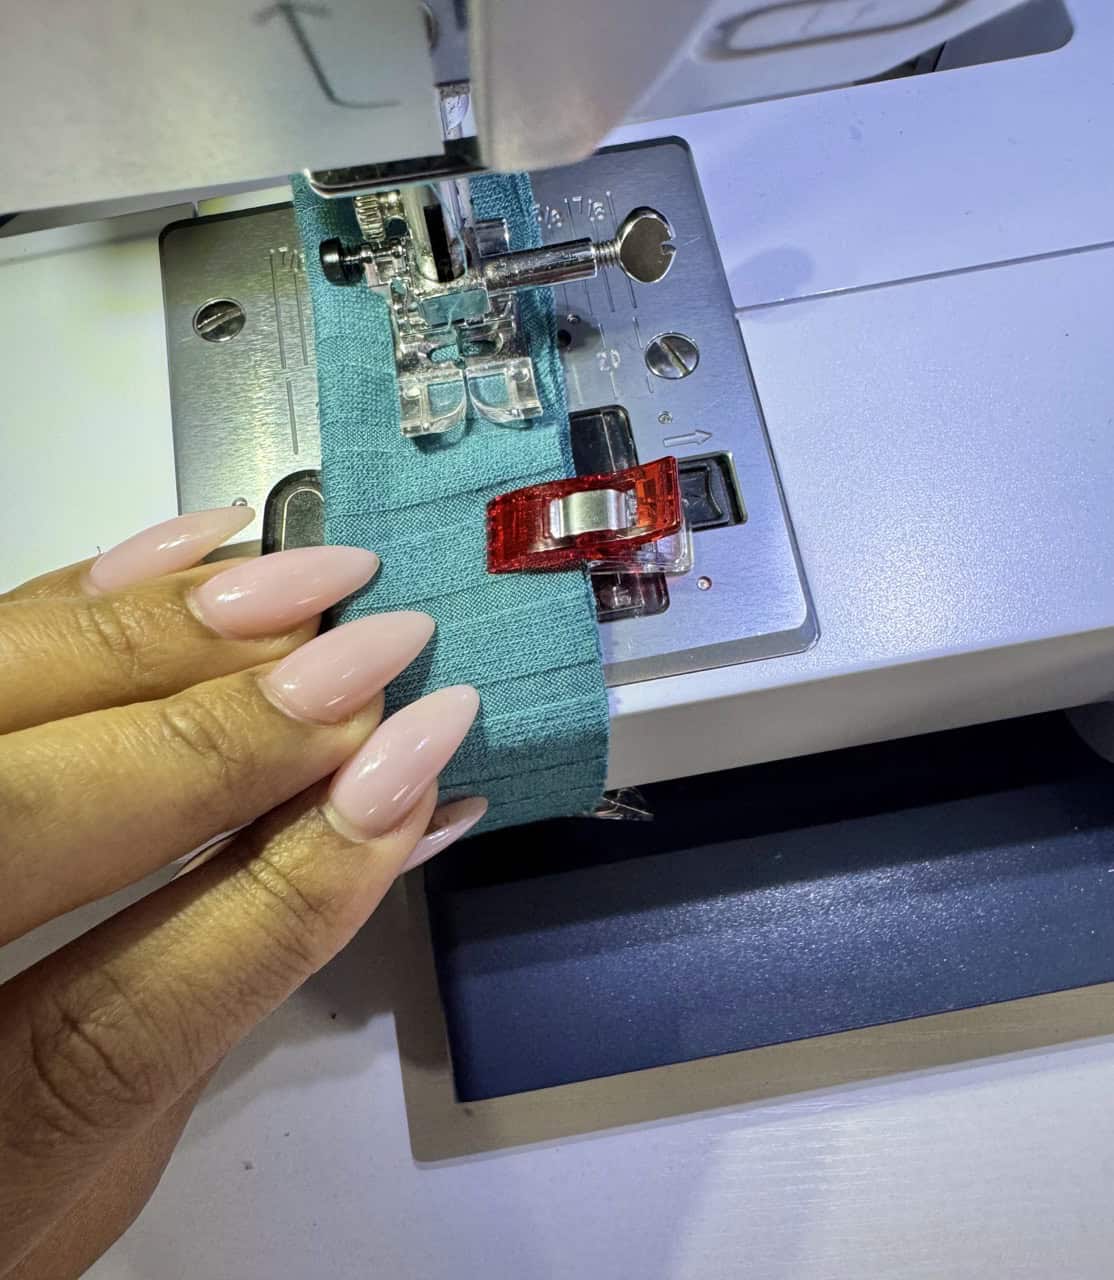
3. Place the front and back bodice together using the Clover Wonder Clips. Sew the front and back bodice together at shoulder and sides.
4. When attaching the sleeves, place the sleeve piece right sides together along the armhole curve. Sew the sleeve to the armhole. Repeat for the other sleeve.
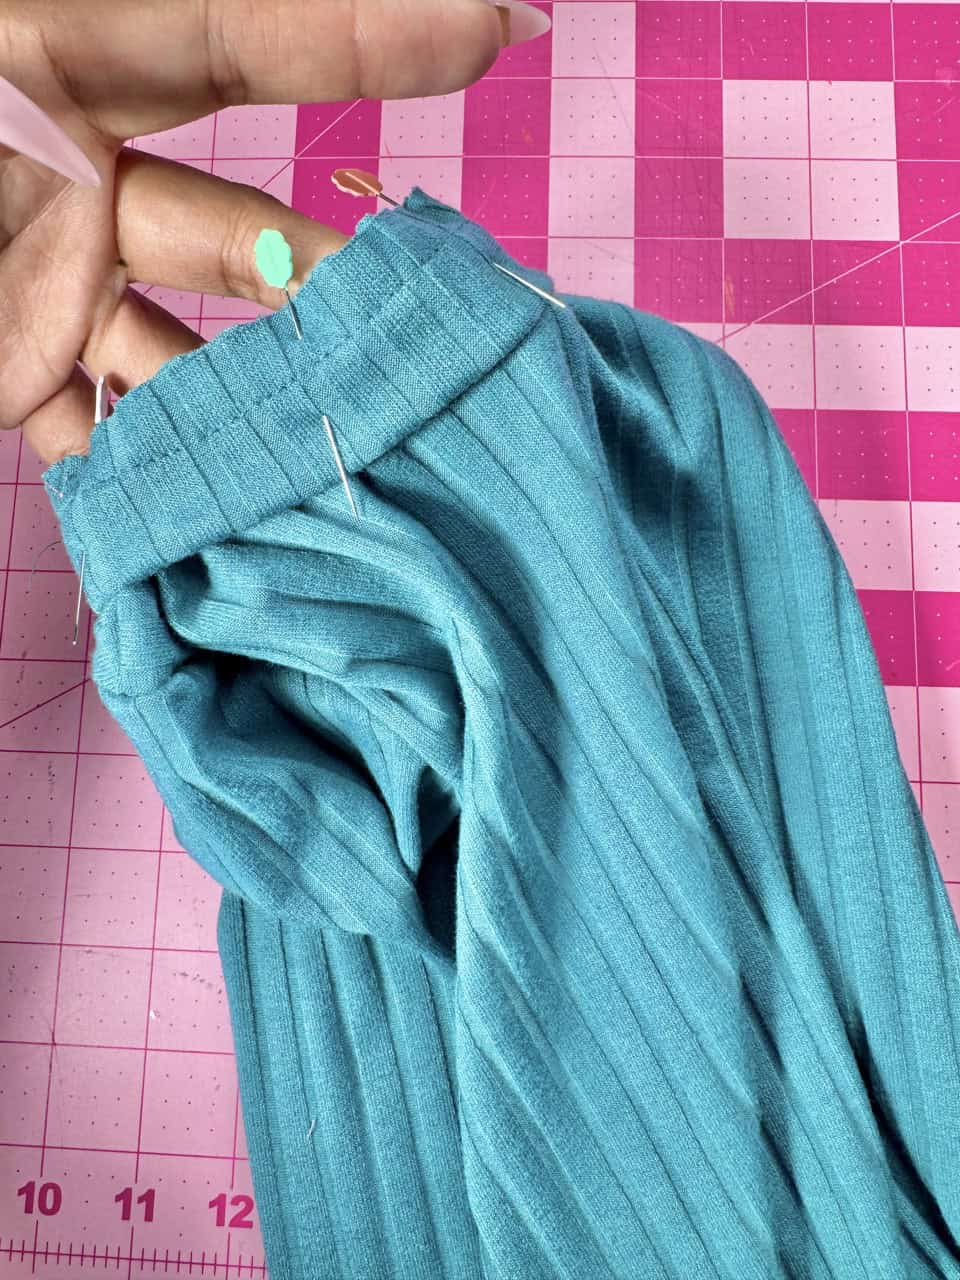
5. When attaching the neckband (collar), arm cuff, and leg cuff, pin or use Wonder Clips to hold the short ends of the neckband right sides together to form a loop. Fold it in half lengthwise with wrong sides together. Sew with a stretch stitch or serger.
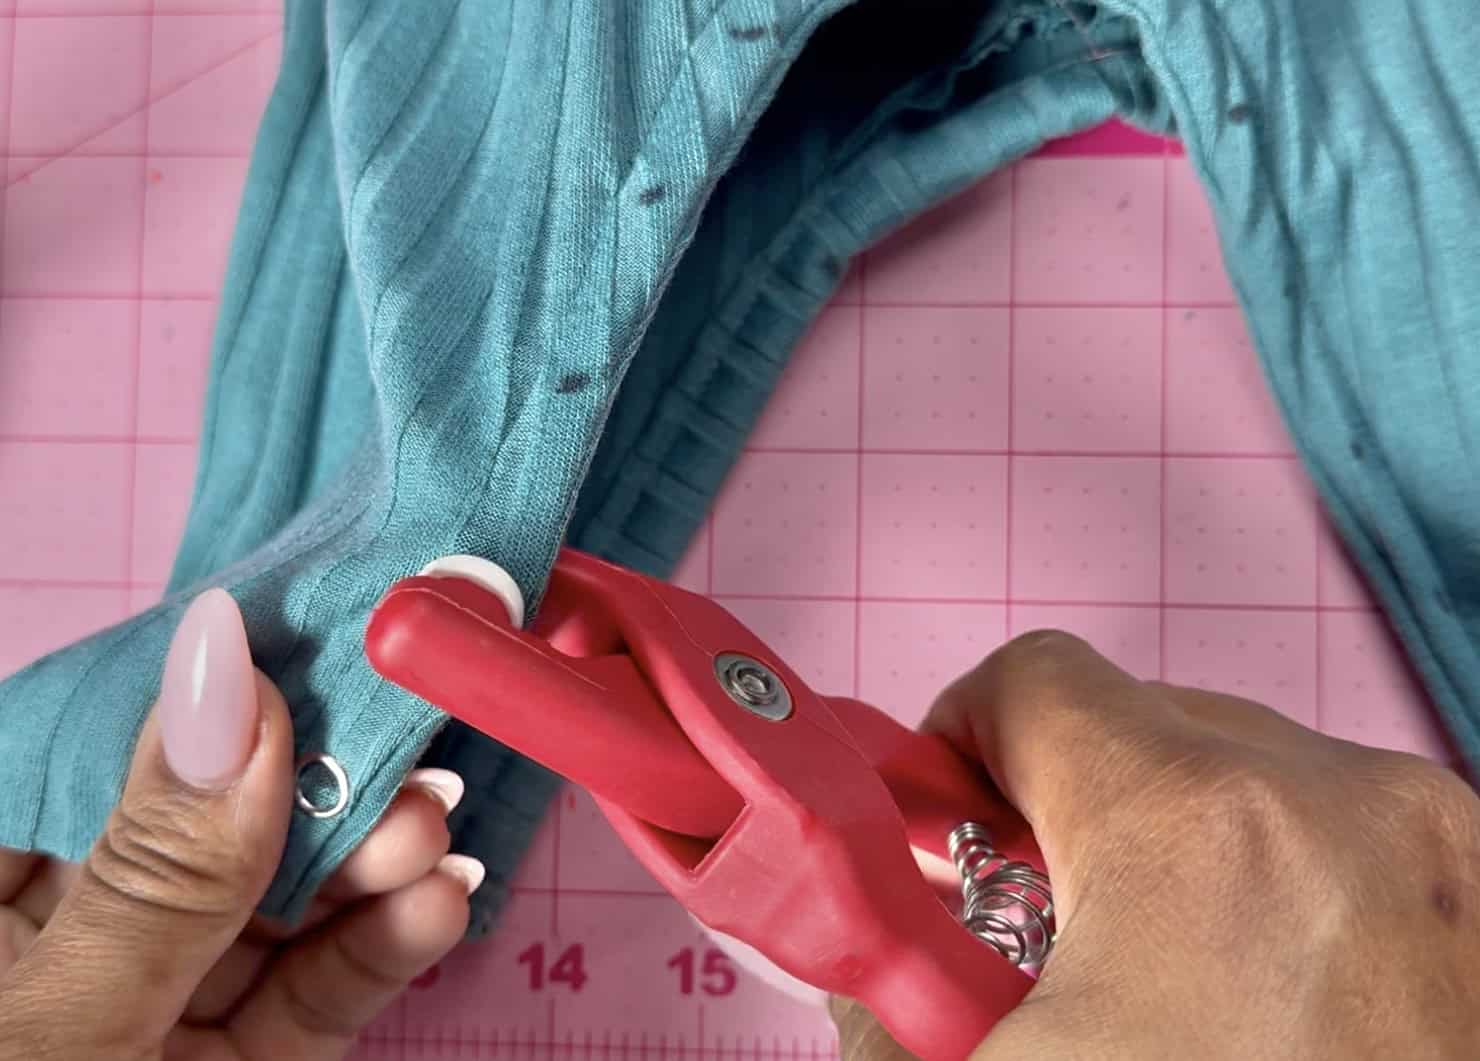
6. Lastly, add the snaps (or buttons). I used a snap kit that I found online. Read the instructions that come with your snap kit in order to apply snaps.
Making a baby sleeper is a fun and rewarding project that’s both cute and practical! With a cozy knit fabric, you can create a comfy outfit that’s perfect for any little one. I hope you get a chance to use the free pattern I provided, and maybe you’ll find yourself making more in all sorts of fun prints and colors!
If you want to keep up with me, Duana, on social media for other fun projects, follow me on social media: Instagram
If you want to keep up with all things Clover, follow us on: Facebook | Twitter | Instagram | Pinterest | YouTube | Ravelry

