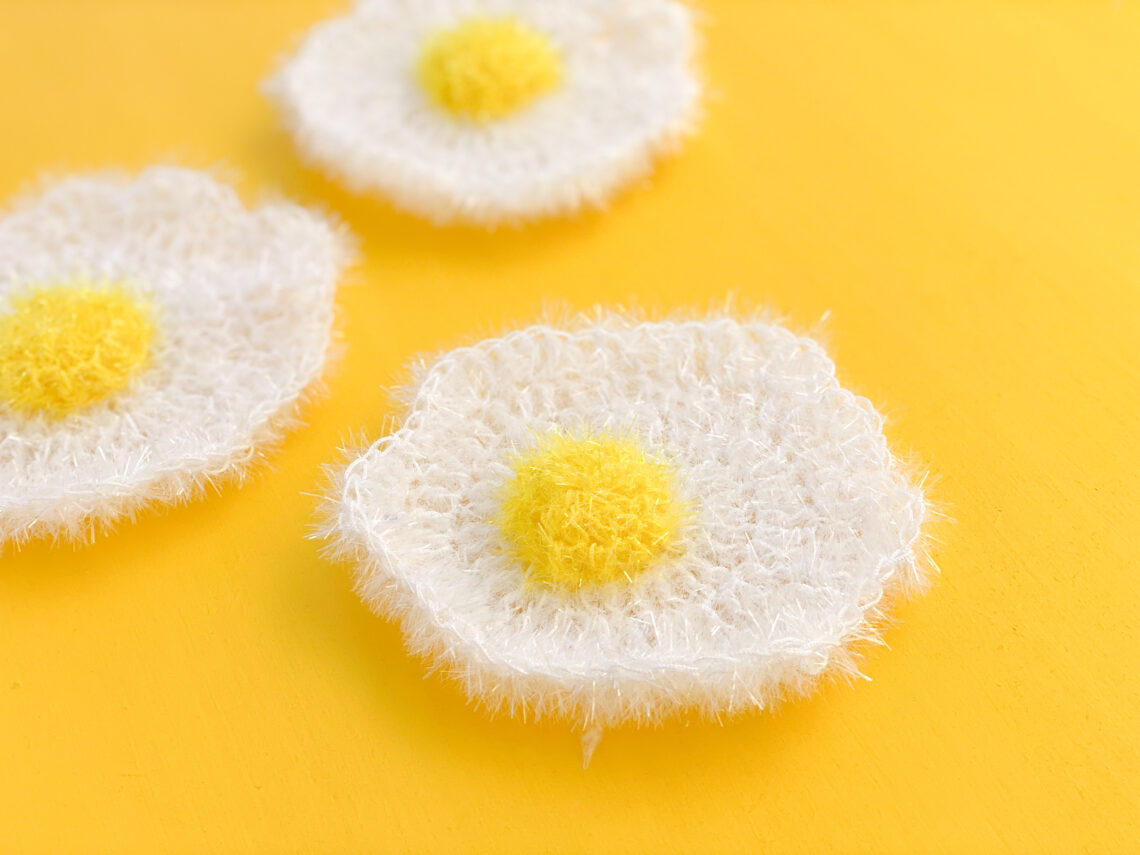
Egg Scrubbies: Make Mom “Breakfast in Bed” for Mother’s Day!
Hey Clover Squad! It’s Amy Ting from @curiouspapaya on IG! These crochet egg scrubbies are the perfect gift for Mother’s Day. Not only are they practical and cute but they work up very quickly! If you want to theme these around Mother’s Day, a common thing people do for their moms is “breakfast in bed”, so why not make her a REAL breakfast and a CRAFTY breakfast? 😉
NOTES:
- We will be working in joined rounds. The “ch 2” counts as the first st of each round.
- This pattern is written in US terminology.
- Gauge: Gauge is not particularly important for this scrubby, but please note that if using a slightly different material or hook from what’s prescribed, your creation may come out a different size than what I’ve indicated below.
- Measurements: diameter – 5 in
- Difficulty: intermediate-beginner + due to hdc and dc stitches
- Time: about 30 min
MATERIALS:
- 5 mm Clover Bamboo Crochet Hook “Takumi”
-
- if you have loose tension, you can size down to a 3.75-4 mm hook
-
- Clover Scissors
- Clover Stitch Markers
- Clover yarn needle
- Red Heart Scrubby Sparkle Yarn
- 1 skein of “marshmallow” (0.7 oz / 20 g)
- 1 skein of “lemon” (1.2 oz / 33 g)
ABBREVIATIONS:
- blo: back loops only
- ch: chain
- dc: double crochet
- dc-inc: double crochet increase
- hdc: half double crochet
- hdc-inc: half double crochet
- inc: single crochet increase
- sc: single crochet
- slst: slip stitch
- st(s): stitch(es)
- rnd(s): round(s)
- [#]: stitch count
- (…) x #: repeat instructions the number of times
EGG WHITE PATTERN:
- Use your Takumi Bamboo 5 mm Hook and “marshmallow” (white) yarn.
- *= slst to join the rnd
- Round 1: Make a magic circle and ch 2. This counts as your first st. (dc) x11, * [12]
- Round 2: ch 2, dc into the same st, (dc-inc) x11, * [24]
- Round 3: ch 2, dc into the same st, dc into the next st, (dc-inc, dc) x11, * [36]
- Note: In the next round, we will make the egg white more oblong in shape.
- Round 4: ch 2, dc into the same st, dc into the next 2 sts, (dc-inc, 2 dc) x5, (inc, 2 sc) x6, * [48]
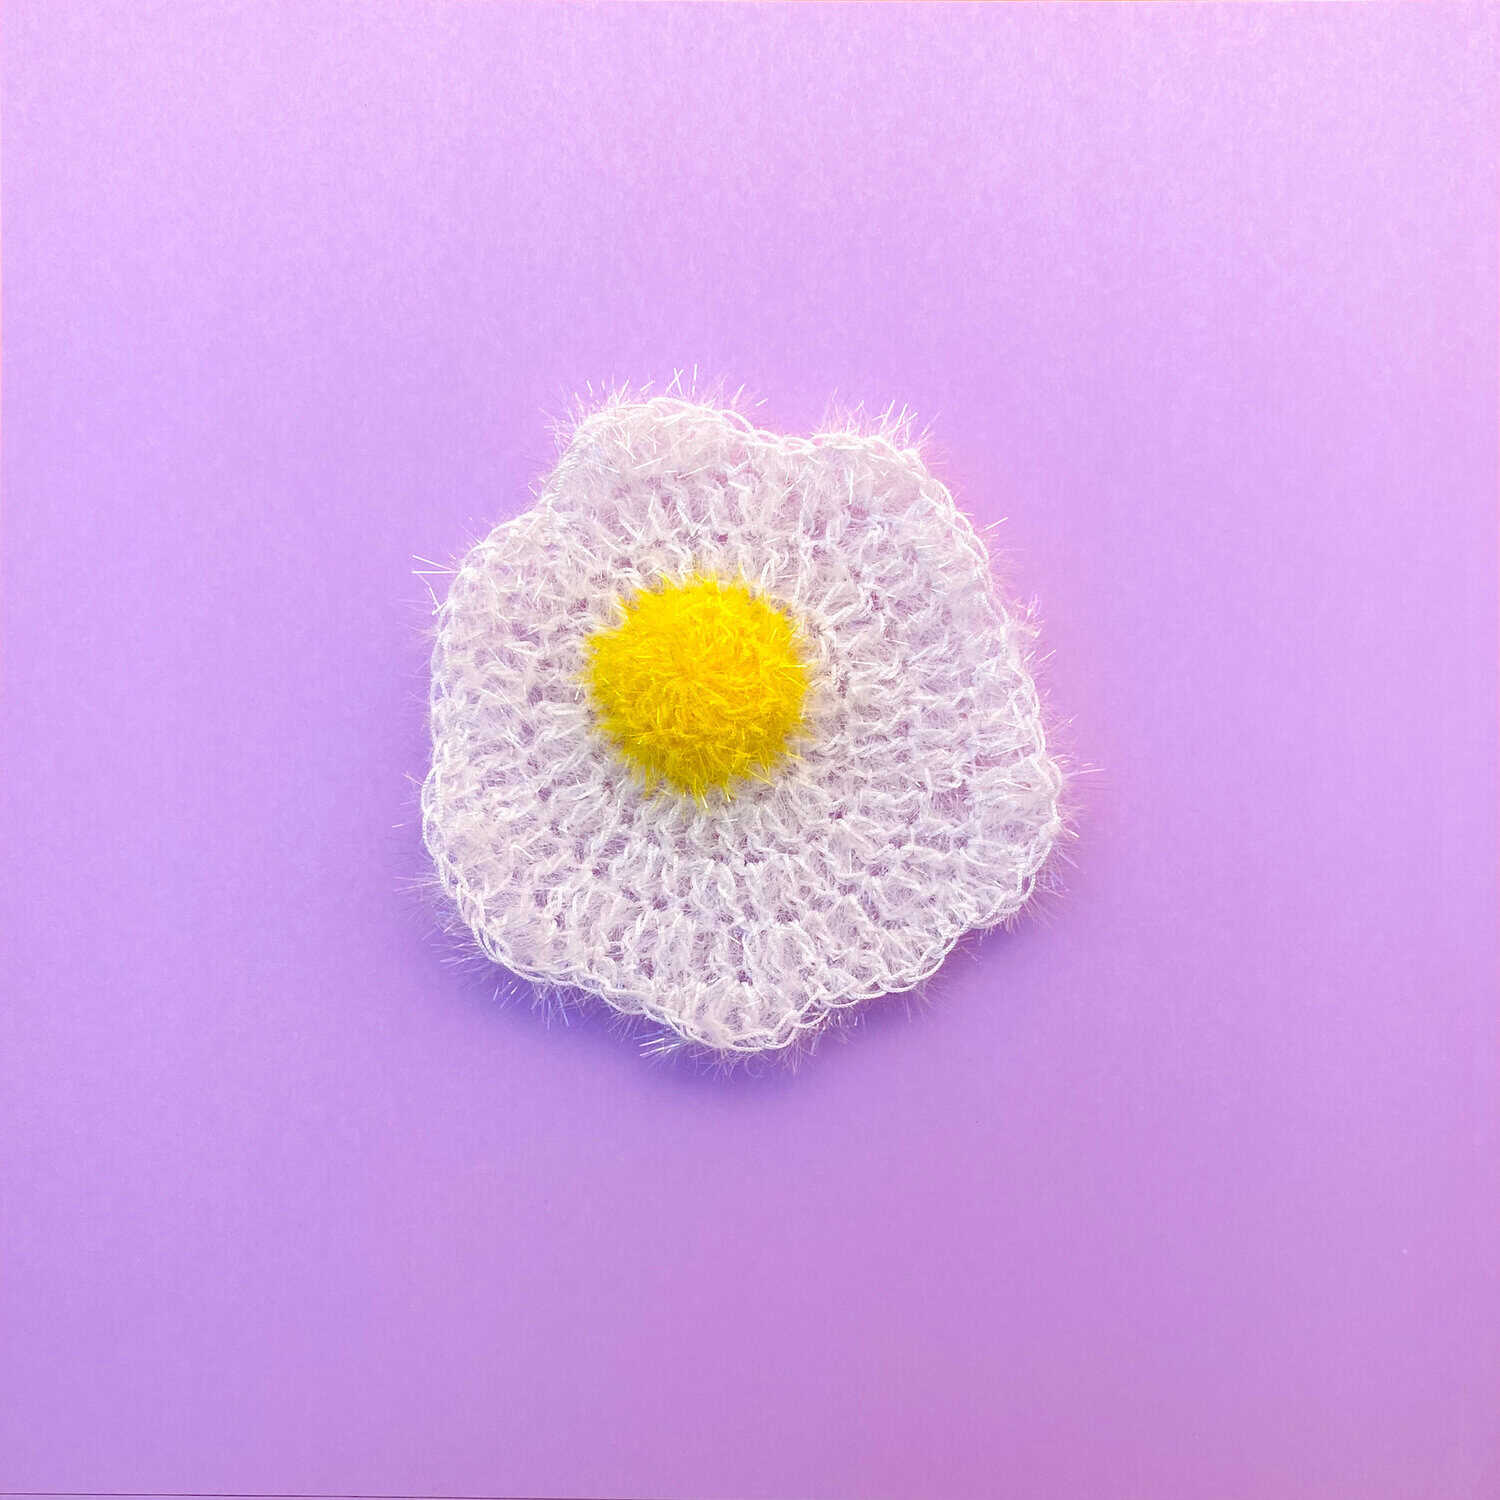
- Note: In the next round, we will create the fried egg edges. I love to play around with making each of the edges unique! You can create curves and ruffled edges by combining hdc, dc, sc, and slst stitches. For the example in the image, follow the steps in rnd 5 below.
- Round 5: (sc, hdc, dc-inc, hdc, sc, slst) x4, (3 sc, 3 hdc-inc) x4, ch 10 to create a loop to hang your scrubby and * [64, though st count is not important for this rnd]
- Fasten off and leave a tail for weaving in.
YOLK PATTERN:
- Use your Takumi Bamboo 5 mm Hook and Lemon (Yellow) yarn.
*= slst to join the rnd- Round 1: Make a magic circle and ch 2. This counts as your first st. (dc) x11, * [12]
- Round 2: ch 1, dc all around, * [12]
- Fasten off and leave a tail for sewing.
ASSEMBLY:
- Use your Clover Darning Needle.
- Position the yolk slightly off-centered on the egg white.
- Thread your needle with the yolk yarn tail and sew going through the back loops only. Be careful not to pierce through the other side of the scrubby!
- No need to stuff the yolk. Bury the excess tail inside.
You’re finished! We’d love to see your creations over on Instagram. Tag your creations with #cloverusa and #curiouspapaya to be featured or reposted 🙂
If you want to keep up with me, Amy, on social media for other fun projects, follow me on: Instagram
If you want to keep up with all things Clover, follow us on: Facebook | Twitter | Instagram | Pinterest | YouTube | Ravelry