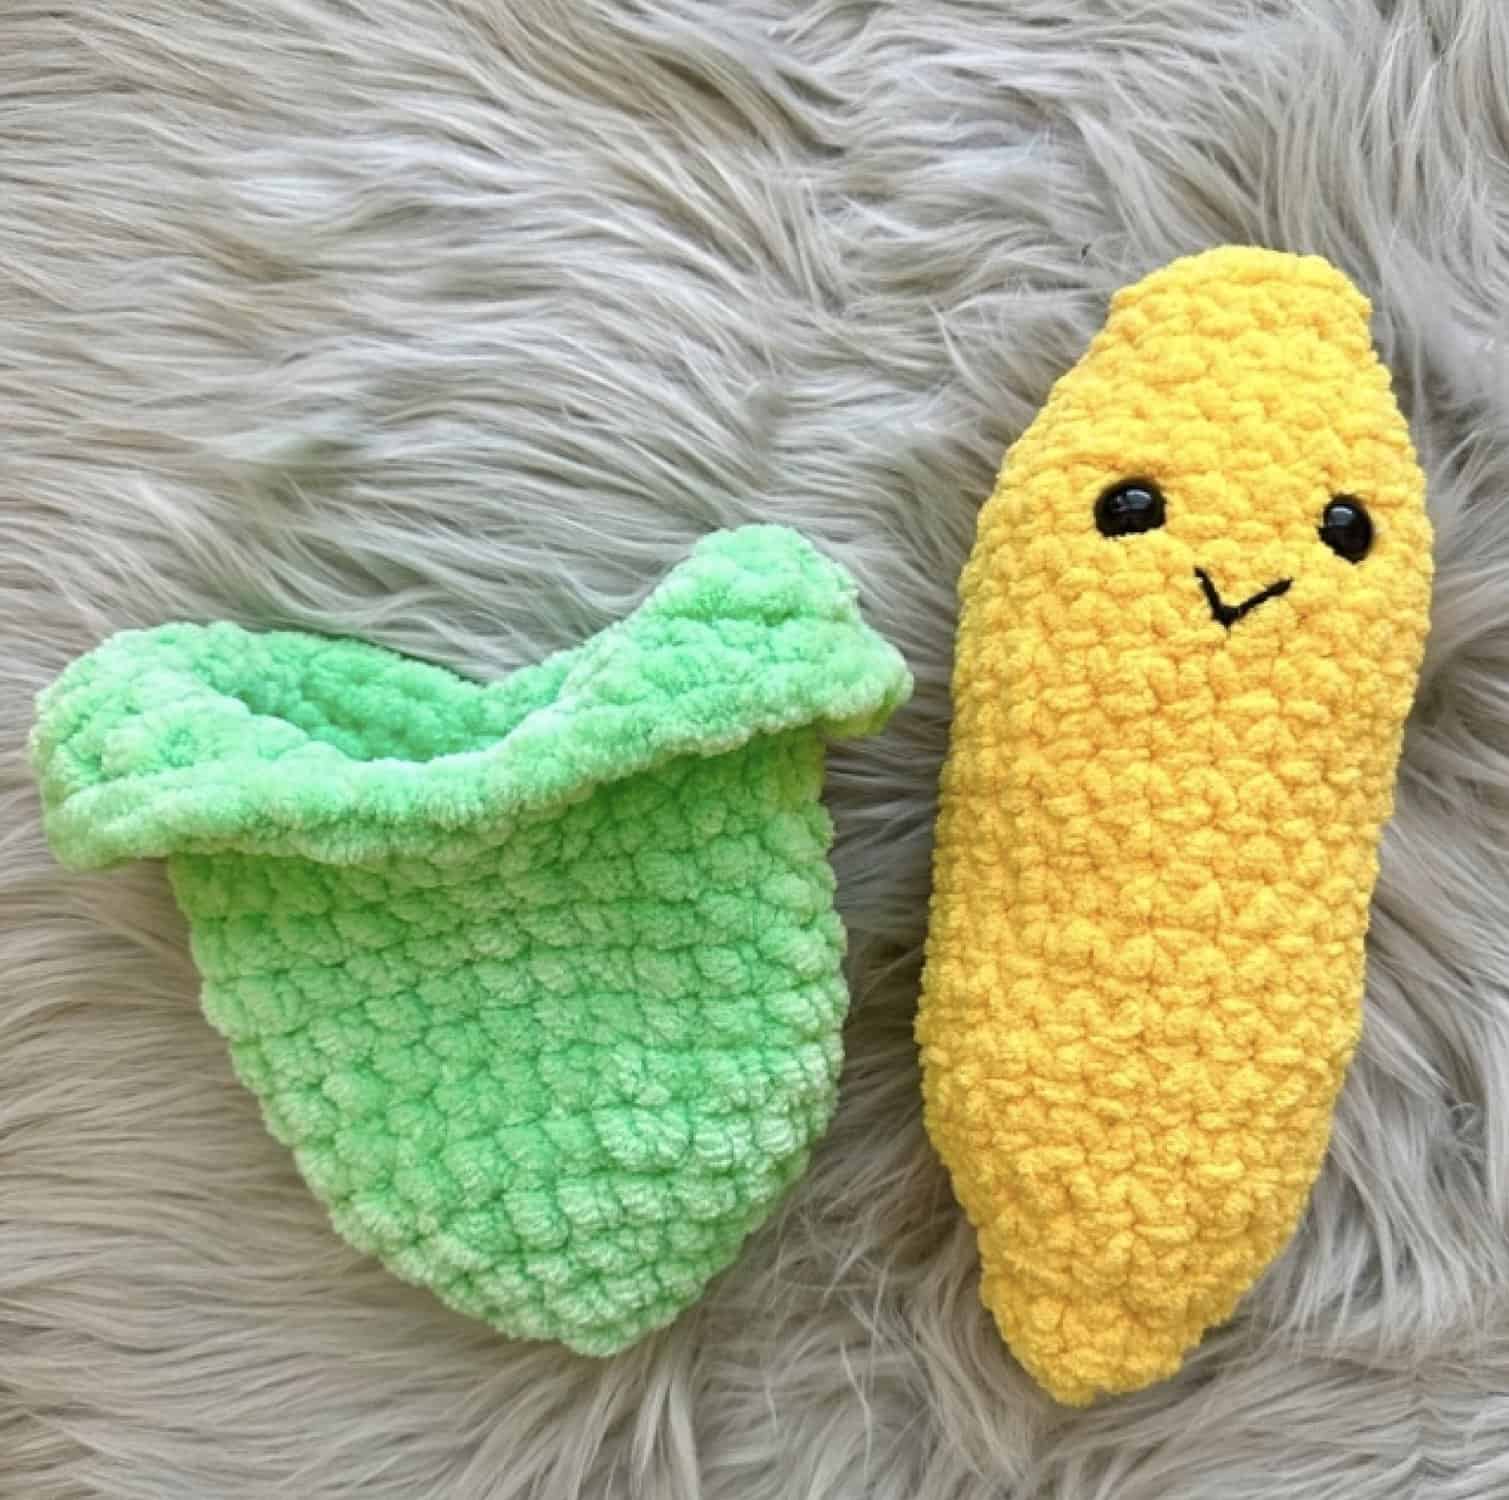
Corn on the Cob Crochet Pattern *can be taken apart!* :)
Molly here from @louloopsco on IG! 🙂 Crochet food items just put a smile on my face. With it being Labor Day weekend, I think of BBQs, and when I think of BBQs, I think corn on the cob! This pattern is extra fun because it is worked as 2 different pieces: the husk and the corn cob. The corn can go in and out of the husk! This is the first of many different foods I’m gonna be creating in this food series, so let’s get started!
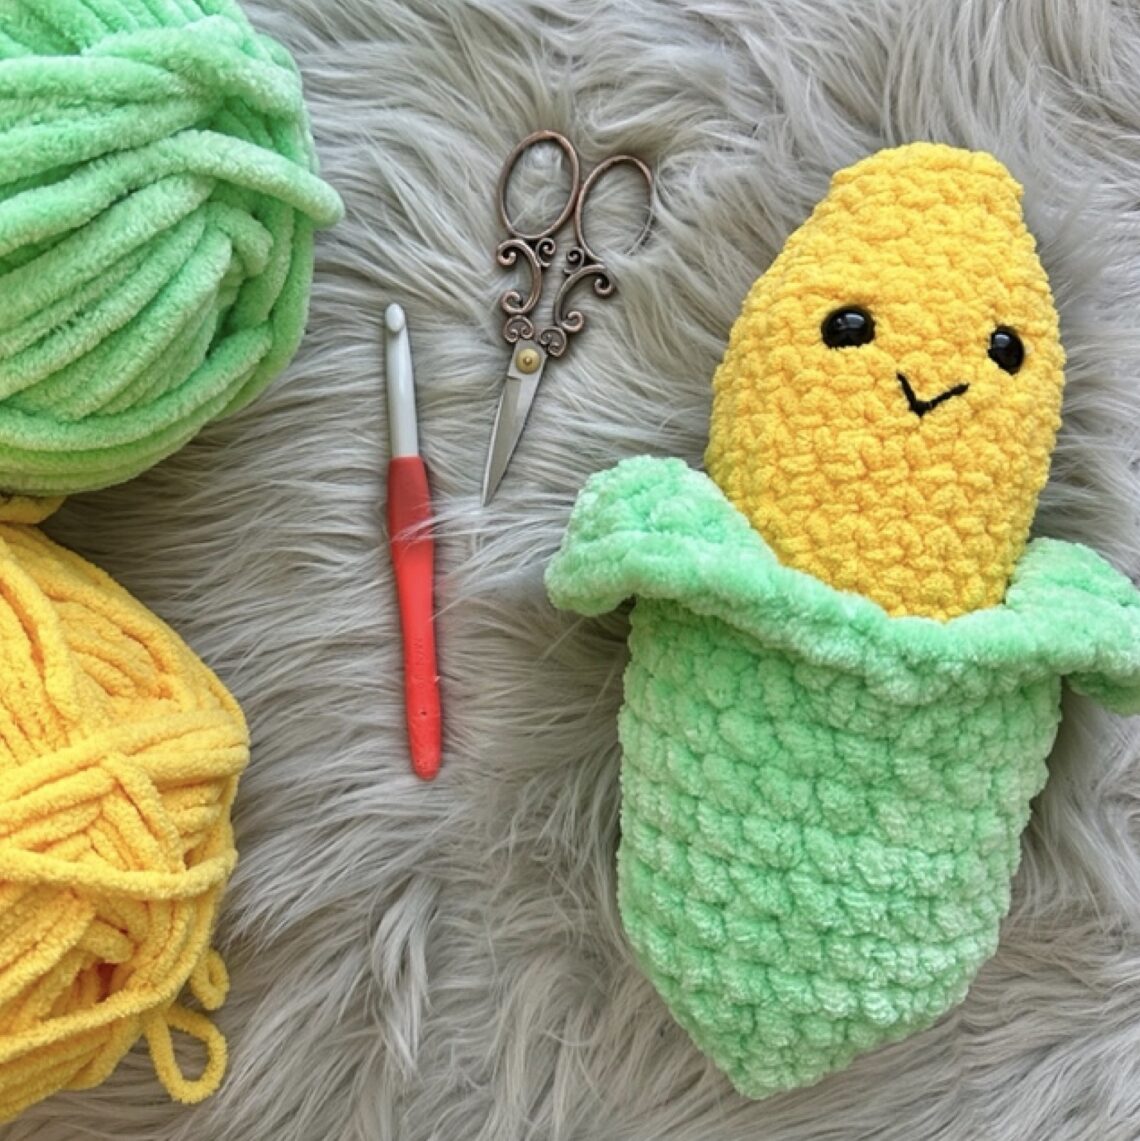
MATERIALS:
- Clover 9.00mm Amour Hook
- Clover needle set
- Loops and Threads Sweet Snuggles yarn in “Baby Green”
- Bernat Blanket Brights yarn in “School Bus Yellow”
- 14mm safety eyes
- Black embroidery thread
- Poly-fil stuffing
- Scissors
- Stitch marker
STITCHES + ABBREVIATIONS:
- Chain (ch)
- single crochet (sc)
- decrease single crochet (dec)
NOTES:
Work in a continuous round. Do not join at the end of each round. Use a stitch marker to keep track of your rounds. When working with the extra thick blanket yarn, it’s very easy to lose track!
HOW TO CREATE THE CORN HUSK:
Round 1: Magic circle or chain 2. In the second chain from the hook, make 6 scs.
Round 2: Increase in each stitch around (12).
Round 3: Increase in the first stitch, single crochet in the next. Repeat all the way
around (18).
Round 4: Increase in the first stitch, single crochet in the next 2 stitches. Repeat all
the way around (24).
Rounds 5-12: Sc in each stitch around (24).
Next we will be working in rows. Read the directions carefully.
Row 12: Sc in the next 12 stitches. Chain 1 and turn your your work.
Row 13: Sc 2 together (dec), sc in the next 8 stitches, and decrease (10). Ch 1 and
turn your work.
Row 14: Dec, sc in the next 6 stitches, and dec (8). Ch 1 and turn your work.
Row 15: Dec, sc in the next 4 stitches, and dec (6). Ch 1 and turn your work.
Row 16: Dec, sc in the next 2 stitches, and dec (4). Ch 1 and turn your work.
Row 17: Dec, dec (2). Ch 1 and turn your work.
Row 18: Dec (10). Trim yarn, leaving a long tail for weaving in the end.
Go back to Row 12 and attach Baby Green. You will repeat rows 12-18 on the
opposite side, to create a second flap of the husk. When you get to row 18, instead
of trimming the yarn and weaving in the end, you can continue to sc up and down
the sides of the husks to smooth out the edges. You should then have 2 openings
that you can “peel” (fold) down.
HOW TO CREATE THE CORN COB:
Round 1: Magic circle or chain 2. In the second chain from the hook, make 6 scs.
Round 2: Increase in each stitch around (12).
Round 3: Sc in each stitch (12).
Round 4: Increase in the first stitch, single crochet in the next. Repeat all the way around (18).
Round 5: Sc in each stitch (18).
Round 6: Increase in the first stitch, single crochet in the next 2 stitches. Repeat all
the way around (24).
Rounds 8-10: Sc in each stitch around (24). Pause here to add your safety eyes in row 7. I placed mine 3 scs apart. Add some poly-fil.
Rounds 11-18: Sc in each stitch around. Pause to add more poly-fil.
Round 19: Dec in the first stitch and sc in the next 2, repeating all the way around (18).
Round 20: Sc in each stitch around (18).
Round 21: Dec in the first stitch, sc in the next, repeating all the way around (12).
Round 22: Sc in each stitch around (12).
Round 23: Dec in each stitch around (6). Trim yarn leaving a long tail. Pause to finish stuffing with poly-fil.
Use your needle to weave the opening closed. Tie off and weave in the end. Use your black embroidery thread and needle to add a smile. Put your corn inside the husk, and you’re all done! 🙂