Puff of Magic: Upcycled Top!
Welcome back, dear crochet enthusiasts! Your favorite Crochet Faerie has returned with another tutorial, and this month, we’ve gone full princess fairy. Lately, I’ve been immersing myself in the enchanting world of cute fairy and fantasy-themed anime, and the inspiration is simply bubbling over. I am here to share the magical aesthetic that has been filling my heart with so much joy. Whether you’re a cottage core enthusiast or a lover of all things feminine and fantastical, this tutorial is for you. Get ready to create something whimsical and delightful, and let’s infuse our crochet journey with a touch of fairy magic. ??
MATERIALS:
- Yarn
- hook
- scissors
- darning needle
- measuring tape
- embroidery needle
- Cami top
Yarn – DK from Arcane Fibre Works
Hook – 4.5mm US
Gauge – follow recommended gauge according to your yarn
ABBREVIATIONS:
Chain – Ch
Stitch – St
Slip Stitch – Sl St
Single Crochet – SC
Double Crochet – DC
Right Side – RS
Yarn over – YO
PROCESS:
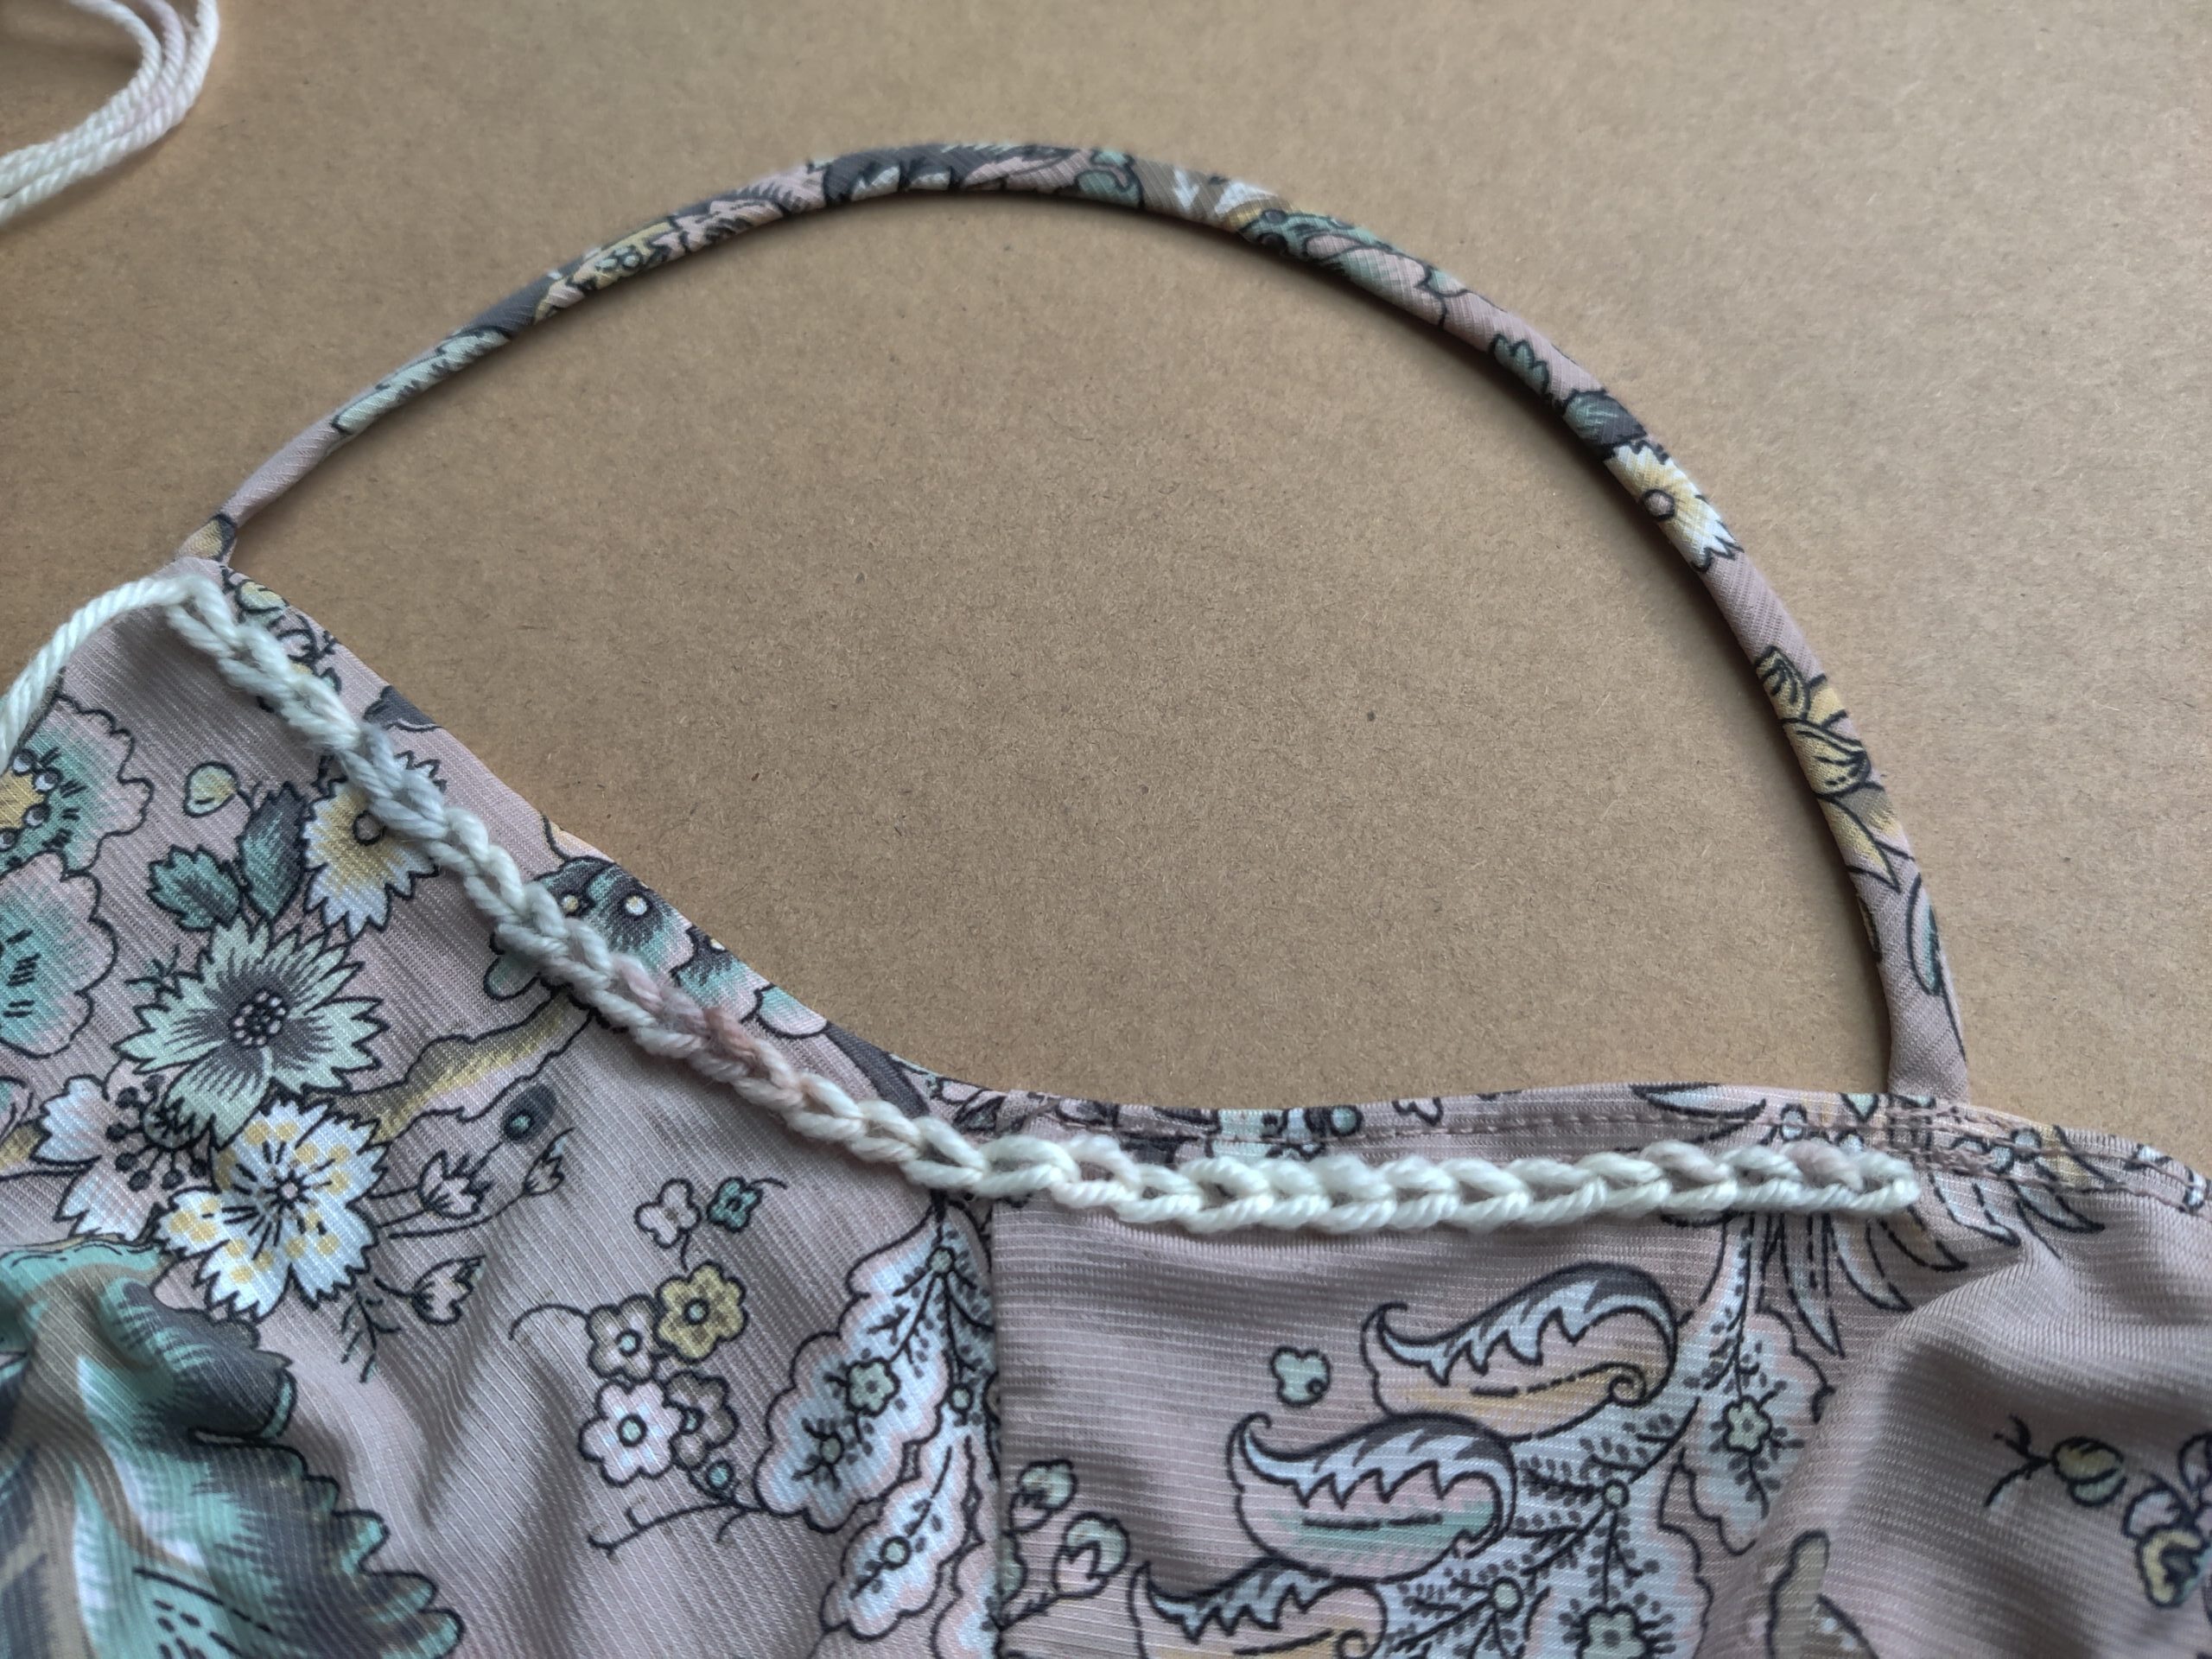
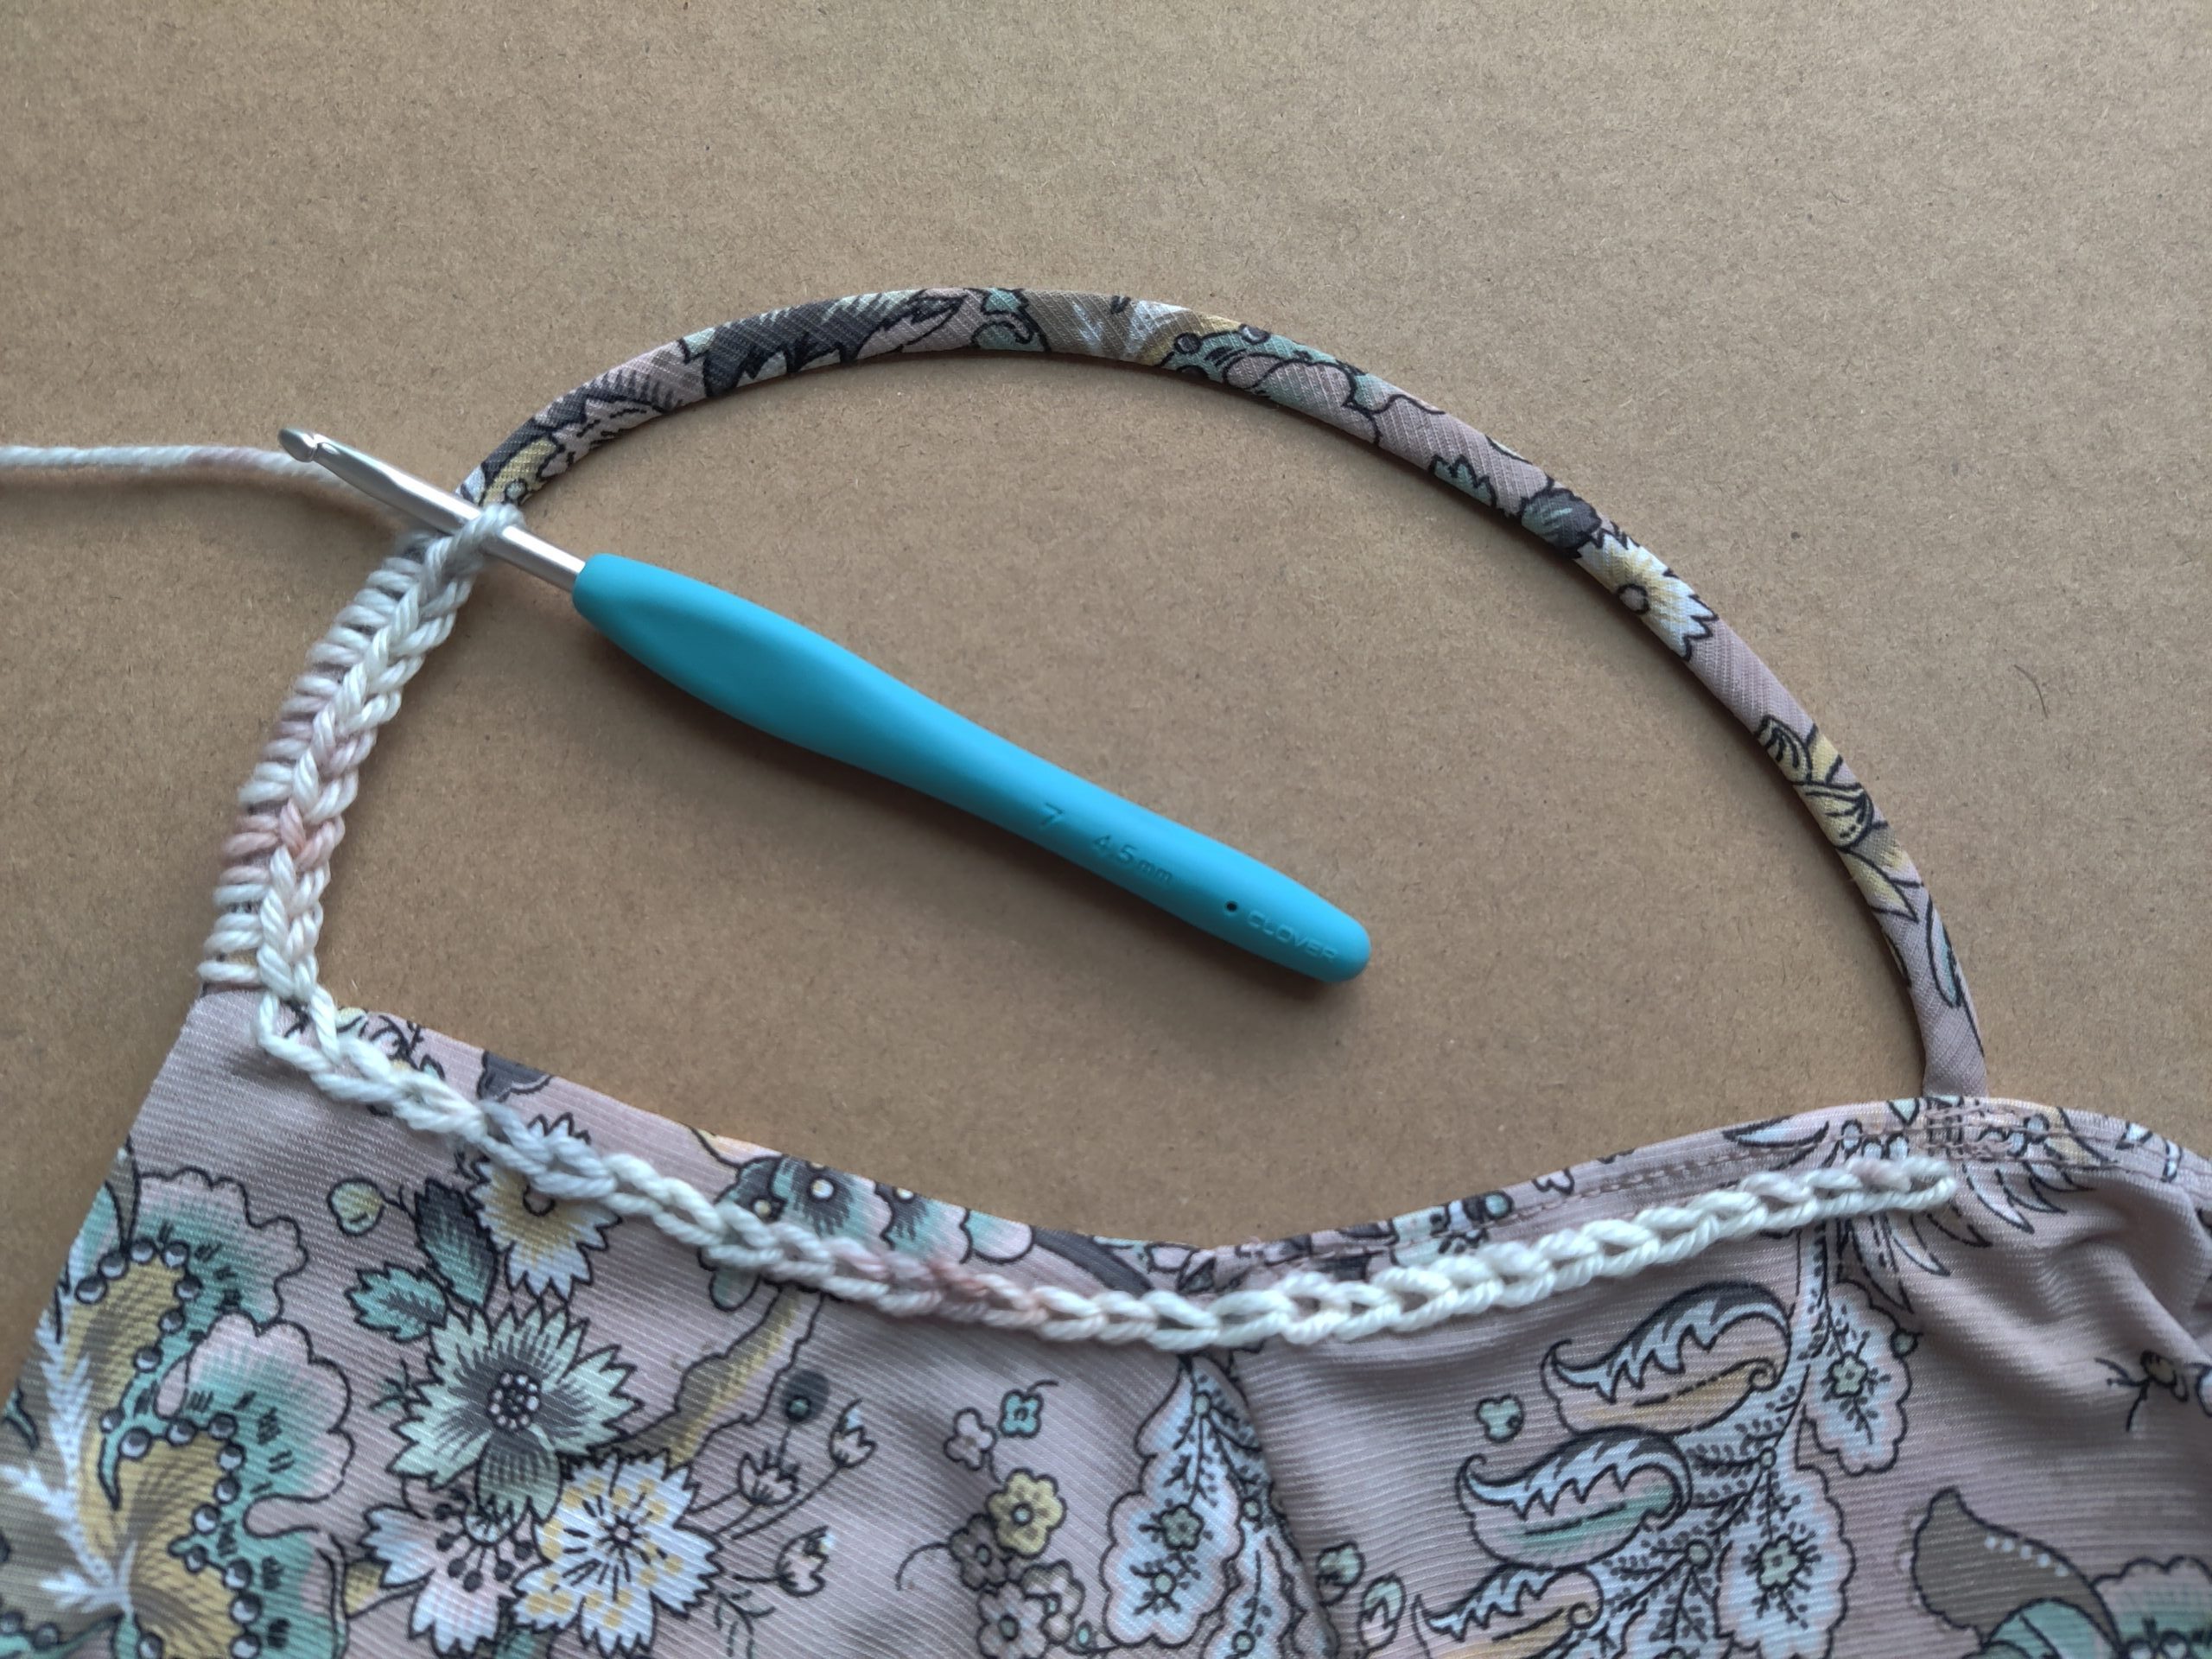
Using an embroidery needle, chain stitch around the bottom borders of your arm pit areas. Next, attach yarn to the cami strap and crochet around, working into the embroidered chain stitches once you reach the bottom of the cami strap. Work down, crochet in horizontal rows until you reach your desired sleeve length. Repeat steps for the second sleeve. <3
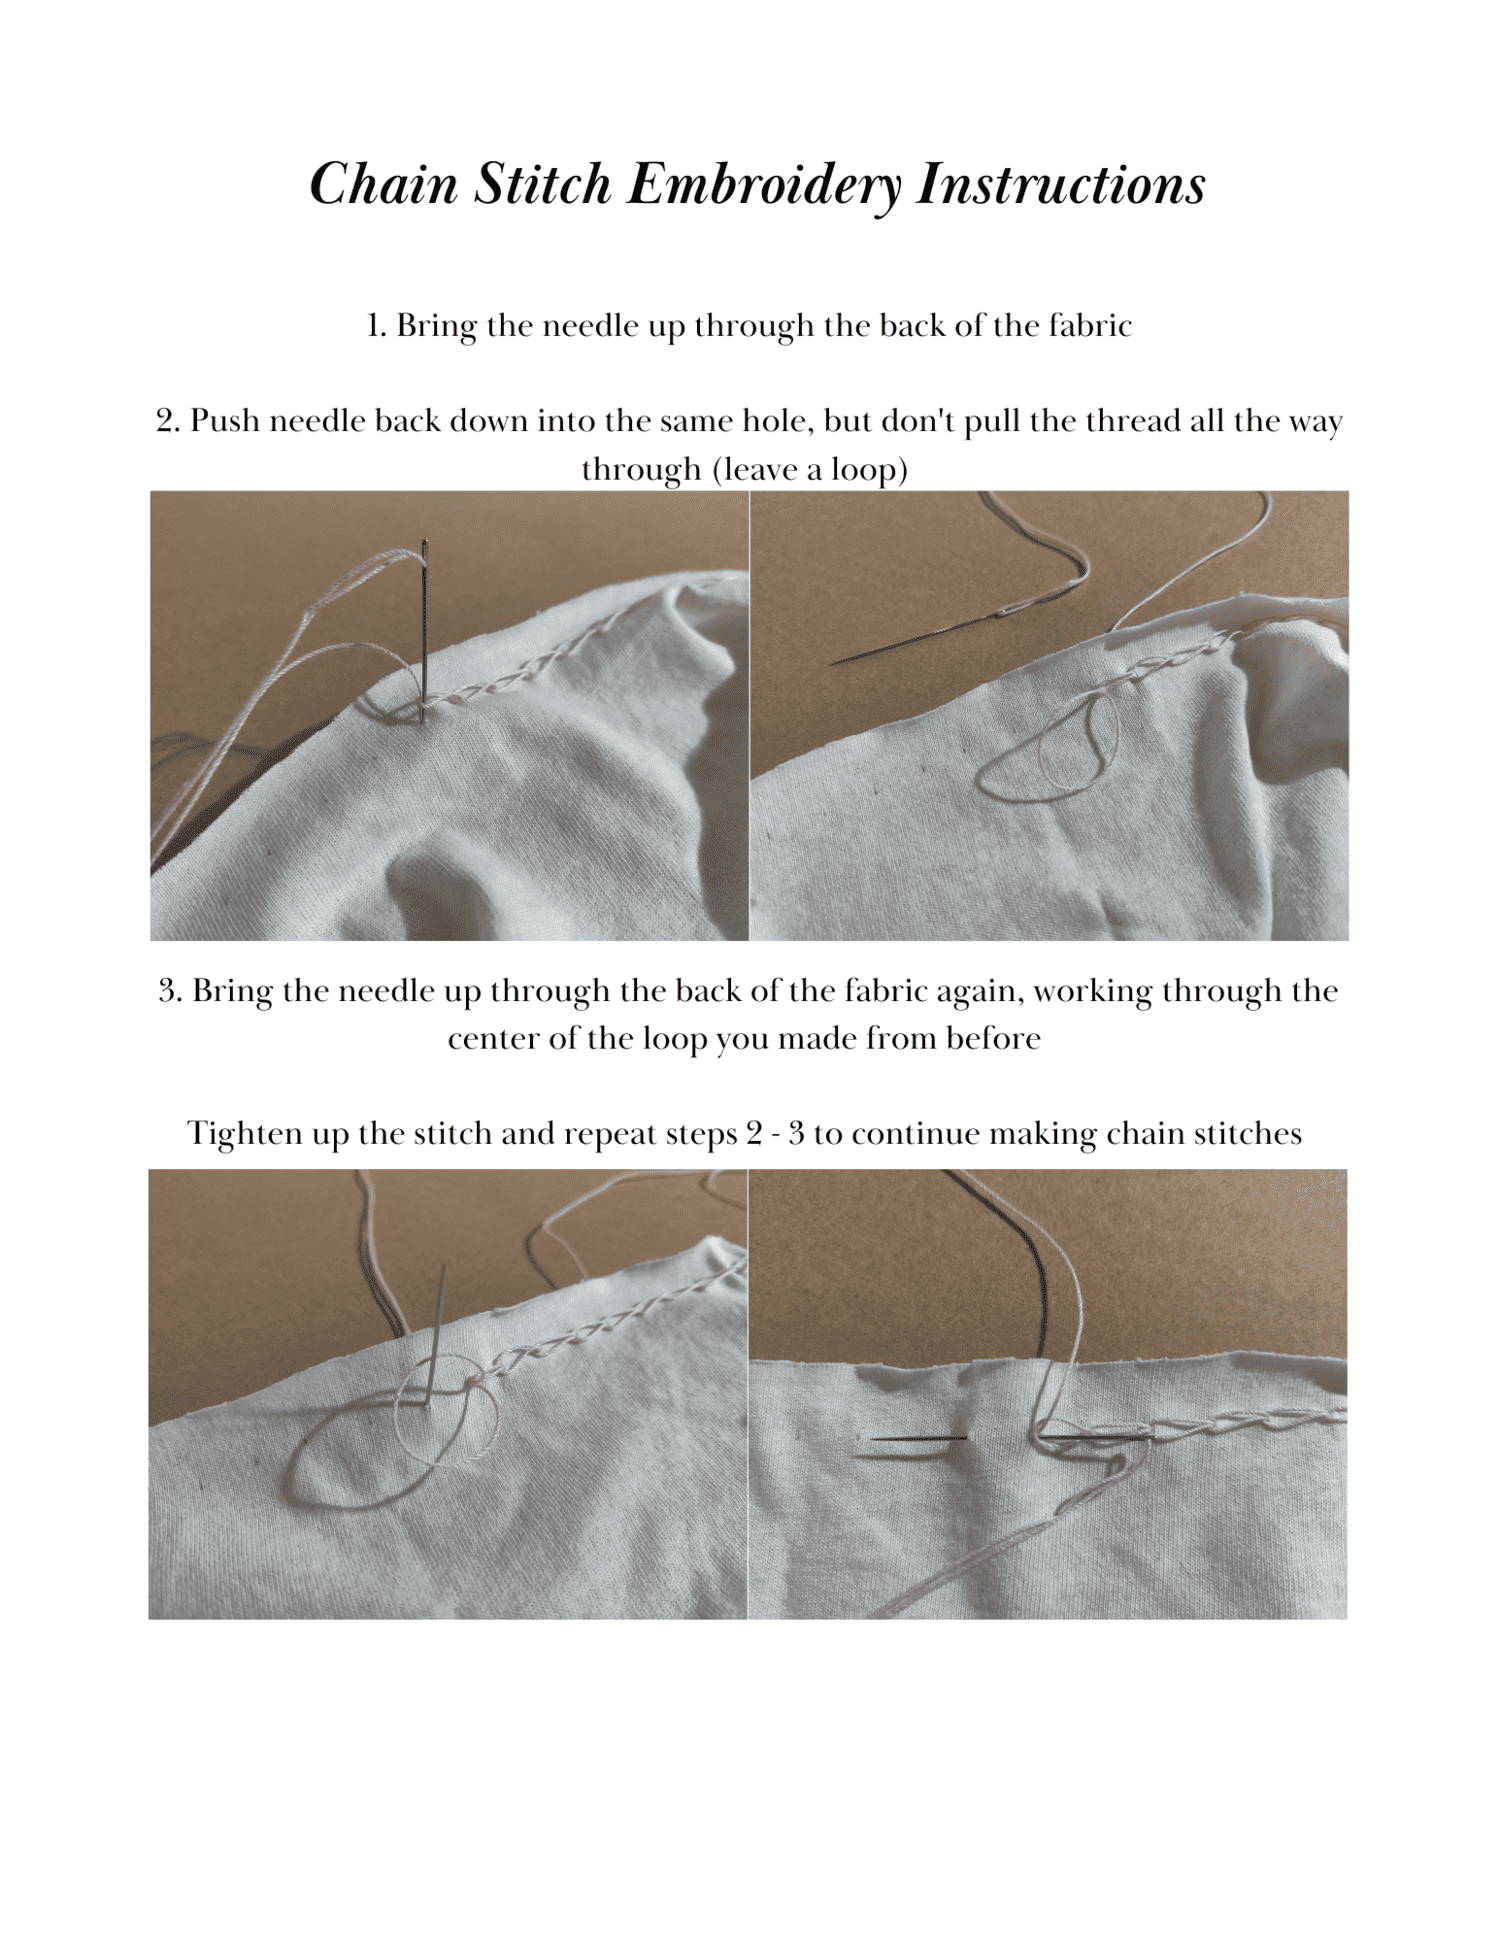
Embroidery
Thread your embroidery needle with a long string of yarn. Bring the needle up through the back of the fabric, next to either cami strap, about a quarter inch from the edge of the fabric. From there, chain stitch across the arm pit area in between the front and back of your cami strap (each chain stitch NEEDS to be a quarter inch long so that you will be able to fit a 4.5mm hook through). Repeat this for the second arm pit area, making sure you make the same amount of chain stitches as you did for the first.
HINT: Make sure your stitches aren’t too tight so that your fabric isn’t creasing
Sleeve
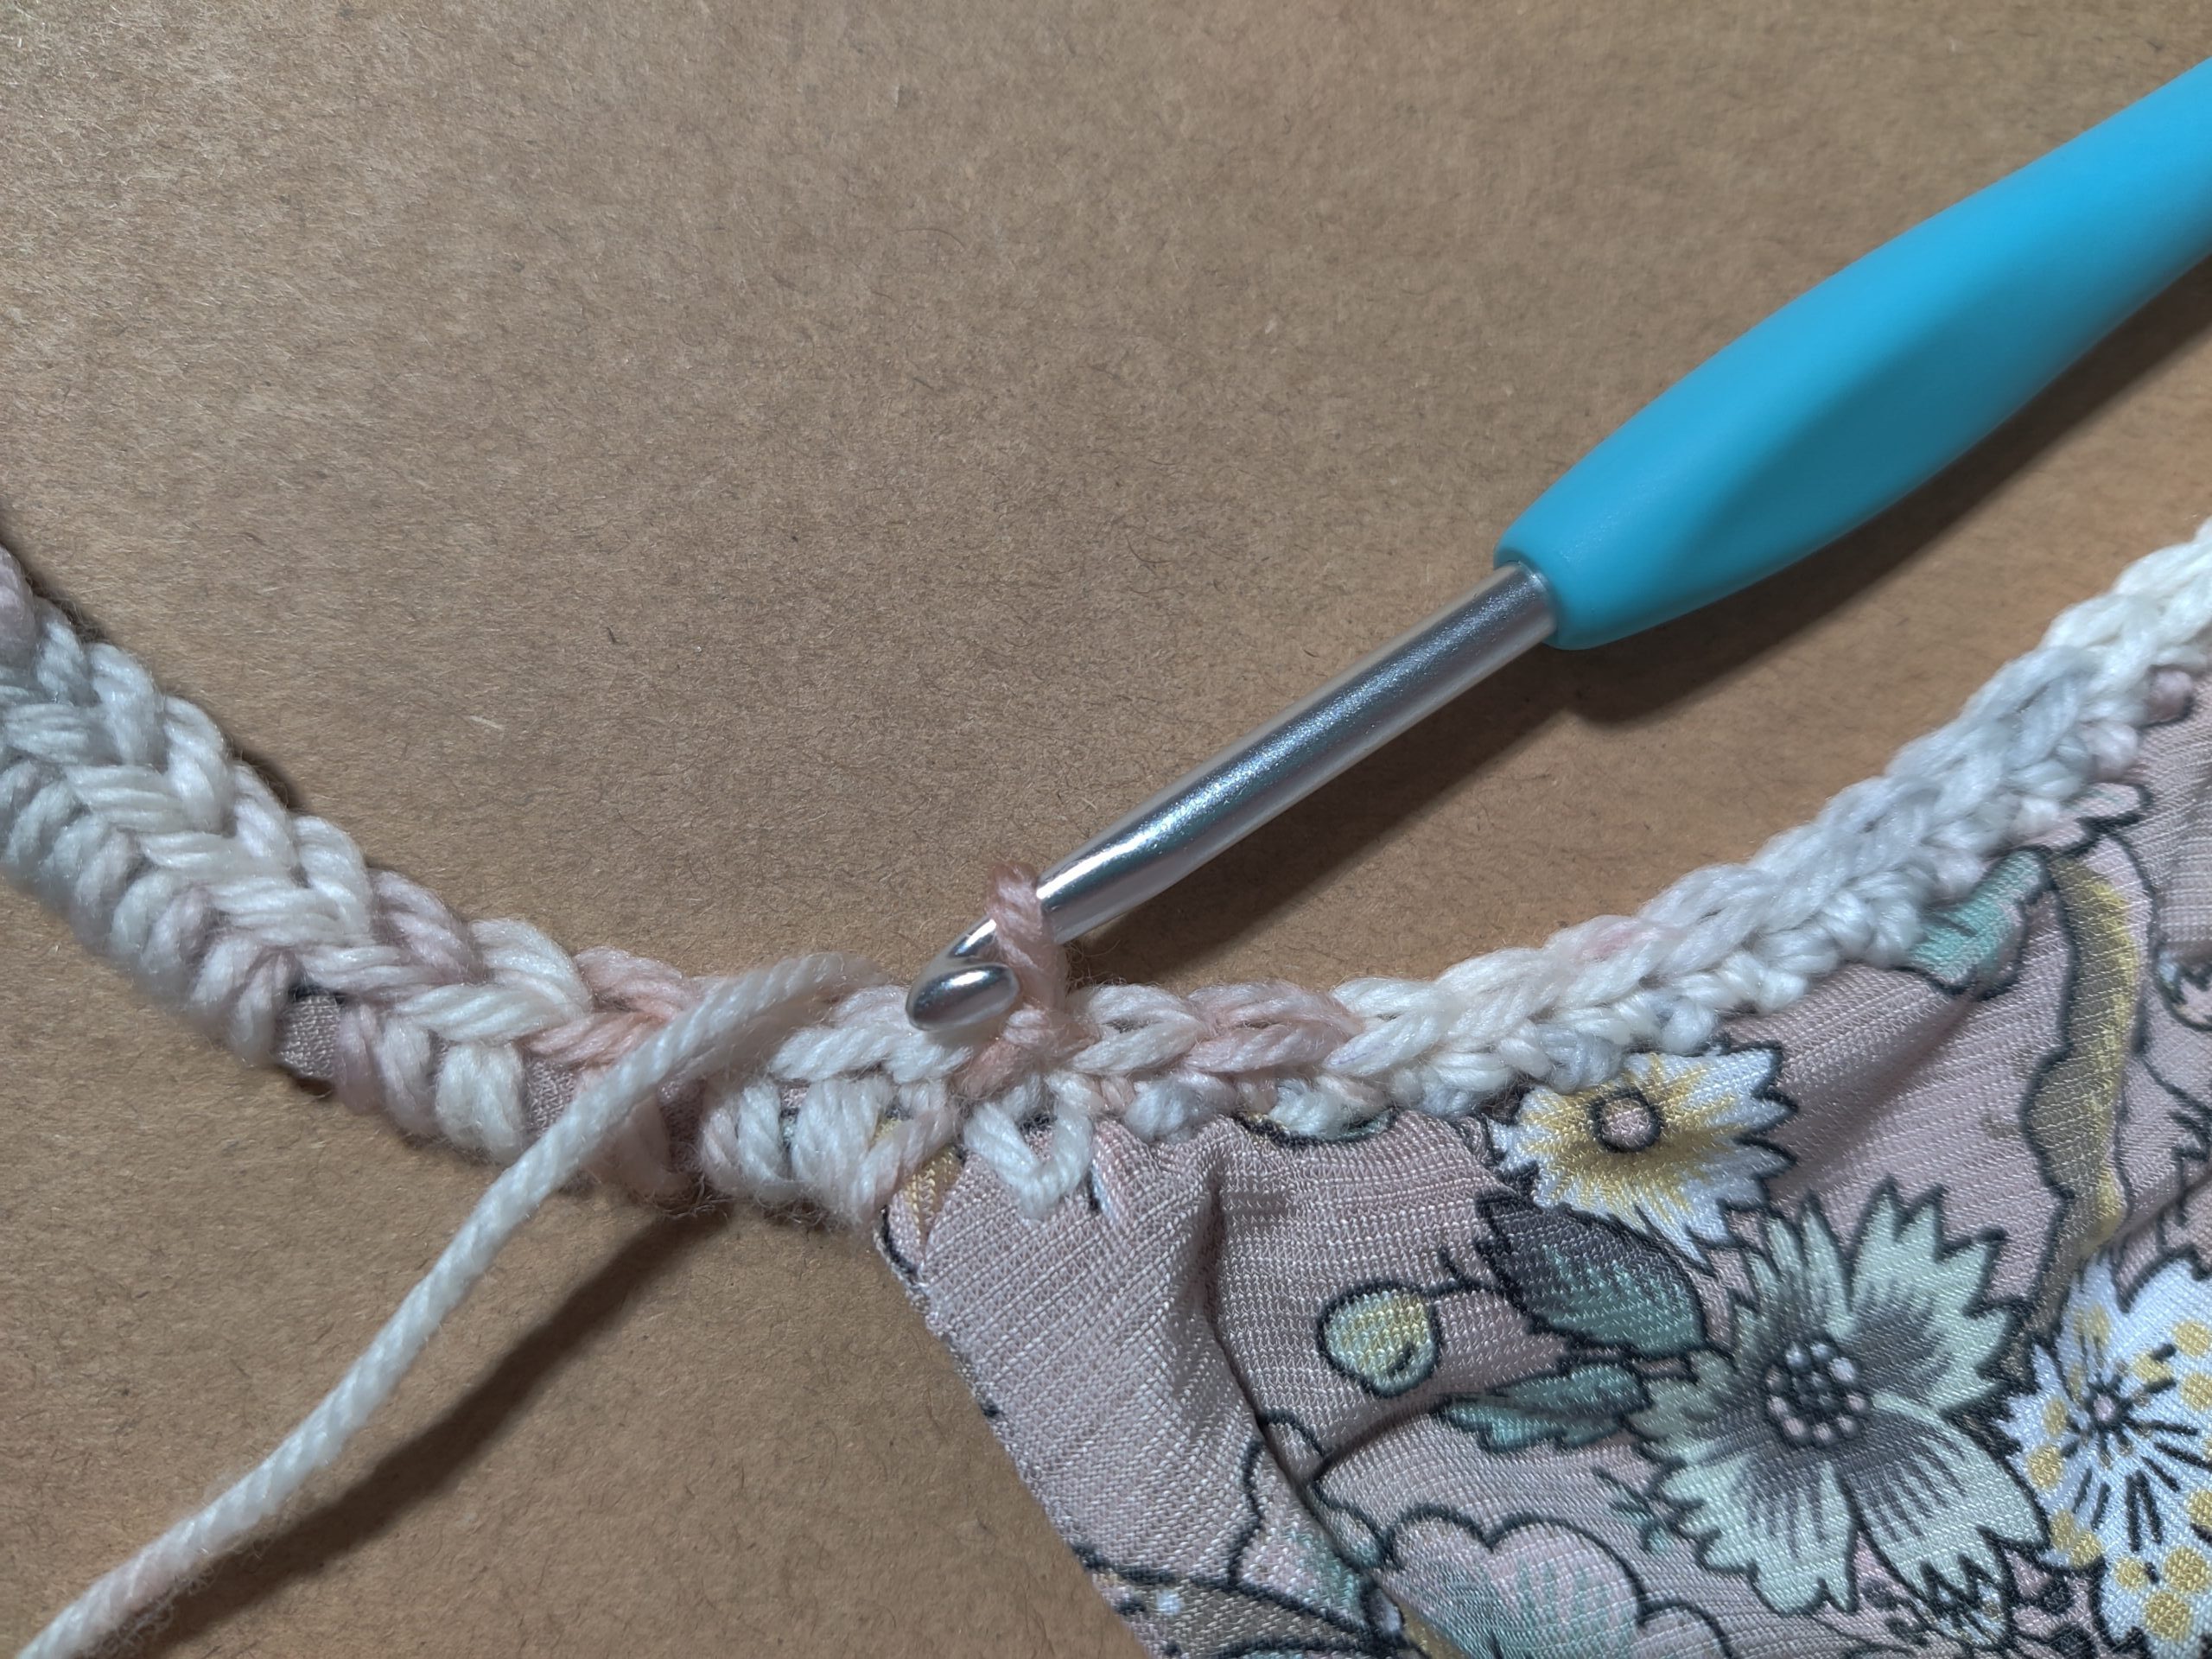
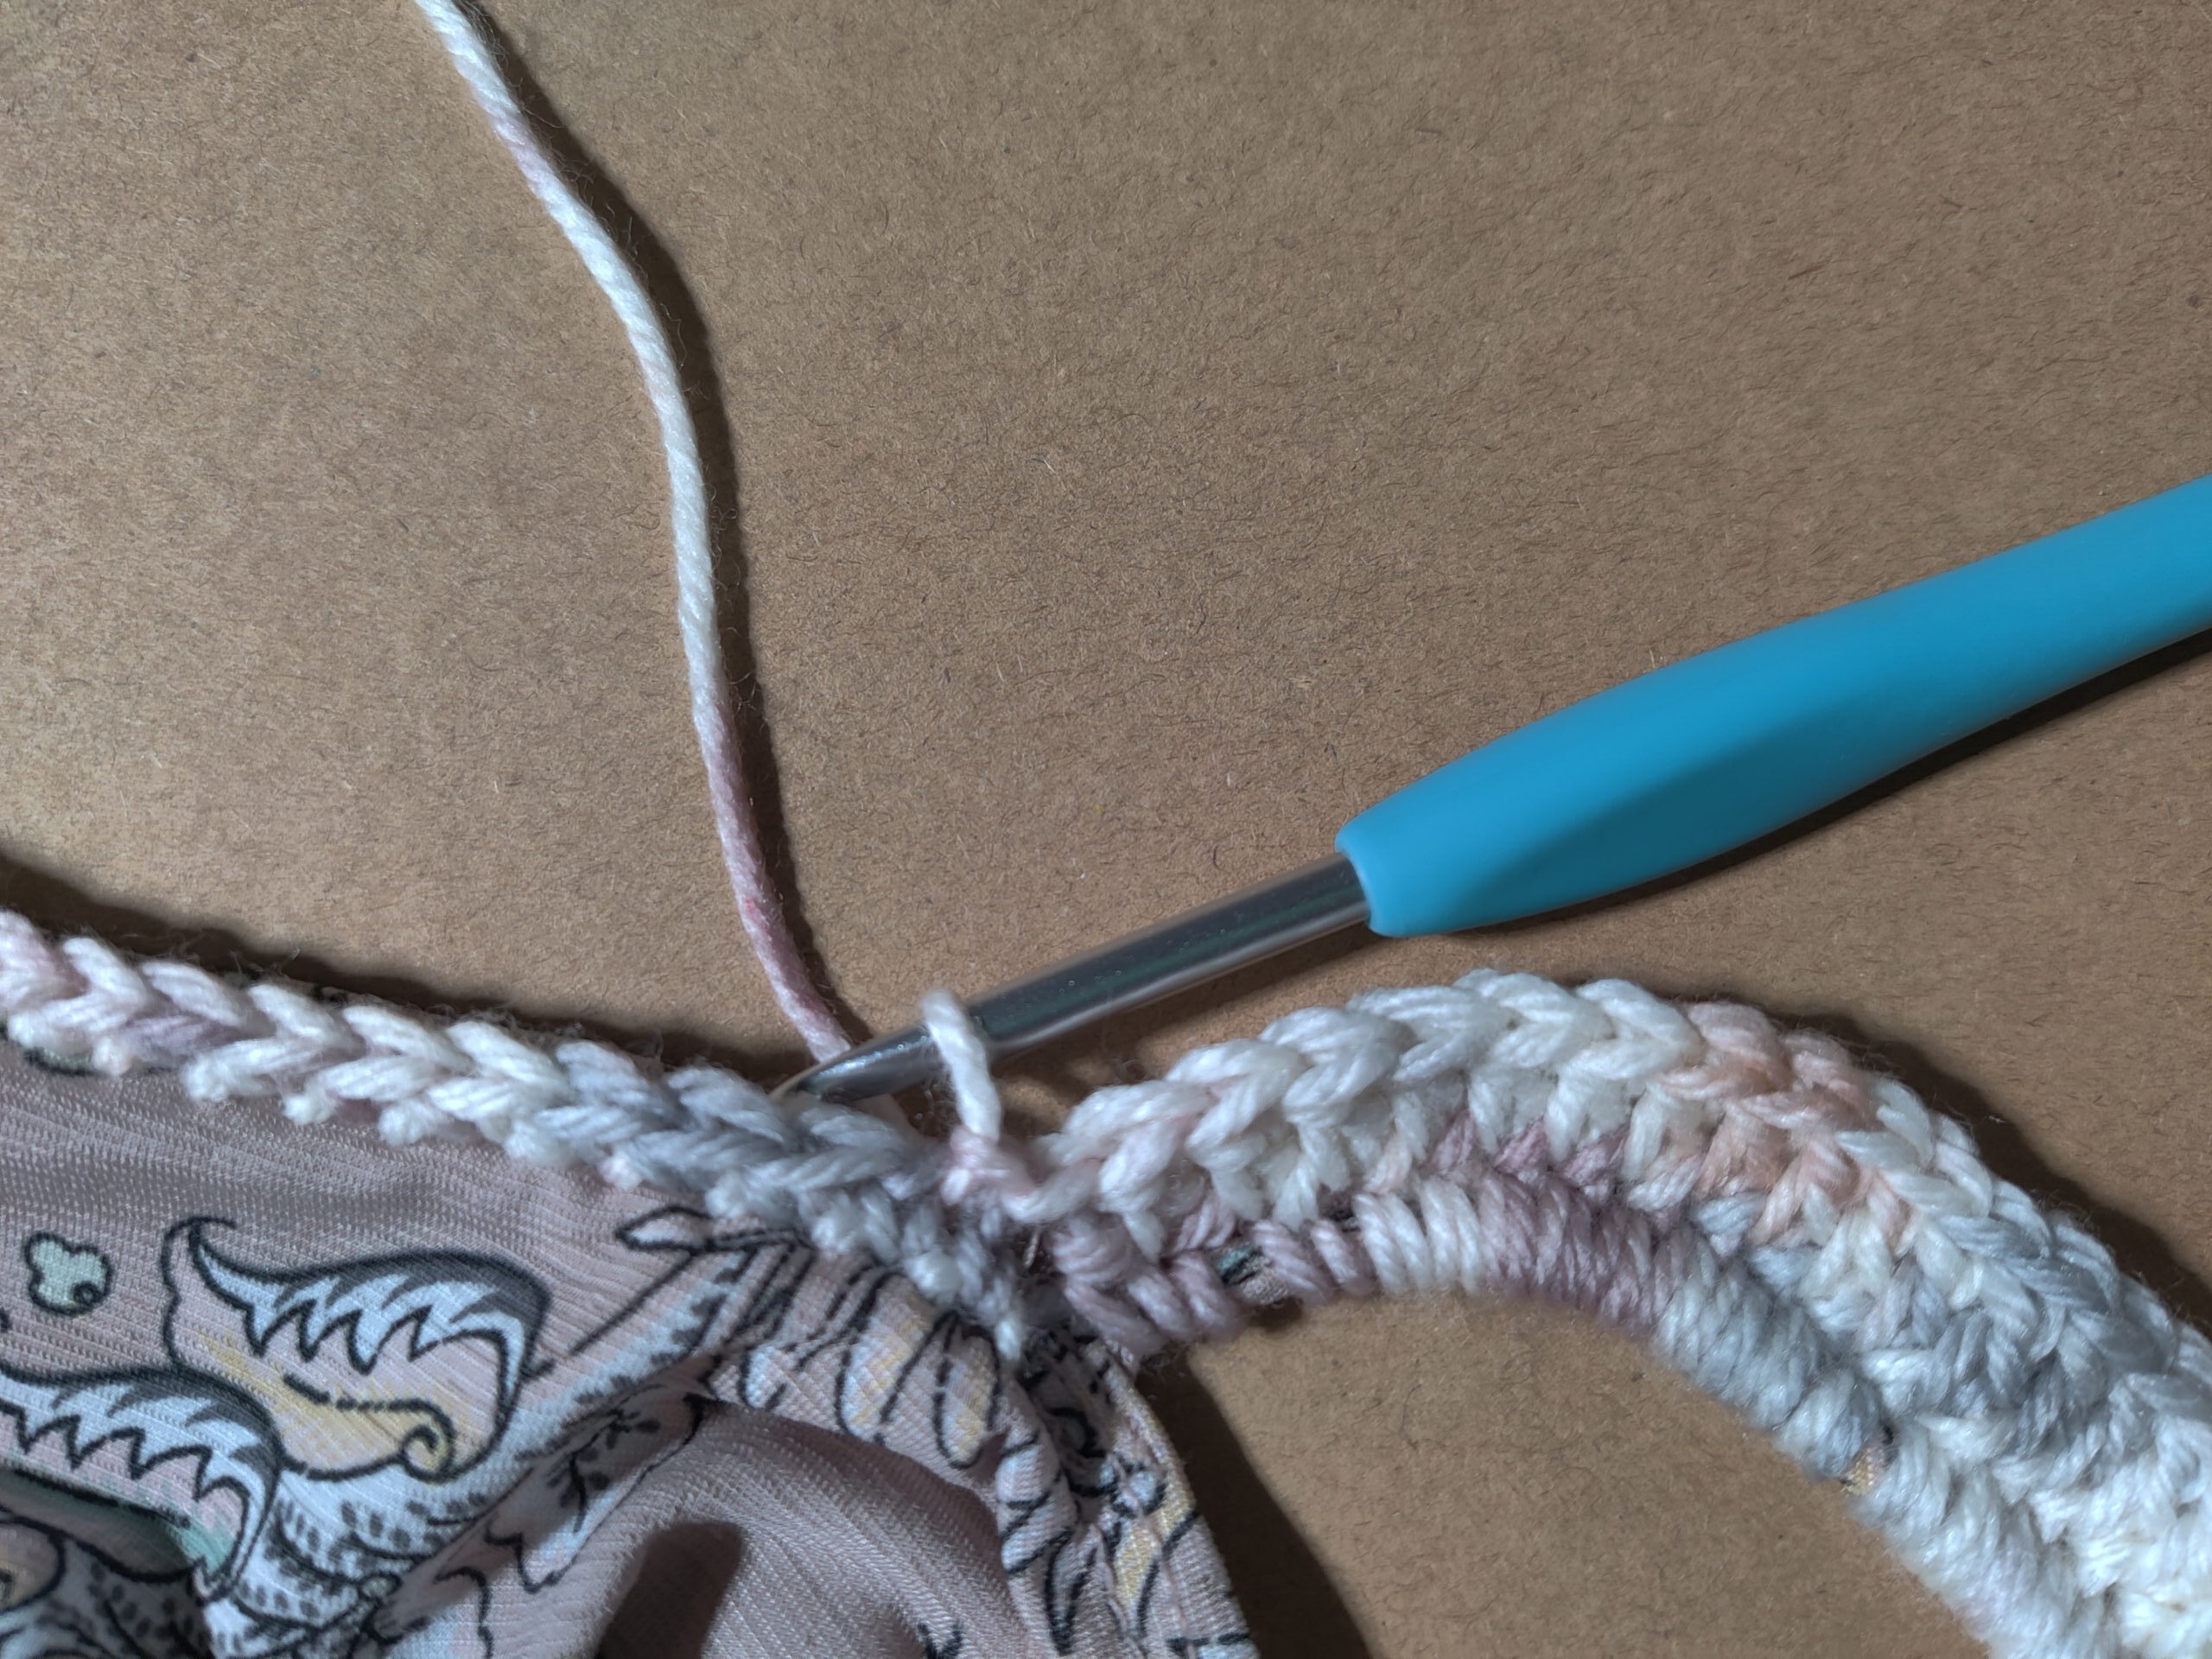
Row 1: Measure how long your cami strap is (mine was 12″) using a 4.5mm hook, attach yarn into the closest embroidered chain stitch to the FRONT of either cami strap, SC across the strap, making sure your stitches face outwards (towards where we will be creating sleeves and NOT facing the neck/shoulders area) Place 6 SC for every 1″ of the strap (My strap was 12″ long and 6 x 12 = 72 so I did 72 SC total across the entire length of my strap)
Once you have crocheted the necessary amount of SC according to your strap length, place 1 SC into each of the embroidered chain stitches all the way across until you reach the first SC from the beginning of this row, Sl St into that stitch, do NOT turn work or make any chains for next row.

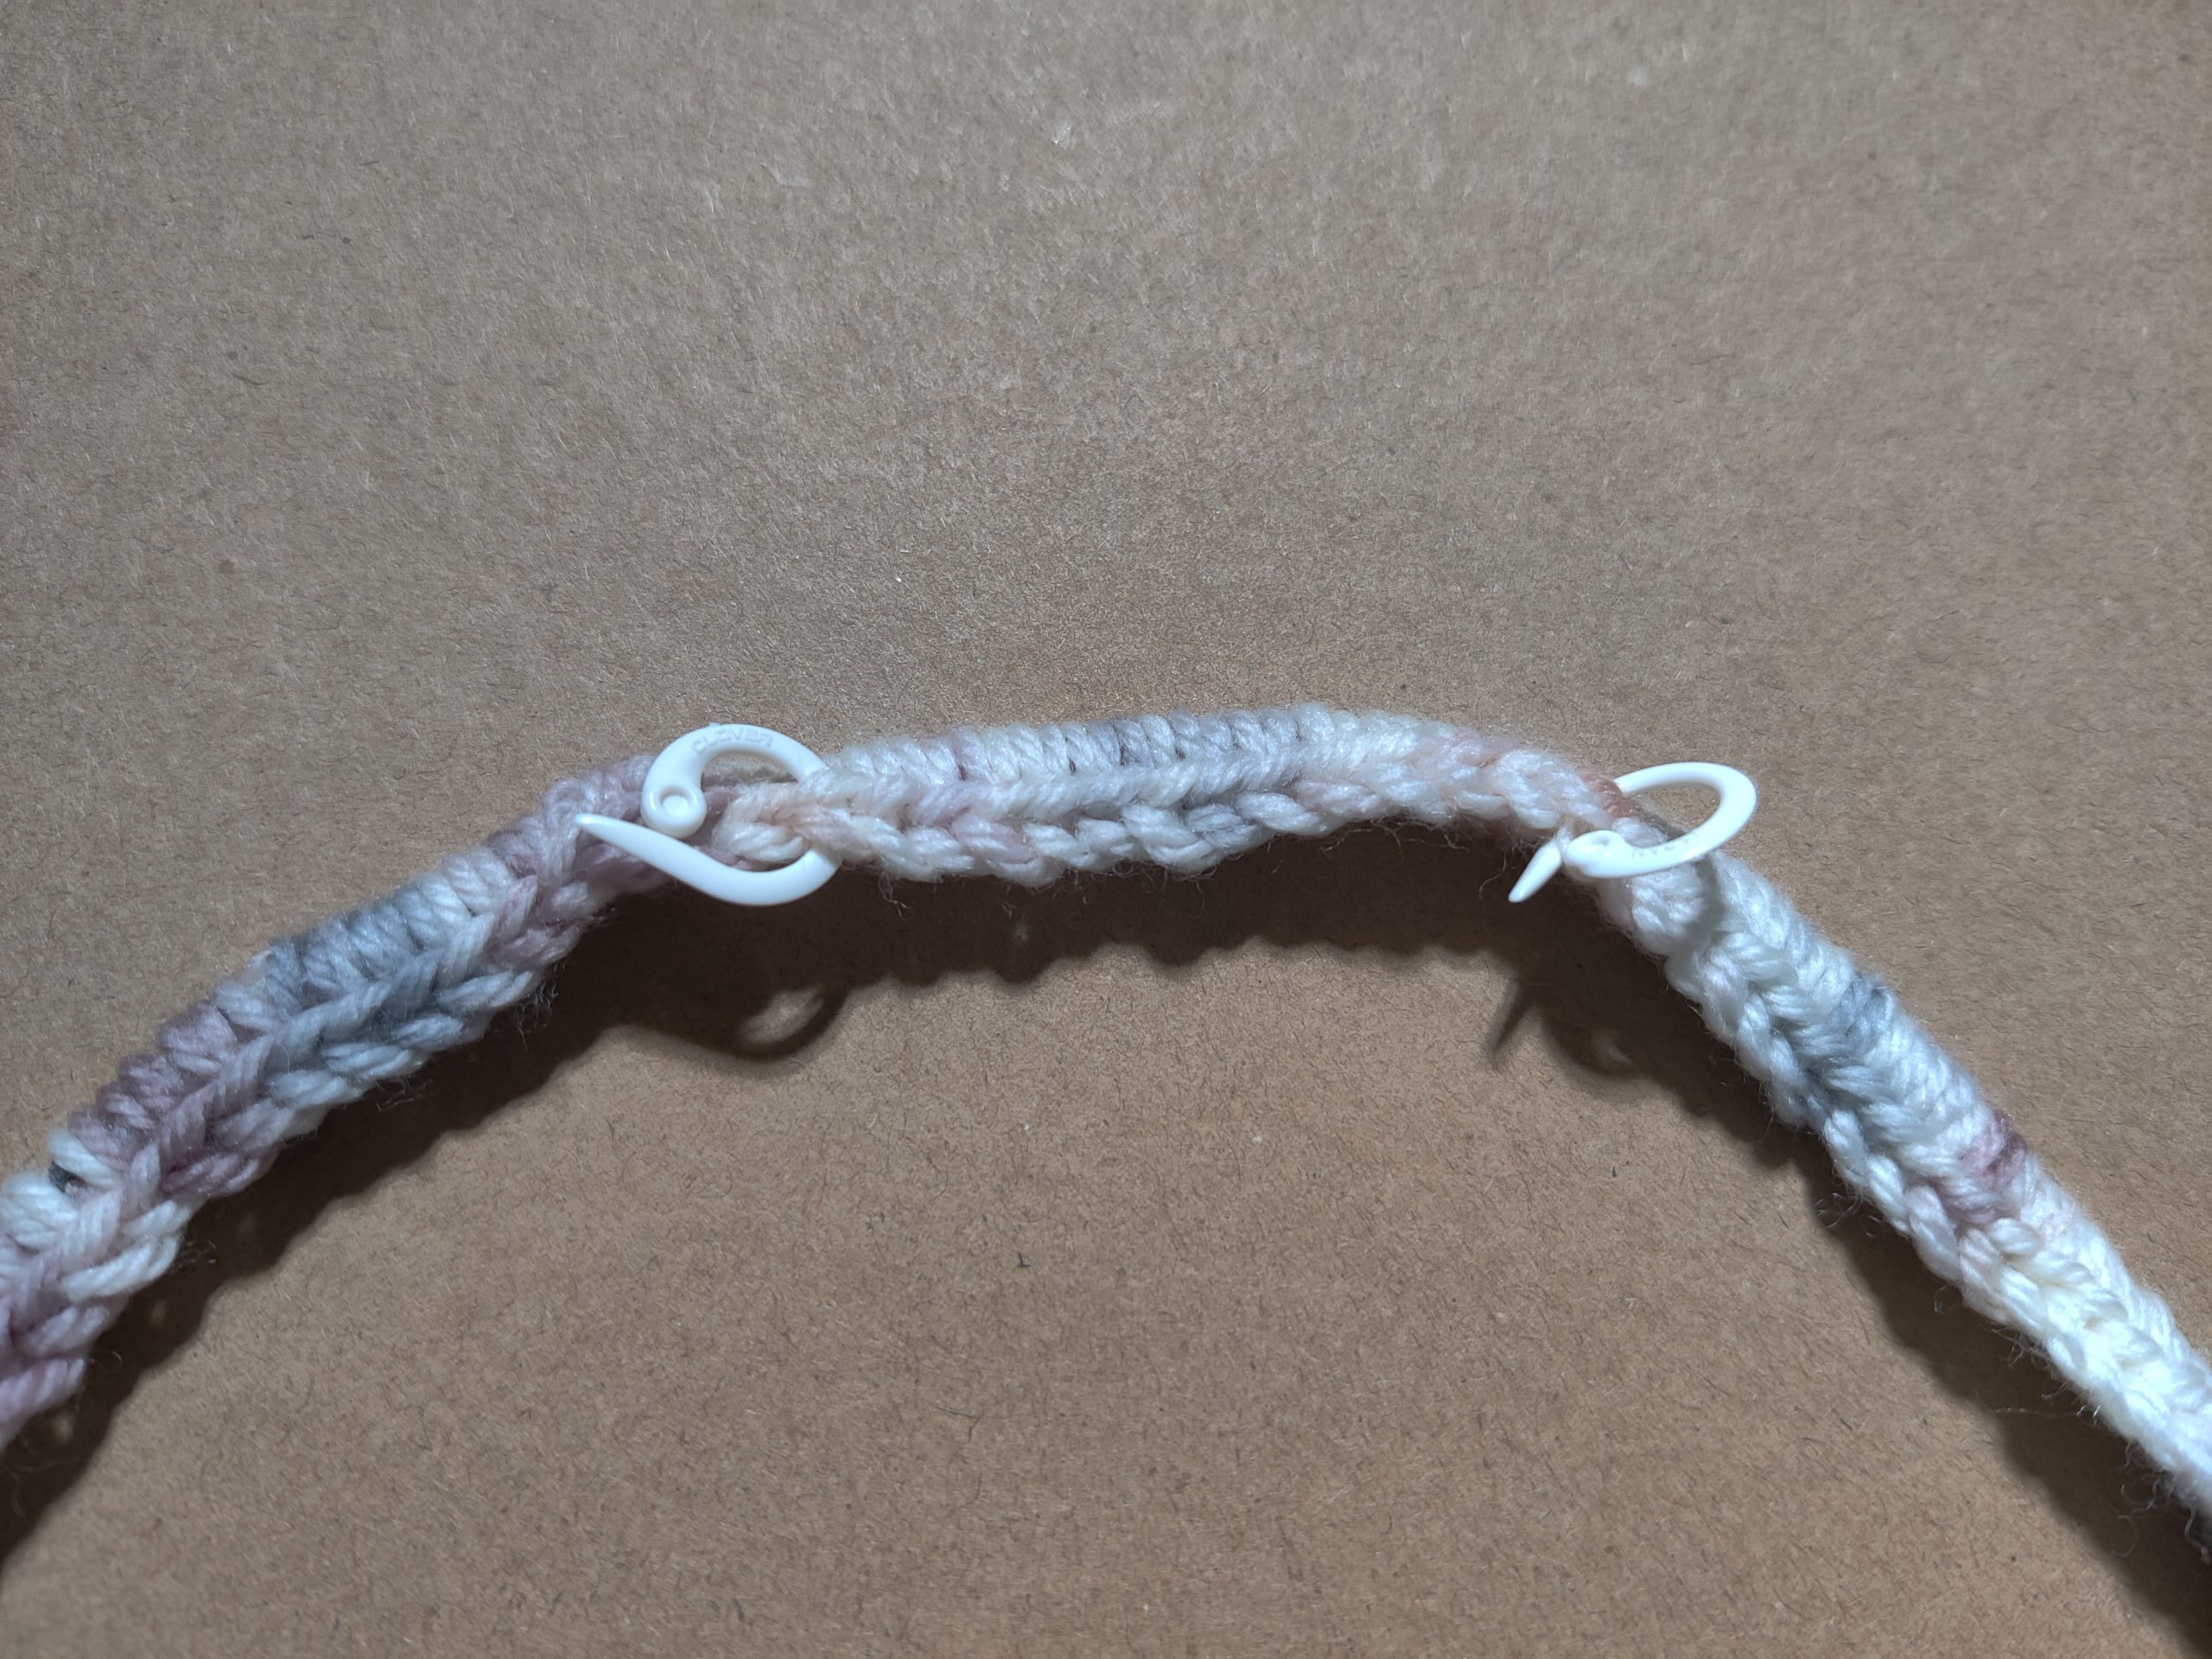
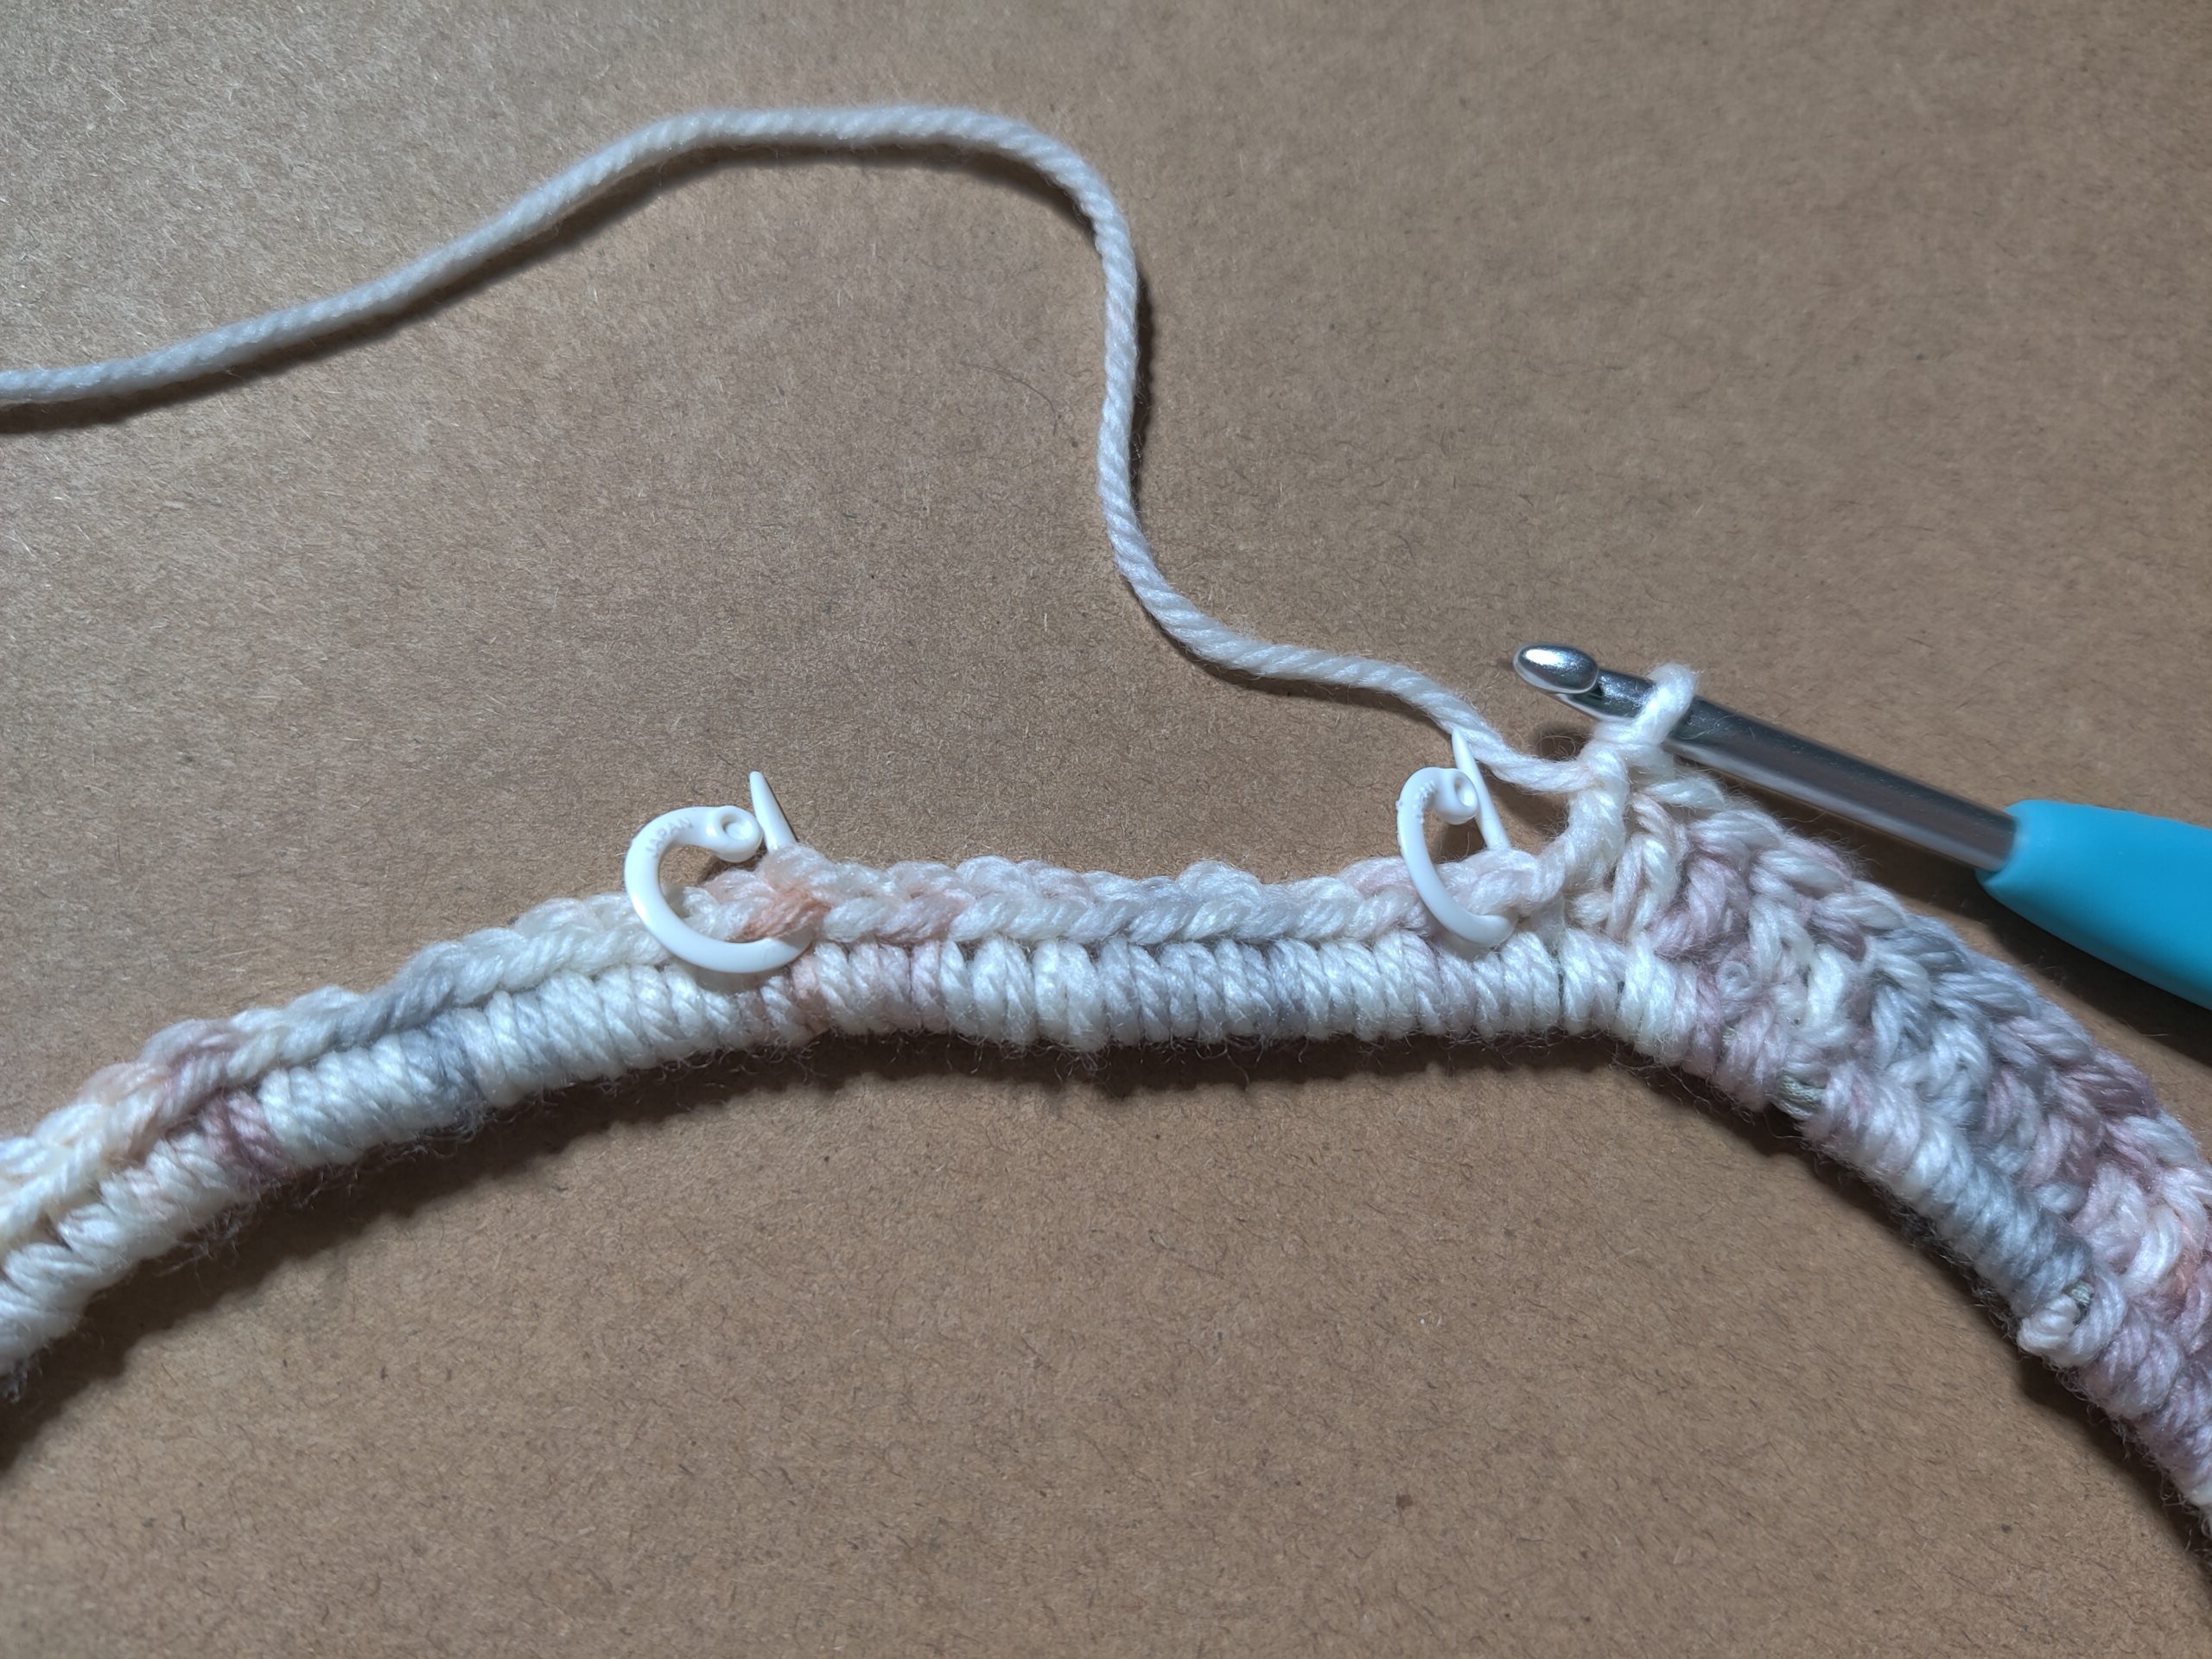
Row 2: Locate the top and center of the SC of your cami strap (this will be in between 2 stitches because we crocheted an even number for the strap so there is no true center St), from there portion and mark the top 12 stitches (6 stitches on each side from the center) These are the stitches we will be increasing into. If you want an extra puffy sleeve, add mark extra 6 – 12 stitches before continuing.

DC in each St across until you reach the 1st stitch marker, remove marker and place 2 DC in each St across until you reach the 2nd stitch marker, remove final marker and place 1 DC in each stitch across until you reach the bottom of your cami strap, Sl St into the next 2 SC, turn work but do NOT make any chains for next row.
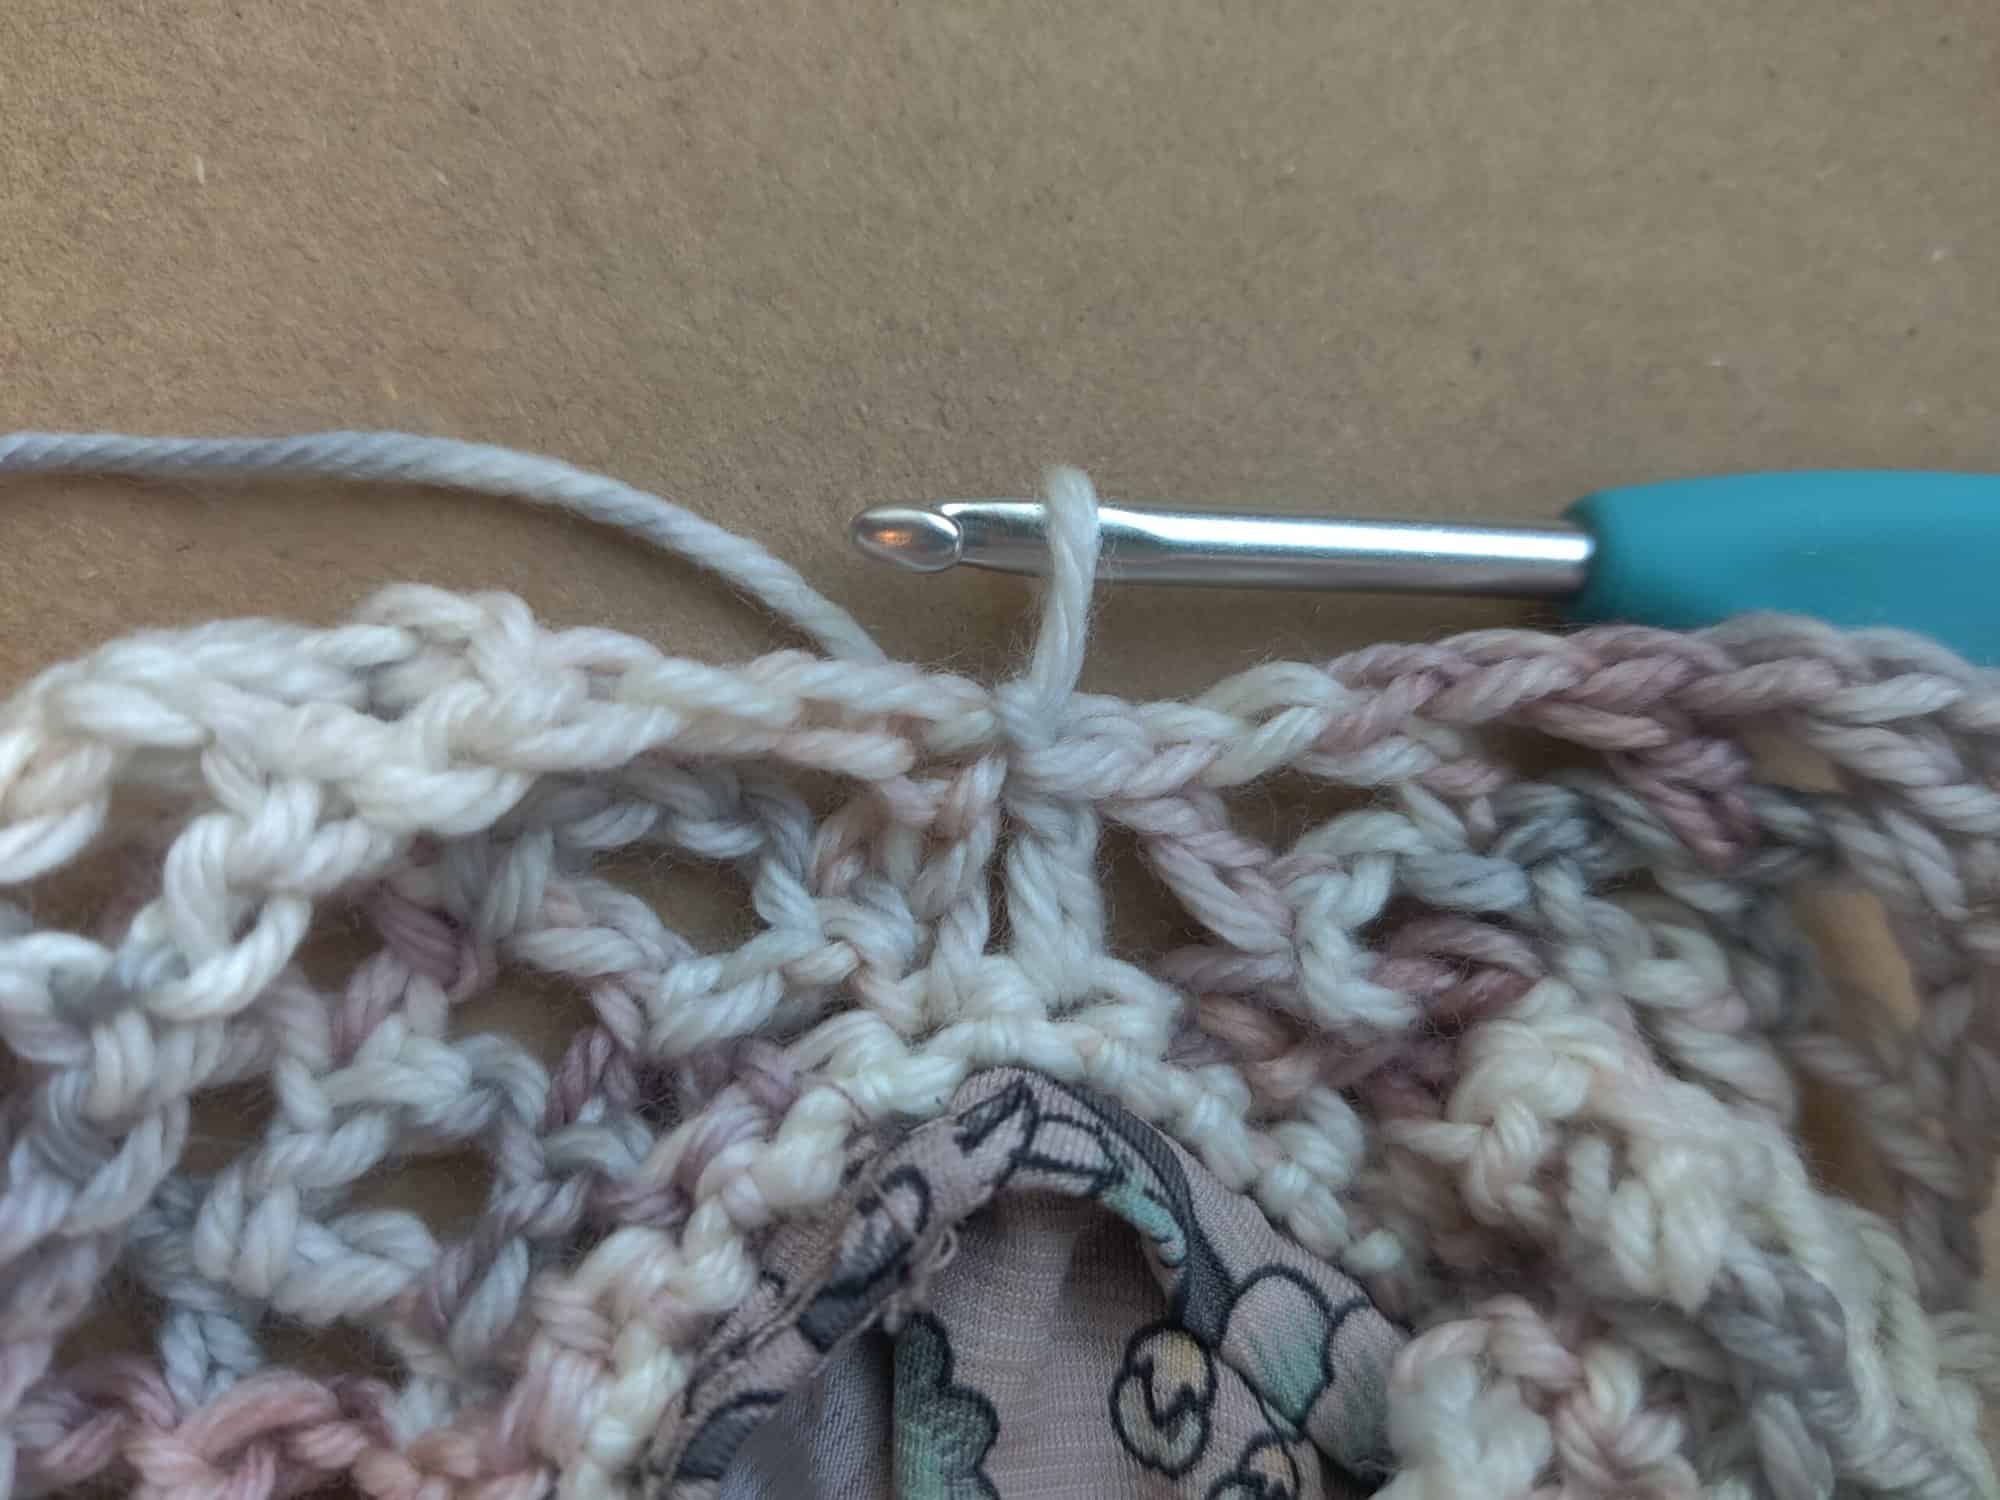
Row 3: DC in next DC, *Ch 1, skip next St, DC in next DC* Repeat from * to ** until you reach the bottom SC of the arm pit area, Sl St into the next 2 SC, turn work but do NOT make any chains for next row
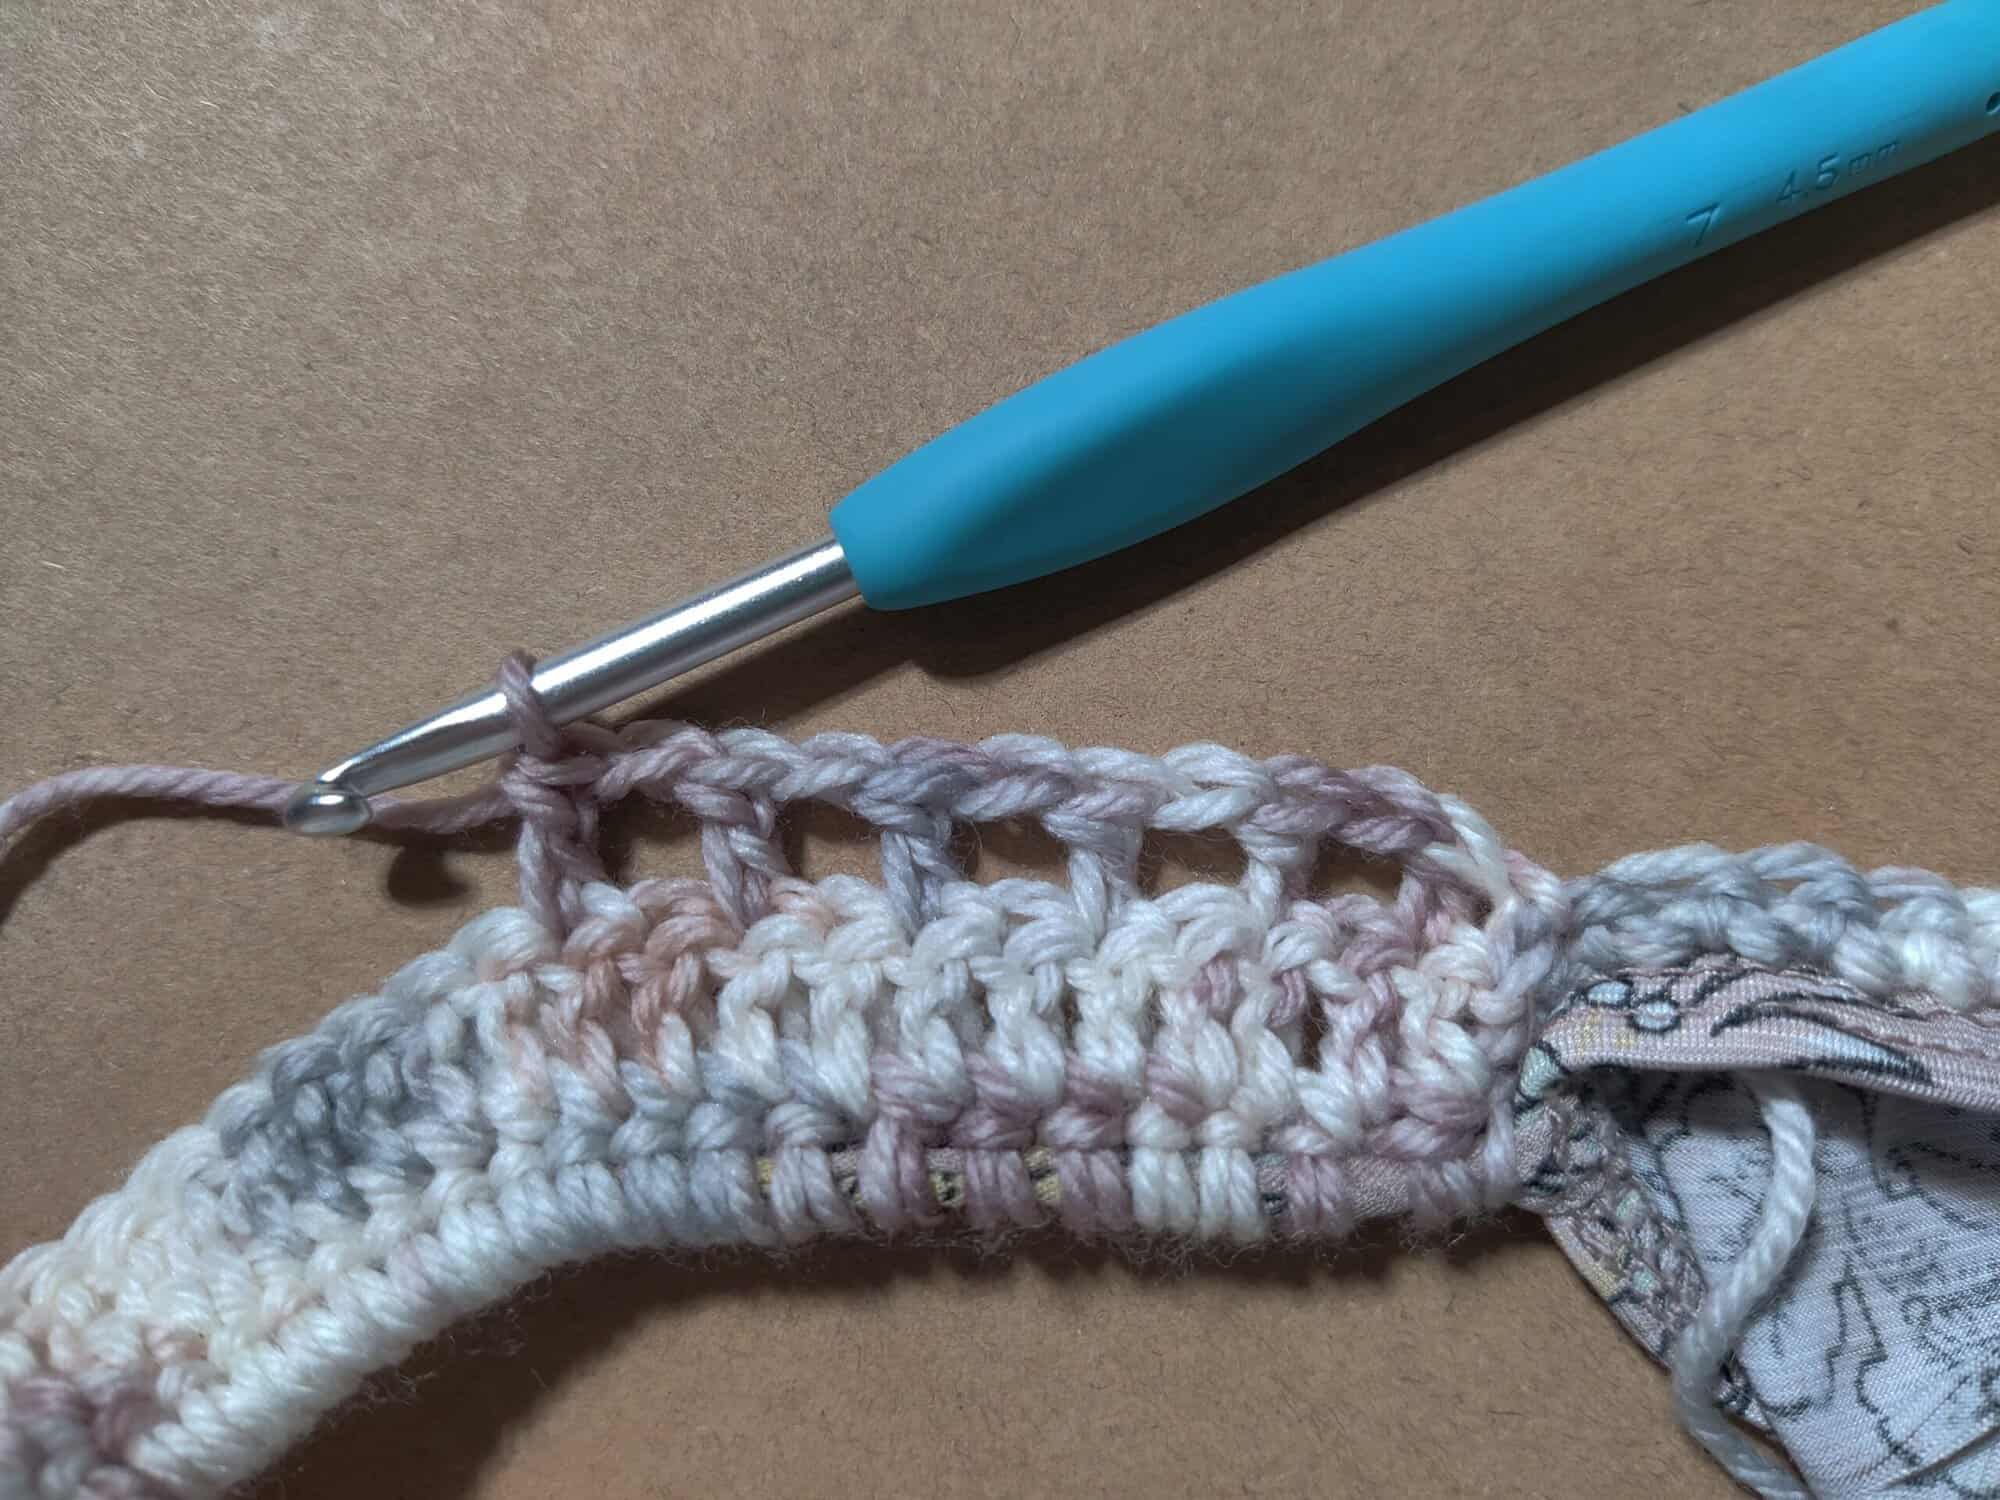
Repeat Row 3 until you have no more SC to Sl St into at the end. I had only one left rather than 2 (which isn’t enough to complete the sl st ending) so I placed 1 DC into the final stitch, and then did a Sl St into the very first DC from the beginning of the row.
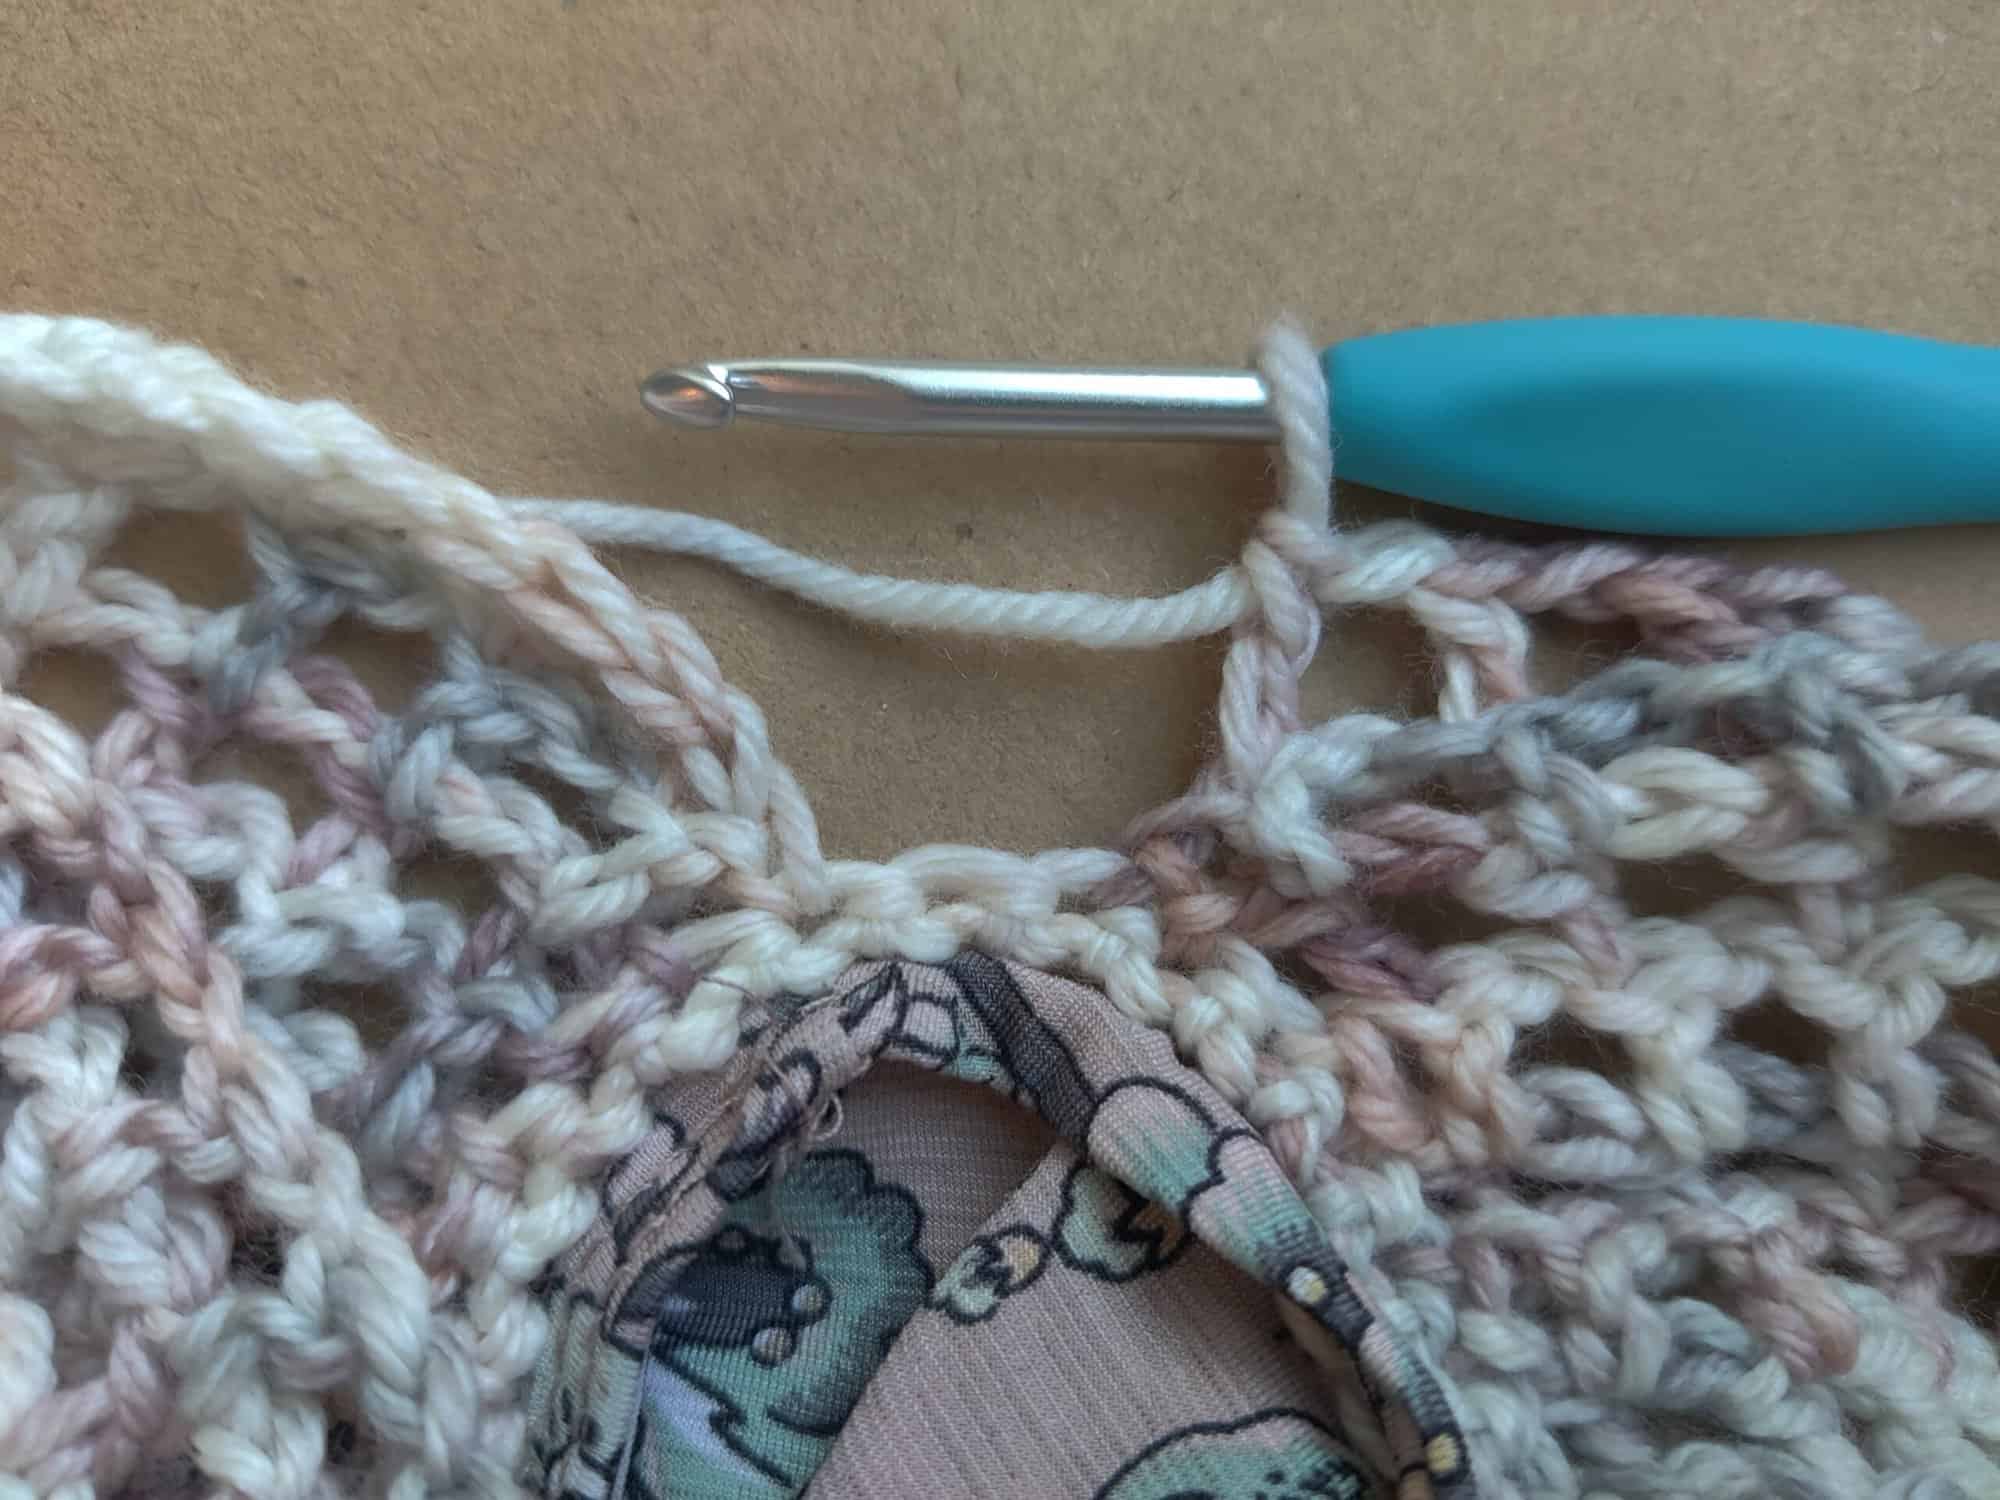
Full Mesh Row: Ch 2 (counts as DC), DC in next DC, *Ch 1, skip next St, DC in next DC* Repeat from * to ** all around the sleeve, Sl St into the Ch 2 from beginning of row, turn work
Repeat Full Mesh Row until you reach your desired sleeve length (I only repeated this row once), making sure to end your final row on the RS on your garment
Decrease Row: Working the wrong side, (the inside of the garment fabric should face you as you crochet) Ch 2 (counts as DC), DC in next DC, *skip ch 1, DC into next DC* Repeat from * to ** across, Sl St into the Ch 2 from beginning of row, turn work

If you are happy with how much your sleeve opening has been decreased, proceed with your Final Row: SC in each St across, Sl St into 1st SC from beginning of row, cut and fasten yarn, weave in ends
OR
Add more decreases to make the sleeve opening smaller Final Row (dec): *SC in next St, SC decrease in next st* (you can choose to decrease after every two SC stitches instead if you are worried about your sleeve opening being too tight) Repeat from * to ** across, Sl St into 1st SC from beginning of row, cut and fasten yarn, weave in ends
Repeat Sleeve steps above for your second sleeve, making sure to crochet the same number of SC onto your cami strap and the same number of mesh rows.
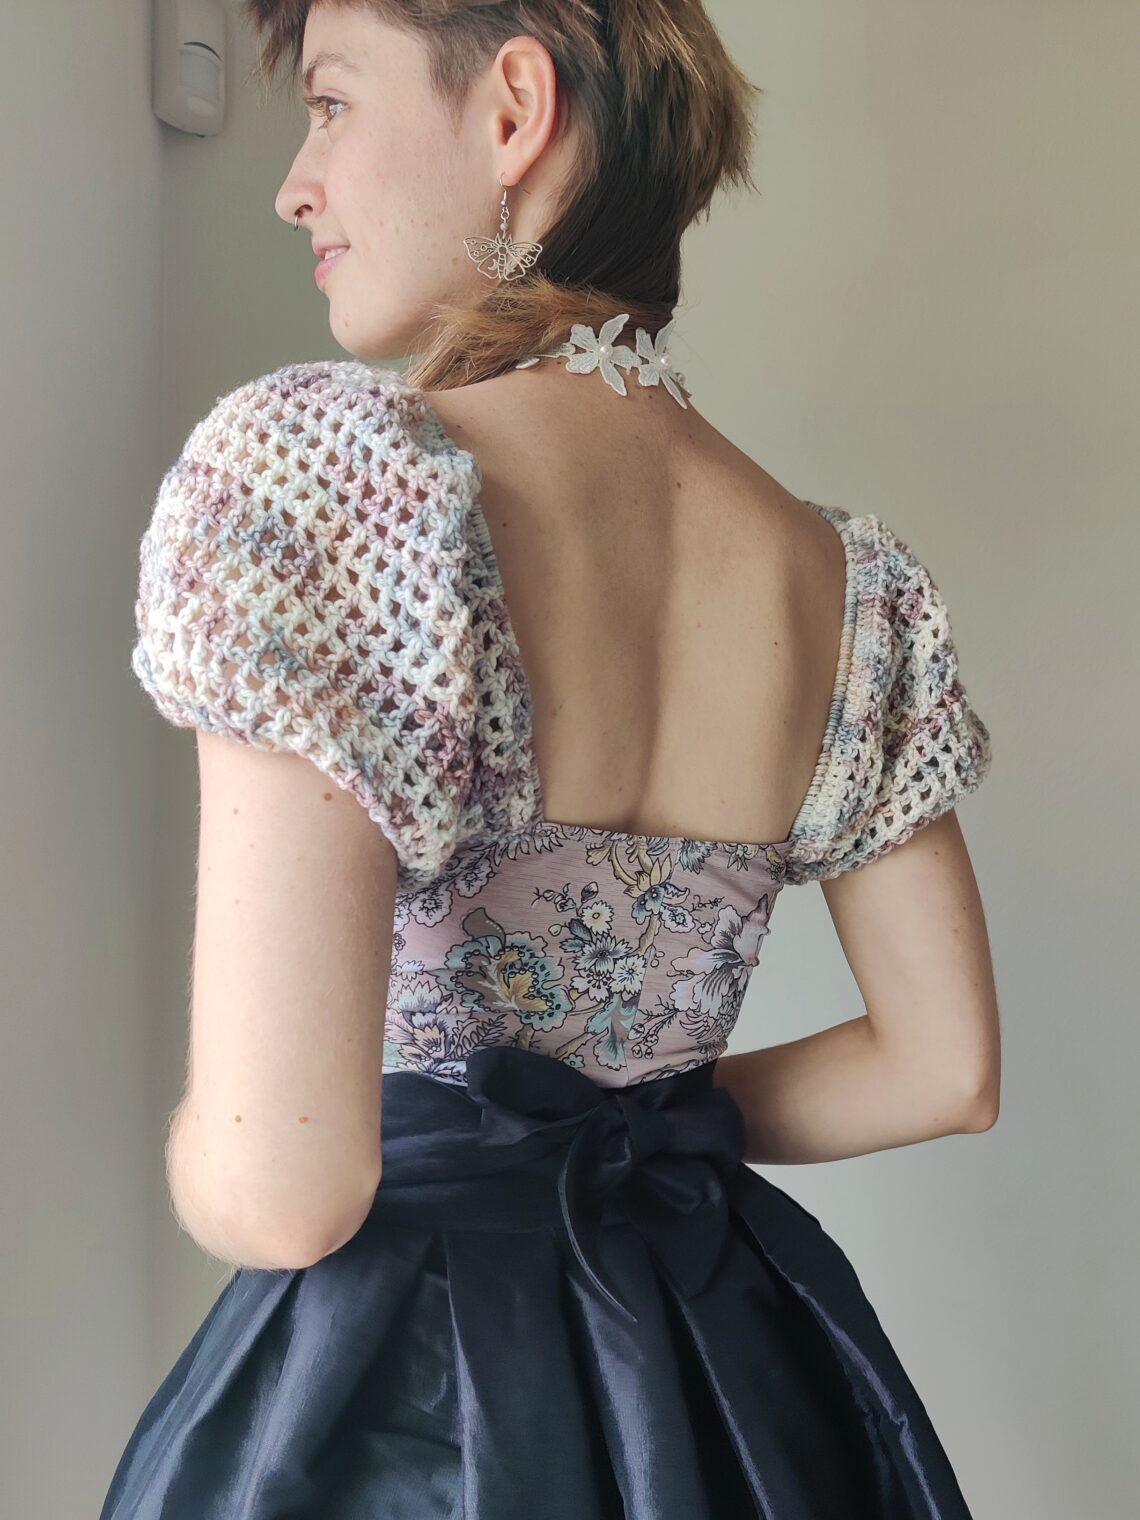
Tadah! After weaving in your ends, your piece is finished and you may now frolic about feeling like the princess that you are <3
P.S. if you make extra large and extra puffy sleeves, they may be heavy and fall off your shoulders, in which case you would just need to tie them together in the back with a cute ribbon OR just use a finer yarn so your sleeves are not as heavy 🙂
Thank You! I hope YOU enjoyed making this little upcycling mashup as much as I did. If you would also like to explore my creative world and try out my pure crochet patterns, you can visit my shop or instagram. I look forward to connecting with you lovely beings again next month for another whimsical tutorial. Until then, stay magical!
<3, Eleanor Jane