Embroidery to Wear Anywhere- Tutorial
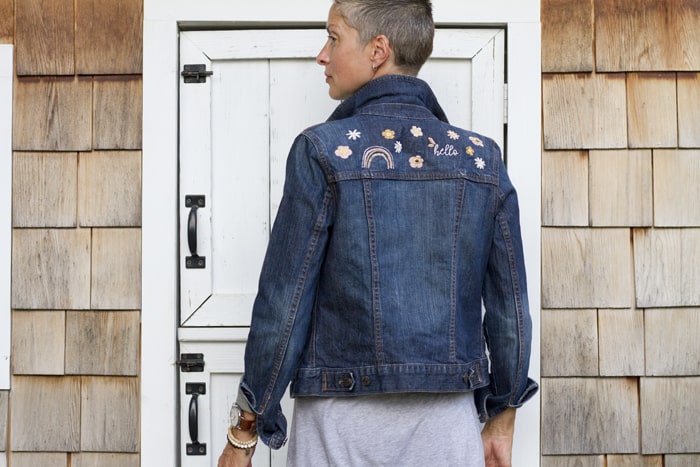
Hey Guys, it’s Cheri from the Tinkinstitches and Tinkerellen world of embroidery. Have you seen all the embroidered clothing trends? I sure have, and if you follow me on Instagram, you know I’ve been busy reworking almost everything in my wardrobe. Maybe you don’t know where to start? Well, the most fun thing to embroider is a jean jacket. I’m pretty sure we all have one or two hanging around in our closets, and the great thing about a sturdy fabric like denim is that you needn’t stress over a stabilizer. Just grab some good sharp needles, small snips and some embroidery floss. Let’s get started with some basic stitches, shall we?
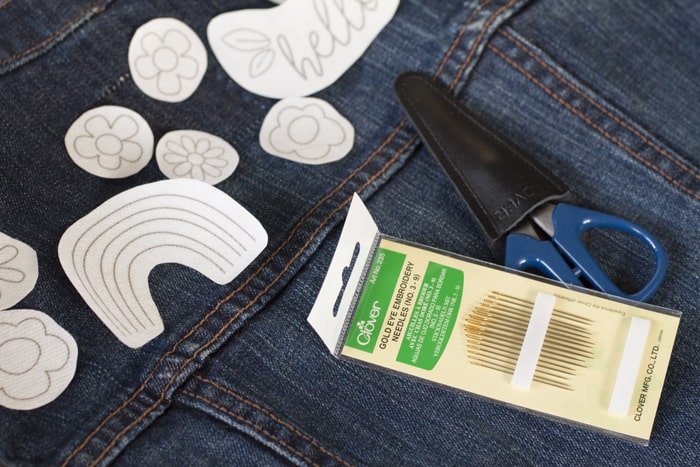
Materials:
- Clover Erasable Marker- Art No. 515
- Clover Coin Thimble- Art. No. 6014
- Clover Gold Eye Embroidery Needles – Art No. 235
- Mini Patchwork Scissors- Art No 493/CW
- Water Soluble Sticker Paper
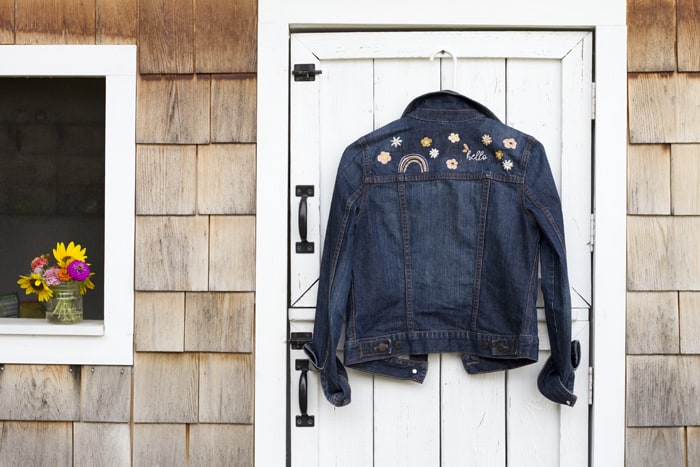
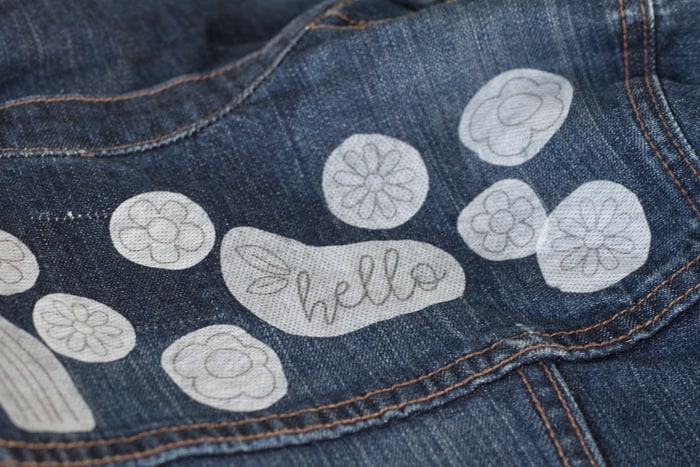
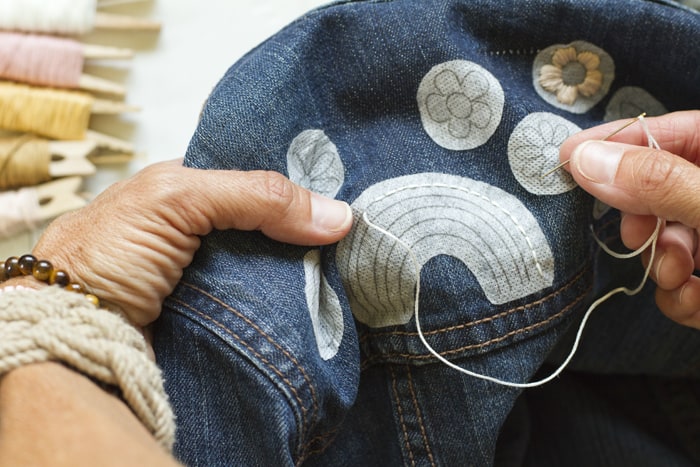
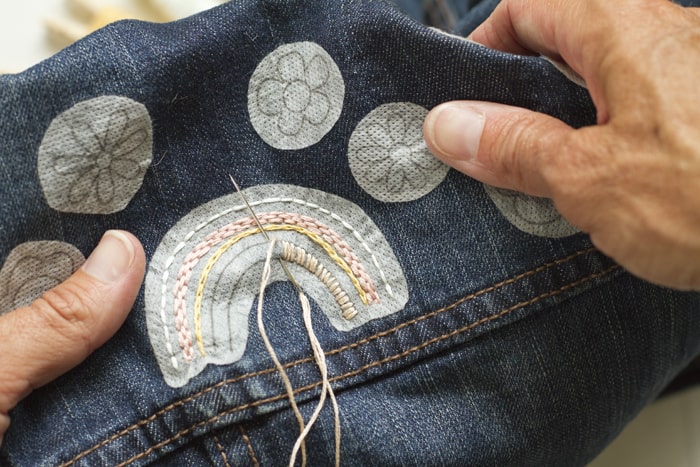
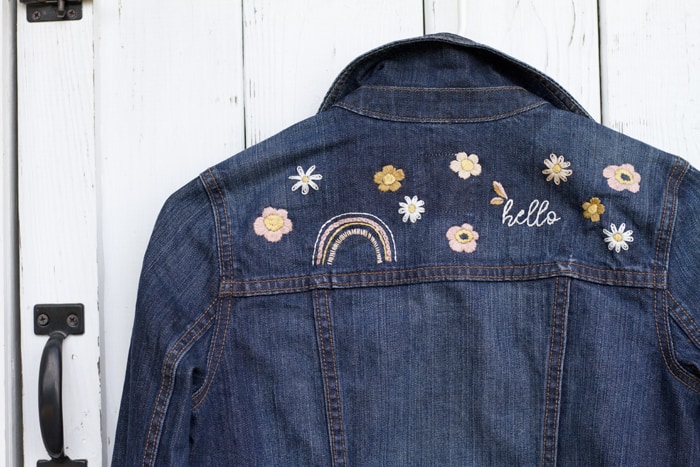
If you’d like to make something similar to my jacket design here, I’ve provided the rainbow and some flowers to get you started. Just download those here, use some water-soluble sticker paper as well as the Clover water-soluble marker to trace the designs and then cut them from the paper and stick them to your jacket.
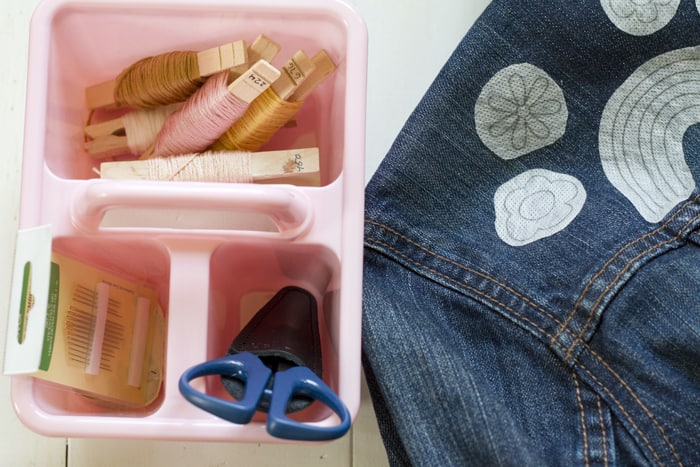
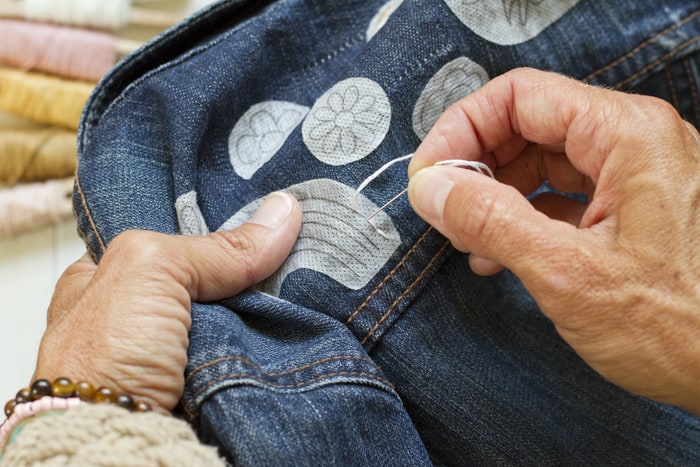
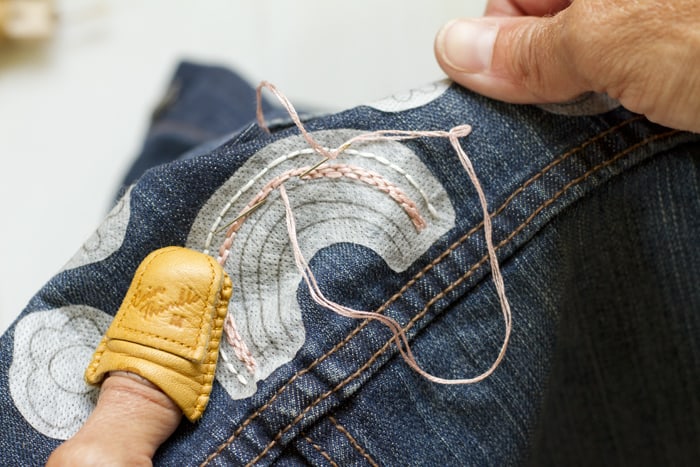
Now let’s go over some basic stitches to get you going. Having a sharp needle really helps make this project so much easier. If you need to, I used my leather Clover coin thimble (I LOVE this thimble) for some of the stitches to keep from poking my finger too much. It’s also helpful for pulling the needle through if it gets bogged up. I forgot to mention that I enjoy finding small containers to keep my projects handy and organized making them easier to set up and put away when I find the time to stitch. These divided containers have a handle and a few sections for stuff. I found this particular one at the dollar store.
Let’s go: first up is the most basic backstitch. This is a great one to know. You can use this for anything from embroidery to mending to hand sewing. Simply make your first stitch, then bring your needle through for the next stitch one stitch length away from the original stitch. Then go back through to join the stitches together. Don’t stress over uniformity, I find this comes with practice more than anything. Just to let you know, I’m using four strands of embroidery floss for this entire project. Sometimes six just feels too bulky for me, even though that’s what they come in.
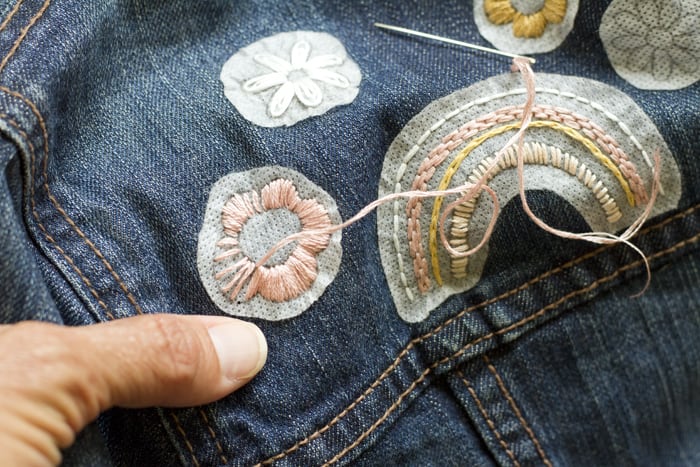
Next up, is the brick stitch. Basically, you’re doing the back stitch, and then creating another layer of back stitch adjacent to the original line but in a brick pattern. So your stitch starts and ends at the middle point of where the first layer stitches are. You can continue this pattern for as many rows as you’d like. It’s a beautiful texture to fill in shapes as well.
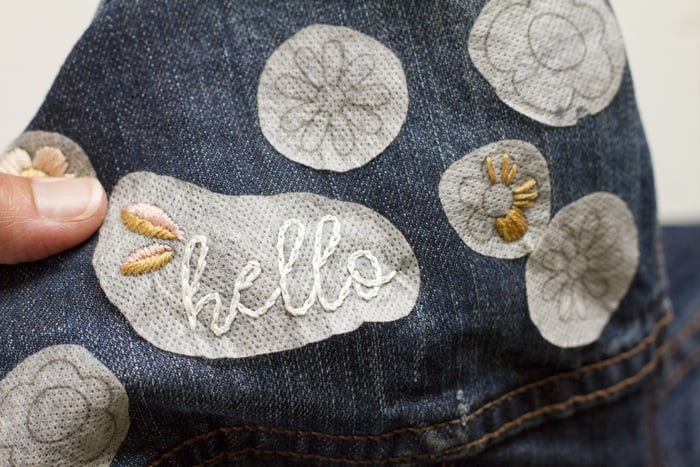
Next up is the split stitch. This one is great too, and pretty easy. You’ll be stitching similar to the backstitch, but when you bring your thread back to connect the stitches, you’re going to go halfway into the original stitch and ‘split’ the threads. I like this method for text and curved lines myself as I think it blends the threads more fluidly than the back stitch. My ‘hello’ below is done in a split stitch with shorter stitches around the curves.

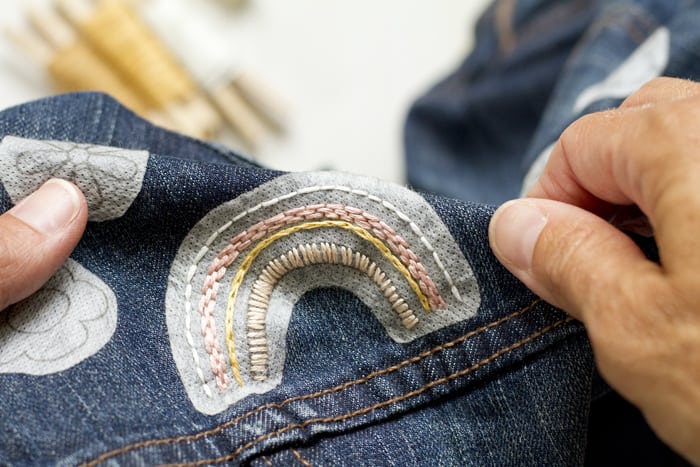
Now let’s go over the satin stitch. This one is a filling stitch and it seems to scare a lot of people. I’ve learned to make spaced-out initial stitches around the design and then fill in by going back in. The initial stitches tend to keep the direction of the threads sorted so it makes sense when it’s all finished. They’re more of a guide than anything. I’m also doing a satin stitch style on the rainbow here but skipping sections because I like that modern look for this particular design. Most of the florals and all of the interiors of the flowers are made using satin stitch.
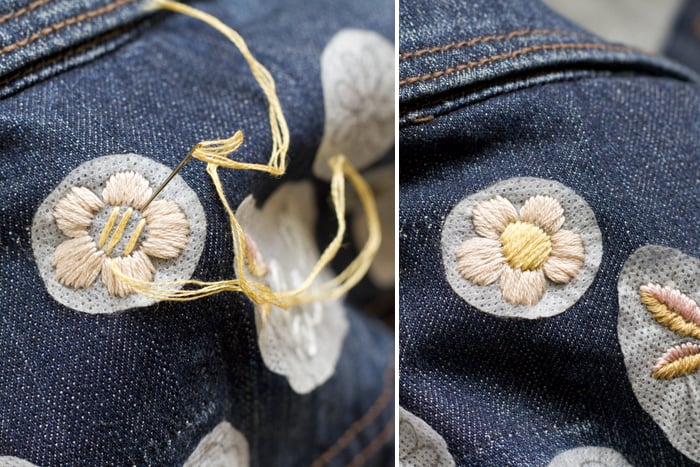
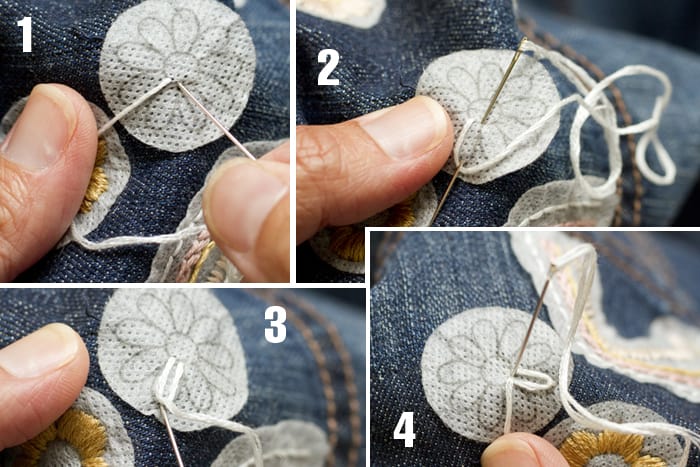
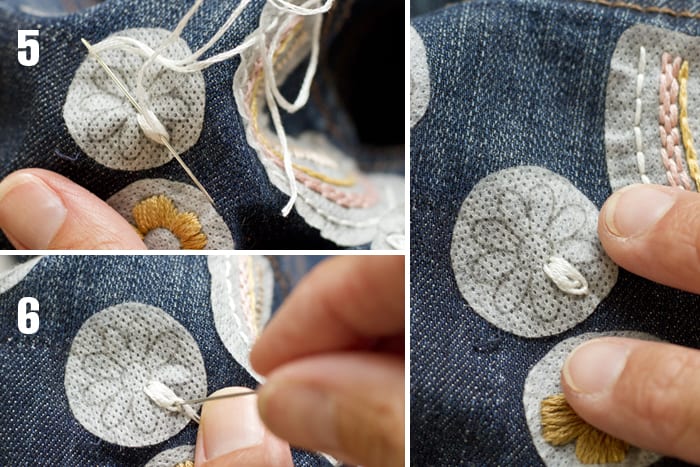
Now I’ve saved the hardest for last, although it’s not too difficult once you get the hang of it. The lazy daisy stitch is used here in tandem to create a filled petal. I start by making the outside stitch and I’ve made detailed photos so you can visually follow along. Step 1: Come out and go back in at the base of the petal but do not pull through. Step 2: Bring your needle through the tip of the petal and pull it so you have a loop. Step 3: Secure the loop by pulling the needle back through the opposite side of the loop. Step 4: You’re going to do step one again except inside of the daisy stitch you’ve just finished. Step 5: That’s right, step two again, so you have another loop and your needle is inside the loop. Step 6: Pull your needle through the other side of the loop to secure it like in step three. Do two of these lazy daisy stitches for each petal of the flower.
I think that covers every single stitch I used in this jacket! Once you’re finished you’ll need to wash off the designs. I do this by running warm water over the papers until they dissolve. Then I throw the whole jacket in the wash. The thread will get stiff from the glue if you don’t thoroughly wash it. You can hang dry your embroidered clothes if you’d like but I find the dryer works beautifully and quality threads don’t have an issue with it, medium heat of course. If you have any questions for me, please drop them below. I’m hoping this gives you the inspiration to try some clothing embroidery of your own! Or not, because once you start…
Stay connected with Clover on Facebook | Twitter | Instagram | Pinterest | YouTube | Ravelry