Punch Needle Wall Art Tutorial
The punch needle trend has exploded the fiber arts market and as always Clover has created an innovative tool to help us craft in an efficient way.
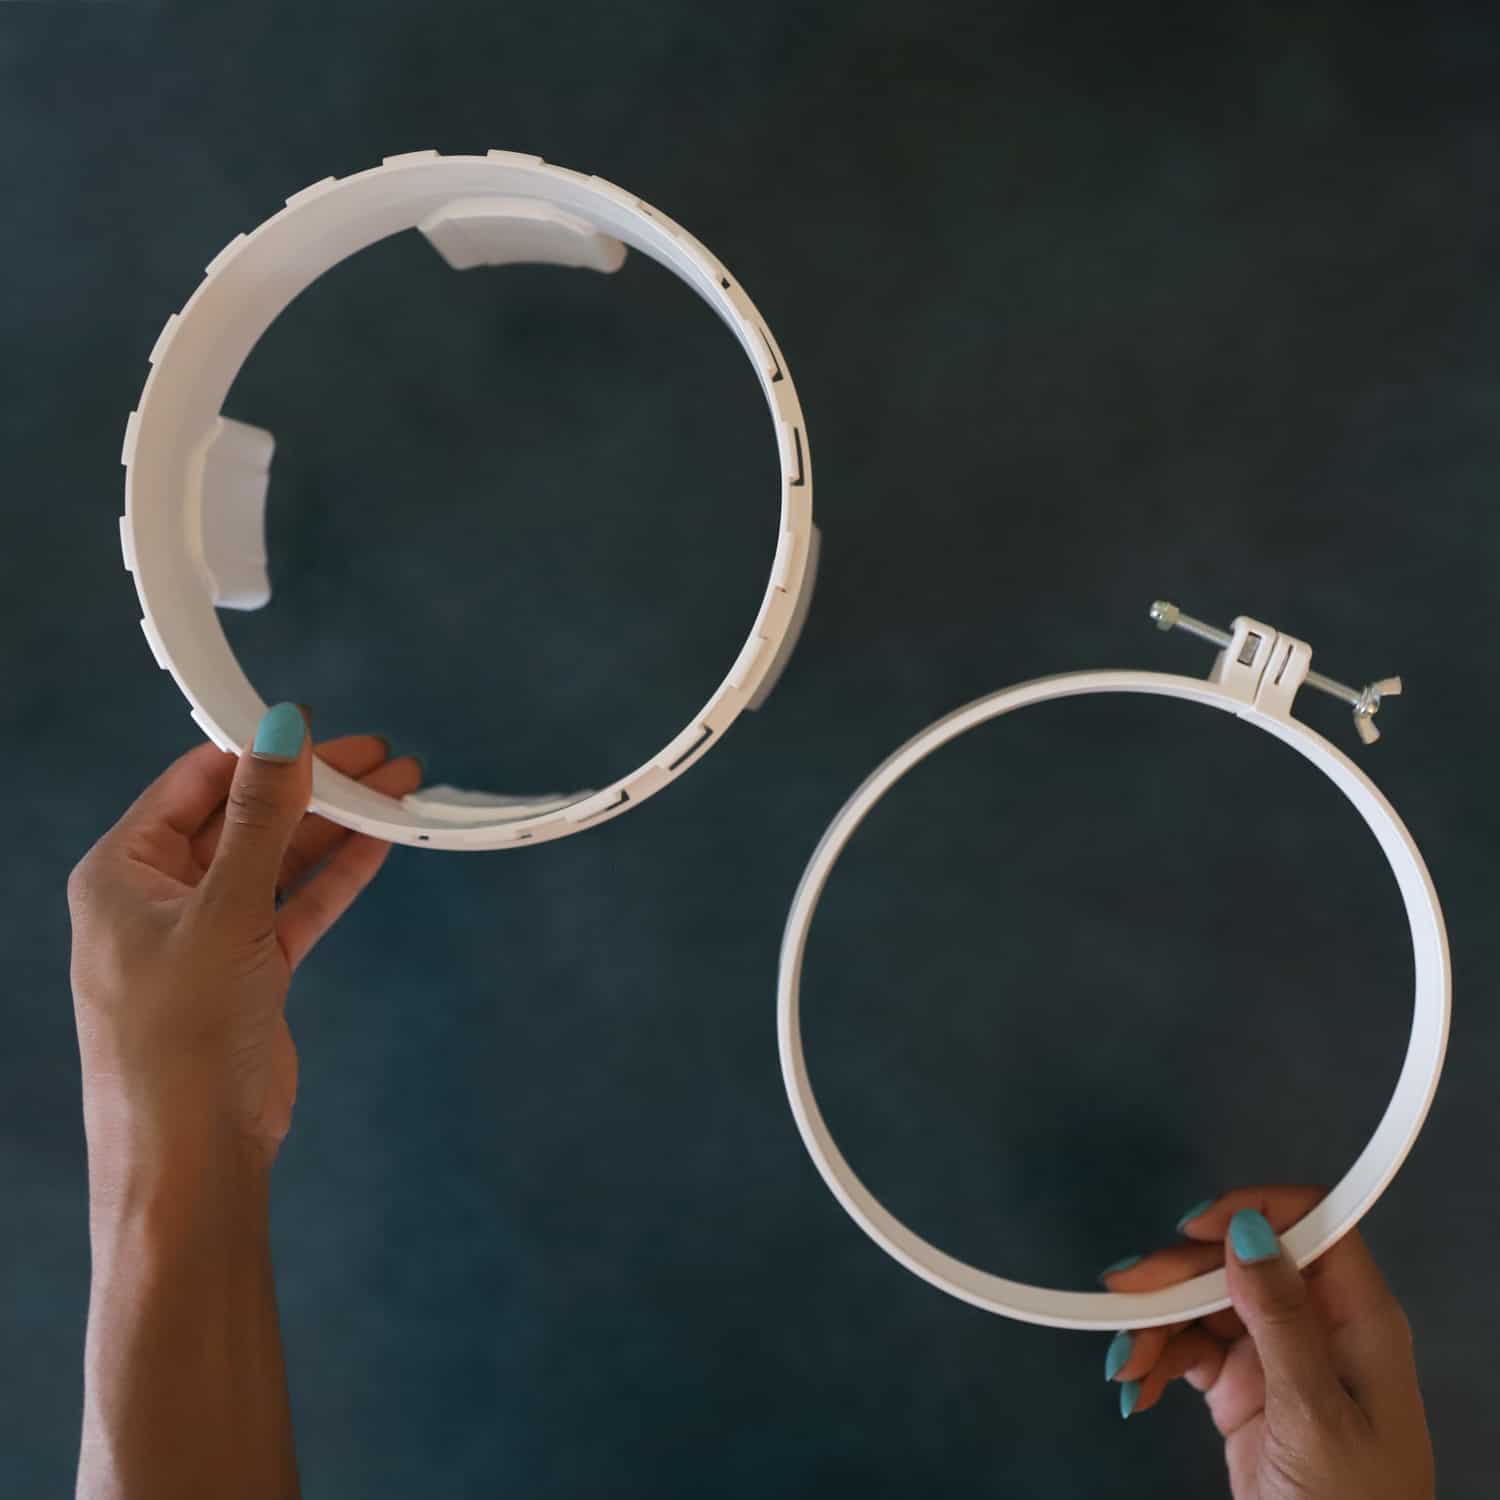
Introducing Clover’s New Punch Needle Tool and Punch Needle Hoop! I had the wonderful opportunity to test these tools out before they hit the market and I must say that they have the “Clover” touch!
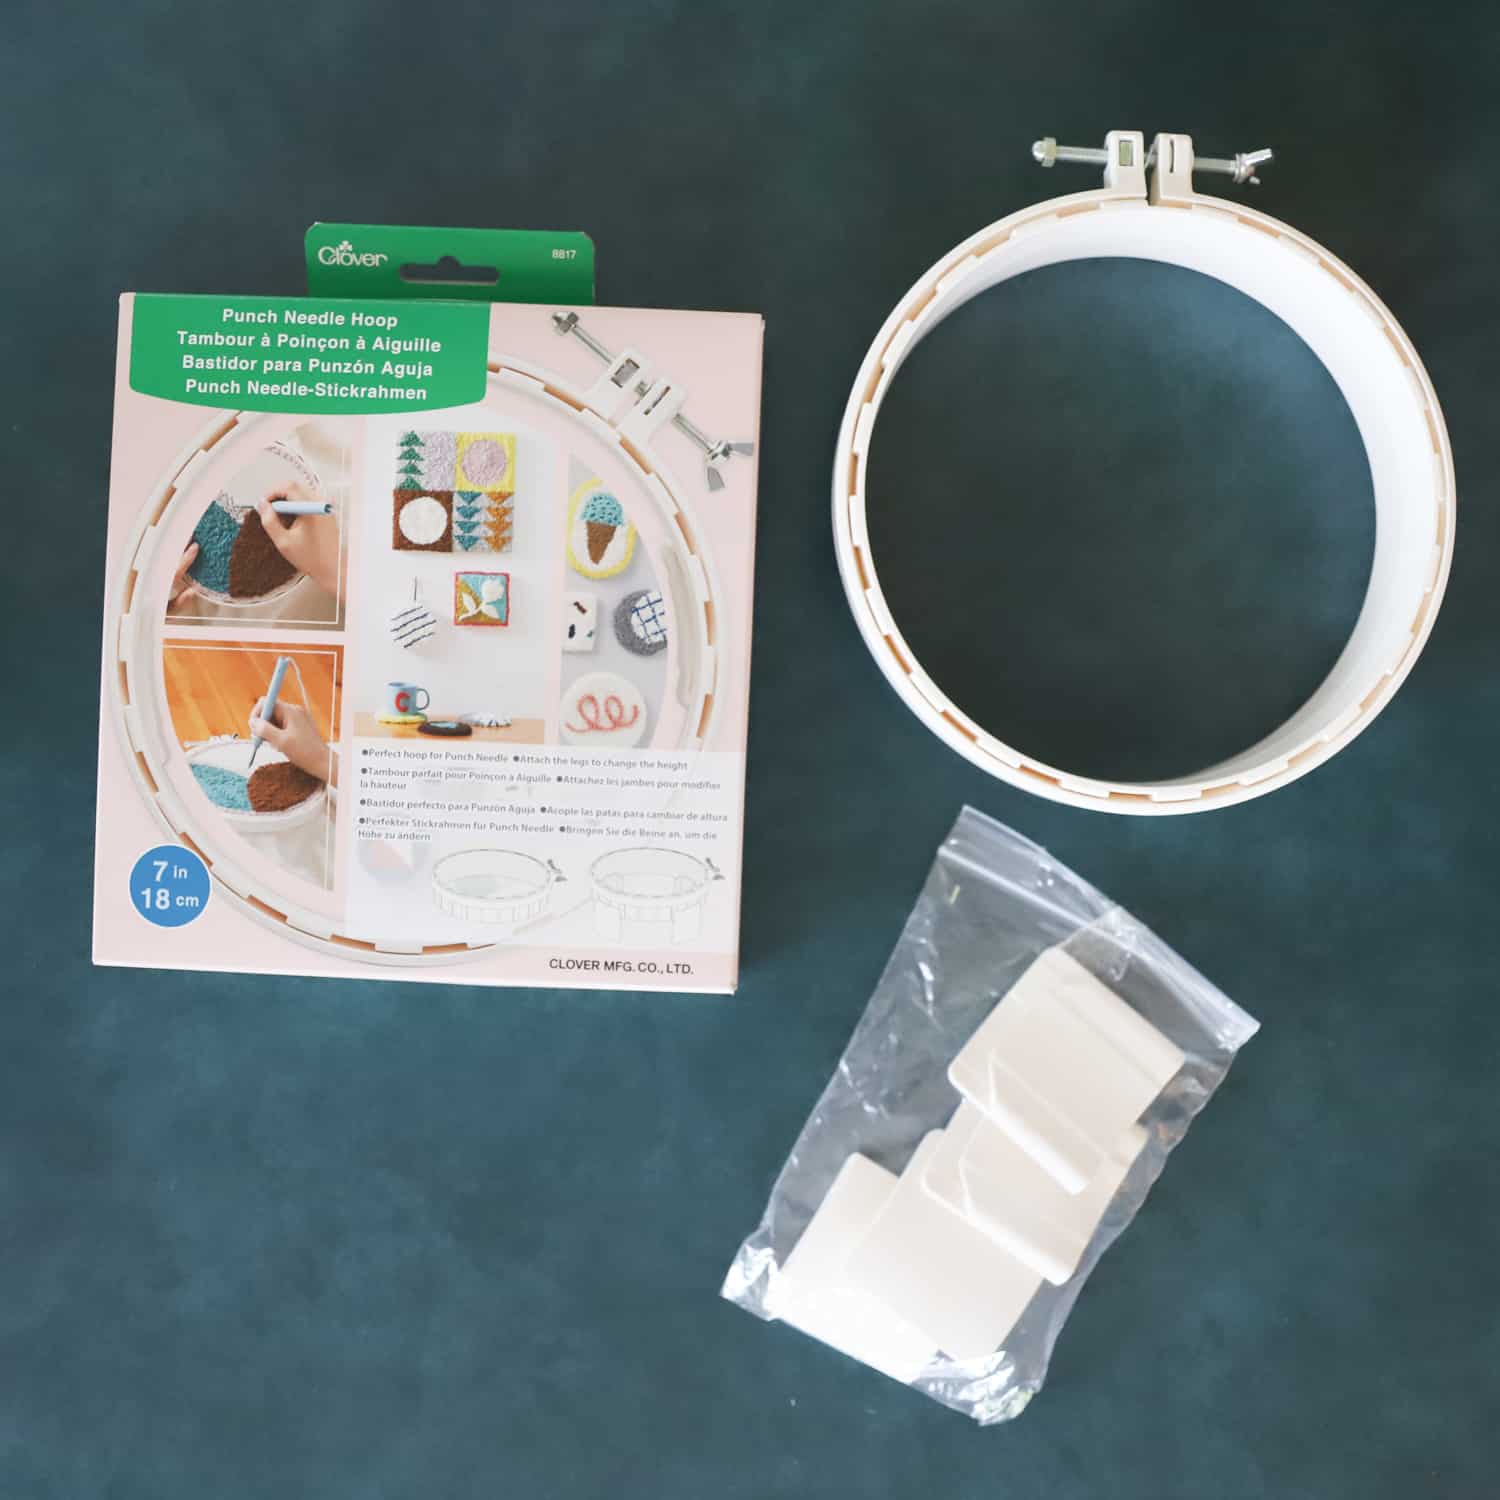
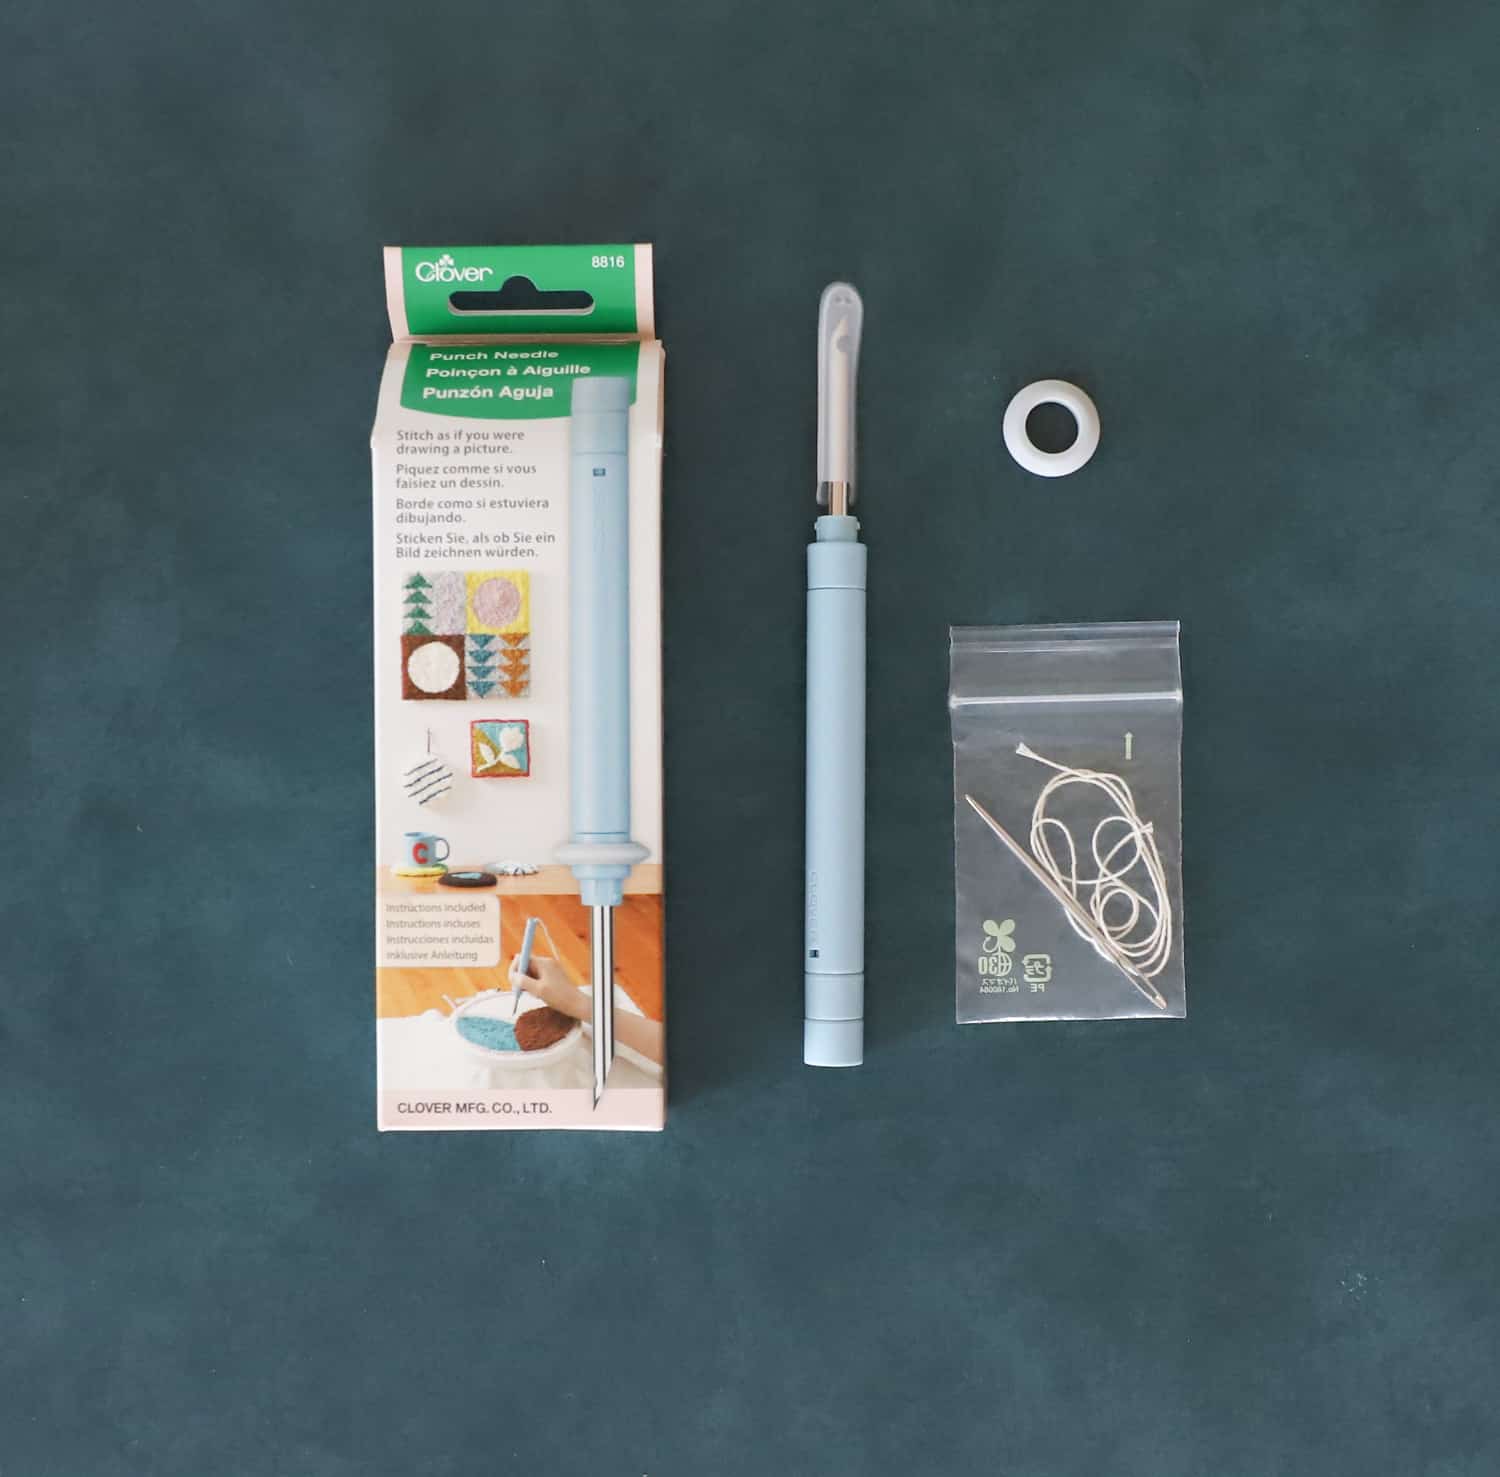
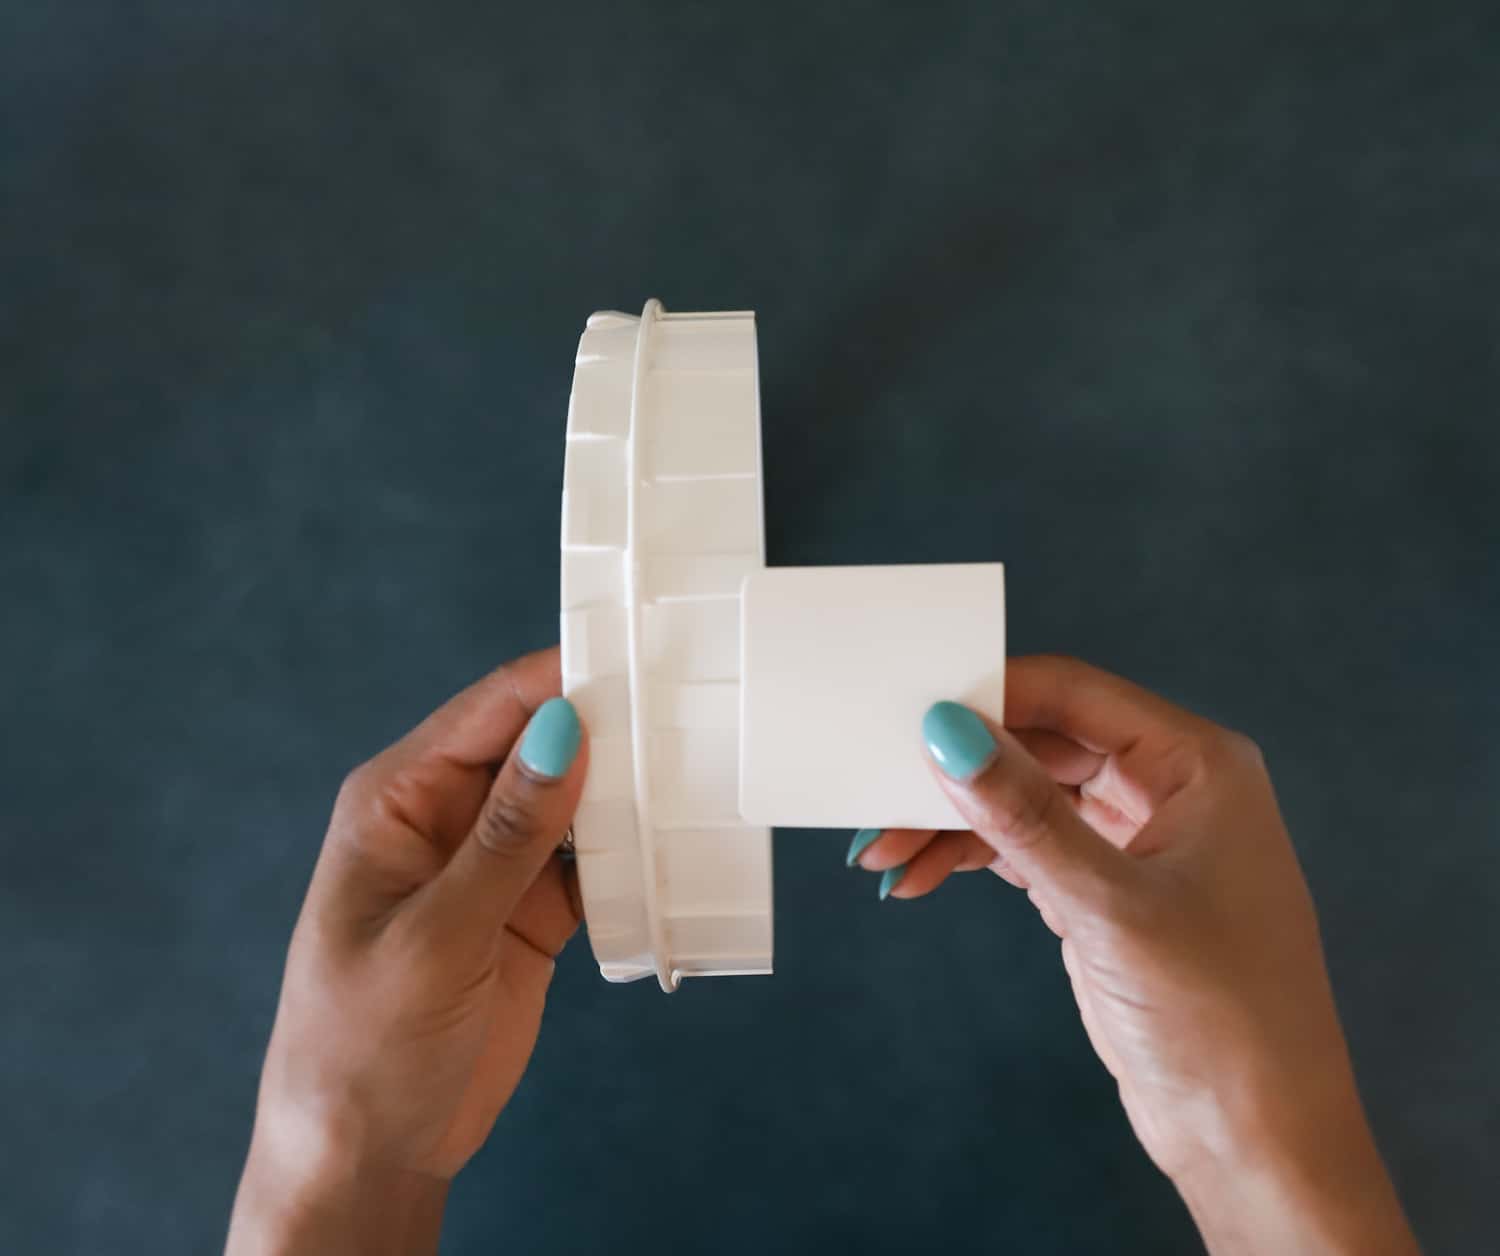
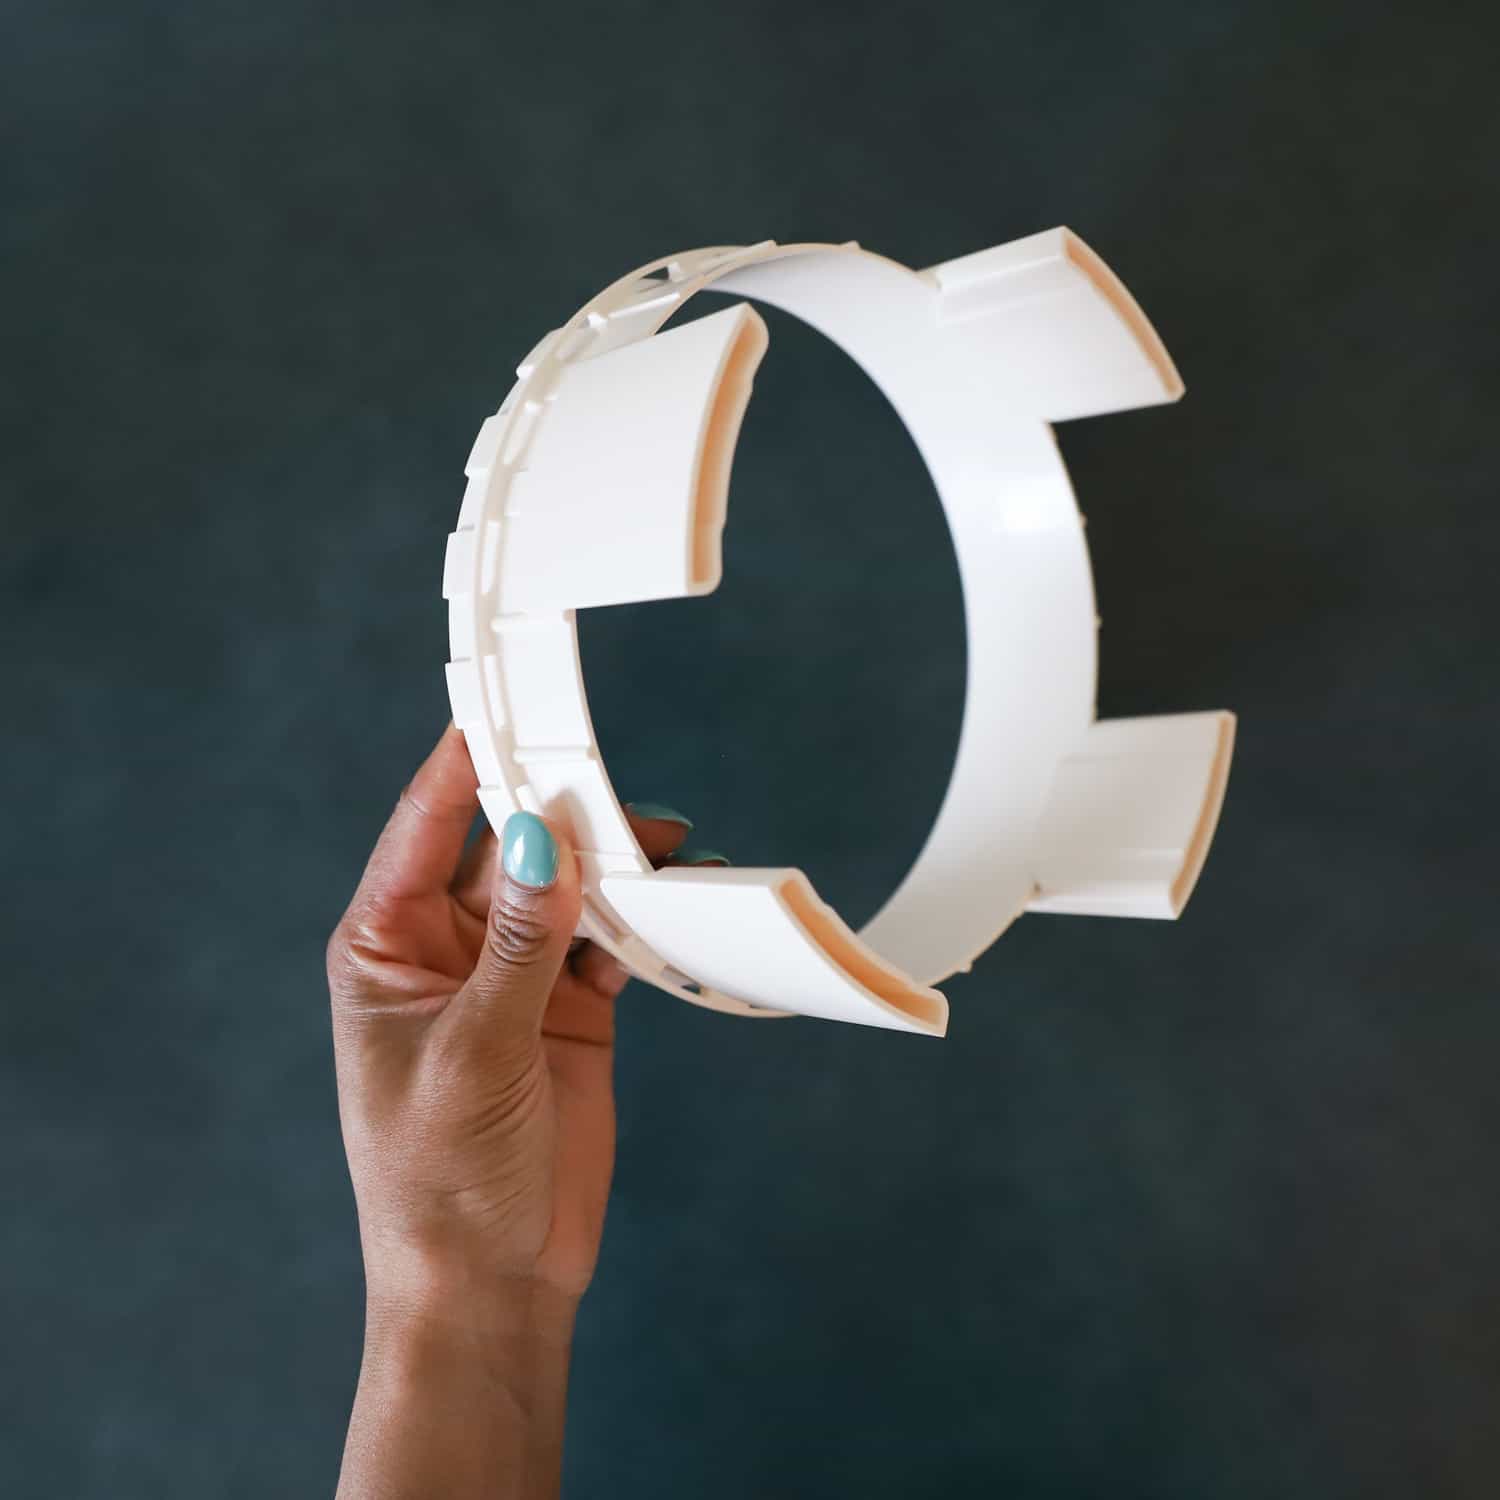
Clover’s punch needle is beyond easy to adjust and I’m absolutely in love with the leg attachments for the punch needle hoop. If you’ve tried punch needle embroidery in the past, then you know that it’s important to refrain from stitching on a surface. Now with Clover’s new punch needle hoop, you can practice this lovely technique without ruining your table.
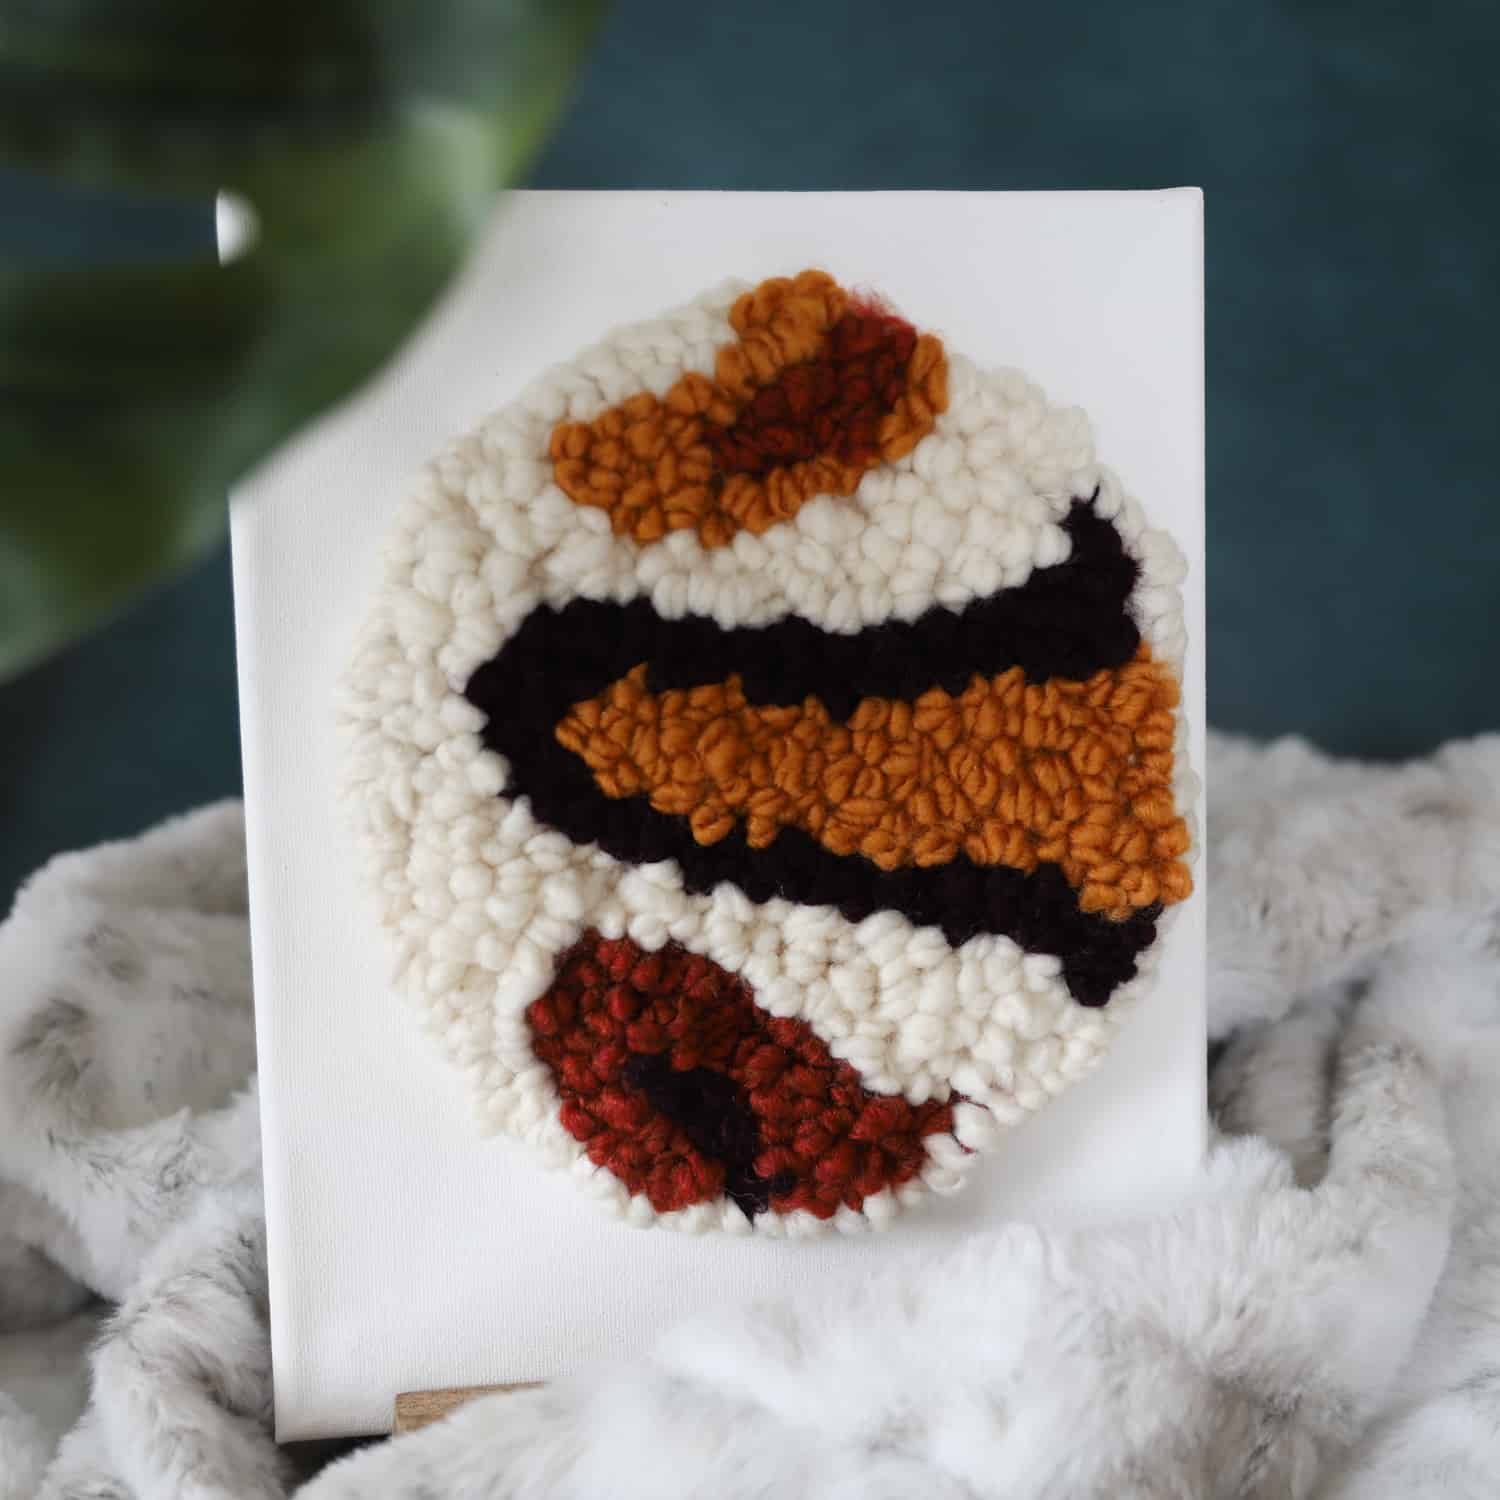
Okay, let’s get into the project for this week! Today, we will be making abstract wall art using these wonderful new tools. I designed an abstract pattern for you to trace, but feel free to freehand a unique design of your own.
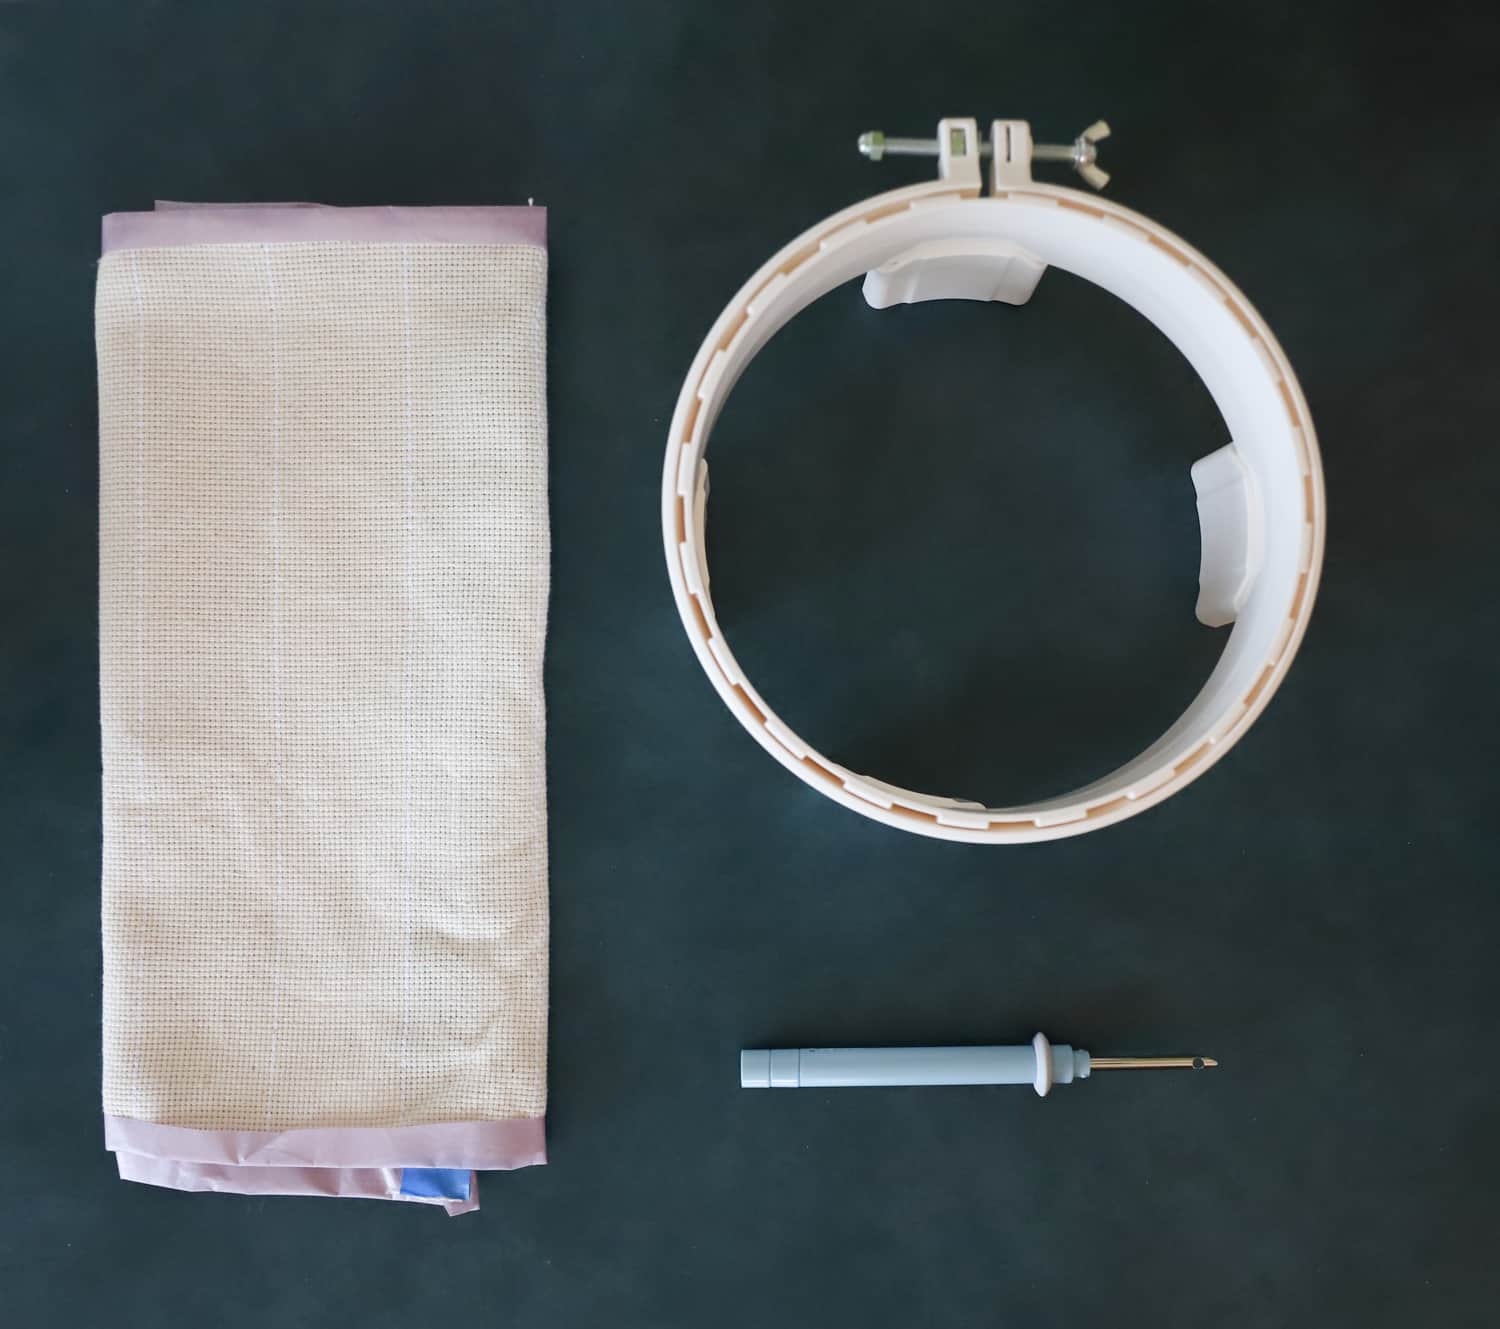
Here are the materials needed for this project:
- Clover Punch Needle Art No. 8816
- Clover Punch Needle Hoop Art No. 8817
- Clover Bordeaux Scissors Art No. 4940
- Clover Flower Pin Heads Art No. 2506
- Clover Embroidery Threader Art No.8611
- Clover Gold Eye Embroidery Needles Art No.235
- Black Marker
- Yarn (Bulky)
- Artist Canvas 8 by 10 inches
- Embroidery Floss
- Fabric glue
- Monk’s cloth
- Masking tape
Directions
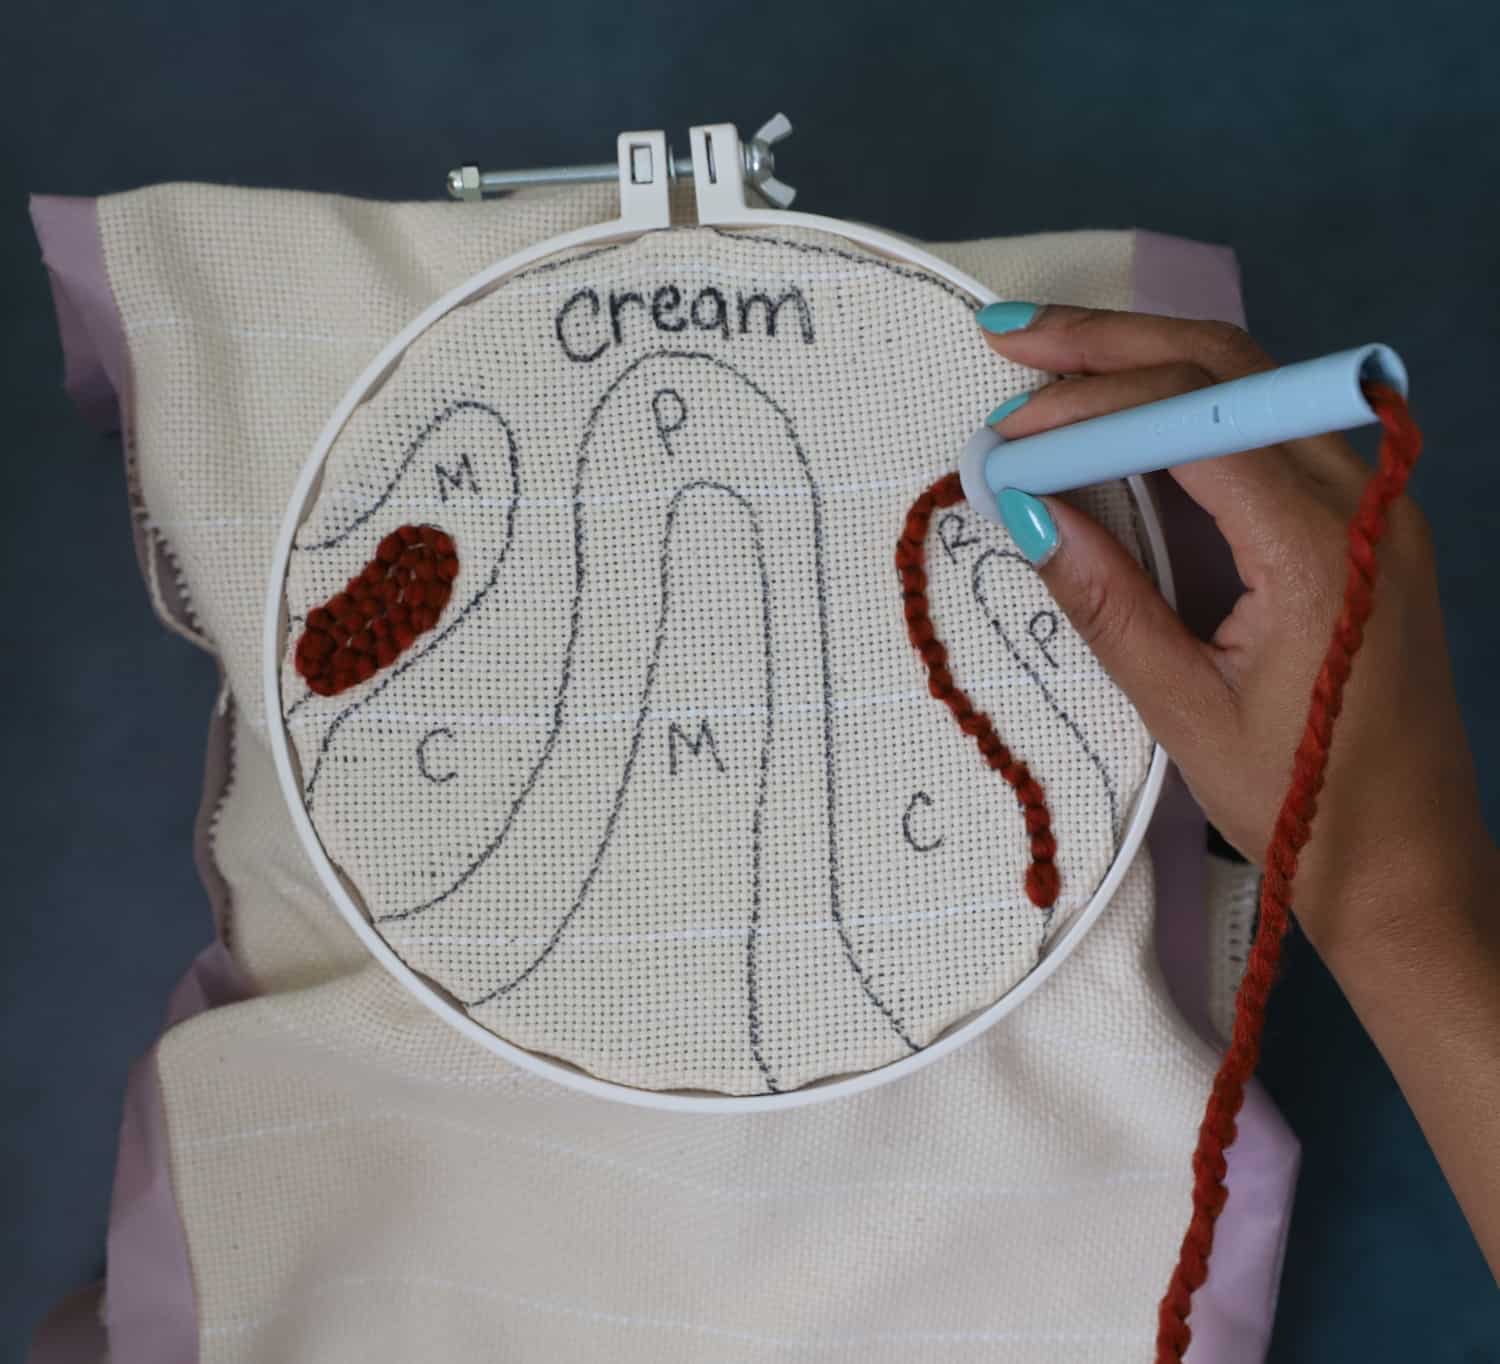
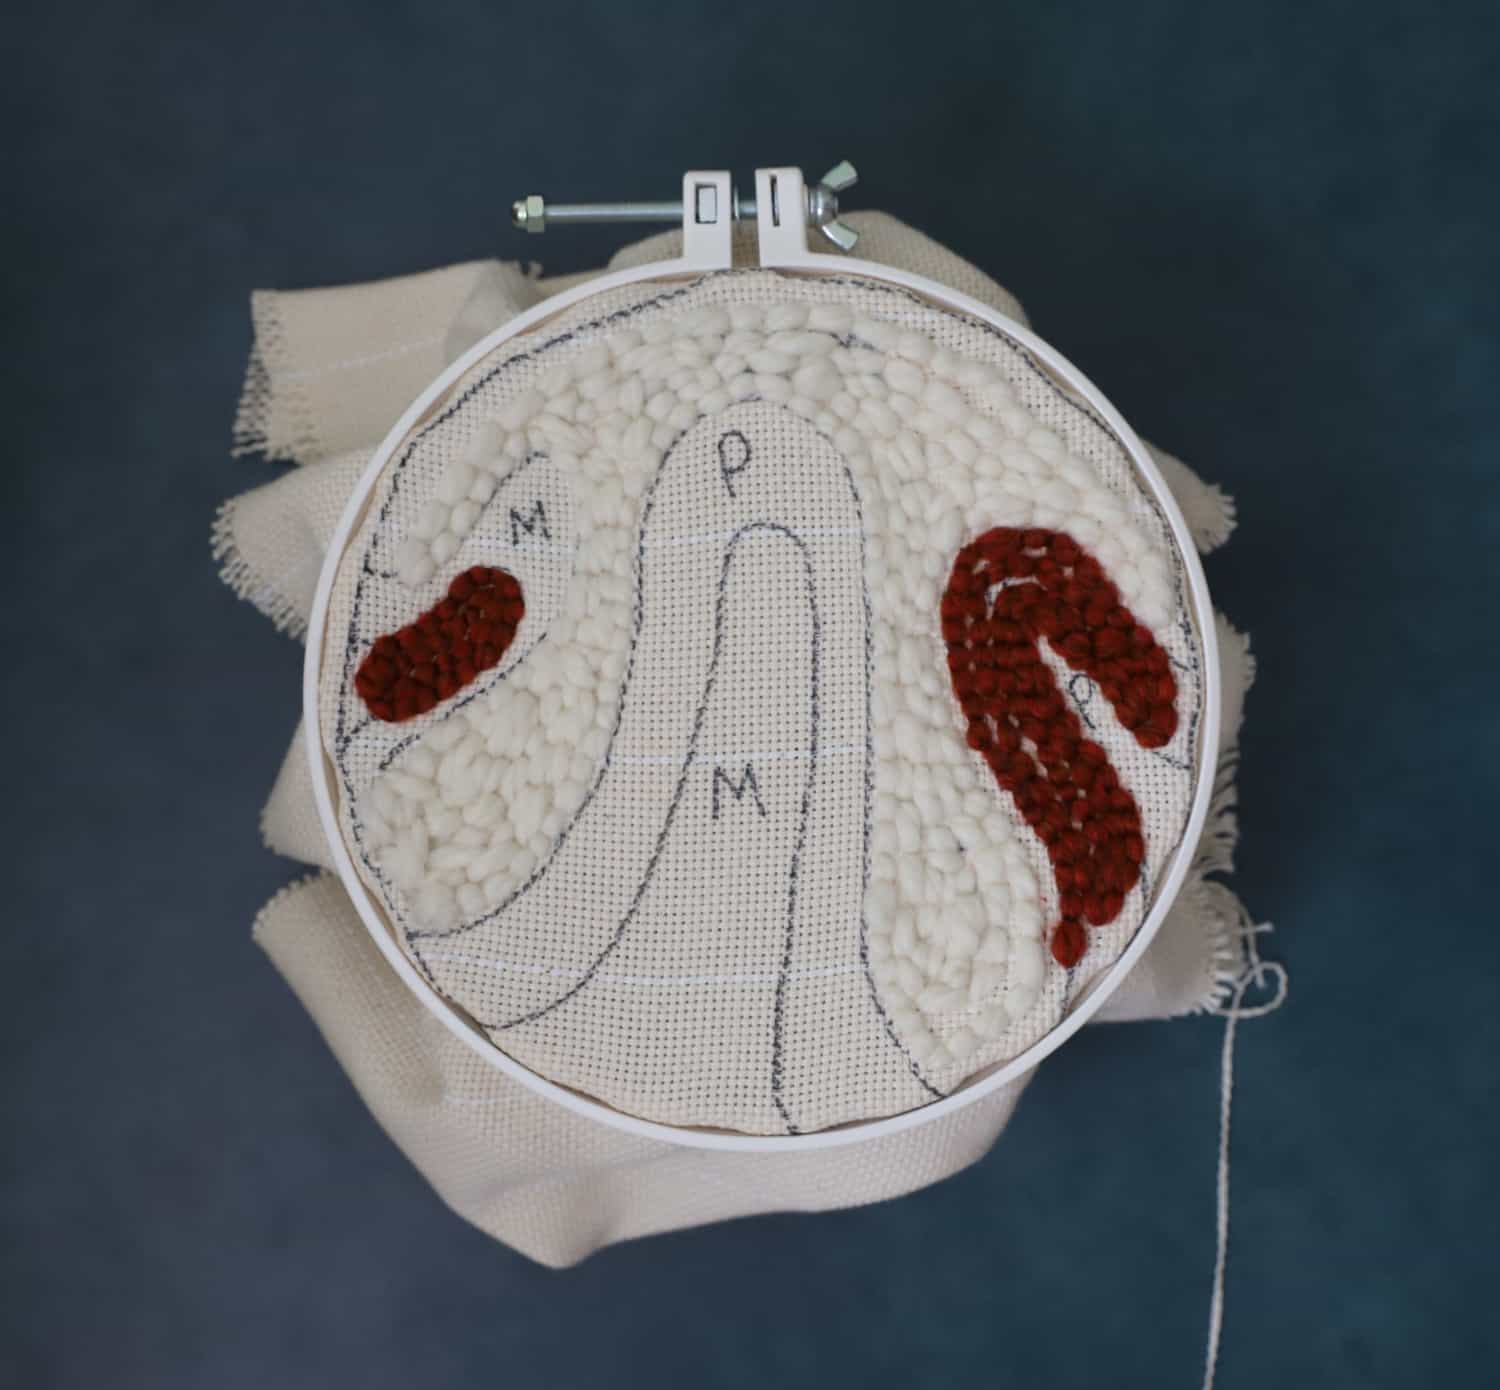
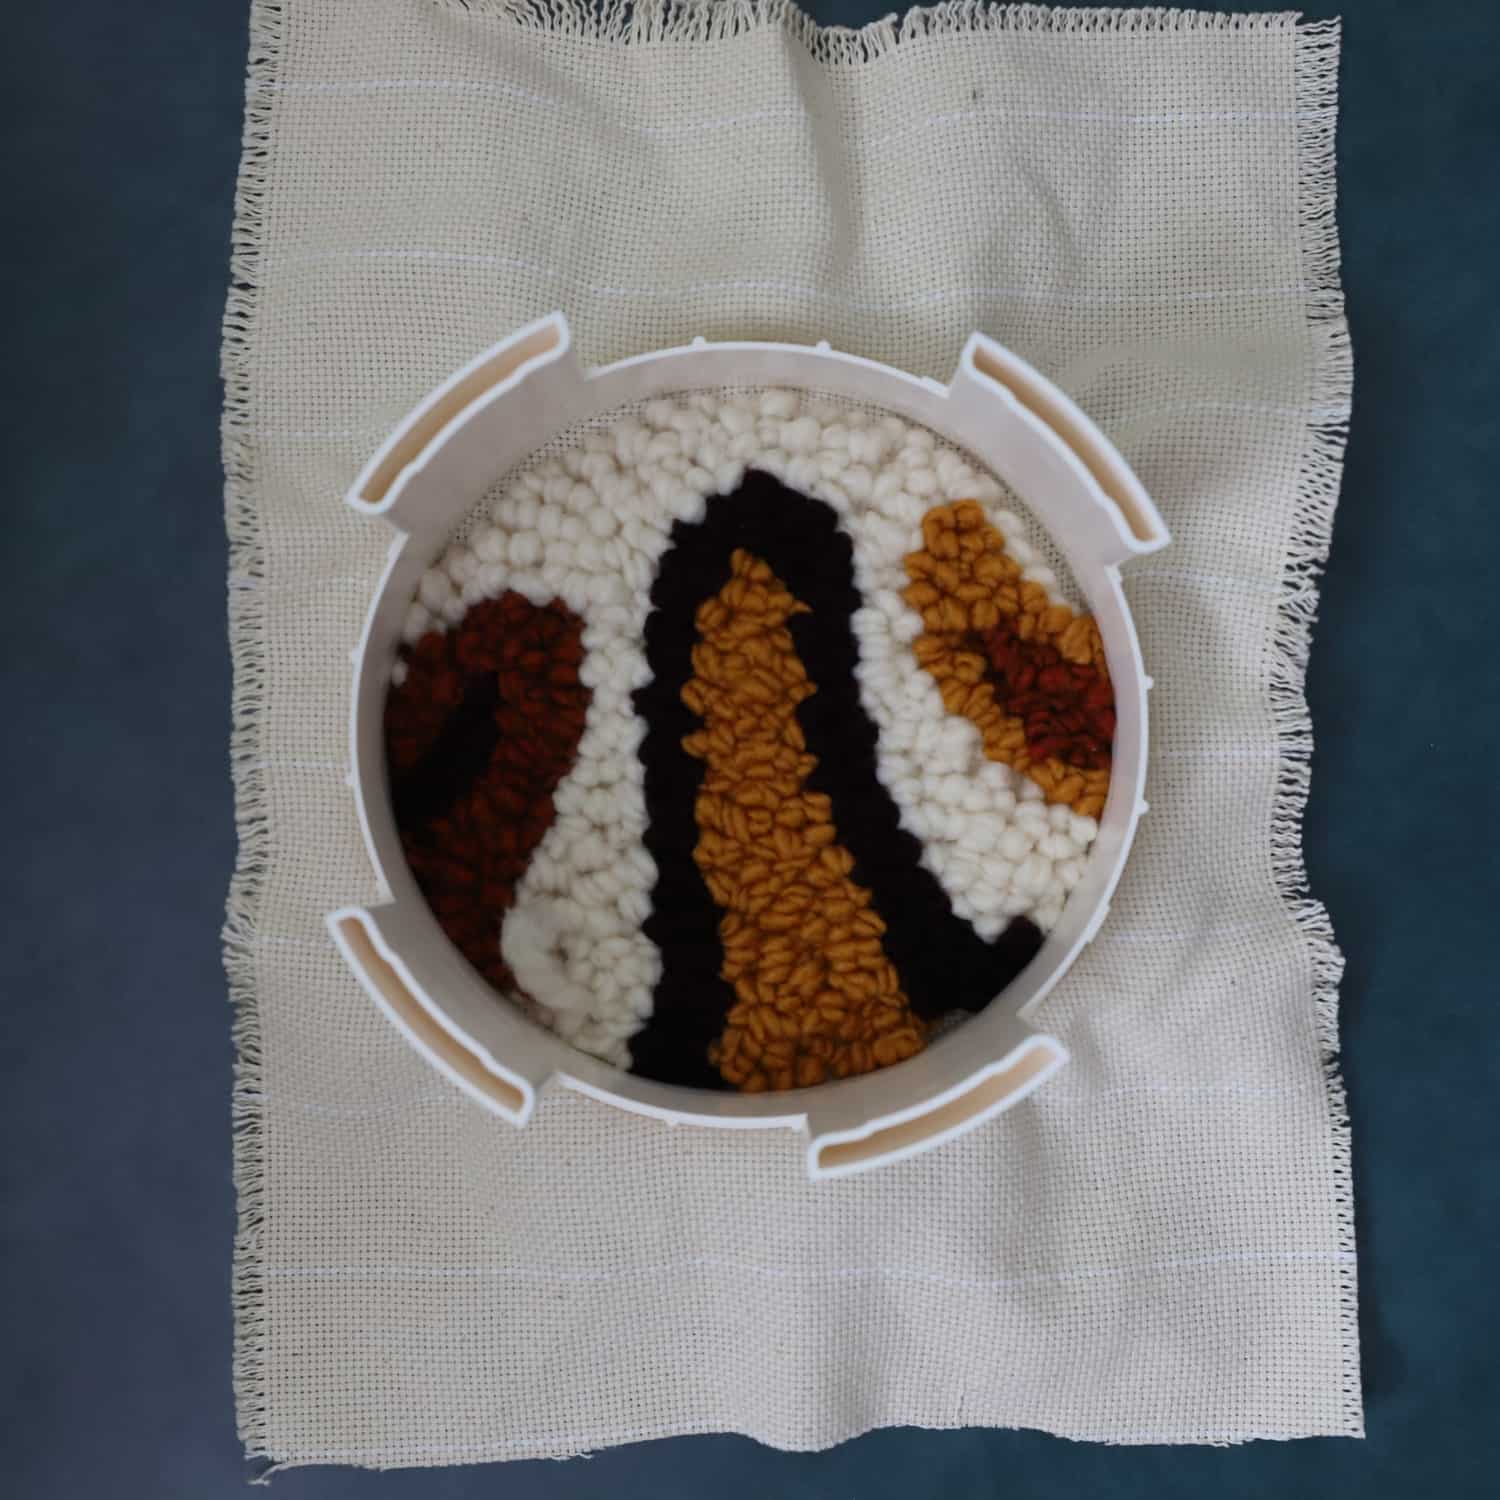
Step 1. Start by placing the Monk’s Cloth onto the punch needle hoop, then pull the fabric in all directions until it’s tight as a drum. Once the fabric is tight, begin drawing the abstract pattern from above using a black marker or Clover’s Air Eraser Marker.
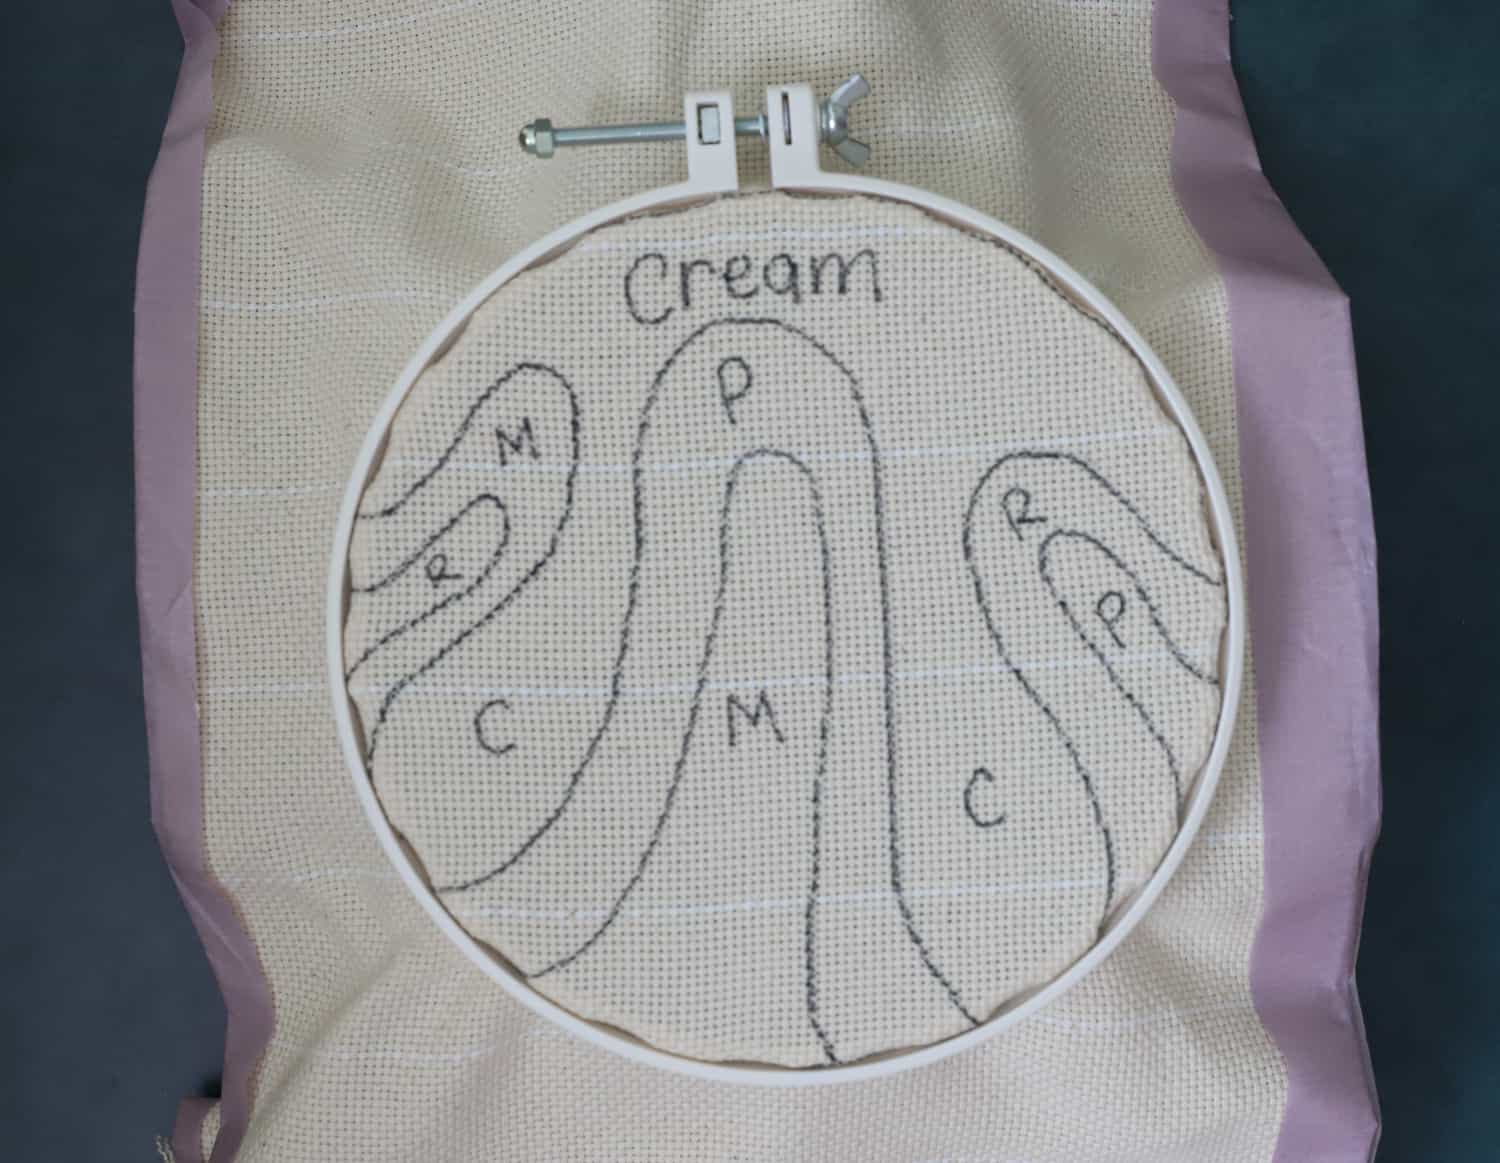
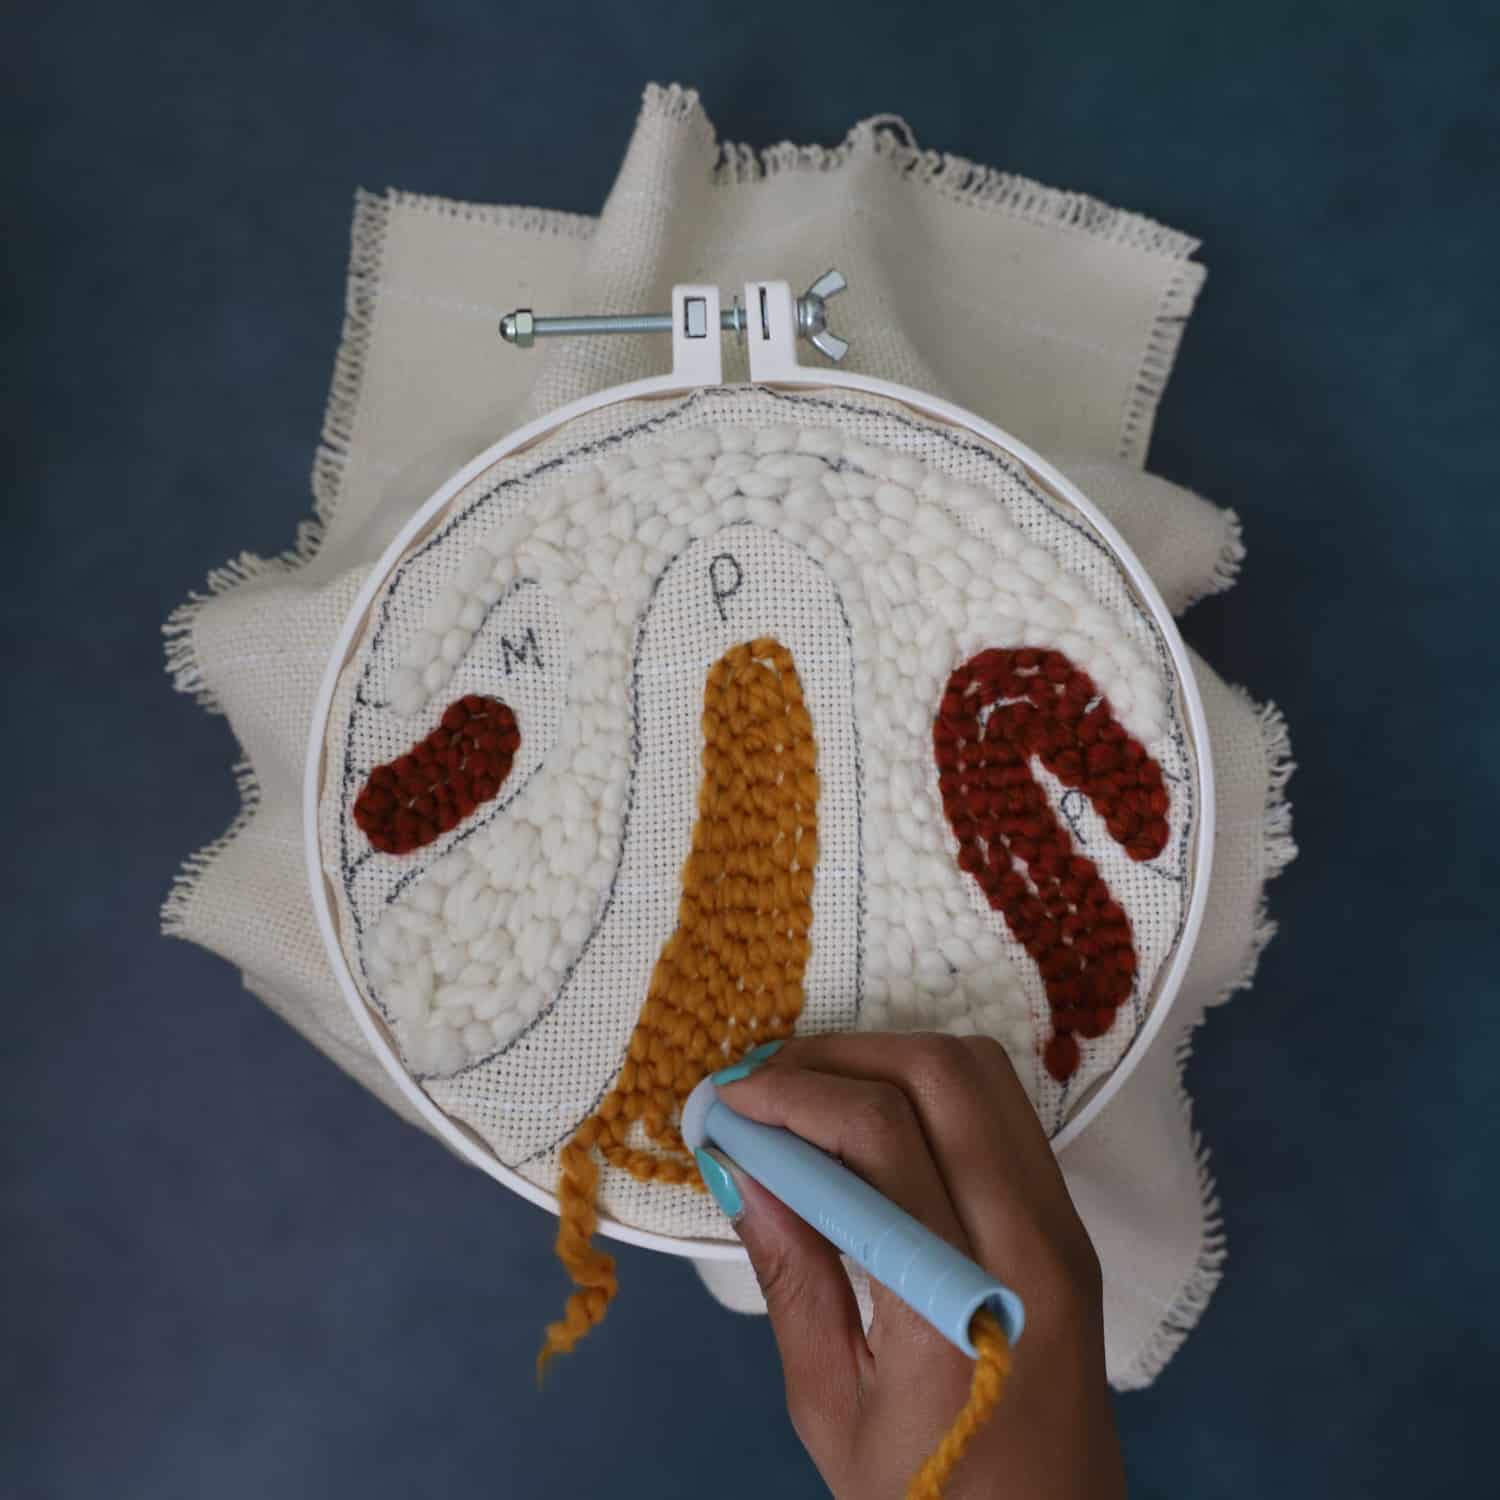
Quick Tip: Write the first initial of the yarn colors to remember the placement.
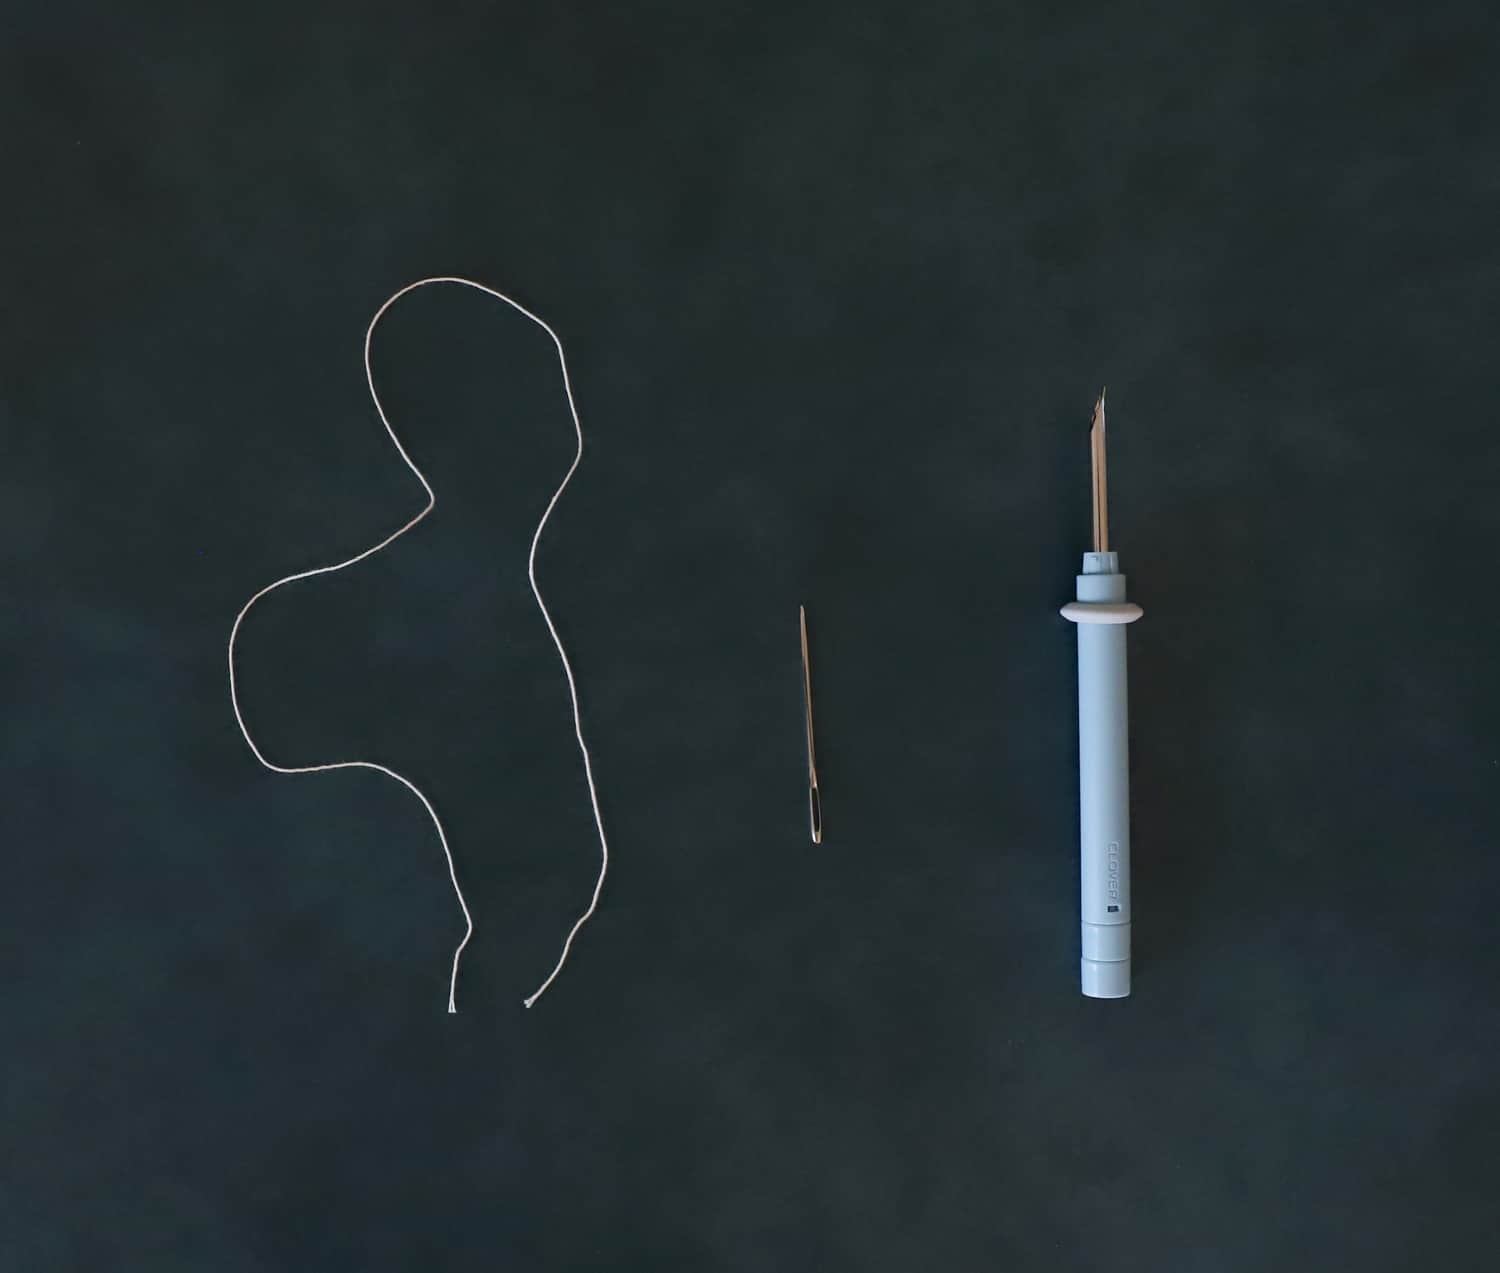
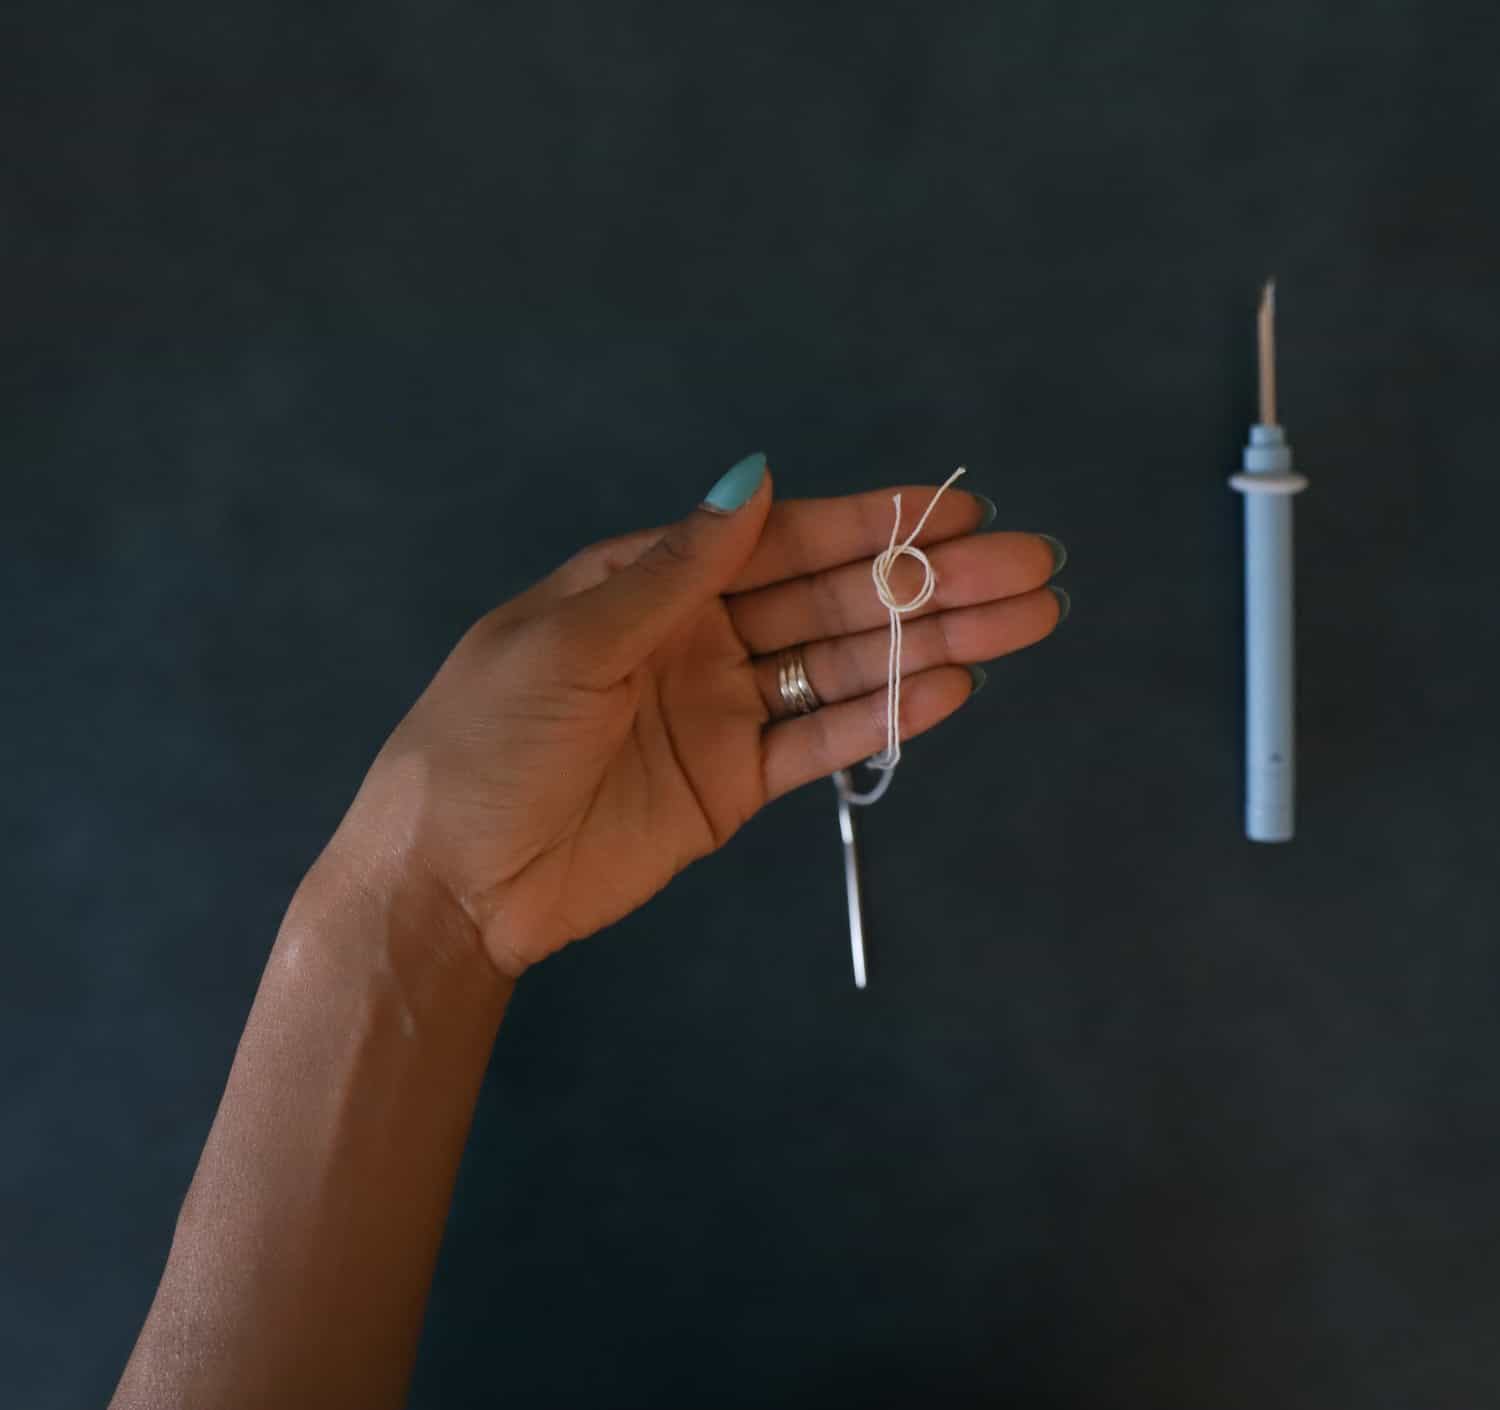
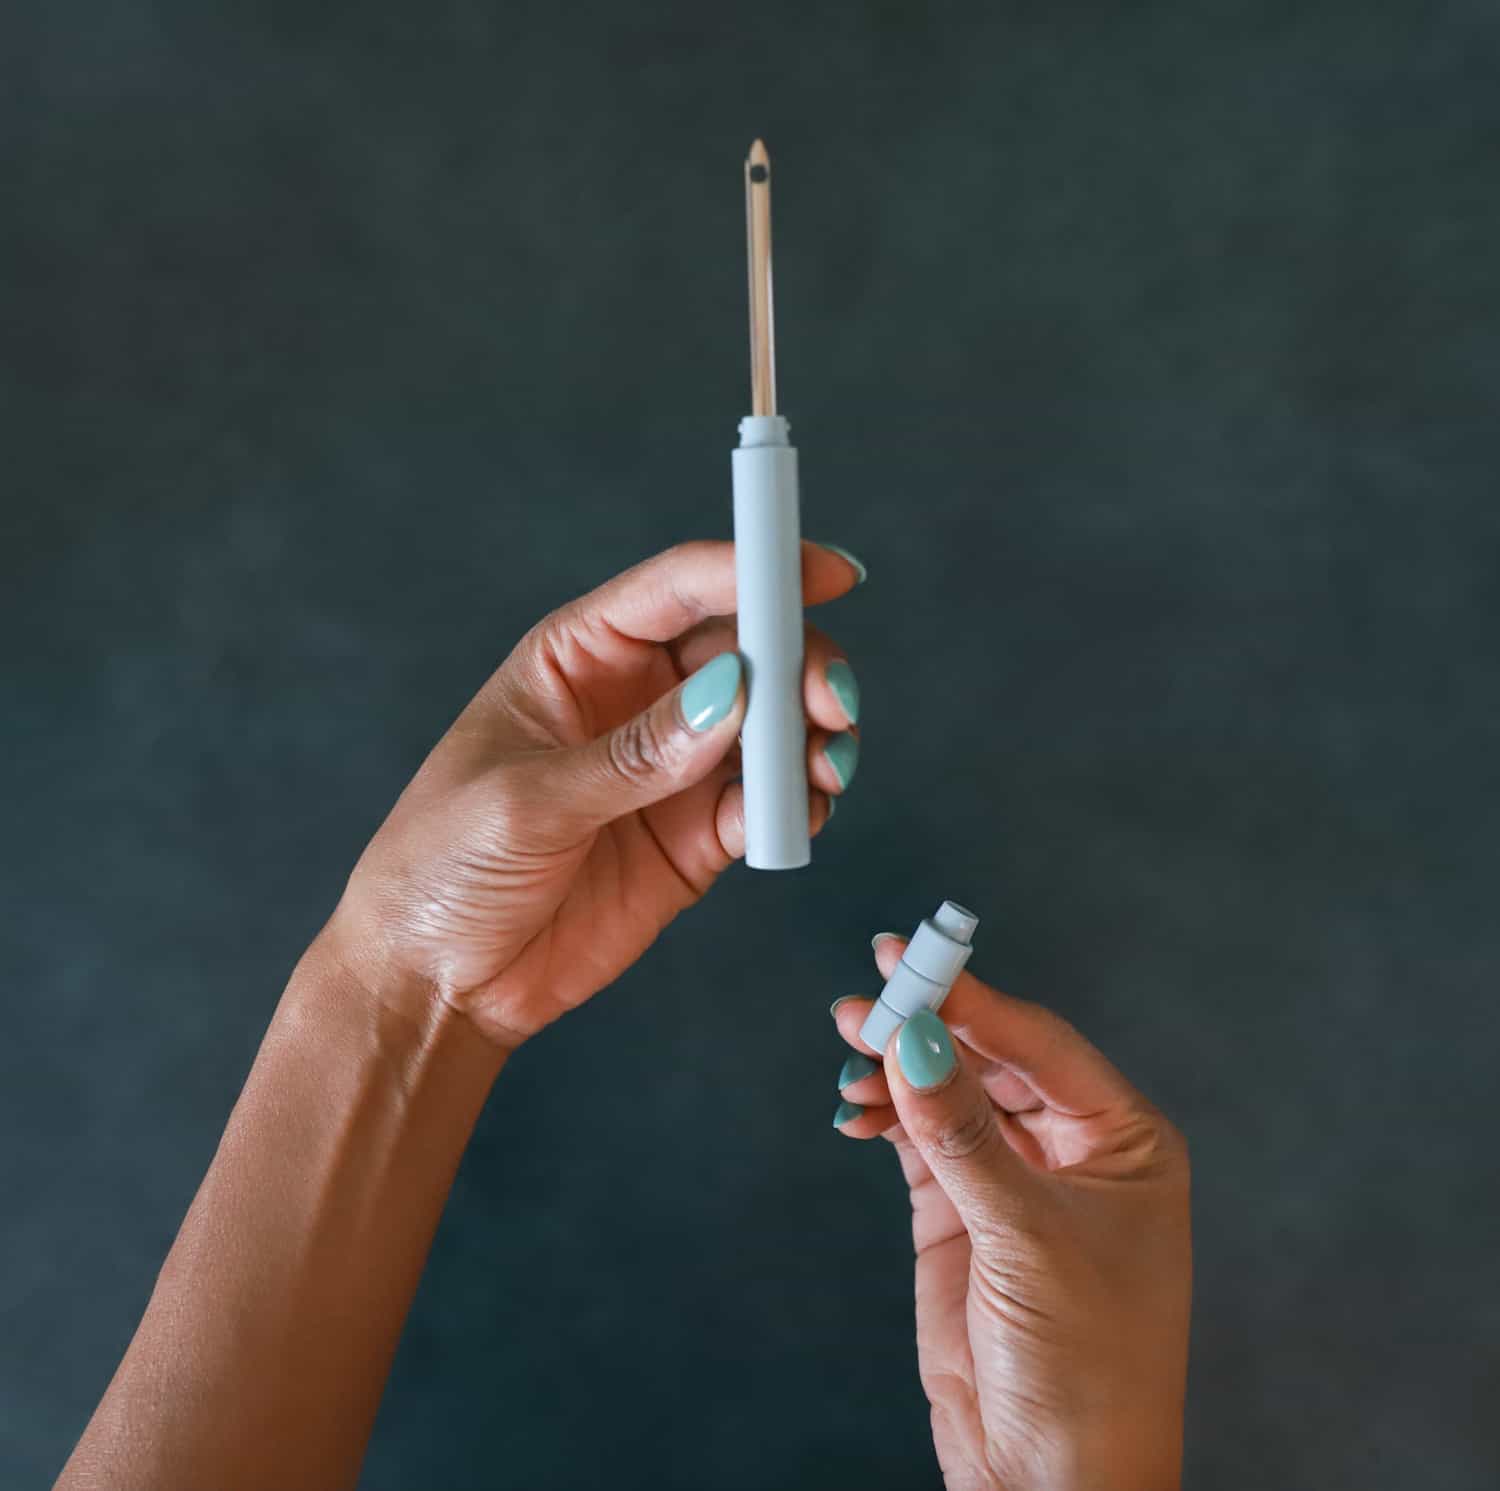
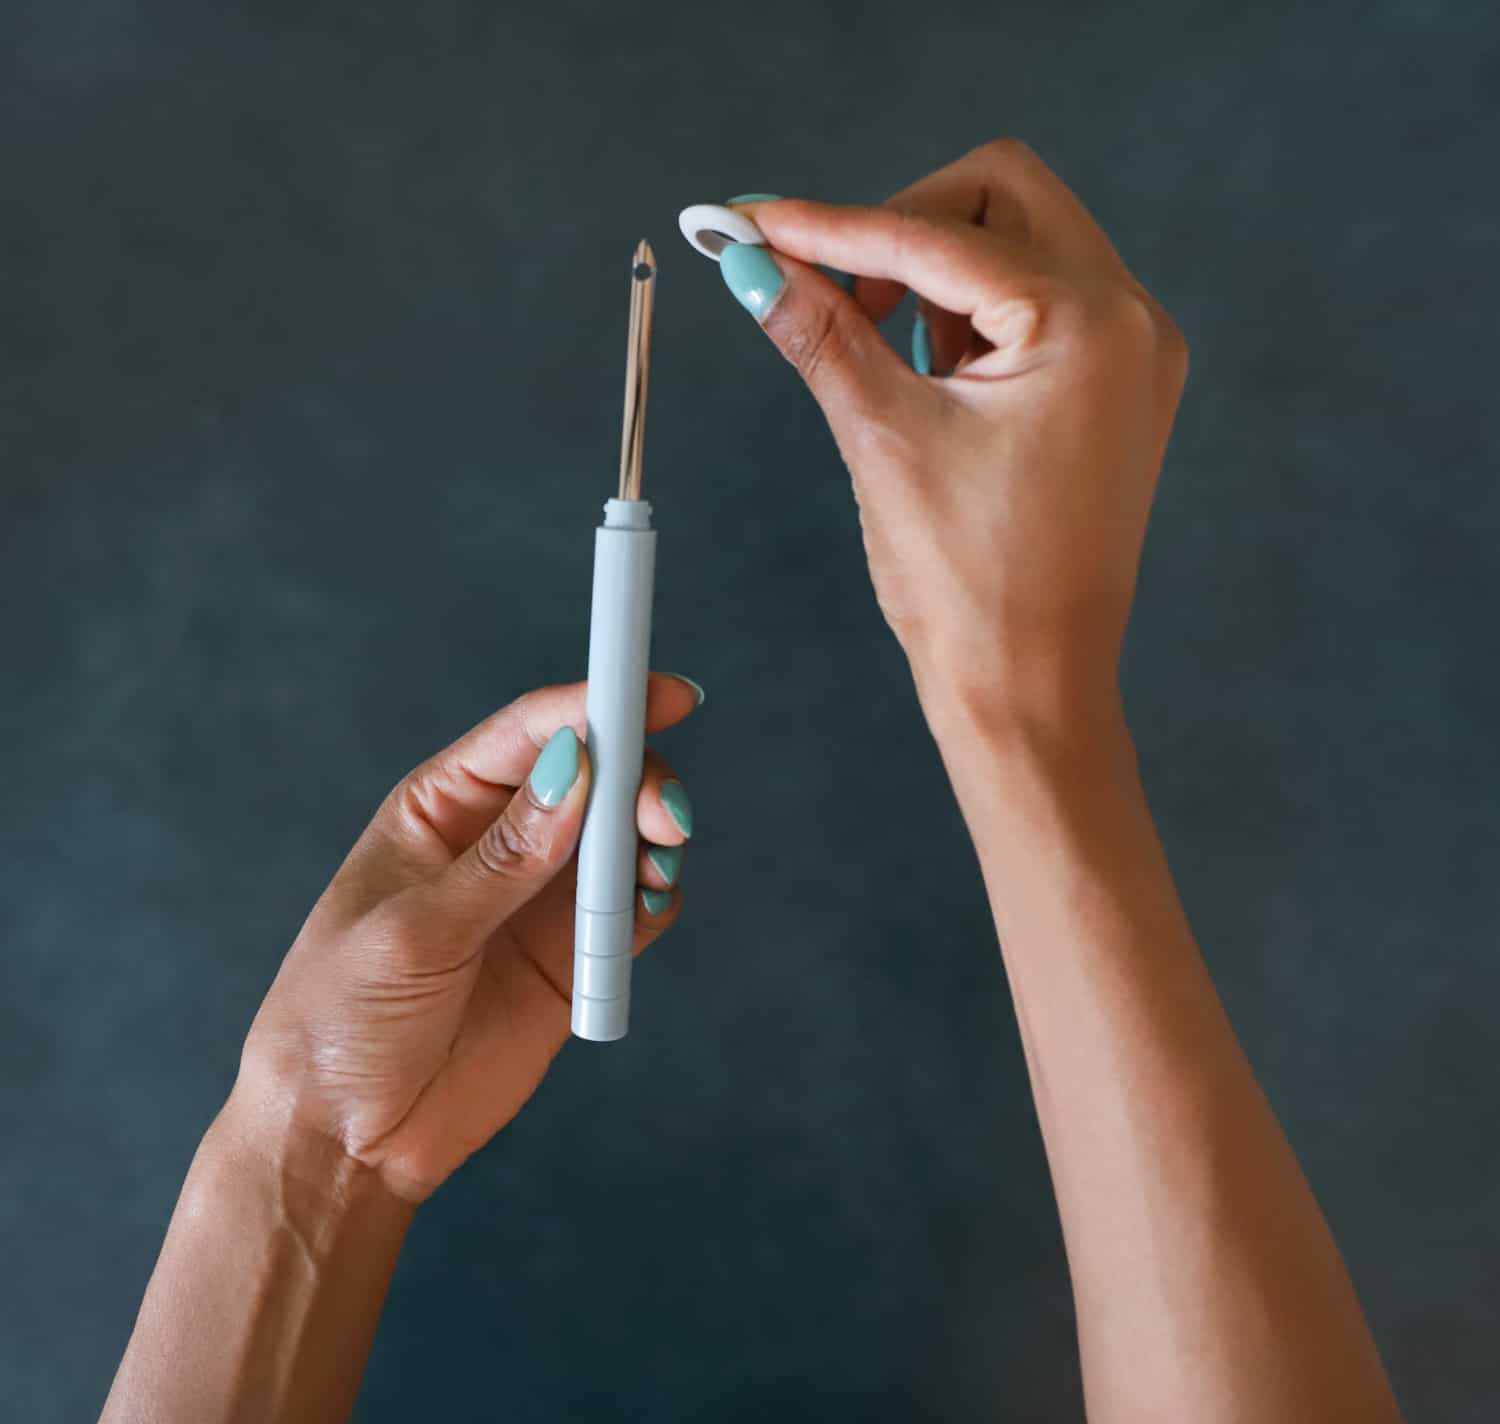
Step 2. Thread the punch needle by following the images below.
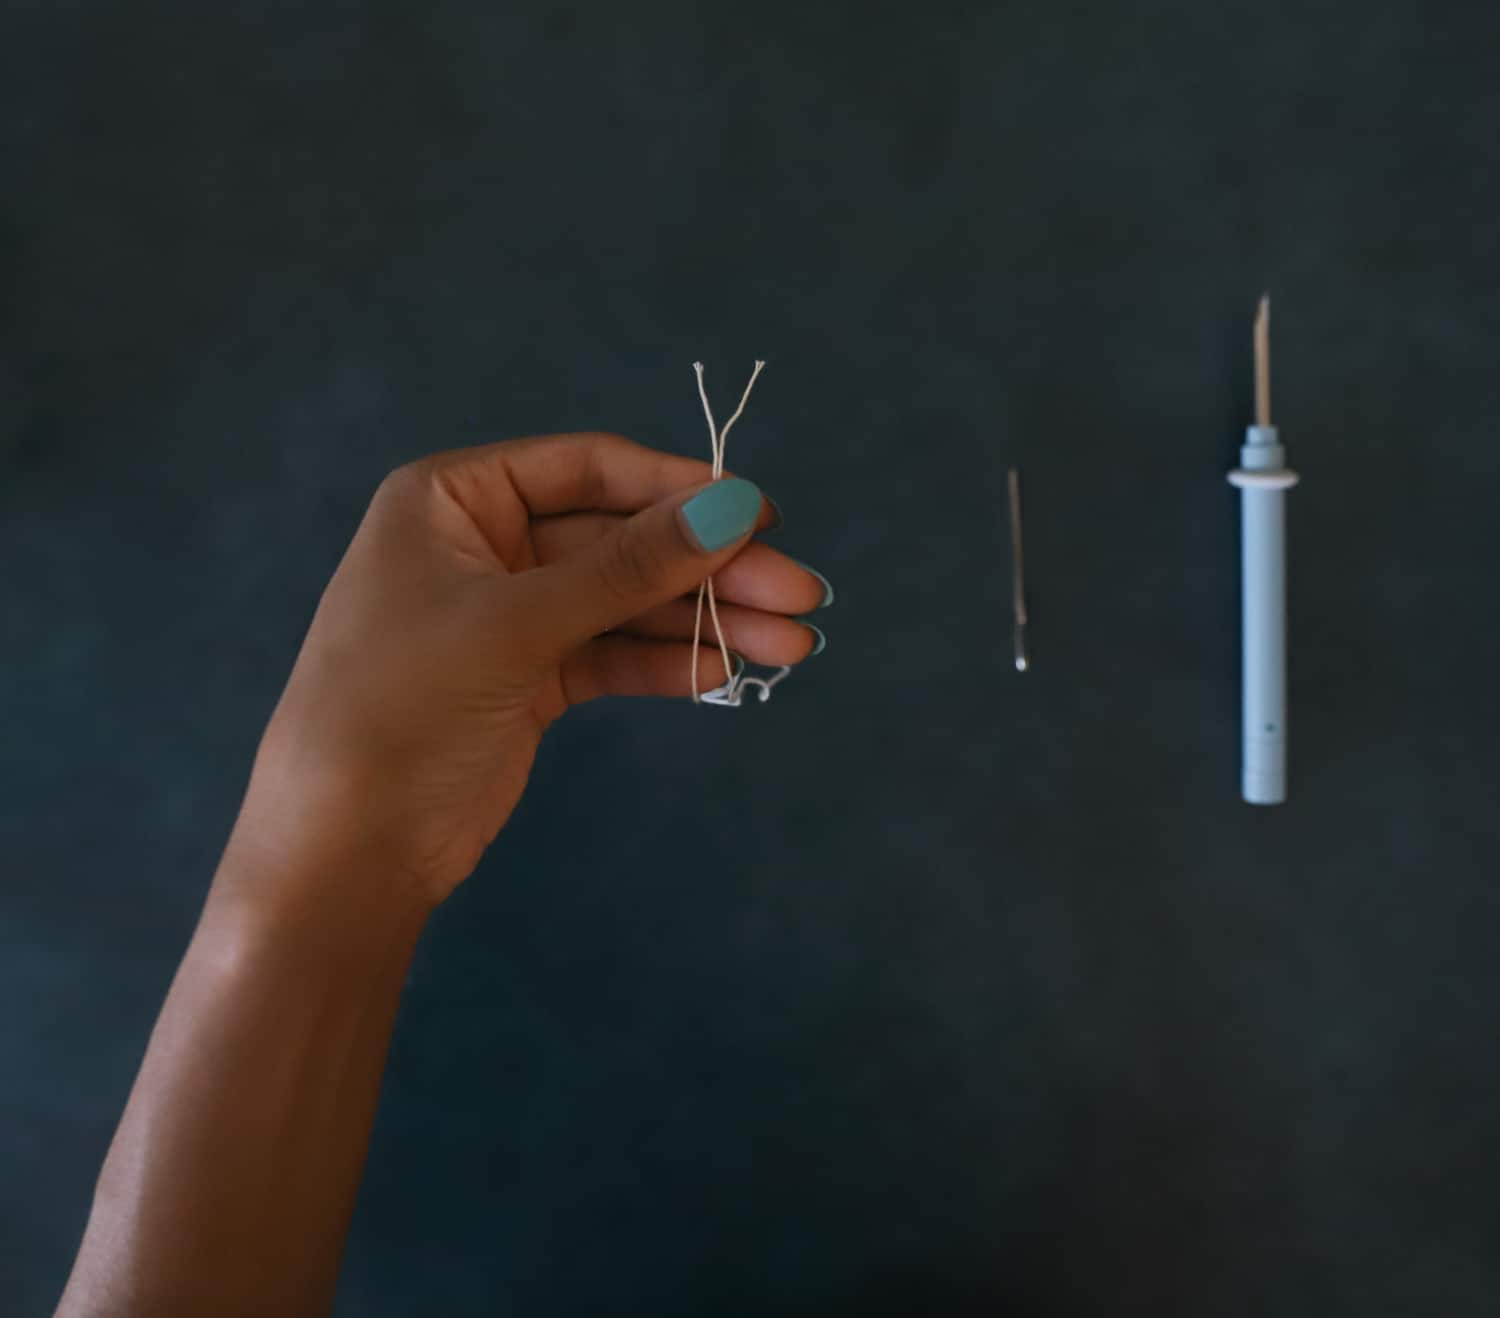
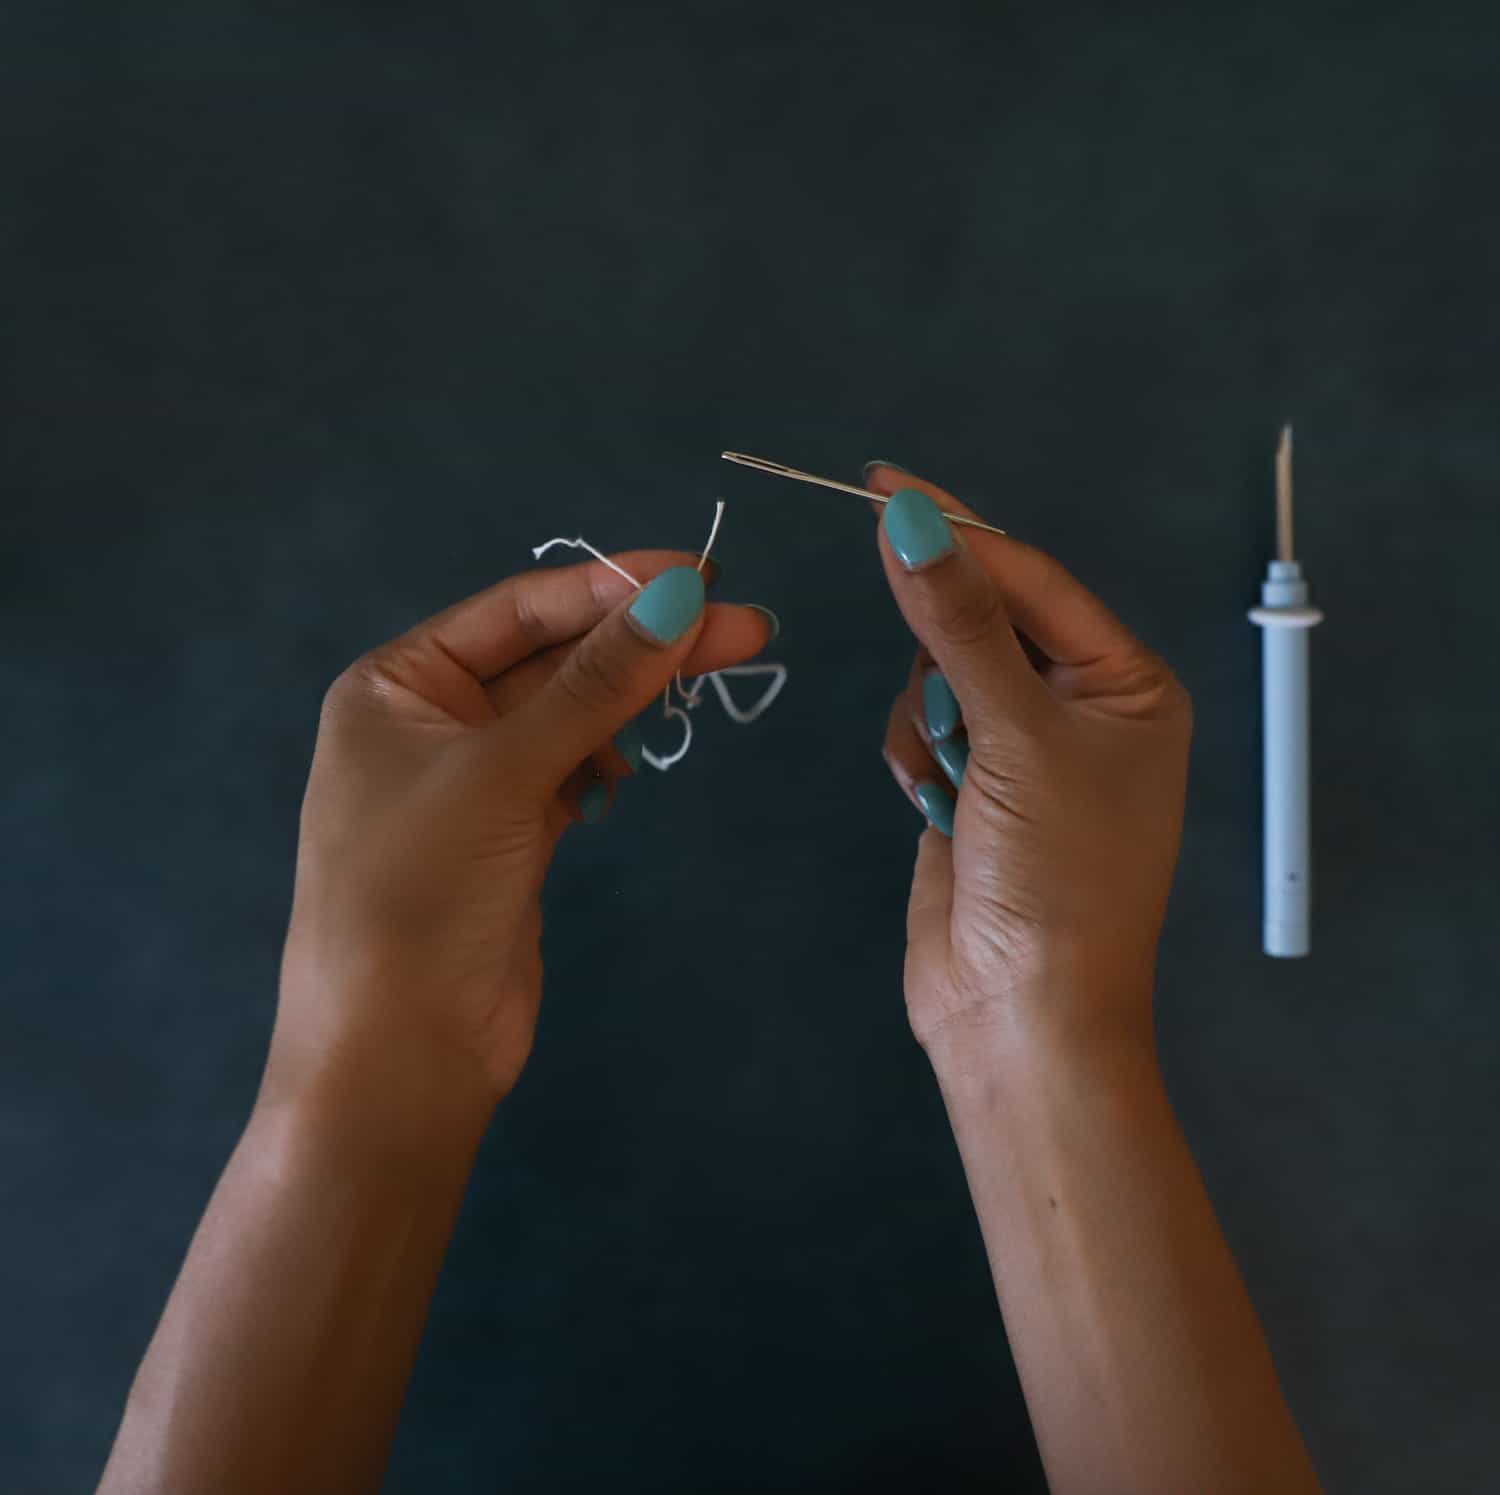
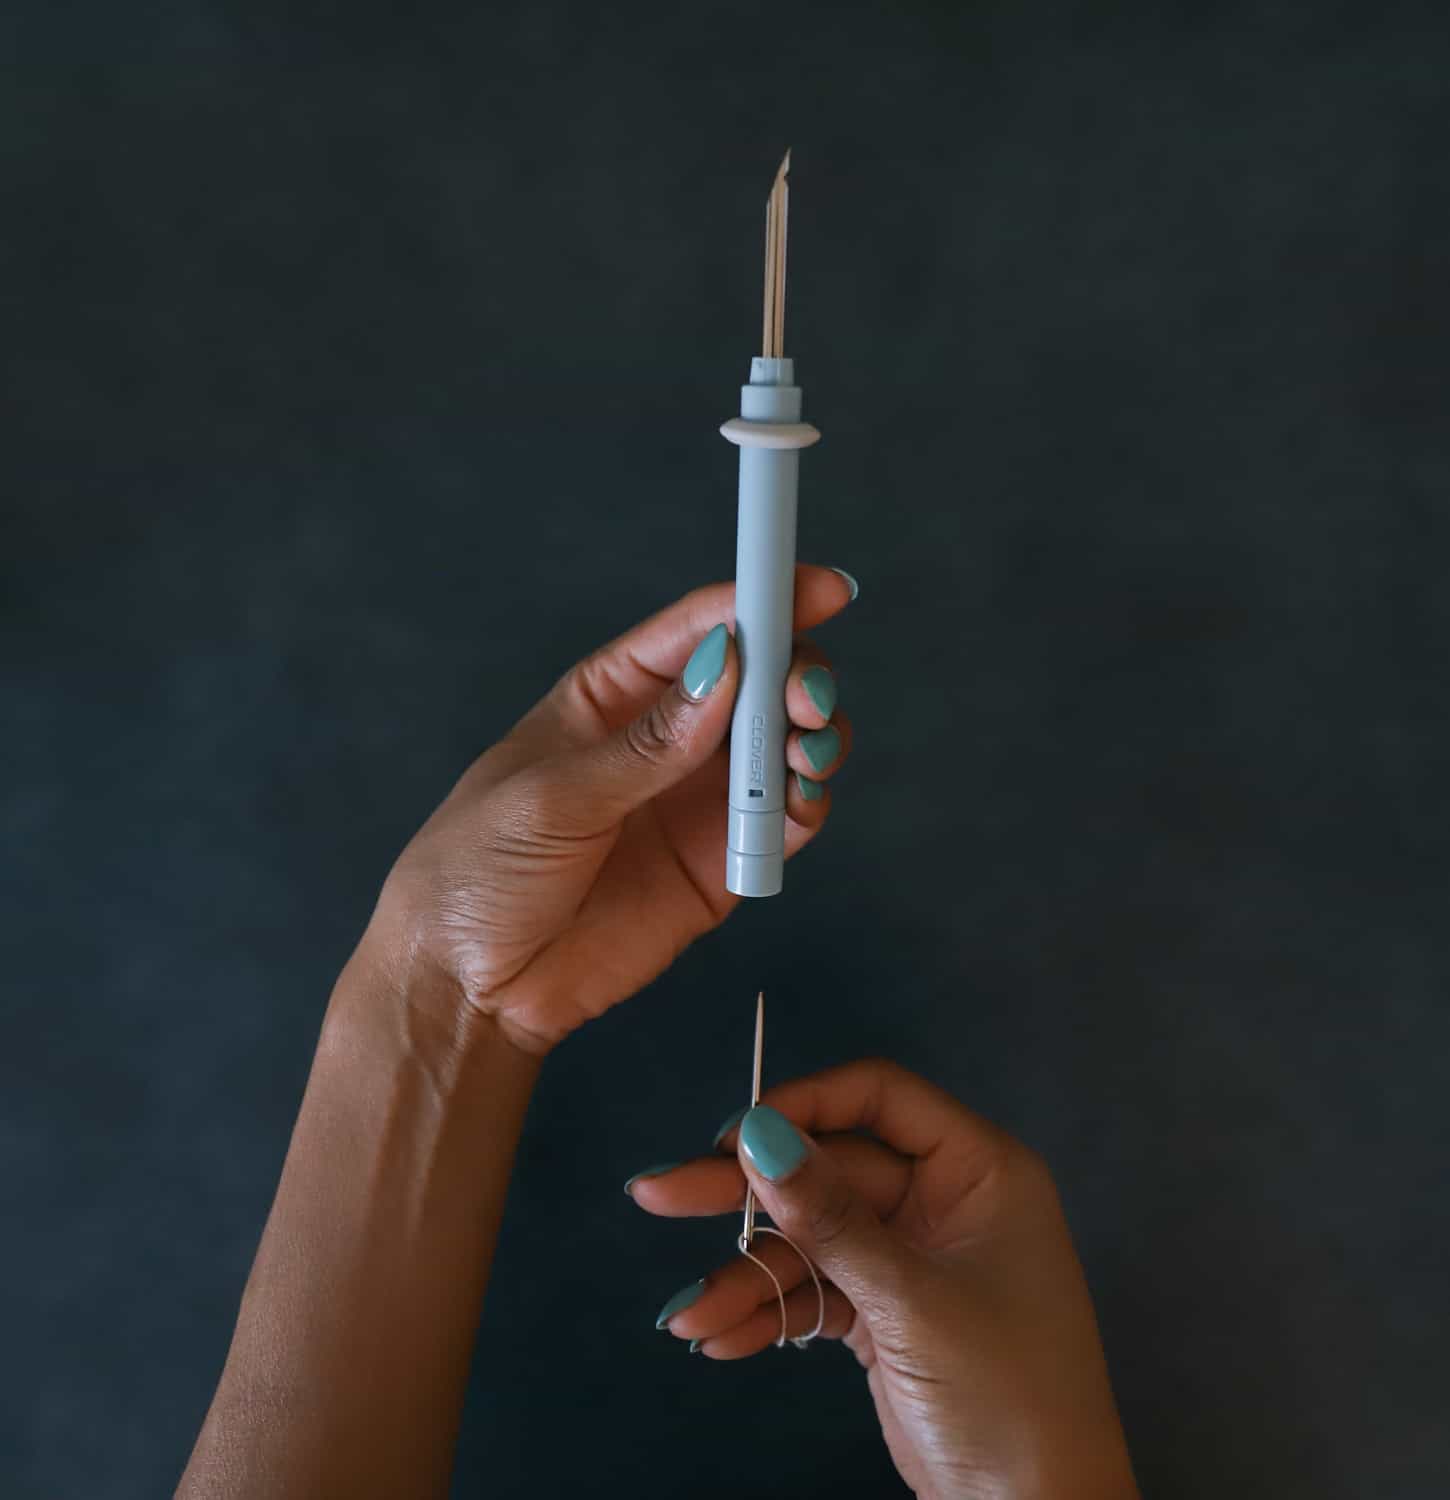
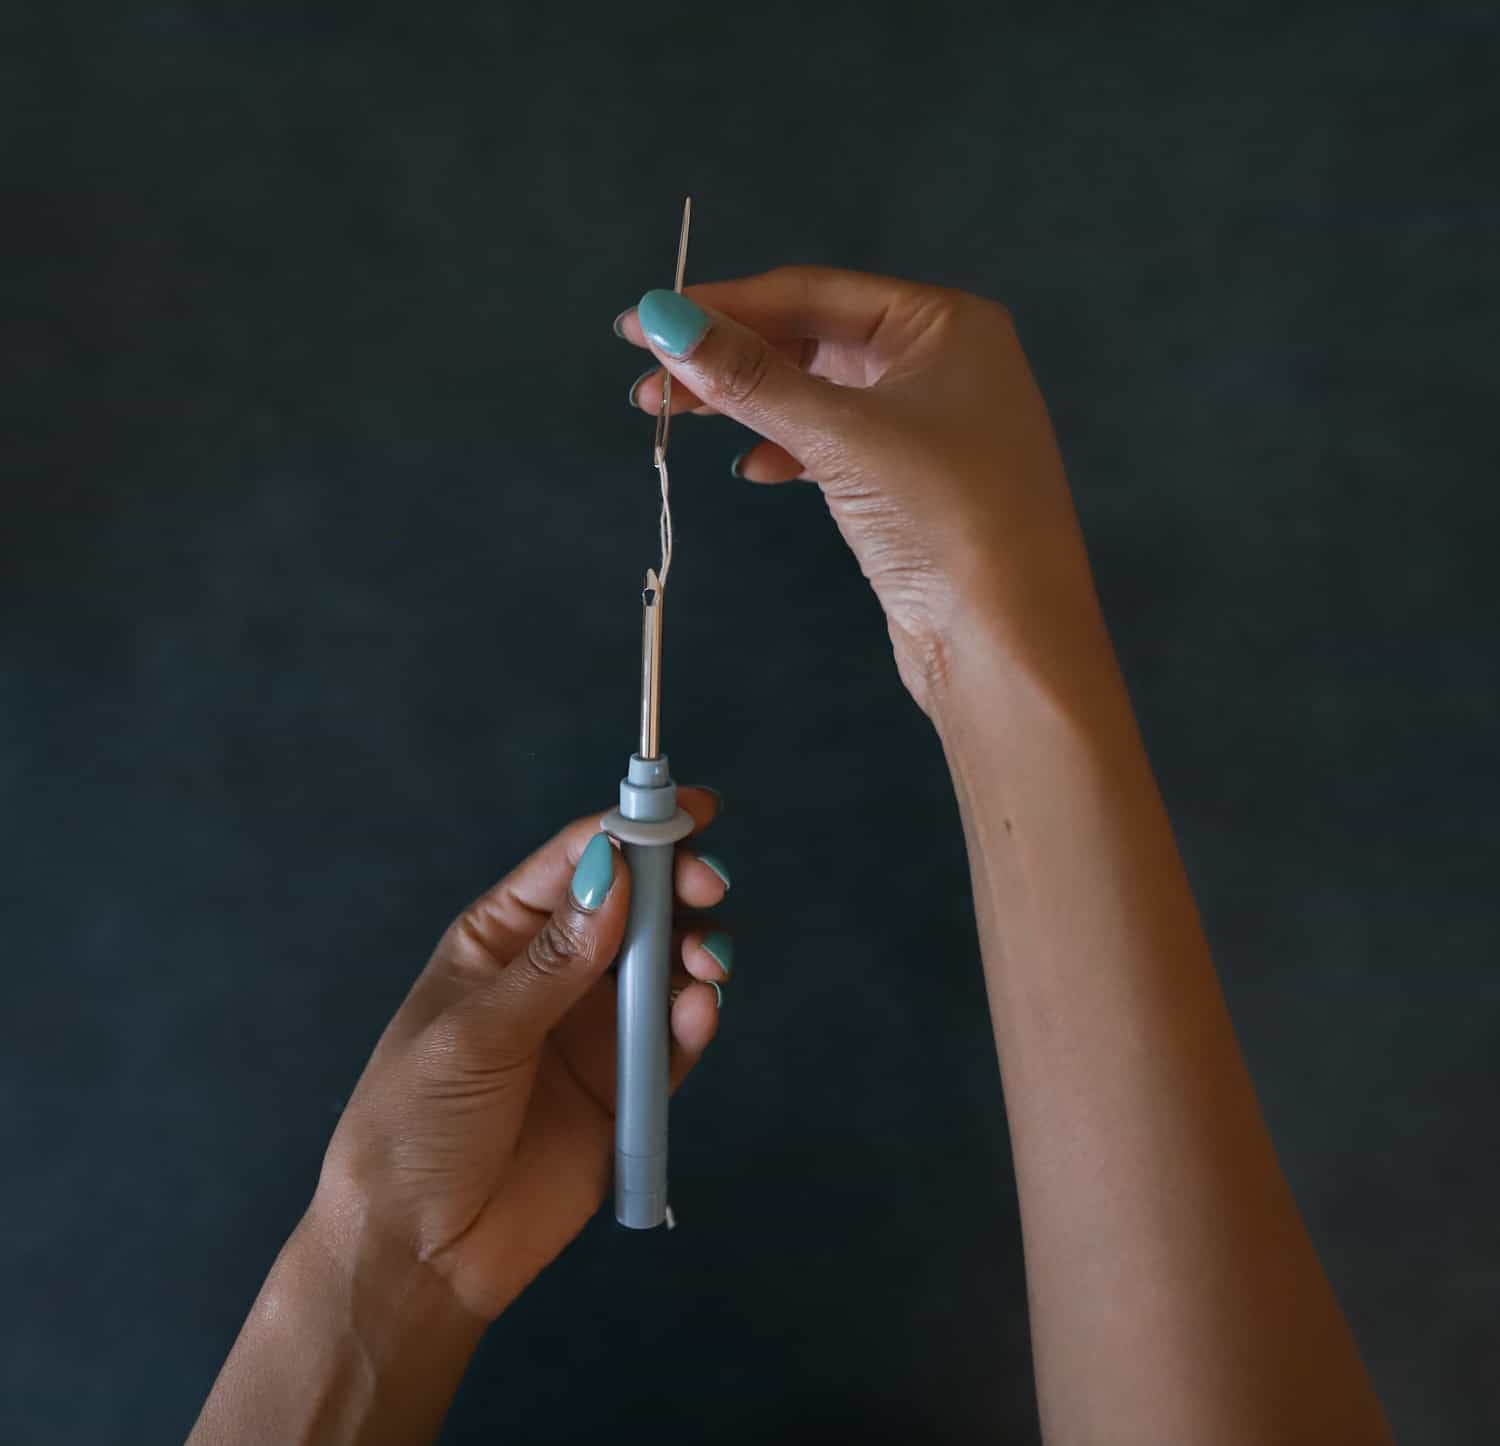
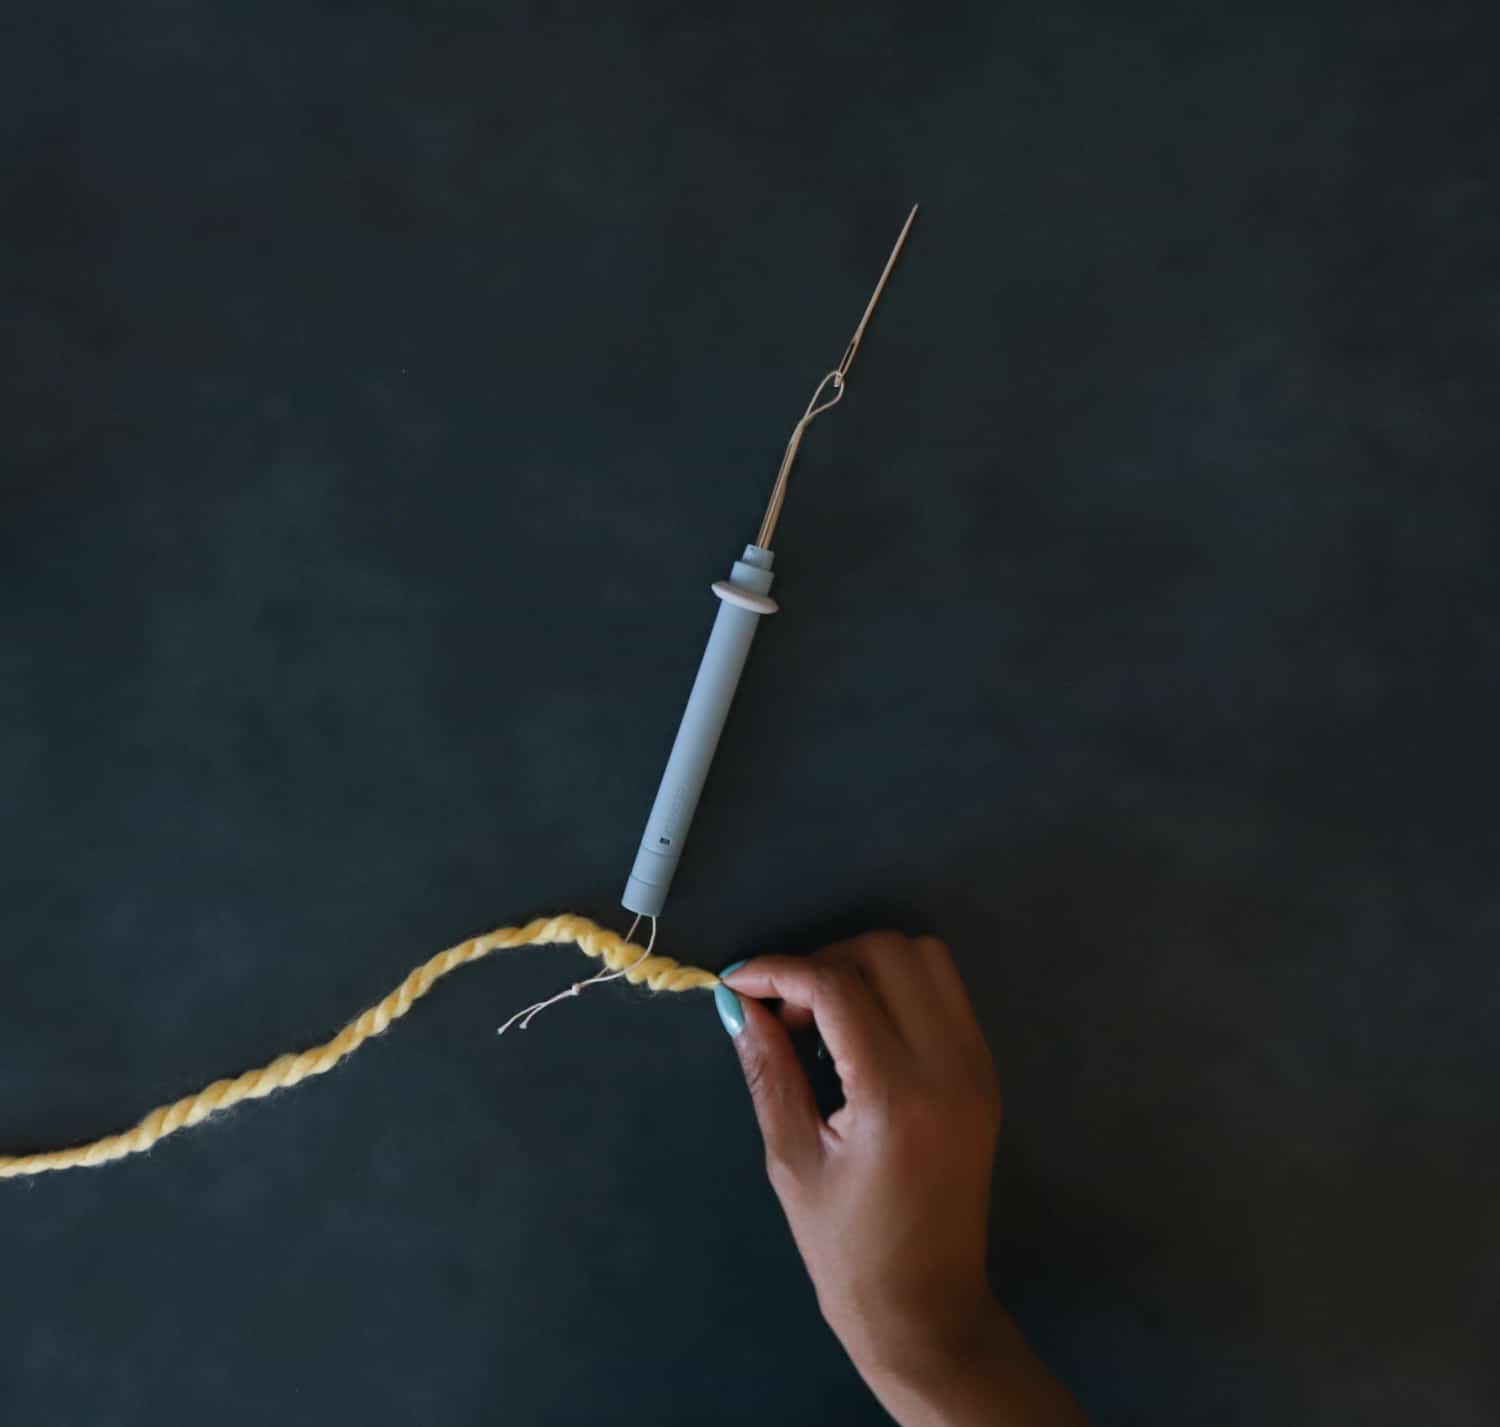
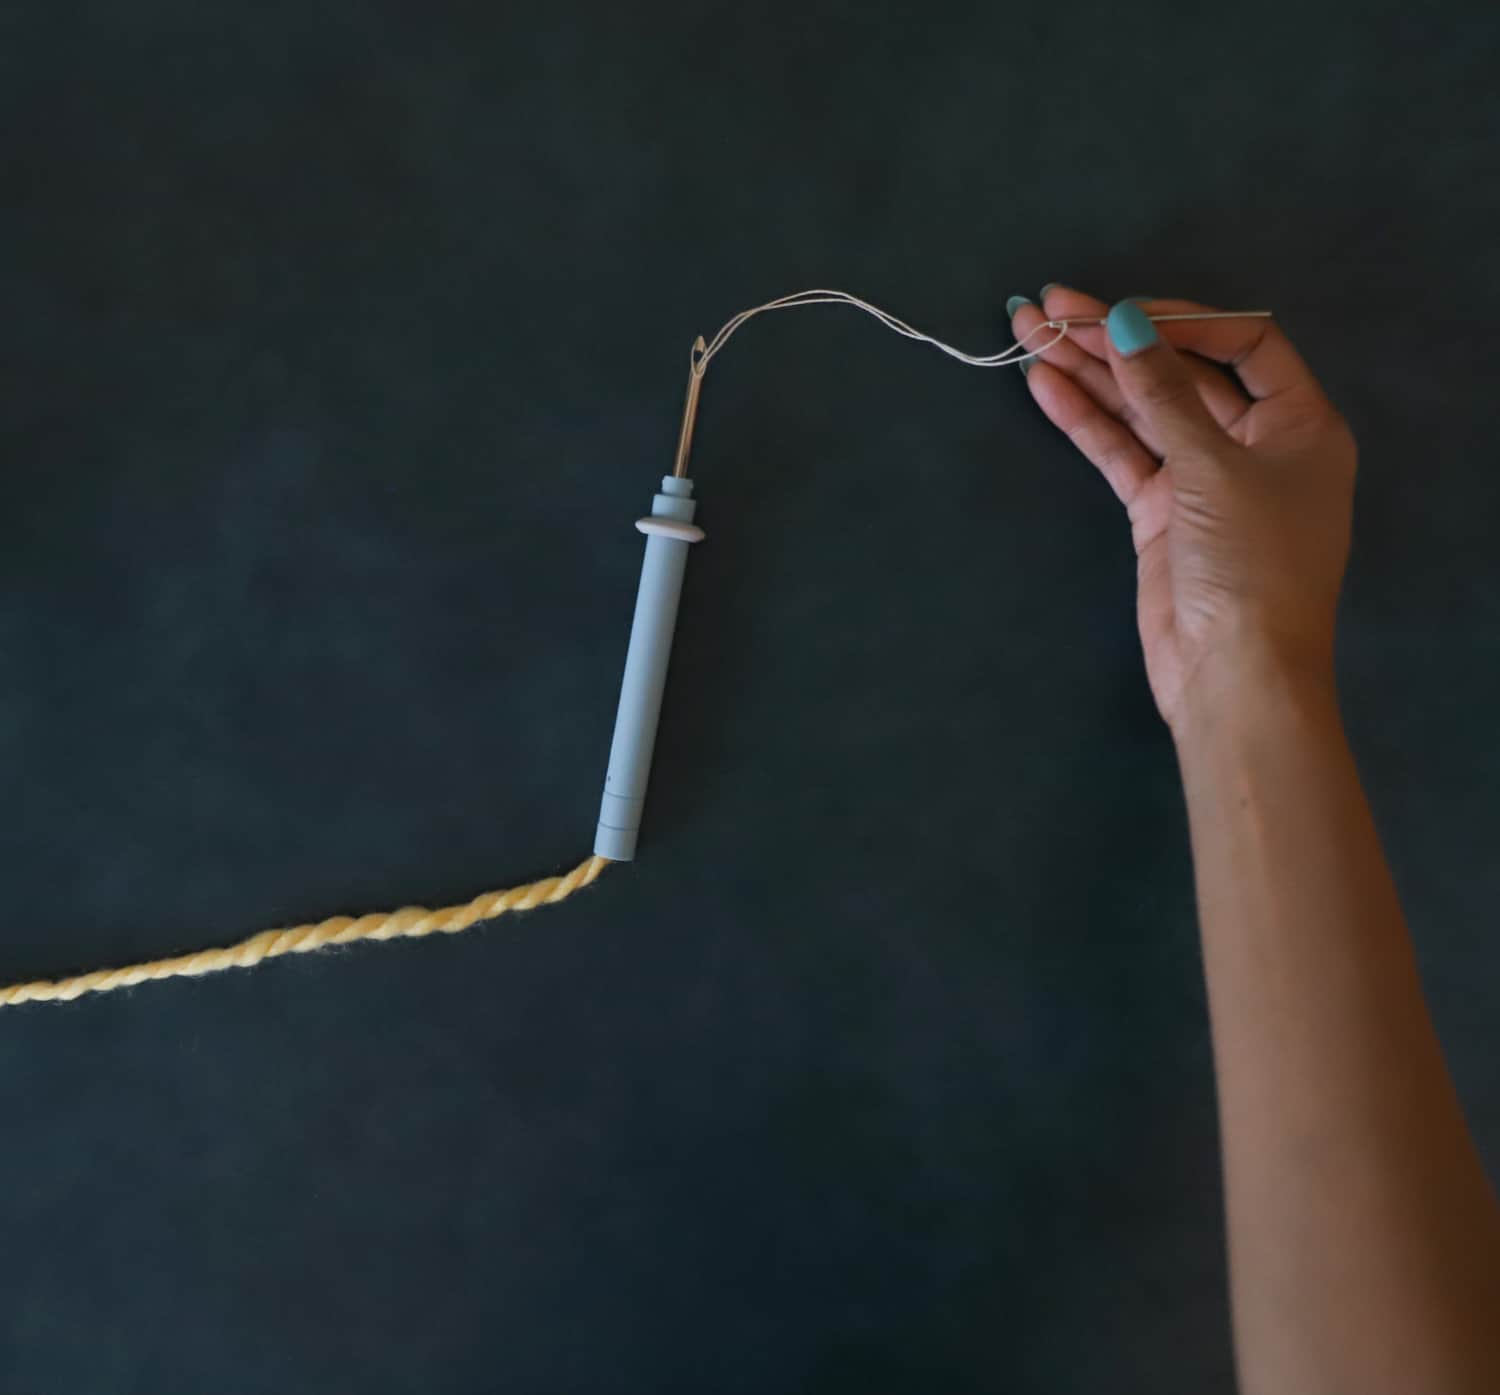
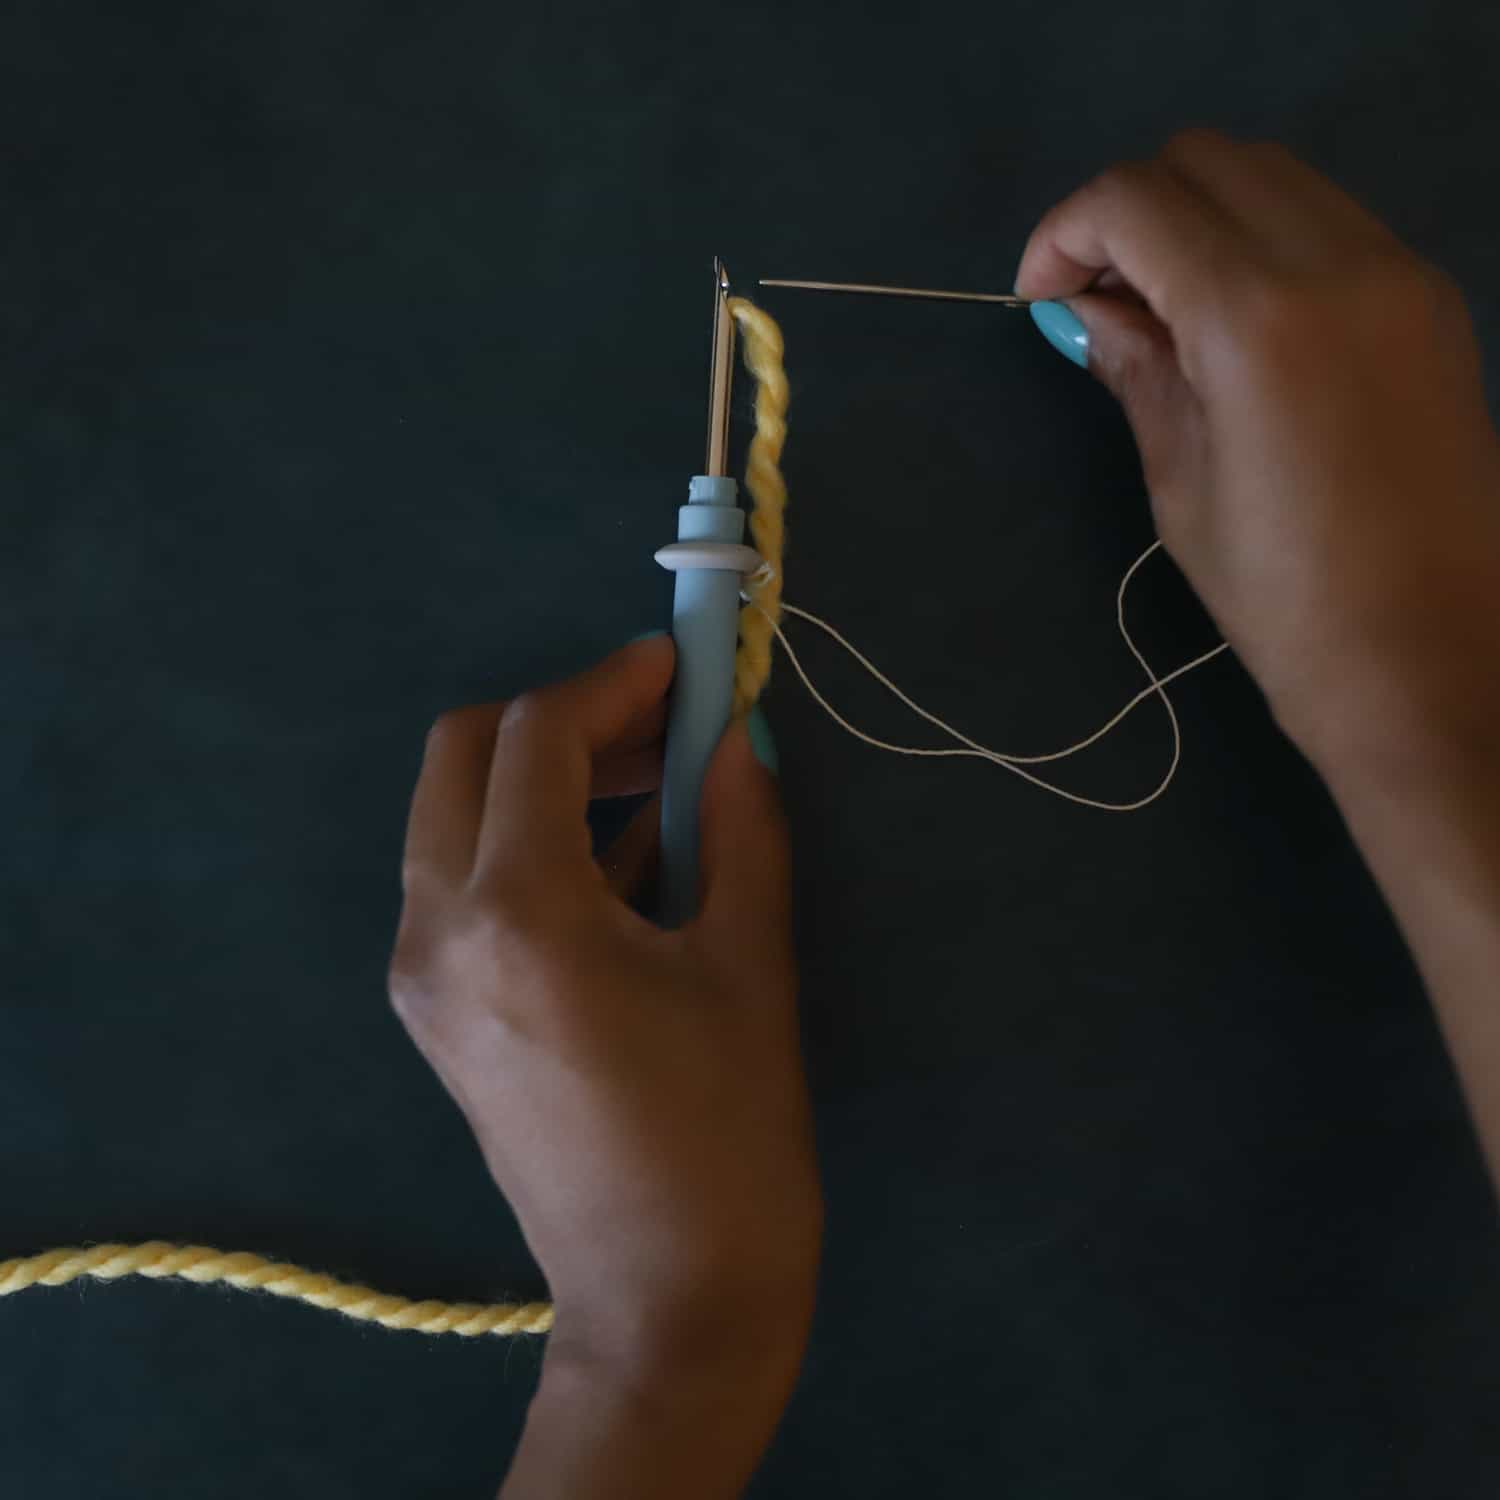

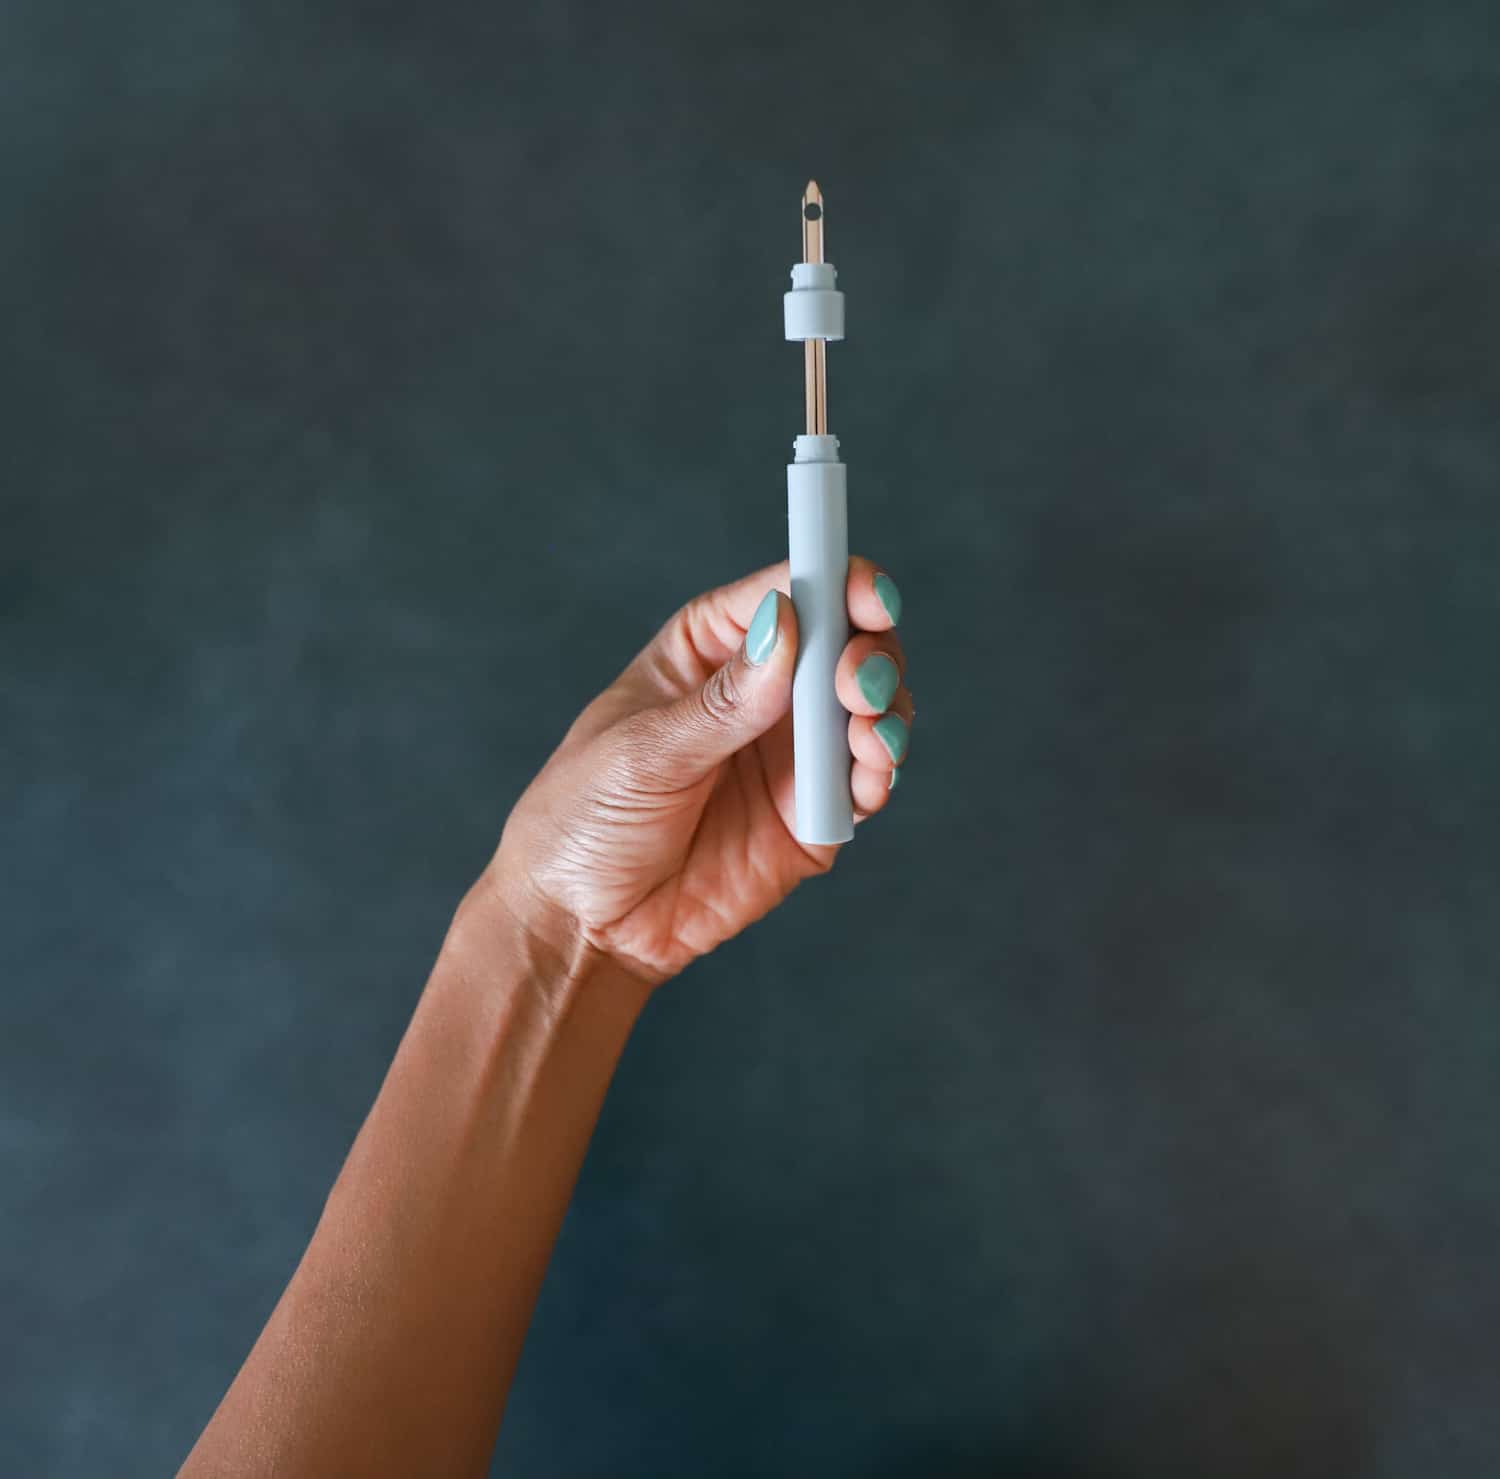
Adjusting the Punch Needle Size
Clover’s new punch needle can create 4 types of loop lengths by moving the size cap from the top to the bottom or vice versa. All it takes is a simple twist to unlock, then lock the cap in place.
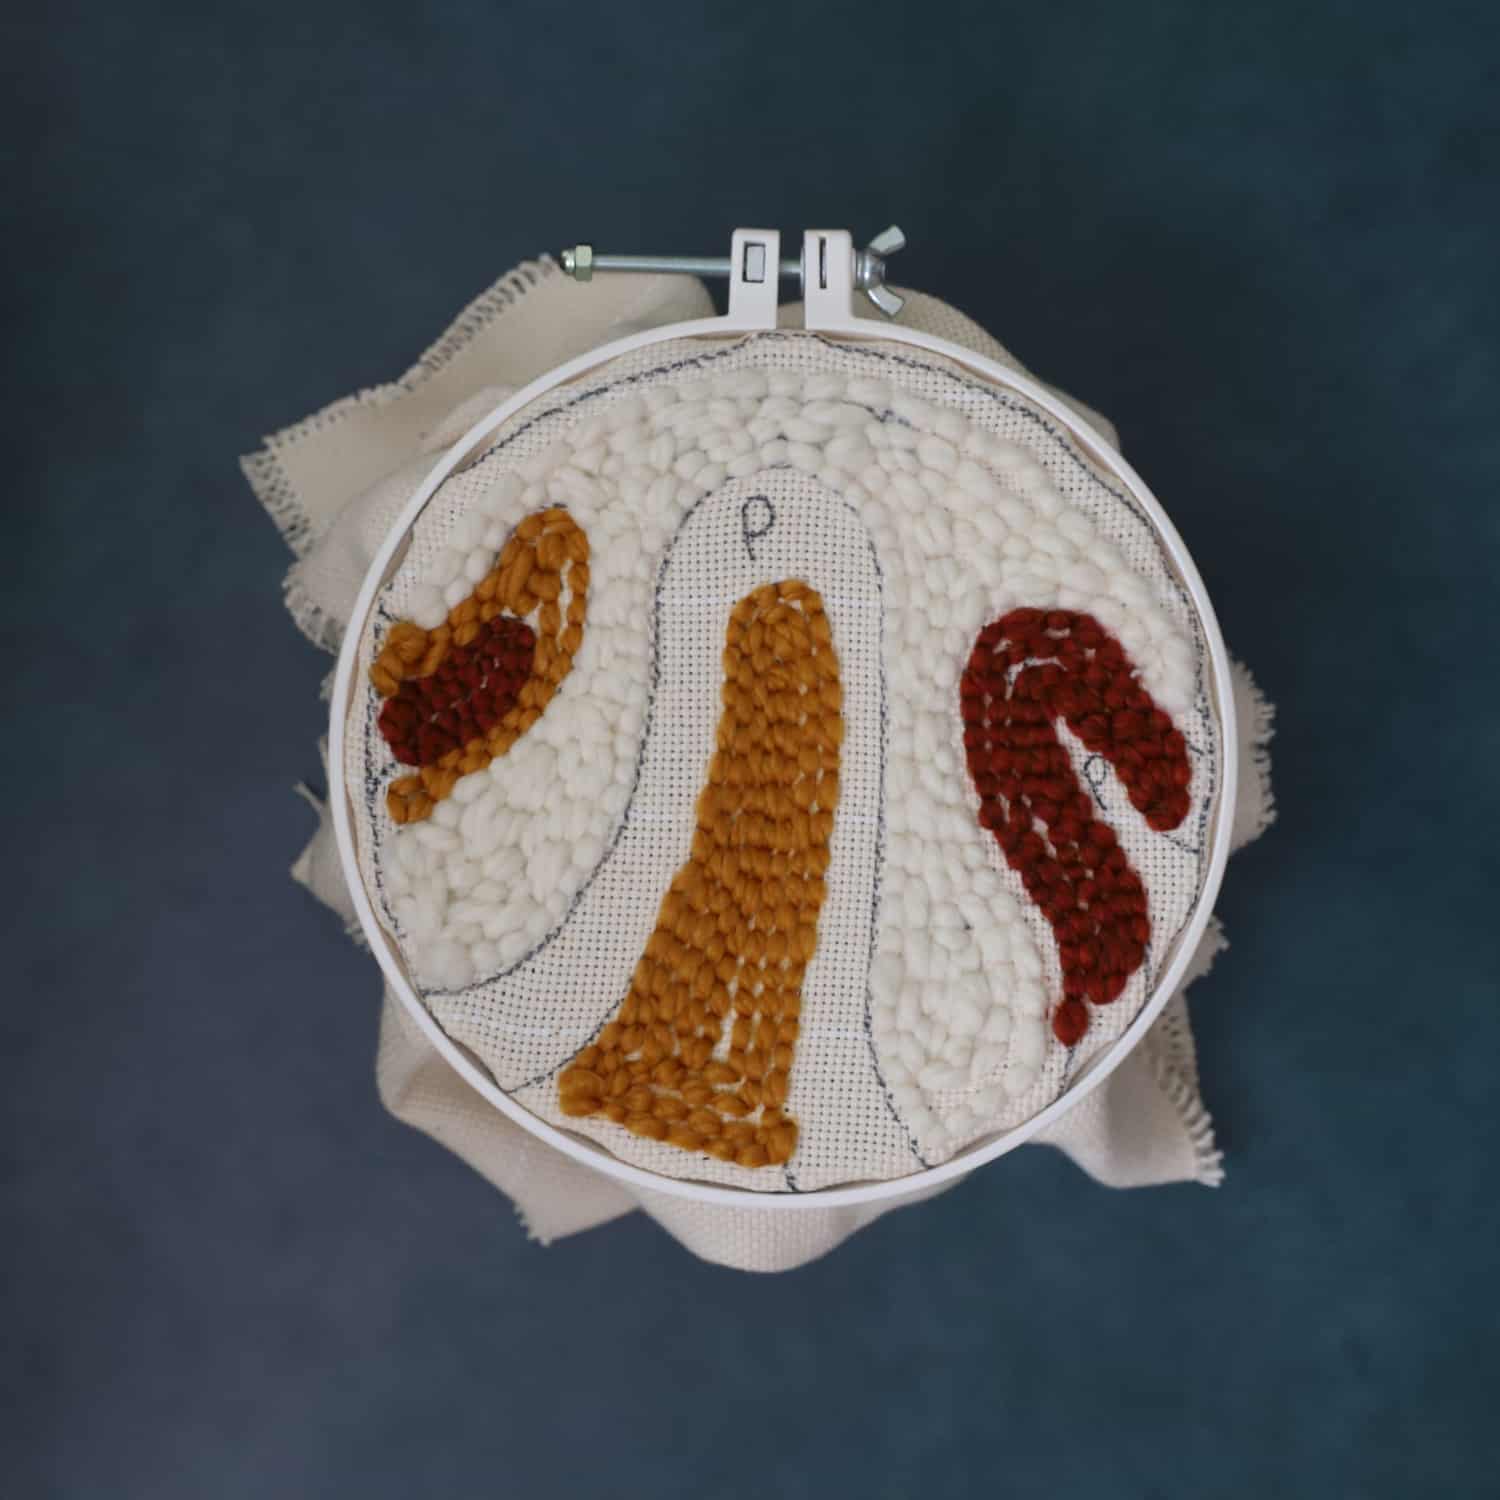
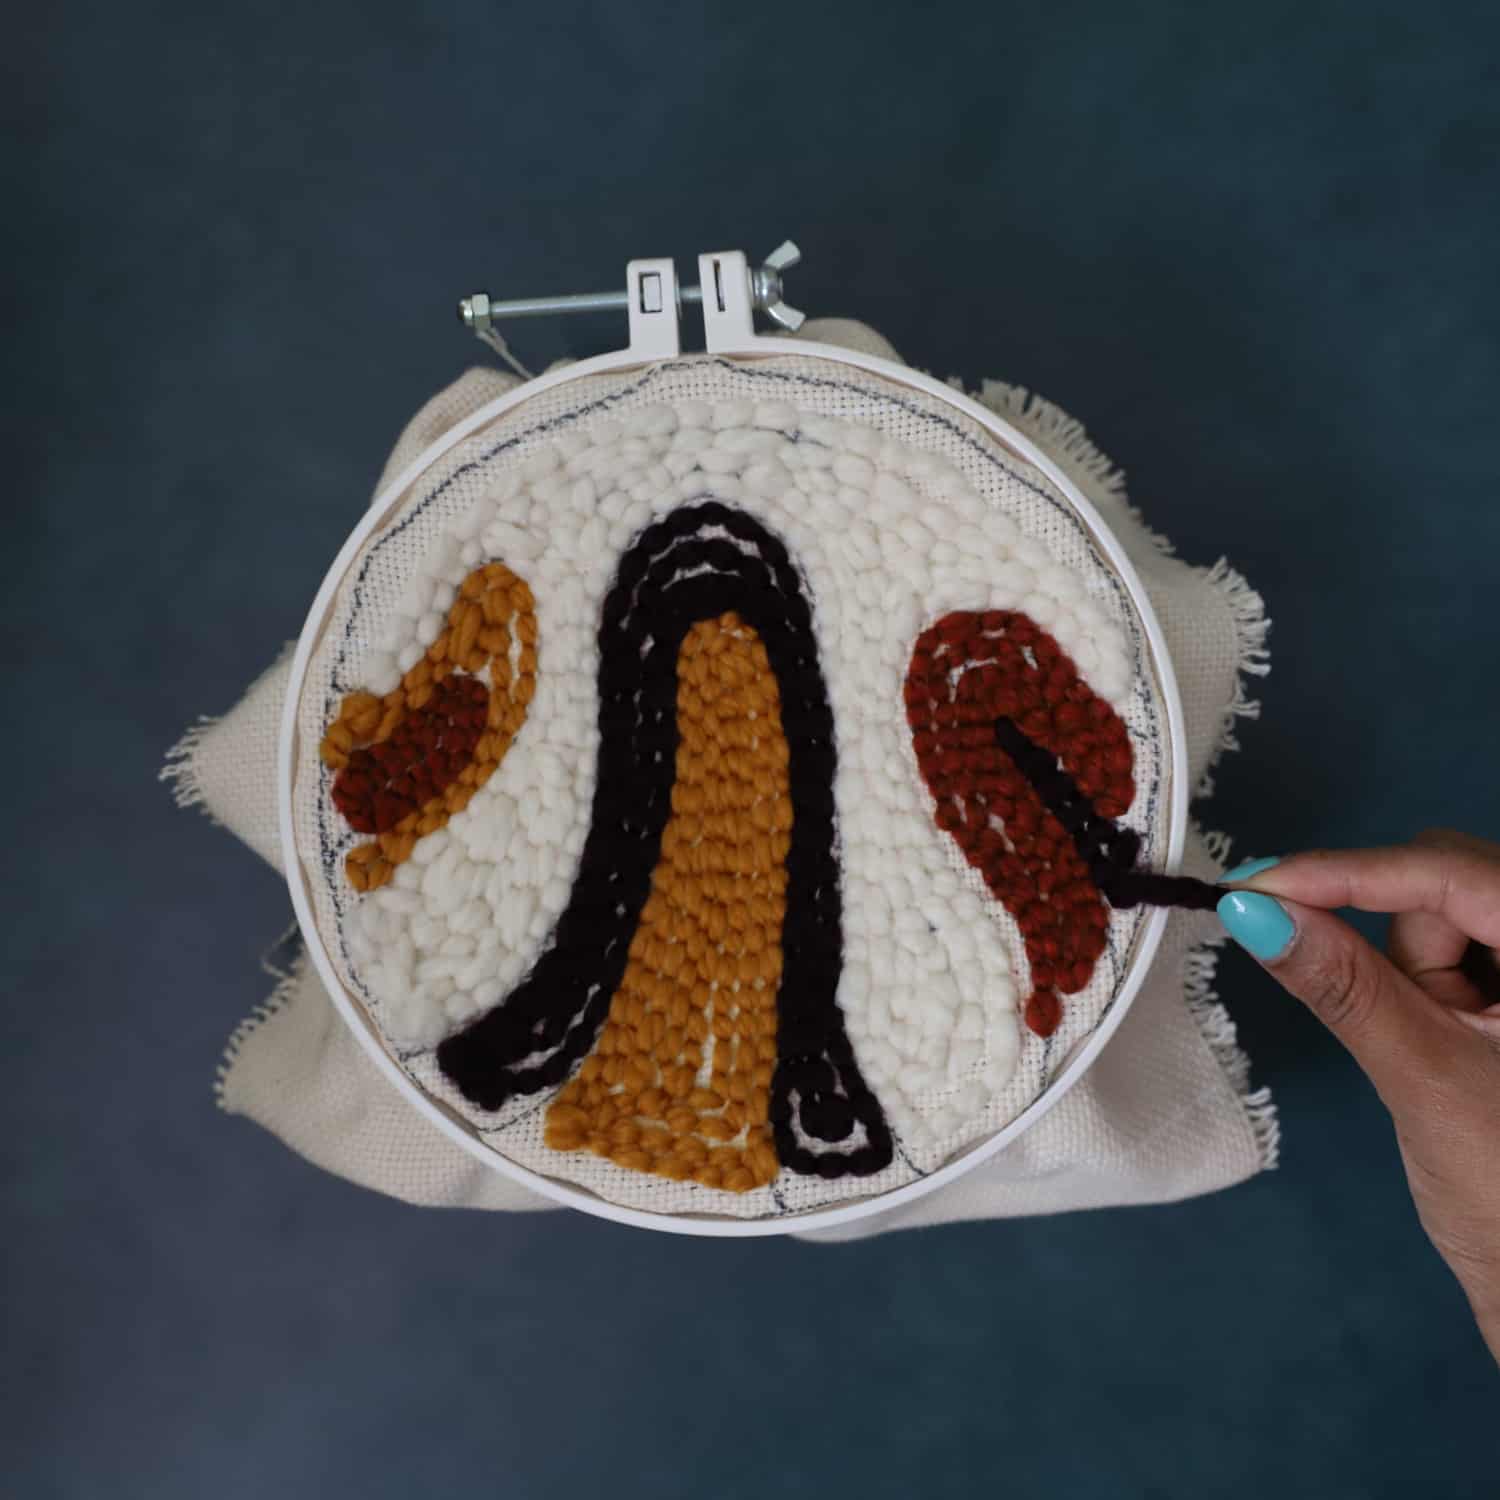
Step 3. Begin stitching the pattern. Be sure to push the punch needle all the way down while stitching into the Monk’s cloth. For additional help, reference the instructions included with the punch needle.
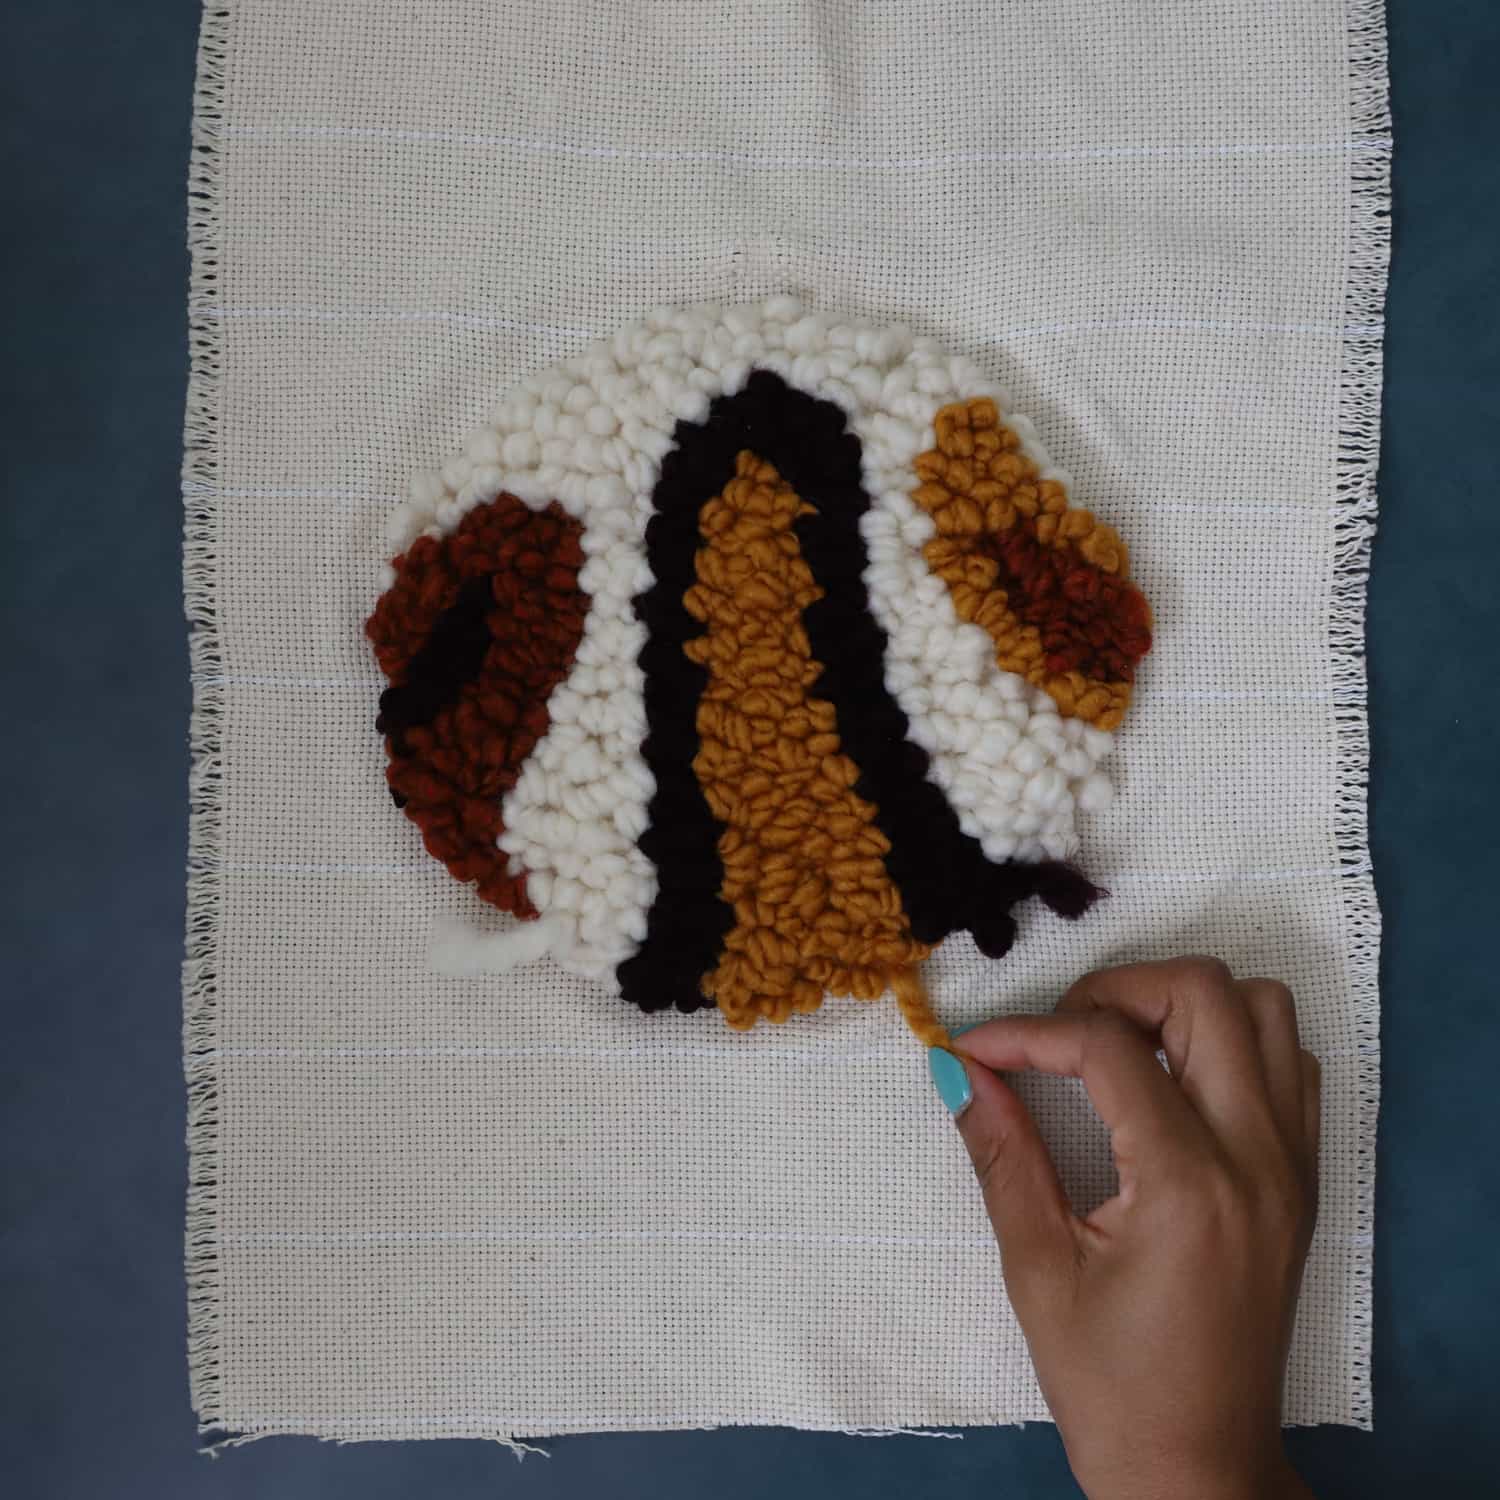
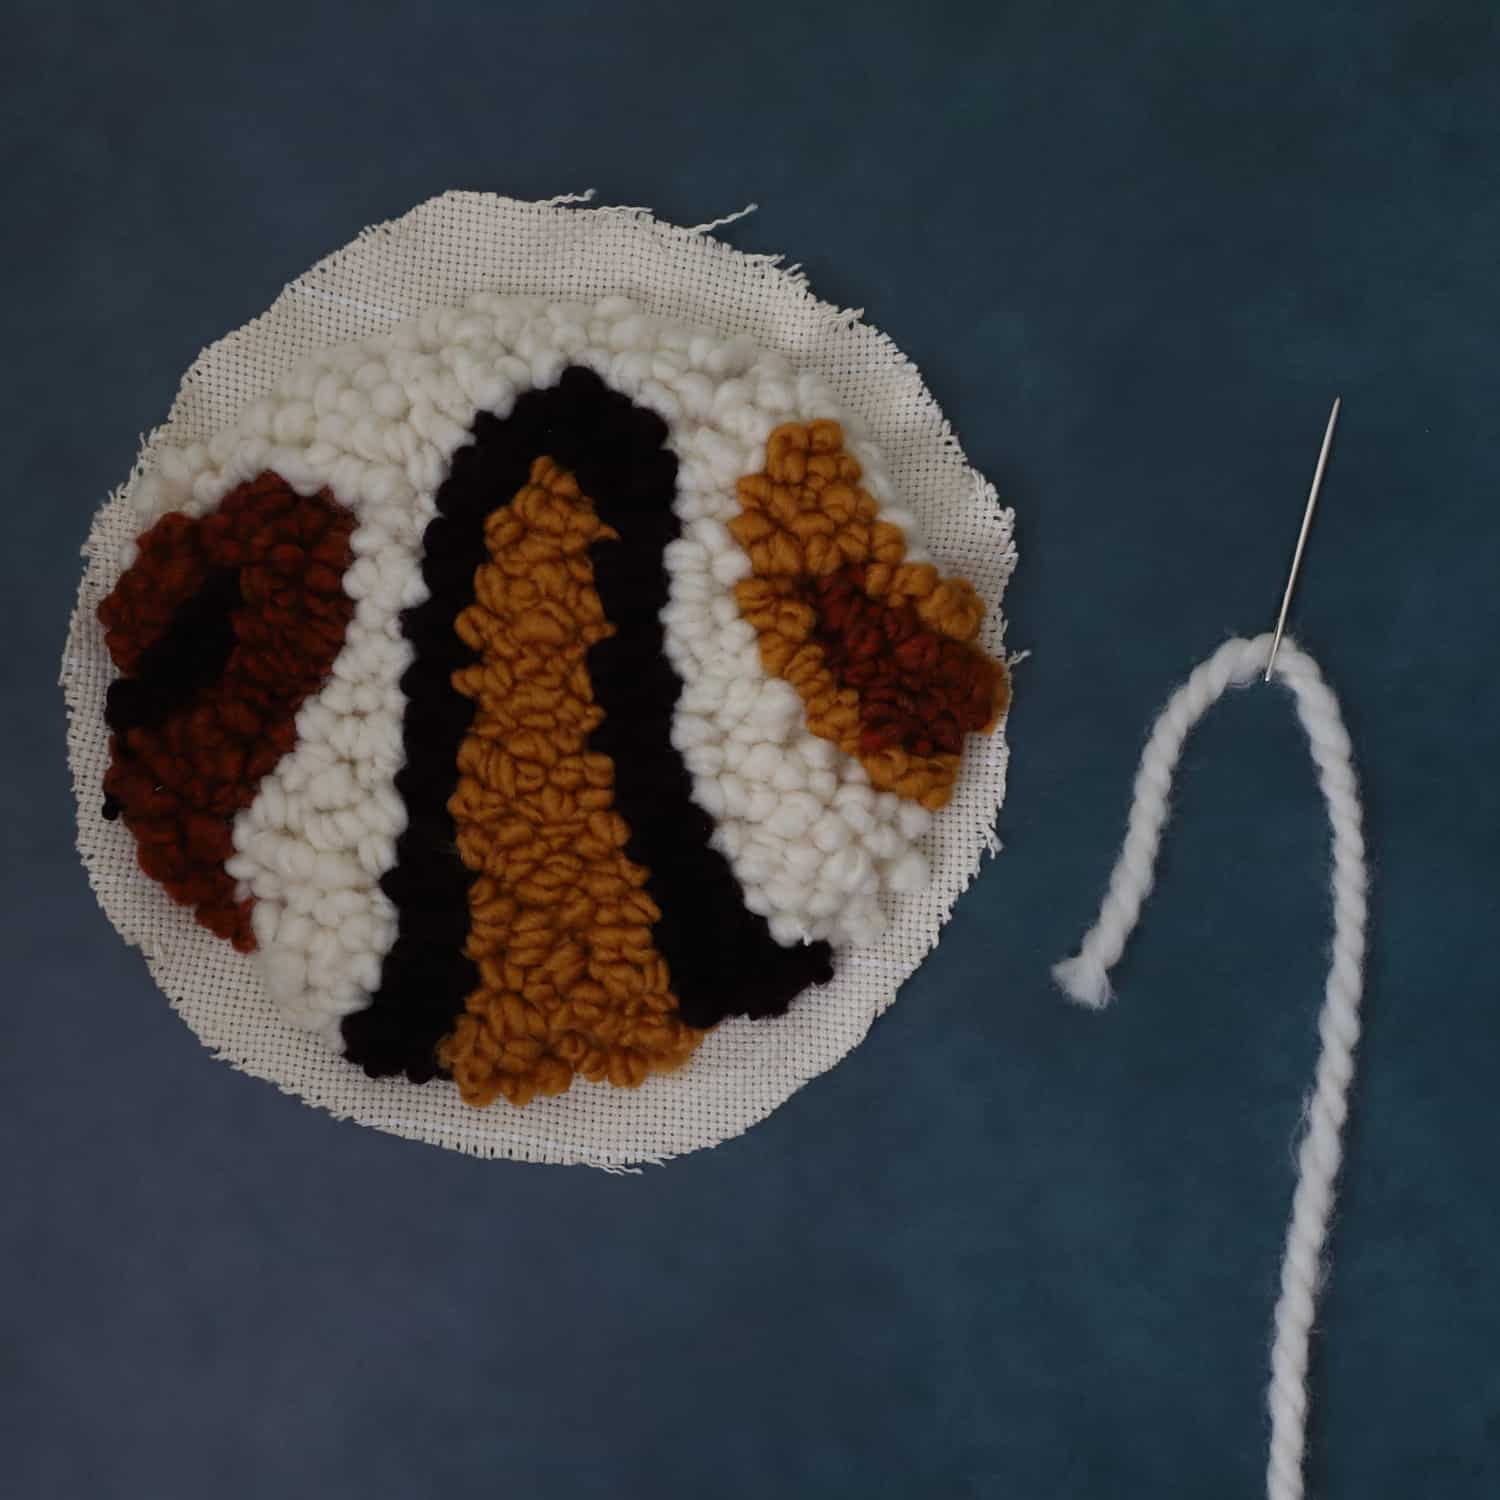
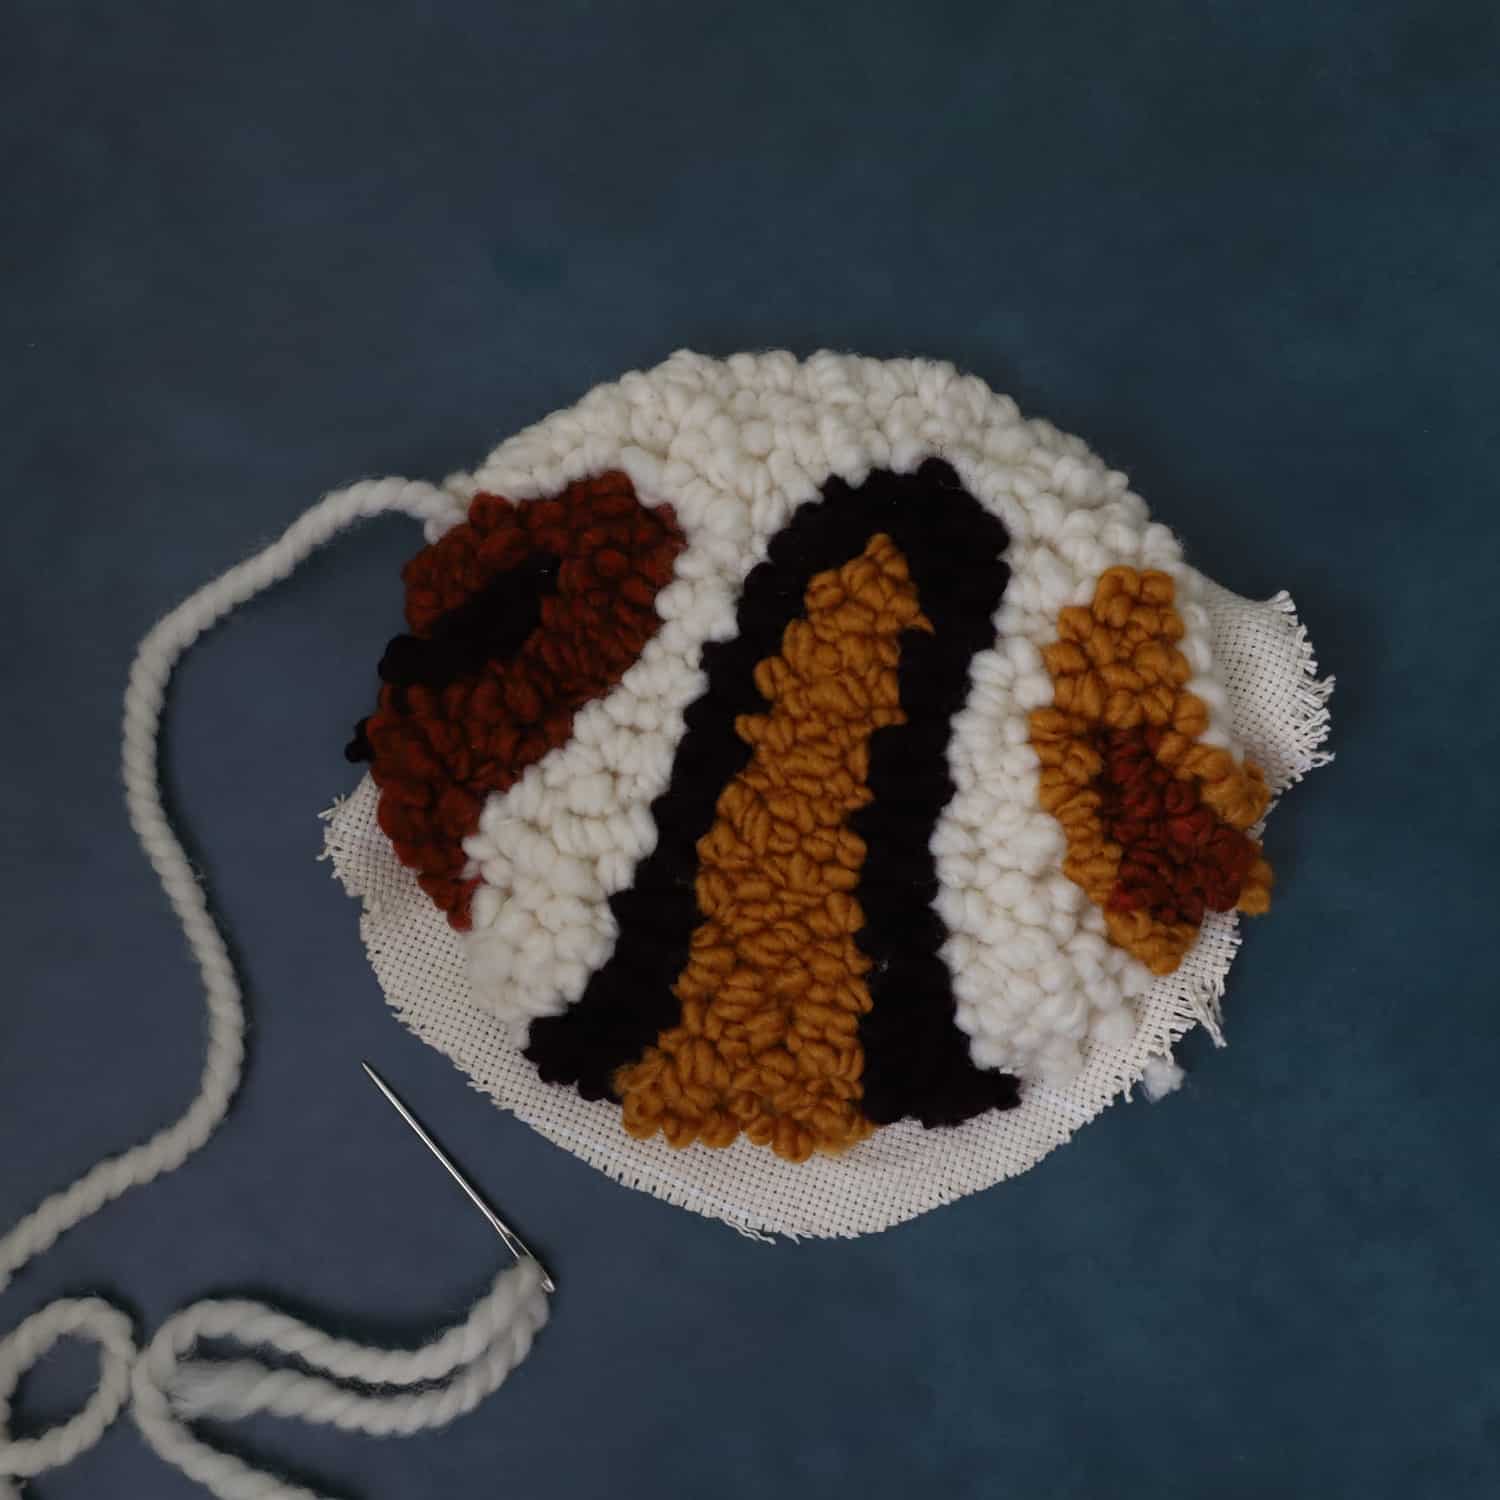
Step 4. Tuck the loose ends into the monk’s cloth, then trim on the looped side.
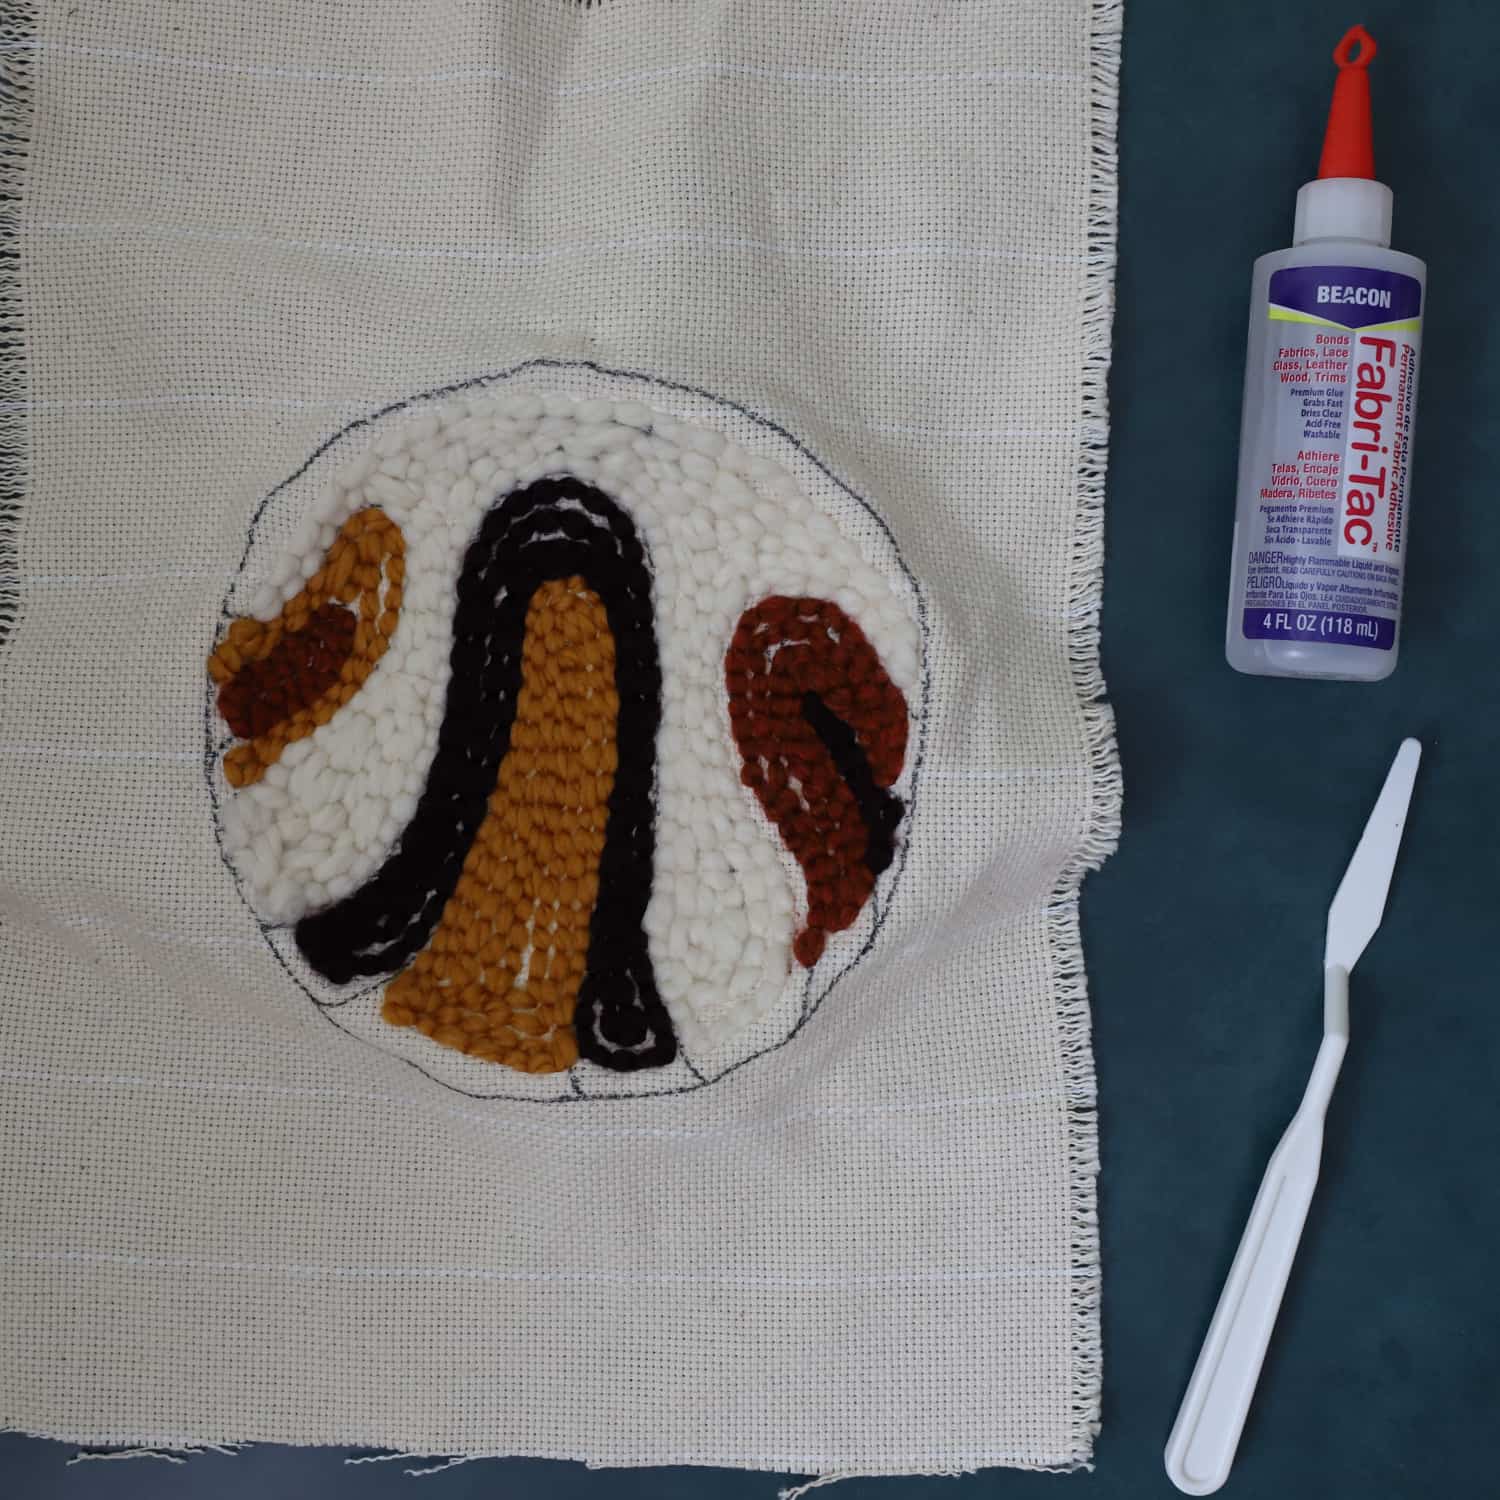
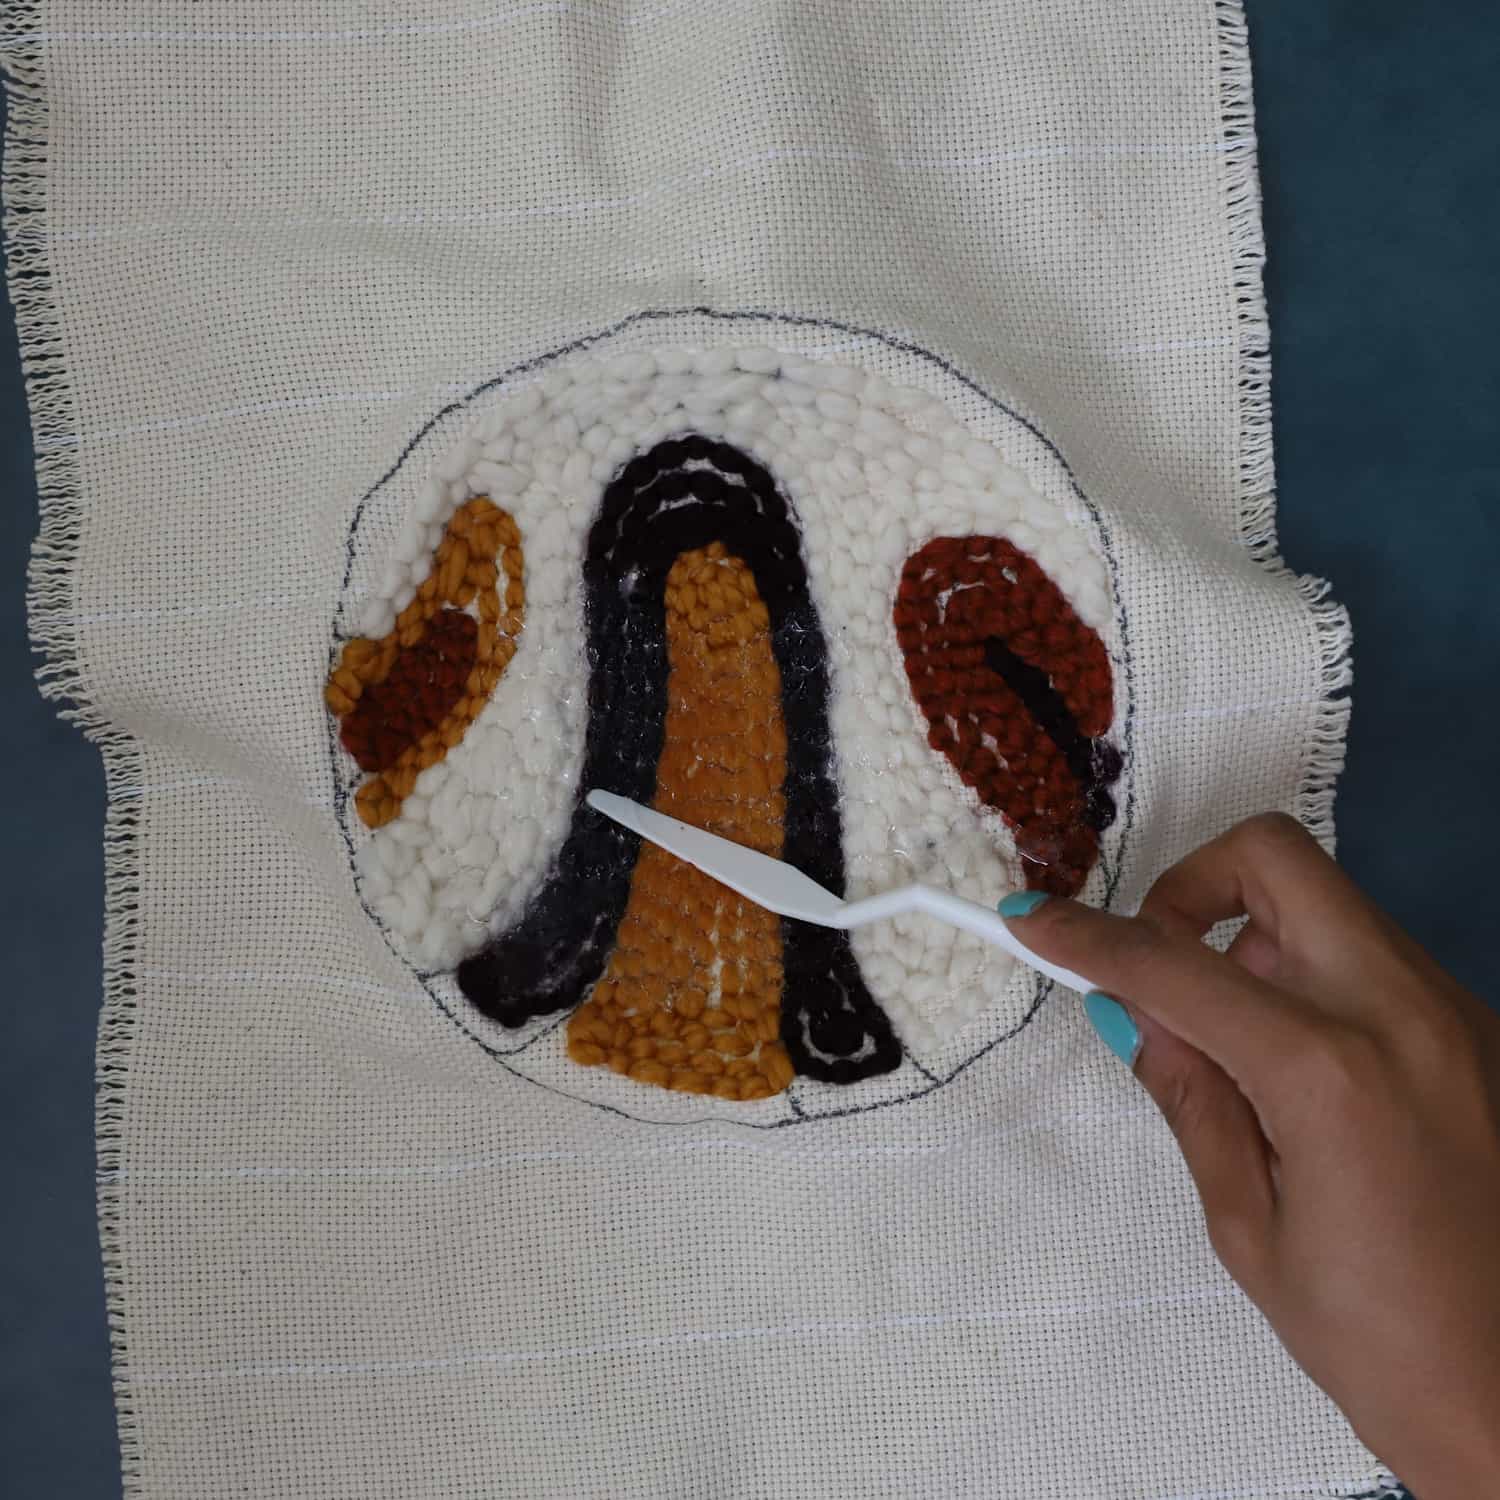
Step 5. Use a palette knife to spread the fabric glue onto the back stitches, then wait for the glue to dry.
After the glue has dried, trim around the design, then create a whipstitch to finish off the edge.
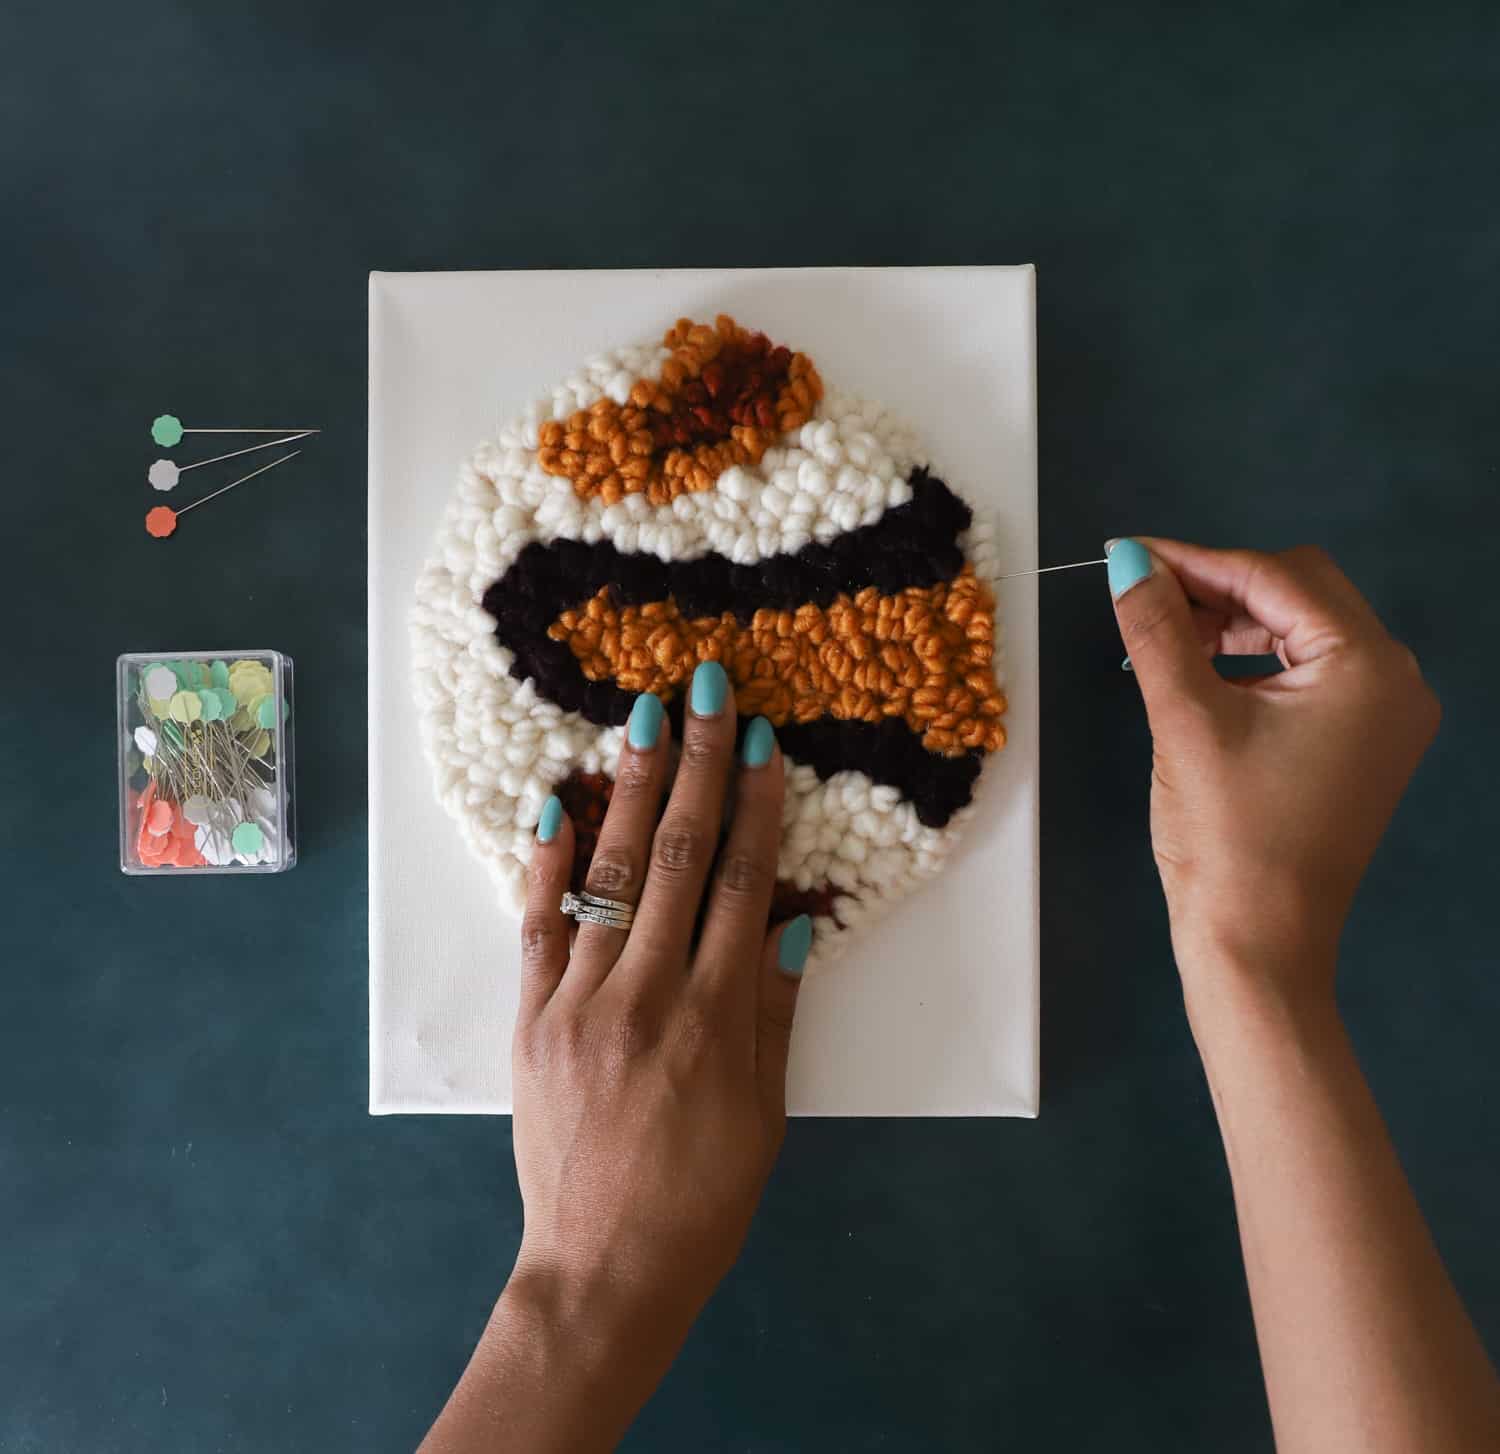
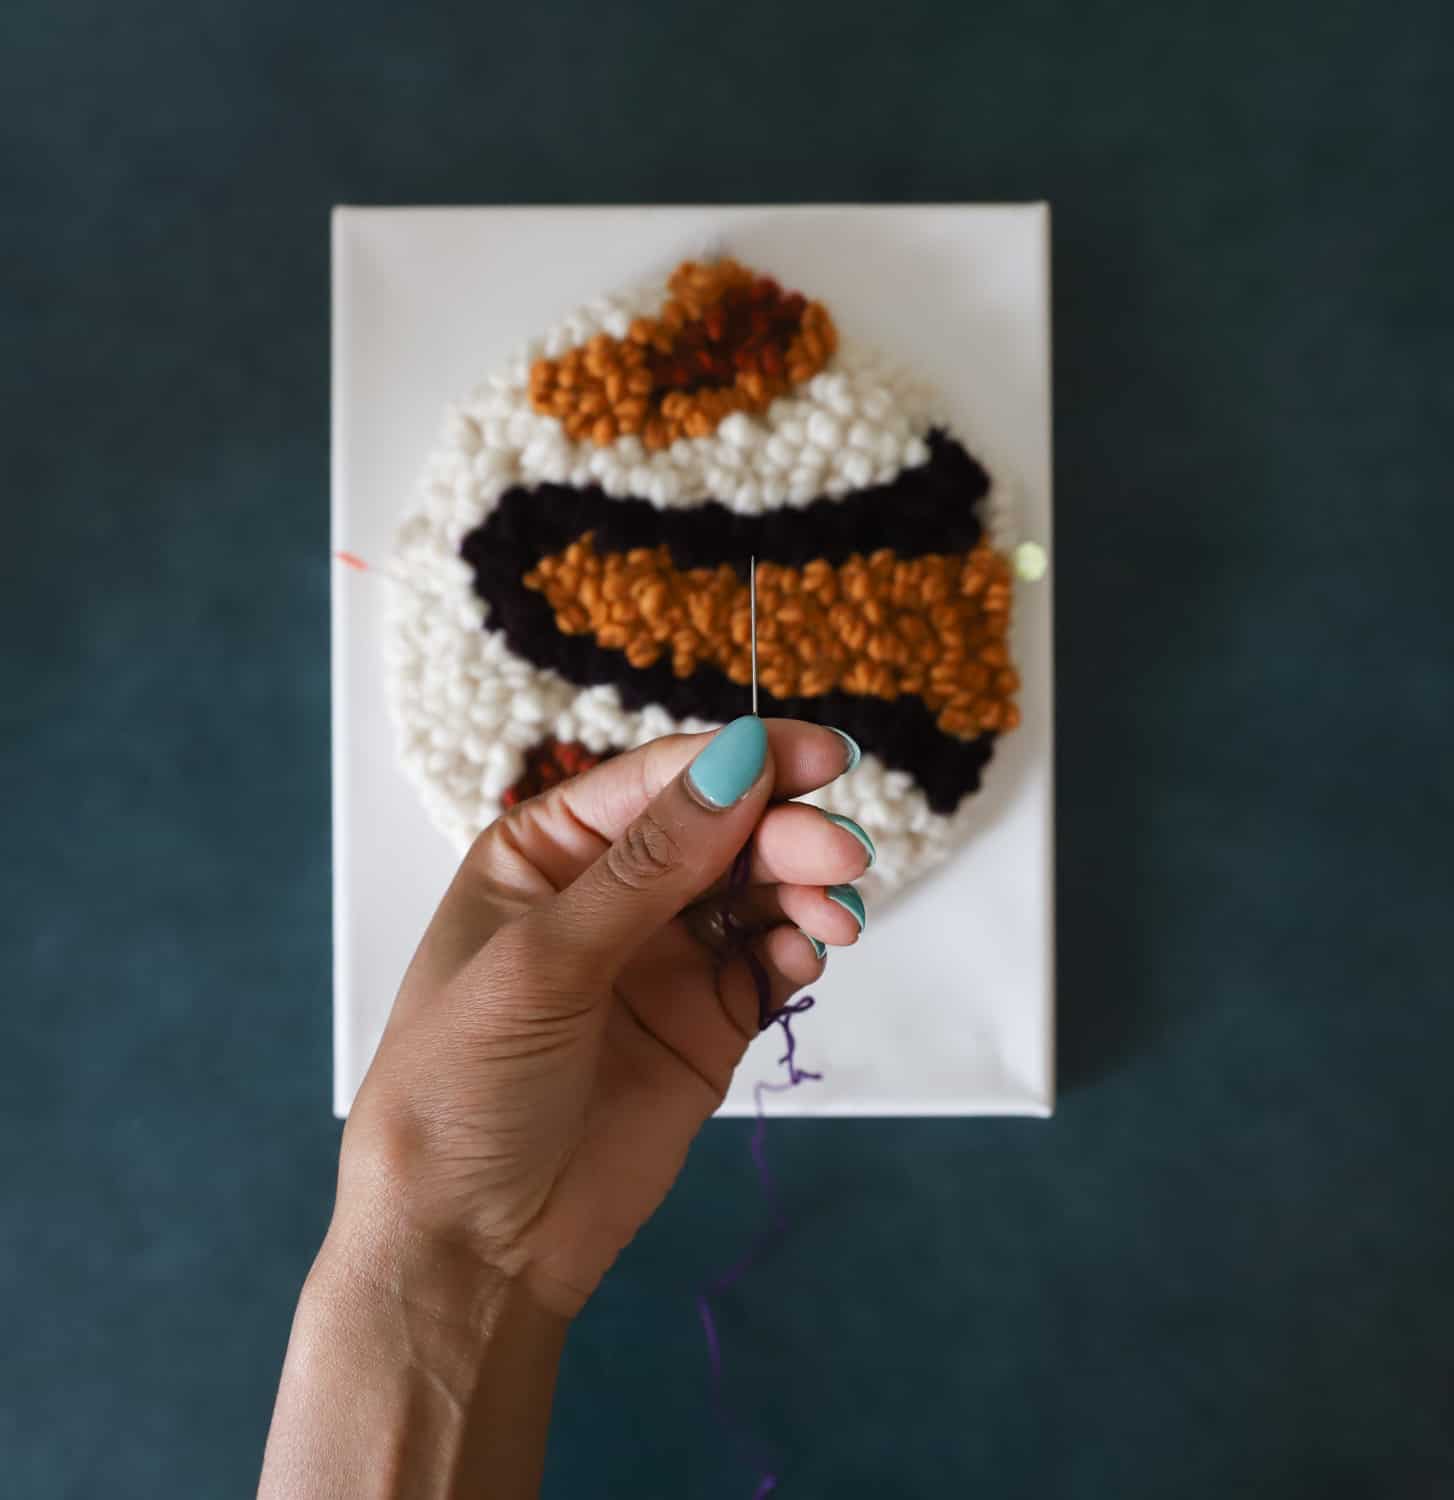
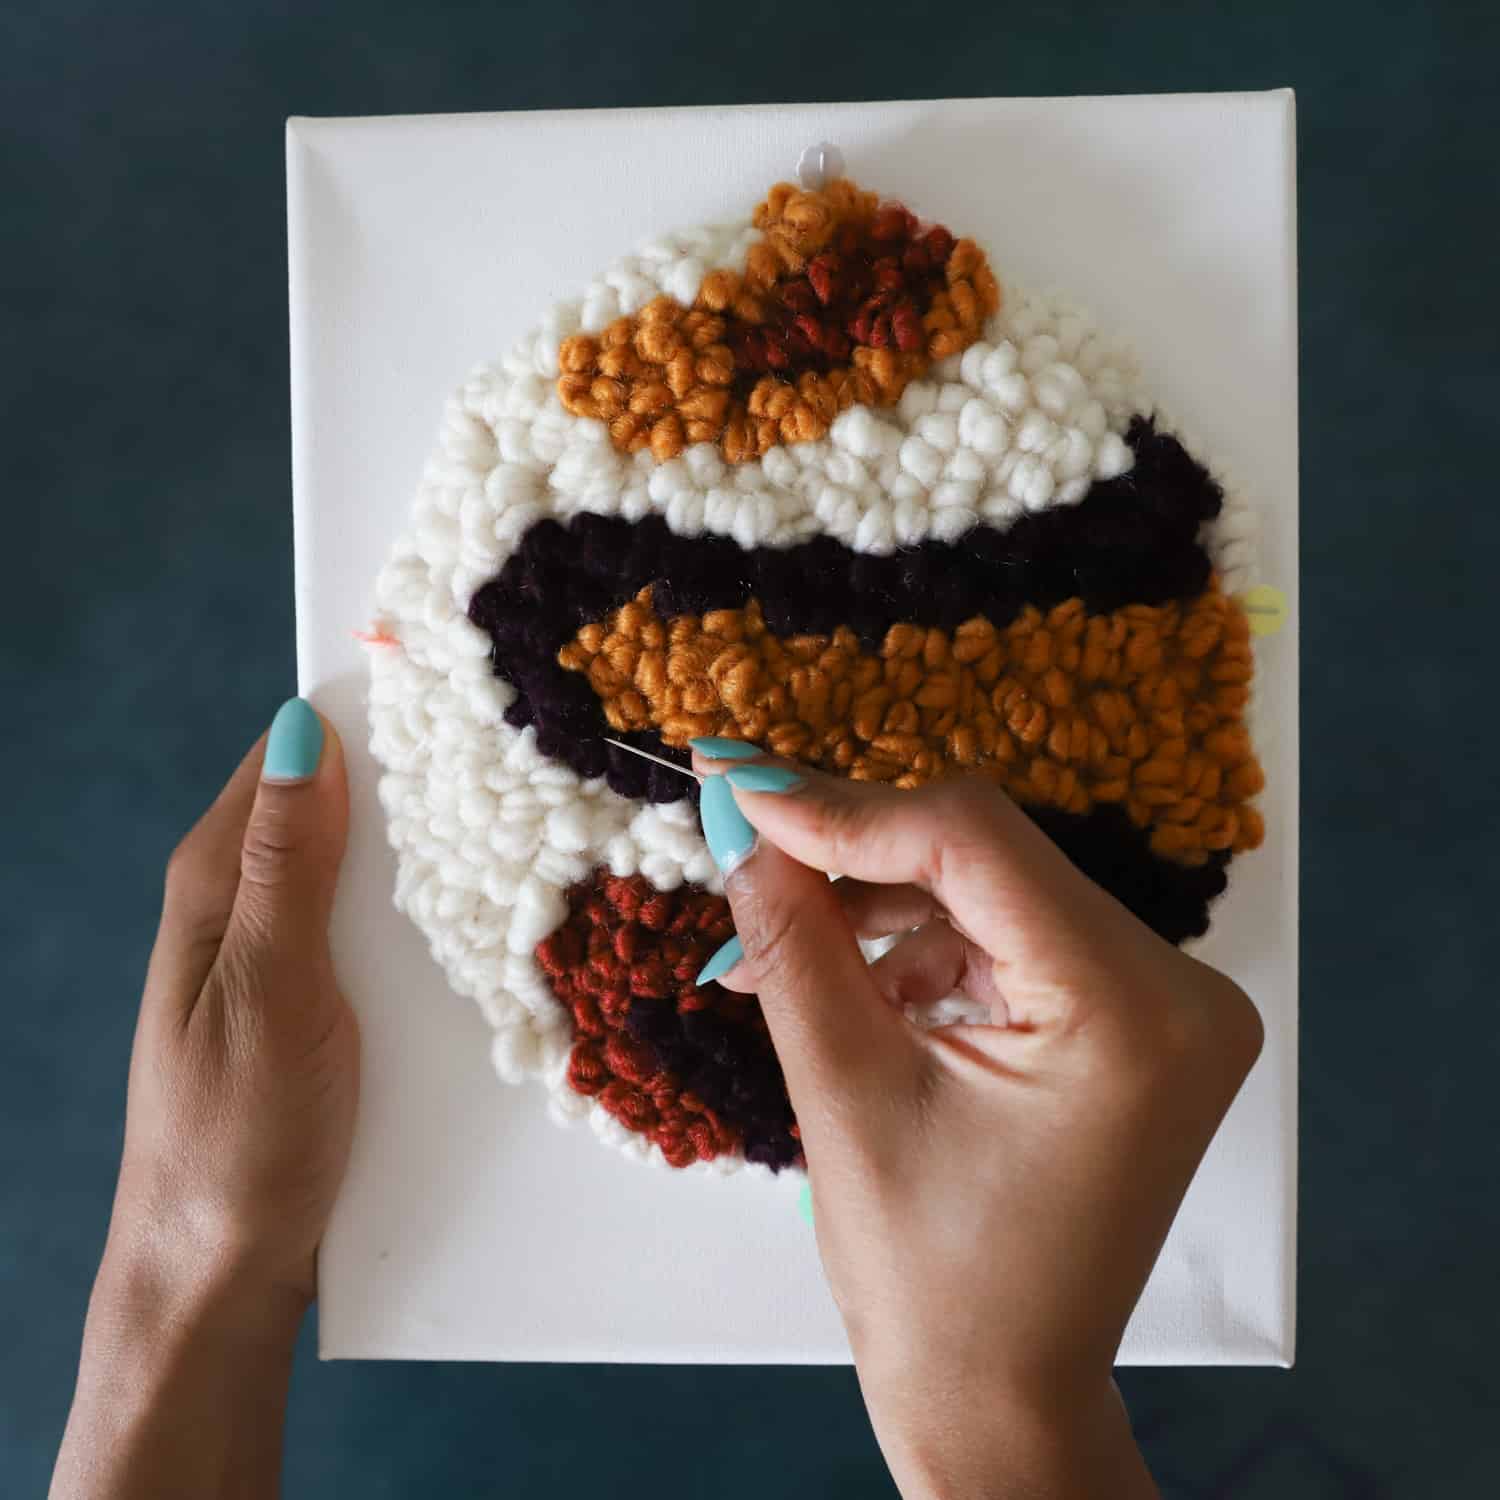
Step 6. Attach the punch needle piece to the canvas using embroidery thread, a needle, and pins.
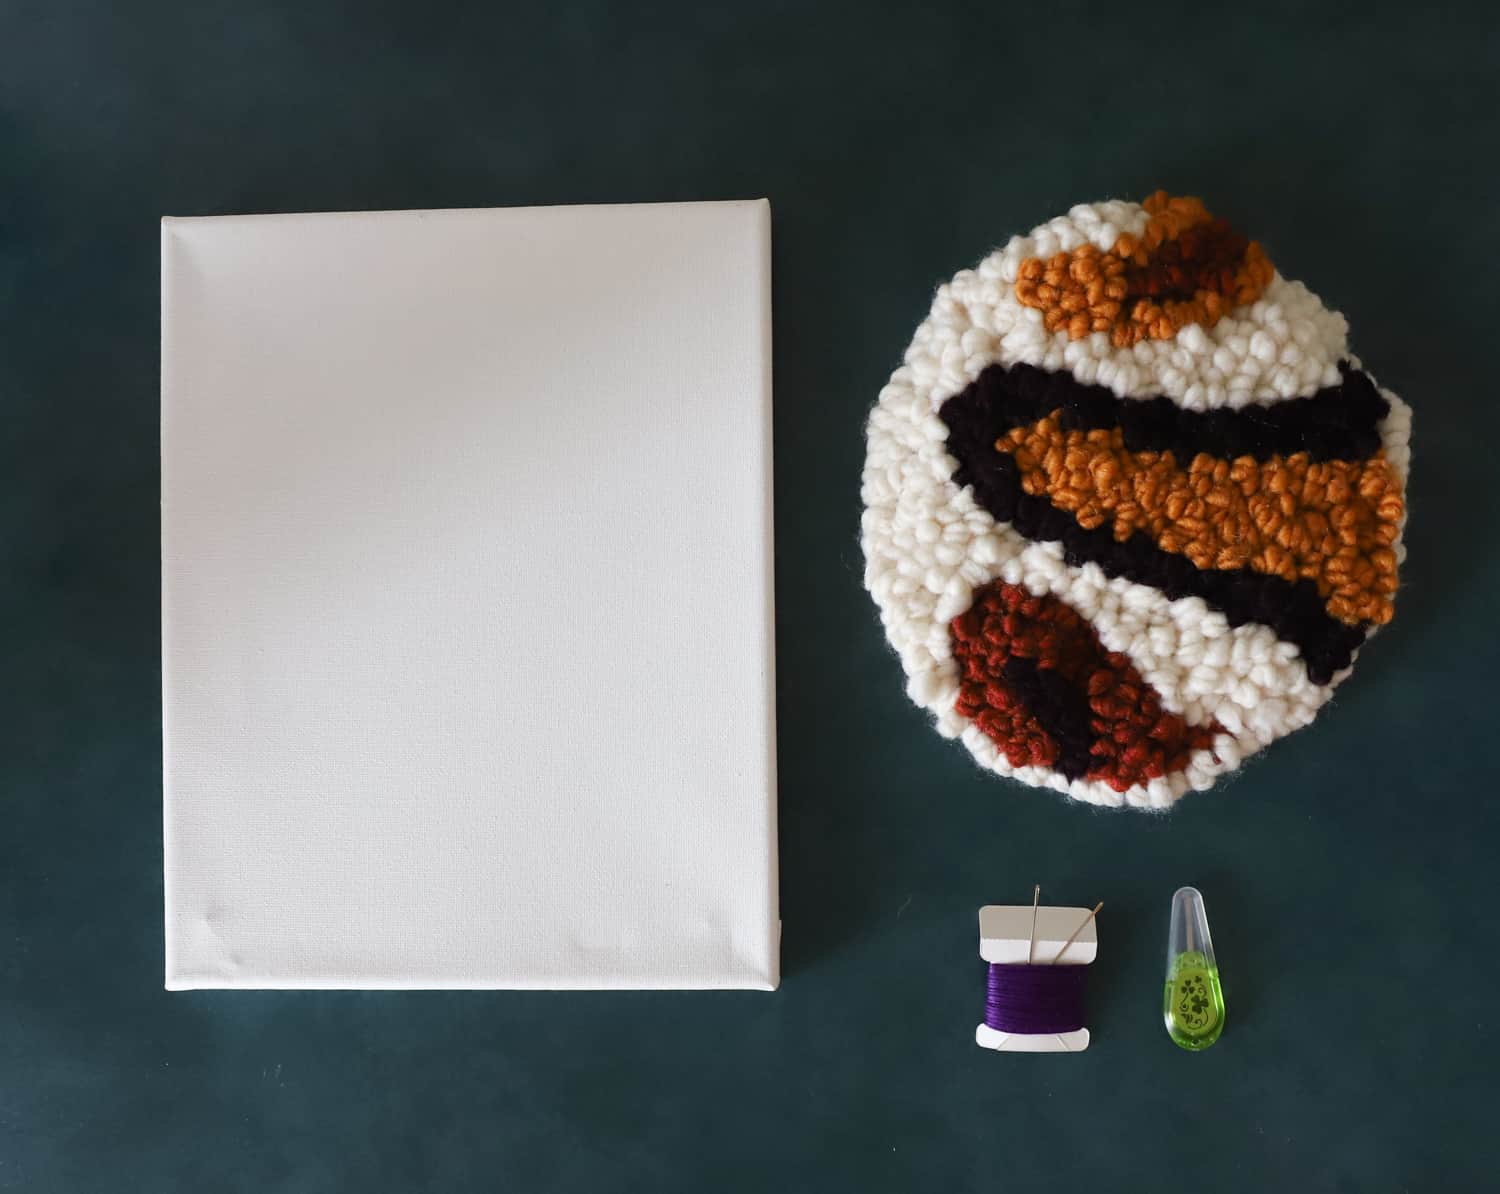
Use Clover’s flower pinheads to temporarily hold the punch needle piece in place, then use the embroidery needle to stitch in and out of the canvas until the wall art is extra secure.
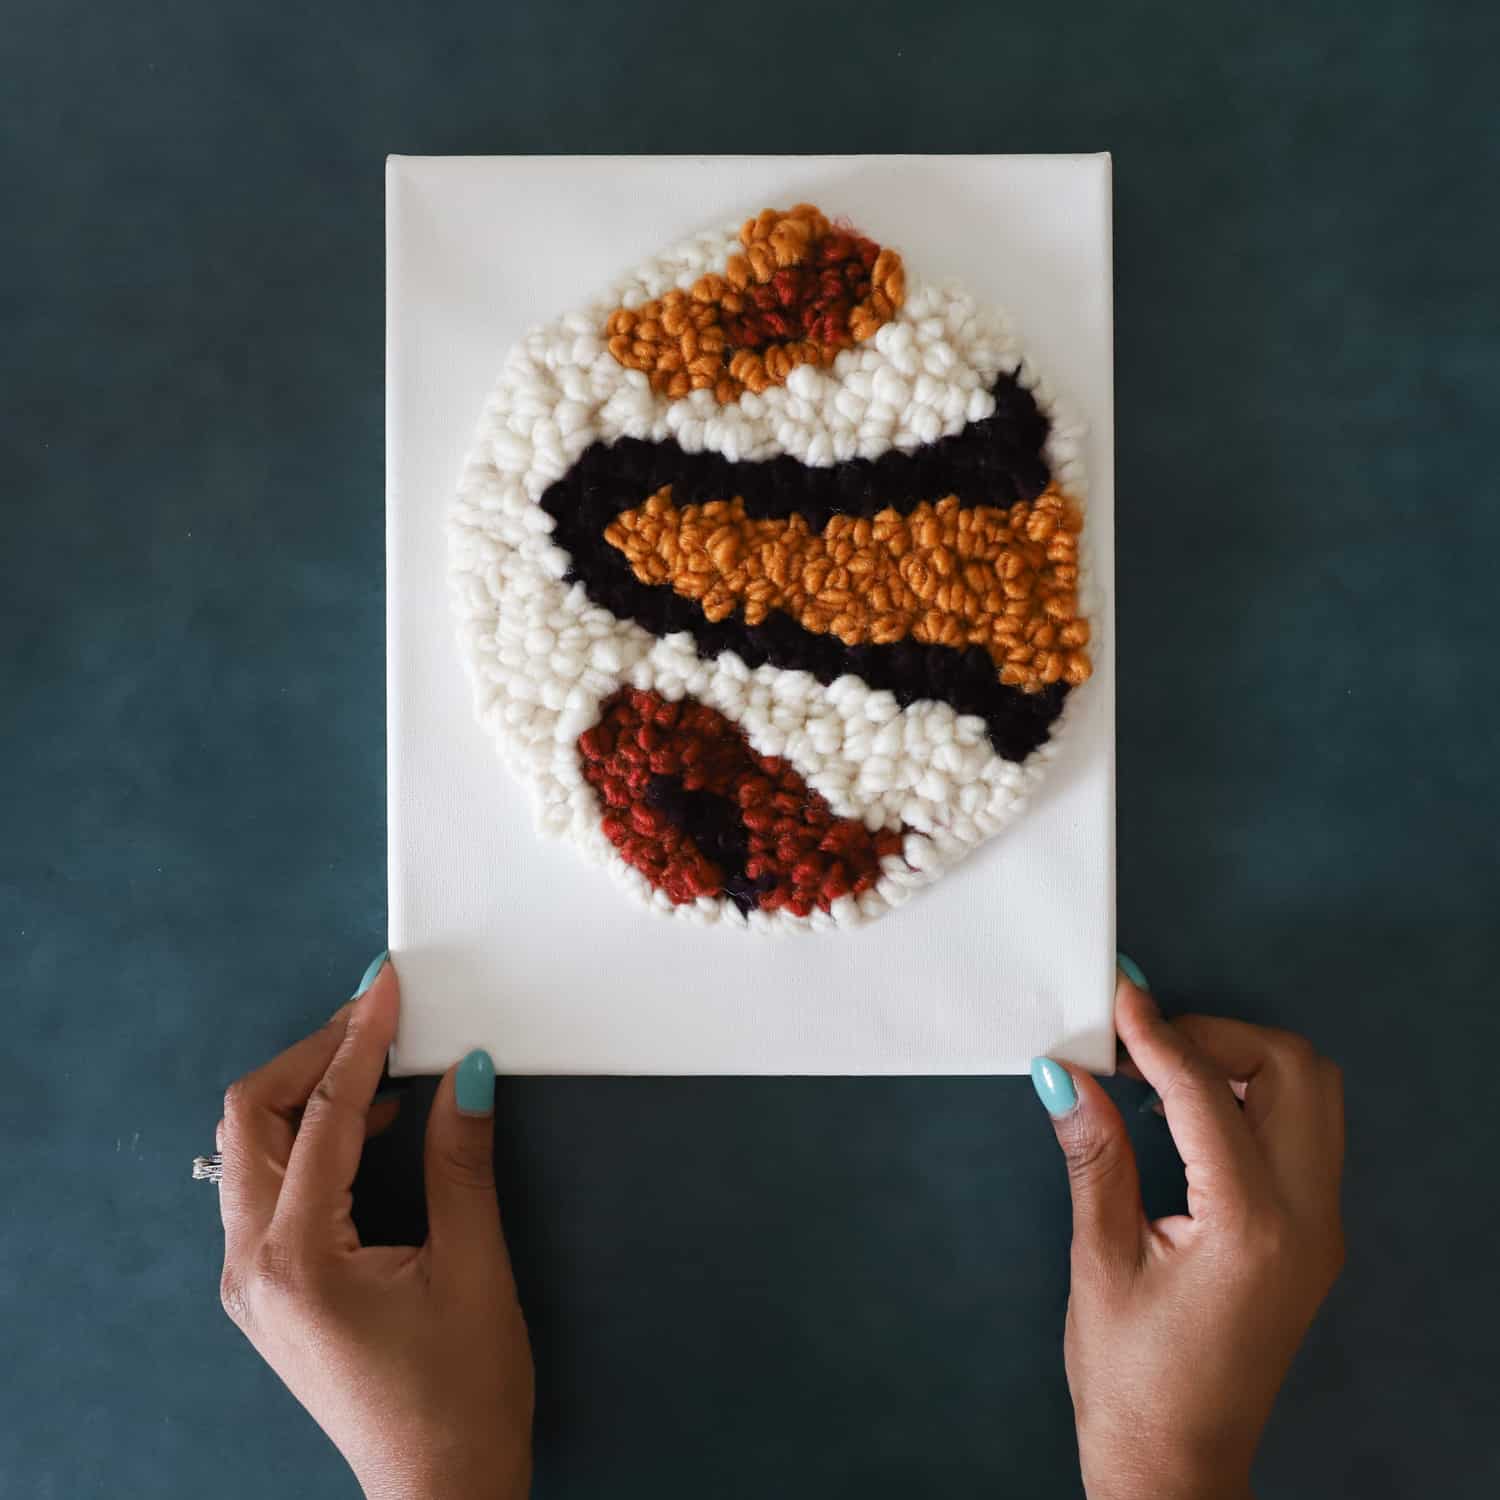
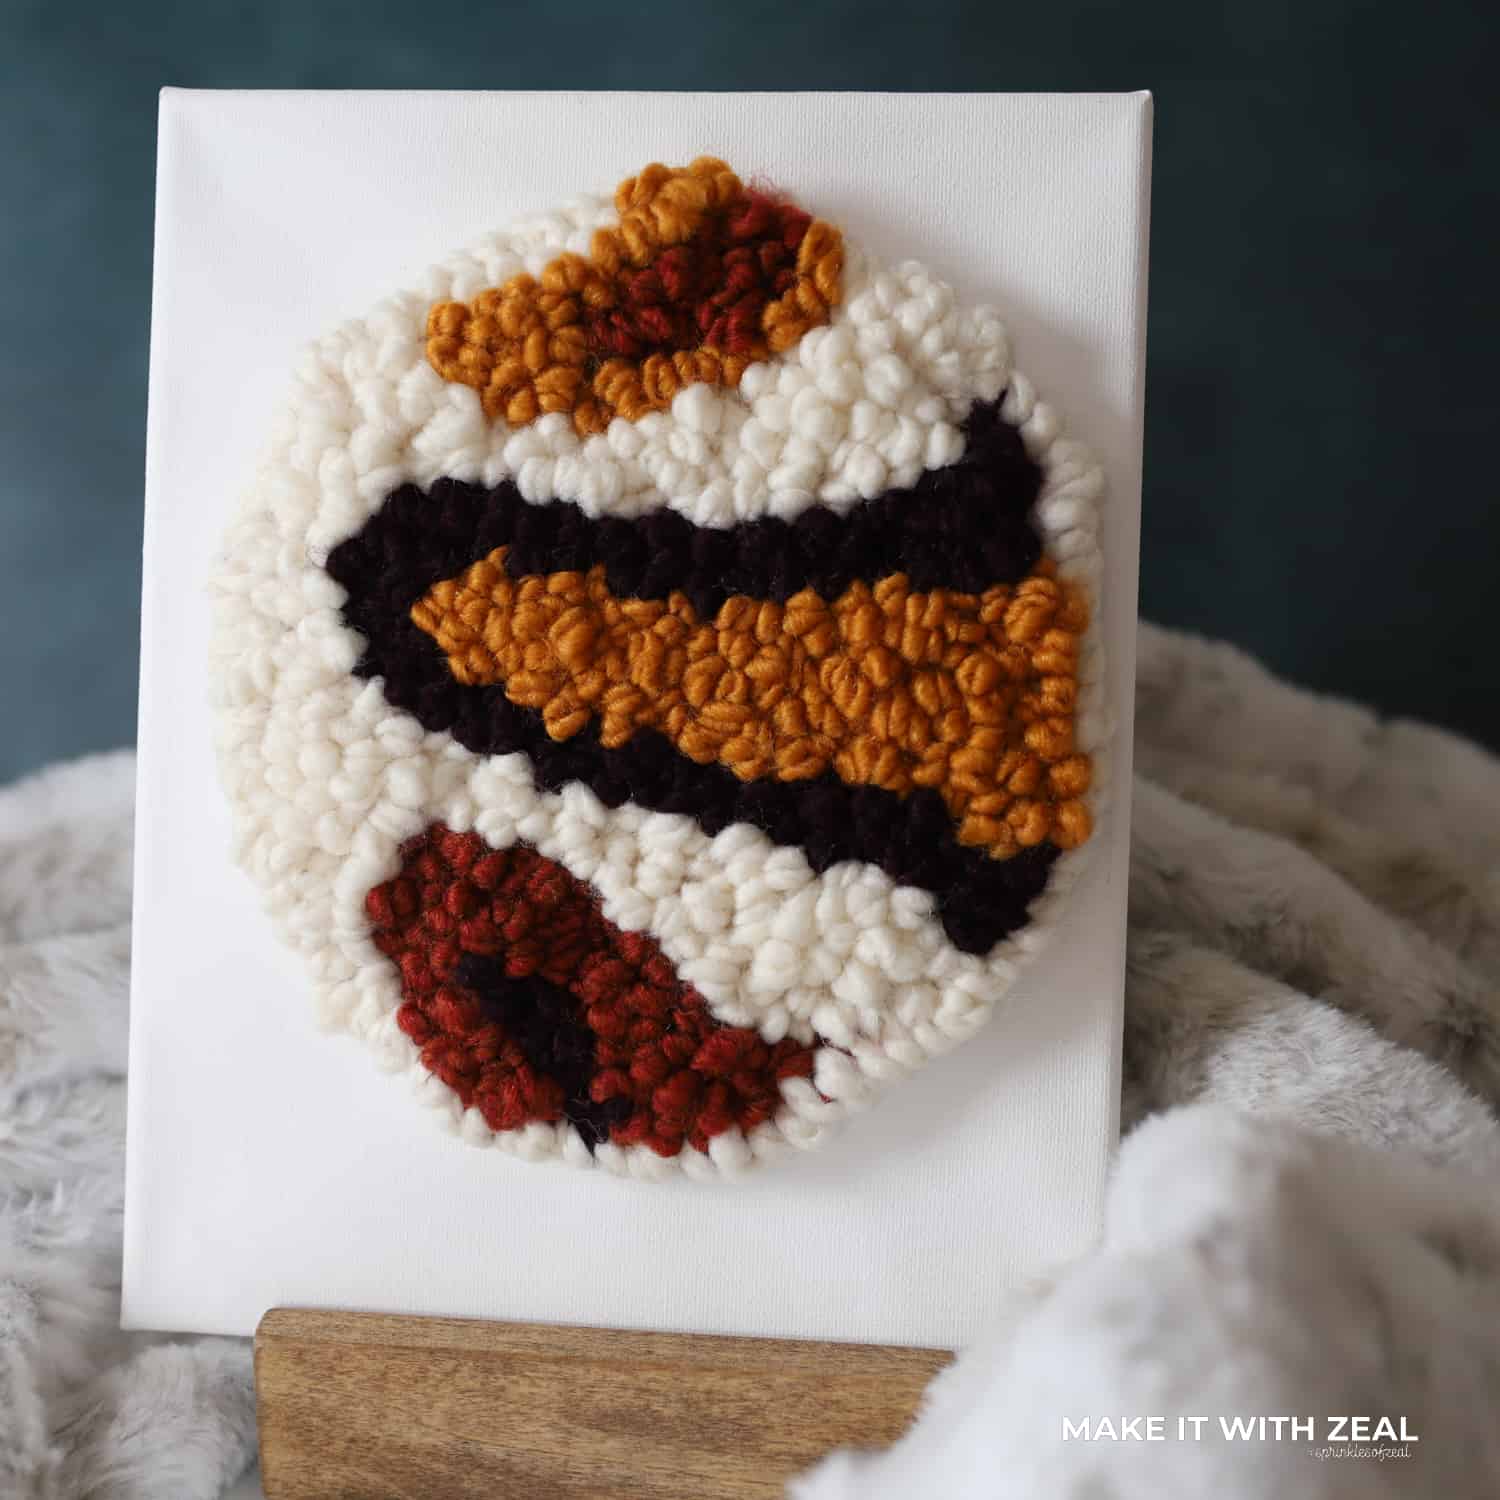
And That’s it! I am beyond excited about this new product release from Clover and I know you are too!
If you enjoyed this punch needle tutorial, be sure to comment below and share your excitement about these new tools.
Until next time, have a craftastic day!
-Danielle
Want to check out more of my blogs and tutorials? Here are my social links below!
Blog | Instagram | Facebook | Pinterest | YouTube
Stay connected with Clover on Facebook | Twitter | Instagram | Pinterest | YouTube | Ravelry