Pumpkin Pie Slice Crochet Pattern
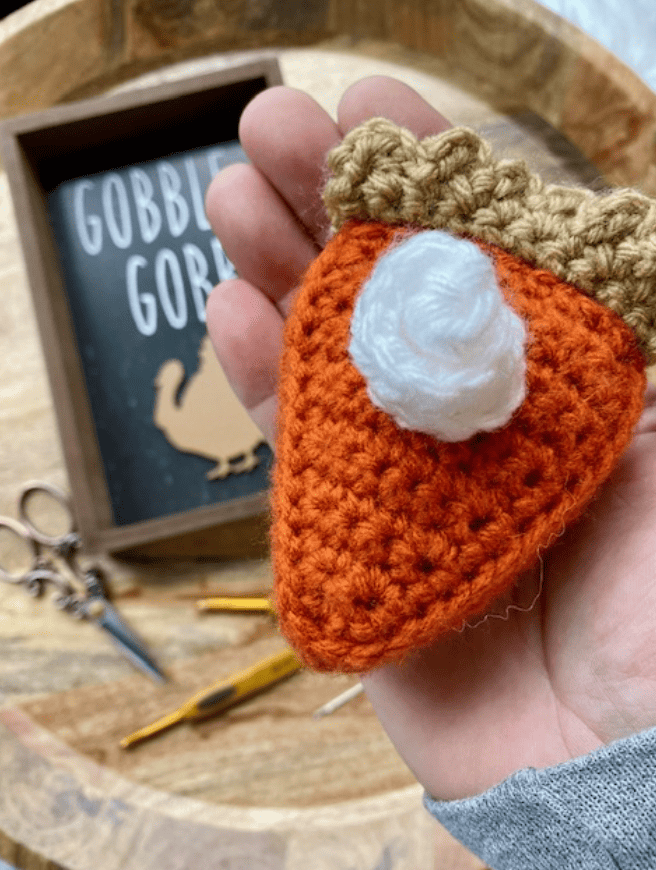
This pumpkin pie slice is another great scrap yarn project, and is a unique addition to a child’s play kitchen or Fall decor!
Materials:
- Soft Touch Crochet Hook G (4mm) – Art. No 1007/G
- Soft Touch Crochet Hook I (5.5mm) – Art. No 1009/I
- Darning Needle Set – Art. No 339
- Scissors
- Poly fiber fill
- Medium weight yarn. I am using I Love This Yarn, in Taupe, Burnt Pumpkin, and White.
Stitches and Abbreviations:
Chain (ch), single crochet (sc), half double crochet (hdc), double crochet (dc), & slip stitch (ss), back post single crochet (bpsc)
Part 1 – Crust:
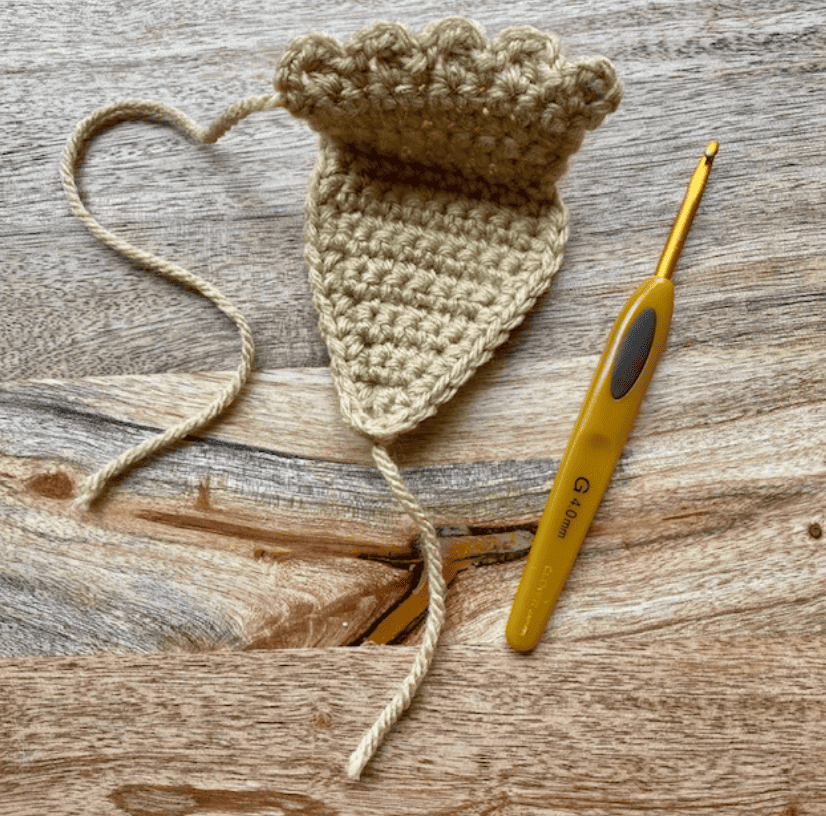
- Using taupe and the G hook, chain 2. In the second from the hook, make 2 single crochets, chain 1, and turn.
- Sc in each st (2), ch 1, and turn.
- Make 2scs in each stitch (4), ch 1, and turn.
- Sc in each st (4), ch 1, and turn.
- Make2scsinthefirstst,1scinthenext2,and2scsinthelastst(6),chain1,andturn
- Sc in each st (6), ch 1, and turn.
- Make2scsinthefirstst,1scinthenext4,and2scsinthelastst(8),ch1,andturn.
- Sc in each st (8), ch 1, and turn.
- Make2scsinthefirstst,1scinthenext6,and2scsinthelastst(10),ch1,andturn.
- Sc in each st (10), ch 1, and turn.
- Sc in each st (10), ch 1, and turn.
- Scineachst(10),ch1,butdonotturn
- Going down the side of the triangle, make a sc in each stitch (13). When you reachthe tip of the triangle, ch 1, and make another sc in the same stitch, and sc in the remaining 12 stitches (up the opposite side of the triangle), ch 1, and sc in each stitch on the remaining side of the triangle (10), join with a ss, ch 1, and turn.
Now we will be building up the back of the crust:
- Working in the BACK POSTS, single crochet across (10 bpsc), ch 1, and turn.
- Sc in each st across (10), ch 1, and turn.
- Sc in each st across (10), ch 1, and turn.
- Sc in each st across (10), ch 1, and turn.
- Sc in each st across (10), chain TWO, and turn.
Creating the scalloped edging:
– [Dc in the same st as ch 2, chain 2, and slip stitch into the next st, ch 2, dc into the
NEXT st, ch 2, and ss into the NEXT st], repeat the process until you have 5 scallops. Tie off and leave a tail for weaving.
Part 2 – Pumpkin:
The beginning of the pumpkin filling will look identical to the crust.
- Switching to the Burnt Pumpkin yarn, and still using your G hook, chain 2. In thesecond from the hook, make 2 single crochets, chain 1, and turn.
- Sc in each st (2), ch 1, and turn.
- Make 2scs in each stitch (4), ch 1, and turn.
- Sc in each st (4), ch 1, and turn.
- Make2scsinthefirstst,1scinthenext2,and2scsinthelastst(6),chain1,andturn
- Sc in each st (6), ch 1, and turn.
- Make2scsinthefirstst,1scinthenext4,and2scsinthelastst(8),ch1,andturn.
- Sc in each st (8), ch 1, and turn.
- Make2scsinthefirstst,1scinthenext6,and2scsinthelastst(10),ch1,andturn.
- Sc in each st (10), ch 1, and turn.
- Sc in each st (10), ch 1, and turn.
- Scineachst(10),ch1,butdonotturn
- Going down the side of the triangle, make a sc in each stitch (12). When you reachthe tip of the triangle, ch 1, and make another sc in the same stitch, and sc in the remaining 11 stitches (up the opposite side of the triangle), ch 1, and sc in each stitch on the remaining side of the triangle (10), join with a ss, and ch 1 (do not turn).
- Bpsc down the first side of the triangle (13), and then back up the second side of the triangle (13), join with a ss, ch 1, and turn.
- Regular single crochet down one side and then back up the other side (26), ch 1, and turn.
- Repeat the previous step for the next 3 rows (sc down and then back up the side (26), ch 1, and turn).
- Sc crochet down one side and then back up the other (26), join with a ss, fasten, and leave a very long tail for sewing.
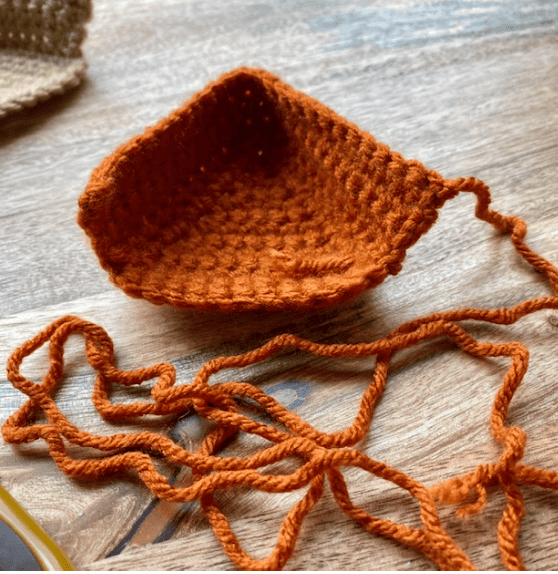
Next you will sew the pumpkin piece to the crust piece using your tapestry needle. Pause before sewing it completely shut, and add your fiber fill. Finish sewing, and weave in all of your ends.
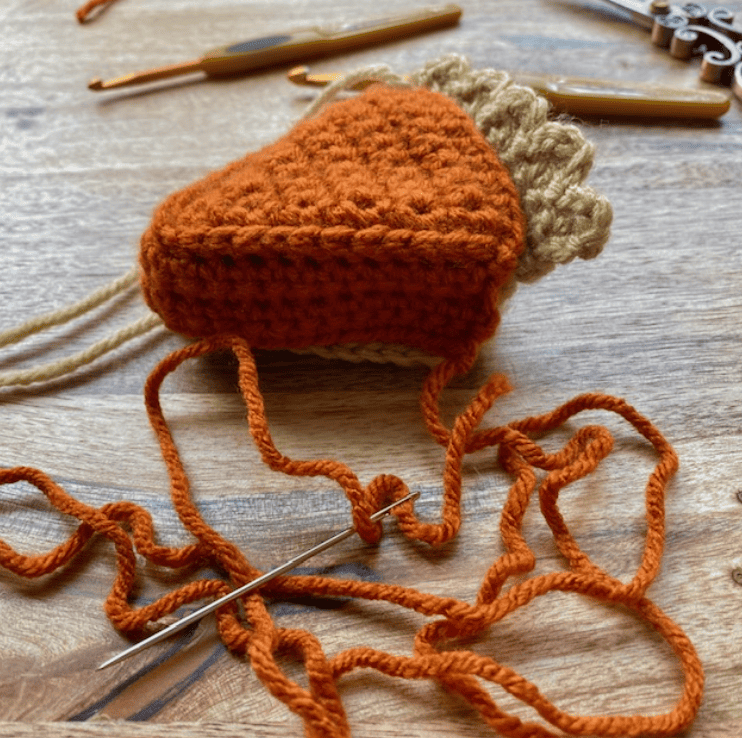
Whipped Cream Dollop
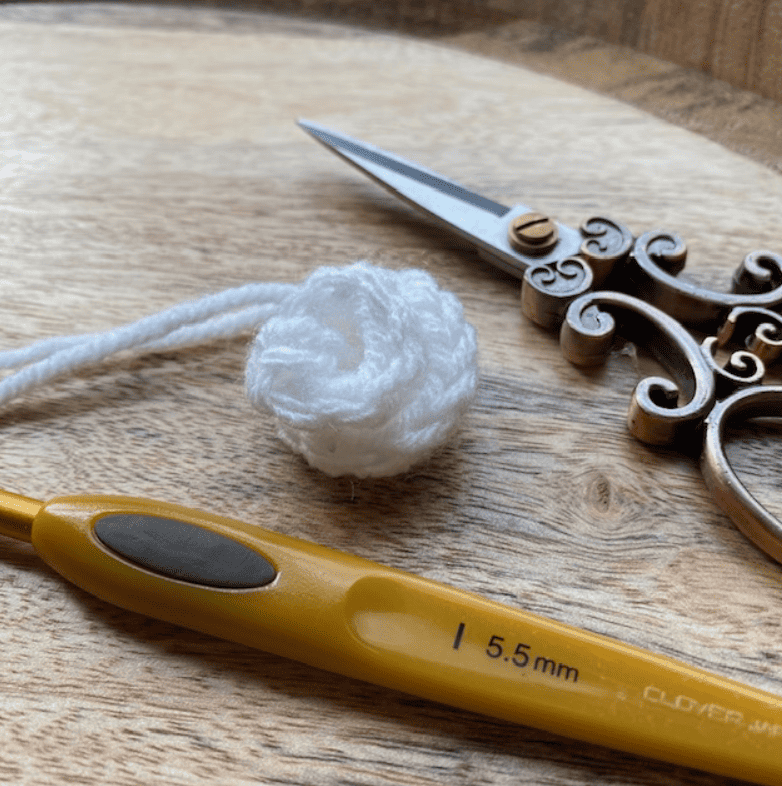
- Switching to your I hook and white yarn, ch 7.
- In the second chain from the hook, make 2 hdcs.
- Make 3 hdcs in the next ch.
- In the remaining chs, make 4 hdcs each. Tie off and leave a tail.
- Attach the dollop to the top of the pie slice using your tapestry needle.
