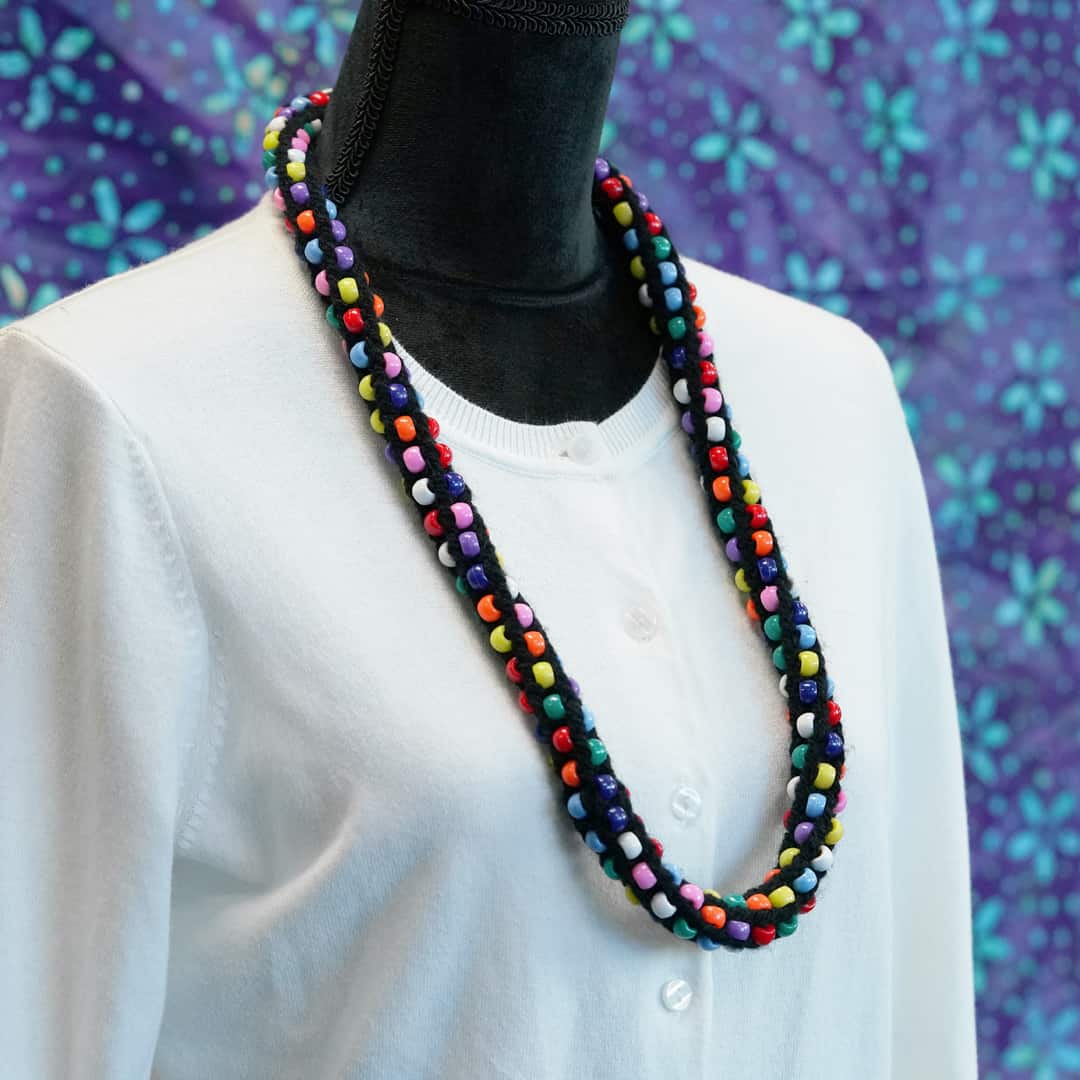
French Knitter Beaded Necklace – Kids’ Crafts
Growing up, one of the first crafts I ever got my hands on was jewelry making. Pony beads and string were my go-to, making necklaces and bracelets to trade with my friends.
I always looked forward to showing off my newest creations and seeing everyone else’s color and pattern choices, it had lasting effects on my need to create! This simple necklace project is a perfect graduation from those simple knotted string and bead projects for the kids who are wanting to stretch their creative muscles and have a hands-on activity that is just the right amounts of challenging and fun. Adults, I recommend working through this tutorial once over and making a small “swatch” for yourself so you can better help the children understand the steps if need be!
Now, let’s make some necklaces!
Supplies:
- French Knitter – Art. No 3100
- Thread Clipper – Art. No 415
- Darning Needle Set – Art. No 339
- 1/2 pound of Pony Beads
- 50+ Yards Bulky Weight Yarn

Beading Yarn:
To begin, slip your large darning needle onto the end of your bulky yarn. Pour pony beads into a bowl or plate to easily sort and pick them up. Begin slipping pony beads in groups of two onto needle and down to working yarn. If you would like a pattern, follow color choices in groups of two or four (e.g. red, green, red, green…). If you are going for a random color scheme, pick out colors at random. If this is the case, try to avoid having the same color bead 4 stitches apart from each other, as colors will begin to match up. For a standard necklace, add around 200-300 beads onto yarn. For a bracelet, add around 80.


Setup:
Make sure the 4 peg head is secured onto the French Knitter body. Pass the end of yarn through the middle of the french knitter. Start at peg to the lefthand side of the indention at the bottom of the knitter. Take the yarn and wrap it counterclockwise around the first peg. Repeat this process for all four pegs.


Beginning Round:
After wrapping all four pegs counterclockwise, you will be back at the start of the setup stitches. Wrap the first peg once more in the same way above the previous loop. You will now have two loops on the first peg. Now take your hook tool and insert it between the bottom loop and peg. Using your hook, pull the bottom loop over the top loop and peg. You have created your first knit stitch. Pull yarn at bottom of the knitter tight. Continue by knitting the next three pegs in this same way. Wrap counterclockwise, insert hook in bottom loop, pull the bottom loop over top loop, and peg.


Introducing Beads:
Now you will begin to add beads to the mix! Knit the first peg. Pull up your first bead from the strand and push it to the middle space between peg 1 and 2. Knit peg 2 with pony bead still between the pegs. Knit peg 3 without placing pony bead between pegs. Slip pony bead between pegs 3 and 4 and knit peg 4. Knit peg 1 without placing pony bead between pegs. You will now have two pony beads on the knitter; the first between pegs 1 and 2, the second between pegs 3 and 4.


Second Bead Round:
You will now be back at peg 1. Knit peg 2, bringing yarn over the first pony bead. Pull up your next bead from the strand and push it to the middle space between peg 2 and 3. Knit peg 3 with pony bead still between the pegs. Knit peg 4 placing yarn over pony bead from previous round. Slip pony bead between pegs 4 and 1 and knit peg 1. You will now have two pony beads on the knitter; the first between pegs 2 and 3, the second between pegs 4 and 1. Both of the previous beads should be covered by a strand of yarn.


Furthering Beading:
Continue in this pattern. Every time there is a pony bead between pegs, skip over the bead and knit the next peg. Every time there is a bead with a strand of yarn already over it, place a bead between those pegs, on top of the strand, before knitting the next peg. Try not to place a bead over another bead that isn’t covered by a strand. It may also be helpful to tug on the tube of knitting from under if you find that beads are getting in your way as you knit.


Creating Length:
Continue this process until your cord reaches your desired length. an average necklace could be anywhere from 20” to 30”, but it is all up to preference! When you have reached the desired length, you can move on to the joining process. Adults may want to finish the necklace for the kids.


Fastening Off:
Take your clippers and snip the working yarn leaving about an 8” tail. Place darning needle on the tail. Taking the darning needle, pass through the first loop pulling off the first peg, making sure to catch the loop on tail yarn. Repeat for all four pegs. Pull excess yarn through but don’t pull tight to cinch.


Stitching Ends Together:
Take darning needle off long tail and place on the beginning tail. Weave tail into the middle of the tube to hide. Place darning needle back on the previous tail and bring both ends of the tube together. Stitch tube together by stringing needle through a bead on one end, then back through it’s corresponding bead on the other end. This will whipstitch the ends together. Once stitched all the way around, weave end through the middle of the tube to hide.


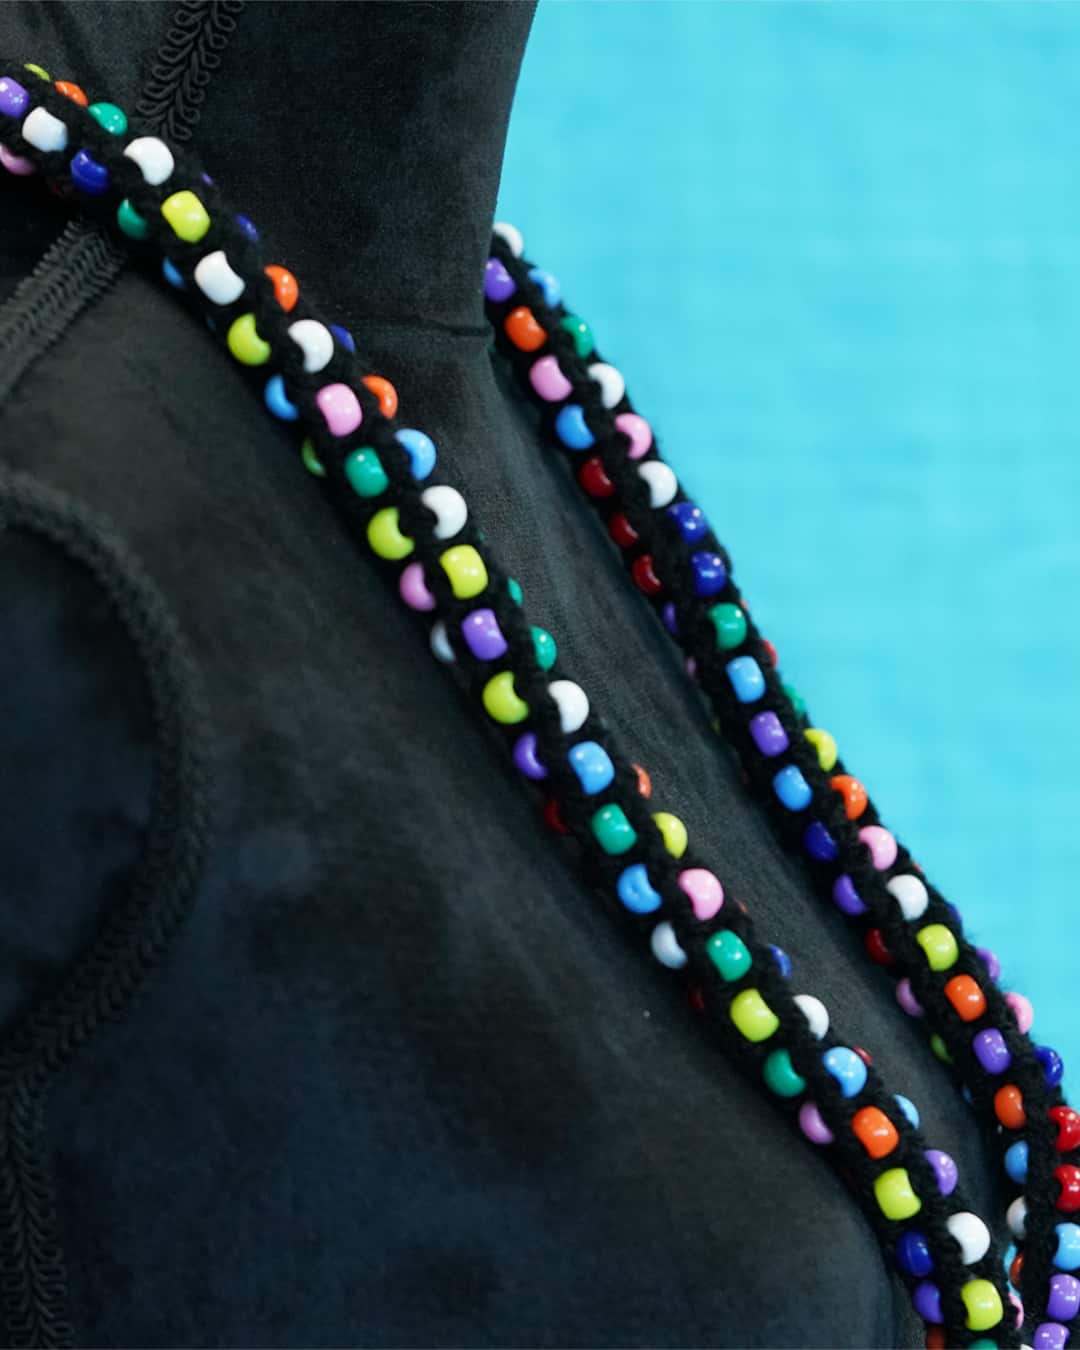
We’ve completed our necklace! Now all you need is a couple matching bracelets and a few for friends! Be sure to tag Clover and me in your finished jewelry. We’d love to see all the creative youngsters’ takes on them, and all the beautiful bead/yarn combinations that await!
Follow what Quayln is up to next on his Blog | Instagram | Facebook | Pinterest | YouTube | Ravelry
Stay connected with Clover on Facebook | Twitter | Instagram | Pinterest | YouTube | Ravelry
[mc4wp_form id=”11289″]