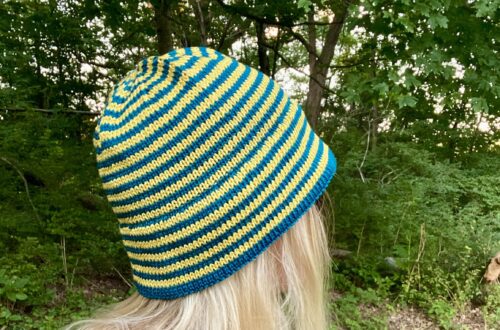
Teen Challenge – Notions Bag
If you sew then you already know it’s fun. Sew, what could make it better? How about the chance to show off your amazing skills and creative instincts among your peers. Maybe a chance to learn something and win something too.
We provide the pattern for a very cool notions bag and you make it yours. Grab your favorite fabric, beads and embellishments, sit down and get creative!
Contest open to those between the ages 13-18
Don’t be afraid to make this project your own!!!!
How do you enter?
Use one of the many Clover creative notions in the construction process. Post an in progress picture with your Clover tool and your completed notions bag on Instagram with hashtags #CloverTeenChallenge & #CloverNotionsBag. A winner will be selected at random.
*If you are not an Instagram user you can email your photo entries to marlyn@clover-usa.com.
The winner will receive a special edition #CloverSquad box which includes the complete collection of “I Sew For Fun” sewing notions worth over $140.

Time is of the essence though. Submit your project by February 29th, 2020!!
Download the Teen Challenge Flyer
Drawstring Notion Pouch
Tools:
- Supersize 5-in-1 Sliding Gauge (Art. No 9585)
- 6-in-1 Stick ‘n Stitch Guide (Art. No 9584)
- Clip ‘n Glide Bodkin (Art. No 9582 or 9609)
- Air Erasable Marker- Extra Fine (Art. No 5030) or White Marking Pen-Fine (Art. No 517) *depending on fabric color
Materials:
- 3/4″ Clasp
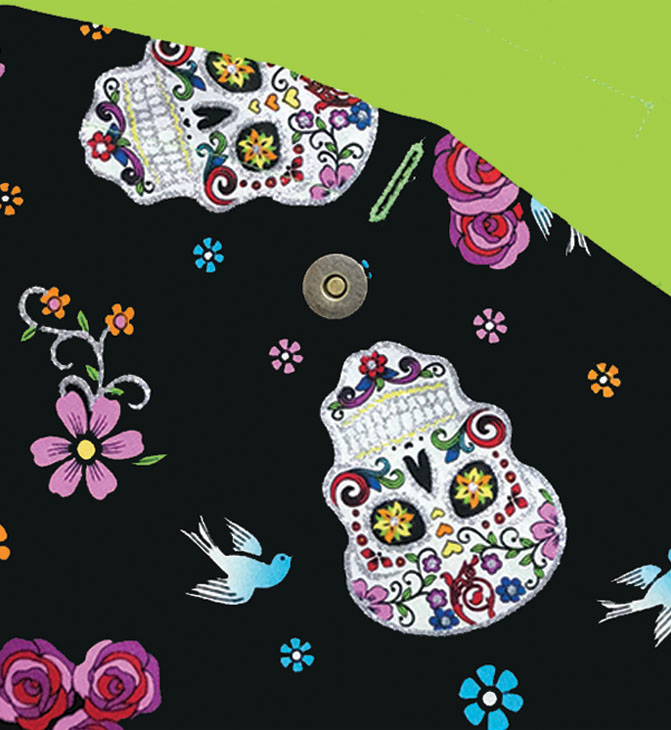
- 1 piece outer fabric measure 22″ x 22″
- 1 piece inner fabric measuring 22″ x 22″
- 2 pieces of fabric measuring 5″ x 7″ (for strap closure)
- Optional: Lightweight interfacing-same size as your bag fabric 22″ x 22″
- 3 yards of 1/4″ ribbon
- Optional: bead with large hole for ribbon
Finished Size:
- Approx. 18.5″ (while open)
- Approx: 10″ (while closed)
Instructions:
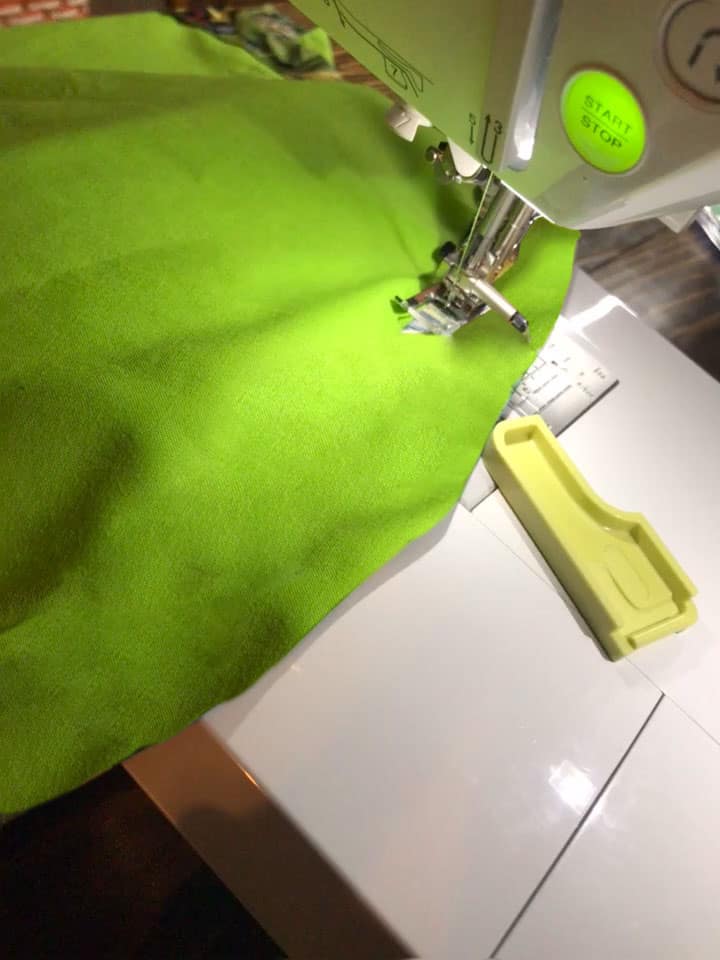
Step 1: Use the Supersize 5-in-1 Sliding Gauge on the compass 10″ setting to draw a circle 20″ in diameter on the wrong side of the inner fabric. Pin outer and inner fabric together and cut out circle.

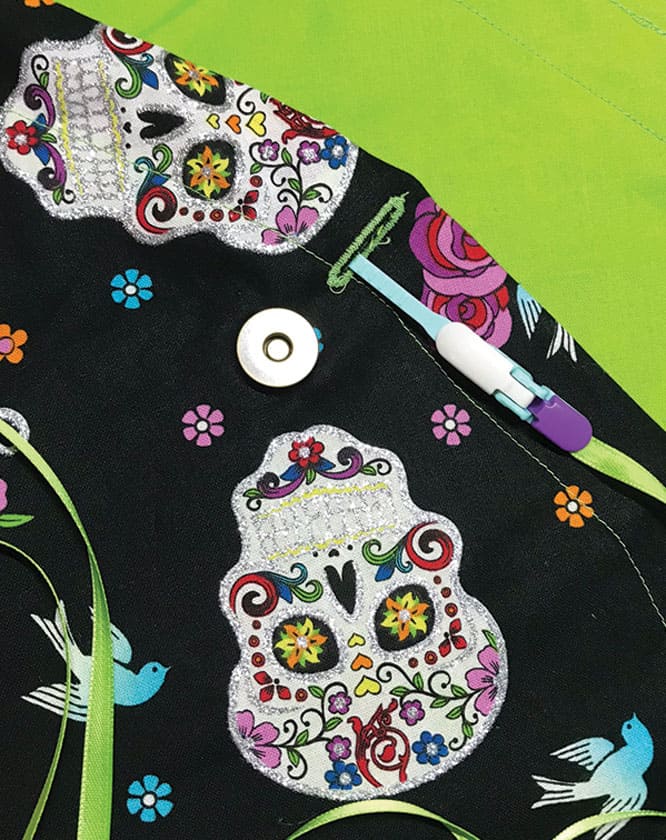
Step 2: Mark a buttonhole on outer fabric. 1.5″ below edge. Make buttonhole. *Opening needs to be wide enough to hold your selection of ribbon. Model shown uses a buttonhole 1″ wide. Attach the socket part of snap closure below your buttonhole.
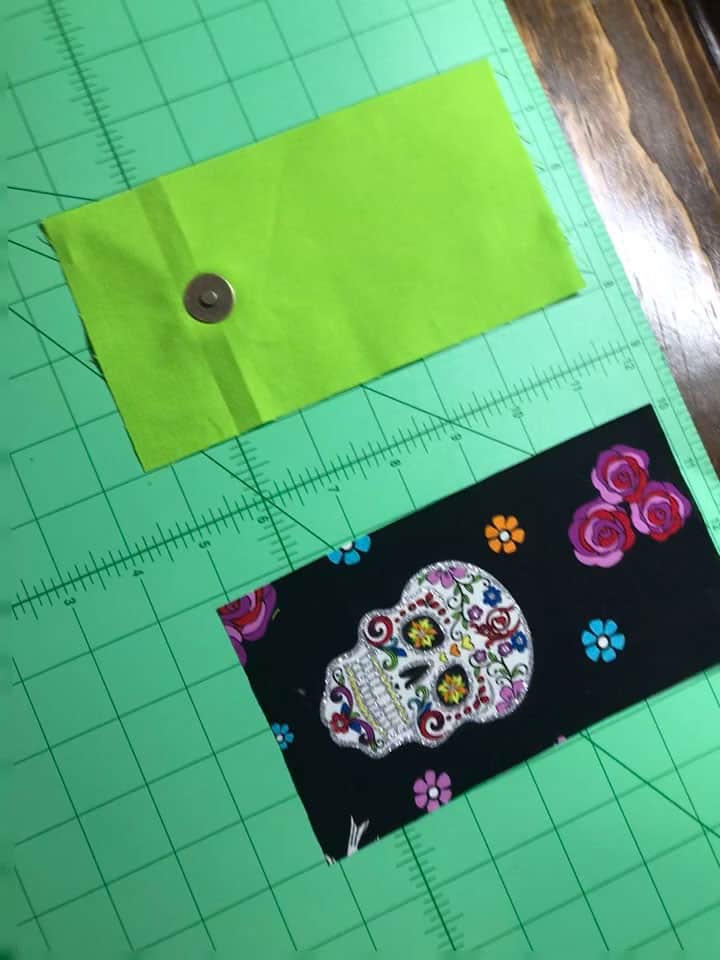
Step 3: Make strap closure for your pouch by cutting out inner and outer fabric to measure 4″ x 6″. On the right side of your inner fabric attach stud part of the clasp about 1″-1.5″ from the bottom. Sew along the edges leaving an opening to turn your strap.
Step 4: Layer your fabrics in the following order:
- Outer fabric right side up
- Place strap closure across from socket part of snap closure
- Place inner fabric right side down
*Pin or clip all layers in place
Sew along the edge leaving an 1/4″ seam allowance. Leave a 4 inch opening to turn your project. once done turn your project and sew opening closed. Stitch another line around your pouch below your buttonhole to create a casing for your ribbon.
Tip: To get an even stitch around your pouch use the 6-in-1 Stick n Stitch Guide use the Point 2 Point Turner to turn your project and push out the edges.
Step 5: Use the Clip ‘n Glide Bodkin to insert ribbon into the casing. Once ribbon is inserted, place a bead to hold both sides of the ribbon together. Knot the ends of the ribbon together.
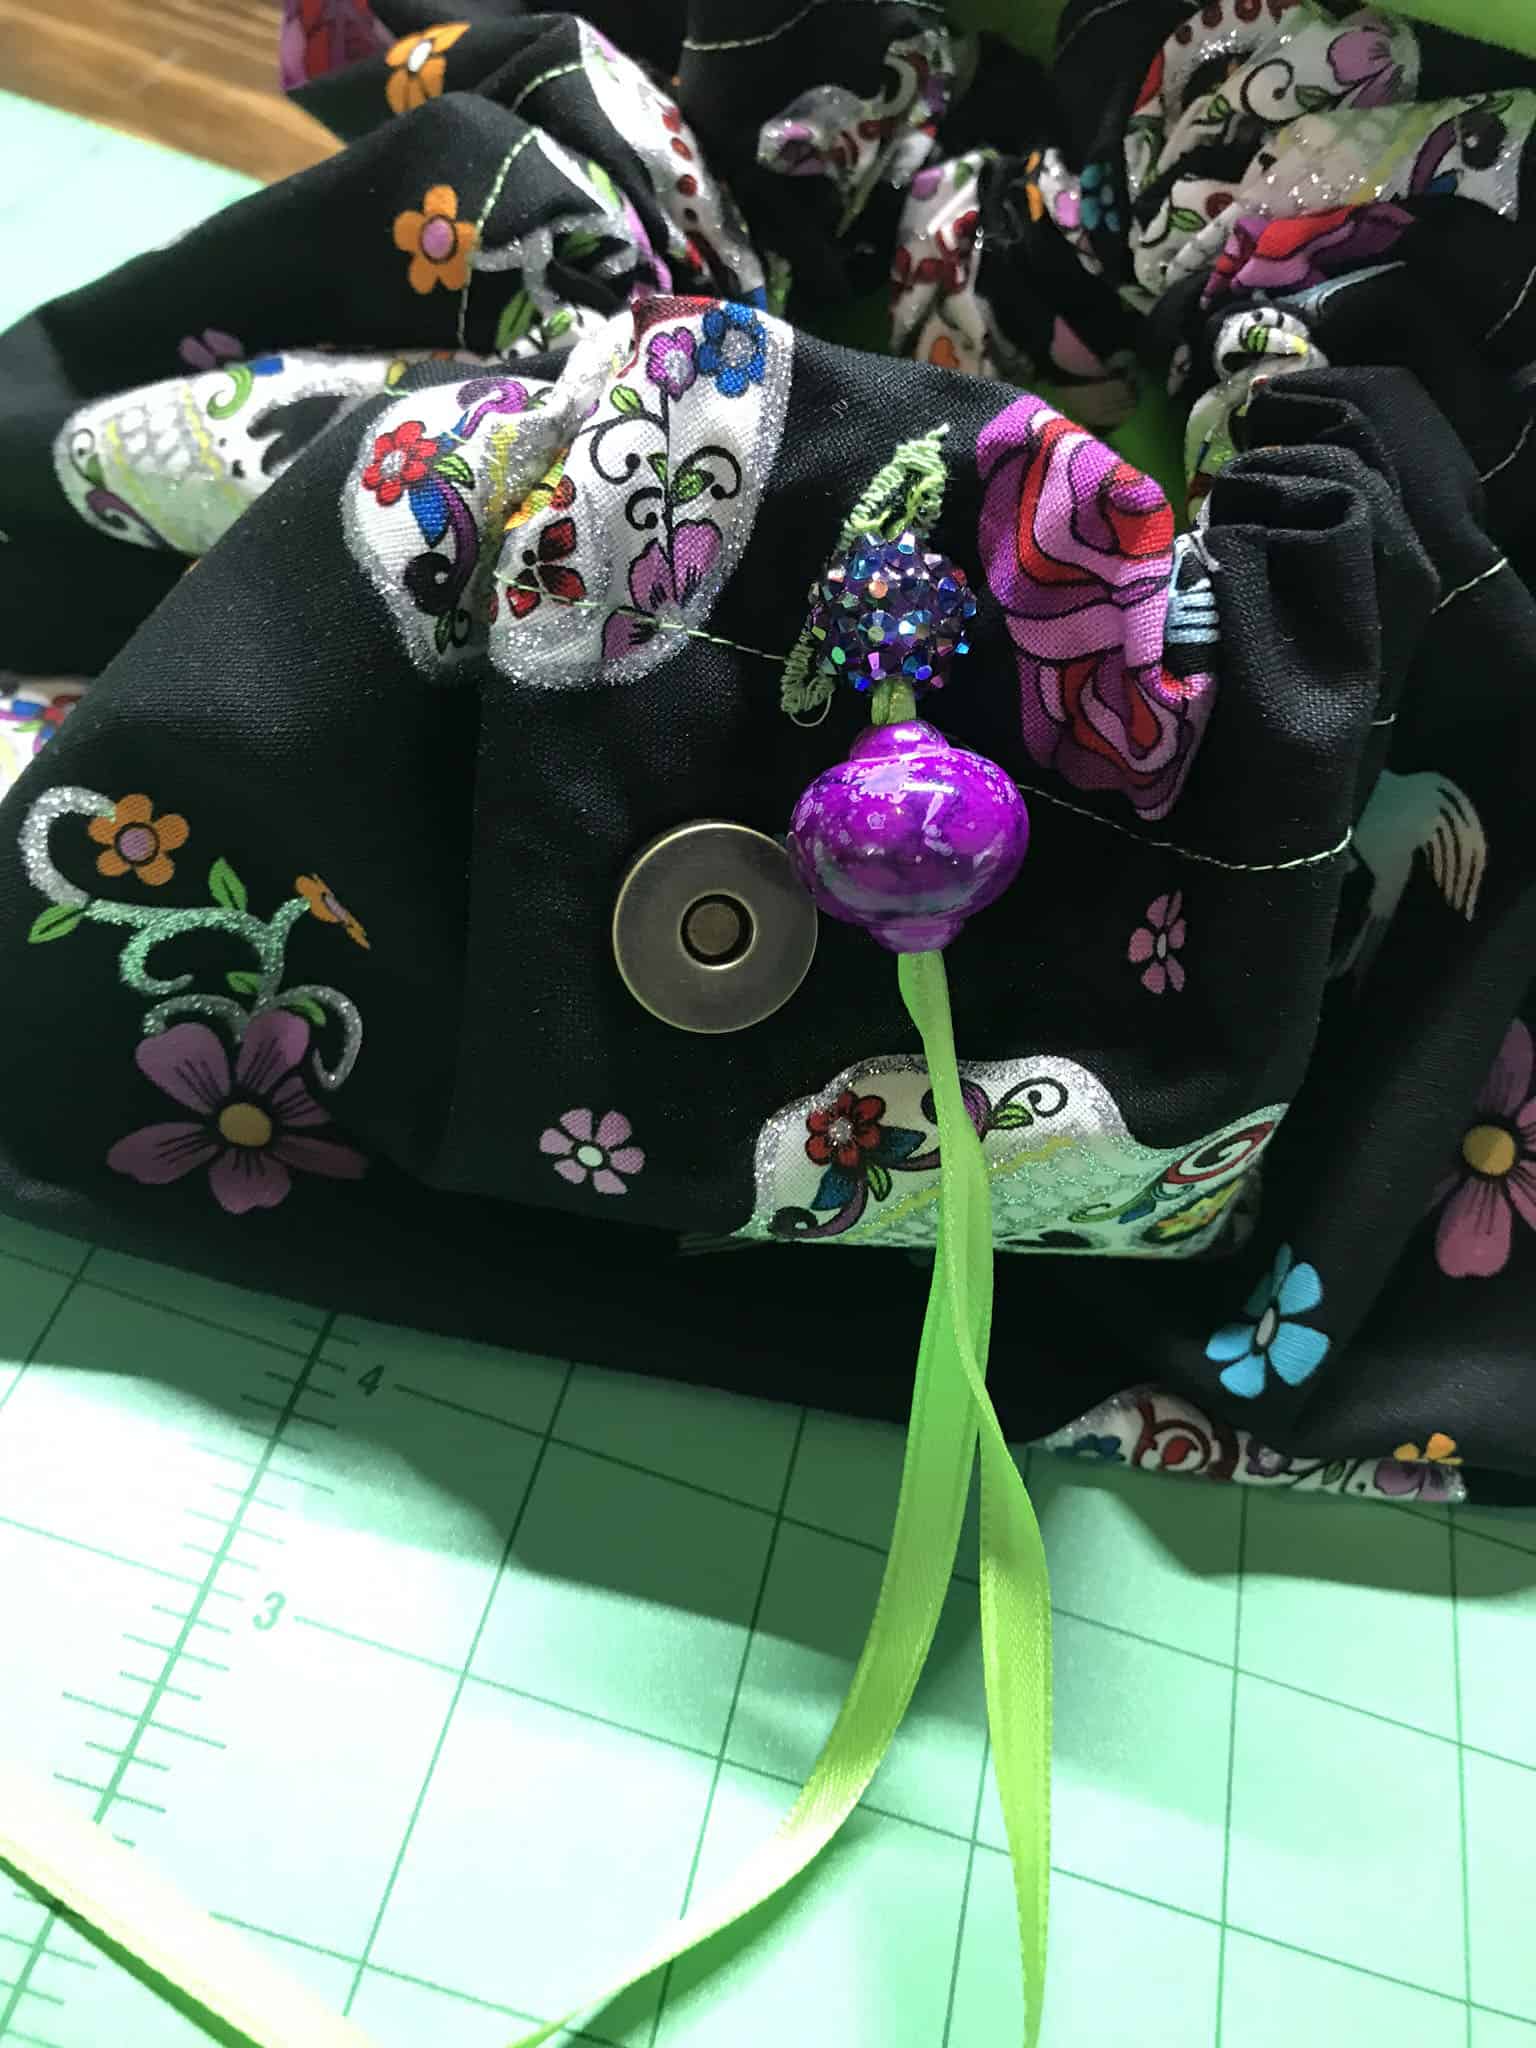
You can now gather your pouch or open and lay flat!!!!


Download Drawstring Notion Pouch Instructions
We’re waiting now to hear from you. Best of luck to all.
Stay connected with Clover on Facebook | Twitter | Instagram | Pinterest | YouTube | Ravelry
[mc4wp_form id=”11289″]