Summer Frost Mini Beading Loom Project by Carol Porter
Supplies:
Mini Beading Loom Art No. 9924
Beads 11/0 cylinder
Thread Gray
Beading Needle & Threader
Darning Needle
Scissors
Earring Supplies:
10 Clam Shell Crimps
2 5-strand multi connectors
2 Jump Rings
2 Earring Findings
Earrings
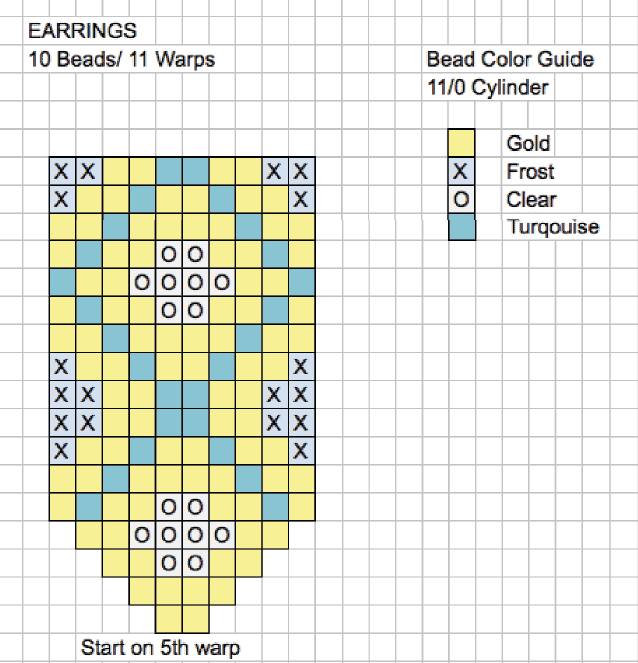
Bead Design 10/Warps 11
1. Warp the loom with one continuous thread to form 11 warps.
2. Start weaving the design at the 5th warp and follow the Bead Placement Chart working from the bottom, left to right.
3. Follow the increase directions found in the package instructions.
4. Hide the Warp and Weft threads
5. Make 2.
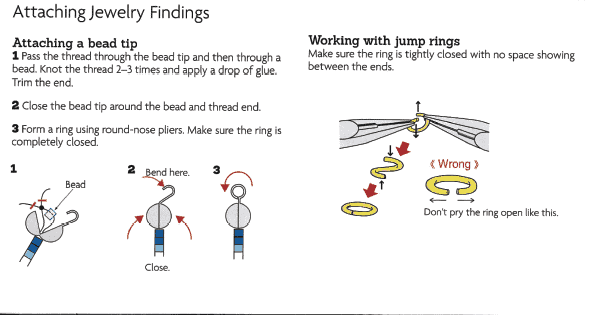
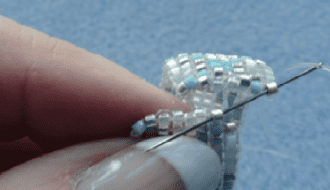
6. Thread the clam shell crimps ont he warp threads in pairs tie knots into the clam shell add a touch of glue and crimp closed. (As shown in the following image)
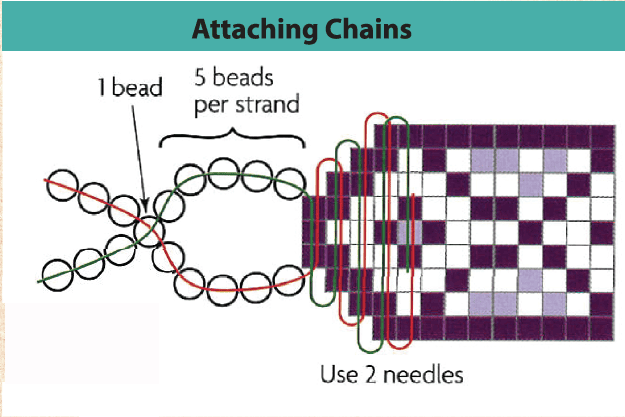
7. Hook onto the multi strand connectors.
8. Add a Jump Ring & Earring finding.
Ring Supplies:
0.5mm clear stretch cord
100% polyester thread gray
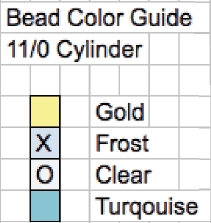
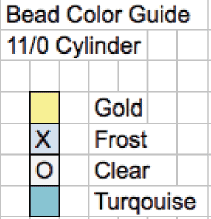
Beads 11/0 cylinder (see Bead Placement Chart for colors)
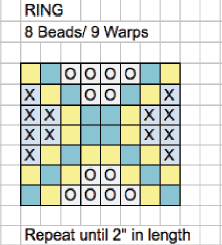
Bead Placement Chart
Ring Instructions:
1.The number of beads in this design is 8 so we will need 9 warps.
2. String 9 warps on the loom (follow package instructions for warping).
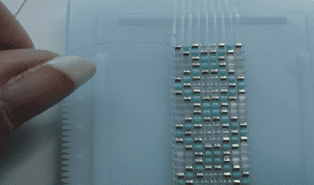
3. Tie the weft thread on the leftmost warp. Pass the beading needle to hold the warps up. Pick up the entire first row of the bead pattern and position one bead between each warp. Remove the darning needle and push the warps toward the loom back. Pass the eye of the needle through the beads on top of the warp.
Note: This ring can be made smaller by reducing the number of rows and by pulling a little tighter on the warps as you are closing the rows off. Puckering may happen, but that’s normal…it will stretch out for a proper fit.
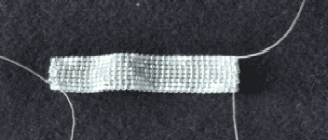
5.Continue weaving the design until the piece measures 2″.
6. Tie the weft thread off on the leftmost warp.
 7. Remove the piece from the loom.
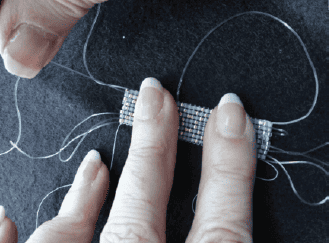
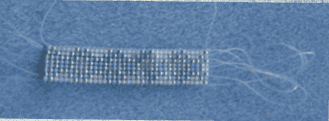 8. Hide the warp threads by following the package instructions. Note: Since the warp threads are stretchy they are slightly harder to pull. Just make sure you hold the body of the piece flat as you pull.
9. Hide the weft threads as directed.
Note: There should be only four threads left to hide when you finish pulling…the beginning and ending wefts and two long warps.
10. I use the warp threads to join the pice into a circle for the ring. Thread the stretchy cord in to a beading needle, then run it through the first bead on one side and pick up the second bead on the opposite end. (this makes a ladder stitch).
11.When you get to the end of the seam hide the warp thread as normal.
12. Pick up the last warp thread and make the ladder stitch again going back the other way. Hide the warp thread. You have just made a seamless join and are ready to try on the ring!
Bracelet Supplies
6 Silver Beads 6/0
2 Robins’s Egg Blue Beads
2 Opaque Beads
2 Clam Shell Crimps
2 small links of chain (Lengthen or Shorten Bracelet)
2 Jump Rings
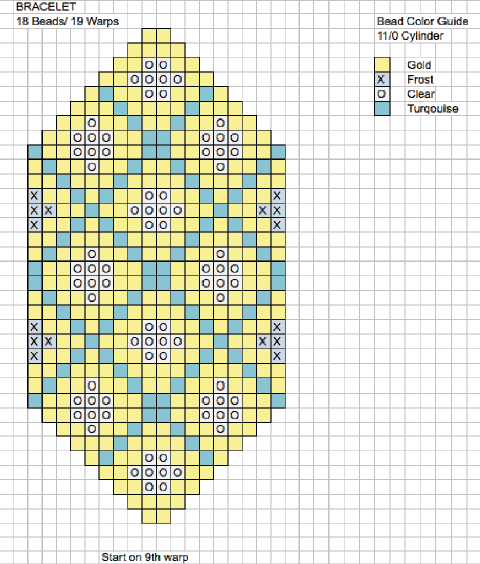
Bead Design 18/Warps 19
1. Warp the loom with one continuous thread to form 19 warps.
2. Start weaving the design at the 9th warp and follow the Bead Placement Chart working from the bottom, left to right.
3. Follow the increase directions found in the package instructions.
4. Hide the warp and weft threads.
5. Weave a thread through several rows of beads and come out one of the point beads.
6. String beads in order as shown in the photo, go through a clam shell, then a crimp bead and return and thread all the way back through the strung beads.
7. weave the end through a few rows of beads as you did at the start…cut thread.
8. Repeat Steps 5-7 for the other side.
9. Crimp bead add a small dot of glue; then clamp the clam shell closed.
10. Add a jump ring to both ends of the chain link. Hook the clam shell on one end and one part of the lobster clasp on the other end. Repeat for the other side.
To view more free project sheets please visit our website at www.clover-usa.com under Project Sheets.

