Trace ‘n Create Bag Templates City Bag Collection Portfolio Plus Bag Makeover Guest Blog Posting by Nancy Zieman
Shopping online for handbags, a bag decked out with hardware trim caught my eye—so did the price, $1300. So when Clover asked me to be a guest blogger for their Clover’s Bag Makeovers Series, I knew we had the perfect inspiration for the second blog posting.
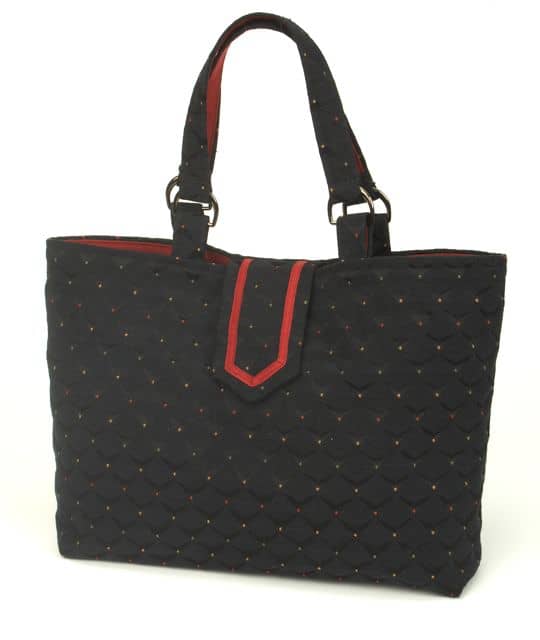
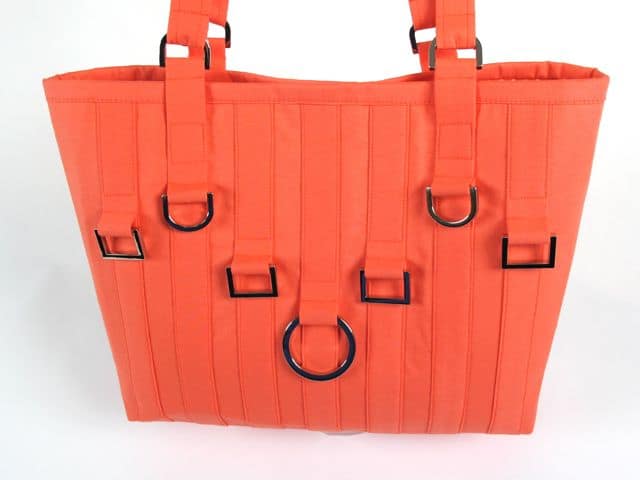
Clover and I introduced theTrace ‘n Create Bag Templates—City Bag Collection in 2008. With the two templates that are included in the package, there are six style options. The bag featured below is the Portfolio Plus Bag style B. It’s a classic bag that’s a prime candidate for a makeover!
Since the template’s launch, new hardware and fabrics have been introduced, giving even greater possibilities. For the makeover, I selected a Rouge Cotton Solid and a dot print from the Verona fabric collection by Riley Blake Designs.
Handbag Couture—10 Sew Easy Tips
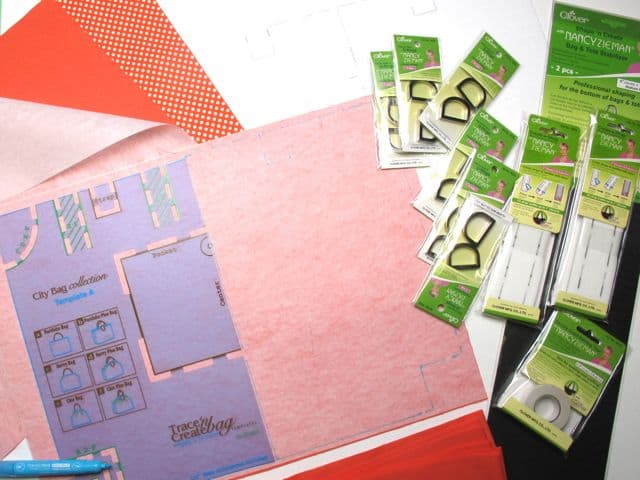
Tip #1—Gather the supplies
- Start with Clover’s Trace ‘n Create Bag Templates City Bag Collection: Portfolio Plus Bag Style B. Gather the fabrics and notions listed on the package back. For additional designer touches, here’s a listing of hardware I used for this bag makeover:
- Three packages Clover Glossy Nickel 1” D-Rings
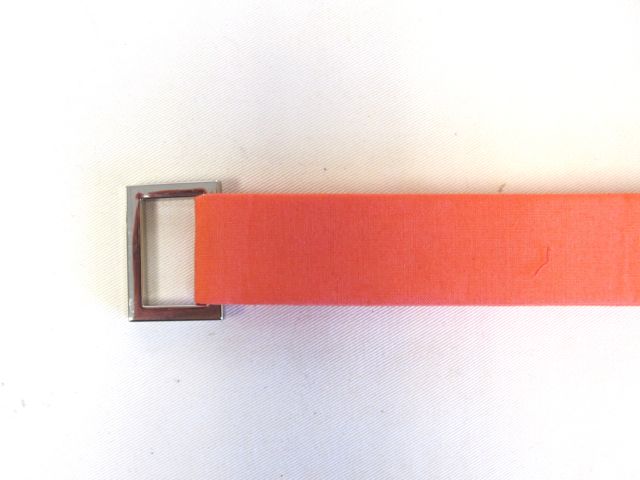
- Two packages Clover Glossy Nickel 1” Rectangle Rings
- One Package Clover Glossy Nickel 1-5/8” O-Ring
- One Package Clover Fuse ‘N Bind 1/2” x 2 yd.
- Two packages Clover Create a Strap 1″
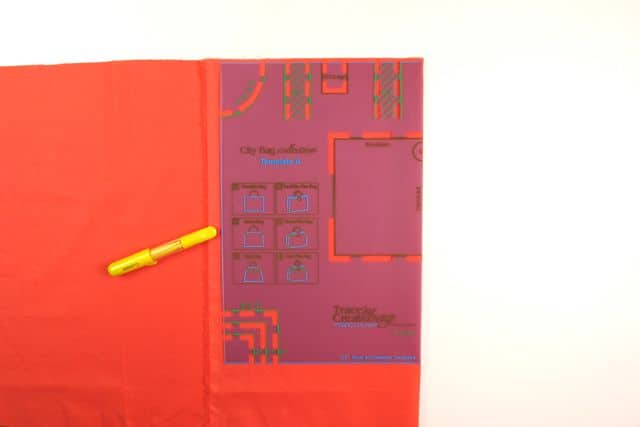
Tip #2—Trace the Pattern
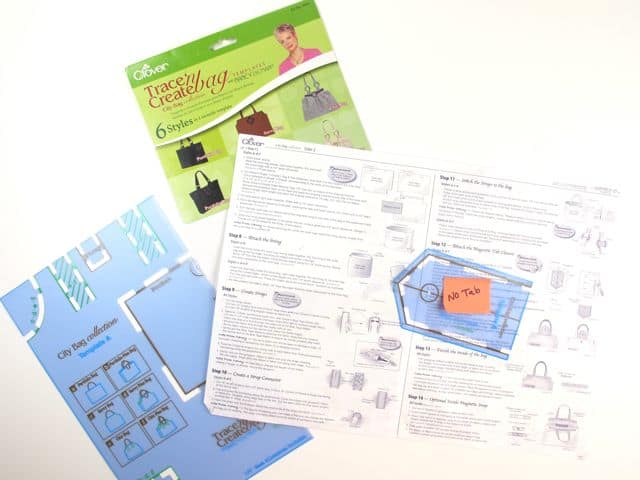
- Follow the Trace ‘n Create Bag Templates City Bag Collection: Portfolio Plus Bag Style B—with 3” corner gussets. The instructions will guide you through the easy steps of bag assembly.
- You will not need a tab or outer snap for this bag makeover, so skip over the instructions for cutting and making the tab and outer snap (template B).
Tip #3—Add inside support
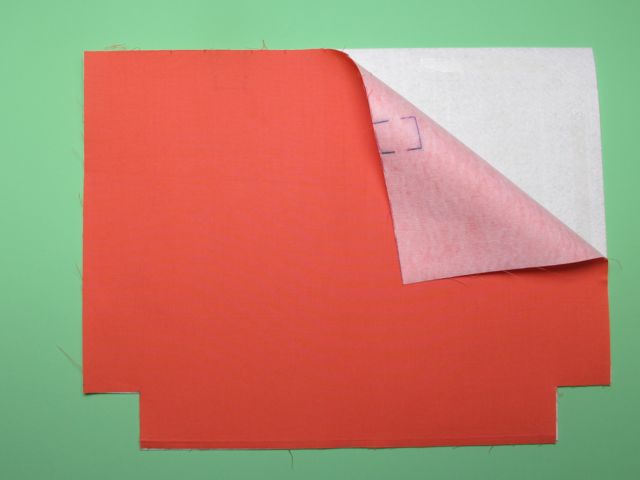
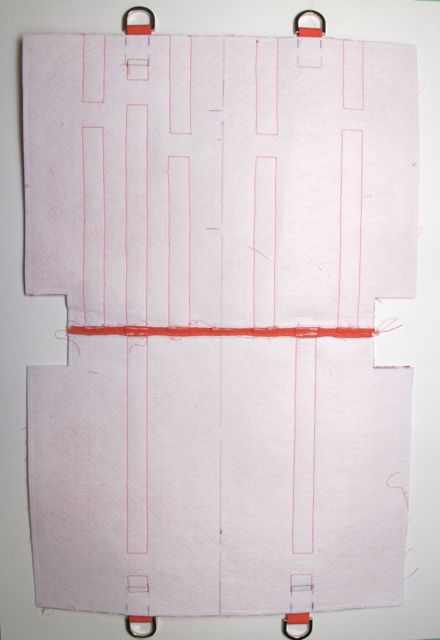
- Give your bag body. Trace and cut a layer of Pellon® Peltex® Ultra Firm Sew-in Stabilizer the same size as the outer front and outer back.
Tip #4—Add the couture touch
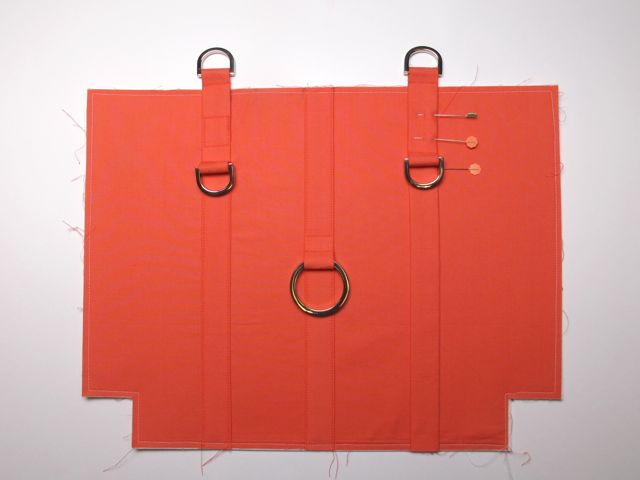
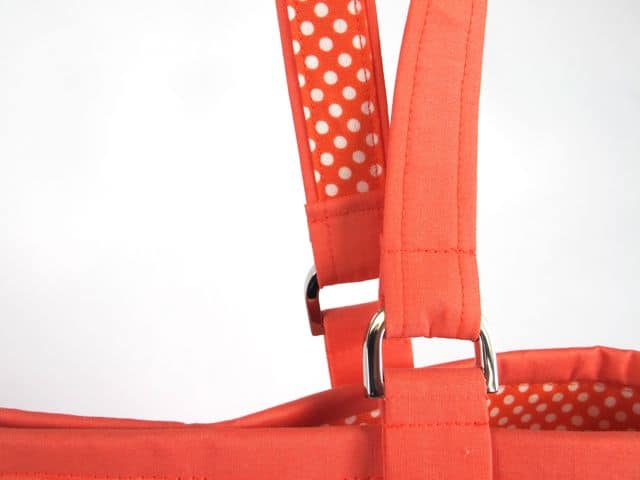
- Add drama to your bag by using multiple lengths of 1” Create-a-Strap along with D-Rings, Rectangle-Rings, and an O-Rings.
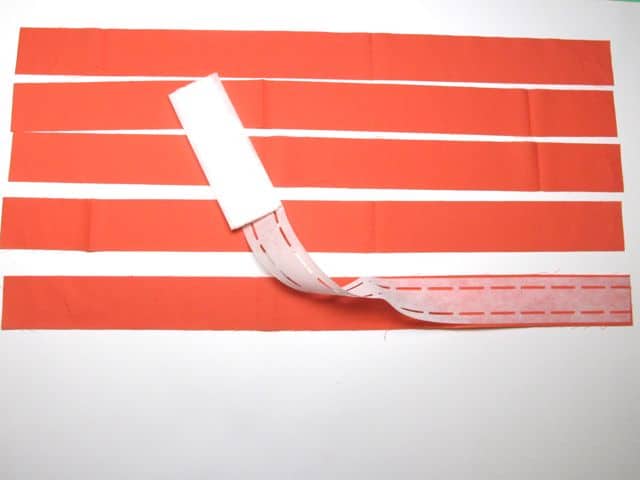
- Cut the following nine (9) strap lengths and press 1” Create-a-Strap to wrong side.
- Decorative straps: Cut five (5) straps 13” long
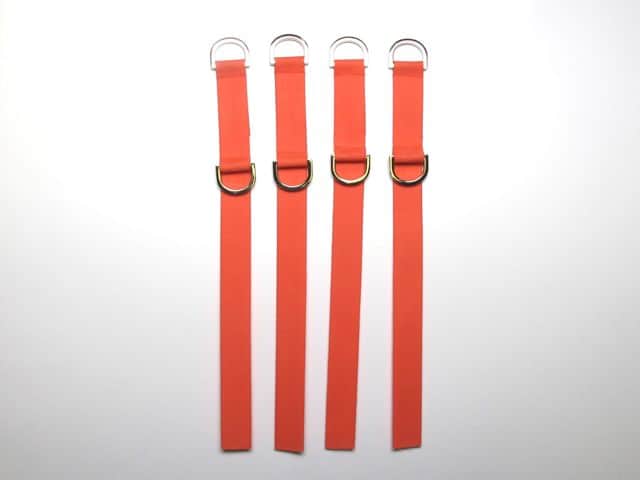
- Strap connectors: Cut four (4) straps 17” long
Add the hardware.
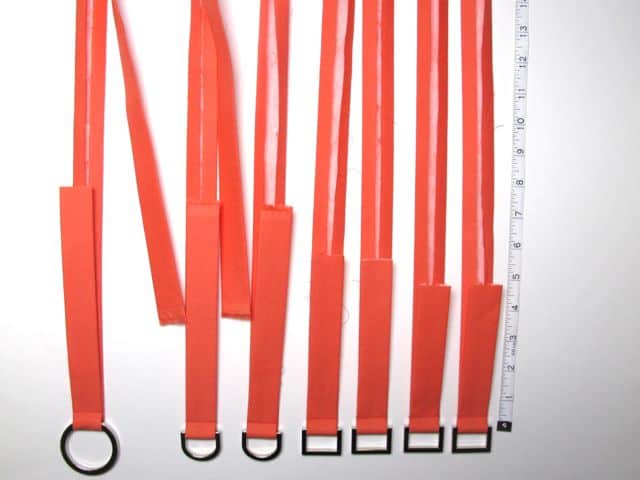
- Decorative Straps—13” lengths:
- Fold one strap at 8”, slide on the O-Ring.
- Fold two straps at 6”, slide on the Rectangle-Rings.
- Fold two straps at 5”, slide on the Rectangle-Rings.
- Strap Connectors:
- Fold two straps at 7-1/2’, slide on the D-Rings.
- Stitch close to the hardware
- Fold each strap connector strap a second time at 2-1/2”, add a second D-Ring.
Tip #5—Attach the straps
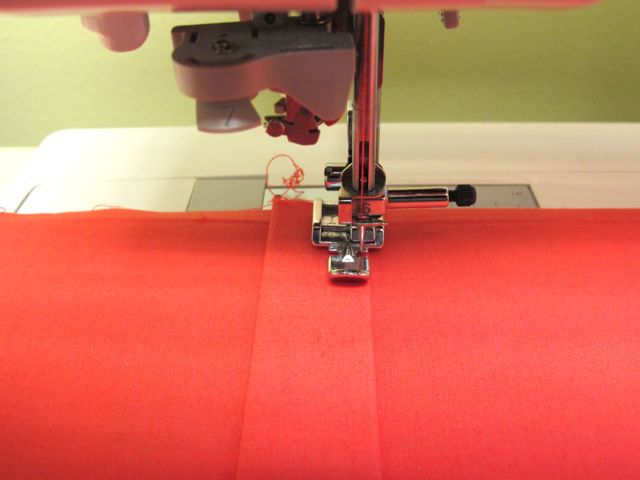
- Attach a zipper foot to your machine for ease in stitching close to hardware.
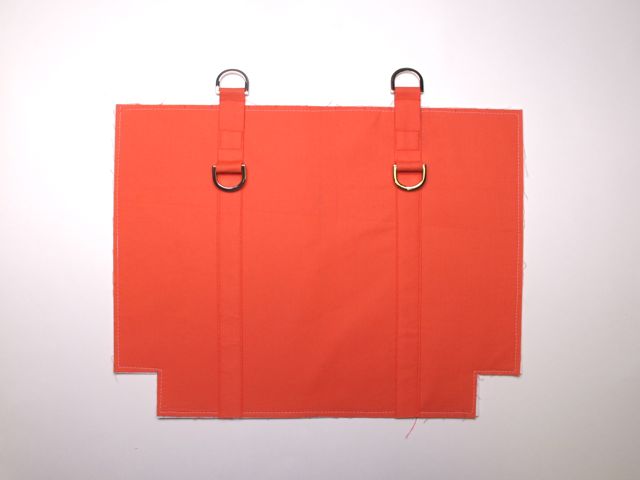
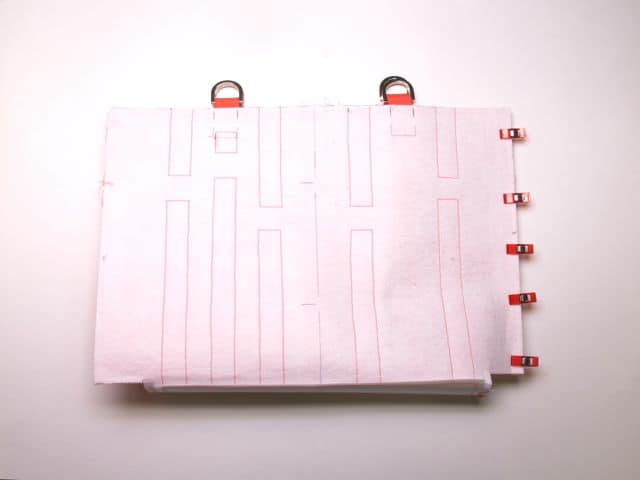
- First, position the Strap Connector sections. Place the Trace ‘n Create Bag Template A on top of the fabric and mark strap placements on both the front and back bag. Extend the markings the entire length of the bag.
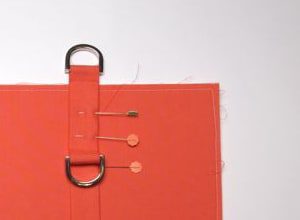
- Overlap and pin strap along markings, aligning the straps ends with the lower end of the bag.
- Stitch along the sides of the straps. End the stitching 2” from top edge.
- Position, pin, and stitch the O-ring strip between the strap connectors.
- Center, position, pin, and stitch remaining straps as detailed. The straps will be placed about 3/4” apart.
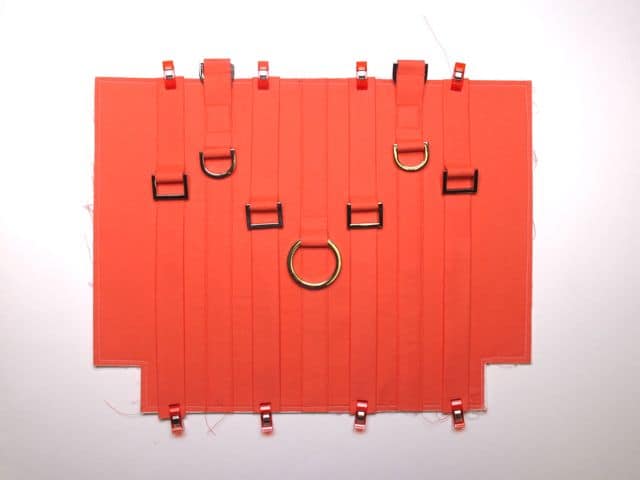
- For bag back, add only two decorative strap units at the original strap positions marked on the template.
- Stitch front and back bag together at lower seam.
Tip #6—Add stability to the bag bottom
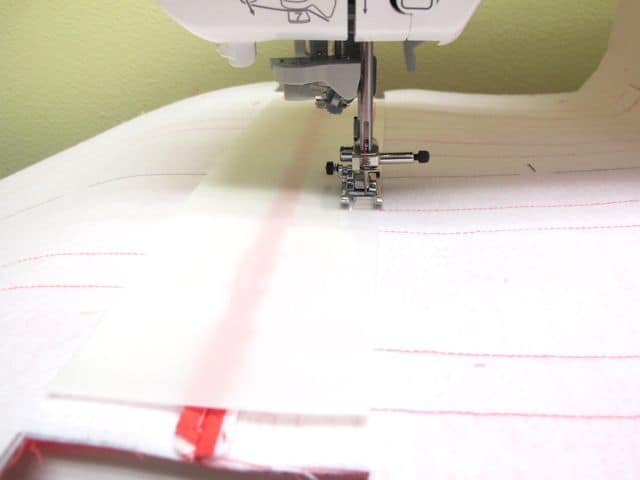
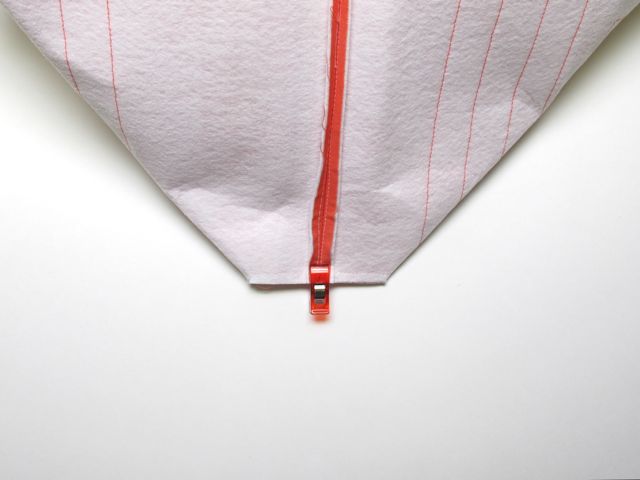
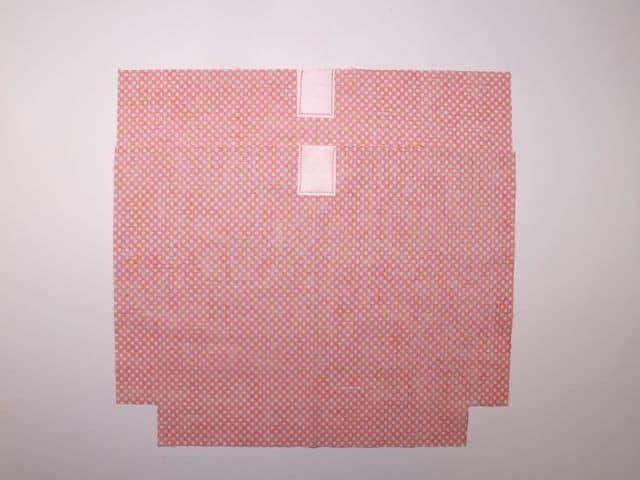
- The secret to achieving a couture look also lies inside the bag. Cut a 3” x 12” rectangle of Clover’s Shape ‘n Create to give the bag bottom shape and stability.
- Use Clover’s Double Sided Basting Tape to “baste” the layers together before stitching. It’s easy to stitch through the Create ‘n Shape, but difficult to pin since pins bend when going through the plastic.
- Sew the gusset shape as detailed in the instructions.
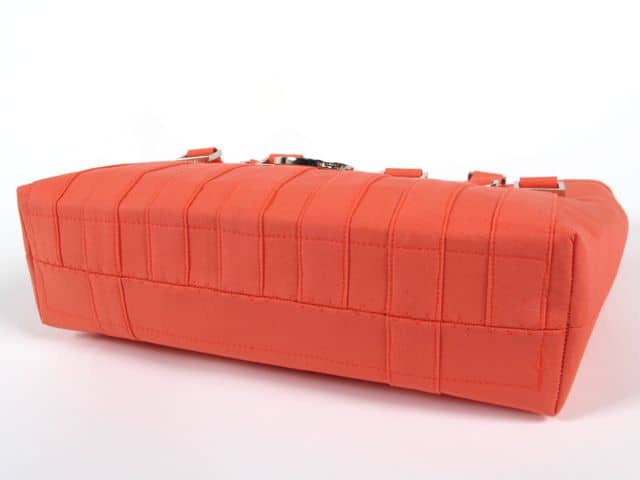
- The shaping is impressive!
Tip #7—Assemble with ease
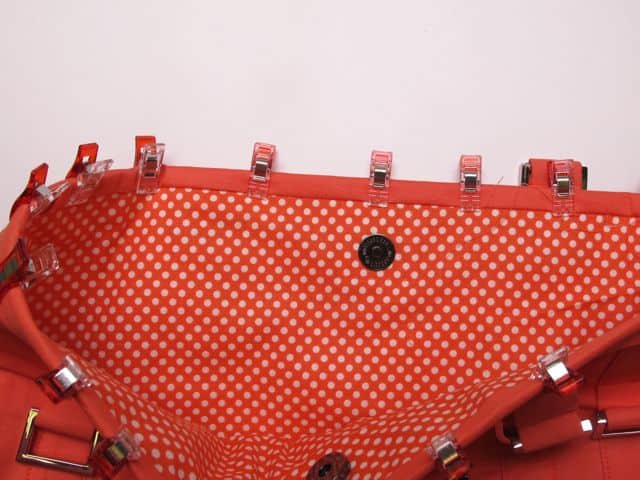
- Use Clover’s Wonder Clips to “pin” the layers together. The clips are easy to use yet securely hold multiple layers together.
Tip #8–Closure tip
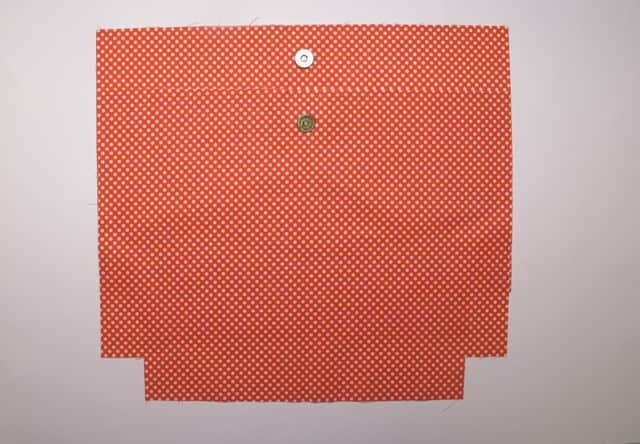
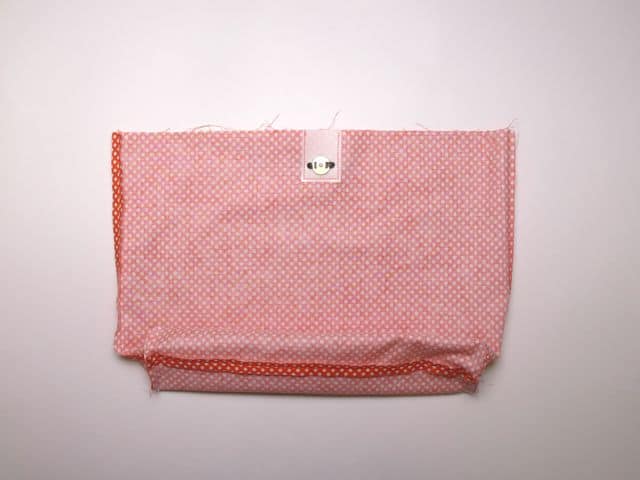
- Add an “inner” snap to the lining. This is a technique I developed after the Trace ‘n Create Bag Templates City Bag Collection was released.
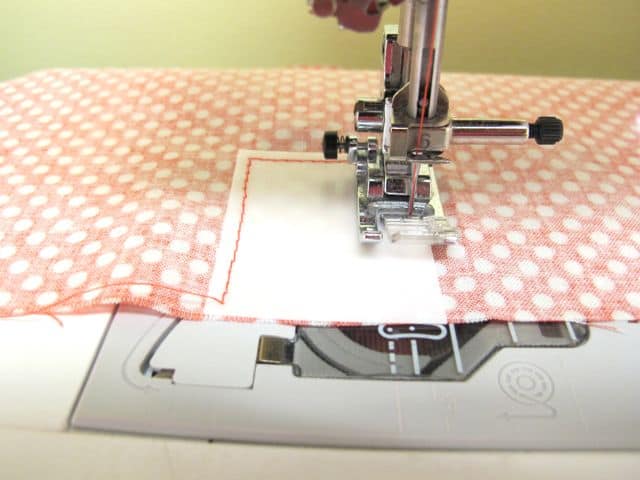
- Cut a 1” x 2” Rectangle Clover’s Shape ‘n Create
- Stitch Shape ‘n Create rectangles to lining wrong side at center/top front and center/top back.
- Following the instructions in the packaging, attach Clover’s Magnetic Snap Closure 1-1/2” from top
Tip #9—Add Couture Straps
- Add a couture touch with contrasting strap lining. Cut 1-1/2” strips, thread them through Clover’s 3/4” Bias Tape Maker, and press. Instant trim!
Tip #10—Finish with ease
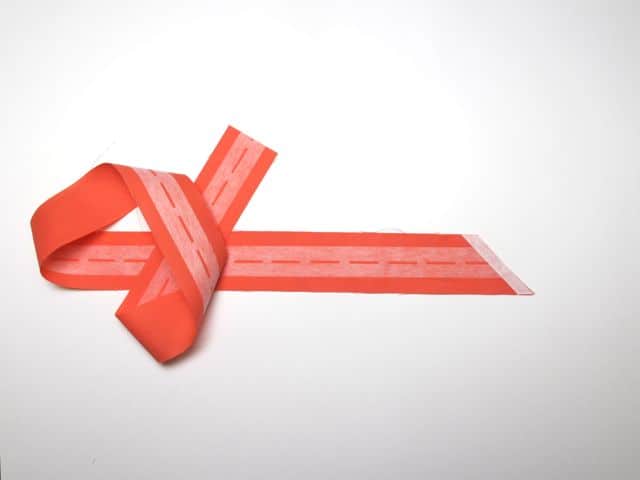
- Another designer accent is easily added with binding. I opted to forego the ribbon finishing steps in the original instructions. I made my own binding to finish the bag top with Clover’s 1/2” Fuse ‘n Bind and 2” fabric strips.
- Cut 2” wide fabric strip and press Fuse ‘n Bind to wrong side.
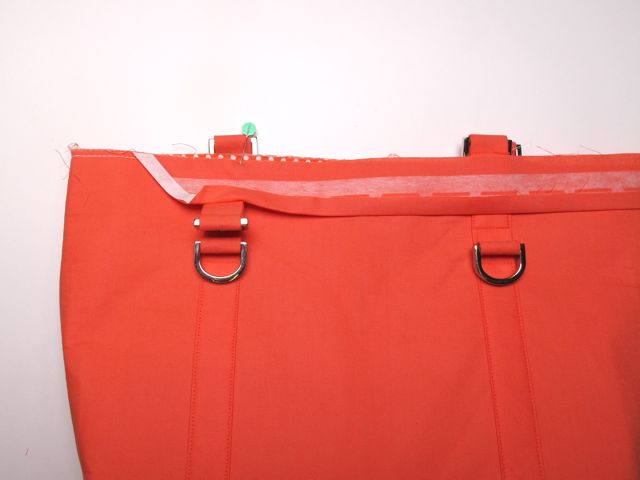
- Following instructions in Fuse ‘n Bind package, pin right sides together to outer bag. Stitch to bag along top edge of Fuse ‘n Bind.
- Fold Fuse ‘n Bind to inner bag and topstitch.
Ta Da—it’s a terrific looking bag!
I hope you’ve enjoyed reading about the 10 tips that I used to create my new Trace ‘n Create Bag Templates City Bag Collection: Portfolio Plus Bag. Let me know what tip is your favorite!
Be sure to check out the Town & Country Bag Makeover.
For all the latest and greatest in sewing, quilting and creating, visit my blog, nancyzieman.com/blog
And connect with me on Facebook, facebook.com/nancyzieman http://www.facebook.com/NancyZieman
Bye for now,
Nancy Zieman
