Bi-Color Brioche Pillow: Say Bye, Bye, Bi to being intimidated by the stitch!

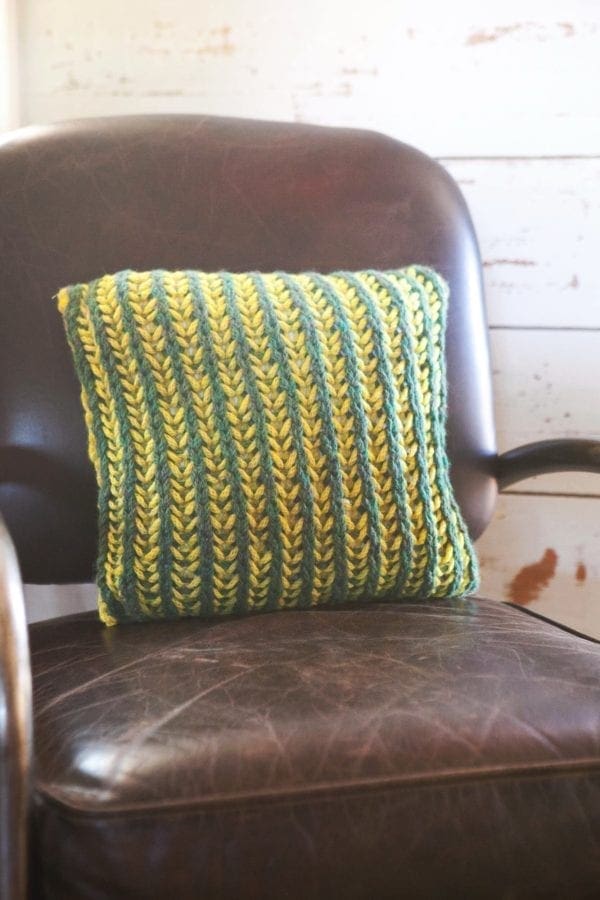
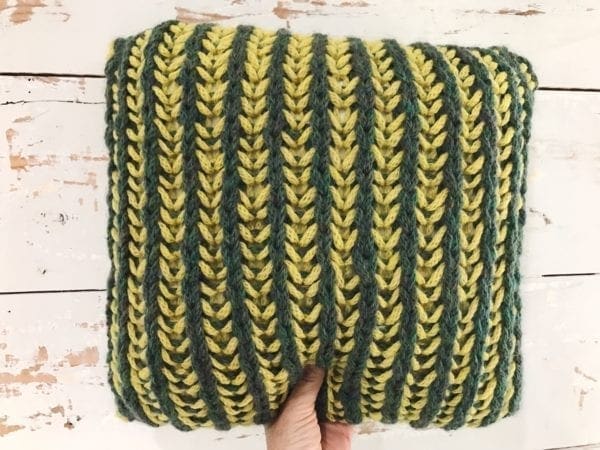
A couple of weeks ago on Ask Me Monday, we went over the basics of knitting brioche stitch using two colors. This week, we up the ante by applying the same skill along with some simple sewing to make a Bi-color Brioche Pillow. Thanks to the quality and handiness of Clover tools like: slick, Takumi Bamboo Circular Needles, bent-tipped Jumbo Tapestry Needle, and the truly wondrous Wonder Clips — this project comes together with relative ease and results in a pop of happy for your home, Here’s how to make this project!
Bi-Color Brioche: Skill Refresher Video Tutorial
Bi-Color Brioche Pillow
MATERIALS
1 hank each, Debbie Bliss Paloma (60 % Alpaca/40% Wool; 71 yds/65 m), in colors: (MC) Lime #42026 and (CC) Basil #42009
Size U.S. 15 (10 mm) Clover Takumi Bamboo Circular Needle, any length
15″/38 cm piece of fabric
14″/35.5 cm pillow
Sewing needle and thread.
Clover Knitting & Crochet Wonder Clips
Iron
FINISHED SIZE
14″/35.5 cm square
GAUGE
Approx 2 sts = 1″/2.5 ch in Brioche Stitch, slightly stretched
Special Stitches
BP1 = Brioche Purl 1, purl together the slipped stitch and the YO from the row below.
BK1: Brioche Knit 1, knit together the slipped stitch and the YO from the row below.
DIRECTIONS
With MC, CO 28 sts. Do not turn work.
Prep Row: (RS CC, forms purl columns in CC on RS) Slide work to other tip of needle and attach CC wyif, *sl 1, yo, p1; rep from * across. Turn work.
Row 1: (WS MC, forms purl columns in MC) Wyif, *sl 1, yo, bp1 (purl together the slipped stitch and yo from row before); rep from *across. Do not turn, slide sts to opposite end of needle where CC is attached.
Row 1: (WS CC, forms knit columns in CC) With CC, *bk1 (knit together the slipped stitch and yo from row before), yf, sl 1, yo; rep from * across. Turn work.
Row 2: (RS MC, forms knit columns in MC) Maintain the CC yo of last worked st by holding it under left needle to the back; with MC, *bk1, yf, sl 1, yo; rep from * across. Do not turn, slide sts to opposite end of needle where CC is attached.
Row 2: (RS CC, forms purl columns in CC) With CC, wyif, *sl 1, yo, bp1; rep from * across. Turn work.
Repeat Rows 1 and 2 RS and WS with colors indicated, until scarf measures 14?/35.5 cm and finishing with a RS CC row.
BO using CC as follows: K1, bp1, pass second stitch over first stitch on the RH needle (one st BO off.) Cont in this matter, knitting the knit stitches and bp1 ( the sl st and YO) while binding off.
Cut both colors, leaving 6 in/15 cm tails.
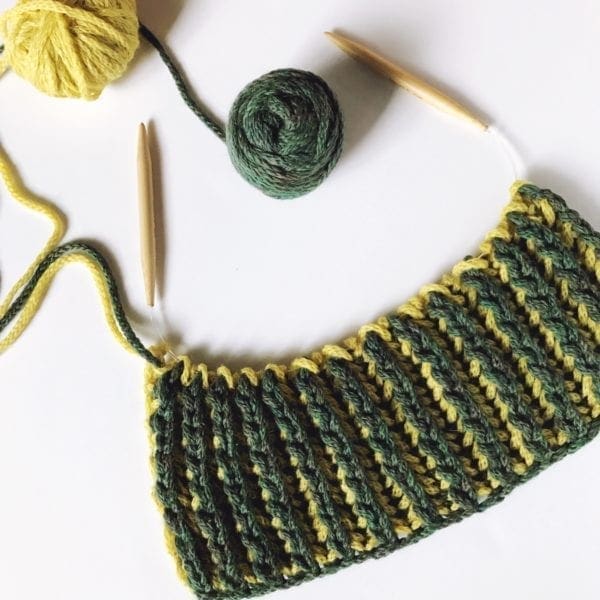
FINISHING
Weave in ends.
Back pillow:
- With WS facing, fold fabric edges over 1/2″/1.25 cm and press around all sides of piece.
- Place knit piece on top of WS of fabric, using Wonder Clips to hold in place.
- Using sewing needle and thread, carefully stitch 3 sides of the knit piece to the fabric.
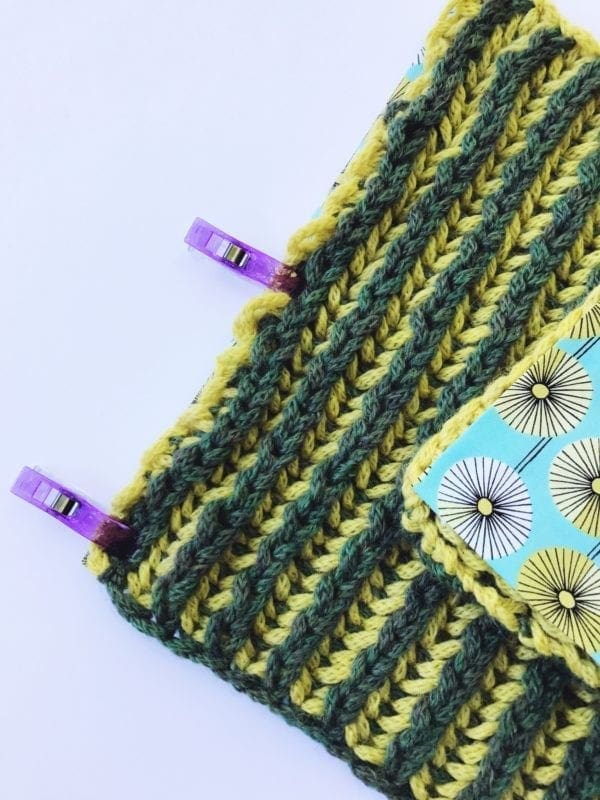
- Insert pillow into sewn piece; seam shut.
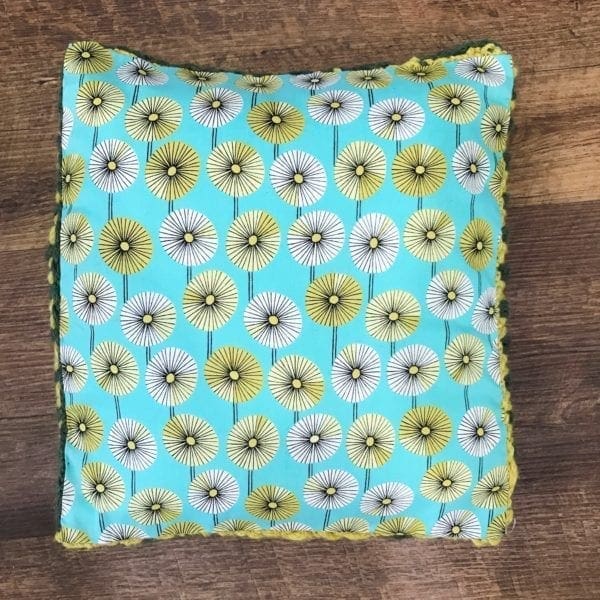
- Fluff as necessary, an you’re done!
