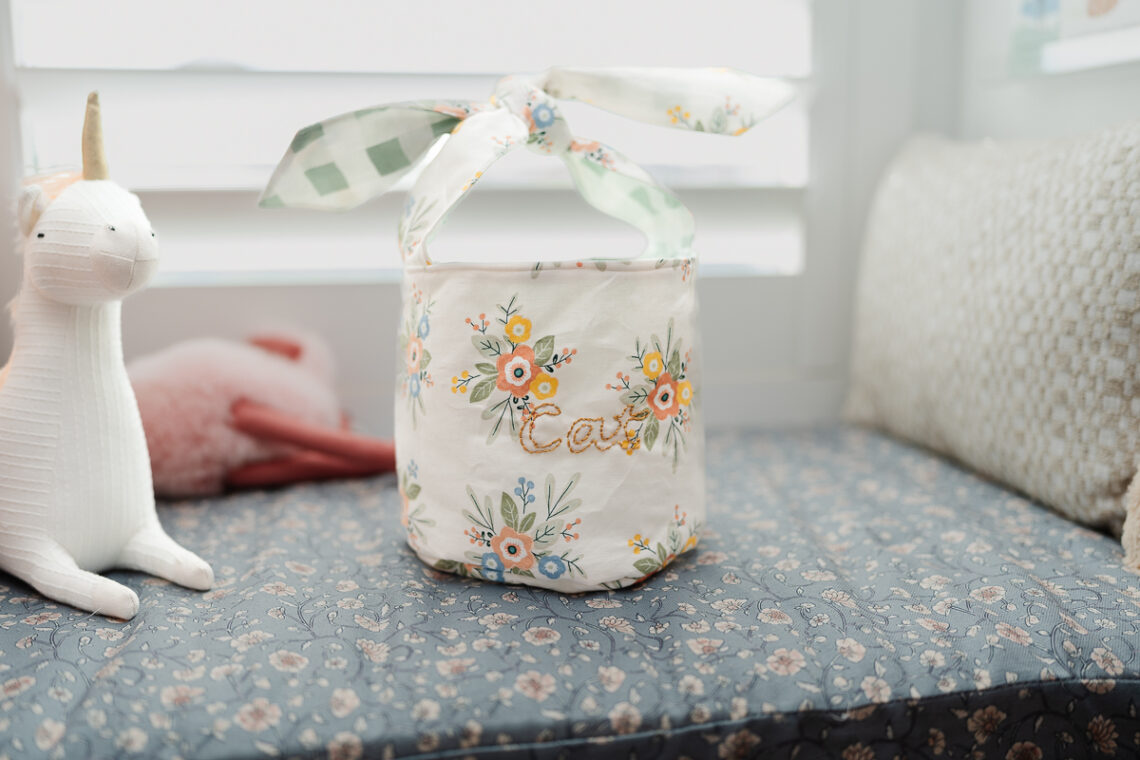
Bunny Ears Easter Basket
Hi everyone, it’s Cataleya (@happystitches_us on IG)! I’m so excited to be back this month to share another project with you! I love making all types of bags, but since Easter is right around the corner, I really wanted to make a custom basket!
I chose a beautiful floral cotton for the outside and a classic green gingham for the lining. The coolest part? I used my favorite Clover tools and embroidered my name, “Cat” right on the front and made these huge, floppy tie-top handles!
Because I used a mix of “fluffy” and bonded interfacings to make the basket stand up like a real bucket, I had to use my Clover toolkit to make sure everything stayed perfectly in place. Here is how I did it!
MATERIALS:
- Rotary Cutter
- Water Erasable Tracing Paper
- Metal Hera with Stylus
- Double Tracing Tool
- Wonder Clips
- Heart-Shaped Pins
- Patchwork Scissors (mini)
- Magnet Pin Caddy
- Point 2 Point Turner
- Seam Ripper
- main fabric (floral): 1/2 yd (44″ wide)
- lining fabric (gingham): 1/2 yd (44″ wide)
- body/base: 1/2 yd of 0 oz or mid-weight polyester batting
- handles: 1/4 yd of Pellon 987F Fusible Fleece
- warm orange embroidery thread
- thread to match
- ruler
- heat pen
EASTER BASKET TUTORIAL:
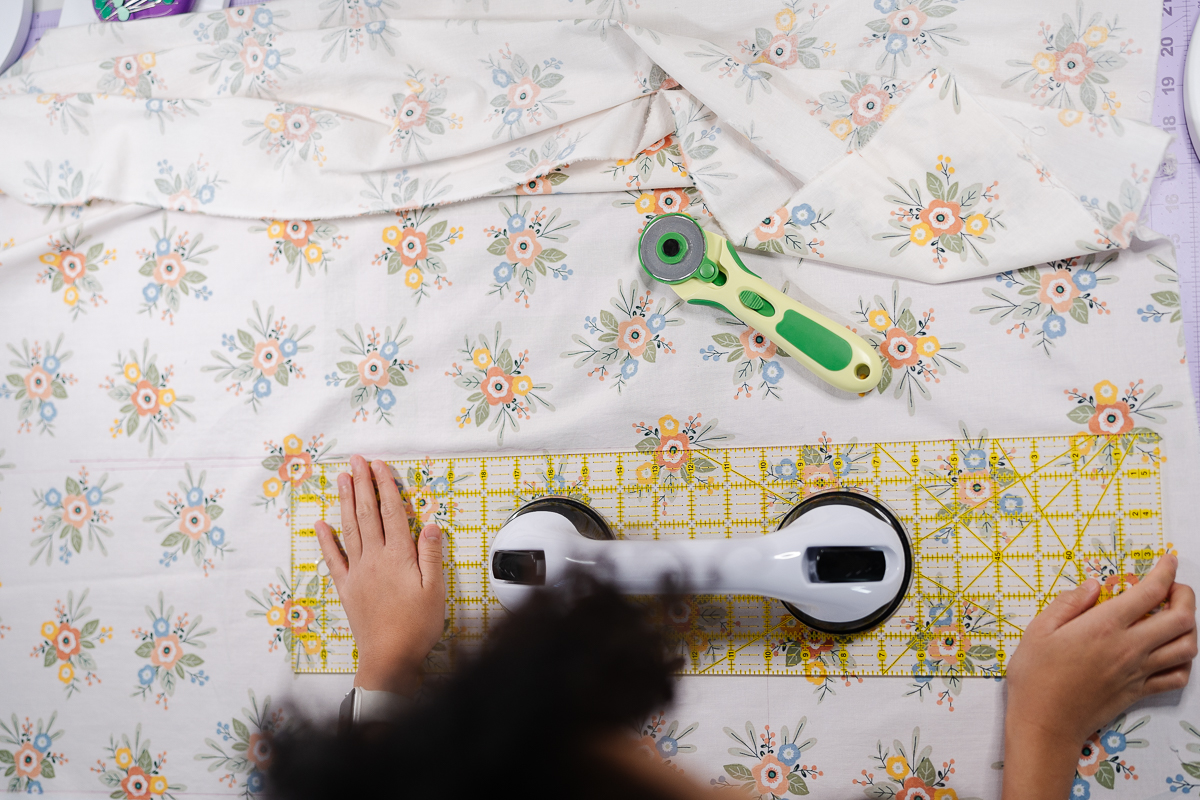
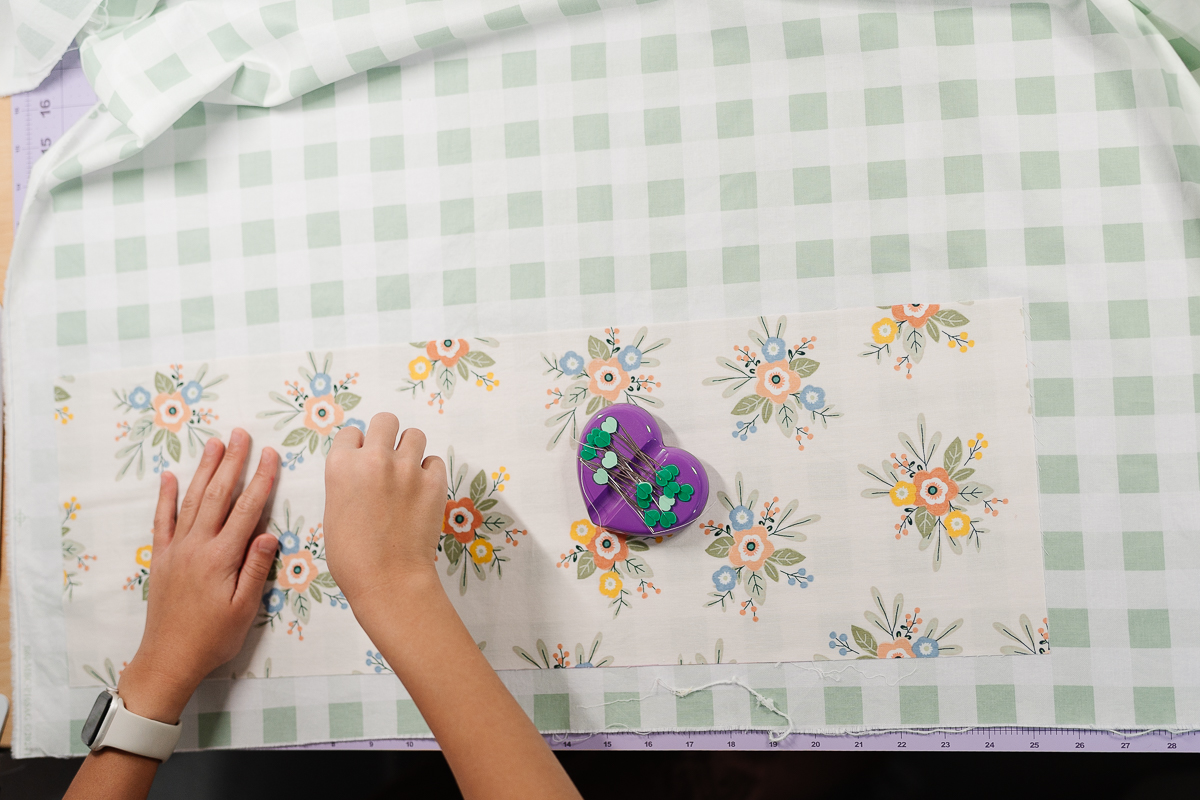
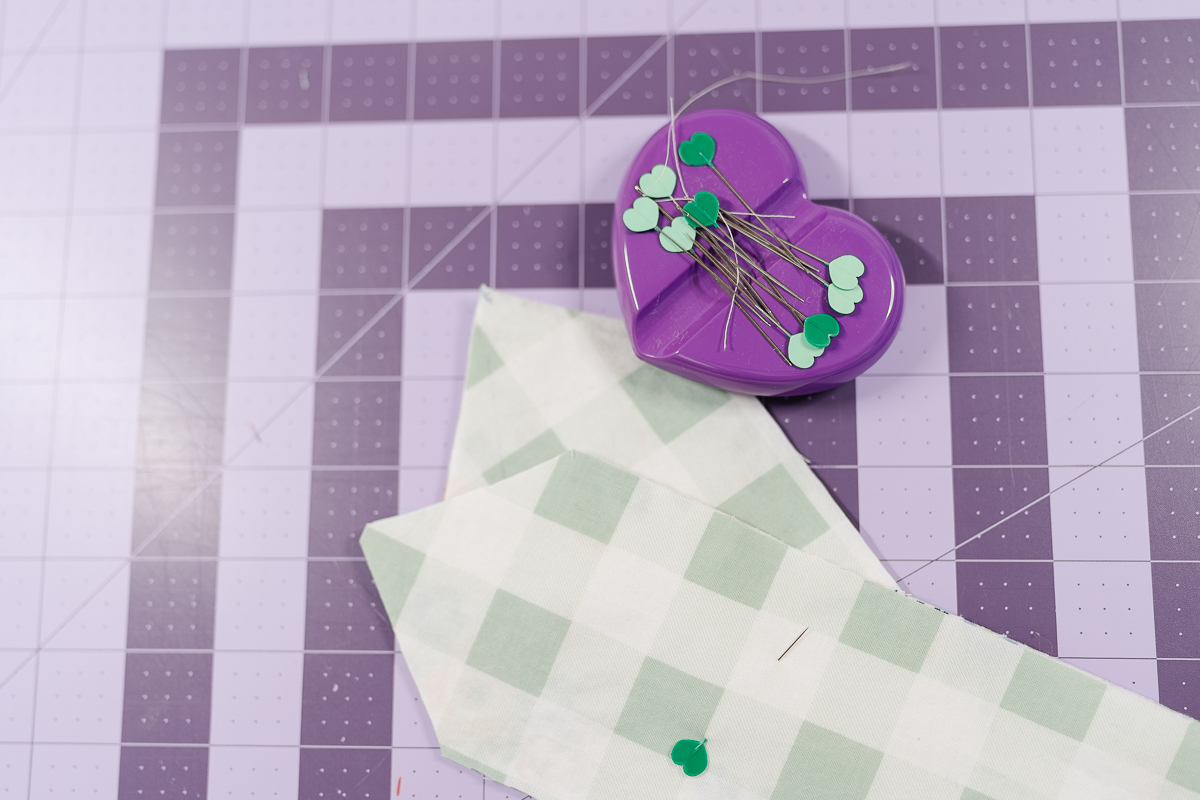
1) Let’s start with the cutting. I started by pinning my pattern to my floral cotton and cutting the first piece. Then, I laid that piece on top of my gingham lining, pinned it again with my Heart-Shaped Pins, and cut that out. Finally, I laid my fabric on top of the interfacing and cut that last! Using my Clover Rotary Cutter made it so easy to get everything exactly the same size.
-
- x1 – Main – Floral Print – 5″ W x 8″ H
- x1 – Lining – Gingham Print – 24.5″ W x 8″ H
- x1 – Mid-Weight –Polyester Batting – 24.5″ W x 8″ H
- x1 – Base – Floral Print – 8″ Diameter
- x1 – Base – Gingham Print – 8″ Diameter
- x1 – Mid-Weight –Polyester Batter – 8″ Diameter
- x2 – Handles – Floral Print – 3.5″ W x 18″ L
- x2 – Handles – Gingham – 3.5″ W x 18″ L
- x2 – Pellon 987F – 3.5″ W x 18″ L
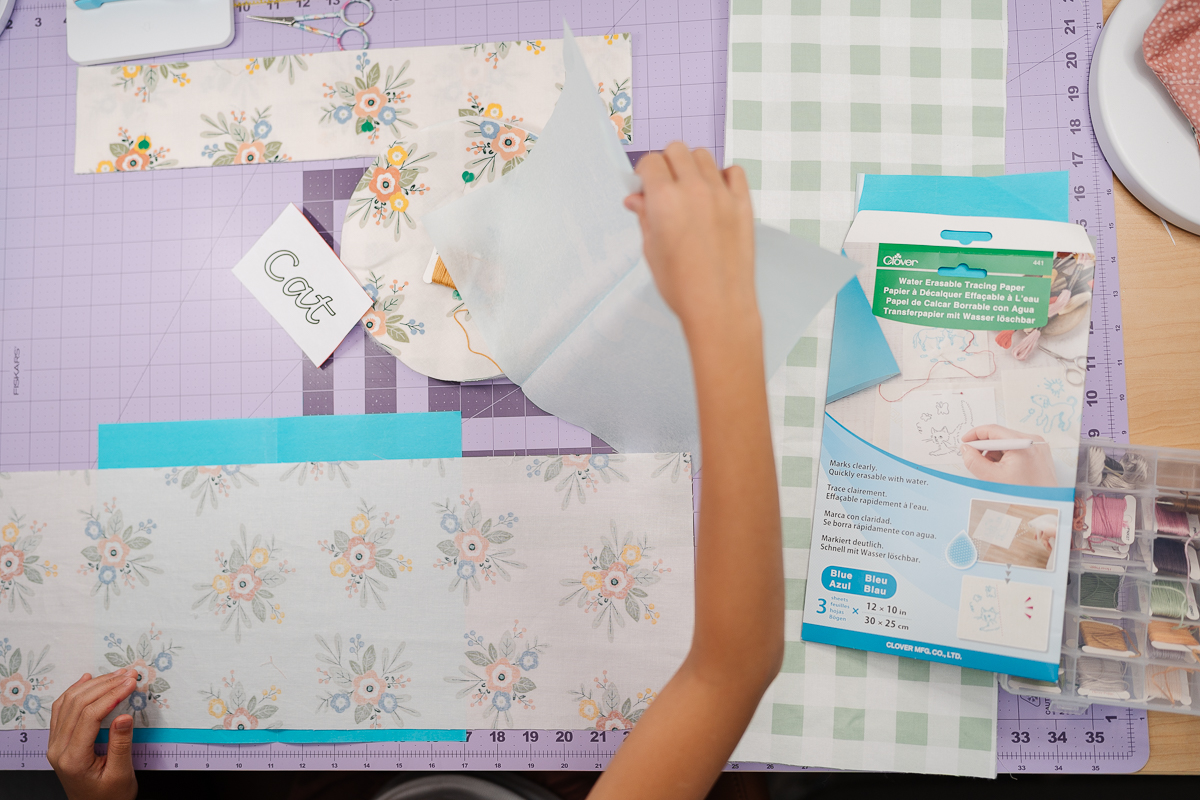
2) Now for the fun part! We need to make my embroidered name. I went into Microsoft Word and typed my name, “Cat,” in a pretty font. I created an outline of the letters and printed it out to use as my template!
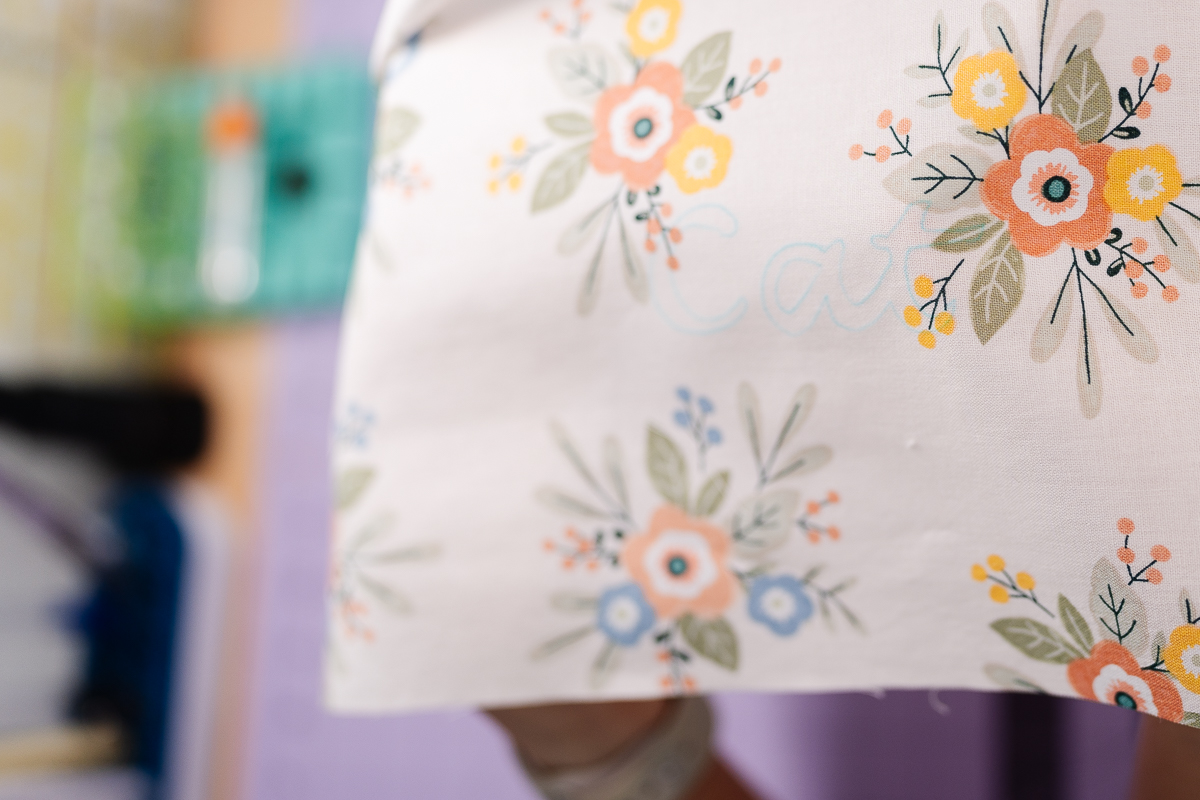
- TIP: To make sure your name isn’t backwards when you’re done, place your paper template face down on top of the Water Erasable Tracing Paper. Use the Double Tracing Tool to roll over the lines. When you lift the paper, the chalk outline will be perfectly readable on your fabric! I used a simple backstitch to follow the blue outline.
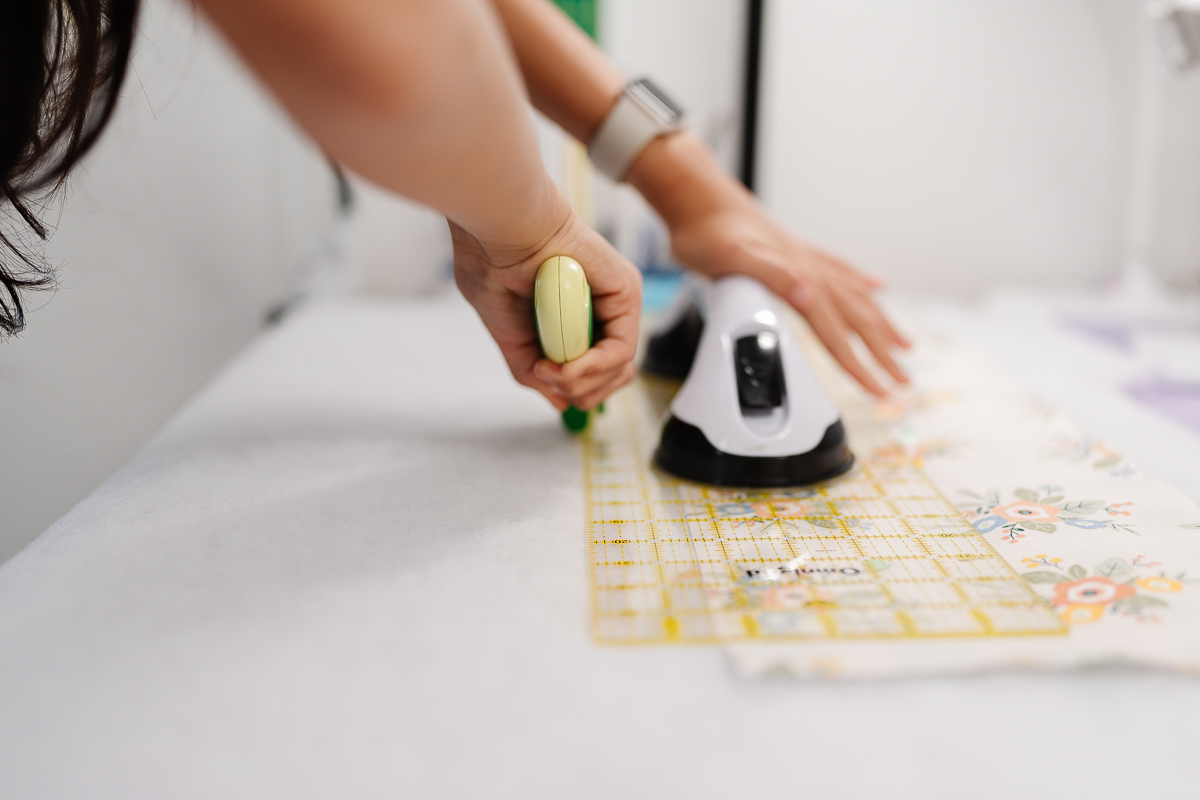
3) Now it’s time to make the handles! First, I ironed the Pellon 987F Fusible Fleece to the “wrong” side of my floral handles. Then I layered the floral handle and gingham lining, right sides facing, and pinned them together. At one end, I found the center point, used a heat pen to mark a 45-degree angle “V” point upside down, and cut it. I sewed all the way around with a 1/4″ seam allowance, leaving the square’s short end open. I used my Point 2 Point Turner to push the point out, then I went all the way around the handle to make it nice and flat!
4) Let’s start to put the basket pieces together! For the basket body, I sewed a basting stitch to attach the batting to the floral fabric. I used my Heart-Shaped Pins to hold the flat parts together, and I did the same for the base. Then I used my Wonder Clips to attach the circular base to the main tube. I sewed all the way around using a 1/4″ seam allowance—the clips were strong enough to hold that thick interfacing perfectly!
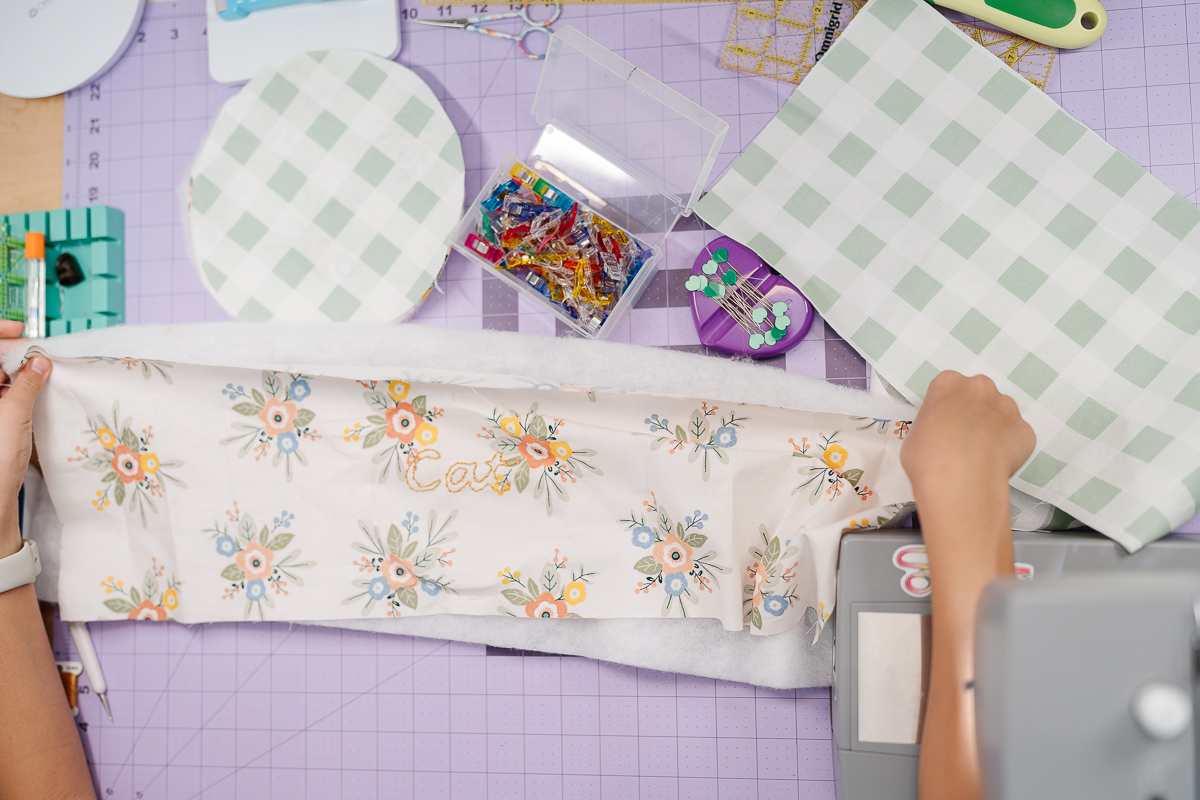
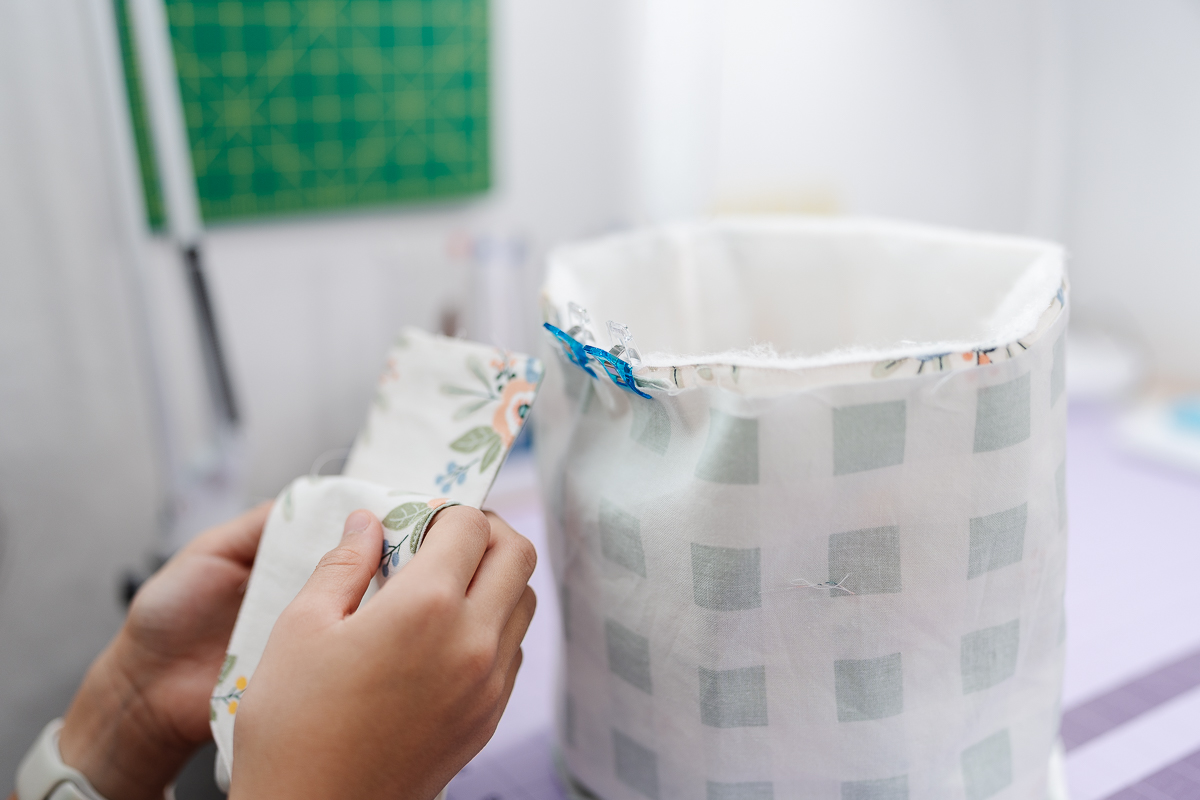
5) This is the big step! It’s what I like to call the “sandwich.” I slipped the gingham lining over the main floral basket, making sure the side seams lined up perfectly and the right sides were touching. Then, I grabbed my finished handles and tucked them between the layers. I made sure they were exactly on the sides of my “Cat” name embroidery, then I clipped everything together with my Wonder Clips.
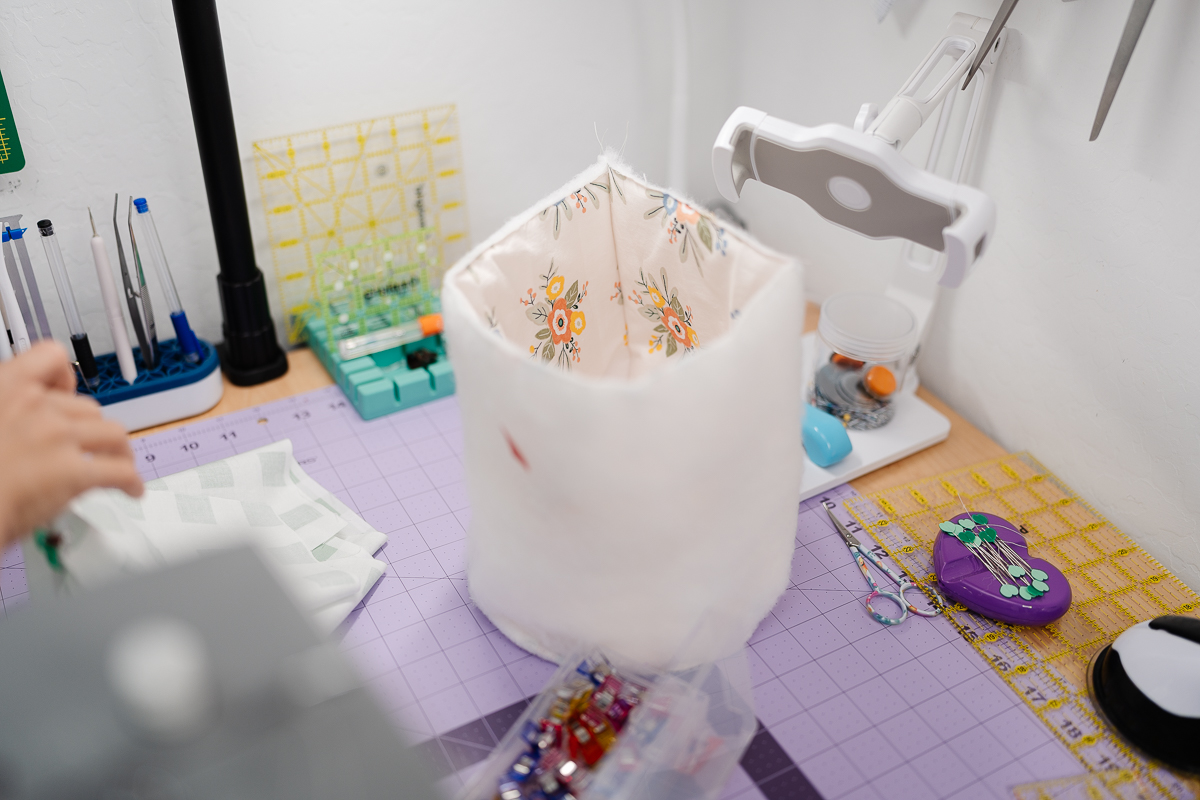
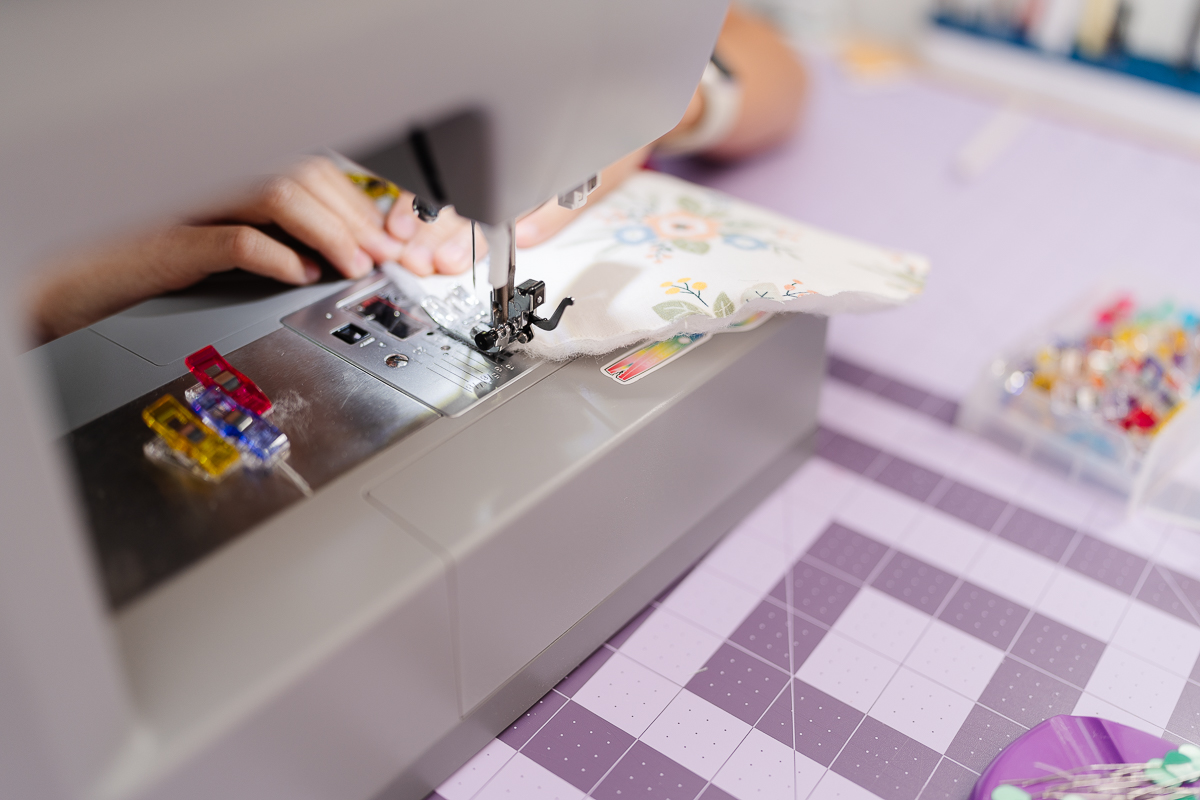
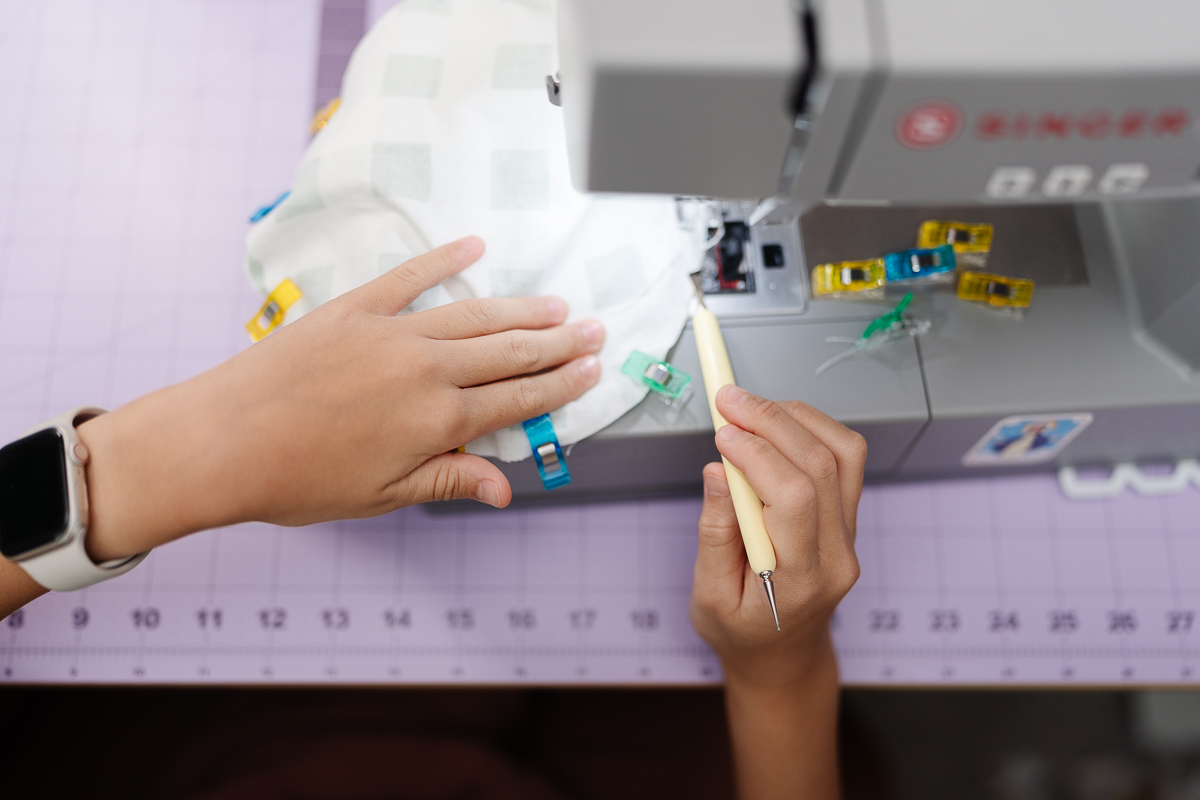
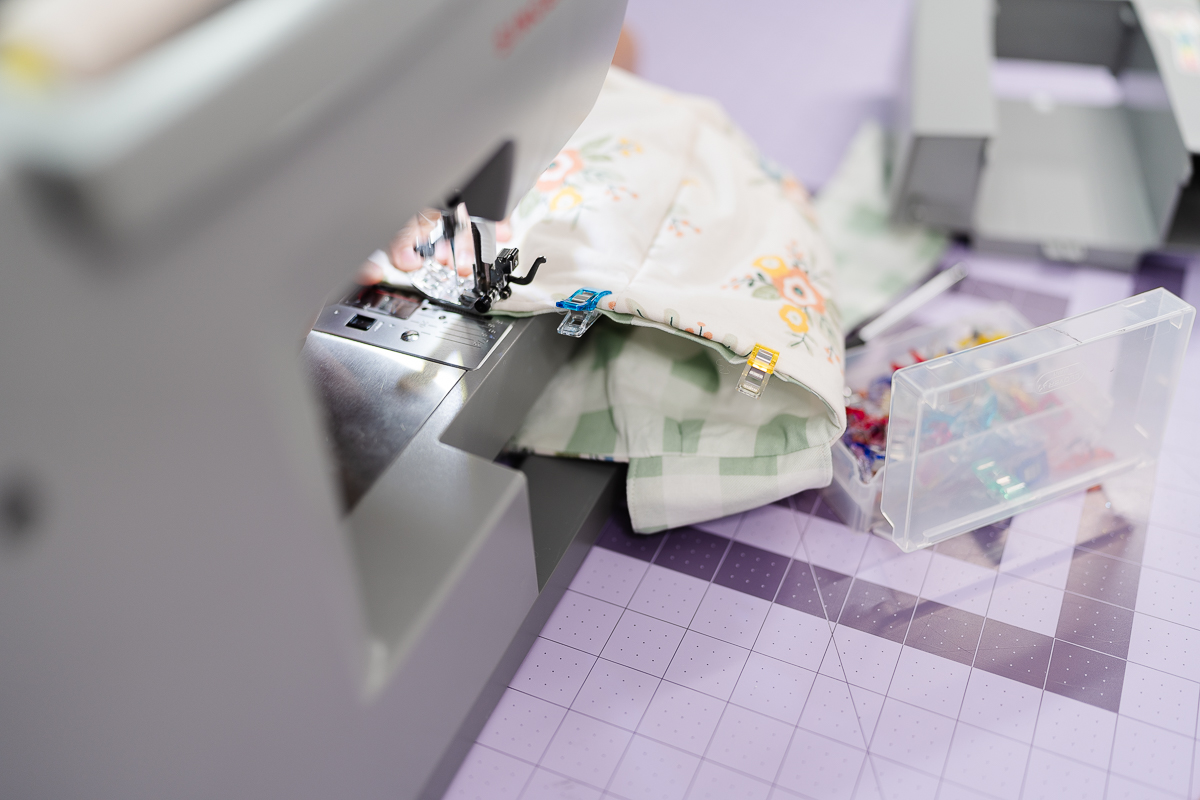
6) Almost done! I sowed all the way around the top rim with a 1/4″ seam allowance, leaving a 4″ gap at the back. I used my Metal Hera with Stylus to guide the thick layers under the needle so nothing shifted. After turning the basket through that 4″ hole, I closed the seam and topstitched all the way around the rim to make it look professional.
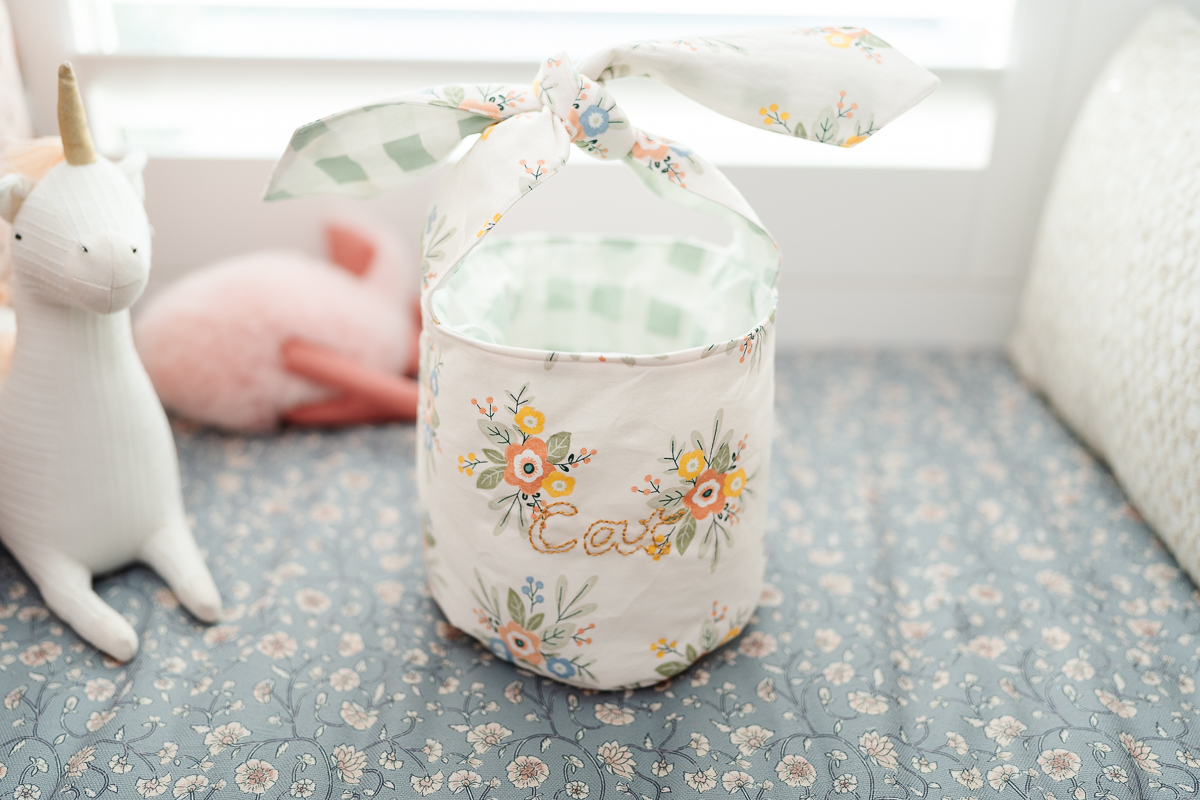
7) To finish, I tied the floppy ears in a simple knot at the top! I wiped away my lines with a damp cloth and gave the basket a quick iron to erase any little heat pen lines. Now I finally have a custom, boutique-style Easter basket ready for the egg hunt!
We hope you enjoyed creating this basket! Happy Easter and happy spring 🙂
If you want to keep up with me, Cataleya, on social media, follow her on social media: Instagram
If you want to keep up with all things Clover, follow us on: Facebook | Twitter | Instagram | Pinterest | YouTube | Ravelry