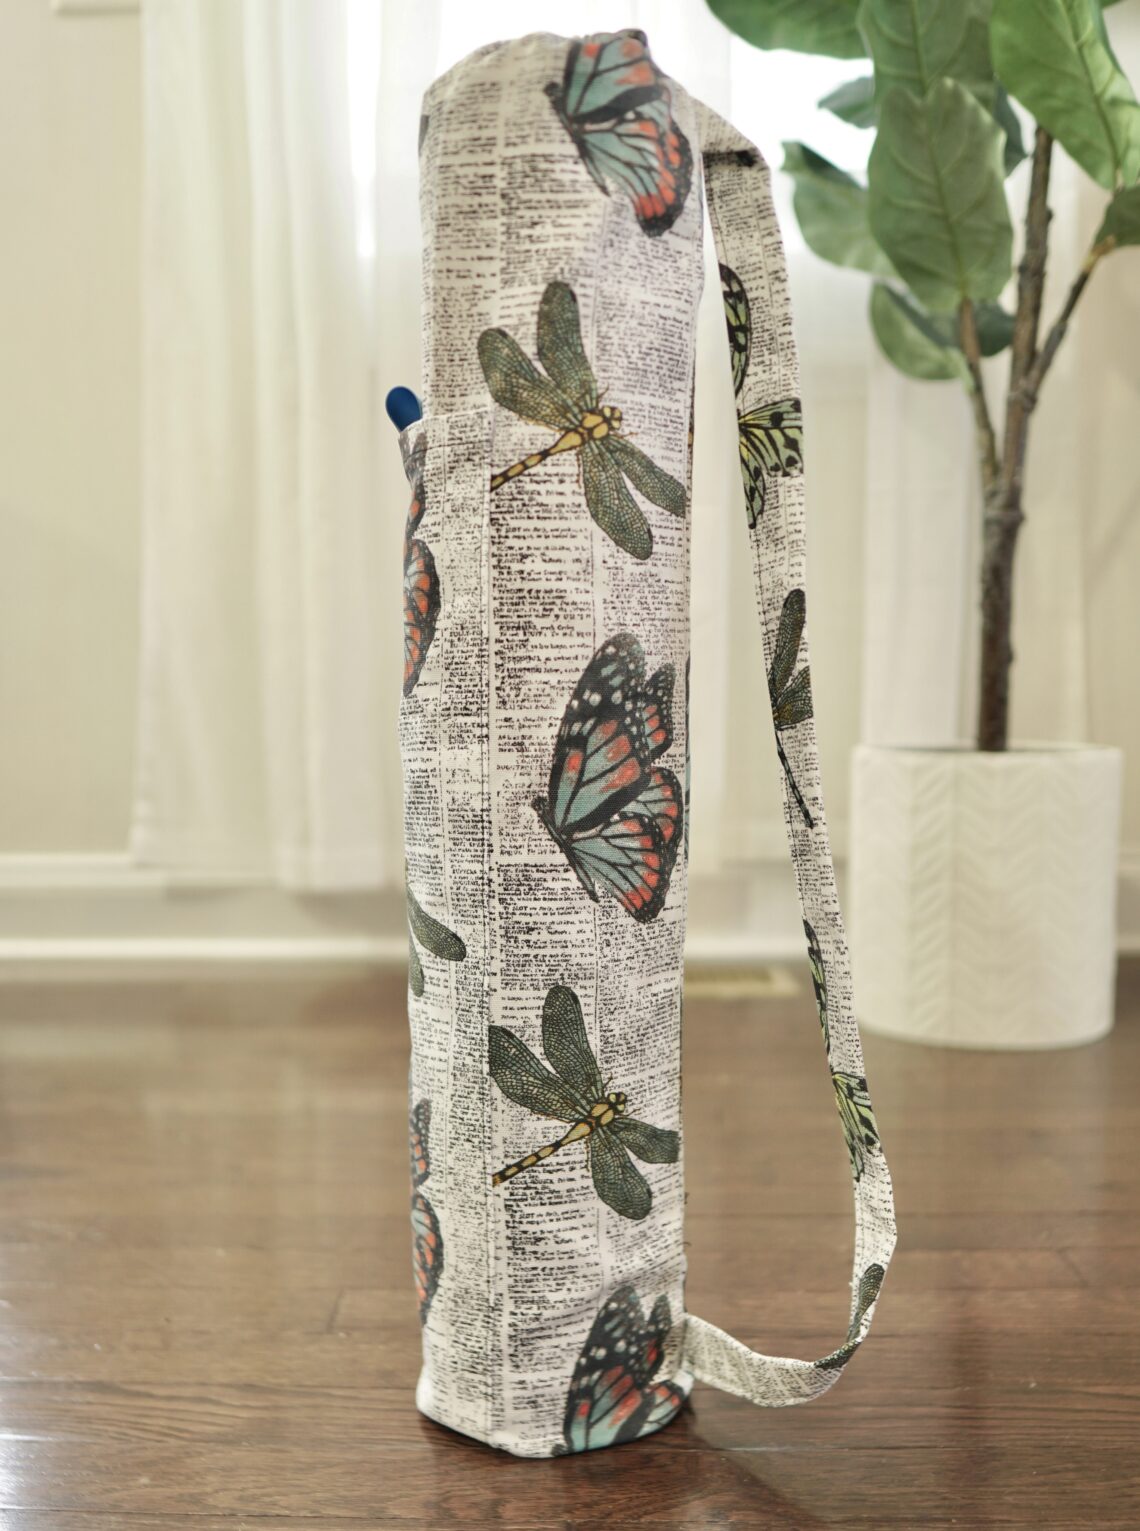
DIY Yoga Mat Bag
With the new year usually comes new fitness goals, and anything that helps us stay consistent is a win!!! Whether you’re focused on workouts, stretching, or simply moving your body more, having the right gear ready makes a HUGE difference. If you’re carrying your workout mat and resistance bands around or struggling to keep it organized, this DIY YOGA MAT BAG is for you!! It’s a simple sewing project that keeps your mat protected, portable, and helps you stay prepared and motivated all year long.
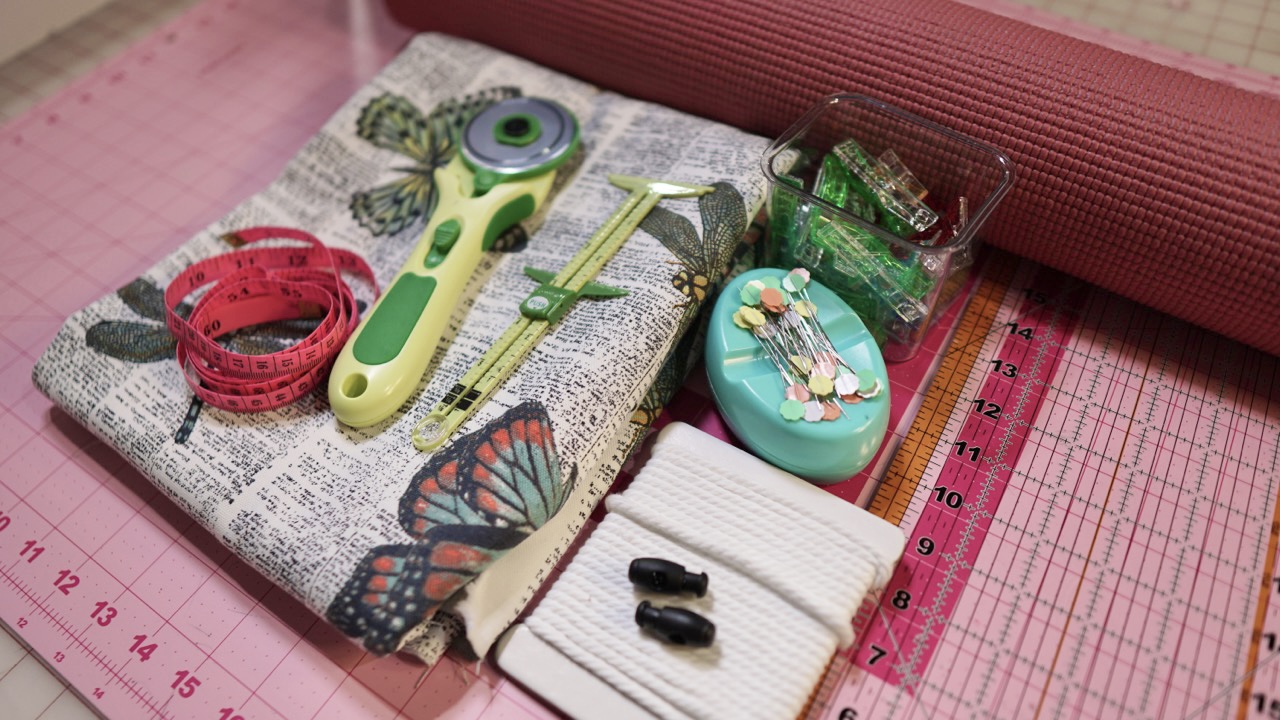
MATERIALS:
- Clover Rotary Cutter (60 mm)
- Clover Flower Pins
- Clover Wonder Clips
- Clover 5-in-1 Sliding Gauge
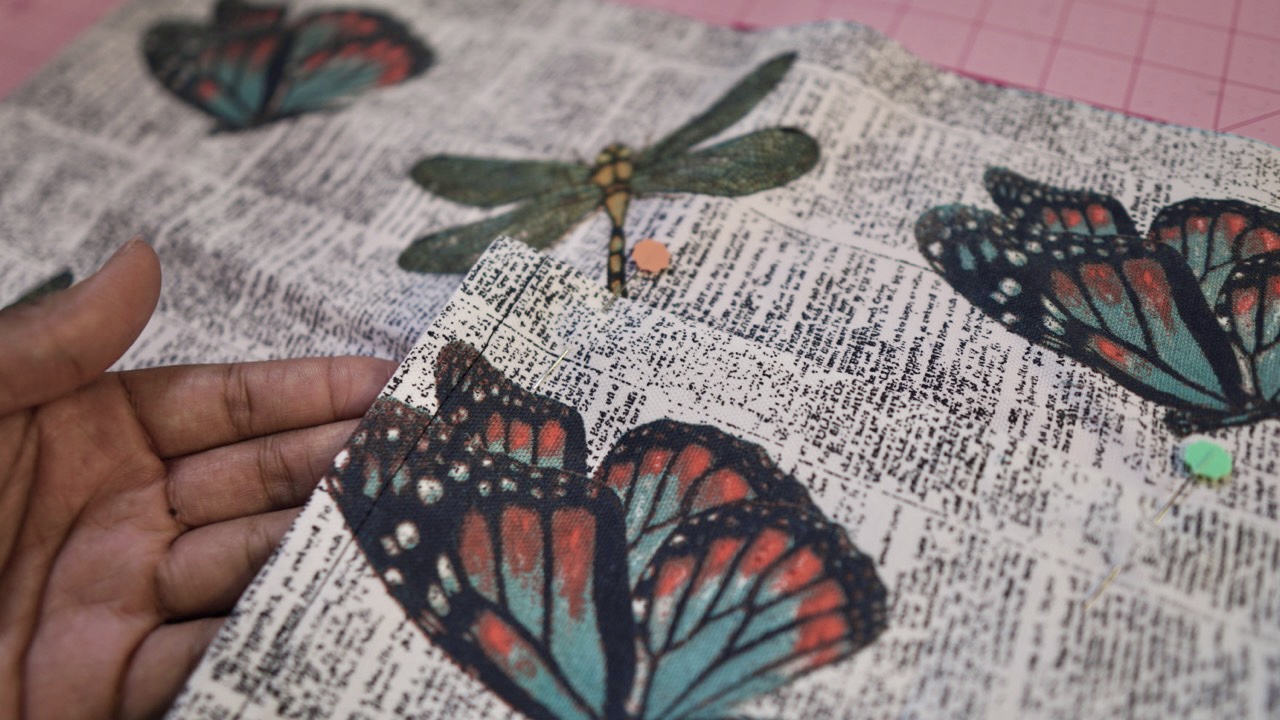
- 1 yard medium-weight fabric
- measuring tape
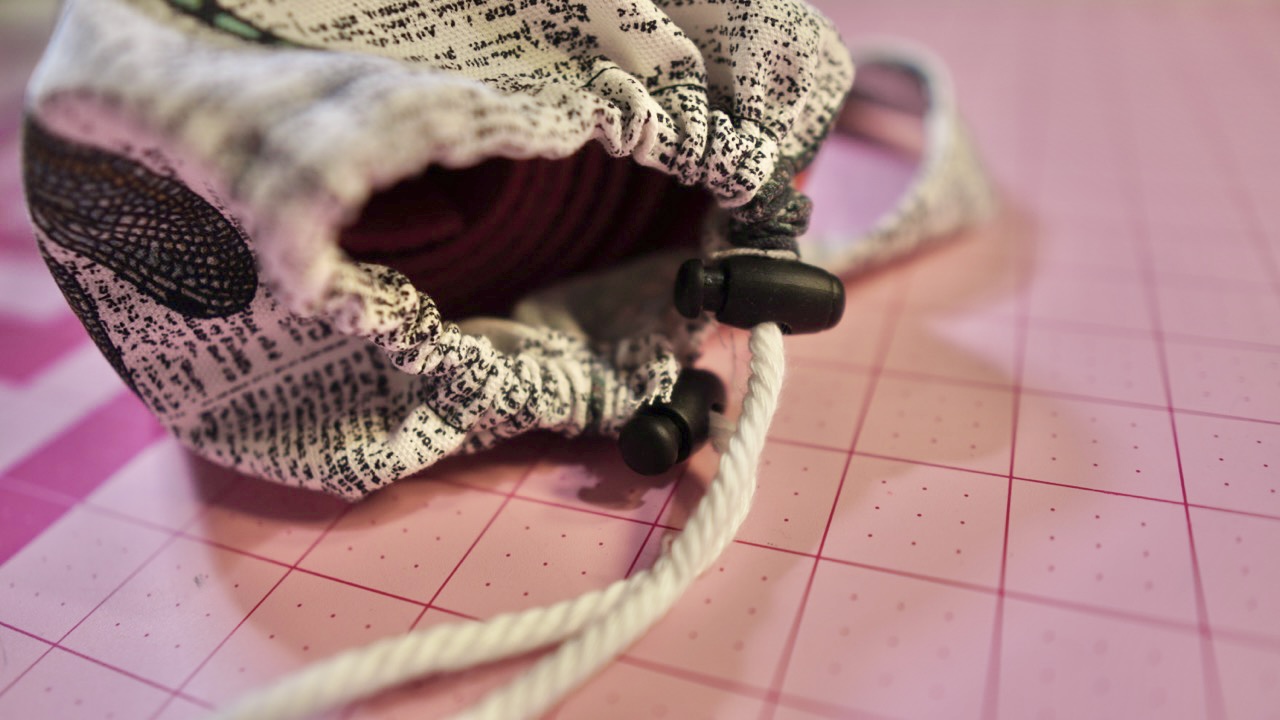
- cording and cord stop
- ruler
INSTRUCTIONS:
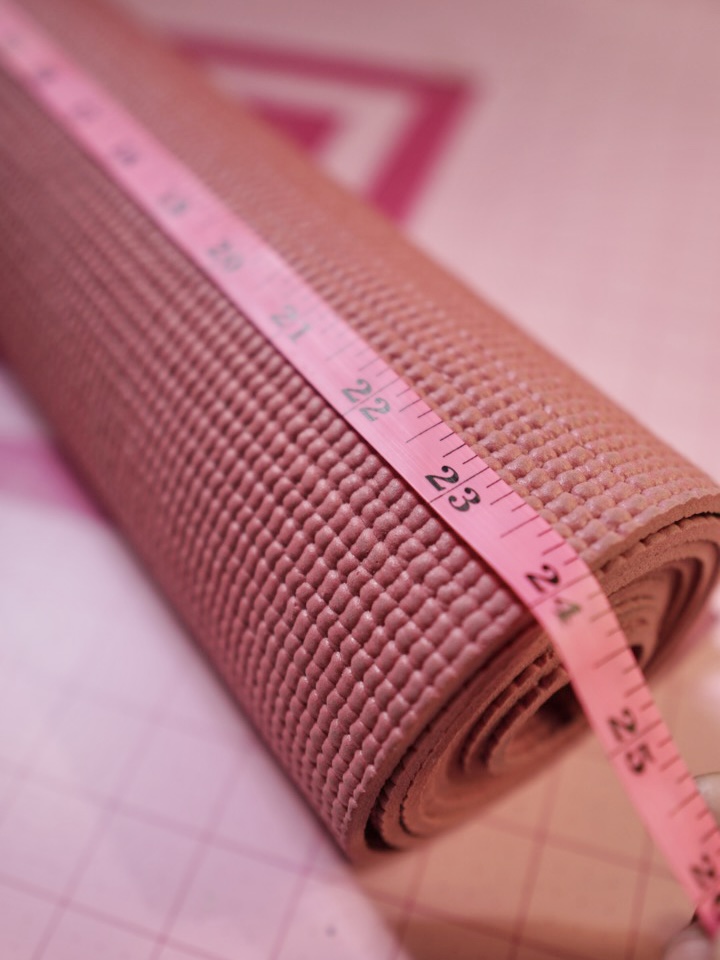
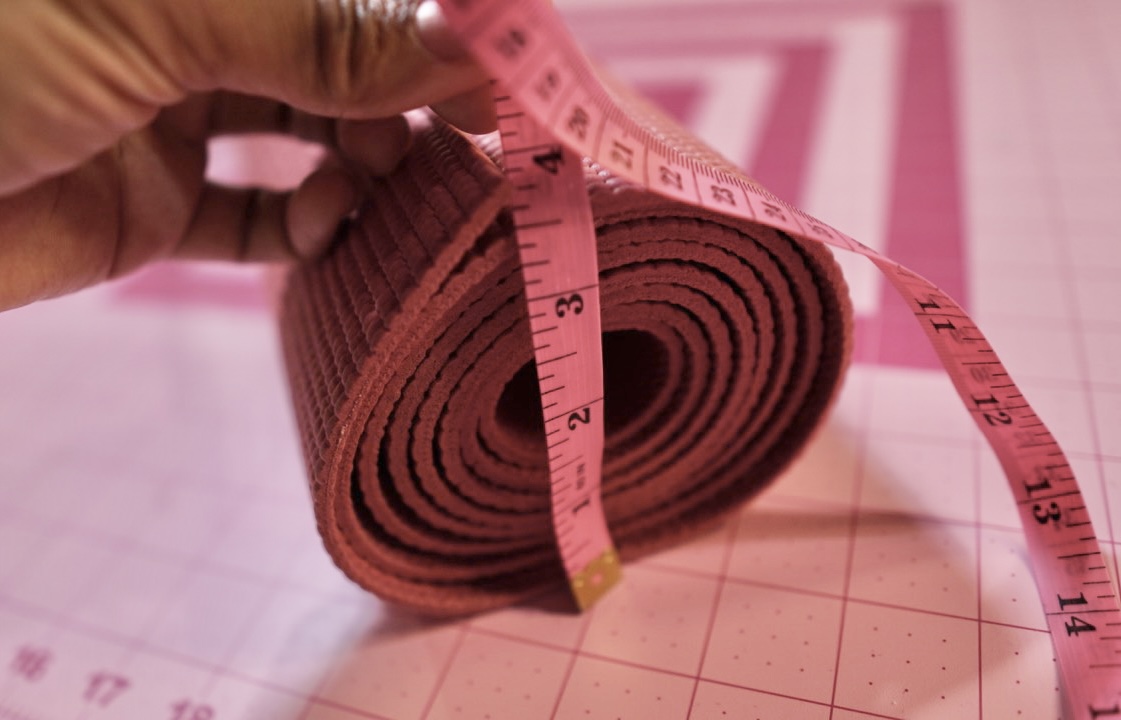
1) Roll up the mat and measure it with a measuring tape. Use the length measurement and add 4” to account for seam allowance and casing. Use the measuring tape to get the circumference with the mat rolled up. Use the circumference and add 3″ to account for seam allowance and for the mat to slide in. The final size that I got was 28″ x 18″.

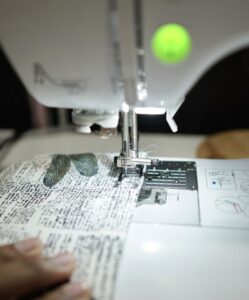
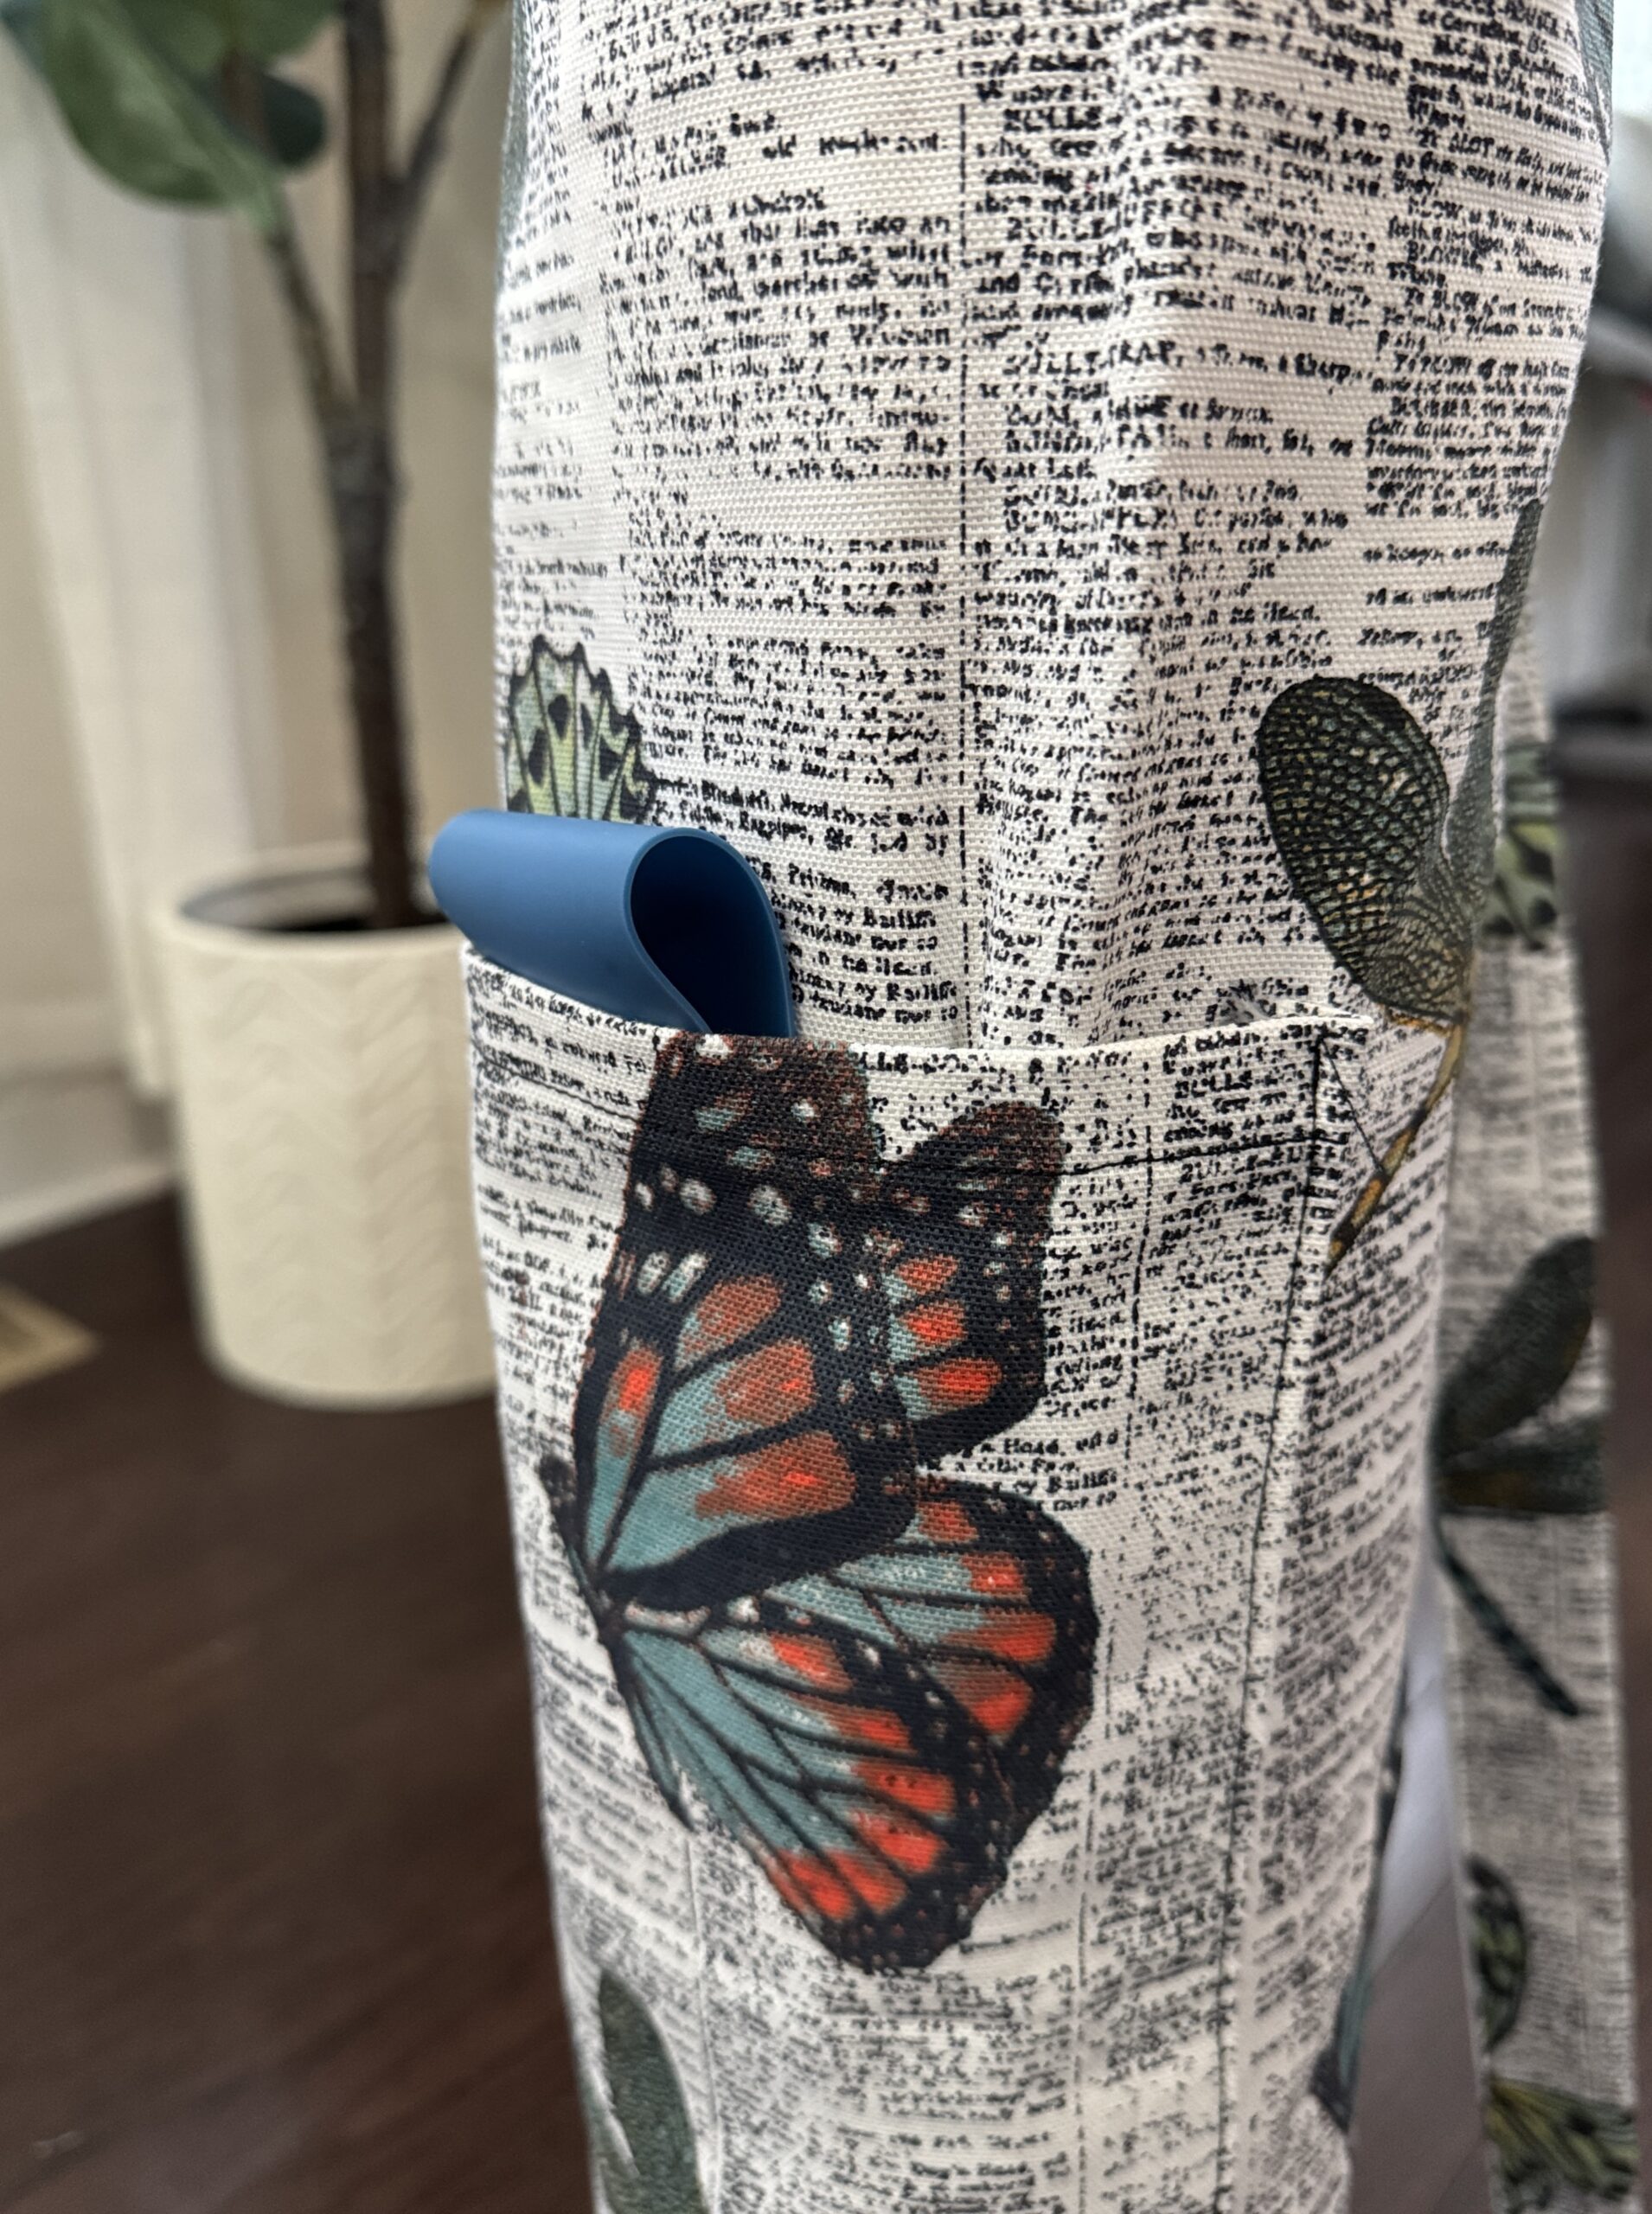
2) Create a standard size outer pocket by cutting the fabric 20″ x 10″. Fold in the top of the pocket about 1/2″. Press. Fold in again 1/2″. Press. For the raw edges on the sides of the pocket, fold in the fabric 1/2″. Press. Place the base of the pocket at center and the base of the bag. Use Clover Flower Pins to hold the pocket in place. Sew the pocket onto the bag body.
3) Using the extra fabric, cut a 5” x 28″ strip or about the same length as your yoga mat rolled up. Create the strap by folding it in half lengthwise. Then, open it out and fold it in again on both sides to the center. Fold again in the center. Press. Use Clover Wonder Clips to hold in place. Edgestitch the length of strap to seal the fold.

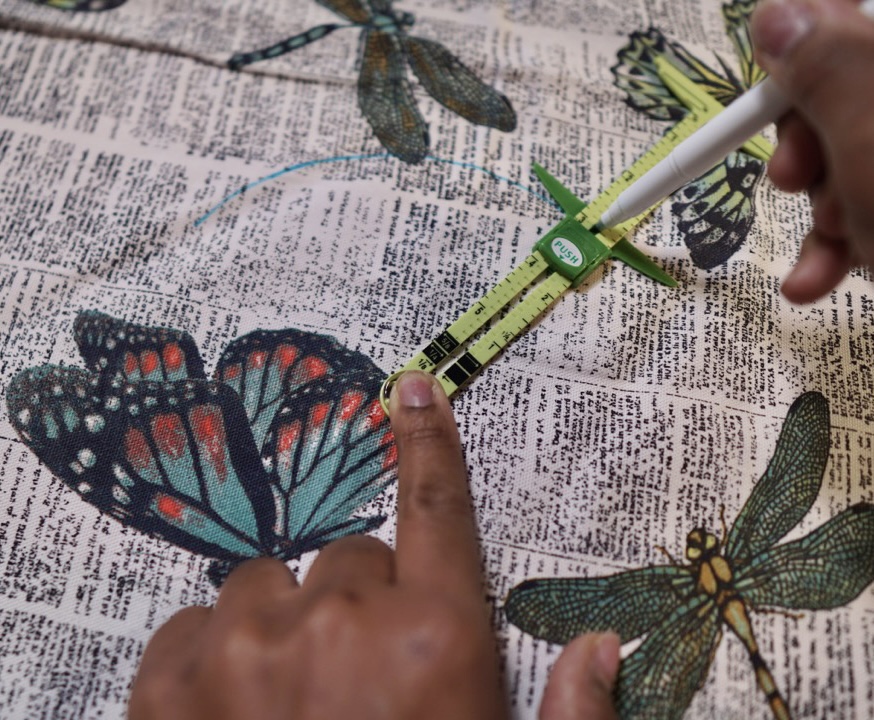
4) Take another measurement for the circular base of the bag. Use the measurement of the diameter and add 1” to account for seam allowance. Tip: Use the Clover 5-in-1 Sliding Gauge to create a perfect circle that measures about 6″. The sliding gauge is usually used for quick, accurate, and consistent markings for hems and seam allowances, but you can also use this one as a protractor for perfect circles.
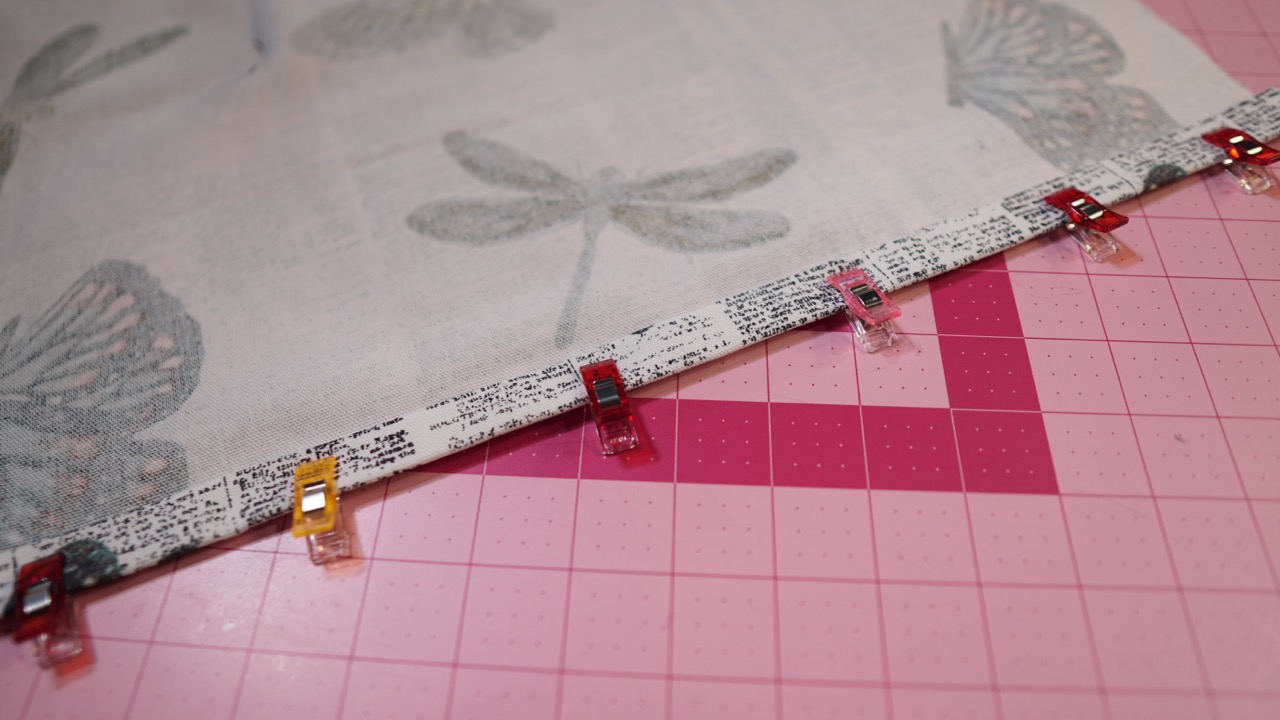
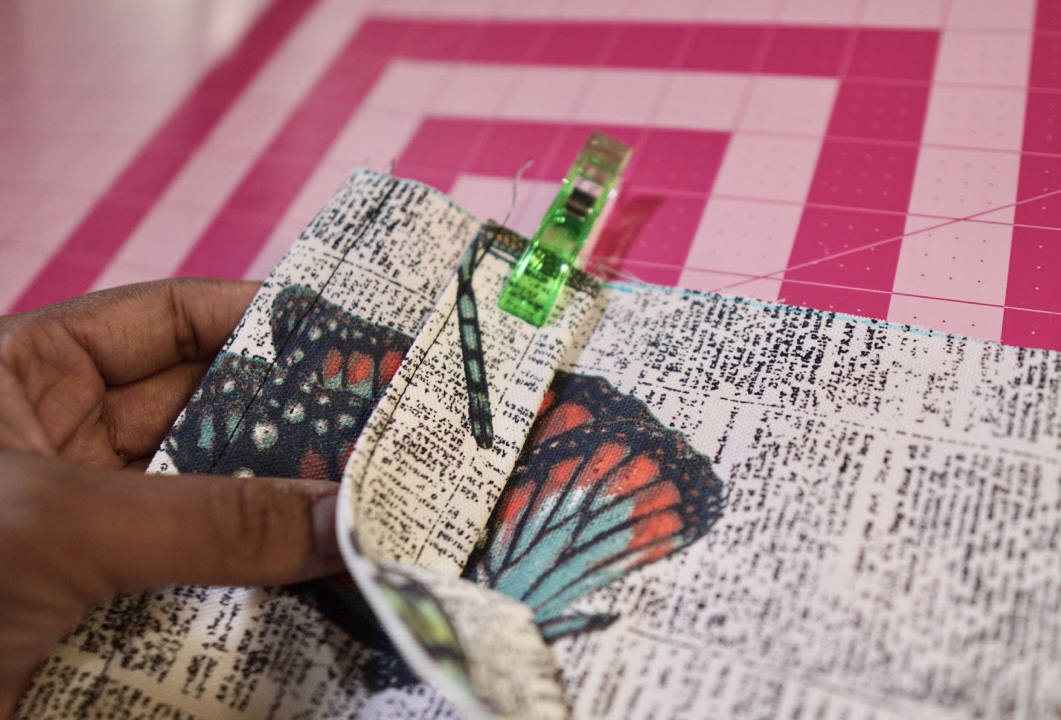
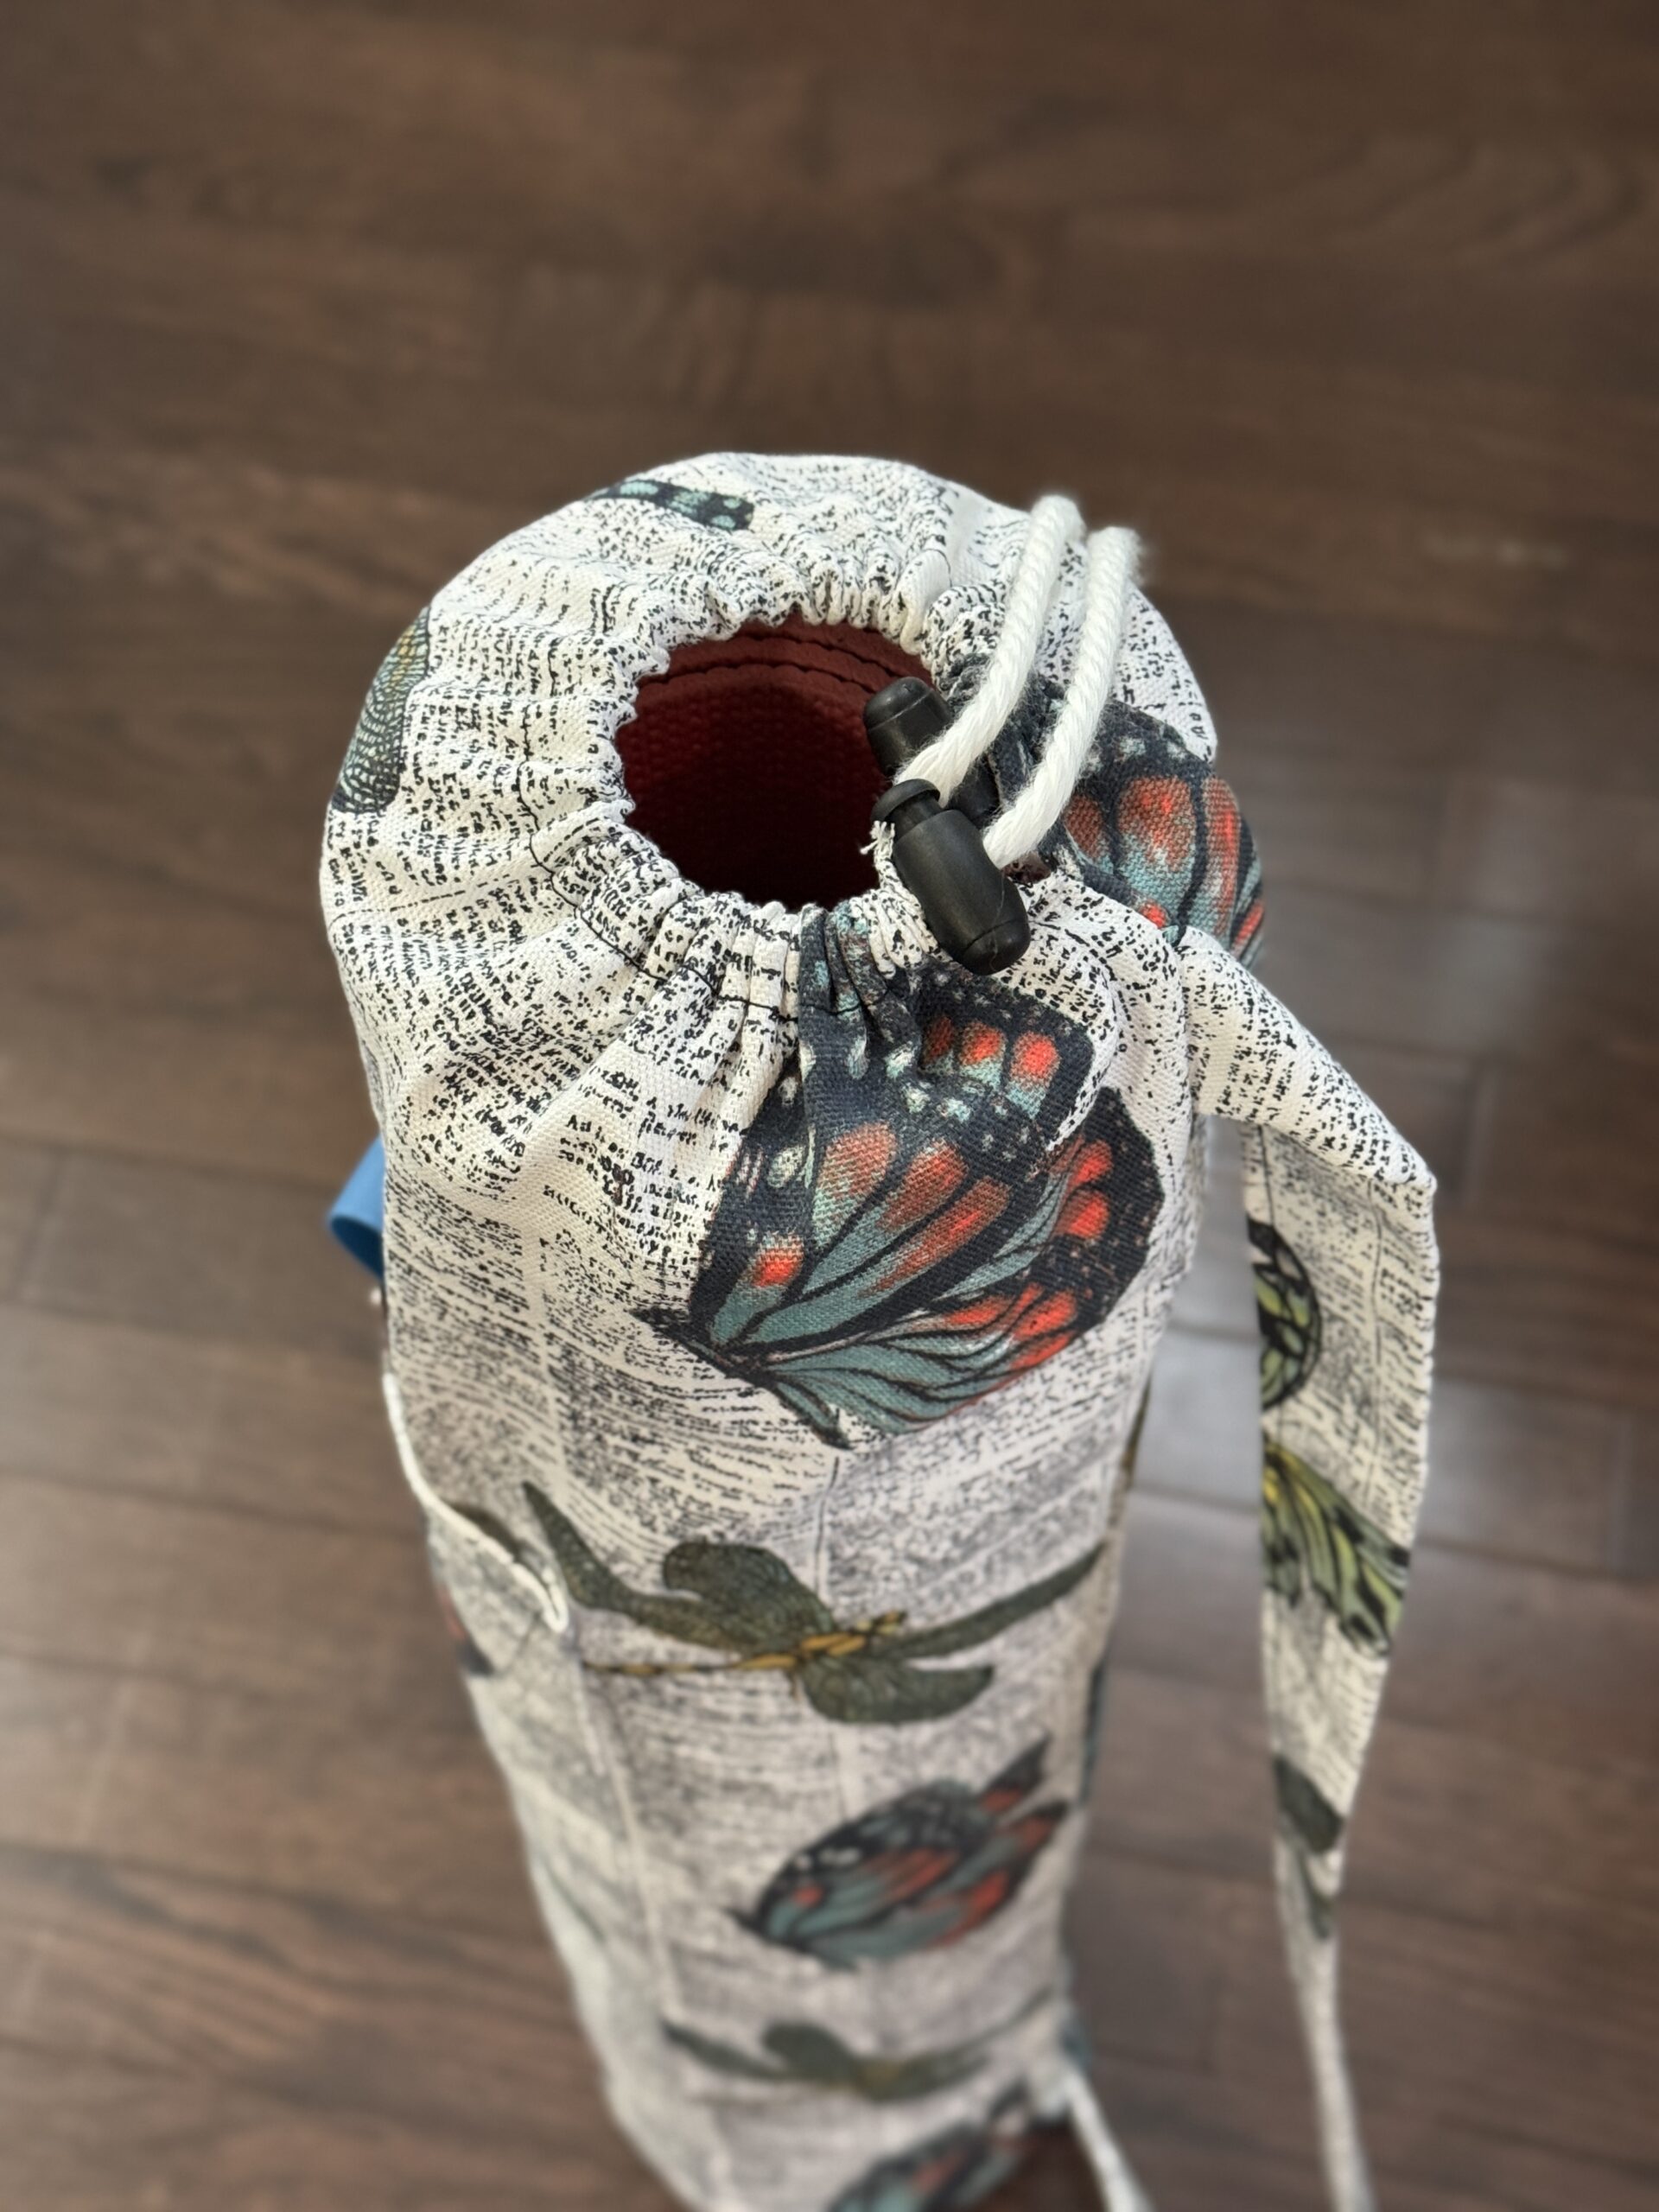
5. Create the casing by folding in the short end of the body by ½”. Press. Fold again about 3/4”. Press. Topstitch to hold the casing in place. Use Clover Wonder Clips to hold the casing in place. Wonder clips are great for holding multiple layers of fabric.
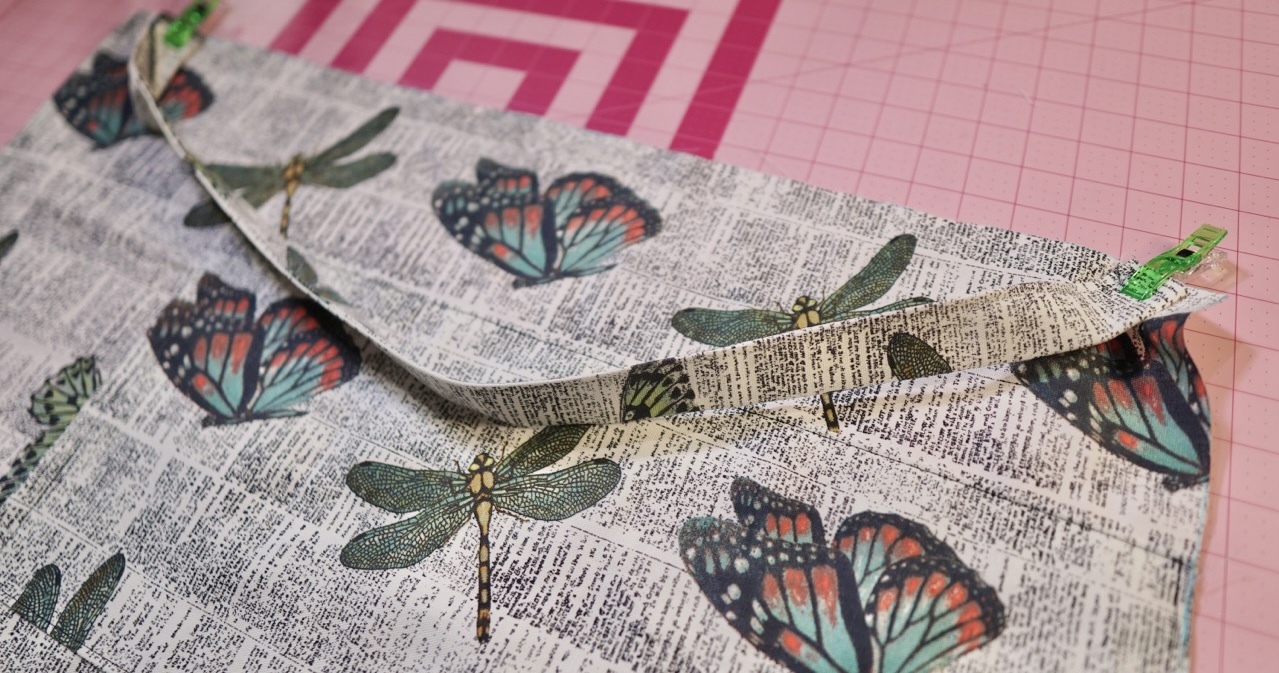
6. Place one side of the strap about 1” under the casing. Place the other side of the strap at the bottom about 1/2″ away from the bottom. Baste in place. Fold the fabric of the body right sides together. Stitch right under the casing to the bottom of the bag.
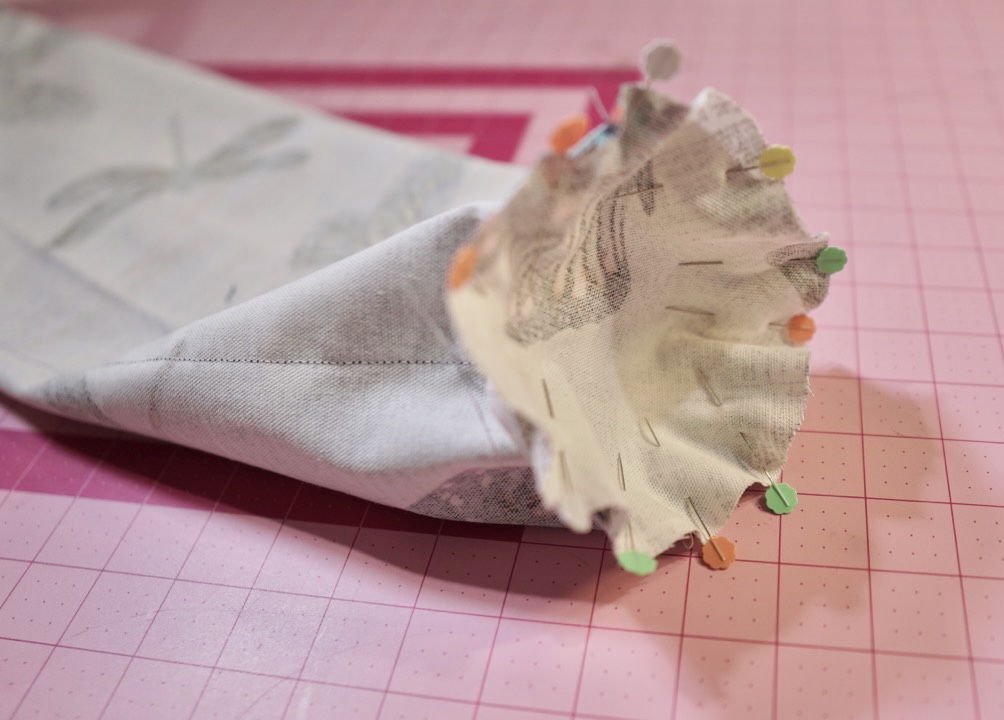
7. With the right sides together, place the circle fabric that you cut out earlier to the base of the bag. Use plenty of Clover Flower Pins to hold the circular base in place for sewing. Sew around carefully. If it puckers a bit, don’t worry. Just make sure to sew around the entire base and not miss any of the base. Press well.
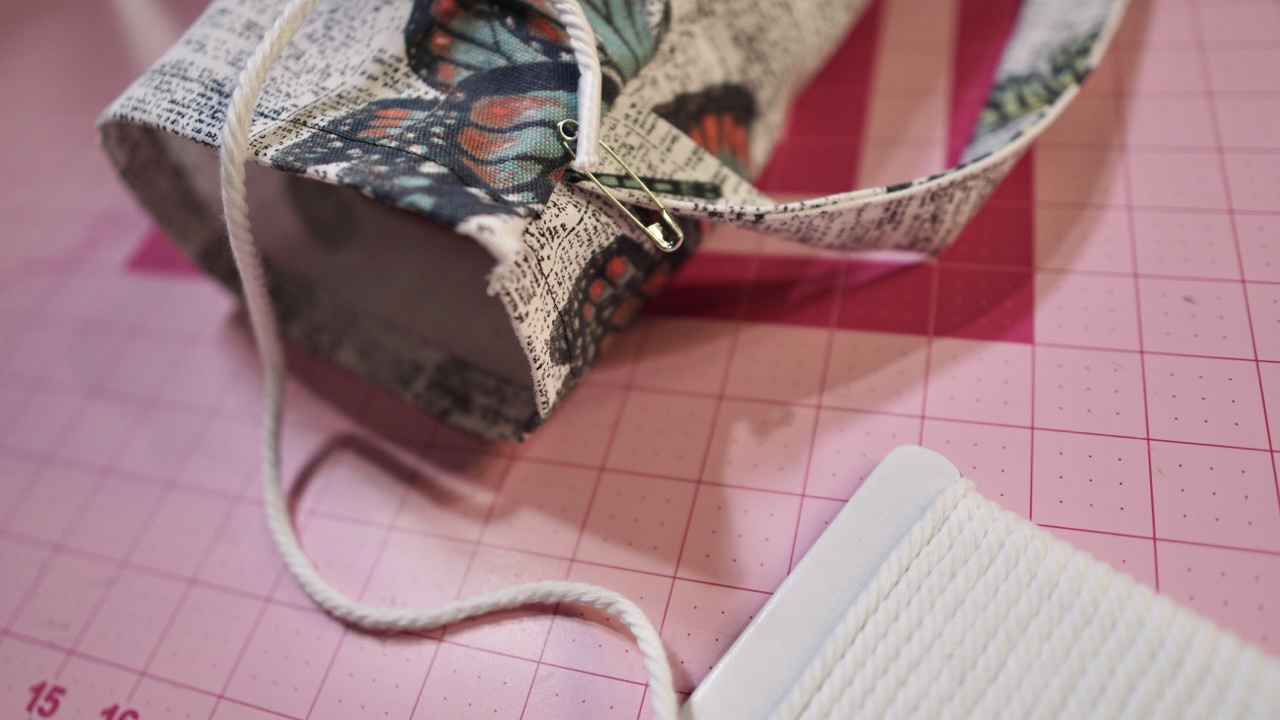
8. Cut your cording about 1 yard. Use the safety pin to pass it through the casing. Trim any excess cording you may not need. Use the cord stop to keep your cord from sliding out of the casing.
When your gear is easy to grab and ready to go, staying consistent feels much more achievable. I hope this project inspires you to keep creating pieces that support your goals all year long. Happy New Year and Happy Sewing!
If you want to keep up with me, Duana, on social media for other fun projects, follow me on social media: Instagram
If you want to keep up with all things Clover, follow us on: Facebook | Twitter | Instagram | Pinterest | YouTube | Ravelry