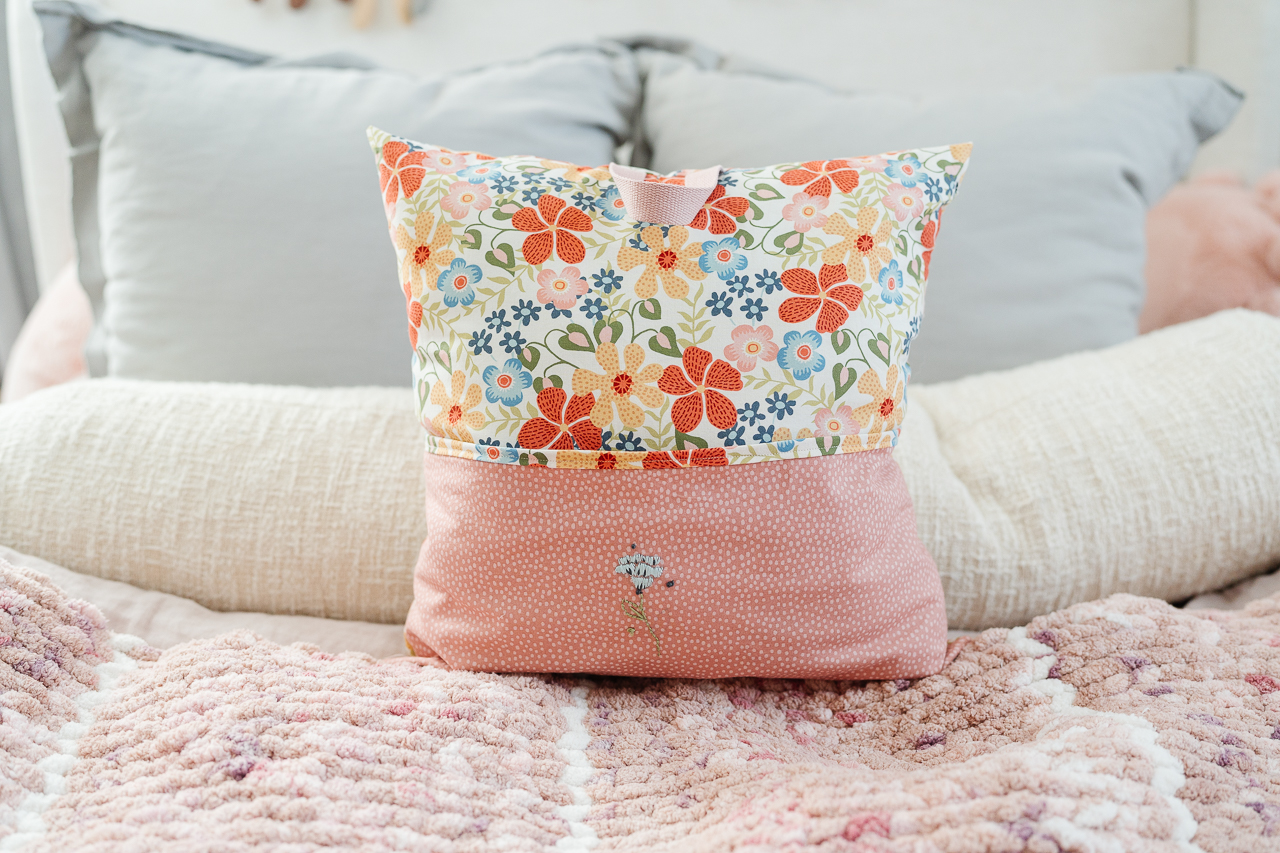
DIY Travel Pocket Pillow
![]() Hi everyone, it’s Cataleya (@happystitches_us on IG)! My newest project solves the “car-ride mess.” If you love sketching in the backseat like I do, you know how annoying it is when your sketchbook slides under the seat while you’re napping. I decided I needed a mobile art station that was soft, pretty, and worked perfectly!
Hi everyone, it’s Cataleya (@happystitches_us on IG)! My newest project solves the “car-ride mess.” If you love sketching in the backseat like I do, you know how annoying it is when your sketchbook slides under the seat while you’re napping. I decided I needed a mobile art station that was soft, pretty, and worked perfectly!
MATERIALS:
- two 18 x 18 squares exterior (floral fabric)
- one 18 x18 square for the pocket (pink dotted fabric)
- 10″ piece of cotton webbing for the handle
- 1.5″ x 1″ strip of the floral fabric for a matching accent
- polyfil for the perfect squish!
- thread to match
- ruler
- heat pen
- Rotary Cutter
- Water Erasable Tracing Paper
- Metal Hera with Stylus
- Double Tracing Tool
- Roll & Press
- Wonder Clips
- Heart-Shaped Pins
- Patchwork Scissors (mini)
- Magnet Pin Caddy
- Point Turner
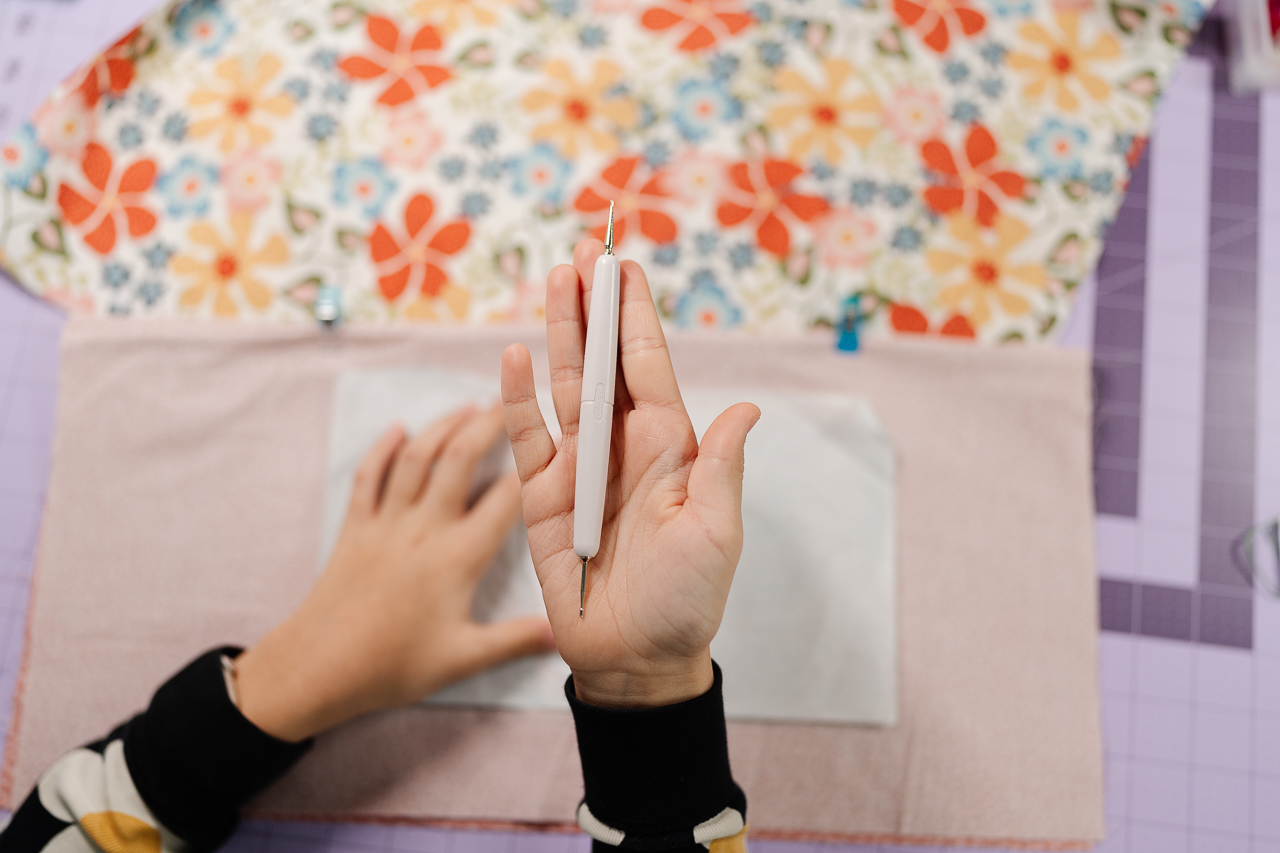
- Seam Ripper
PILLOW TUTORIAL:
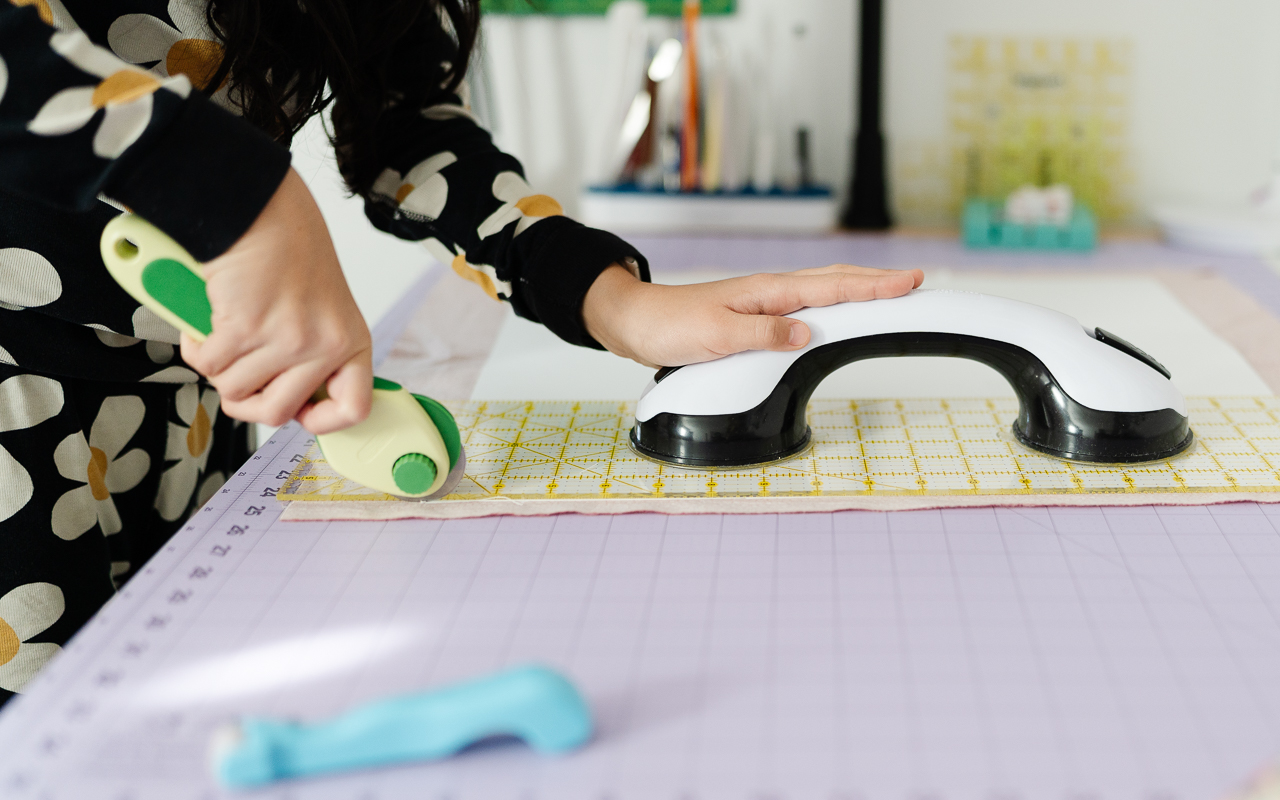
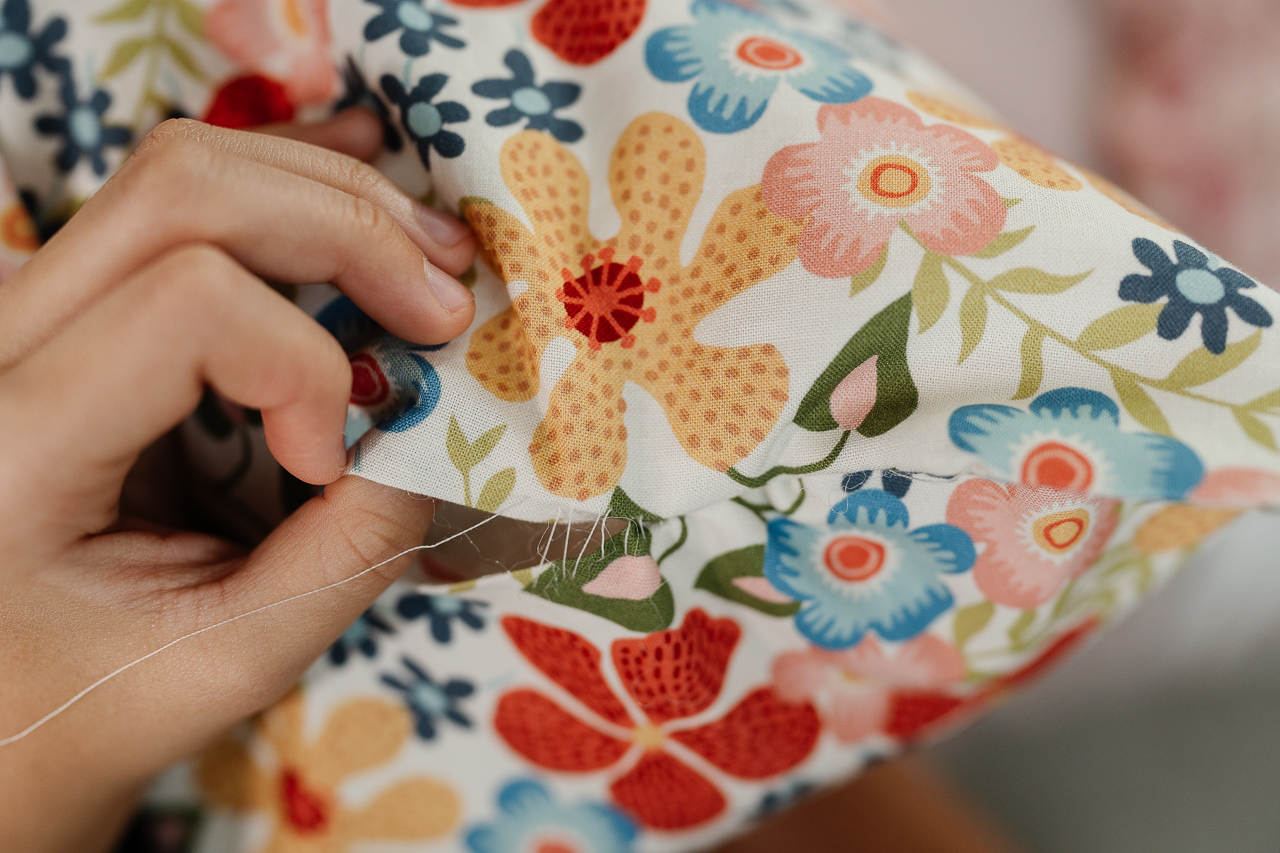
1) Let’s start by measuring and cutting. I used my ruler and Rotary Cutter to get perfectly straight 18×18 squares, and for the smaller floral strip.
 .
. 
![]()
![]() 2) It’s time to prep the art pocket! Take your 18×18 pink dotted square and fold it in half so it’s a rectangle. My matching floral accent strip is going to go right on the non-raw long side of the rectangle to give it a finished, cute look!
2) It’s time to prep the art pocket! Take your 18×18 pink dotted square and fold it in half so it’s a rectangle. My matching floral accent strip is going to go right on the non-raw long side of the rectangle to give it a finished, cute look!
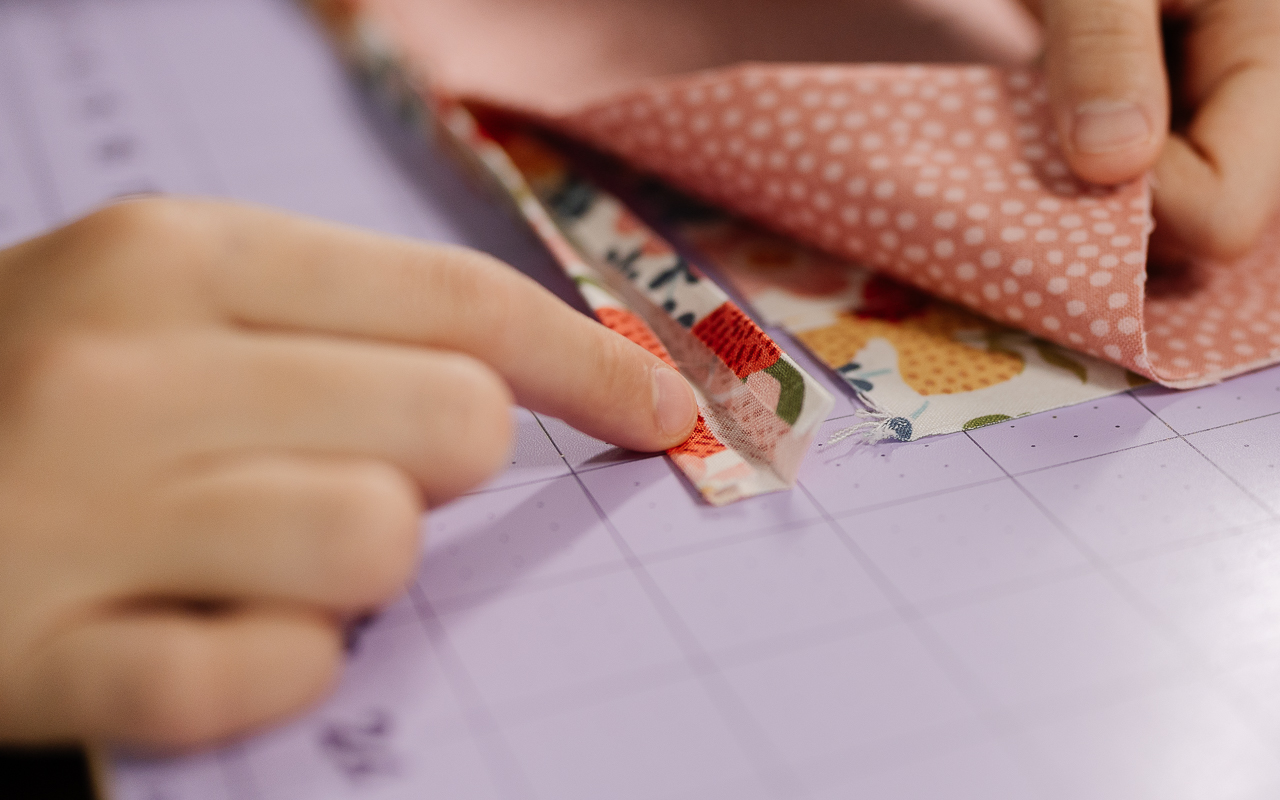
3) In order to make the custom accent strip, I grabbed my 1.5″ x 1″ strip of floral fabric to make it look fancy. I folded the long sides in 1/4″ on both sides and then folded it in half and ironed it flat. This creates a clean, finished edge, so it looks professional when I sew it onto the pocket!
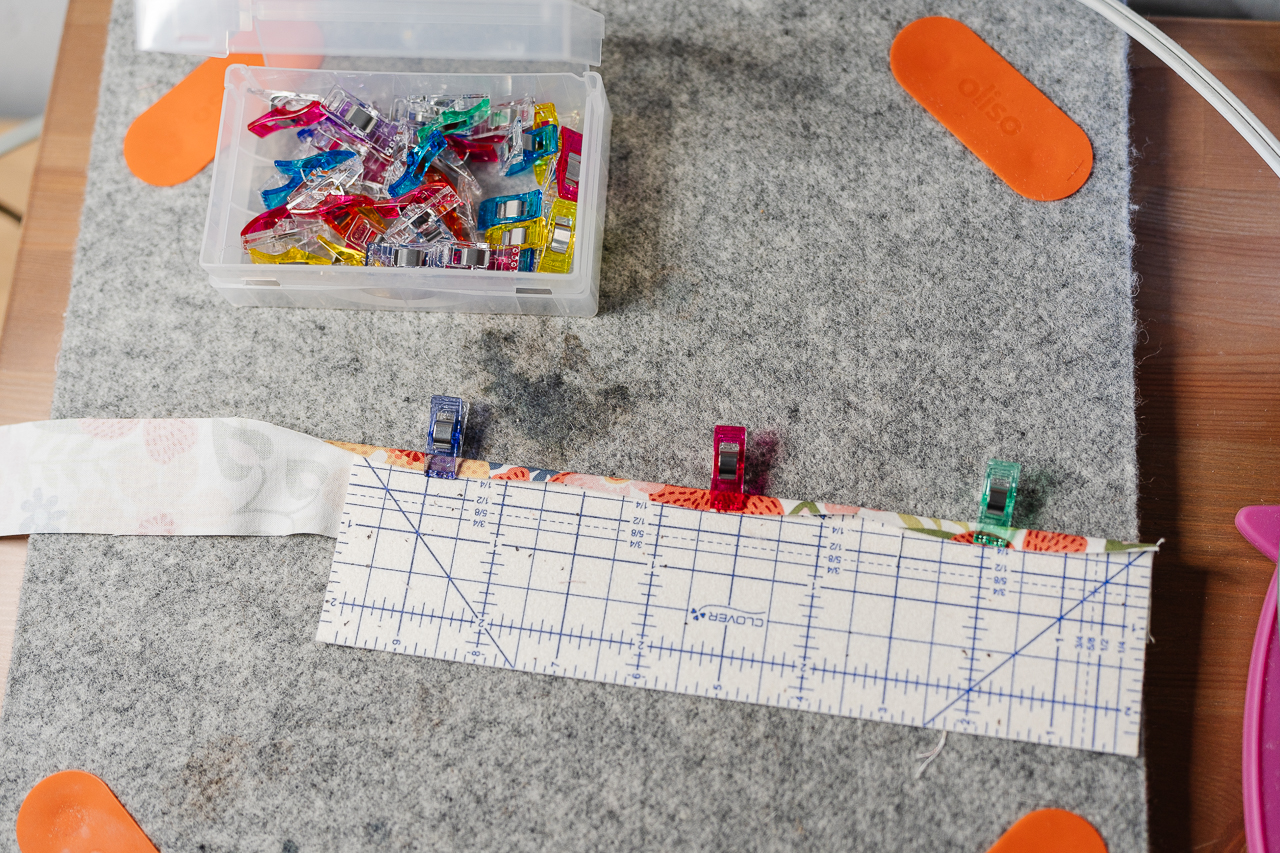
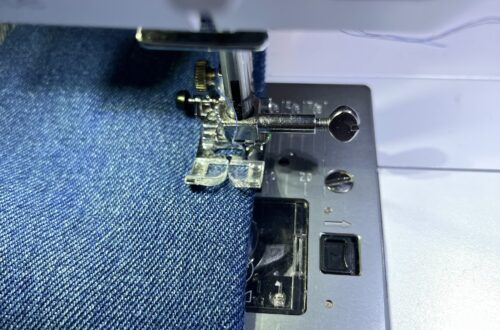
4) I placed the floral strip on the non-raw long edge side of the pocket. When it was time to sew the strip, I used my Metal Hera with Stylus to help guide the fabric and keep my edges crisp. Instead of stitching along the very edge like usual, I decided to sew right down the middle of the strip to attach it. I wanted to try something different to see how it looked, and it turned out so cute! It’s fun to experiment with your designs.
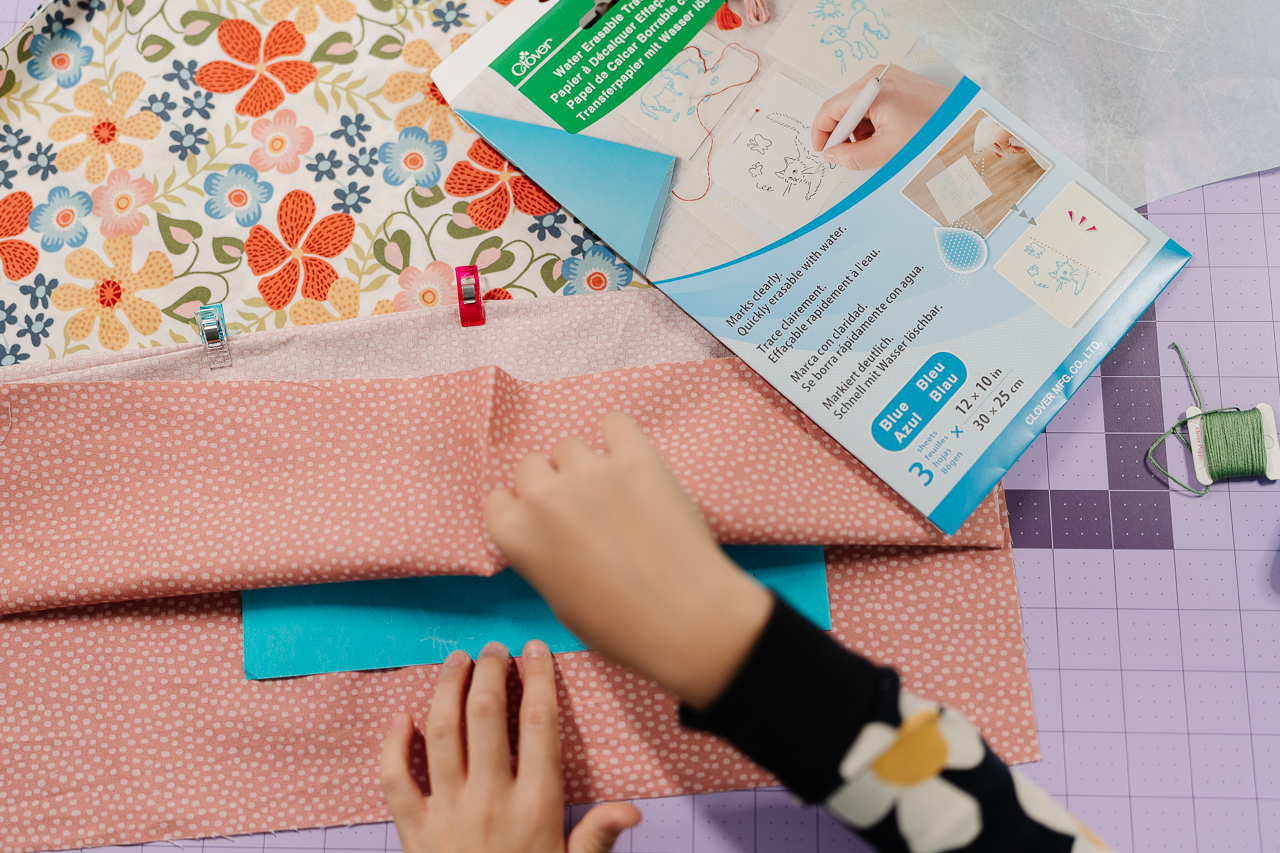
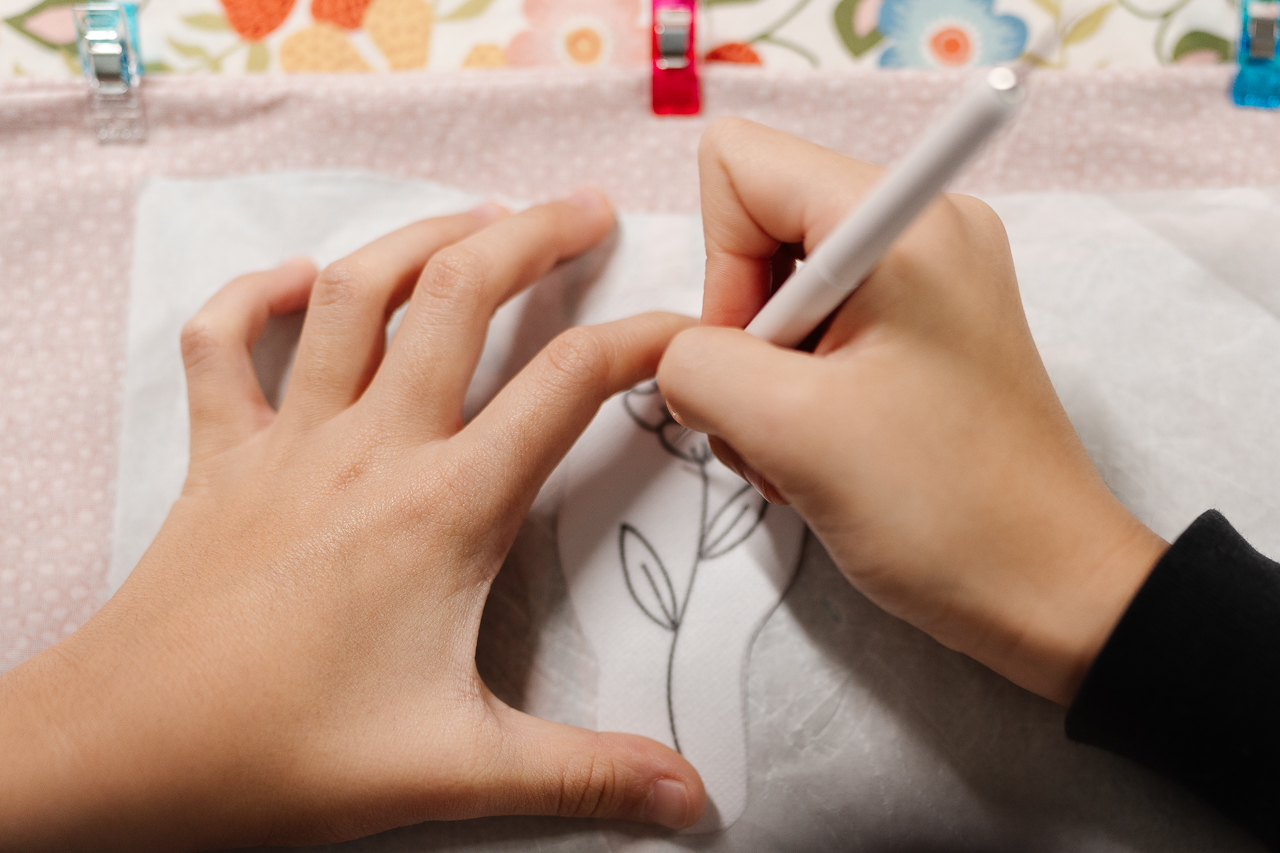
5) Let’s spruce up the look a bit! I wanted to add a little something extra to the pocket, so I decided to embroider a flower! To get it exactly in the right spot, I found the center line by folding my fabric in half and using my Roll & Press to make a crease. Then, I placed my Water Erasable Tracing Paper on the right side of the fabric and used the Double Tracing Tool to trace the design from the wrong side. It made transferring my flower design so easy!
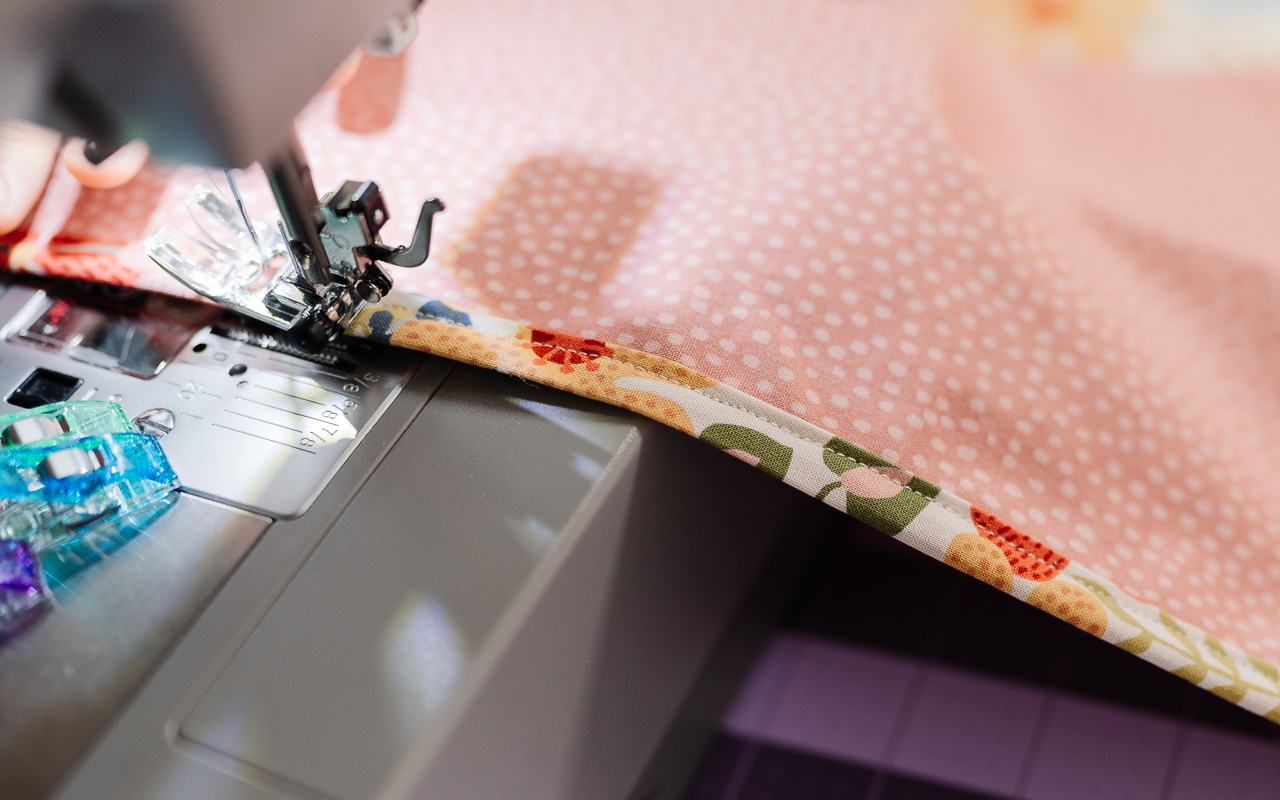
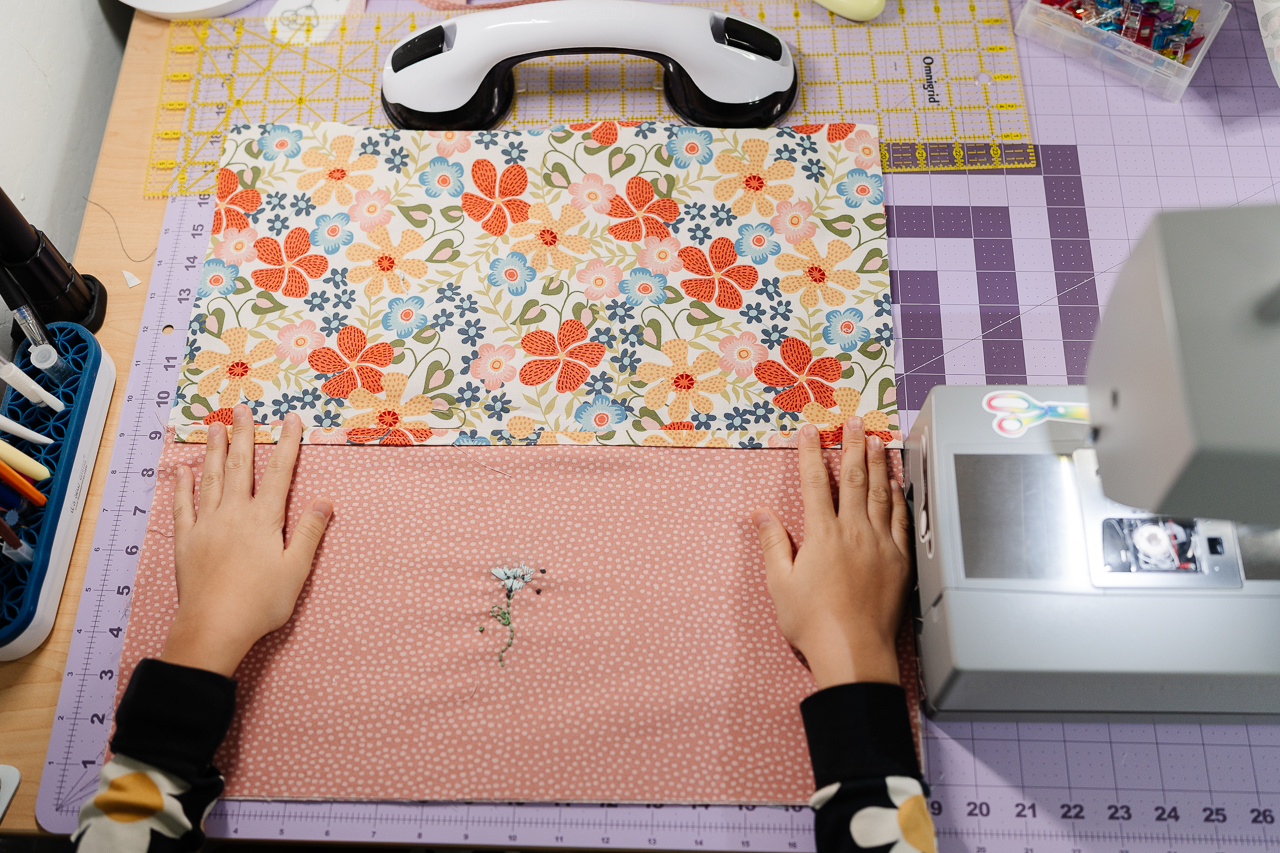
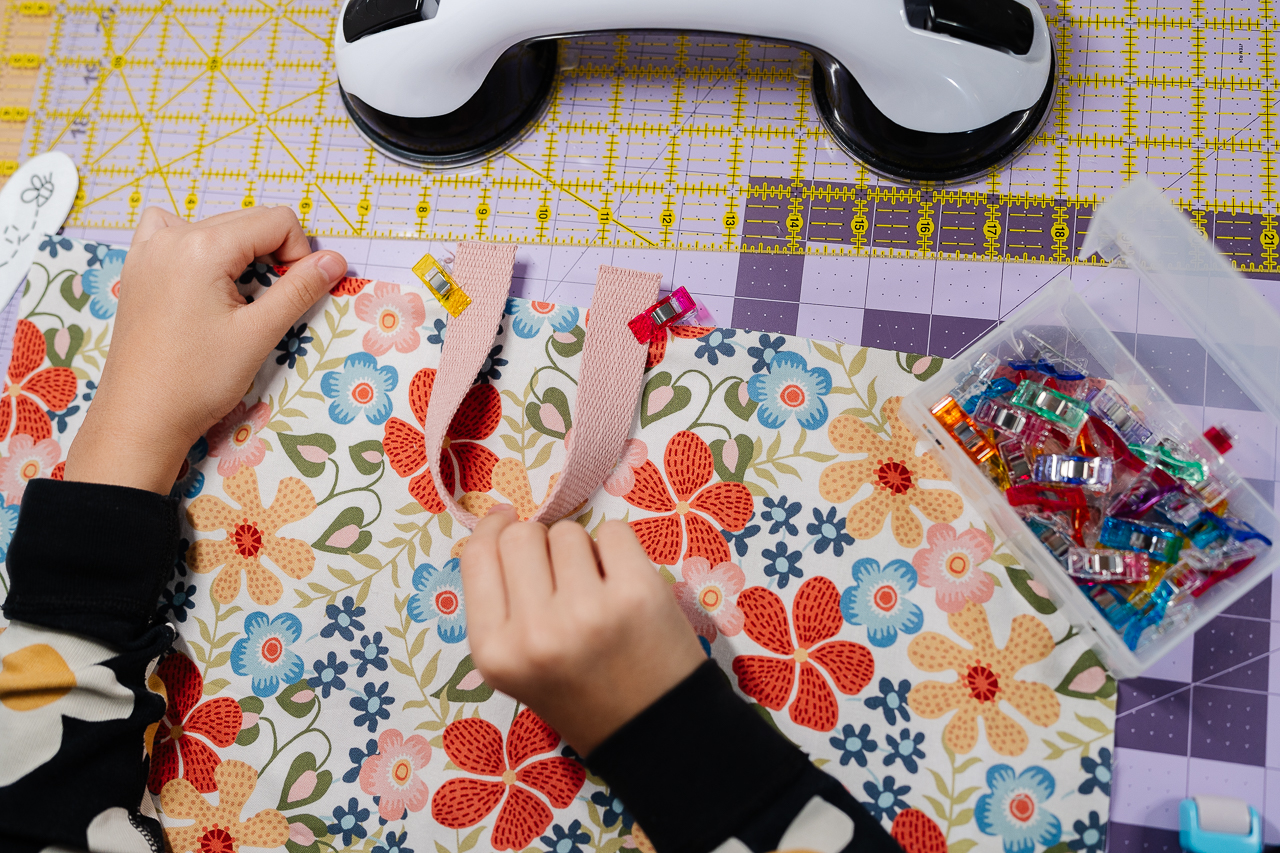
6) Let’s set up the base. I laid one floral 18×18 square down right side up. Then I placed my finished pink-dotted pocket at one end, making sure my embroidery side faced up so everyone could see my hard work! To make sure it stayed perfectly in place, I used my Wonder Clips to hold it all together, and then I sewed the pocket onto the floral square using a 1/8″ seam. This kept everything steady before I added the back!
7) To position the handle, I placed my 10″ pink webbing on the same side I just finished. I put the handle at the top (the side without the pocket!). I made sure the handle’s U-shape faced downward toward the center of the pillow. Then I used my Wonder Clips to hold the webbing exactly where I wanted it so it wouldn’t budge while I sewed.
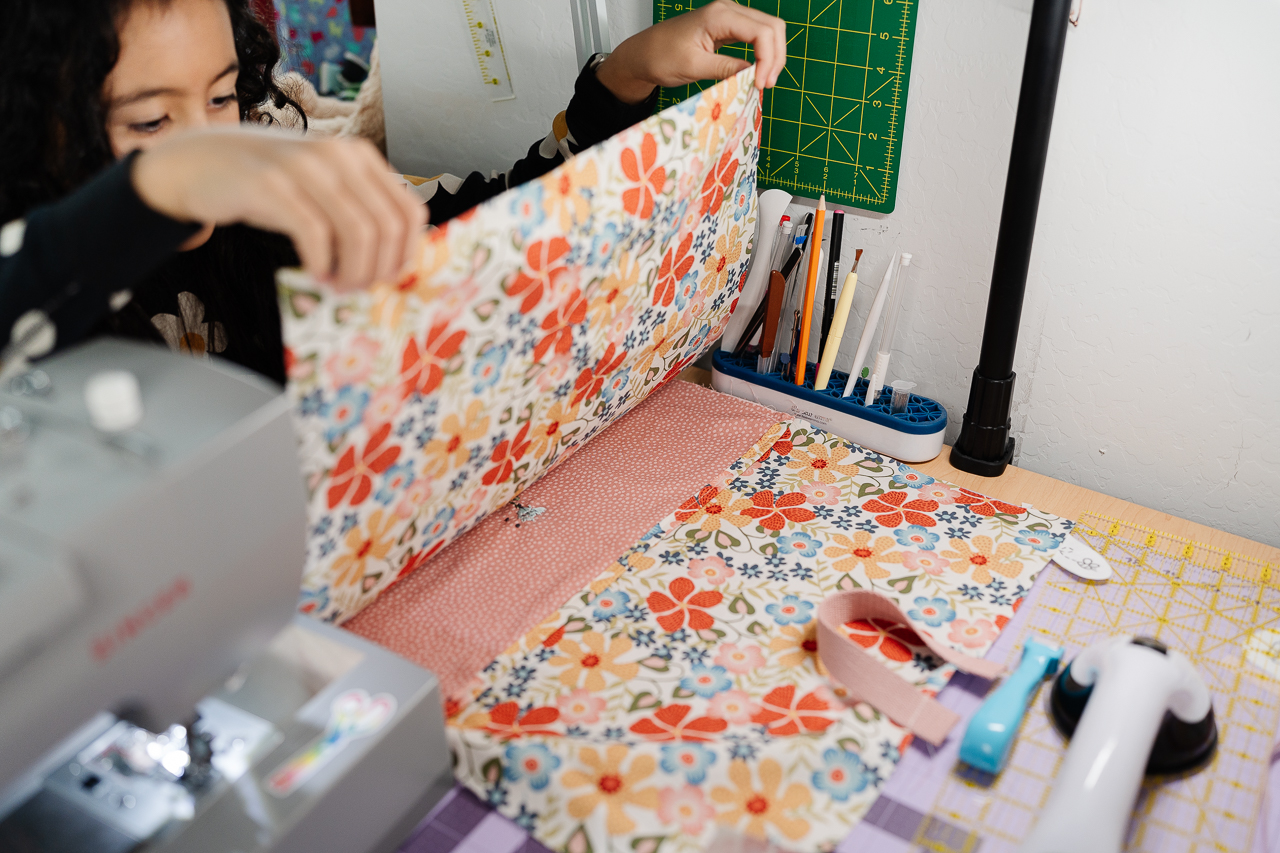
8) Now, I placed my second floral square on top, with the pretty sides touching (right sides together). To make sure all the layers stayed flat and didn’t shift, I pulled some Heart-Shaped Pins from my Magnet Pin Caddy and pinned right through the center. I used Heart-Shaped Pins and Wonder Clips around the edges to secure everything.
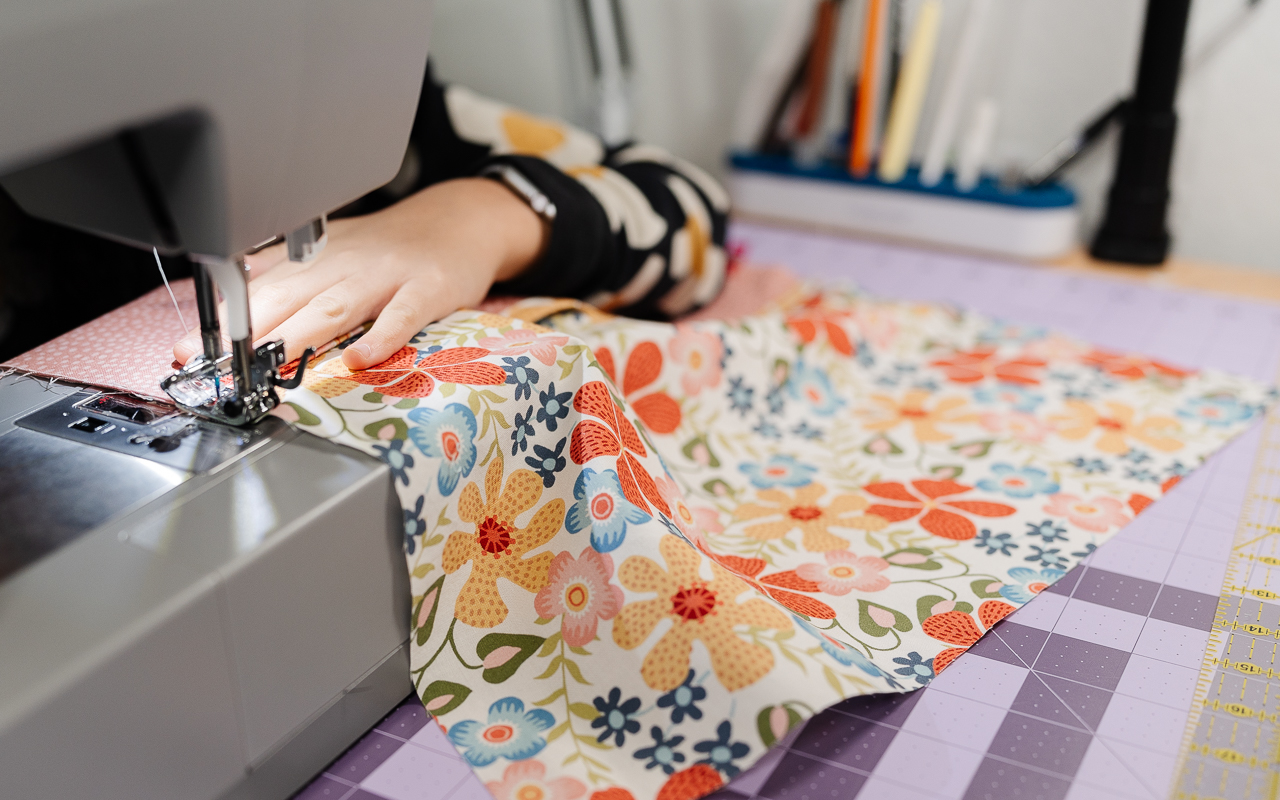
9) I sewed all the way around the edges, but I made sure to leave an opening on the side of the pillow for filling. Before turning it right-side out, I used my Patchwork Scissors (mini) to clip the corners. This is an excellent trick because it removes the extra fabric, so the corners aren’t bulky or lumpy!
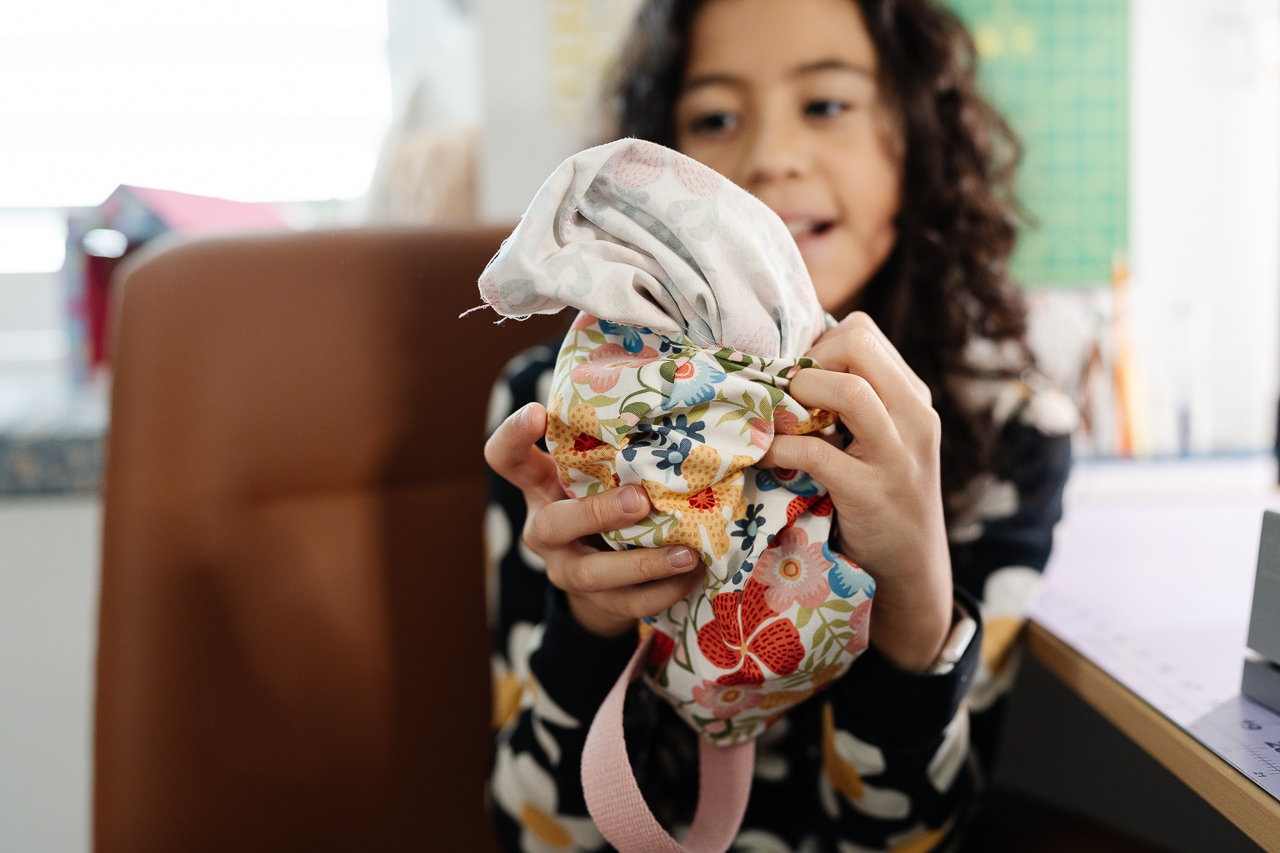
10) Time for the big reveal! I turned the pillow inside out through the side opening. I used my Point 2 Point Turner to push the corners out so they look sharp and professional. Finally, I filled the pillow through that side opening with lots of fluffy stuffing to get the perfect squish.

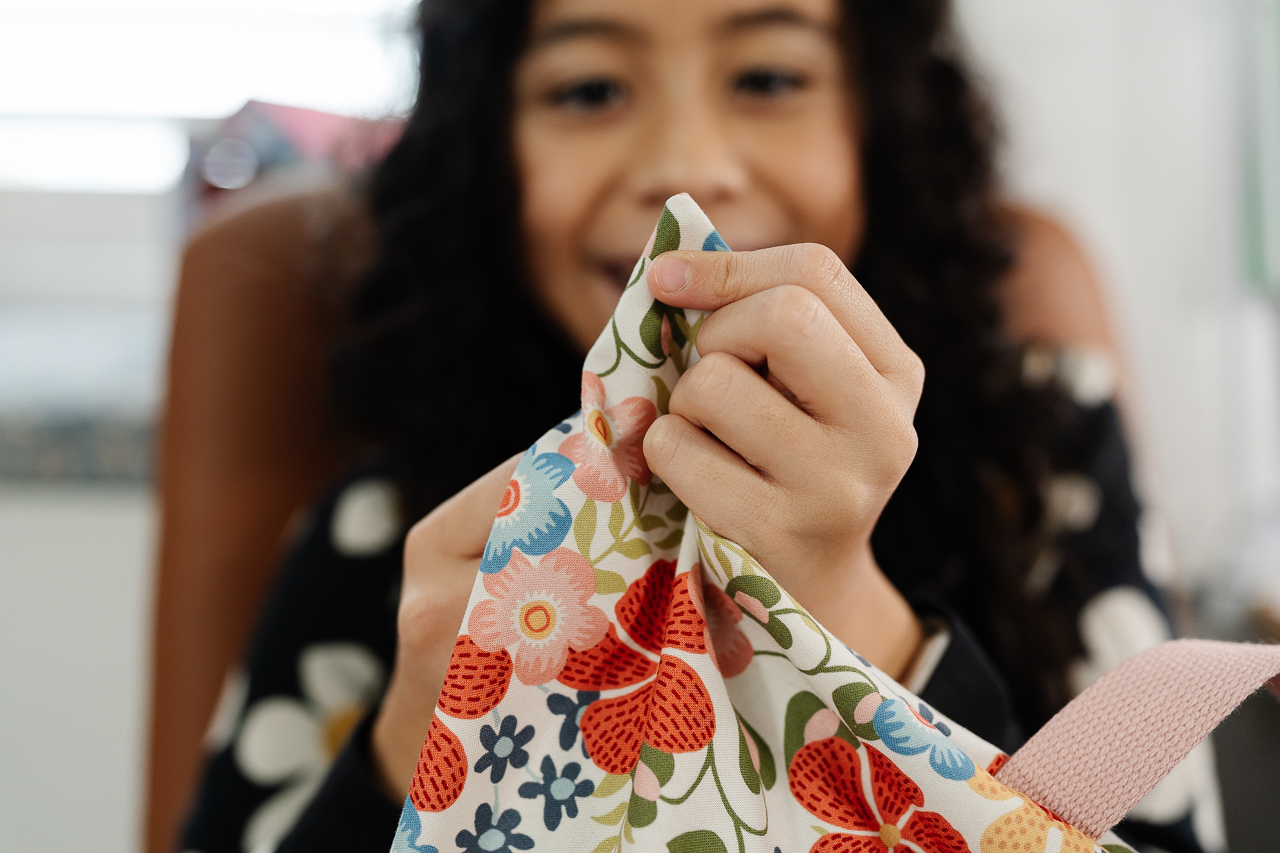
11) You’re almost done! To finish it off, I did an invisible stitch to close the side opening. You can’t even see the seam! It makes the whole pillow look like it came from a fancy boutique.
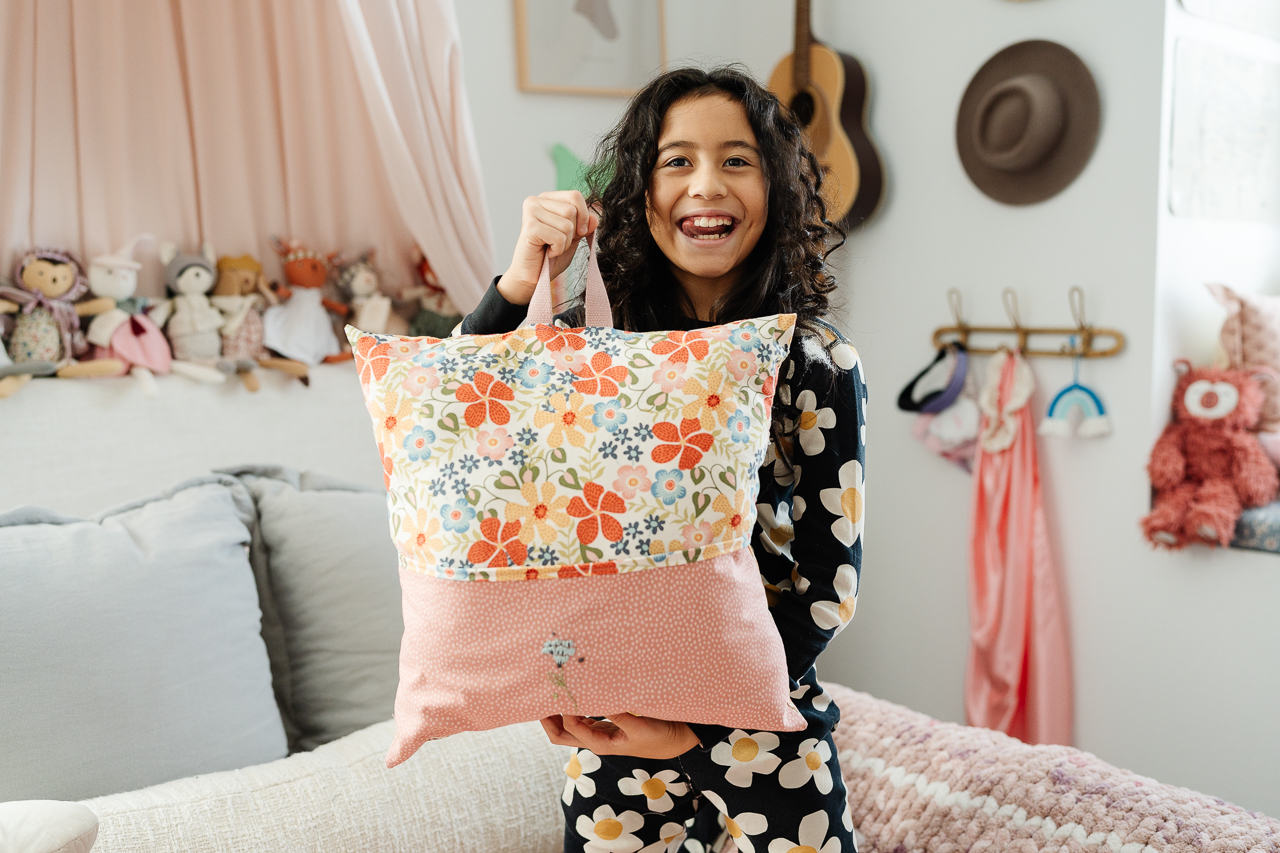
Now, my sketchbook has a snug, tiny home right on my pillow. It doesn’t flop around, and I can carry my art supplies and my pillow with just one hand 🙂
If you want to keep up with me, Cataleya, on social media, follow her on social media: Instagram
If you want to keep up with all things Clover, follow us on: Facebook | Twitter | Instagram | Pinterest | YouTube | Ravelry