DIY Spring Drawstring Bag
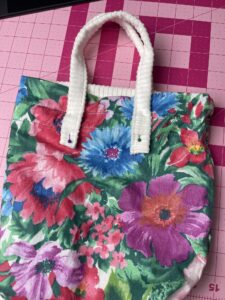
Hello, it’s Duana with Duana Studio (@duana_m_chandler & @duanastudio)! We are in May, so I thought it would be great to do a cute springtime drawstring bag to wear out in the sun. You can wear this at the beach, to the park, or wherever your heart desires, because it’s such a cute bag to carry with you out on ANY spring/summer adventure 🙂 I chose to use a white corduroy fabric for the outside, and a floral cotton fabric for the inside. I think the floral fabric adds a little touch of *spring* and surprise to the bag! Overall, this drawstring bag is super easy to sew. It can fit all your essentials, and you’re ready to take on the day. Let’s get started!
MATERIALS:
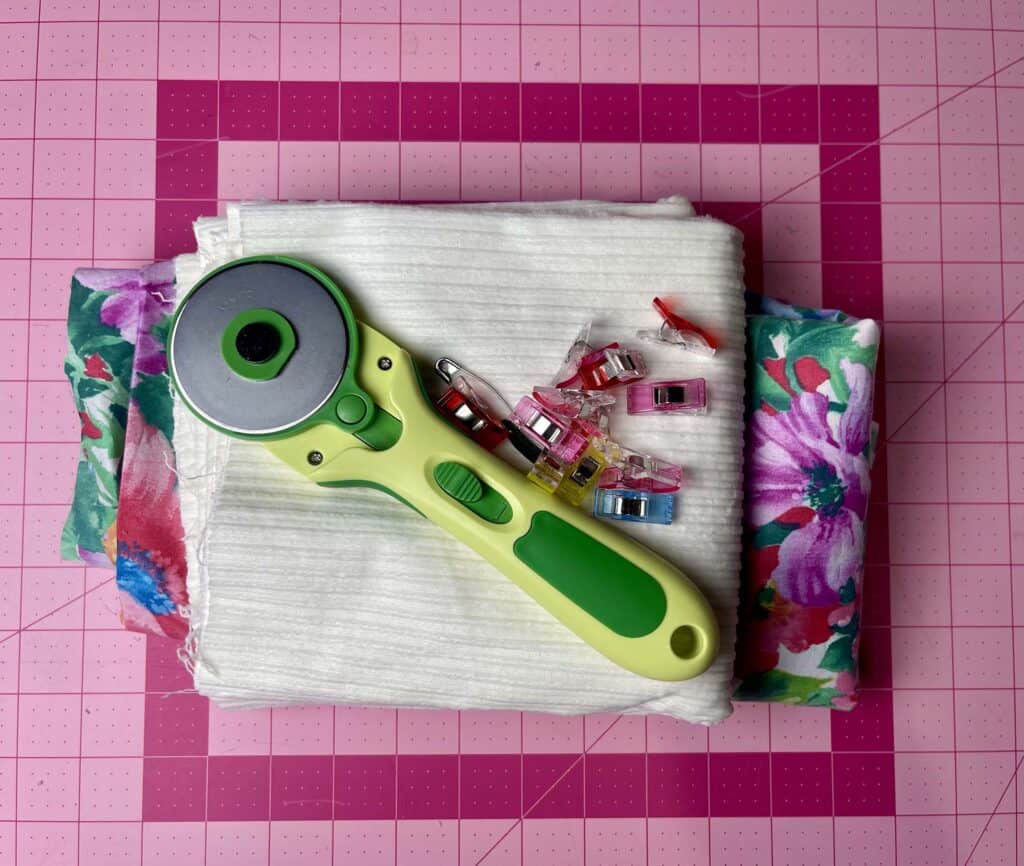
- Clover Rotary Cutter
- Clover Wonder Clips
- 1/4 Yard Main Fabric
- 1/4 Yard Lining Fabric
INSTRUCTIONS:
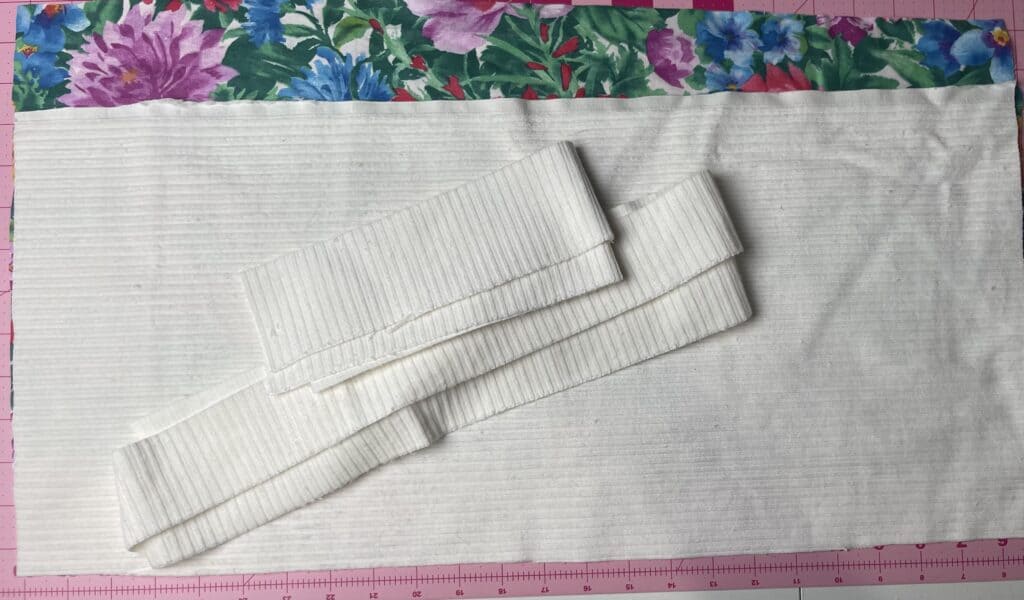
1. Cut the main fabric and lining fabric for the body (11” x 24”), the two handles (2.5” x 16”), and the drawstring (2” x 30”).
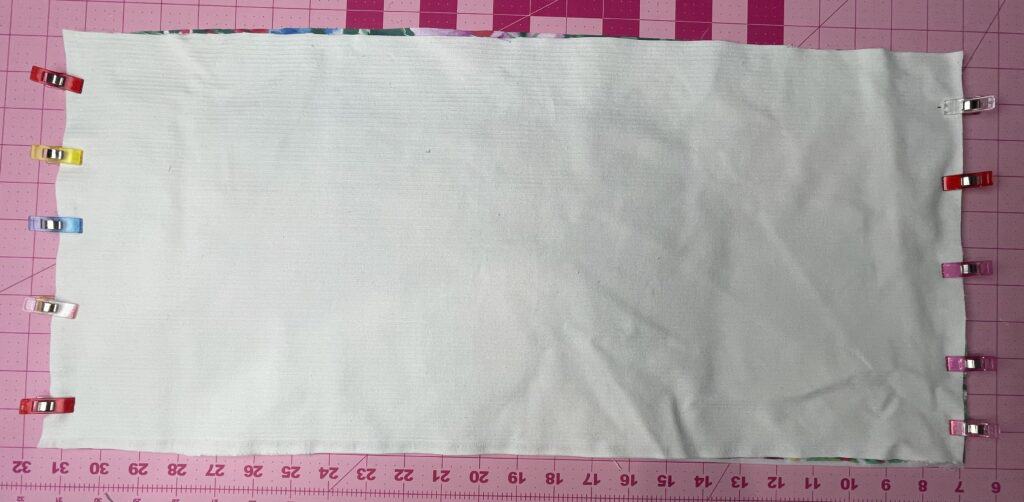
2. Place the right sides of the main fabric and lining together and with the right sides facing, sew ½” on both sides of the short edge. Press seams open.
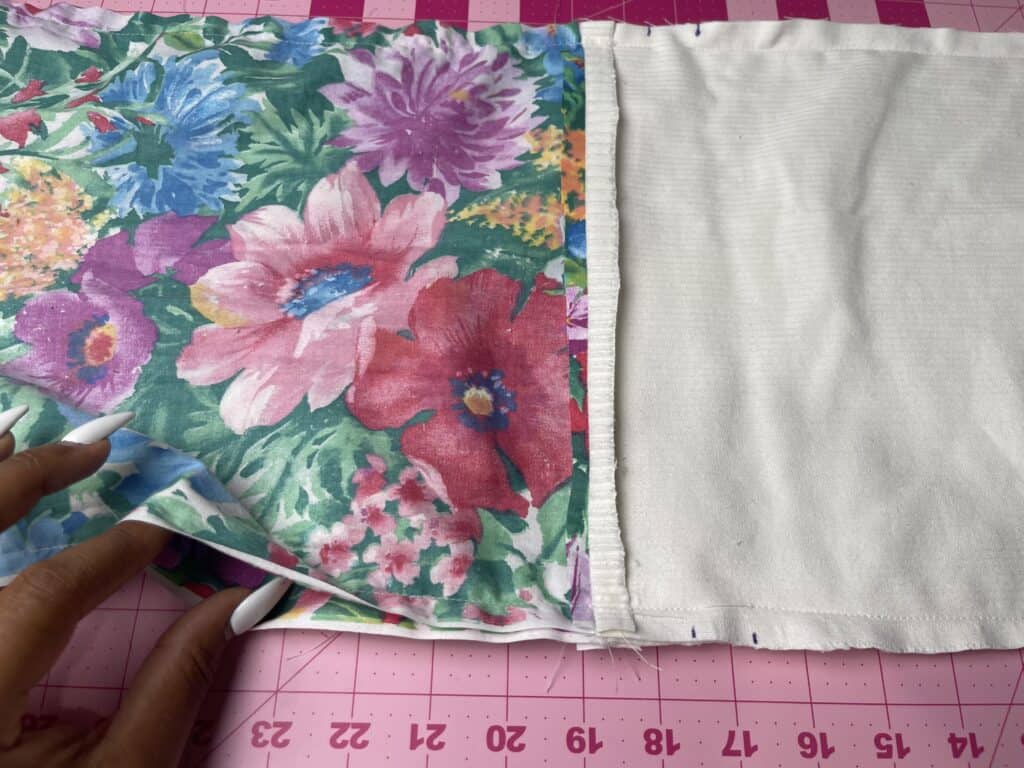
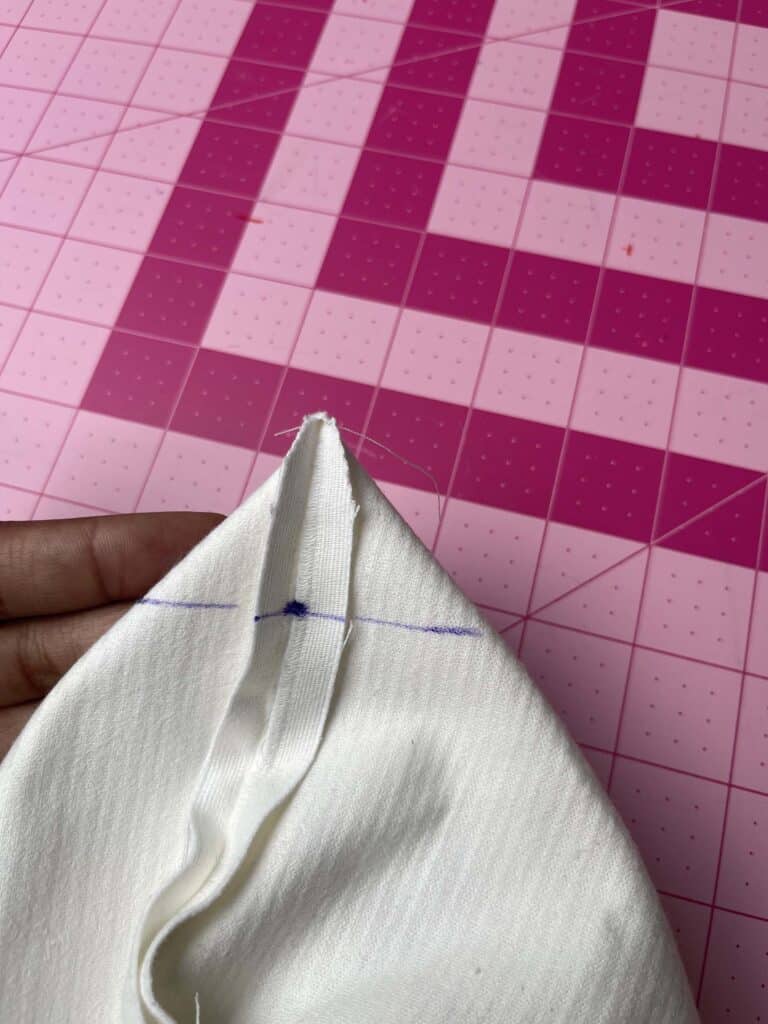
3. With right sides facing, line up the seams from both sides. Use wonder clips to keep it in place. Mark about 1 inch away from the seams on the side of the main fabric and leave about a ¾” opening for the drawstring. By the lining, leave another small opening about 3” to turn the fabric right sides out. Stitch around the rest of the raw edges.
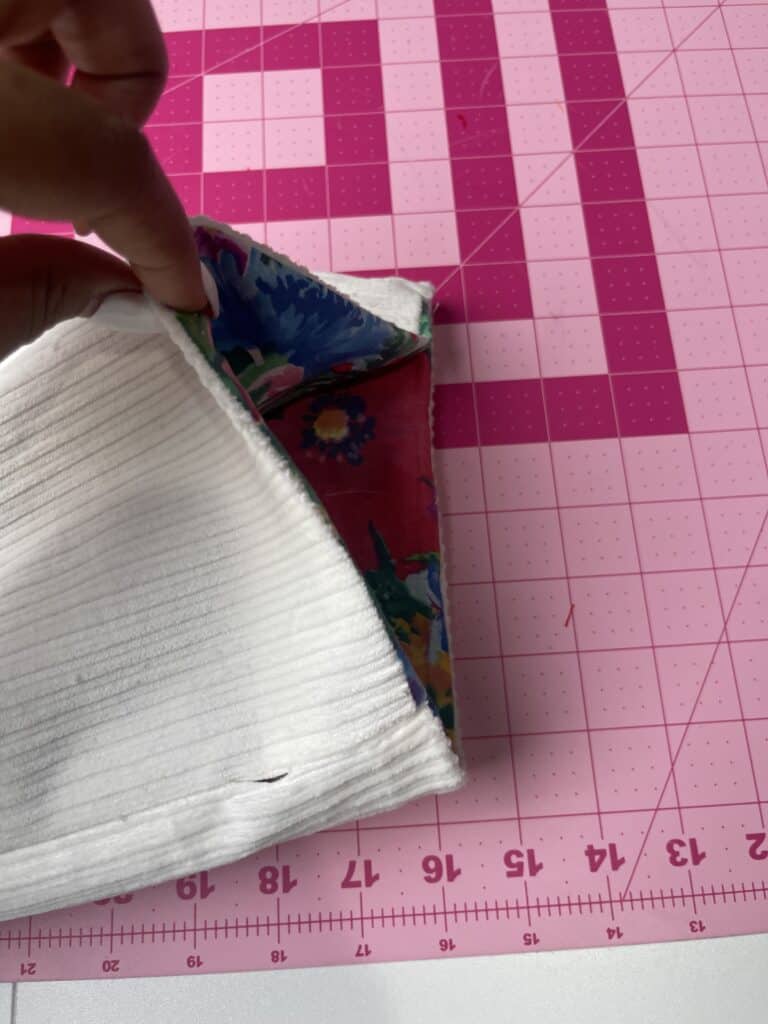
4. Trim the 4 corners and press the seams open. Take the corners and create a triangle shape. You can use pins to hold it in place. Mark about 1 ½” inches from the corner. Do this to the remaining 3 corners. Stitch. Trim corners.
5. Turn it right side out with the opening. Stitch opening closed. Place the lining inside to form the bag shape. Press. Stitch around about 1.5” away from the top and create a 1” area for the drawstring to pass through.
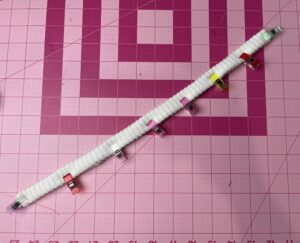
6. To make the handle, fold the fabric in half lengthwise. You can use Wonder Clips to keep them in place. Edge stitch on both sides. Turn the bag so the lining is facing out and mark the center of the bag. About 1.5” from the center on both sides, mark where the handles are going to be. Attach the straps using the Wonder Clips to keep them in place before stitching. Stitch them to the bag once placement is correct.
7. To make the drawstrings, fold the fabric in half lengthwise. You can again use Wonder Clips to keep them in place. Edge stitch on both sides. Use a pin on one side to insert through the opening for the drawstring. Once done, your bag is complete!
And there you have it! I hope you enjoyed this quick tutorial – this bag was so easy to make. I know I’ll be making another one this summer, too 😉 Happy Stitching!
If you want to keep up with me, Duana, on social media for other fun projects, follow me on social media: Instagram
If you want to keep up with all things Clover, follow us on: Facebook | Twitter | Instagram | Pinterest | YouTube | Ravelry


