Foundation Paper Piecing Tutorial
Foundation paper piecing (FPP) is a technique that is used mainly for two reasons. Either to piece shapes that don’t lend themselves well to traditional piecing, such as odd angles, or for very precise piecing, particularly when using many small pieces.
There are a few different ways to use the paper foundations, but I’ll be covering the basic one here where the fabric is stitched directly to the paper, and the paper torn off at the end.
Let’s cover a few basics first:
– FPP templates look a little different from designer to designer, but they all have a couple of things in common. They consist of either a single template if the block can be pieced all in one go ( a log cabin, for example), or multiple templates that need to be sewn individually first and then pieced together to make up the final block. Each template will be made up of at least two sections divided by solid lines. The section is surrounded by another solid line, and then a dashed or dotted line. The solid lines are seam lines, and the dashed line denotes the seam allowance around the template that is needed to sew the finished piece to another piece, or a finished block into a quilt.
– FPP templates are always printed as mirror images, because the fabric is sewn to the back of the template, not the printed front, with the wrong side of the fabric facing the paper. So it has to be mirrored in order to be the right way around once the block is finished.
– Because more intricate patterns can make it tricky to know exactly which piece is which once the templates are cut apart, it’s a good idea to use a colouring diagram (a good pattern should have one included) to figure out the desired colour placement, and then transfer those colours to the templates as well, either by writing on them or colouring them in.
– There are many specialty FPP papers available at quilt shops. They are thinner than regular printer paper, and are easier to tear out at the end. But unless you work with FPP a lot, regular printer paper works just as well. In that case, it helps to shorten the stitch length so that the paper gets perforated more and is easier to tear.
– When sewing with paper templates, always start and end a little past the line you are sewing. If the line extends to the seam allowance surrounding the template, stitch right through the seam allowance and off the paper.
– If an FPP block has multiple templates, always complete each template/section separately first, following the numbering on that template. Once all sections are completed, piece the sections together following the assembly diagram or instructions in the pattern.
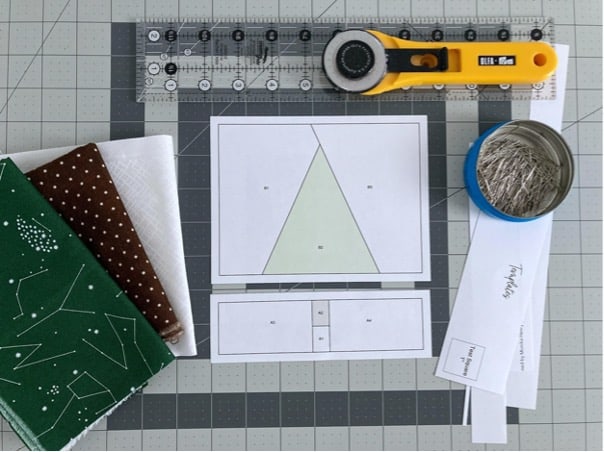
What you’ll need:
- Pine Tree FPP block pattern printed out
- 3 different fabrics to make the block (I used white, brown and green)
- Patchwork Pins – Art. No Q2507
- Iron
- Small ruler with a ¼” marking
- Rotary cutter – Art. No 7500
To get started:
– Print out the templates as many times as you need to make the number of blocks you’d like to make. With this method, you will need 1 set of templates per block, as they are not reusable. Set the printer to “Actual Size” or “100%”, and double check that the test square is 1” on all sides.
– Cut out the templates along the dotted lines. You will have one template with 4 rectangles on it labelled A1-A4, and one template with three triangles labelled B1-B3. Do not cut these shapes apart, only cut on the dotted lines around the templates (that is the seam allowance).
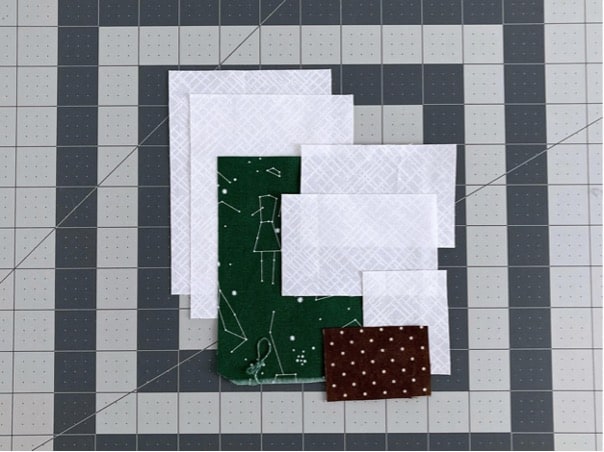
– Cut the fabric as follows:
(2) 4 ¼” x 5 ½” white
(2) 2 ½” x 3 ½” white
(1) 1 ½” x 2” white
(1) 1 ½” x 2” brown
(1) 4 ½” x 5” green
These cuts are generous and will leave some leftovers, but it’s easier to work with larger pieces and trim them later.
– Attach a ¼” foot, if you have one, to your sewing machine, and shorten the stitch length to about 1.5. You can use a regular foot, or a walking foot, too, but I find the 1.4” foot works best for me.
Making the block:
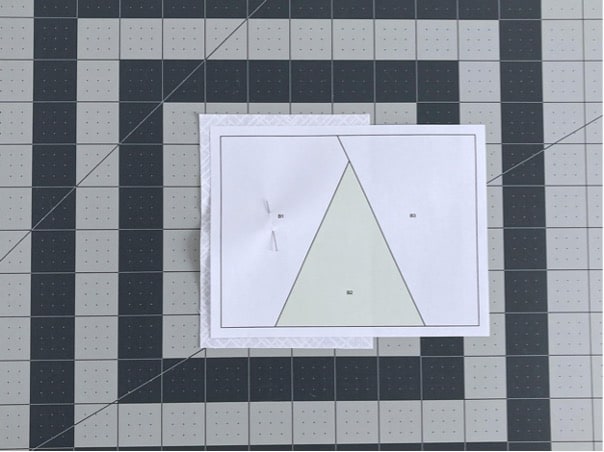
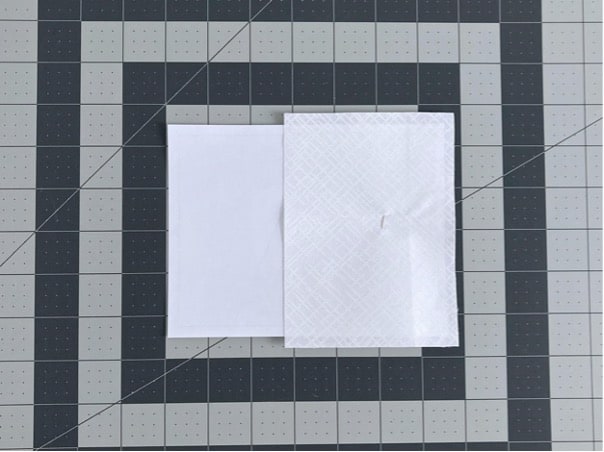
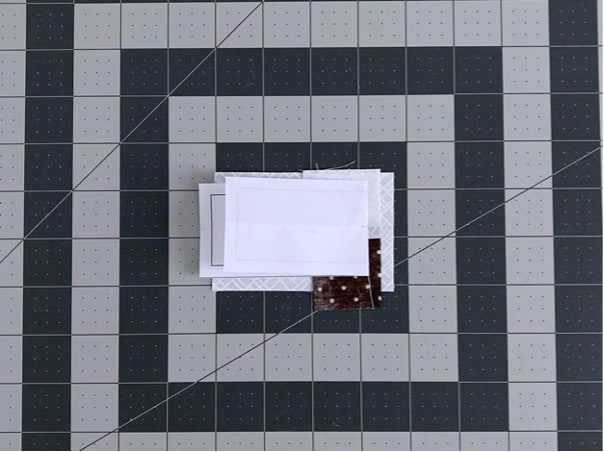
- Place one of the large white rectangles right side down. Place section B1 of the template on the fabric, with the print facing up so that the fabric extends at least ¼” beyond all the solid lines around B1. Place a pin in the center of B1 to secure the fabric to the paper.
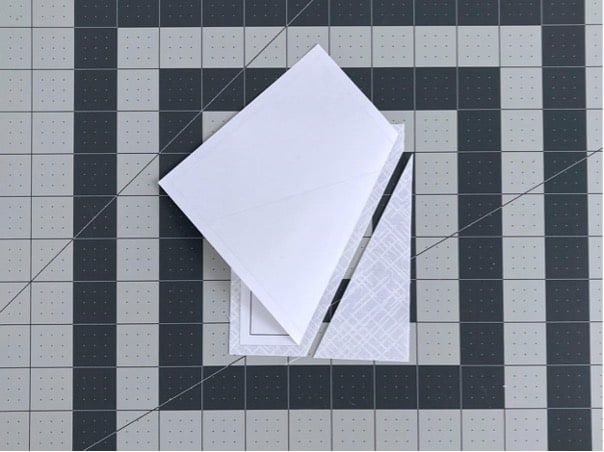
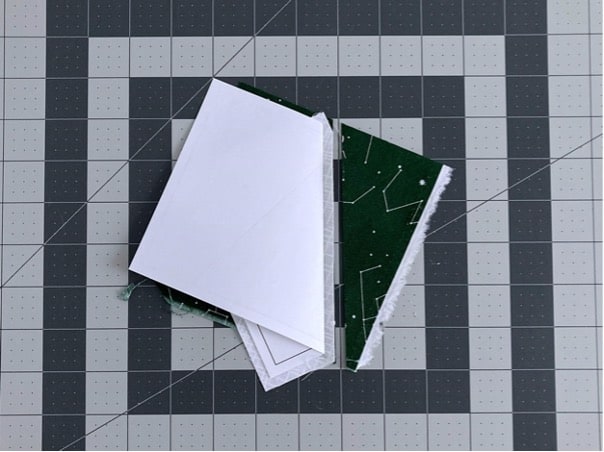
- Using a piece of card, or a ruler, fold the template (printed sides together) along the line between B1 and B2.
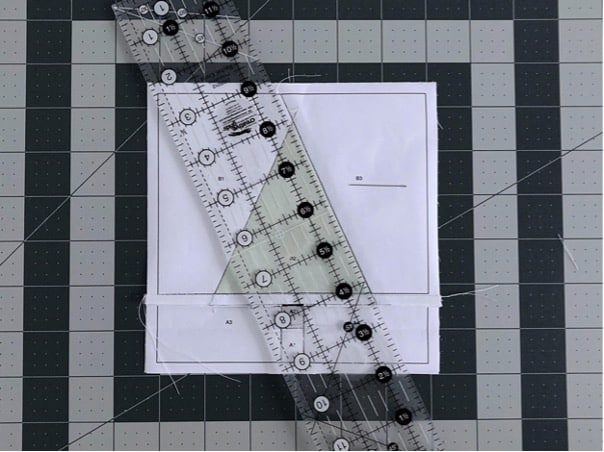
- Keeping the paper folded to expose the fabric underneath, line up the ¼” marking of a ruler along the fold and trim the fabric along this folded edge to a ¼” seam allowance.
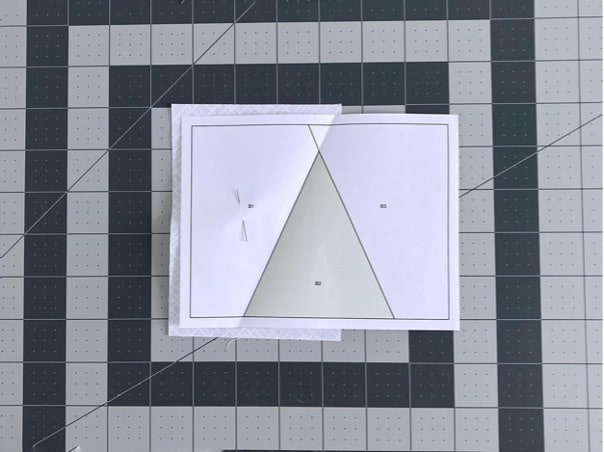
- Place the green fabric rectangle right side up (so that the two fabrics are right sides together just like in traditional piecing) and place it so that it extends to at least ¼” past all the solid lines around B2 while that section is still folded back. This is the important part, especially when dealing with angled seams. This way, once the fabrics are sewn and pressed open, the fabric will cover the entire shape it is supposed to cover.
- Unfold the paper. You can put another pin through section B1 to also hold the green fabric in place if you like, or just hold it in place with your fingers. With the paper on top and the fabric underneath, sew on the line between section B1 and B2, extending about ¼” into B3, and sewing all the way off the paper at the other end of the line, through the seam allowance. If you’re working on a block with lots of small pieces, it’s helpful to backstitch at the beginning and end of each seam to strengthen it.

- Fold the paper back again along the seam you just sewed. Line up a ruler with the ¼” marking on the fold and trim the green fabric back to a ¼” seam allowance, in line with the white fabric. Unfold the paper again.
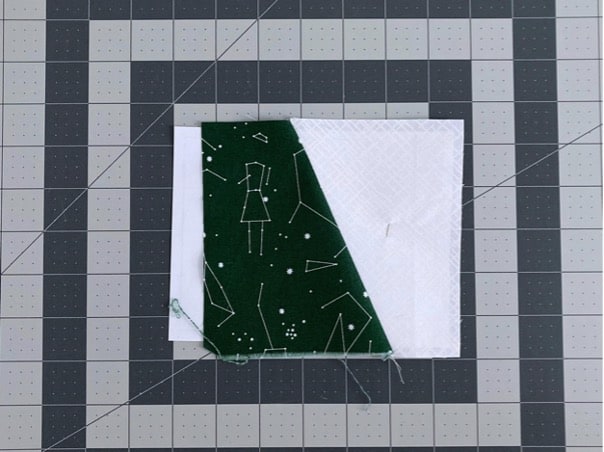
- Flip the template over so that the fabric is on top, and fold the green fabric back (remove the pin if you had a second one in there). You can finger press the seam, use a seam roller such as the Clover Roll & Press https://clover-usa.com/collections/sewing-accessories/products/roll-press, or press the seam with an iron. I prefer to iron. Flip back so the paper is on top again.
At this point, I like to use a pin to hold the green fabric in place for the next step if I’m dealing with large pieces of fabric that can slip easily. With smaller pieces this isn’t as much of a challenge.
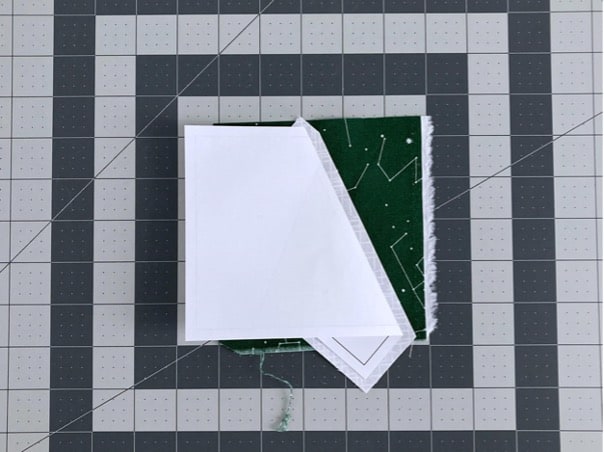
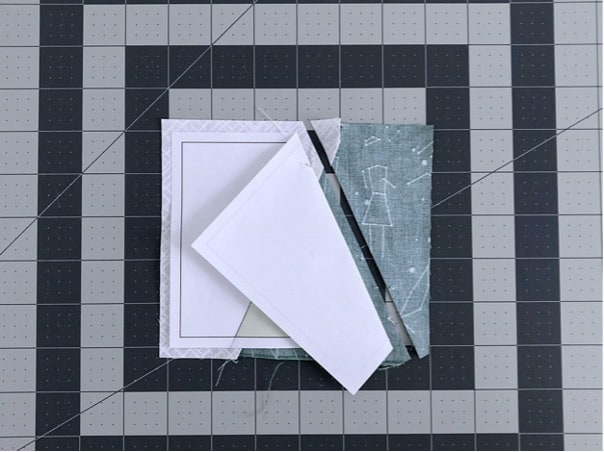
- Using the piece of card or ruler again, fold the paper along the line between B2 and B3, just like in step 2.
- Keeping the paper folded back, trim the green fabric back to a ¼” seam allowance. Then place the second large white rectangle underneath the template, right side up, so that it extends at least ¼” beyond all sides of the still folded over section B3.
Technically, this first cutting back of the seam isn’t actually necessary, especially not when using large pieces of fabric. You could just fold the paper back and line up the next piece of fabric with the folded back section, and then trim both fabrics at the same time after sewing. The extra step provides a helpful guide, however, if you are trying to line up the edge of a piece of fabric with an exact ¼” overhang for the seam allowance, and/or you are dealing with less generously cut pieces and want to make sure there is enough overhang everywhere.
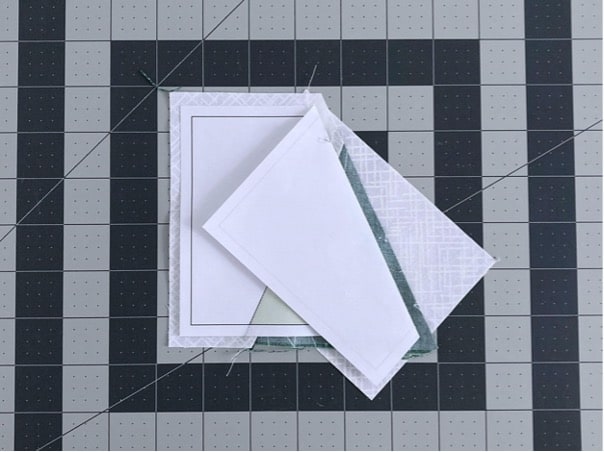
- Unfold the paper, holding the fabric in place (or pinning it if you prefer), and sew along the line between B2 and B3, starting and ending off the paper.
- Refold the paper and repeat steps 5 and 6 again to trim the fabric and iron it.
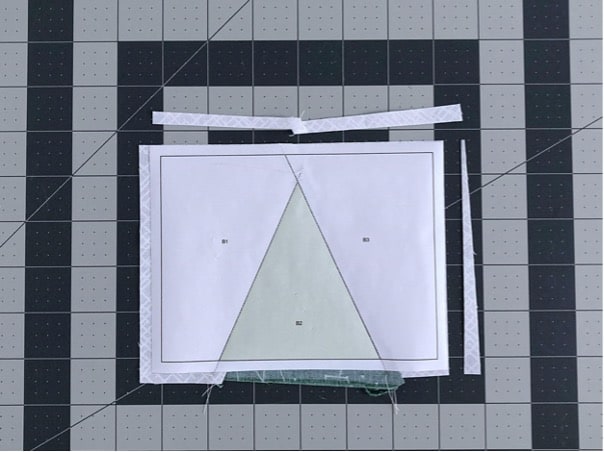
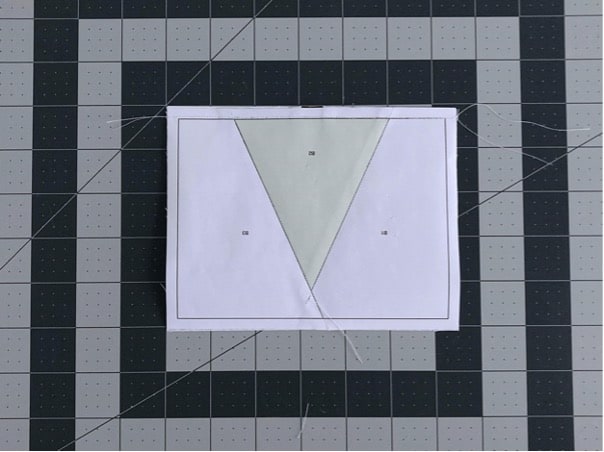
- Using the ruler and rotary cutter, trim any excess fabric around the edge of the template. You can follow the dotted line, or line up a ruler with the ¼” marking at the solid line just inside the seam allowance, and trim both the fabric and any extra paper that might be there from when you cut out the template. This completes the first section of the block.
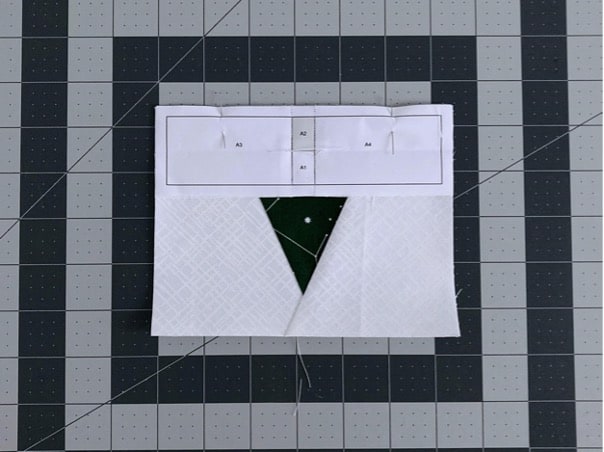
- Repeat the steps above with the bottom part of the block, starting at A1. Place the small piece of white fabric right side down underneath A1, so that it extends at least ¼” past all four solid lines surrounding A1. Pin in place.
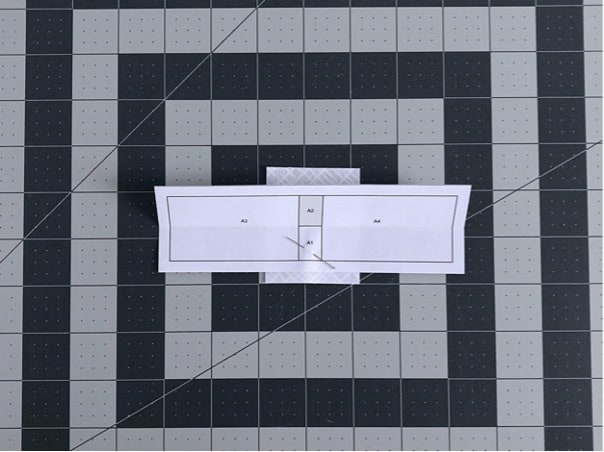
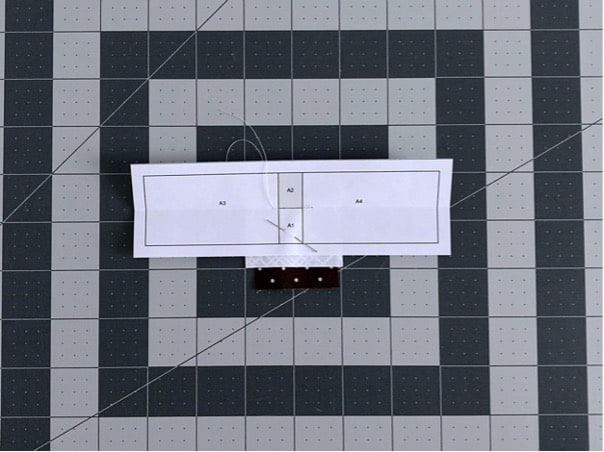
- Fold the line between A1 and A2 and trim the seam allowance, then place the brown fabric right side up so it extends past all four sides of A2 while the paper is still folded.

- Sew along the line between A1 and A2, starting and stopping about ¼” past the line on each end.
Fold the paper again and trim the seam allowance again, then open up the fabrics and press or iron the seam. 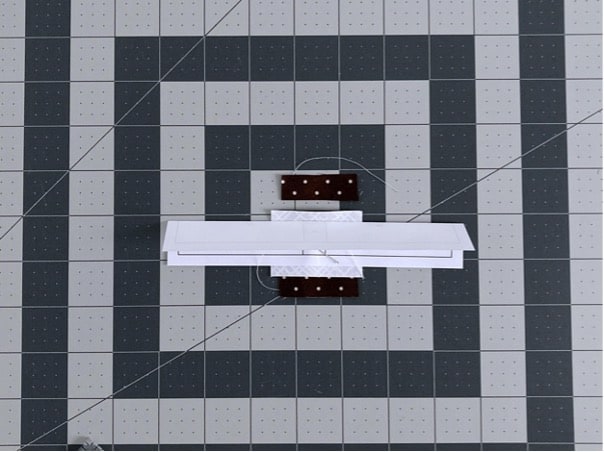
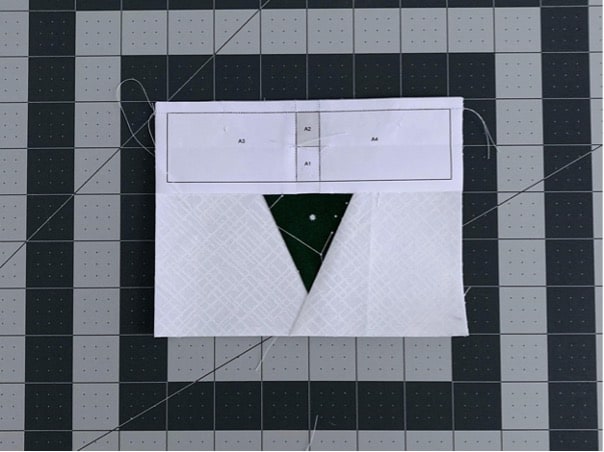
- Fold the line between A1A2 and A3, trim the seam allowance and place one of the remaining rectangles of white fabric right side up underneath the folded back section A3.
- Unfold the paper and sew along the line, stopping and starting off the paper and sewing right through the printed seam allowance. Fold and trim the seam allowance again, then repeat this step for A4.
- Trim all around the outside of this template like in step 11. Both sections are now completed and ready to be sewn together.

- Place section A on top of section B, fabrics sides together, lining up the bottom edge of B with the top edge of A. Hold in place with a couple of pins.
- Sew along the solid line ¼” from the edge of the sections. If you lined up the sections correctly, the seam should be exactly on the solid line of both sections. Again, start and stop sewing off the paper, not at the corners of the solid lines.
Flip the block over and check that the seam is on the line on the second section as well.
- It’s time to remove the paper. Using a ruler and a pin, score all the sewn lines with the pointy end of the pin. This will help the paper tear more easily.
Start tearing the paper out carefully along each seam. If little bits of paper remain under the stitches, use tweezers to pull them out. It’s important to pull carefully at the paper so the stitches don’t get pulled out. It may help to hold the stitches between your thumb and finger on one hand while pulling at the paper with the other hand.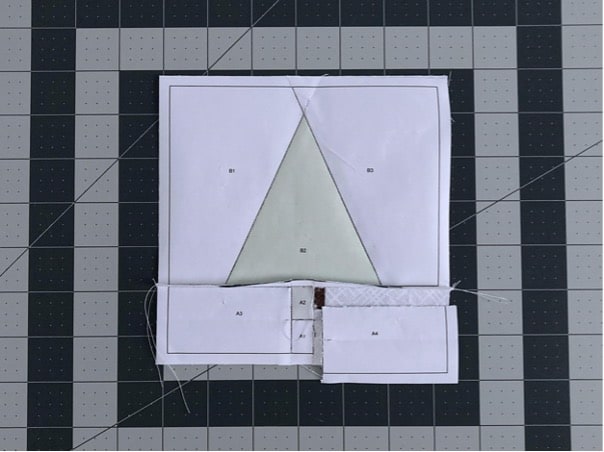
When dealing with a block that has lots of sections that get sewn together, you can pull some paper off between additions, so as not to catch paper in place that will end up inaccessible at the end. Leaving as much paper in place as possible helps to keep the sections or blocks from distorting, too, so it’s always best to remove only what’s necessary at any given step.
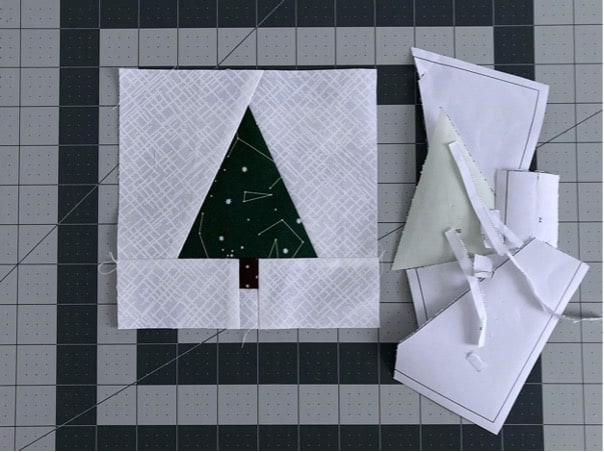
- Press the seam between the two sections and give the whole block another quick press. Congratulations! You’ve completed your first paper piecing project!