Backpack Bronto Crochet Pattern
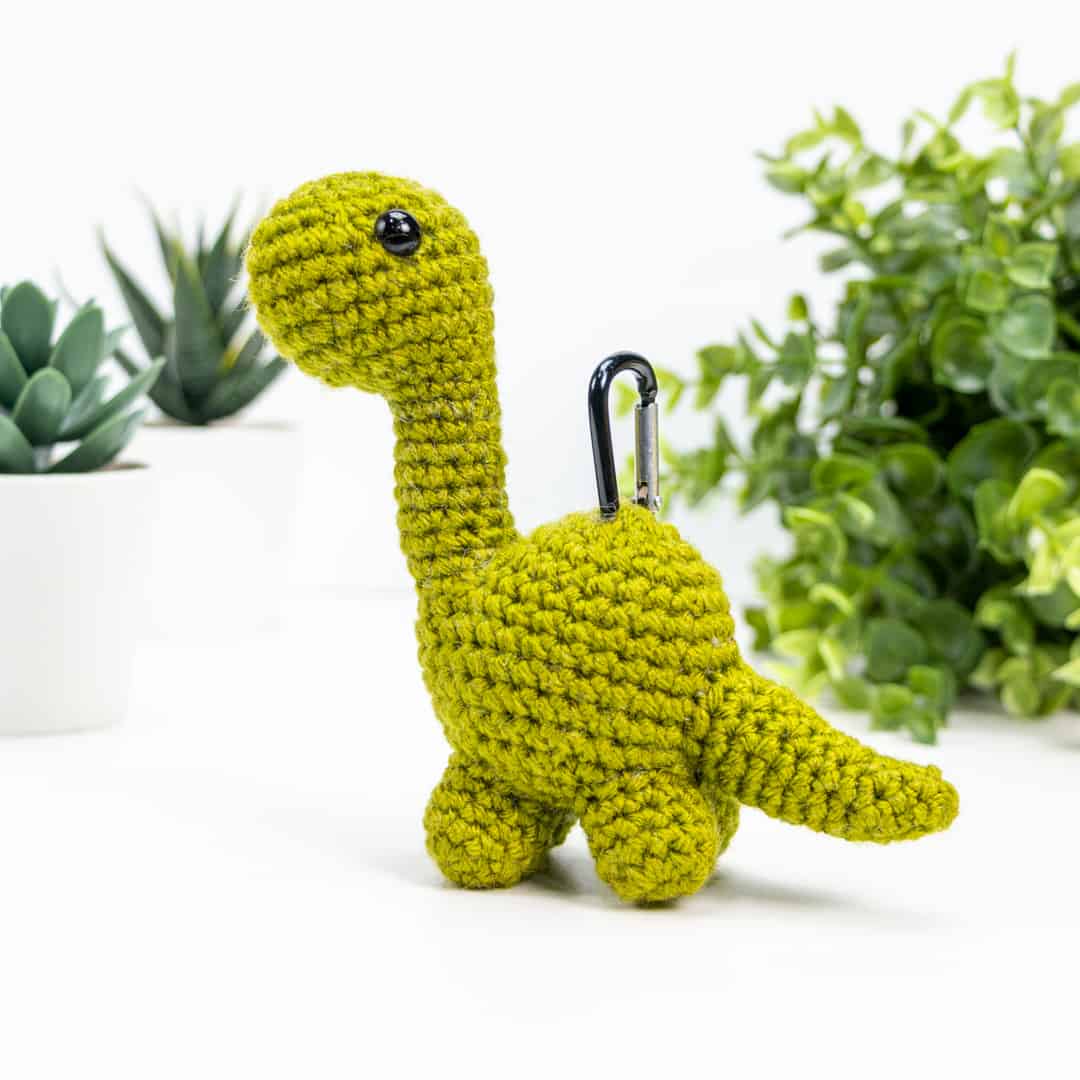
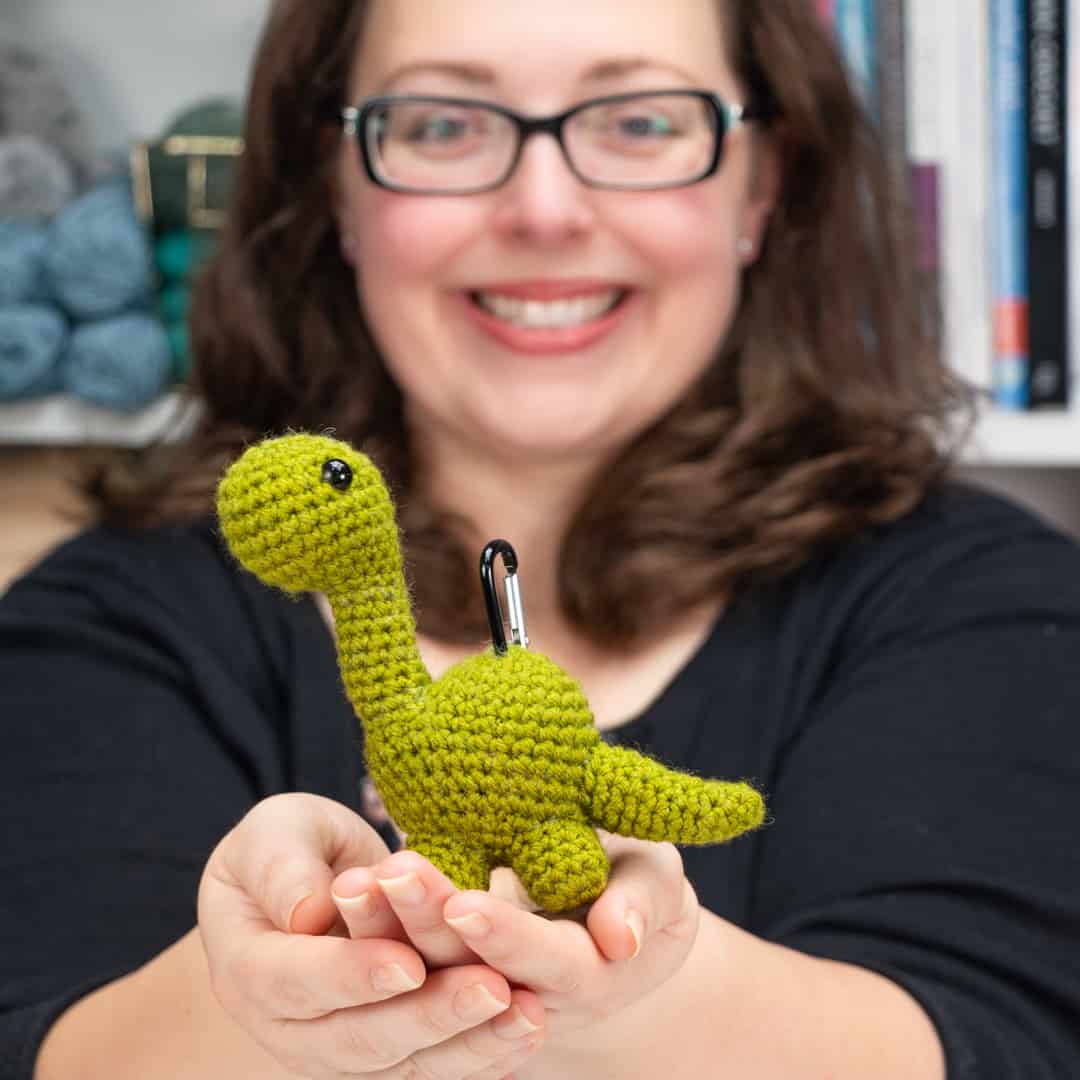
Hi Everyone! I’m Ashley, the designer and maker behind The Loopy Lamb. I’m so excited to be invited back to the Clover blog to share with you my design for my Backpack Bronto. The Backpack Bronto is a small crochet brontosaurus that is made to attach to a child’s backpack. Some children may be heading back to school for the first time since the pandemic began and I thought having a little buddy to take with them to school could help ease some of those anxieties going back to school.
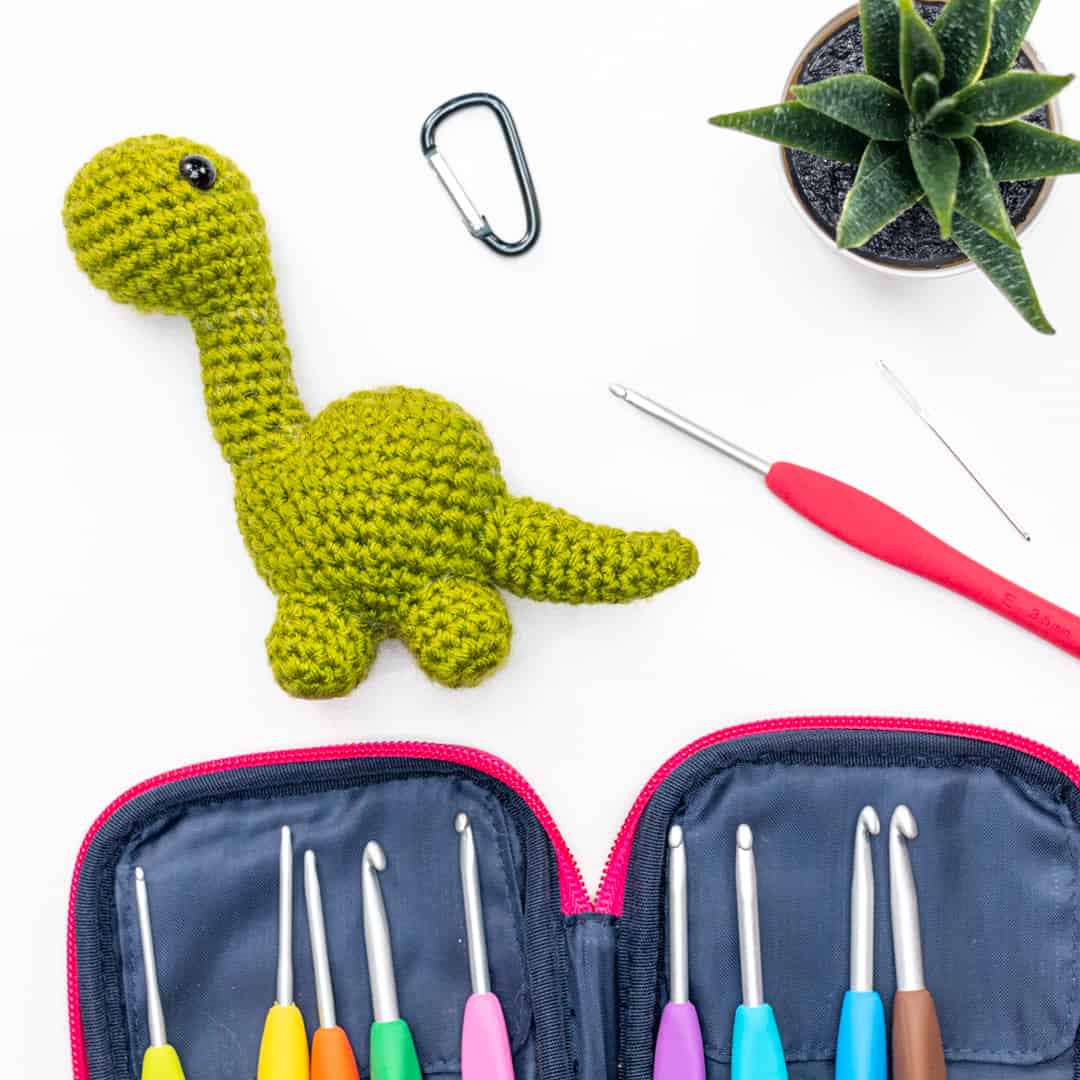
The Backpack Bronto is an amigurumi project and that means that essentially, it’s a 3-d toy, made from crochet. The dino is approximately 5″ tall from the top of his head to the bottom of his feet, when crocheted to gauge. Gauge isn’t vital to this project however, it may change the size of your finished dinosaur and/or the amount of materials that are needed.
For this project,the body is made first and then the head is crocheted onto the body. Then we’ll move on to working on the tail and legs and sewing them to our dinosaur. At the end, we’ll attach a caribiner clip that will enable the dino to be clipped onto a backpack. Feel free to omit the caribiner if you’d prefer to just have the dino as a toy and not as a backpack accessory. Try making the dino in your child’s favourite colour or to coordinate with the colour of their backpack.
Skill Level: Easy
Terminology: U.S. Terminology
Supplies:
- Amour Crochet Hook E (3.5mm)- Art. No `1043/E
- 33 yards/30 m (15 g/ 0.5 oz) of We Crochet Brava Worsted in Avocado (found HERE)
- 2 – 9mm Safety Eyes
- 38mm Caribiner Clip
- Polyester Stuffing
- Jumbo Tapestry Needles (Bent Point) – Art. No 219
- Mini Patchwork Scissors – Art. No 493/CW
- Multiple Clover Locking Stitch Markers –Art. No 3032
Abbreviations:
- CH = Chain
- FLO = Front Loops Only
- FO = Finish Off
- MC = Magic Circle
- PM = Place Marker
- SC = Single Crochet
- SCDEC = Single Crochet Decrease
- SCINC = Single Crochet Increase
- SL ST = Slip Stitch
- ST = Stitch
Special Techniques:
- Invisible Join: FO leaving a tail that is at least 5 – 6 inches in length. Thread the tail onto a tapestry needle. Place the tapestry needle through the top of the 2nd ST from front to back and pull through. Place tip of needle into top of the last ST of the round, under the back loop of the stitch, and pull through to the back of the work. Weave in the end. Find my tutorial HERE or in the video below.
[youtube https://www.youtube.com/watch?v=ERIzus0nQ9A&w=560&h=315]
Finished size:
- Approximately 5” tall (not including caribiner clip)
Gauge:
- Rounds 1 – 4 = 1.5” across
Notes:
- This pattern is worked in continuous rounds (unless stated otherwise). Do not join at the end of the row, unless indicated. A stitch marker is used to keep track of the beginning of the round.
- For a cleaner SCDEC, do your SCDEC under the front loops only of each stitch rather than under both loops. This is often referred to as an invisible decrease. Find my tutorial HERE or in my video below.
- Gauge is not vital to the project but it may affect the amount of yarn needed for the project and the size of your toy.
[youtube https://www.youtube.com/watch?v=AouQw3i4U4I&w=560&h=315]
Pattern:
Body:
Round 1: Make a MC and SC 6 into the MC. (6)
Round 2: (SCINC) x 6 (12)
Round 3: (SCINC, SC 1) x 6 (18)
Round 4: SC 1, (SCINC, SC 2) x 5, SCINC, SC 1 (24)
Gauge Check: Piece should measure 1.5” across at the end of Round 4.
Round 5: SC around (24)
Round 6: SC, CH 7, SK 2, SC 21 (22 sts, 7 CHs) – PM in 2nd skipped ST of Round 6
Round 7: SC in 1ST and the next 3 CHs, SCINC, SC in each remaining ST and CH around (30)
Rounds 8 -11 : SC around (30)
Round 12: (SC 3, SCDEC) x 6 (24)
Round 13: SC 1, (SCDEC, SC 2) x 5, SCDEC, SC 1 (18) – Start adding stuffing, continuing to add stuffing as you work.
Round 14: (SCDEC, SC 1) x 6 (12)
Round 15: (SCDEC) x 6 (6)
FO leaving a long tail. Weave tail through FLO of last round and cinch hole closed. Weave in ends.
Neck & Head:
Round 1: Attach yarn in the marked stitch that we attached in Round 6 of the body, SC 11 evenly around the opening in the body. (11)
Round 2: SC, SCDEC, SC 2, SCINC, SC 2, SCDEC, SC (10) – Start stuffing, continuing to add stuffing as you work. Stuff firmly.
Rounds 3 – 8: SC around (10)
Round 9: SC 5, SCINC, SC, SCINC, SC 2 (12)
Round 10: SC 6, (SCINC) x 5 SC (17)
Round 11: SC 6, (SCINC, SC 2) x 3, SCINC, SC (21)
Round 12: SC 9, SCINC, (SC 3, SCINC) X 2, SC 3 (24)
Rounds 13 – 17: SC around (24)
Round 18: SC 1, (SCDEC, SC 2) x 5, SCDEC, SC 1 (18) – with dinosaur’s head facing away from you, place left safety eye in Round 16 and the right eye in Round 15, with 8 sts between them.
Round 19: (SC, SCDEC) x 6 (12)
Round 20: (SCDEC) x 6 (6)
Legs (make 4):
Round 1: Make a MC and SC 6 into the MC. (6)
Round 2: (SCINC) x 6 (12)
Rounds 3 – 5: SC around (12)
FO with invisible join (see special techniques), leaving a long tail. Stuff legs and sew all four legs to bottom of dinosaur.
Tail
Round 1: Make a MC and SC 6 into the MC (6).
Round 2: SC around (6)
Round 3: SCINC, SC 5 (7)
Round 4: SC around (7)
Round 5: SC 5, SCINC, SC (8)
Round 6: SC around (8)
Round 7: SC 3, SCINC, SC 4 (9) – Start stuffing, continuing to add stuffing every few rounds.
Round 8: SC 6, SCINC, SC 2 (10)
Round 9: SC around (10)
Round 10: SCINC, SC 9 (11)
Rounds 11 – 12: SC around (11)
FO leaving a long tail to sew onto the body. Stuff tail with stuffing and sew tail onto the body, using photo as reference.
Assembly:
Insert caribiner through the top of the back of your dinosaur.
I hope that you enjoyed making your Backpack Bronto! I’d love to see your finished projects! Please share your finished makes by tagging the pattern on Ravelry, tagging me or using #theloopylamb on Facebook and Instagram. Don’t forget to follow me on Facebook, Instagram and Pinterest
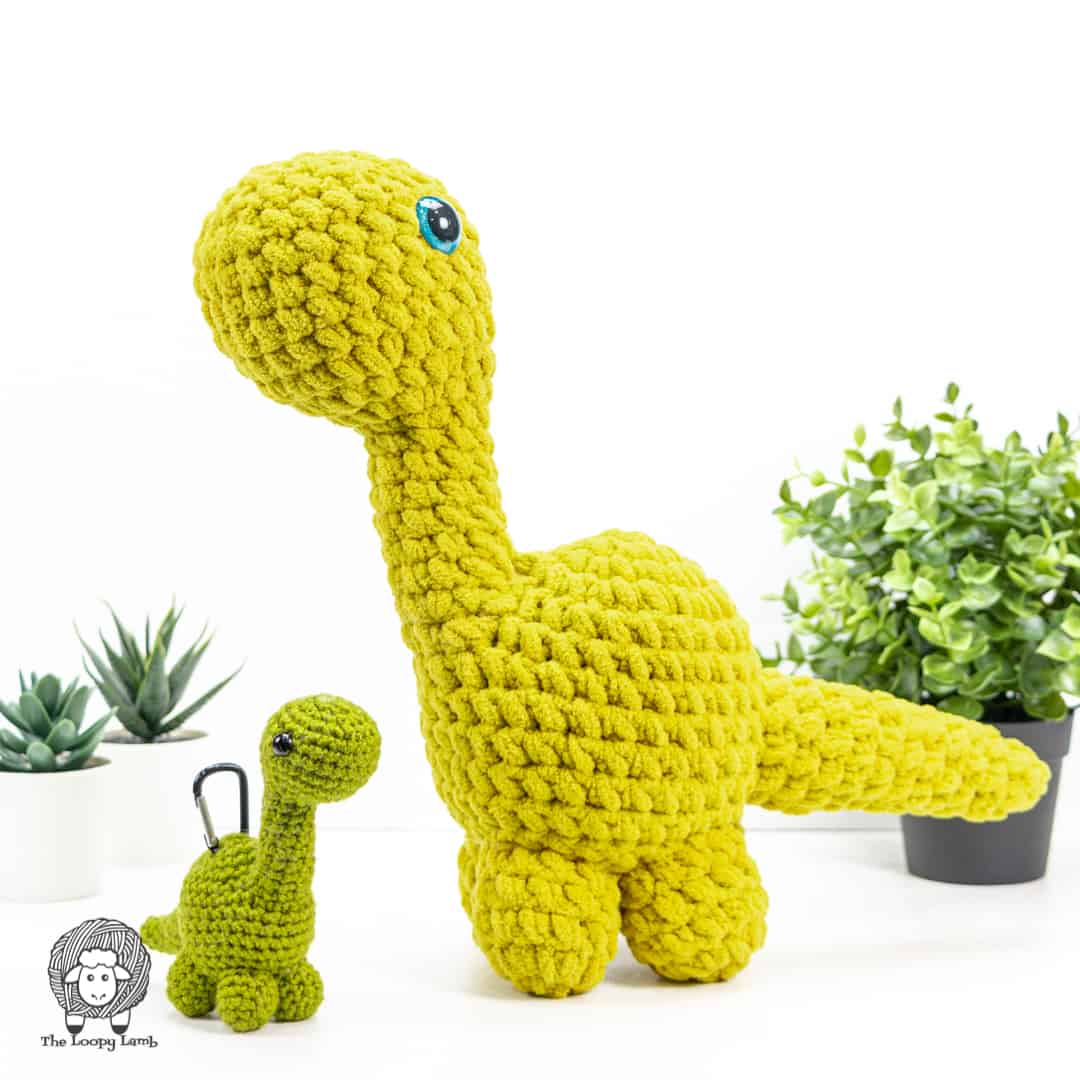
You can purchase a copy of the written pattern for the Backpack Bronto HERE in my Ravelry shop or HERE in my Etsy shop. The PDF version of the pattern includes a material list and tips for turning your Backpack Bronto into a Giant Bronto so kids can have an at-home cuddle-sized dino friend as well (pictured below).
Find me on social media and check out my free crochet patterns on my Blog | YouTube | Instagram | Facebook | Pinterest
Disclaimer:
Feel free to sell the item created by this pattern but please provide pattern credit back to me when posting online, and please provide a link to my blog: http://www.theloopylamb.com. Please do not resell, distribute, duplicate, or share this pattern in any printed or digital form, or claim this pattern as your own original design. Please do not use my photos when selling your finished items.
I’d love to see your finished items! Please share your finished makes by tagging the pattern on Ravelry, sharing it to our Facebook page or Instagram. Don’t forget to follow me on Facebook, Instagram and Pinterest
Facebook: www.facebook.com/TheLoopyLamb
Instagram: www.instagram.com/TheLoopyLamb
YouTube: The Loopy Lamb YouTube Channel
Pinterest: www.pinterest.com/theloopylamb
Newsletter: Sign up for my newsletter!