DIY Ruffle Tote *free pattern*
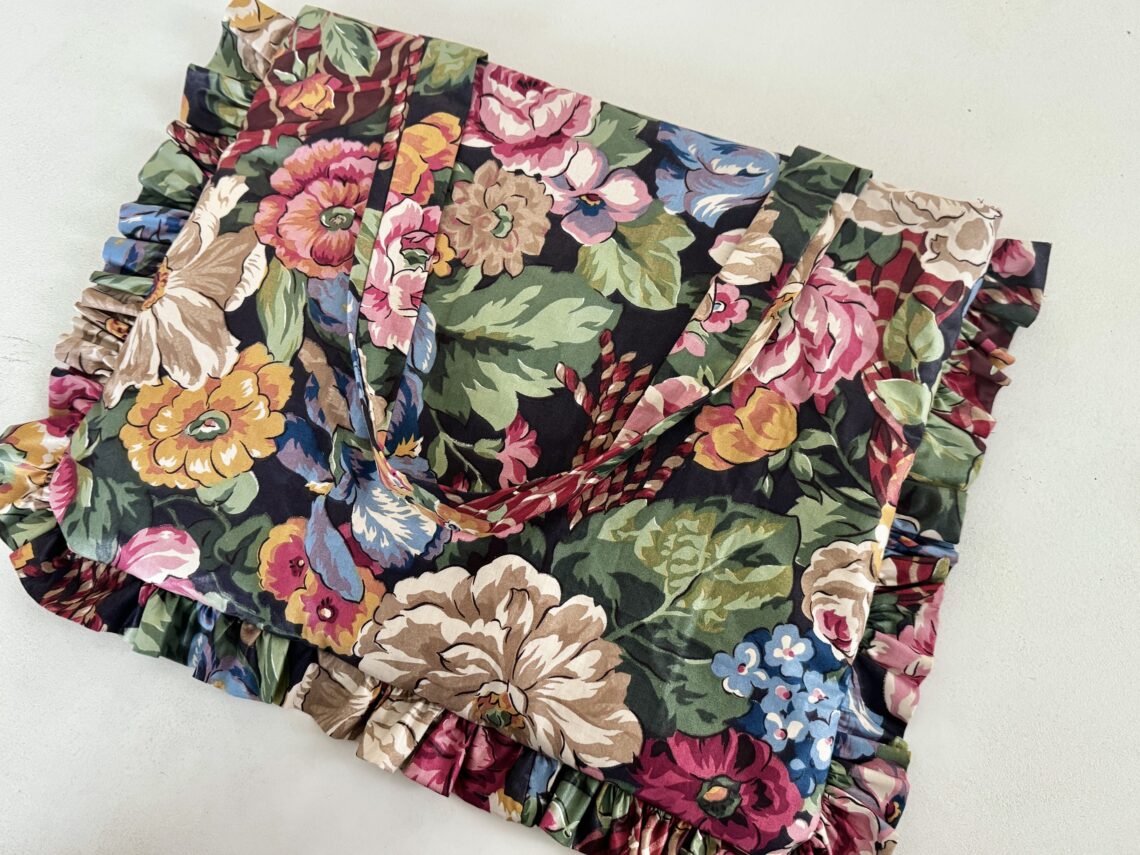
Fall is here and we are back to school! Whether you’re a student heading back to class, a teacher returning to work, or simply looking for a cute everyday bag, this DIY Ruffle Tote Bag is the perfect sewing project to kick off the new season!
With its large size and fun ruffle details along the sides and bottom, this tote is great for carrying your books, school supplies, and other everyday essentials. Plus, you can customize it with your favorite fabrics and prints to match your personal style! In this tutorial, I’ll walk you through each step to create your very own Ruffle Tote Bag. So grab your fabric, and let’s get sewing!
MATERIALS:
- Clover Craft Storage Wrap
- Clover Rotary Cutter (60 mm)
- Clover Flower Head Pins
- Clover Wonder Clips
- Clover Magnet Pin Caddy
- Clover Triangle Tailor’s Chalk (Red)
- Clover Patchwork Scissors
- Clover Easy Loop Turner
- main fabric
- lining fabric
- contrast fabric for ruffles (optional)
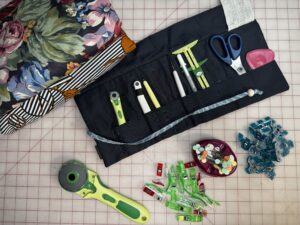
DIY RUFFLE TOTE:
STEP 1 – CUT YOUR FABRIC
1. Measure and cut the following pieces:
|
Pattern Piece |
Measurements |
Cut |
|---|---|---|
|
Front & Back: |
16″ W × 18″ H |
2 Main, 2 Lining |
|
Ruffle: |
4″ W × 110″ L |
1 Main (or 1 Contrast) |
|
Straps: |
4″ W × 28″ L |
2 Main |
|
Inside Pocket: |
8″ W × 8″ H |
1 Lining |
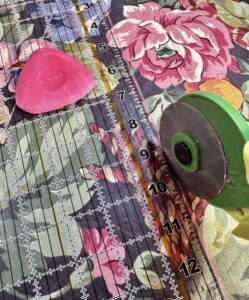
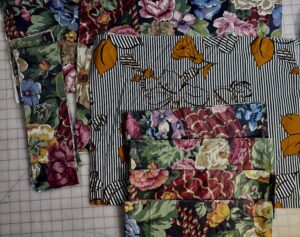
Note: The ruffle can be cut from multiple strips and sewn together to achieve the desired length.
STEP 2 – PREPARE & ATTACH THE RUFFLE
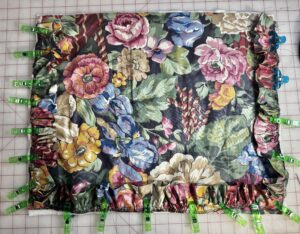
2. With wrong sides together, fold the ruffle in half lengthwise, matching the long raw edges. Press. Sew a gathering stitch along the raw edges, leaving long thread tails at both ends. Gently pull the bobbin threads to gather the ruffle until it fits along the sides and bottom of the front. Distribute the gathers evenly.
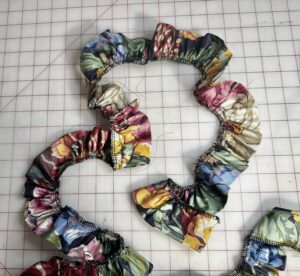
3. With right sides together, pin the ruffle to the front, matching raw edges. Begin at one top side edge, continue around the bottom, and finish at the opposite top side edge. The folded edge of the ruffle should face toward the center of the front. Baste in place.
STEP 3 – PREPARE THE STRAPS
4. With wrong sides together, fold each strap in half lengthwise and press. Open and fold both long raw edges toward the center crease. Fold in half again, enclosing the raw edges, and press. Topstitch close to both long edges.
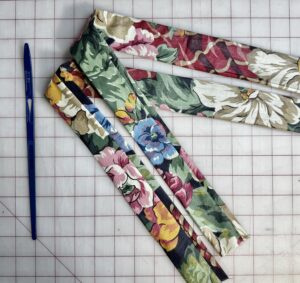
5. With right sides together, pin the ends of one strap to the top edge of the front, positioning each end 3″ from the side edges. Repeat for the back using the remaining strap. Baste in place.
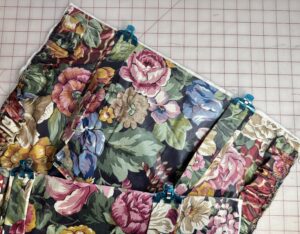
6. With right sides together, pin the front and back, sandwiching the ruffle between both pieces. Sew along both sides and the bottom, leaving the top edge open. Trim the bottom corners, turn right side out, and press.
STEP 4 – ASSEMBLE THE LINING
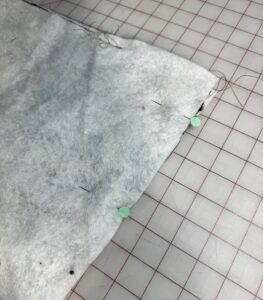
7. With right sides together, pin both lining pieces. Sew along both sides and the bottom, leaving a 4″ opening along the bottom edge for turning.
STEP 5 – ATTACH THE LINING
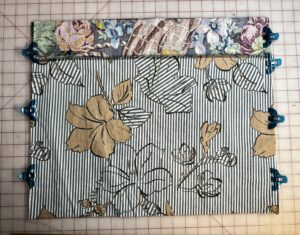
8. With the outer bag right side out and the lining wrong side out, insert the outer bag into the lining so that the right sides are together. Match the side seams and top raw edges, keeping the straps tucked between both layers. Pin and sew around the entire top edge.
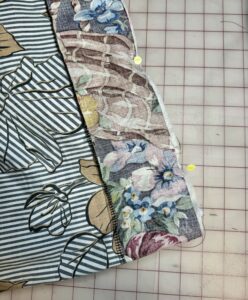
9. Turn the bag right side out through the opening in the lining. Sew the opening closed. Push the lining into the outer bag.
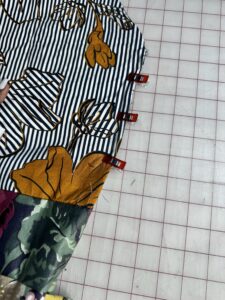
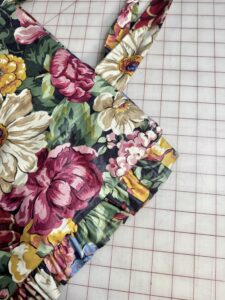
And just like that, your Ruffle Tote is ready to go! Whether you’re heading back to school, going to work, or running errands, this bag is a fun and stylish way to carry your everyday essentials. I love how the ruffle adds a little extra personality to such a simple project. Have fun choosing your fabrics and making this tote your own! Happy Sewing!
If you want to keep up with me, Duana, on social media for other fun projects, follow me on social media: Instagram
If you want to keep up with all things Clover, follow us on: Facebook | Twitter | Instagram | Pinterest | YouTube | Ravelry