


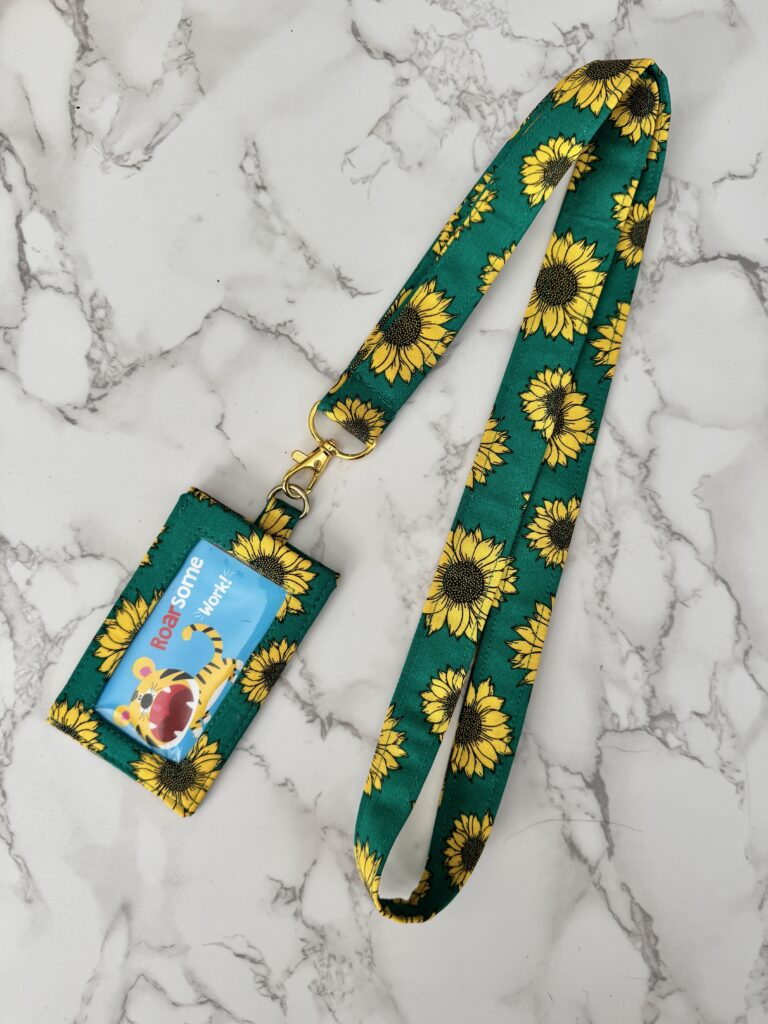
Hello, everybody! With back-to-school season here, it’s the perfect time to add a handmade touch to an everyday essential. This DIY lanyard and badge holder is a great project for teachers, school staff, students, or anyone who needs to keep an ID or badge close at hand while still bringing some of your personality with you. I love it, and the pattern was inspired by Anne Weaver from Orange Bettie Sewing & Crafts. With endless fabric combinations to choose from, you can easily customize your lanyard and badge holder to fit your personal style. It’s also a quick, scrap-friendly project that puts those favorite leftover fabrics to good use. Let’s get sewing!
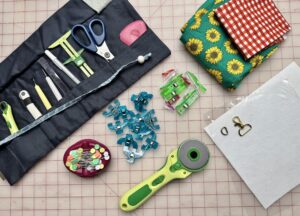
MATERIALS:
- Clover Craft Storage Wrap
- Clover Rotary Cutter (60 mm)
- Clover Rotary Cutter (18mm)
- Clover Triple Wide Wonder Clips
- Clover Flower Head Pins
- Clover Wonder Clips
- Clover Magnet Pin Caddy
- Clover Triangle Tailor’s Chalk (Red)
- Clover Patchwork Scissors
- Clover Curve Ruler (with Mini Ruler)
- Clover Metal Hera with Stylus
- (1) circle ring, split ring, or 1/2″ D-ring
- (1) swivel hook
- 1/2 yard of scrap fabric
- clear vinyl
- firm stabilizer

DIY LANYARD & BADGE HOLDER:
INSTRUCTIONS:
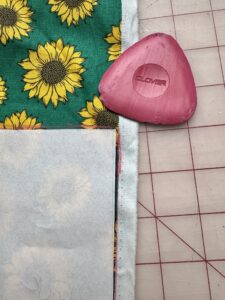
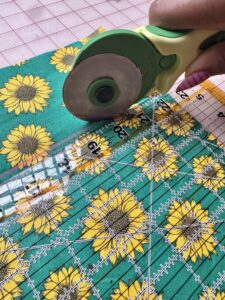
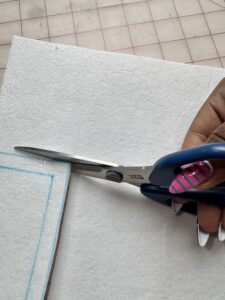
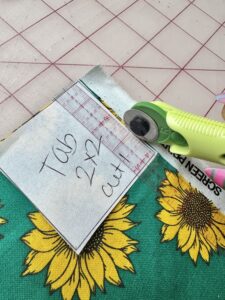
1. Trace the pattern pieces using the Triangle Tailor’s Chalk (Red) or another marking tool. I love the chalk because it comes off easily when the fabric is washed. Cut out 3.75″ x 44″ for the lanyard and use these measurements for the badge holder:
- badge back – 3.5″ x 9 1/16″
- badge interfaced frame – 2 1/2″ x 4″
- badge front frame – 3.25″ x 4 7/8″
- vinyl window – 2.25″ x 3.75″
- tab – 2″ x 2″
I love using the Clover Rotary Cutter (60 mm), Clover Rotary Cutter (18mm), and Clover Patchwork Scissors for straight and precise cuts to my fabric.
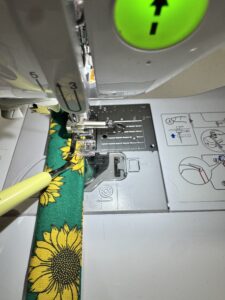
2. Starting with the lanyard, fold the lanyard strap in half lengthwise with wrong sides together and press. Open the strap and fold both long edges toward the center crease. Press, then fold the strap in half again along the original center crease and press. Edgestitch along both long edges, approximately 1/8″ from the edge. I use the Metal Hera with Stylus to help keep the fabric straight as I am sewing, especially with narrower pieces of fabric.

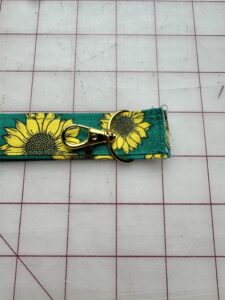
3. Slide the swivel hook down to the joined seam at the bottom of the lanyard. Turn the strap so the raw edges of the seam are enclosed on the inside. Keeping the swivel hook positioned at the seam, stitch across the strap approximately ½” from the bottom to secure it in place.
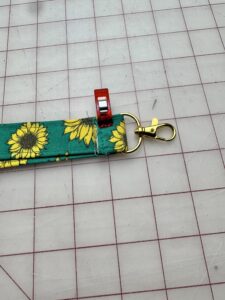
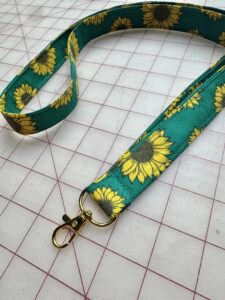
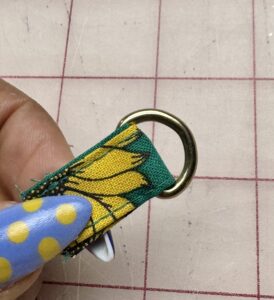
4. Fold the tab in half with wrong sides together and press. Open the tab, fold both long edges toward the center crease, then fold it in half again along the original crease. Exactly the same as the lanyard. Press and edgestitch along both long edges approximately 1/8″ from the edge. Pass the tab through the D-ring.

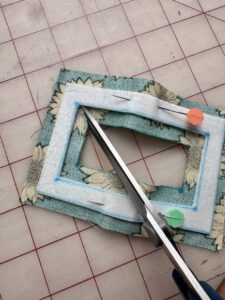
5. Center the frame interfacing on the wrong side of the front frame and glue-baste in place. Do not fuse yet! I used the Flower Head Pins to hold it in place. Cut diagonally from each inner corner of the front frame opening toward the corresponding inner corner of the frame interfacing. Fold the fabric around the opening over the interfacing edges and glue in place. I used the Triple Wide Wonder Clips to hold the glued areas in place. The Triple Wide Wonder Clips work perfectly, so you don’t need a lot of Wonder Clips, and they can support many layers and even thick layers. Fold each outer corner of the front frame diagonally over the corners of the interfacing, then fold the long outer edges over the interfacing and glue in place.

6. Center the vinyl window behind the opening of the front frame and clip in place. With the front frame facing up and the vinyl underneath, stitch around the opening approximately 1/8″ from the edge. Stitch across the top outer edge of the front frame at 1/8″, leaving the sides and bottom unstitched.
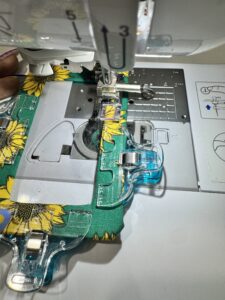

7. Center the back interfacing horizontally on the wrong side of the back, positioning it 1/8″ below the top edge. Glue-baste in place, but do not use fuse yet! Fold the upper corners diagonally over the corners of the interfacing and glue in place, then fold the top raw edge over the interfacing and glue. Center the tab along the folded top edge of the back with the top of the tab facing away from the badge holder. Position the tab at the center and stitch in place using a ¼” seam allowance. I used the Wonder Clips to hold the folds in place.
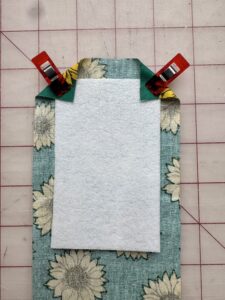
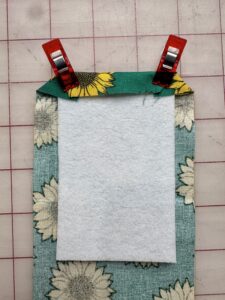
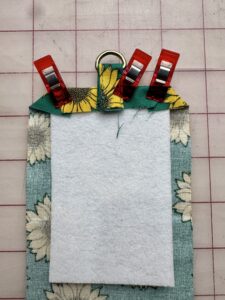
8. Fold the remaining raw side edges over to align with the previously folded edges and glue in place. Fold the lower portion slightly farther inward than the upper portion to help create clean finished edges. Fold the entire lower half of the back up over the back interfacing, tucking approximately 1/8″ along the top to create a smooth finished edge. Glue in place, then fuse all layers. Stitch across the top of the back close to the folded edge to secure.
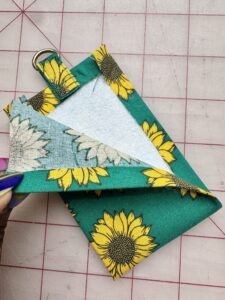

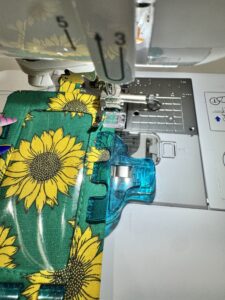
9. Place the completed front over the completed back with wrong sides together and clip in place. Sew around the sides and bottom approximately 1/8″ from the edge, leaving the top open. Backstitch at the beginning and end of the seam to secure. I absolutely loved using the Clover Triple Wide Wonder Clips. They are extremely useful for thicker layers of fabric, and they hold together beautifully.

10. Attach the D-ring to the swivel hook to complete the lanyard and badge holder.
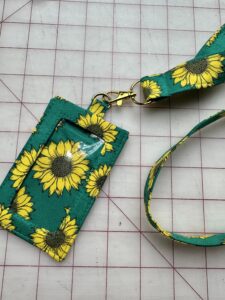

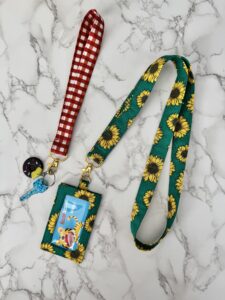
That’s it! Your DIY lanyard and badge holder is complete and ready to use. Mix and match your favorite fabrics to create a set that fits your style, or make a few to give as handmade gifts. Maybe you only need it to hold your keys; then you don’t have to make the badge holder. Either way you mix it, it will be a great project for you or someone you love. I hope you enjoyed this quick and practical sewing project. Happy sewing!

If you want to keep up with me, Duana, on social media for other fun projects, follow me on social media: Instagram
If you want to keep up with all things Clover, follow us on: Facebook | Twitter | Instagram | Pinterest | YouTube | Ravelry