Easy DIY Statement Button iPad Sleeve
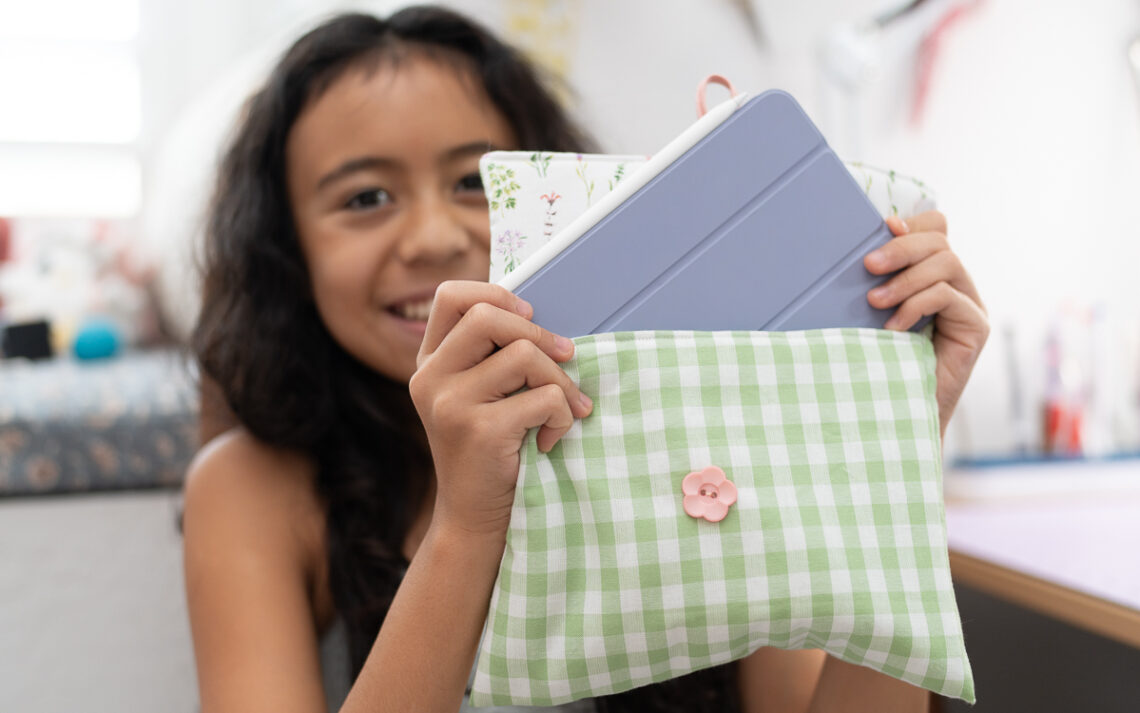
Hey Clover Fans! It’s Cataleya here! I’m back with another super fun sewing project! Since I’m homeschooled, school is never just sitting at a desk at home—it’s literally everywhere we go! Whether I’m doing lessons at a coffee shop, at the park, or in the car, I always have my iPad with me. That means I definitely need a cute, sturdy sleeve to keep my screen safe while we’re on the move! Grab your fabric and let’s start sewing!
MATERIALS:
- Clover Rotary Cutter (45mm)
- Clover Metal Hera with Stylus
- Clover Roll & Press
- Clover Wonder Clips (Standard Size)
- Clover Triple Wide Wonder Clips
- Clover Point 2 Point Turner
- Clover Seam Ripper
- Clover Craft Storage Wrap (Kiku)
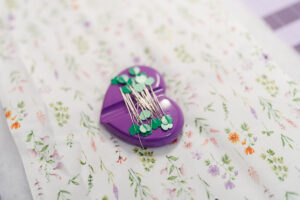
- Clover Heart-Shaped Pins
- outside fabric: 1 piece of green gingham cotton (10″ x 19.5″)
- inside fabric: 1 piece of floral cotton (10″ x 19.5″)
- batting: 1 piece of fluffy quilt batting (10″ x 19.5″)
- statement button: 1 big statement button (1″ size)
- button loop: zpagetti yarn (4″ piece)
- matching thread

STATEMENT BUTTON IPAD SLEEVE SEWING PATTERN:
STEP 1: Cut and Prep Your Layers
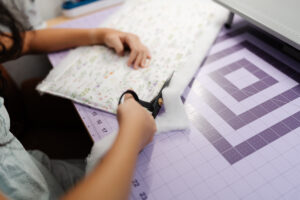
Using my Rotary Cutter (45 mm), I squared up and cut my green gingham exterior and floral lining fabric to 10″ x 19.5″.
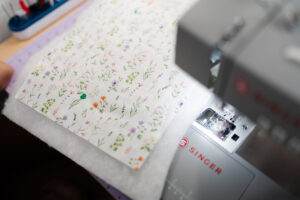
Next, lay your quilt batting down and cut it loosely so it sticks out about 1″ past the fabric on all sides. Place your floral print fabric right-side up directly on top of the batting. Pin the layers together using your Heart-Shaped Pins to keep everything locked in place! Stitch close to the edge all the way around to secure the floral fabric to the batting, remove your pins, and grab your sewing scissors to trim away all the excess batting right along the fabric edges.
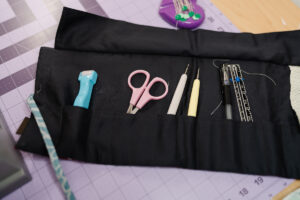
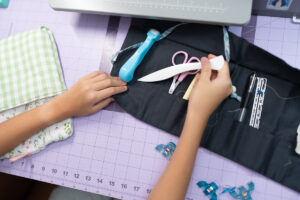
- Tip: I keep all my favorite tools tucked into my Craft Storage Wrap (Kiku) on my desk so I don’t lose my pins, clips, or cutter while working!

STEP 2: Sandwich Layers
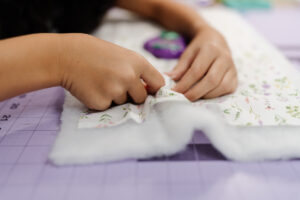
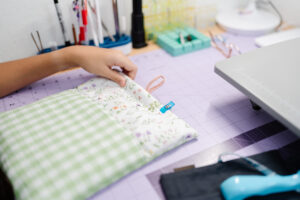
Lay your green gingham fabric right on top of the basted floral piece, right sides together. Since you’re working with thick layers of fabric plus batting, skip pins and use a mix of standard Wonder Clips and Triple Wide Wonder Clips to clamp that right short side together tightly!
STEP 3: Sew Edge & Topstitch
Stitch along that clipped edge with a 1/4″ seam allowance. Next, flip the panel open so the right sides face out, and topstitch right along that seam line for a super-crisp, neat finish!
STEP 4: Find Center & Add the Yarn Loop
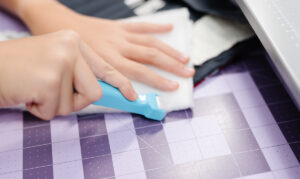
Fold the panel in half widthwise and run your Roll & Press along the top edge of the floral lining to create a sharp, visible center crease line.
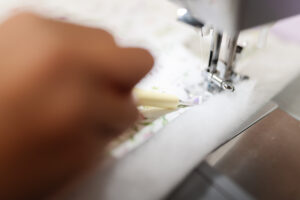
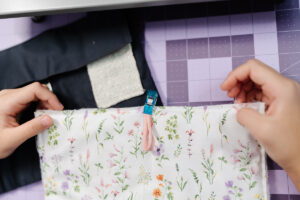
Take your 4″ piece of peach Zpagetti T-shirt yarn and bend it in half to make a loop. Place the loop right on that center crease line on the floral fabric side; make sure the loop points inward toward the floral print, with the raw loop ends aligned with the top raw edge. Clip it securely with a Wonder Clip and stitch it down onto the floral fabric close to the edge with a 1/4″ seam allowance so it stays perfectly in place!

STEP 5: Custom Measure Your iPad Fold
Lay your panel flat with the floral fabric facing up and the yarn loop on the left side.
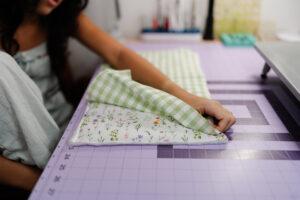
Place your iPad on the far right side of the panel, leaving about a 1? gap at the edge. Fold the fabric and the iPad over to measure the exact height your pouch panel needs to be. Once you’ve marked that fold, carefully slide your iPad out, then fold the remaining green gingham fabric over toward the yarn loop on the left!

STEP 6: Sew, Turn & Close Gap
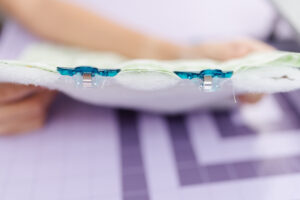
Clip the edges using your standard and Triple Wide Wonder Clips to keep the thick layers firmly in place. Sew around the sides with a 1/4″ seam allowance, leaving a 3″ to 4″ turning gap along the seam near your basted yarn loop.
- Important: Do not sew the edge across from the loop—we need that left open for your iPad!
- Don’t worry if you mess up a stitch—I always keep my Seam Ripper right next to my sewing machine to fix quick mistakes, which I totally had to do on this step!
Reach your fingers through the gap and pull the whole sleeve right-side out. Poke your Point 2 Point Turner into the corners for crisp square edges, and press flat with your Roll & Press or Metal Clover Metal Hera with Stylus. Tuck the raw edges of your turning gap inside, clamp flat with Wonder Clips, and topstitch 1/8″ away to close up that turning hole!

STEP 7: Attach Your Button
To attach the button, place your iPad inside the sleeve first! Pull the peach Zpagetti loop down over the front as if you were closing it, and hold your big pink flower button right under the loop to find the perfect spot. Mark it with a Heart-Shaped Pin then hand-sew your button in place with matching thread, slip the loop over, and you’re done!


And that’s it! Now you have a super cute, squishy, padded case to protect your tablet wherever homeschool takes you! I’m so obsessed with how the green gingham exterior and floral lining look with the peach button!
What colors are you going to pick for your iPad sleeve? Tell me in the comments below, and don’t forget to tag us on Instagram with your Clover projects!

Happy Sewing!
— Cataleya
If you want to keep up with me, Cataleya, on social media, follow her on social media: Instagram
If you want to keep up with all things Clover, follow us on: Facebook | Twitter | Instagram | Pinterest | YouTube | Ravelry