


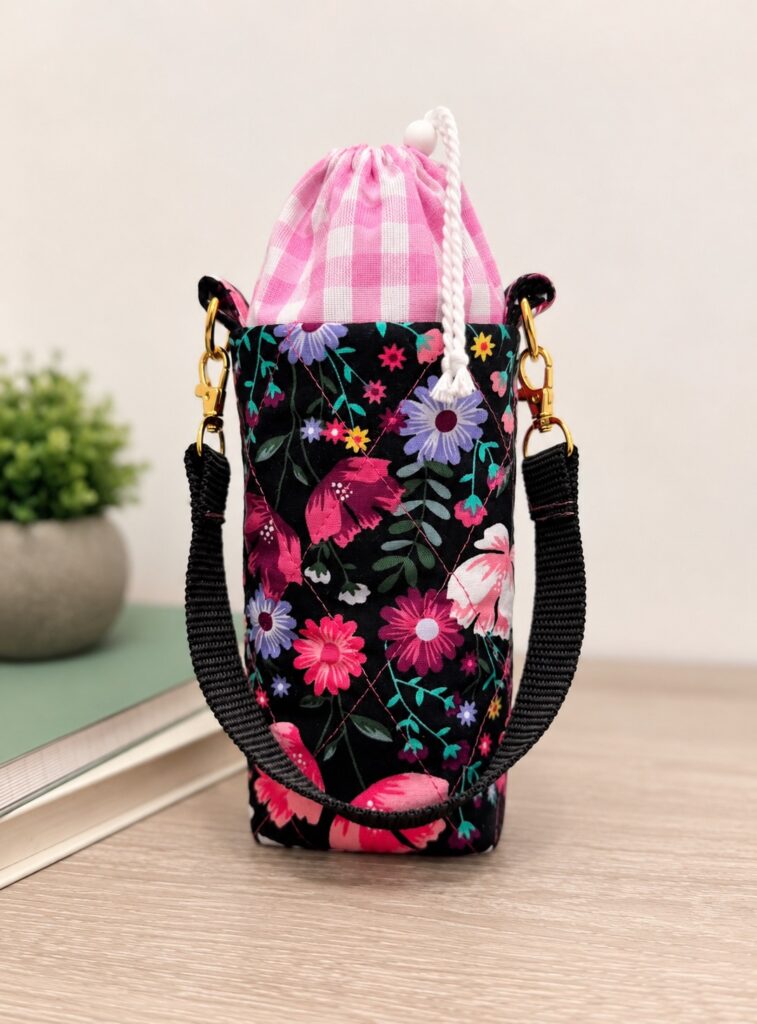
Hello, Eeveryone! We’re in the heart of summer, and if you’re spending more time outdoors, staying hydrated is a must. Whether you’re heading to the beach, exploring a local farmers market, taking a walk, cheering on your kids at sports practice, or enjoying a weekend hike, having your water bottle close by makes it easy to sip throughout the day.
Instead of carrying your bottle by hand or trying to cram it into an already full bag, why not sew a bag made just for it? This easy water bottle bag is a beginner-friendly project that’s as practical as it is fun to make. With a drawstring closure to keep your bottle secure and a convenient strap for carrying, it’s the perfect accessory for all of your summer adventures. Grab your favorite fabric, thread your sewing machine, and let’s make a water bottle bag you’ll be reaching for long after summer is over!
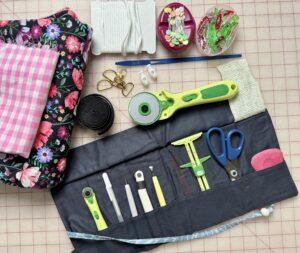
MATERIALS:
- Clover Craft Storage Wrap
- Clover Rotary Cutter (60 mm)
- Clover Flower Head Pins
- Clover Wonder Clips
- Clover 5-in-1 Sliding Gauge
- Clover Magnet Pin Caddy
- Clover Triangle Tailor’s Chalk (Red)
- Clover Patchwork Scissors
- Clover Curve Ruler (with Mini Ruler)
- Clover Loop Turner
- webbing
- (2) d-rings
- (2) swivel hooks
- 17¾” drawstring cord
- cord lock

WATER BOTTLE BAG TUTORIAL:
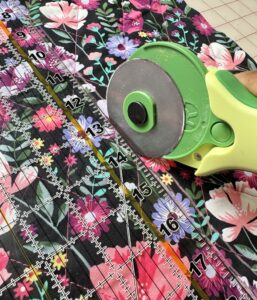
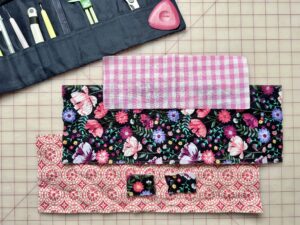
1. Cut all of your fabric pieces according to the measurements below. Using a ruler, measure and mark each piece directly onto your fabric with the Clover Triangle Tailor’s Chalk (Red). Double-check your measurements before cutting, then cut out each piece using the Clover Rotary Cutter (60 mm) or Clover Patchwork Scissors. For this project, I used an already quilted fabric that included the fleece, so I did not have to add the fleece. If using separate fleece, attach it to the wrong side of the outer main bag fabric.
- Cut the following pieces:
- Outer fabric
- Main bag: cut 1 – 6″ × 17″
- D-ring tabs: cut 2 – 1¼” × 2″
- Lining fabric
- Main bag: cut 1 – 6″ × 17″
- Drawstring casing: cut 1 – 11 1/4″ × 4″
- Cut out a 1.25″ x 2″ rectangle at the center long edges of the outer and lining fabric.
- Outer fabric
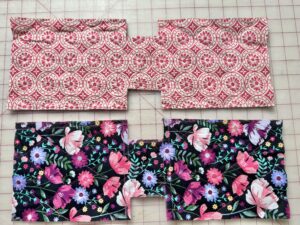


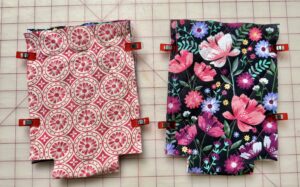
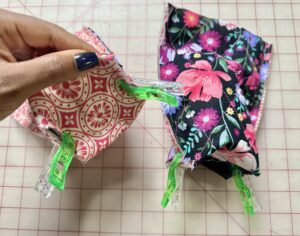
2. Fold the outer main bag in half with right sides together, matching the short edges. Use the Clover Wonder Clips to hold the side edges together and sew both side seams using a 3/8″ seam allowance. Backstitch at the beginning and end of each seam. Repeat with the lining main bag, leaving a 3–4″ opening in one side seam for turning the bag right side out later.
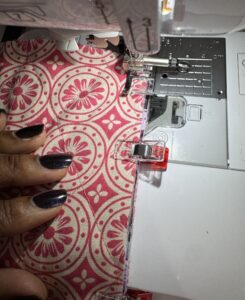
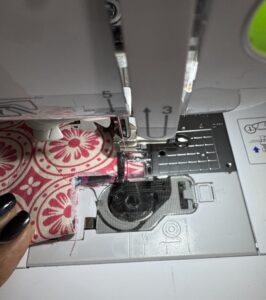


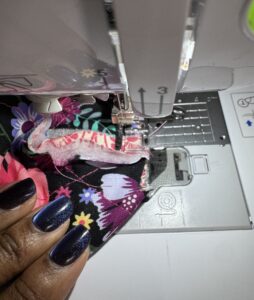
3. On both the outer bag and lining, flatten one bottom corner so the side seam aligns with the bottom fold, forming a triangle. Sew across the seam allowance and backstitch at both ends, then trim the excess fabric, leaving approximately 1/4″ beyond the stitching. Repeat for the remaining corners.


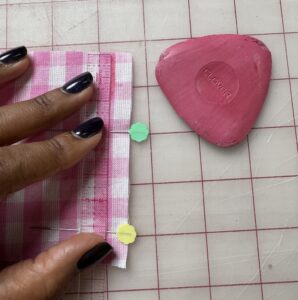
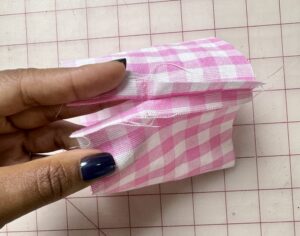
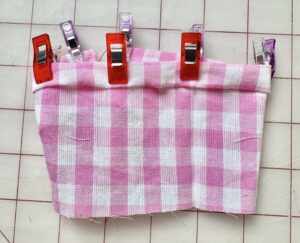
4. Mark the seam allowance for the drawstring casing using the Clover Triangle Tailor’s Chalk (Red) and Clover Curve Ruler (with Mini Ruler) to keep the line straight. You want to leave about 1.5″ unsewn. Use the Clover Flower Head Pins to hold it in place. Fold the drawstring casing in half with right sides together and sew the short edge, leaving an opening for the drawstring as shown in the tutorial. Press the seam open, fold the long raw edges to the wrong side, then fold the casing in half lengthwise to enclose the raw edges. Press and topstitch along both folded edges.


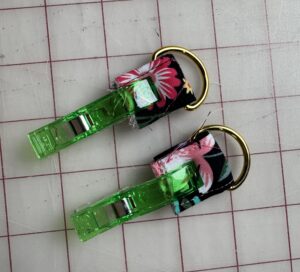
5. Fold each d-ring tab in half lengthwise with wrong sides together and press. Open the fold, bring each long raw edge to the center crease, fold in half again, and topstitch along both long edges. Thread one d-ring onto each tab and fold the tab in half. Position one d-ring tab over each side seam of the outer bag with the raw edges aligned to the top edge and the d-rings facing toward the inside of the bag. Baste the tabs in place using a 1/4″ seam allowance.
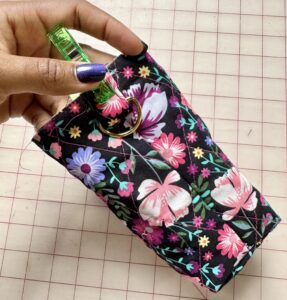


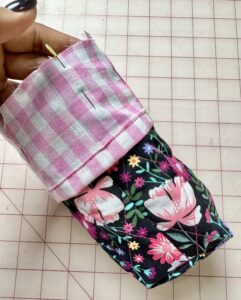
6. With right sides together, align the raw edge of the drawstring casing with the raw top edge of the outer bag, matching the casing seam with one side seam of the bag. Pin or clip in place and baste around the top edge. Turn the outer bag right side out and leave the lining wrong side out. Place the outer bag inside the lining so the right sides are together. Align the side seams, top edges, d-ring tabs, and drawstring casing, then sew around the entire top edge using a 3/8″ seam allowance.
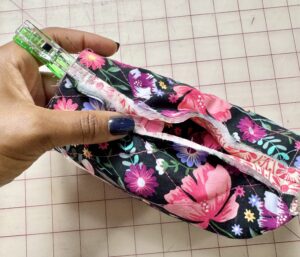


7. Turn the bag right side out through the opening in the lining. Push out the corners, fold the seam allowances of the opening to the inside, and stitch the opening closed. Press the bag well. Push the lining inside the outer bag, finger press the top edge, then topstitch approximately 1/8″ from the folded edge around the entire opening. Seal the lining fabric.
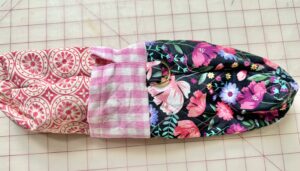
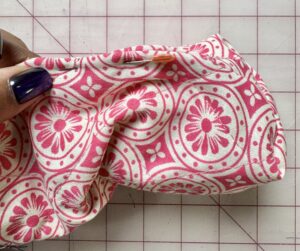


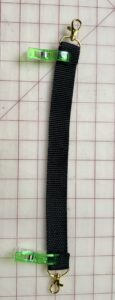
8. Thread the cord through the drawstring casing using the Clover Loop Turner, install the cord lock, tie knots in both cord ends, and attach the swivel hooks to the d-rings to complete your Water Bottle Bag.
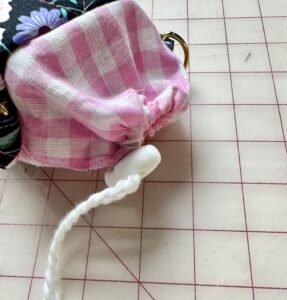
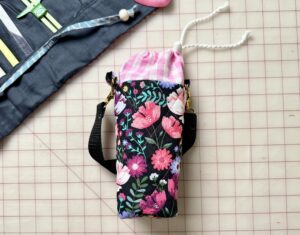


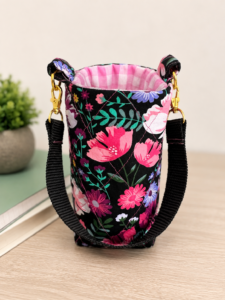
I hope this Water Bottle Bag becomes a fun and practical addition to your handmade collection. It’s a quick project that’s perfect for using your favorite fabrics or leftover scraps, and it’s sure to come in handy all year long. It also makes a thoughtful back-to-school gift for the kids or teens in your life, giving them a stylish way to carry their water bottle wherever they go. Enjoy and happy sewing!

If you want to keep up with me, Duana, on social media for other fun projects, follow me on social media: Instagram
If you want to keep up with all things Clover, follow us on: Facebook | Twitter | Instagram | Pinterest | YouTube | Ravelry