


Hello, it’s Duana with @duana_m_chandler and @duanastudio! We are in the heart of summer, so if you haven’t been to a pool or beach, now is the time! 🙂 We just had our family vacation and I was able to make this really cool fish beach/pool bag (with slight modifications). It’s advertised as a laundry bag, but you can of course use it wherever you like! This was actually my 2nd time making this pattern (linked below): the first time I made it, it was with denim fabric and for a beach trip years ago. But this year, I wanted to create it with this sparkly mesh sequin fabric I bought last year, and it turned out very nice! You can use it to carry your towel, sunscreen, swimsuit or any other pool/beach necessities that you have 🙂 This bag can also be made in under 2 hours, including cutting the pattern. Let’s get started!
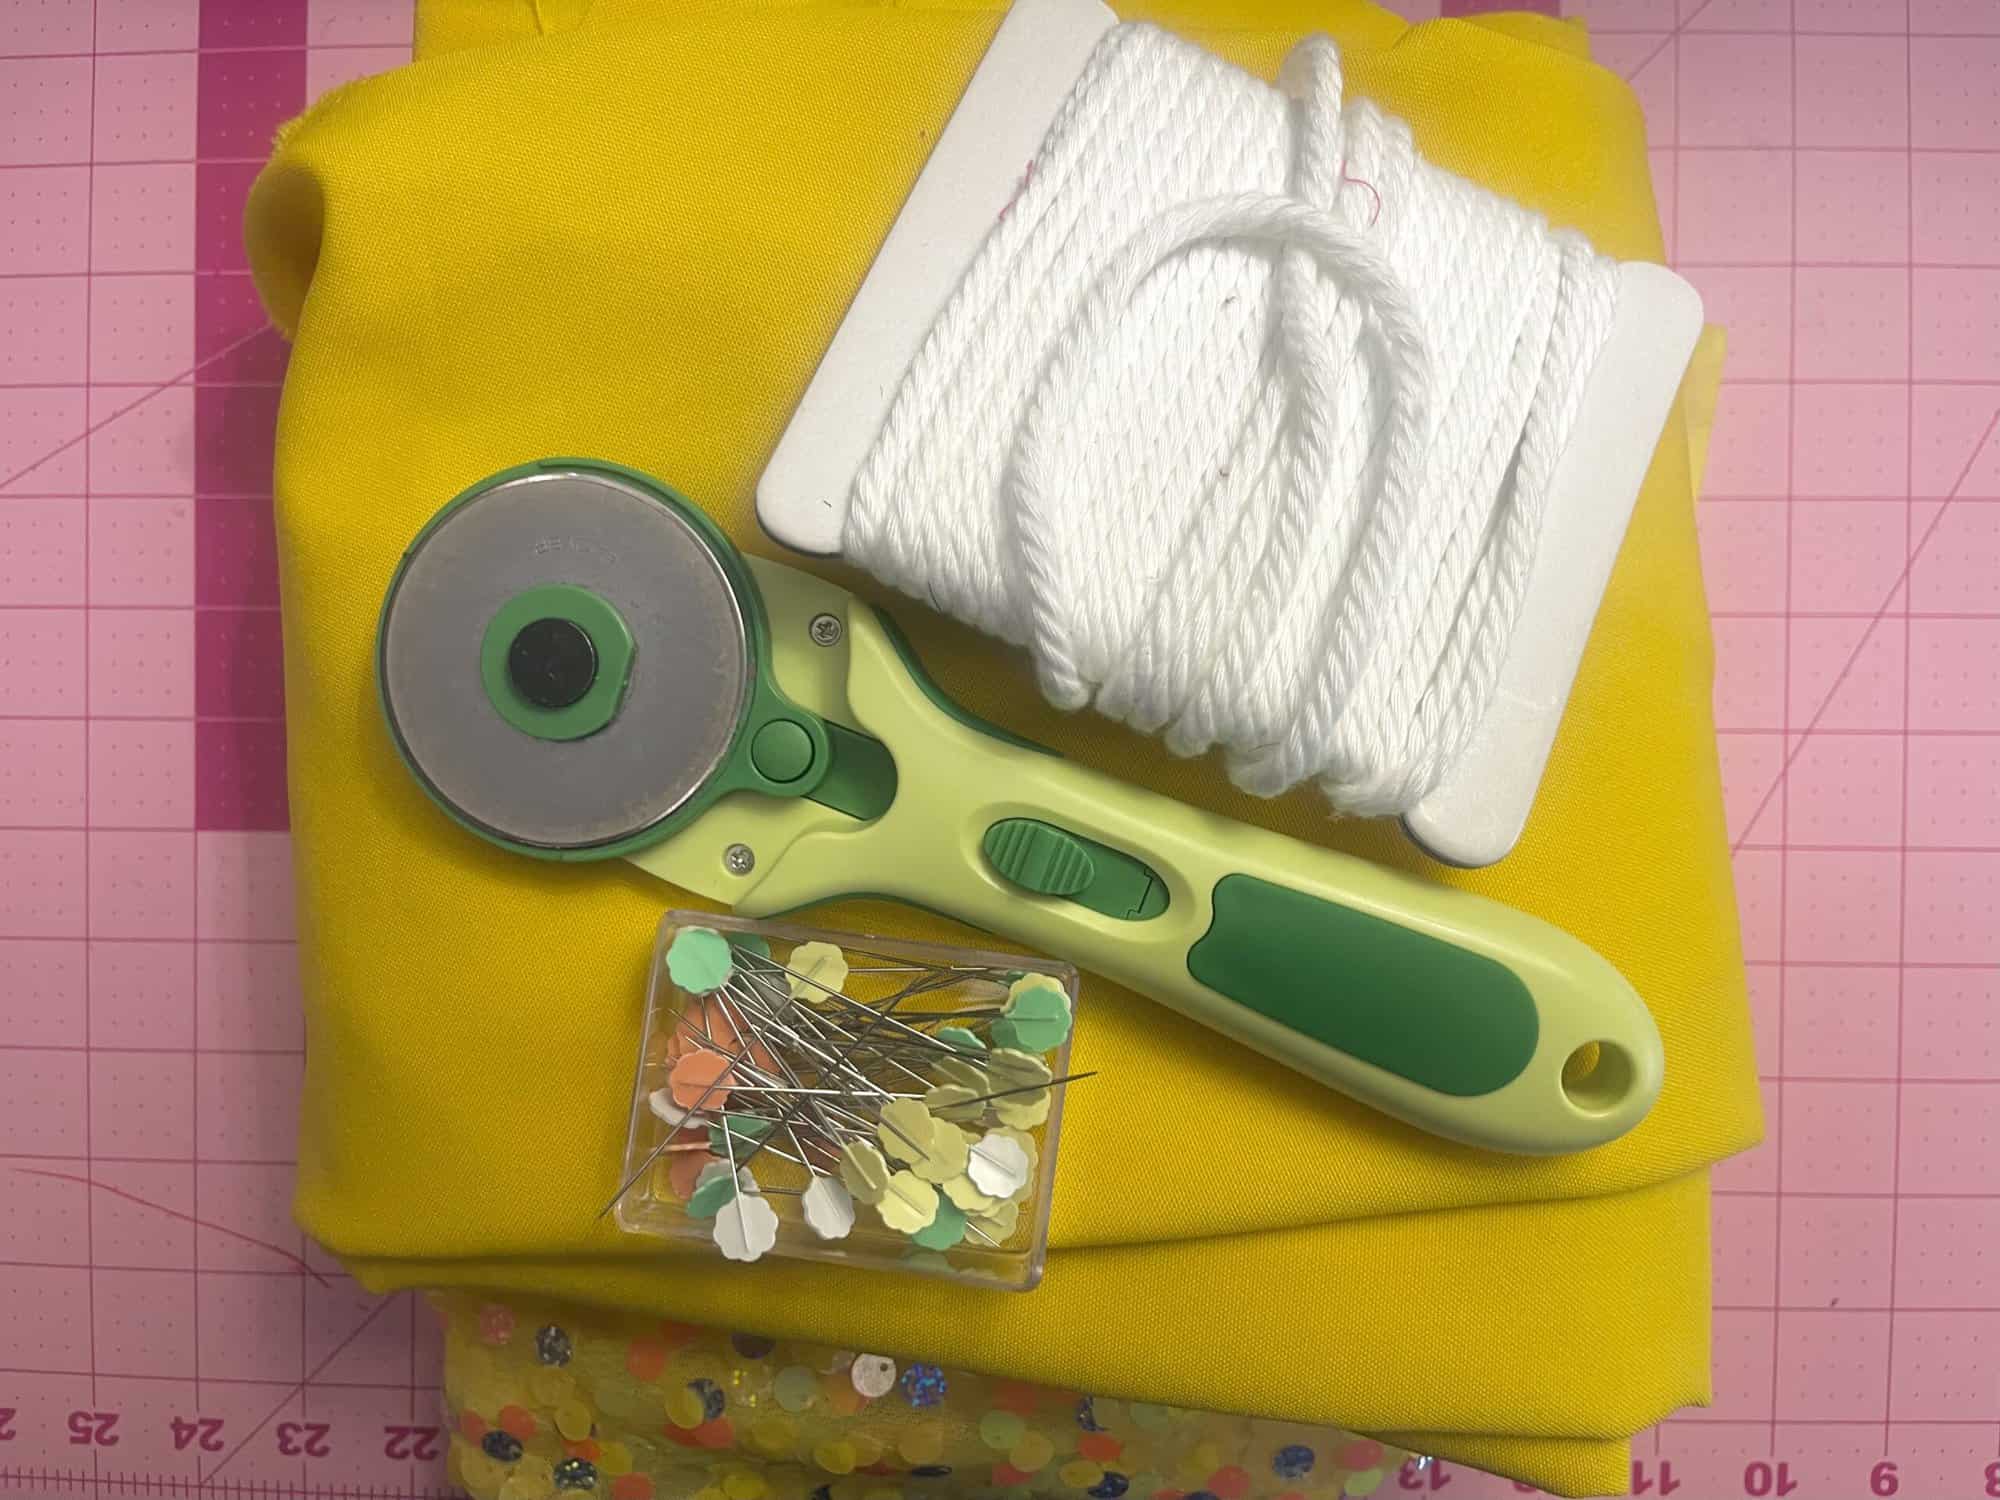
MATERIALS:
- Clover Rotary Cutter (on sale right now!!!)
- Clover Flower Pins
- Clover Wonder Pins
- pattern (fish beach bag)
- fabric for top of fish (1/2 yd OR 2 fat quarters)
- fabric for bottom of fish (1/2 yd OR 2 fat quarters)
- twill tape or cording for drawstrings (2 yds)
INSTRUCTIONS:
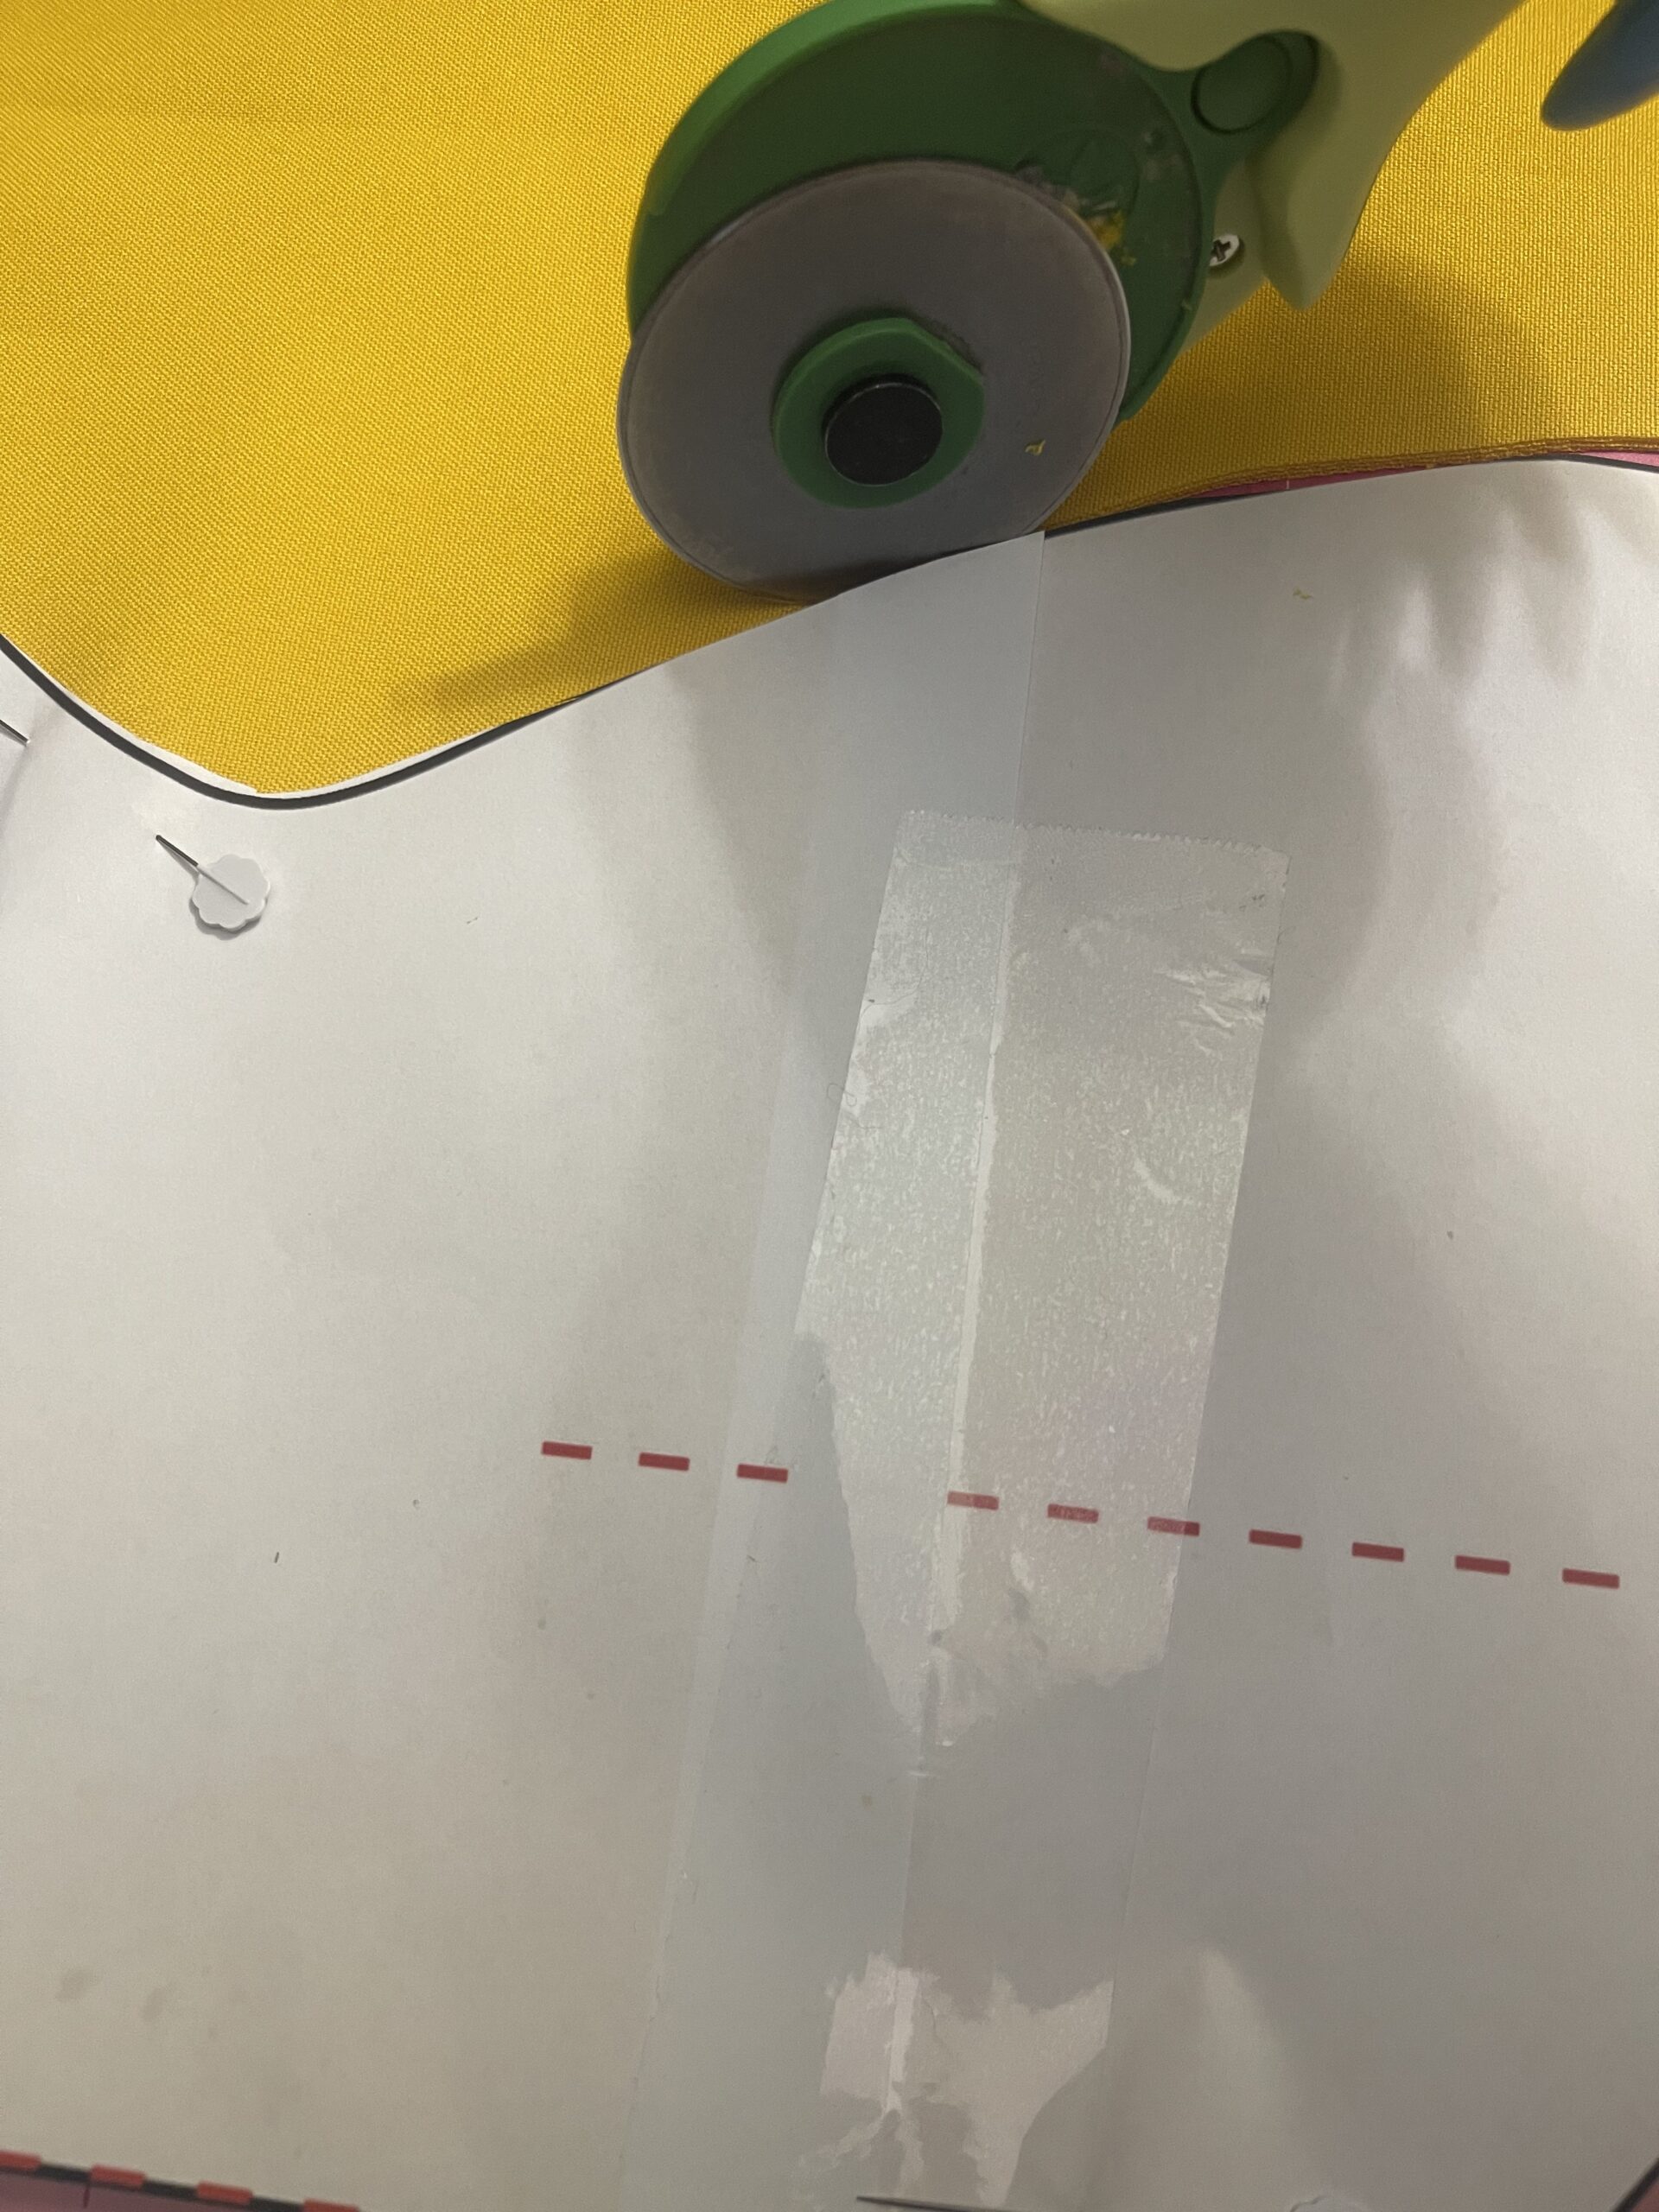
1. Download the pattern and print the pattern pieces at actual size. Then, tape the pieces together.
2. Cut out the pieces based on the instructions on the pattern. The Fish head is cut 2 on the fold and the fish body is cut 2 on the fold.
3. Cut 2 strips 2.5” x 17” for the drawstring casings. You can use the same fabric as the fish head or you can use a contrast fabric. To make the drawstring casing, which will be the fish lips, Fold each end of the 2 1/2” x 17” casing strips to the wrong side by 1/4” twice, and press. Stitch close to the fold to make 1/4” hems on all 4 short ends.
4. Fold these strips in half lengthwise, wrong sides together and press. Center a folded strip along the slightly narrower mouth side of a fish head piece with the raw edges aligned and pin. Stitch with a 1/2” seam allowance.
5. Press the seam allowance toward the fish head and topstitch along the fish body ¼” from the seam. Repeat these steps for the other fish head piece.
6. To sew on the fish body, pin each fish head piece to a fish body piece, right sides together. Stitch with a 1/2” seam allowance. Press the seam allowance toward the head and topstitch.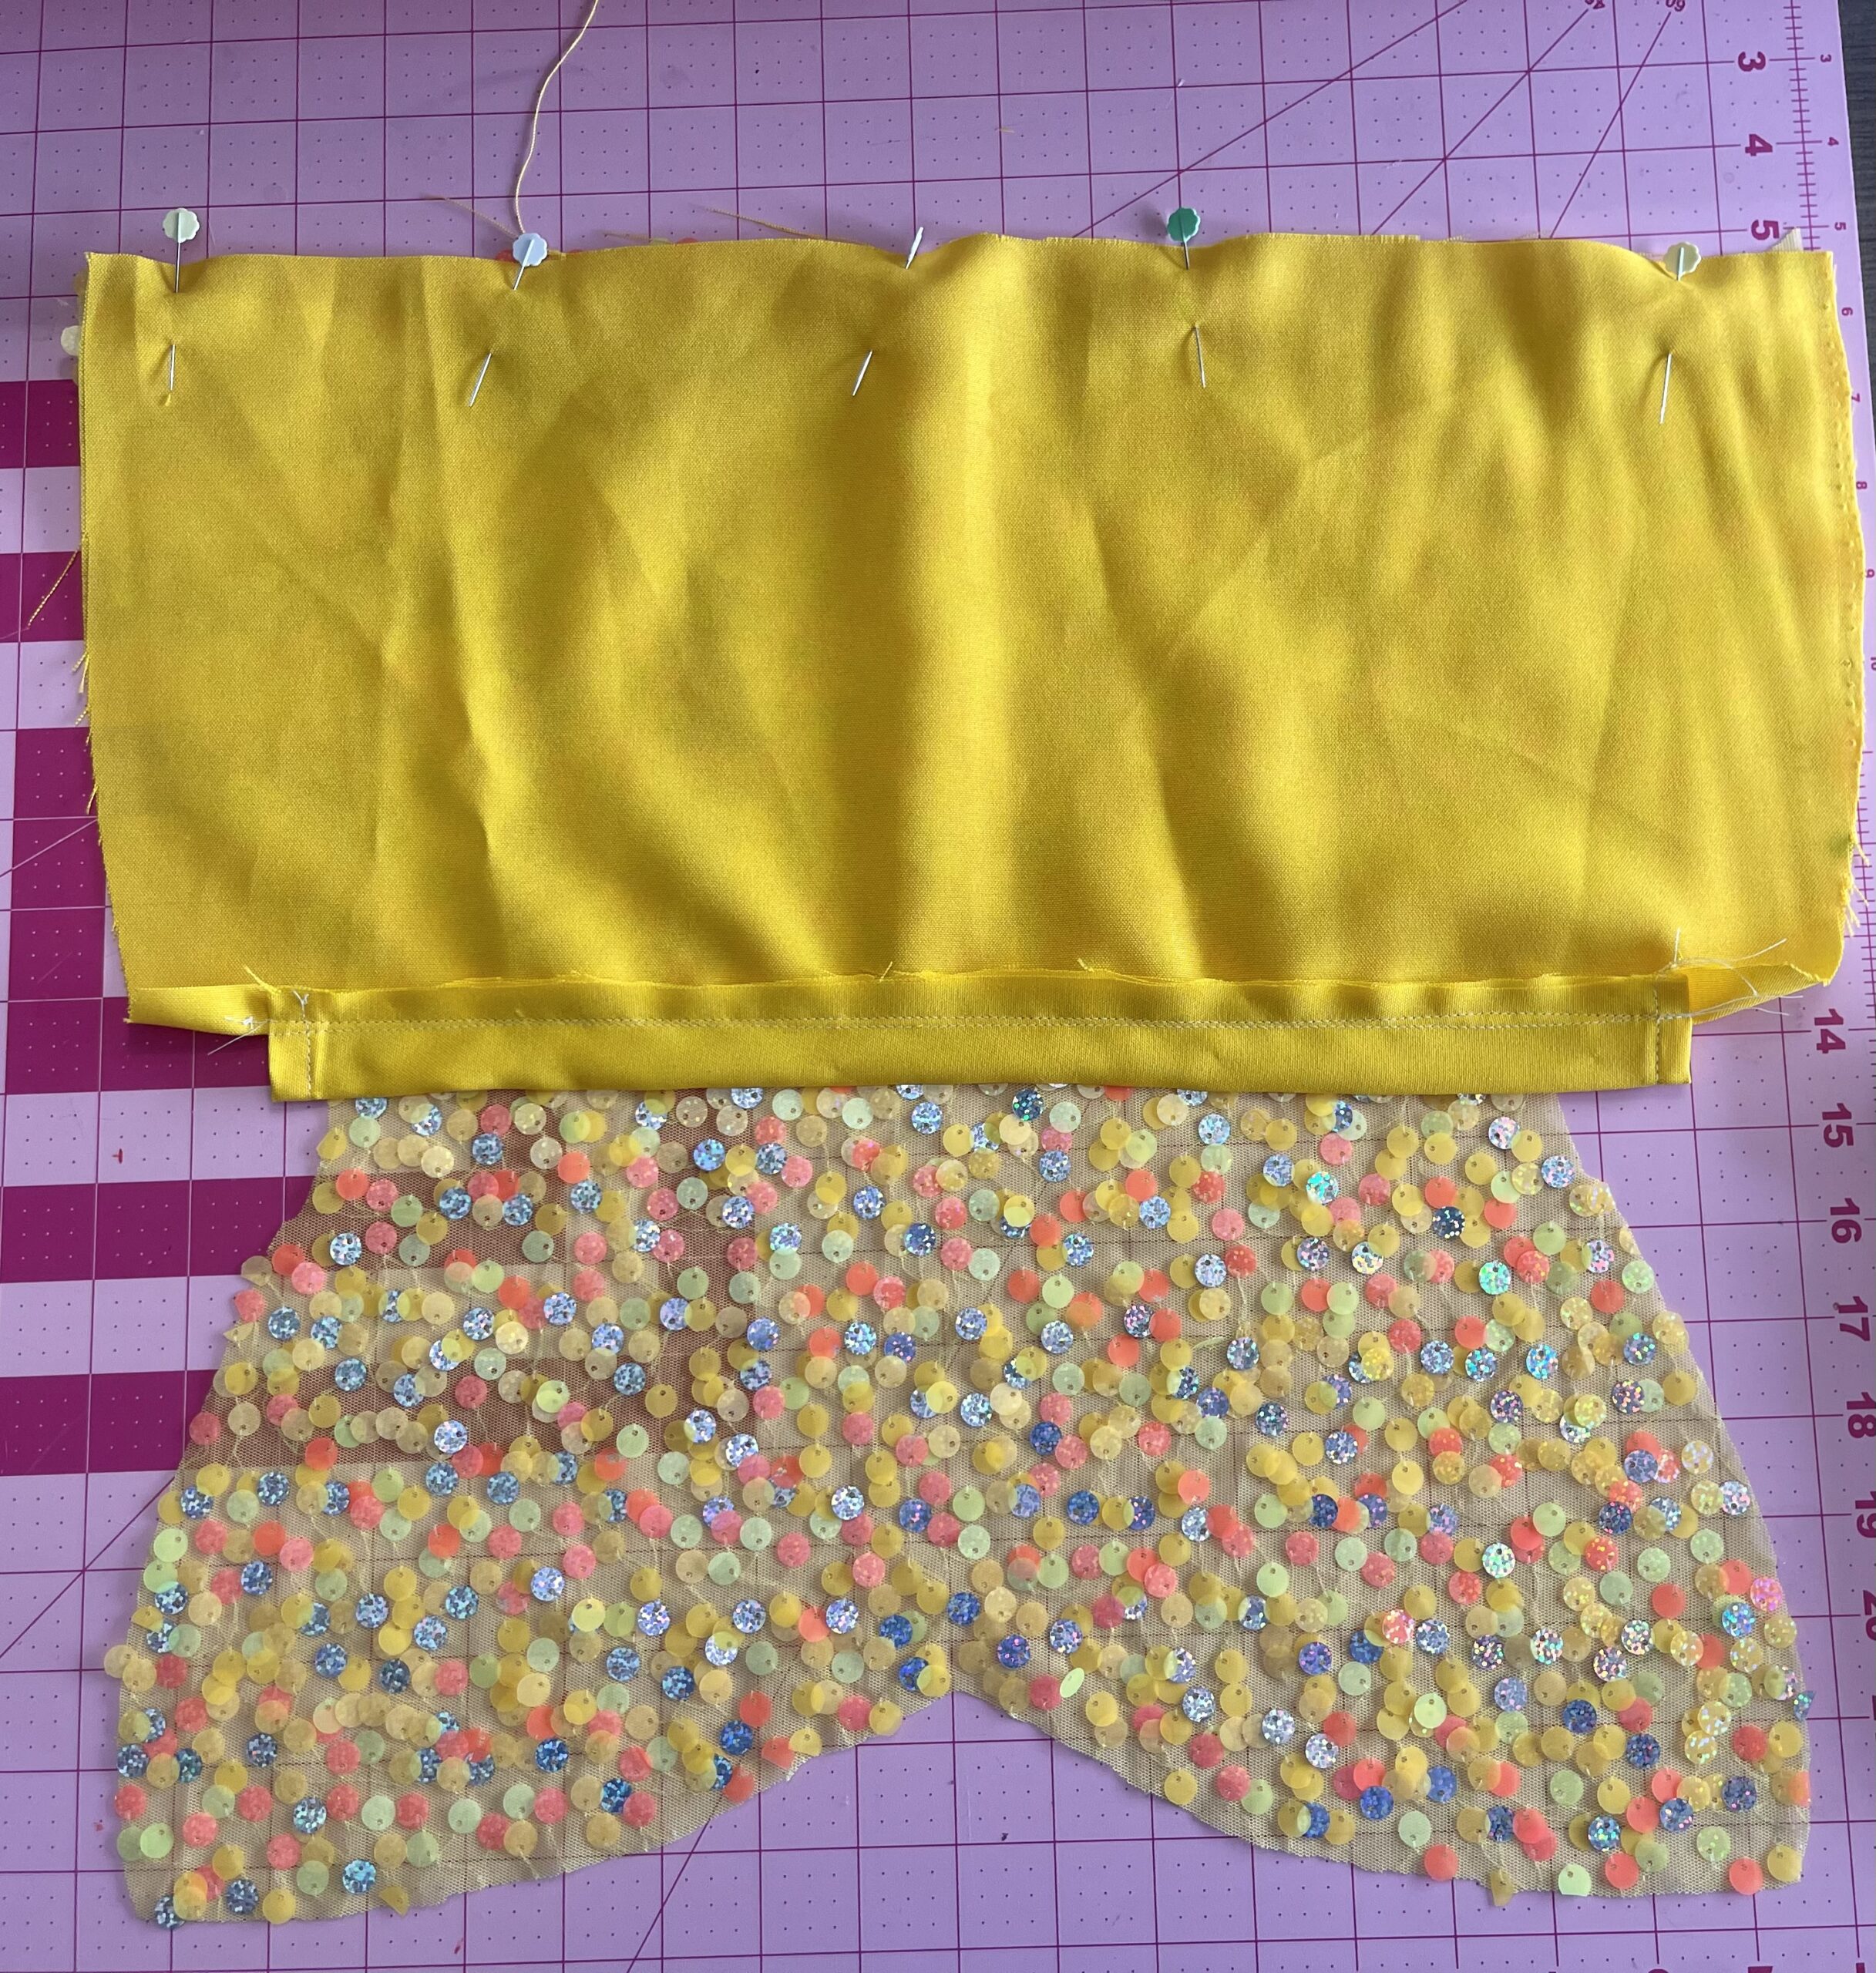
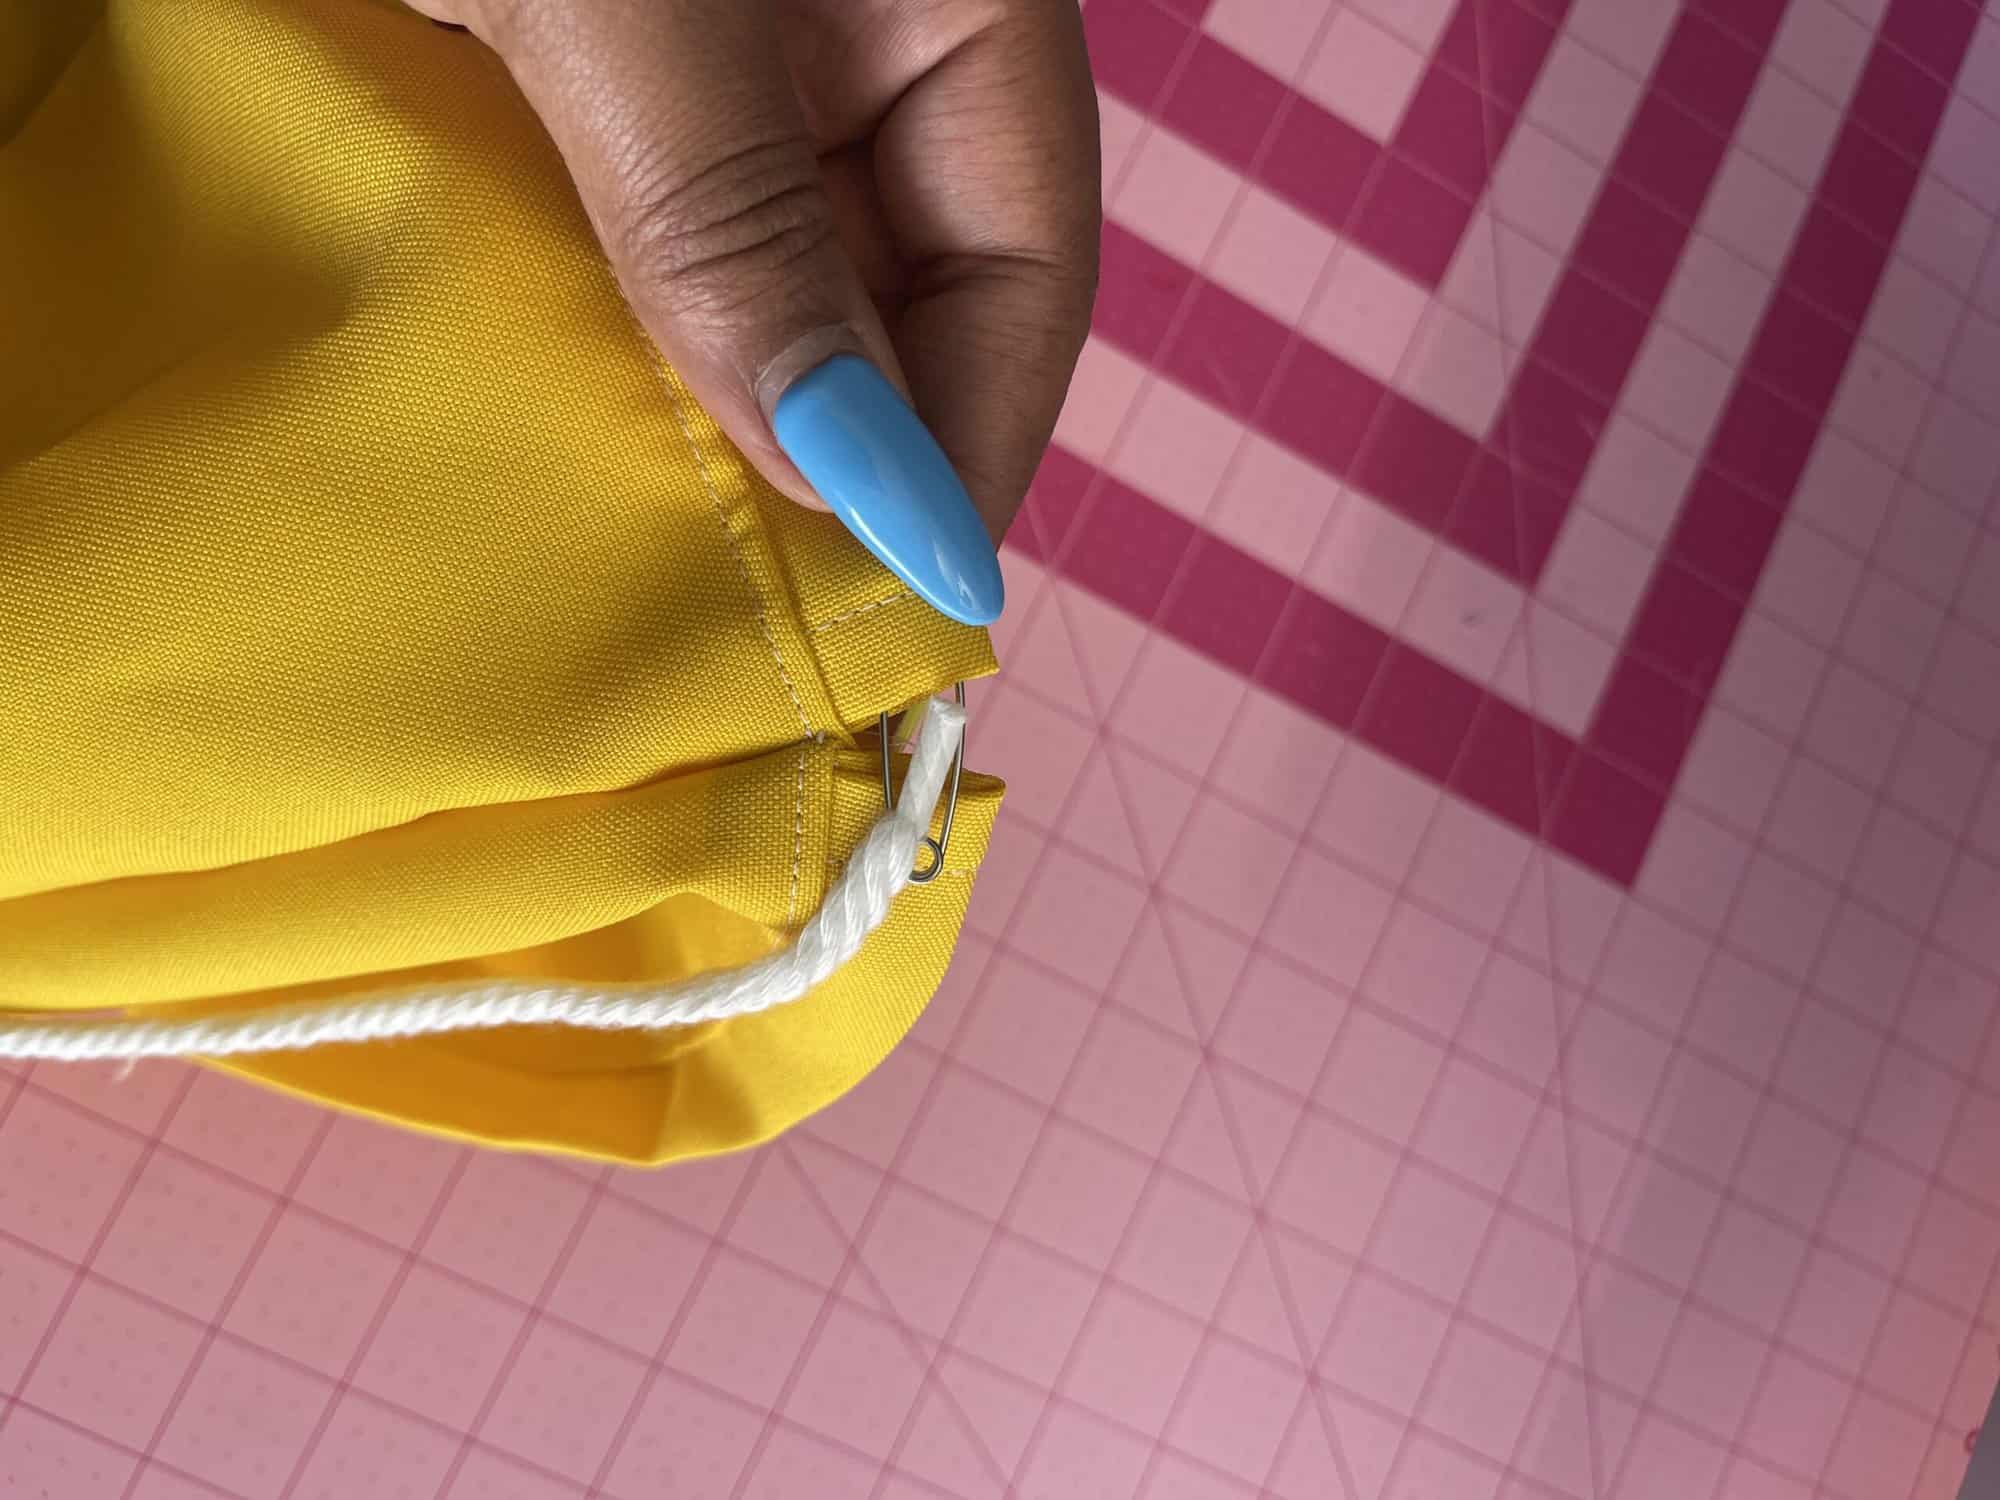
7. Cut each piece of twill tape or cording for your drawstring about 42”. You will need two pieces. Insert the first drawstring by attaching a safety pin to one end. Push it through both casings and tie the ends together. Repeat the same process from the other side of the bag for the 2nd drawstring.
Hope you enjoy this quick tutorial as much as I did! Happy stitching and stay cool outside! If you create one of these fish drawstring bags, tag us on IG: @duana_m_chandler and @cloverusa! 🙂
If you want to keep up with me, Duana, on social media for other fun projects, follow me on social media: Instagram
If you want to keep up with all things Clover, follow us on: Facebook | Twitter | Instagram | Pinterest | YouTube | Ravelry