Amira Crochet Necklace
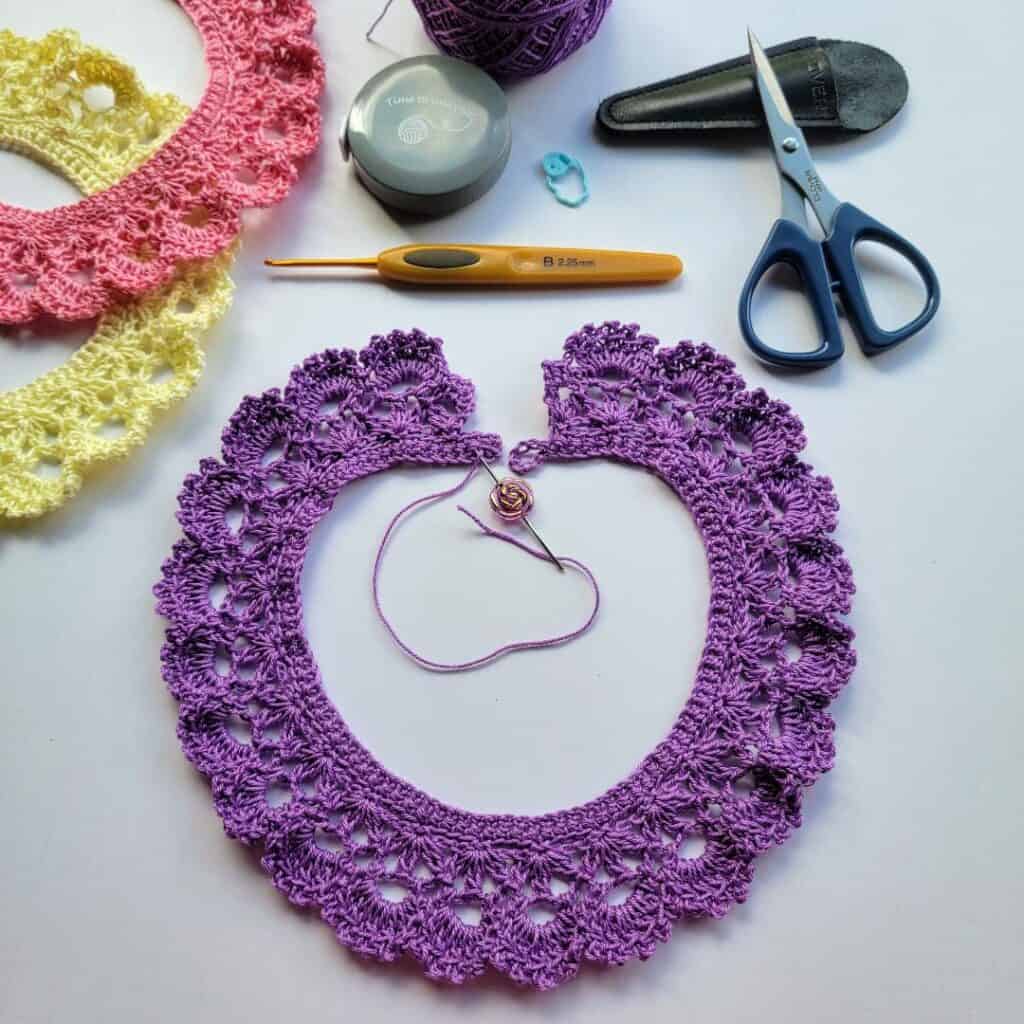
Are you looking for a handmade, one-of-a-kind accessory to wear to a special occasion or event, or to complement your regular wardrobe? Look no further—we’ve got you covered! I’m here to share the pattern for the Amira Crochet Necklace. An exquisite neckpiece that steals the show. This is a quick project with an incredibly beautiful outcome! It could make a wonderful, lovingly made gift that will be treasured.
NOTES:
- Read the pattern carefully before starting.
- ( ) work instructions within parentheses as many times as directed or work a group of stitches all in the same stitch or space.
- * * repeat instructions between asterisks as many times as directed or repeat at specified locations.
- I recommend using a stitch marker to mark the 1st stitch of each round. Remember to move the stitch marker as you progress.
- The main pattern is a multiple of 8 + 5 sts. If you would like to shorten or lengthen your necklace, use this multiple of sts then add 10 more chs for the button placement and buttonhole.
- Gauge: 13 SC = 2 in; 2 rows = ¼ in
- Skill level: Intermediate
- Finished measurement: approximately 16 in (length) X 1.75 in (height)
MATERIALS:
- Clover Soft Touch Crochet Hook B (2.25mm)
- Clover Darning Needle
- Clover Patchwork Mini Scissors
- Tape Measure
- Quick Locking Stitch Markers
- ½ Button (for closure)
- Crochet Cotton (Mercerized) Thread Size 8
STITCHES & ABBREVIATIONS:
- ch(s): chain(s)
- DC: double crochet
- rep: repeat
- SC: single crochet
- sk: skip
- slst(s): slip stitch(es)
- st(s): stitch(es)
SPECIAL STITCHES:
- CL (cluster) (2-double crochet cluster): yarn over, insert hook in a st/sp, yarn over, pull through a st, yarn over, pull through 2 loops on hook, yarn over, insert hook in the same st/sp, yarn over, pull through a st, yarn over, pull through 2 loops on hook, yarn over, pull through all 3 loops on hook.
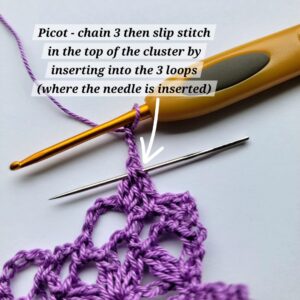
- P (picot): chain 3 then slip stitch in the top of the Cluster stitch.
PATTERN:
- Row 1 (WS): Ch 103, slst in the 7th ch to form a ring for buttonhole, SC in the next ch (PM – this marked st will be the beginning st of this row), SC in each ch across. Turn. 96 sts.
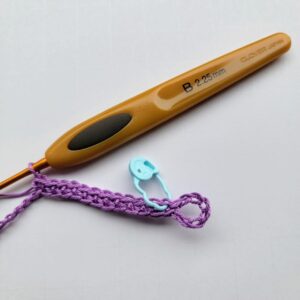
- Row 2 (RS): Ch 1, SC in the 1st st and in each st across to the marked st. Turn. 96 sts.
- Row 3: Ch 1, SC in the 1st st, *ch 3, sk 3 sts, SC in the next st*; Rep from * to * across until 3 sts remain. Turn, leaving 3 sts unworked where a button will be sewed later on. 93 sts.
- Row 4: Ch 3 (count as part of the CL), DC in the 1st st, ch 3, CL in the same 1st st, *sk ch 3, (CL, ch 3, CL, ch 3, CL) in the next SC st*; Rep from * to * to the last st, (CL, ch 3, CL) in the last st. Turn.
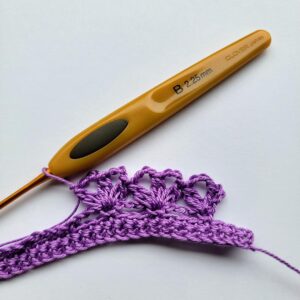
- Row 5: Ch 1, SC in the 1st st and in the ch-3-sp, *ch 2, SC in the next ch-3-sp, ch 5, SC in the next ch-3-sp*; Rep from * to * to the last ch-3-sp, SC in the last ch-3-sp and in the last st. Turn.
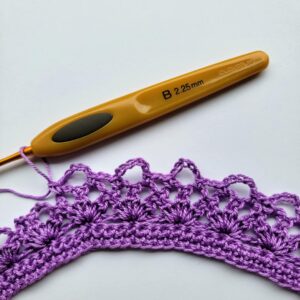
- Row 6: Ch 1, SC in the 1st st, ch 1, sk 1 st, SC in the ch-3-sp, ch 1, *(CL, P) 5 times in the ch-5-sp, ch 1, SC in the ch-2-sp, ch 1*; Rep from * to * to the last st, SC in the last st. Fasten off.
- Sew a button onto the second stitch from the three unworked sts in Row 2. Weave in all ends, and it’s all complete! Time to show off your beautiful handmade necklace 🙂
- Optional: You can block your necklace to give the stitches a more defined appearance.
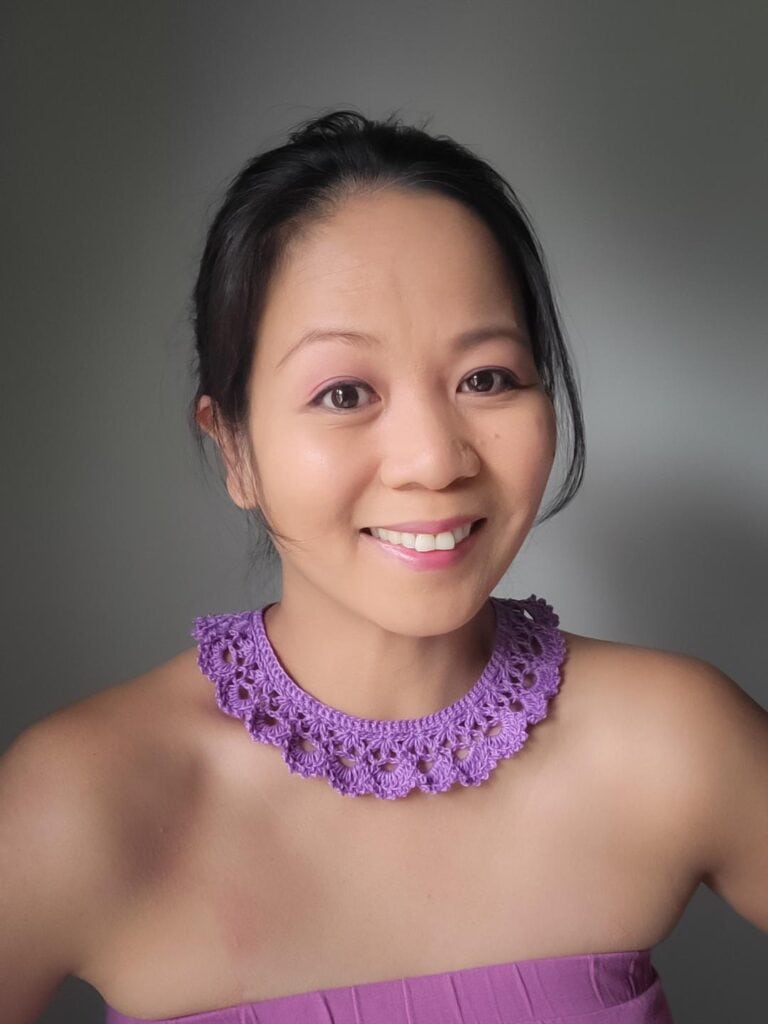
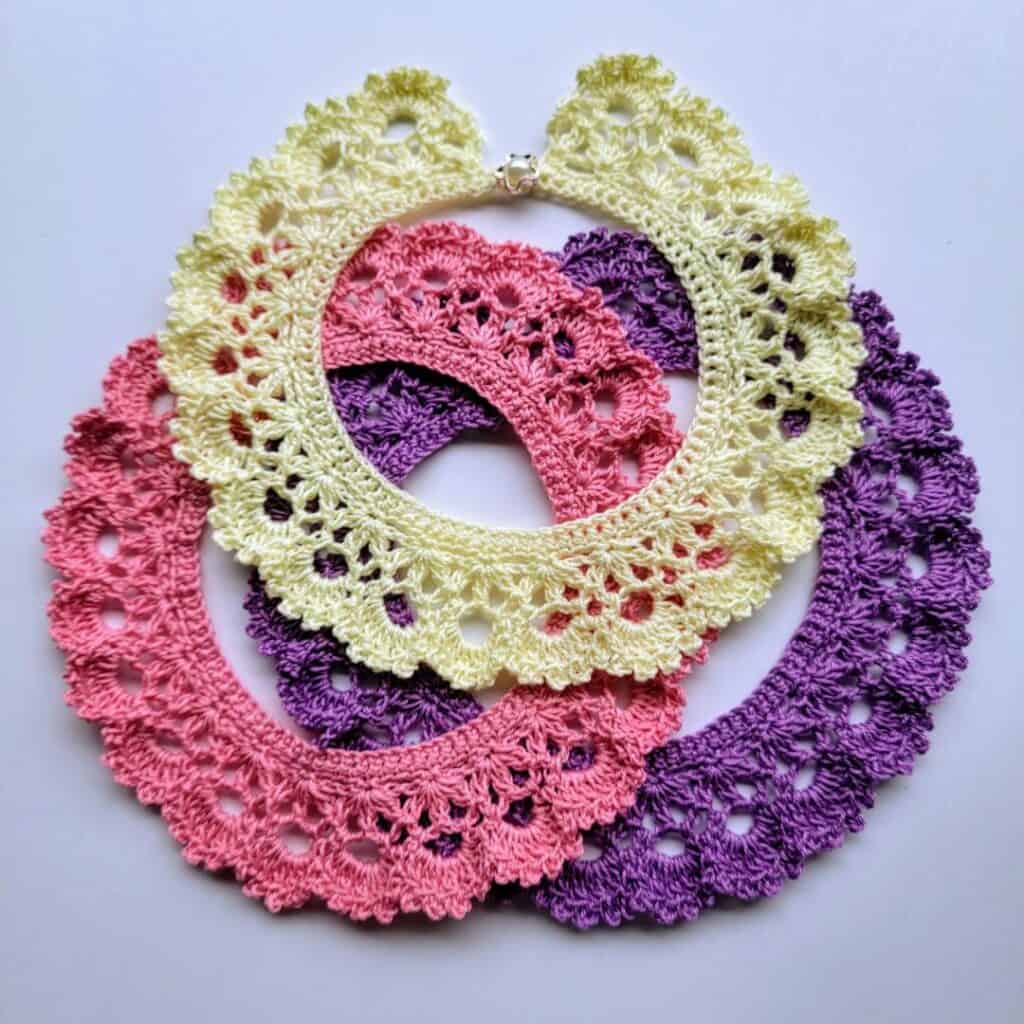
I would love to see your Amira Crochet Necklace version! Please tag me @stringsandcuddles and use these hashtags to share: #stringsandcuddles, #stringsandcuddlesdesigns, #AmiraCrochetNecklace
Please don’t hesitate to reach out with questions regarding this pattern.
If you want to keep up with me, Elisa, on social media for other fun projects, follow me on social media: Instagram | Pinterest | Facebook | Blog | Ravelry
If you want to keep up with all things Clover, follow us on: Facebook | Twitter | Instagram | Pinterest | YouTube | Ravelry


