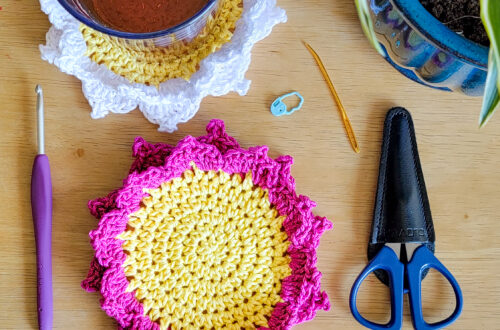
Patchwork Pot Holders {Sewing Tutorial}
Hello Friends! Don’t you love this time of year? We live on a farm in Tennessee and the grass is so green and so gorgeous right now – this is my favorite time of the year! I’m pretty busy outside in the spring and summer and sometimes sewing and crafting has to take a back seat. I’m always thankful for super fast and fun sewing projects like the one I’m sharing with you today. We are going to make a potholder (or two or three!) and you’ll love how fast these are. Lets gather our supplies and in an hour you’ll have a potholder!

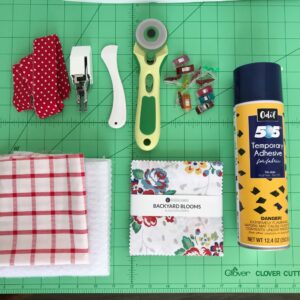
Necessary Supplies (for one potholder)
- Fabric – 25 squares cut to 2.5 inches
- Fabric for backing – one piece cut to 11 inches square
- Insulbrite batting – two pieces cut to 11 inches square
- Fabric for binding – 46 inches long by 2.5 inches wide
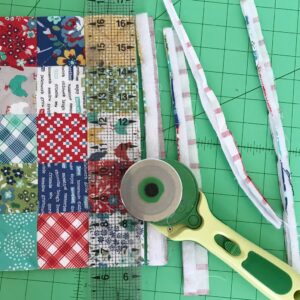
- Clover Rotary Cutter
- Clover Wonder Clips
- Clover Hera Marker
- Sewing machine walking foot
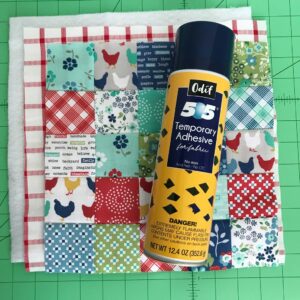
- Fabric spray adhesive (I use Odif 505)
Instructions
Step One: Using your Rotary Cutter and ruler, cut your fabric pieces to 2.5 inches square. You can use scraps for this or in my case I used a 5 inch charm pack and cut my fabric pieces from that.
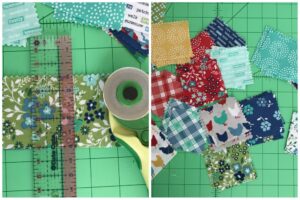
Step Two: Place your 25 squares in rows of 5×5. Lay it next to your sewing machine.
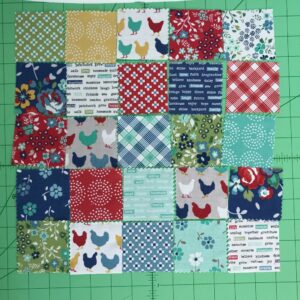
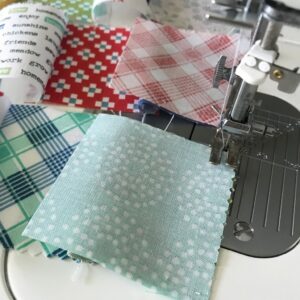
Step Three: Sew each square in row one together, using a 1/4 inch seam allowance. Then continue the same for each row.
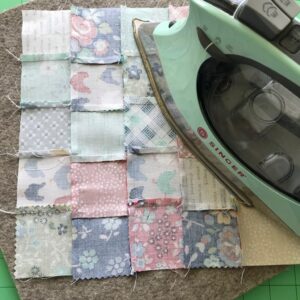
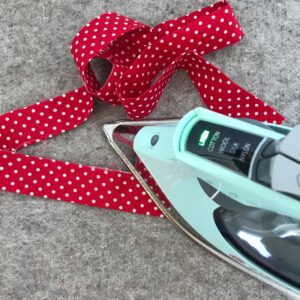
Step Four: Iron each row with the seams going one direction in row one, the opposite direction in row two, etc… until you have all five rows ironed.
Step Five: Sew row one to row two. If you’ve ironed your seams correctly you’ll be able to match them up really well; the seams will automatically kind of lock in where they join. I don’t pin or clip these, because its quite easy to sew without.
Step Six: Continue until you have all five rows sewn together. Iron all the seams going in the same direction and press well until your potholder top is flat and uniform.
Step Seven: Lay your backing piece, WRONG side up on a flat surface and spray lightly with the spray adhesive. Place one piece of Insulbrite batting on top of it and press in place with your fingers. Now spray adhesive on the Insulbrite piece, placing the second piece of Insulbrite on top of the the first. Finish by spraying adhesive on the back of the prepared top piece and press it in place with your hand. You will now have a four layer quilt “sandwich”.
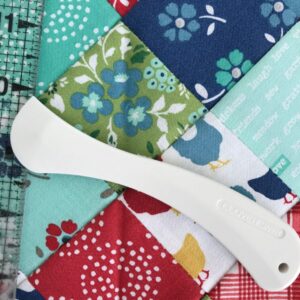
Step Eight: Using your Hera Marker and a ruler, mark quilting lines. (OR if you are comfortable eyeballing it like I did, then you can skip this step and go right to the quilting.)
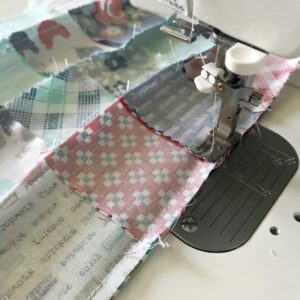
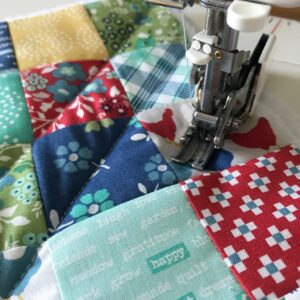
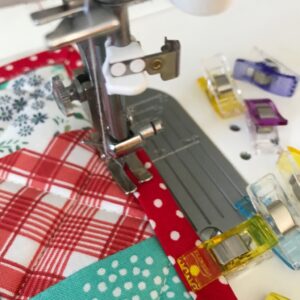
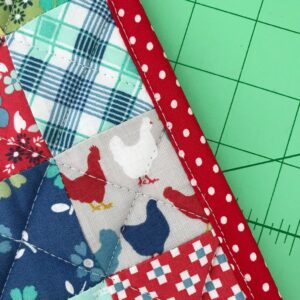
Step Nine: Attach your walking foot to the your sewing machine and increase your stitch length to 3.5. Quilt your potholder in any design you would like. I did mine in the very quick and simple way of sewing diagonal lines from the corner of each square. It is super easy and this is where you can eyeball it and end up with nice straight lines.
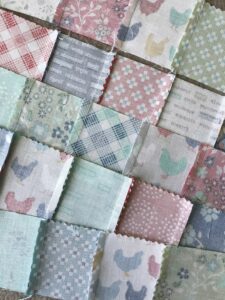
Step Ten: Once you have your potholder quilted, use your Rotary Cutter and ruler and trim all the edges, forming a 10.5 x 10.5 square.
Step Eleven: Prepare your binding by folding your long string of fabric in half (short side raw edges together) and press.
Step Twelve: Sew your binding to your potholder by placing the binding (raw edges together) on the back side of the potholder. Using a 1/4 inch seam allowance sew binding all the way around, pivoting at the corners.

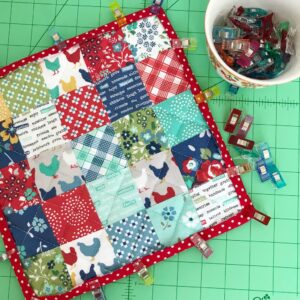
Step Thirteen: Once your binding is sewn on, turn the folded edge to the front of the potholder and use Wonder Clips to hold it in place.
Step Fourteen: Carefully sew close to the folded edge of the binding, all the way around the potholder. And you have finished your potholder!
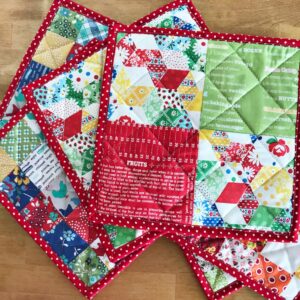
By turning the binding towards the front to sew it, you end up with with a nice finish on the front and your seam won’t be even noticeable on the back.
Now its time for you to get creative and make all the potholders! You can change up the top patchwork part of the potholder to strips or other size squares. You can even use “cheater” patchwork fabric. Just follow the same general instructions.
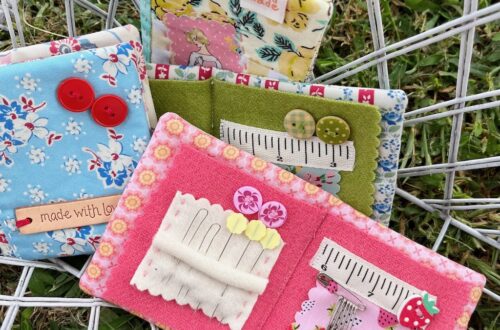
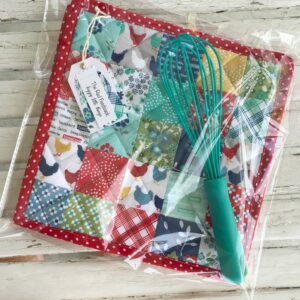
One of my favorite things about potholders is that a set of two make such an awesome gift. You can even add a little kitchen utensil to the package, place it in a plastic sleeve, attach a cute home-made tag and you have the very best hostess gift!
I hope you will enjoy making some potholders today! Please tag me on IG @redfeedsack so I can see what you’ve made! Happy Sewing!
~ Dori ~