Earth Day Cross Stitch Frame – Cross Stitch Pattern
Hey Clover family, Danielle here from sprinklesofzeal.com and I’m thrilled to be back to share a special Earth Day cross stitch project with you!
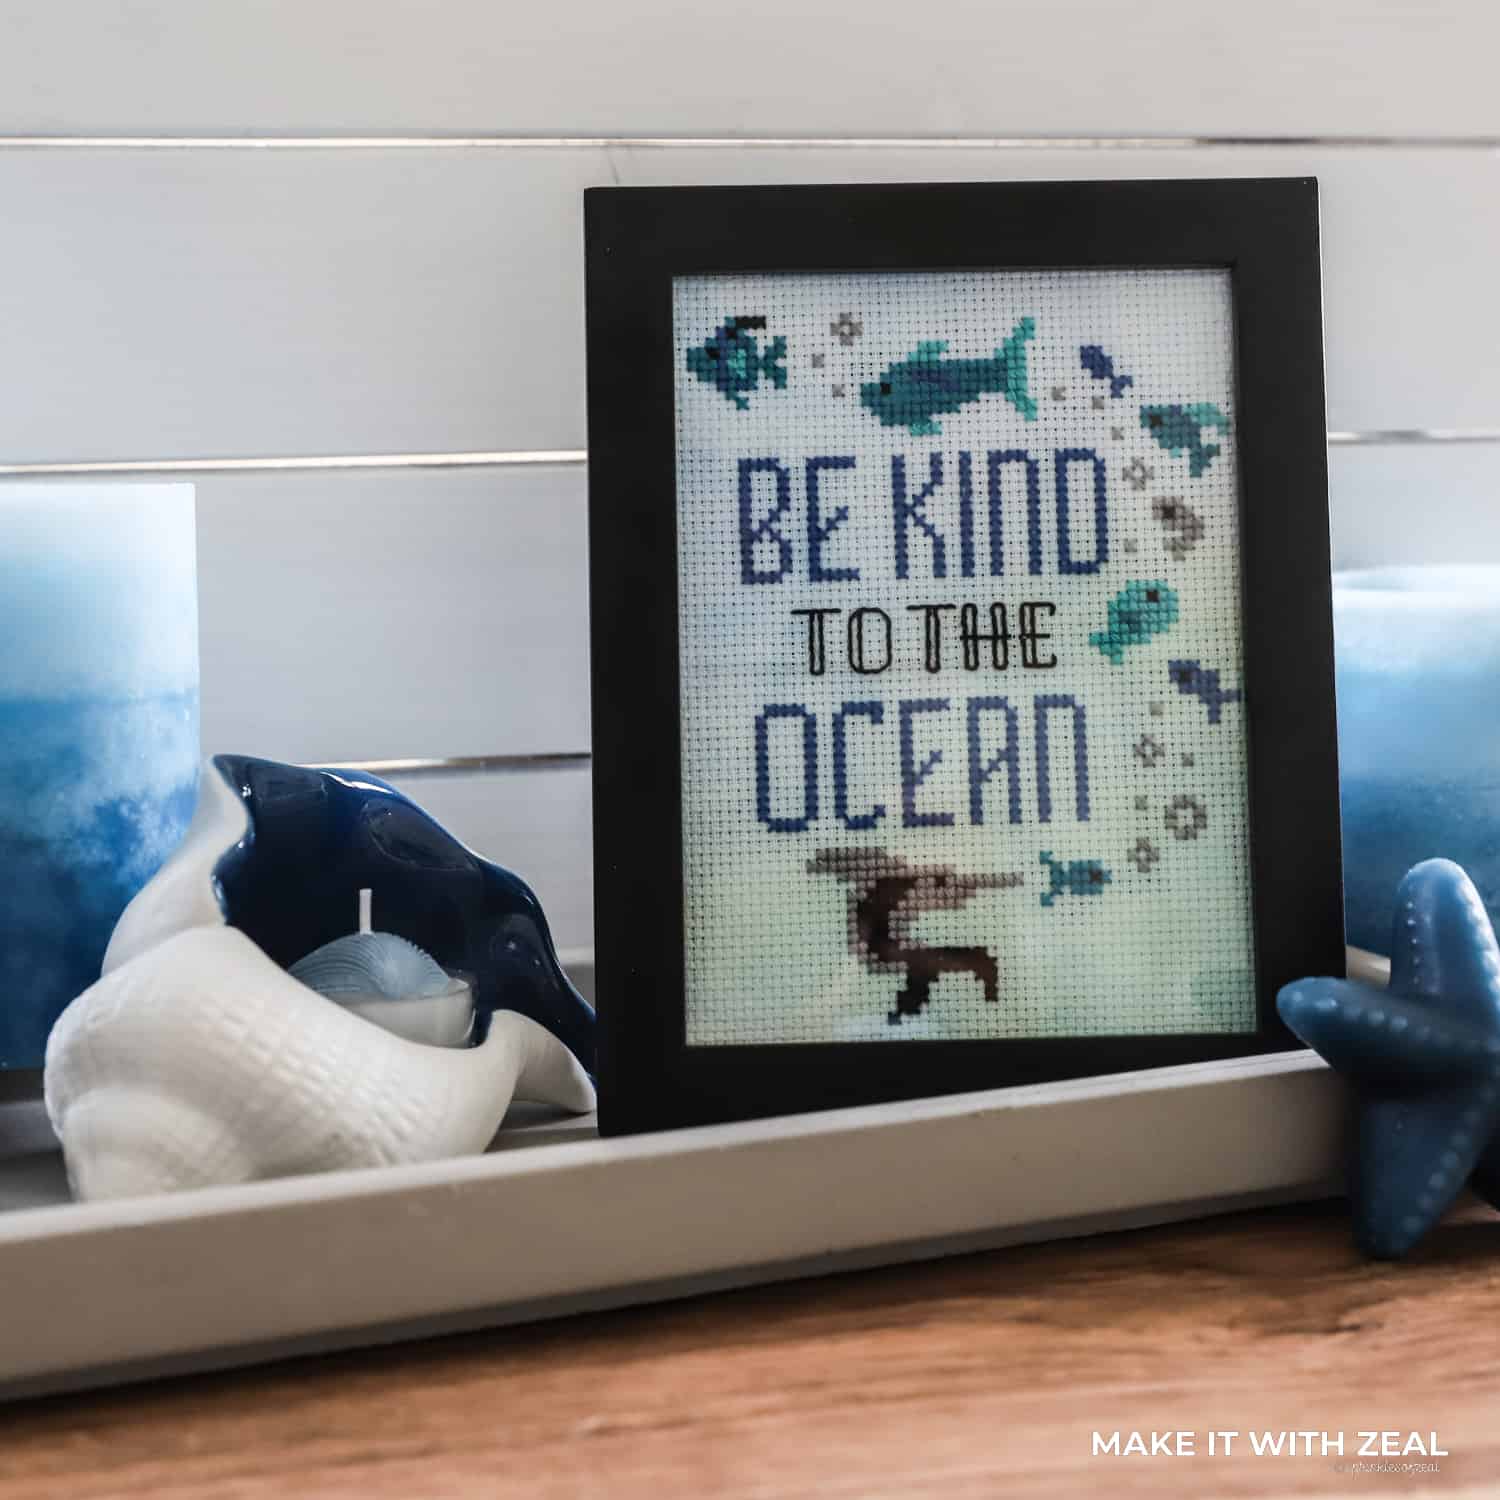
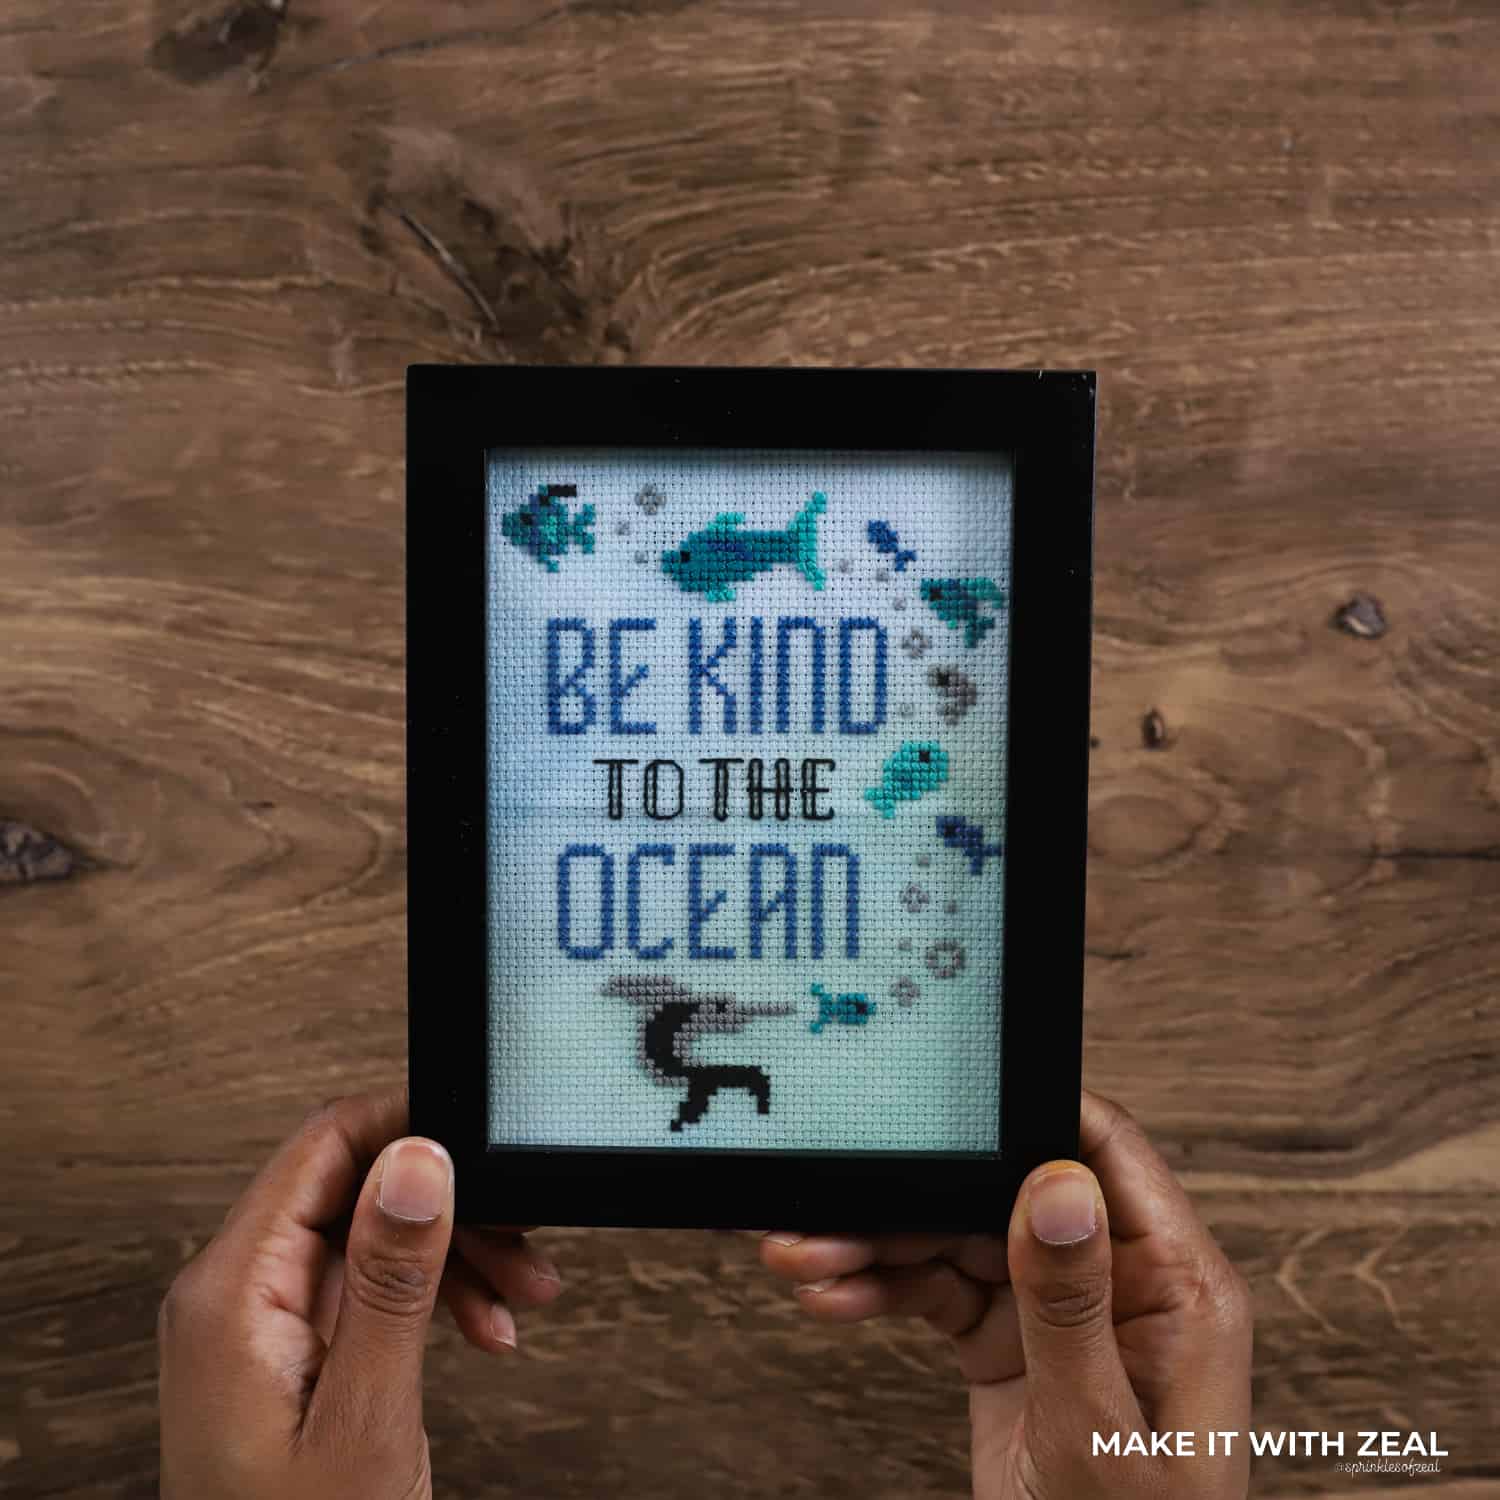
Earth Day is a time for us to reflect and plan how we can appreciate this wonderful place we all call home. My latest cross stitch design is centered around being conscious of our polluted oceans, lakes, rivers, and the beautiful creatures that reside within them. After a family trip to our local aquarium, I was inspired to create this “Be Kind to the Ocean” message with lovely blue fish surrounding it. I hope this pattern inspires you to support your local wildlife organizations or recycle more to help protect the living creatures that dwell among us.
Here’s what you’ll need to create this project:
- Be Kind to the Ocean Cross Stitch Pattern
- Clover Embroidery Hoop 7″ Art No. 8812
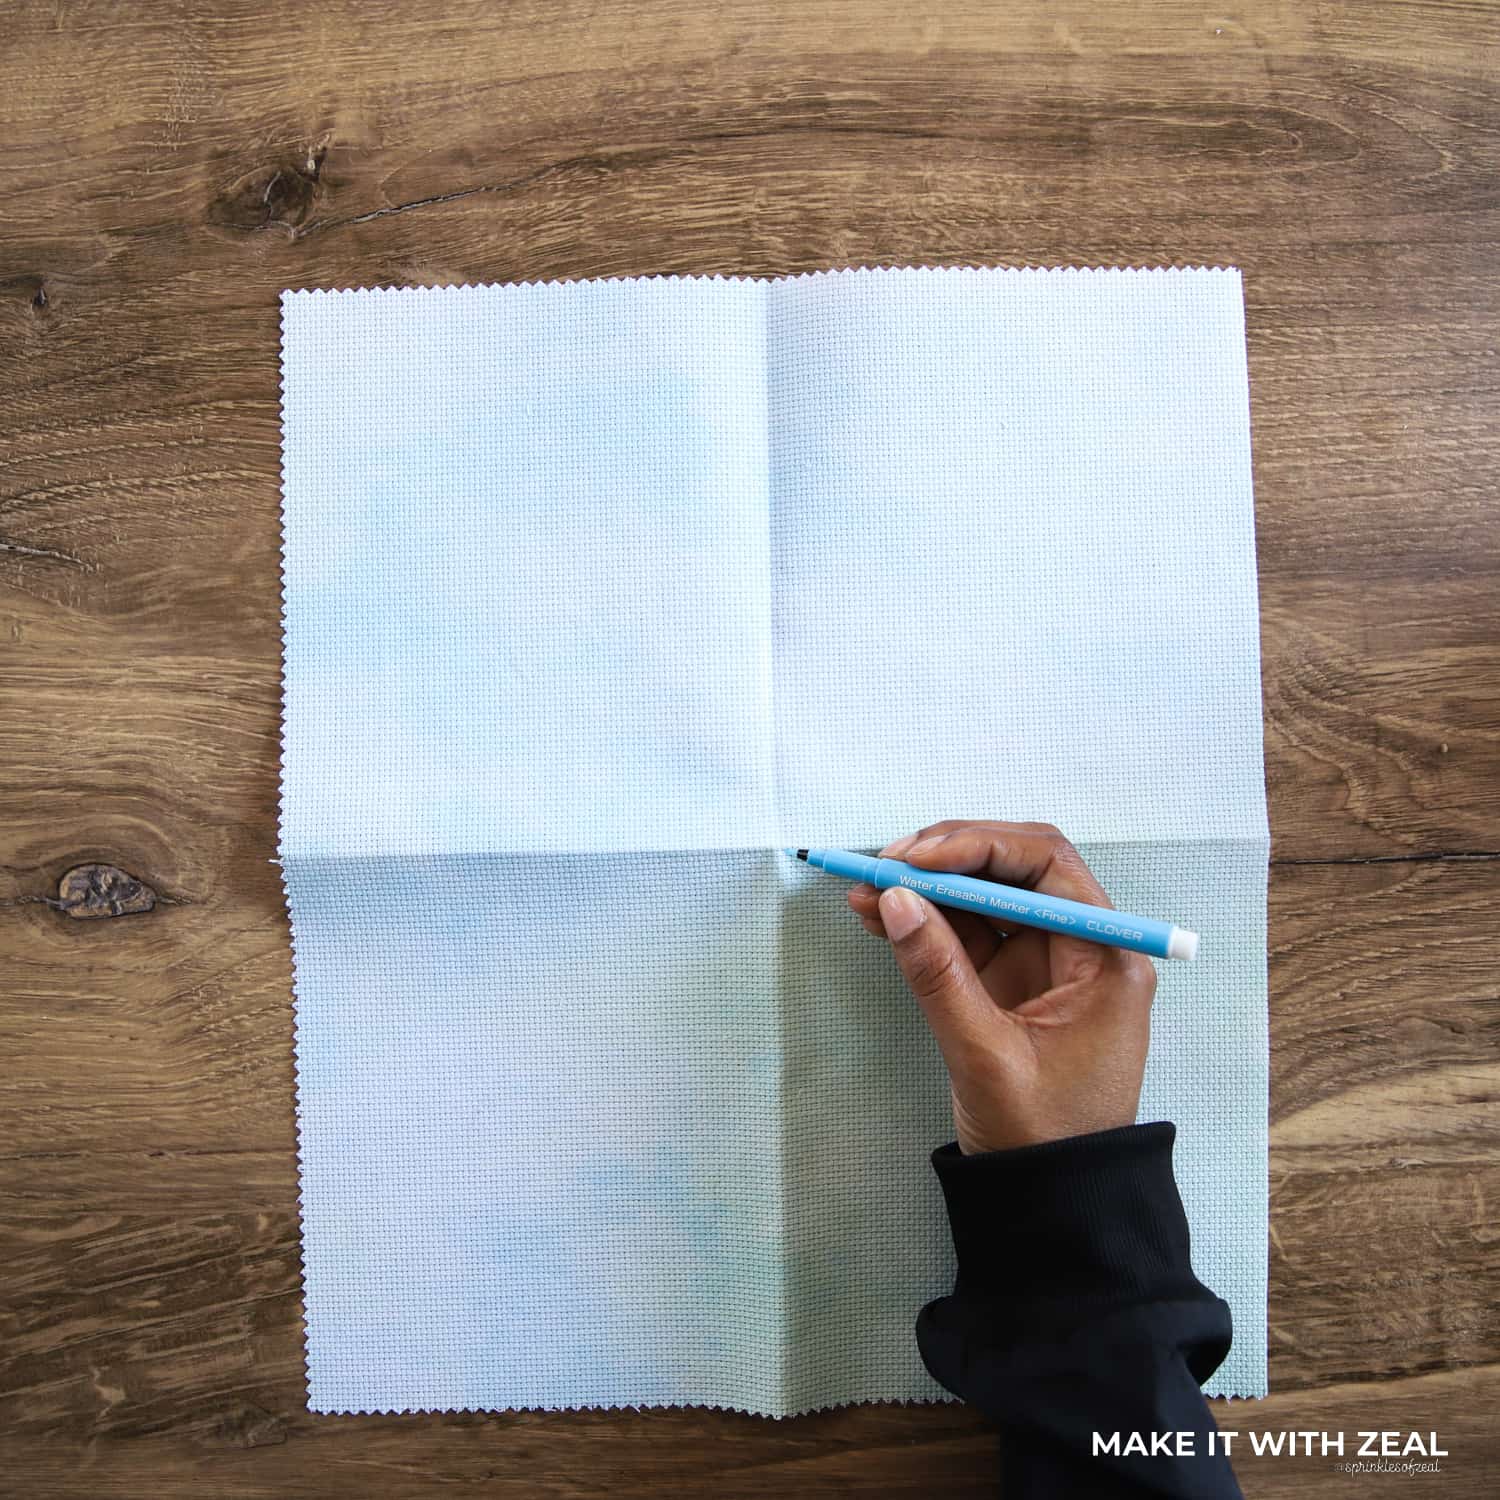
- Clover Water Erasable Marker Art No. 515
- Clover Thread Clipper “Kuroha” Art No.415
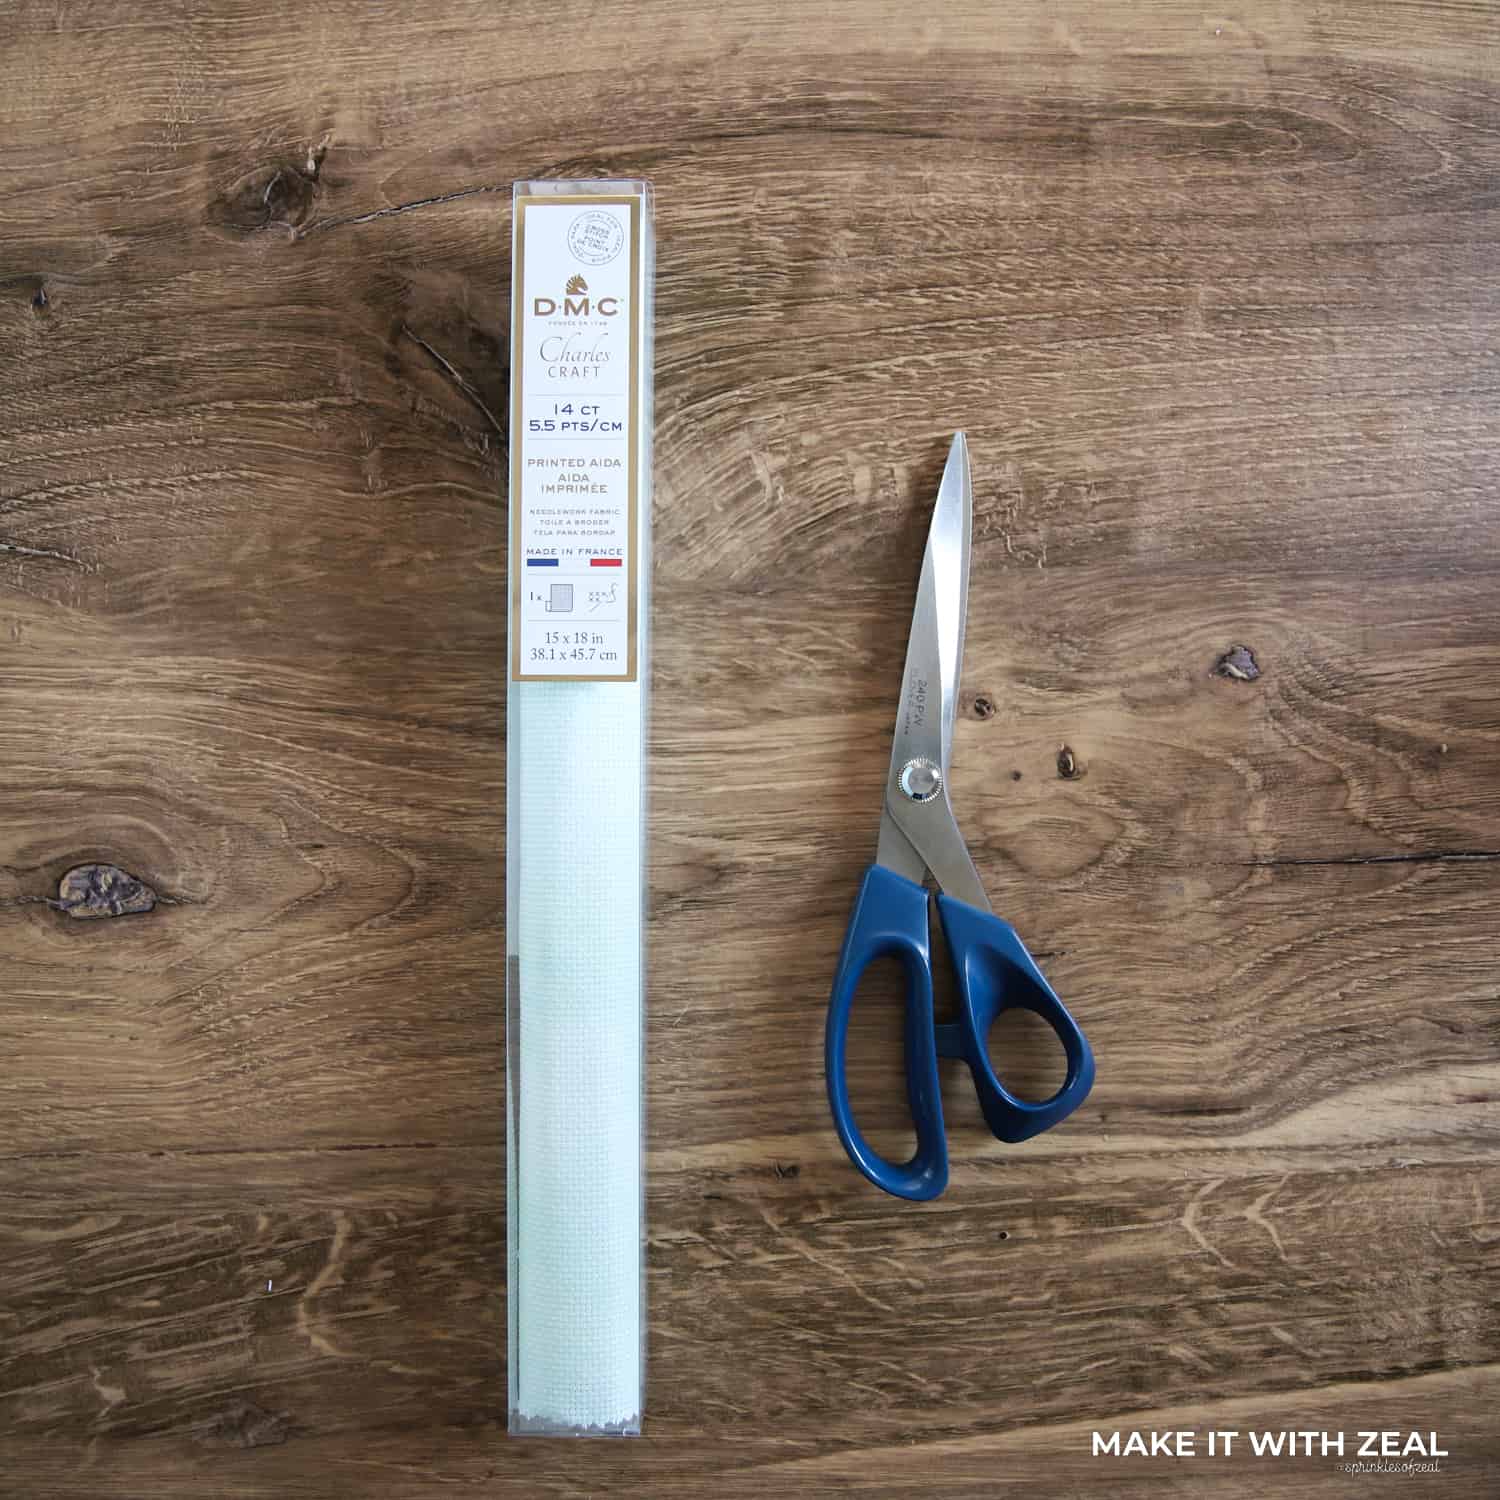
- Clover Patchwork Scissors (Large) Art No. 493/L
- Clover Gold Eye Tapestry Needles Art No.238/24
- Clover Embroidery Threader Art No. 8611
- Clover 12″x 18″ Cutting Mat Art No.7520
- Clover Dome Threaded Needle Case Art No. 625
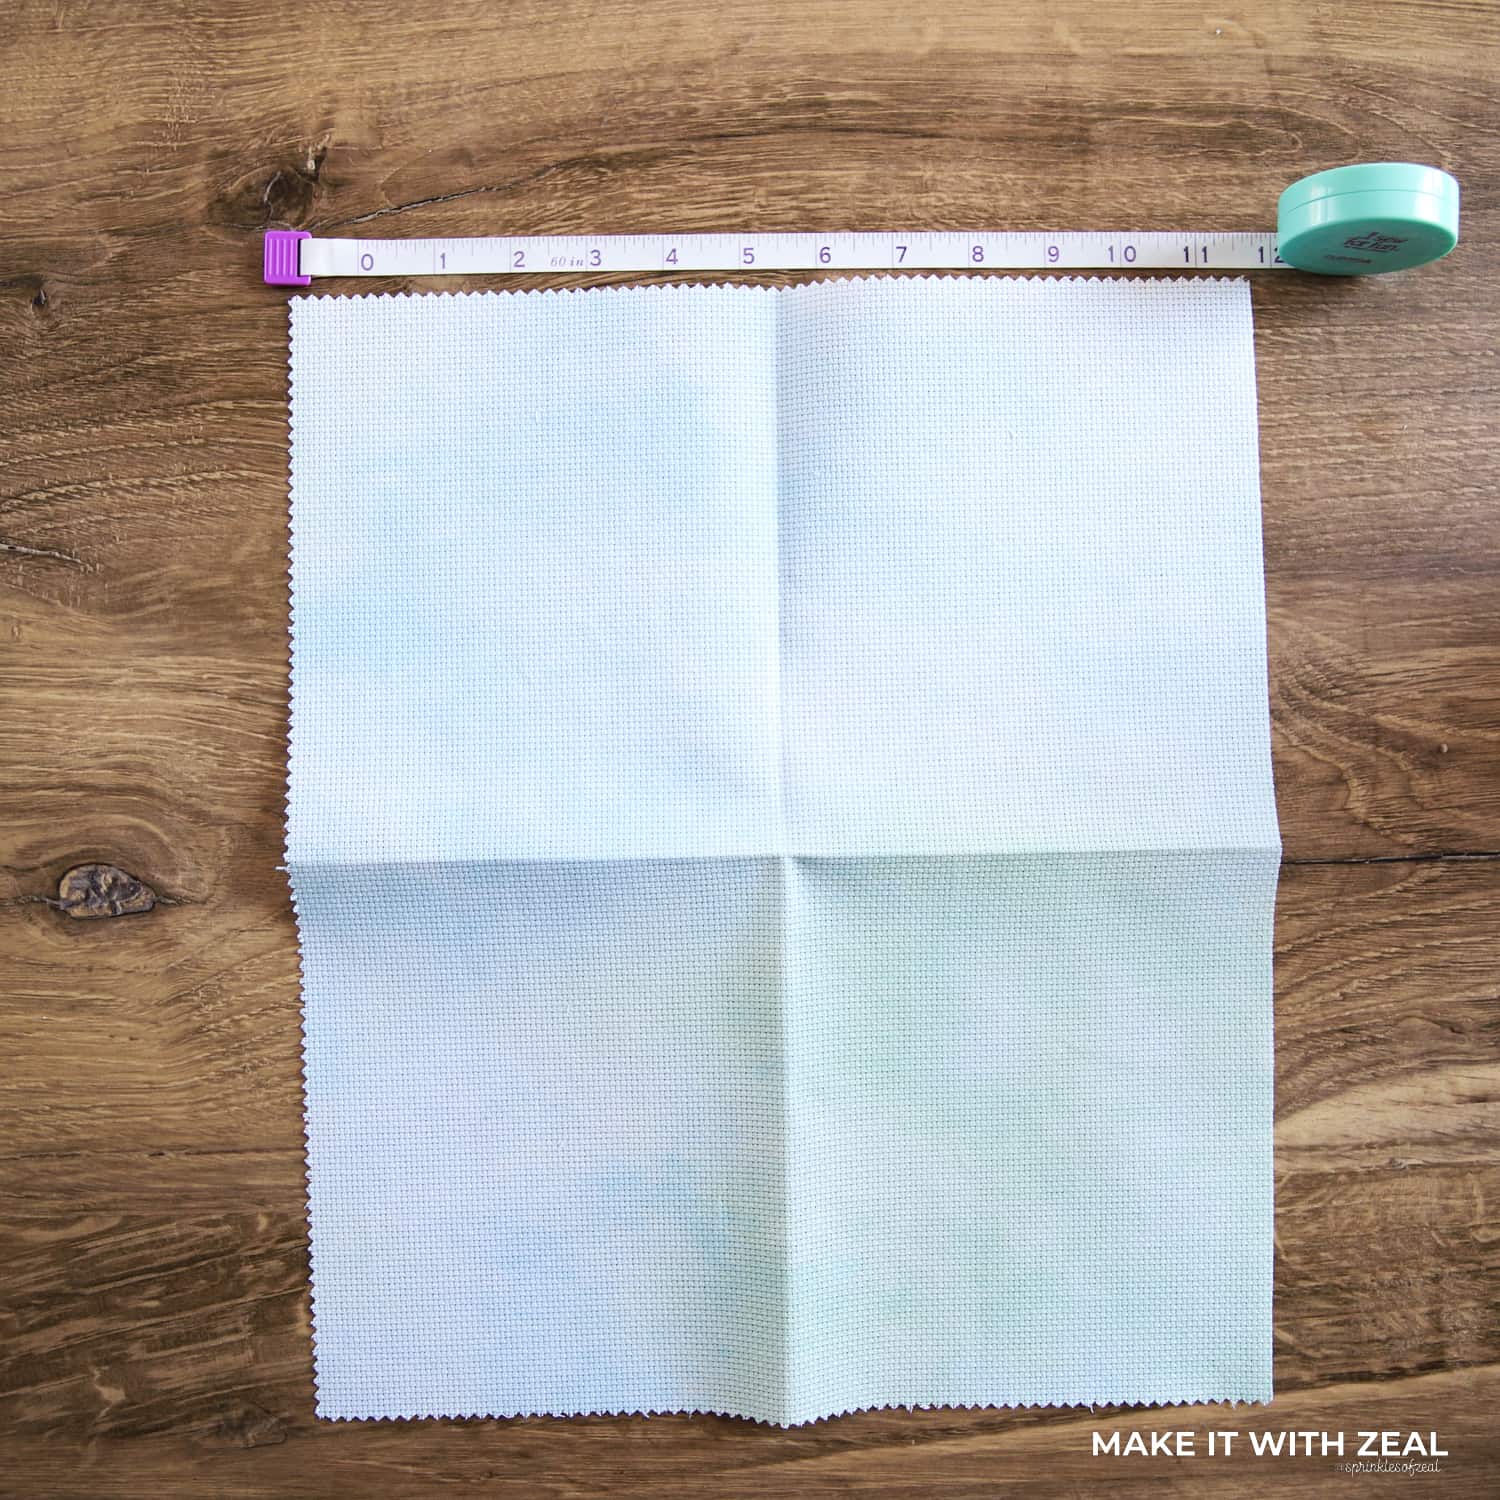
- Clover Tape Measure Art No. 9610
- Fabric: Light Blue or White 14 ct Aida Fabric
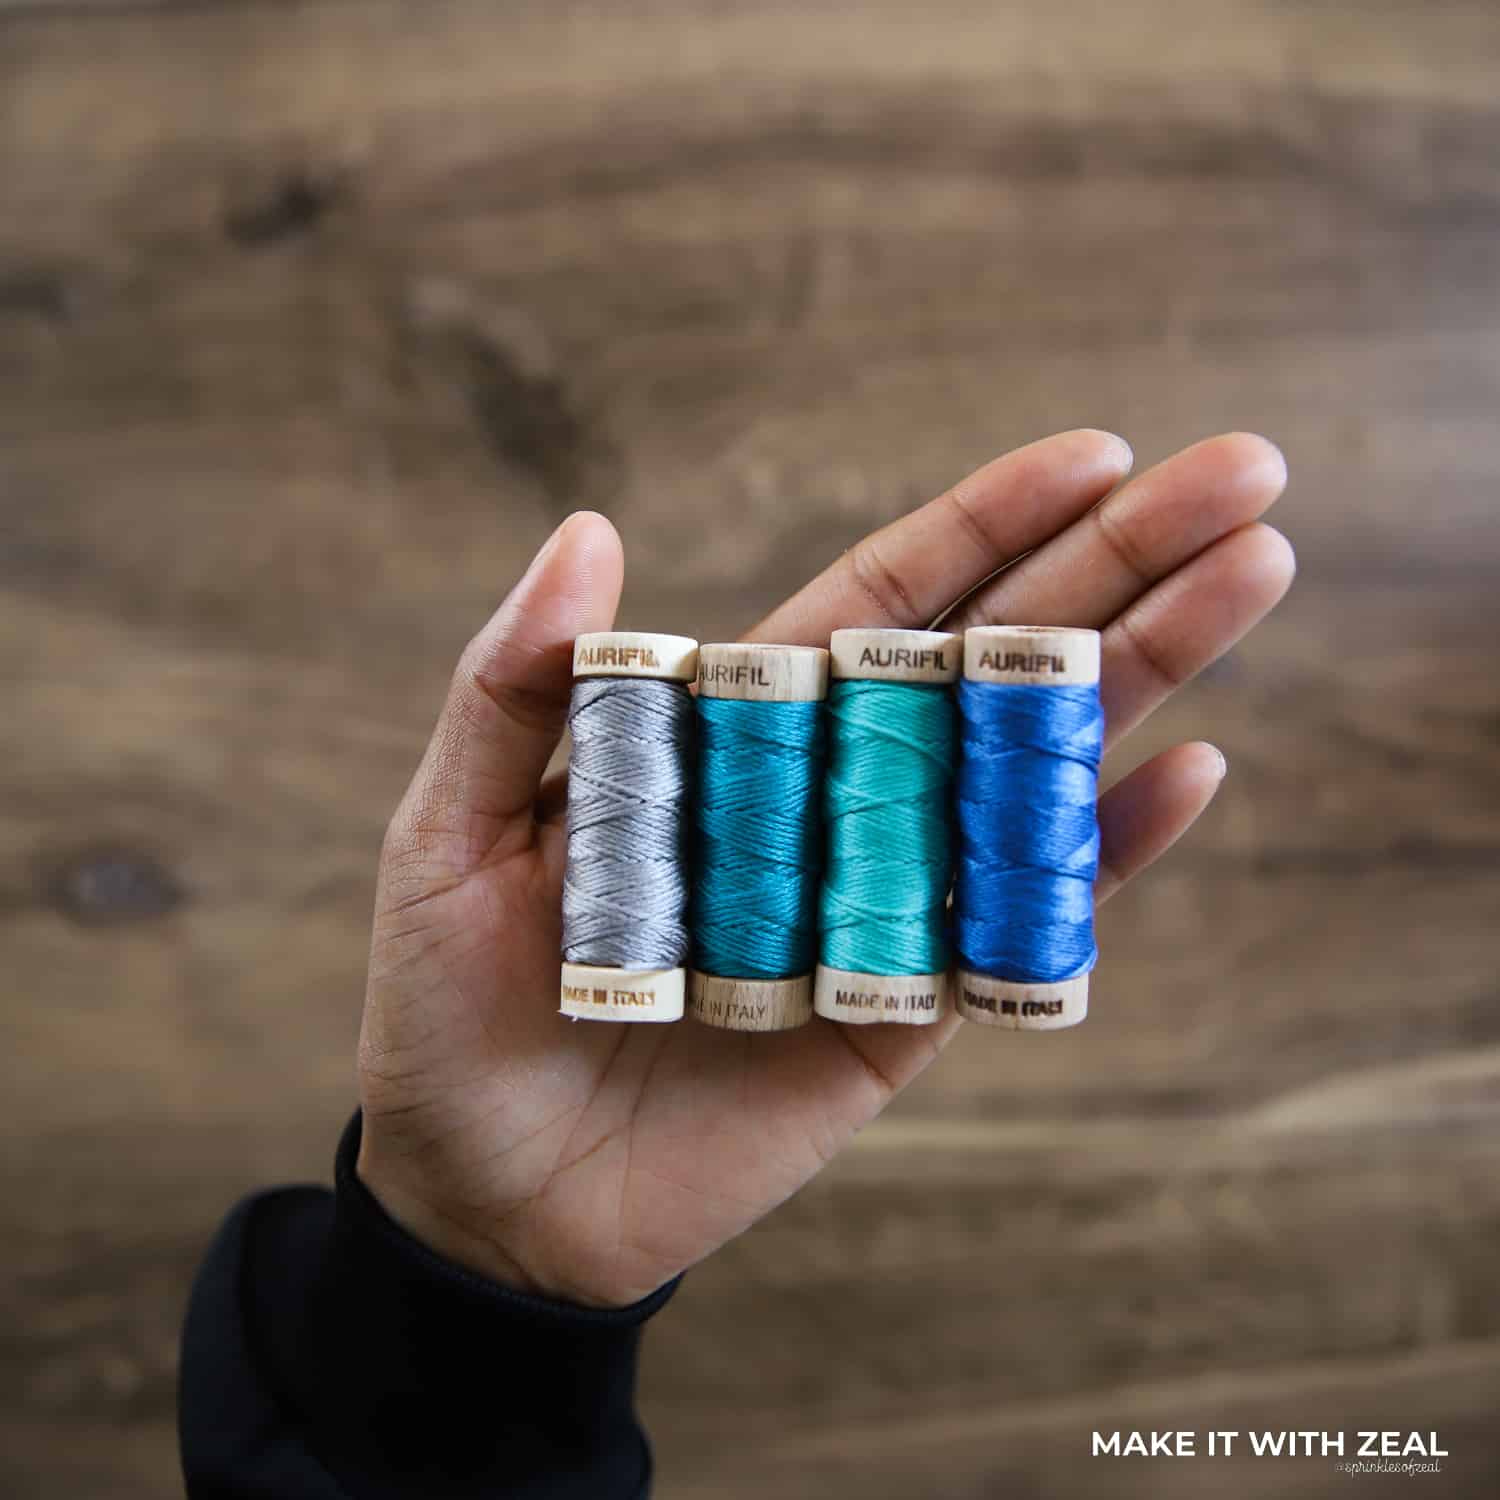
- Aurifil Aurifloss Thread (See the pattern chart for details)
- Picture Frame
- Iron
Directions
**Click here to download the pattern**
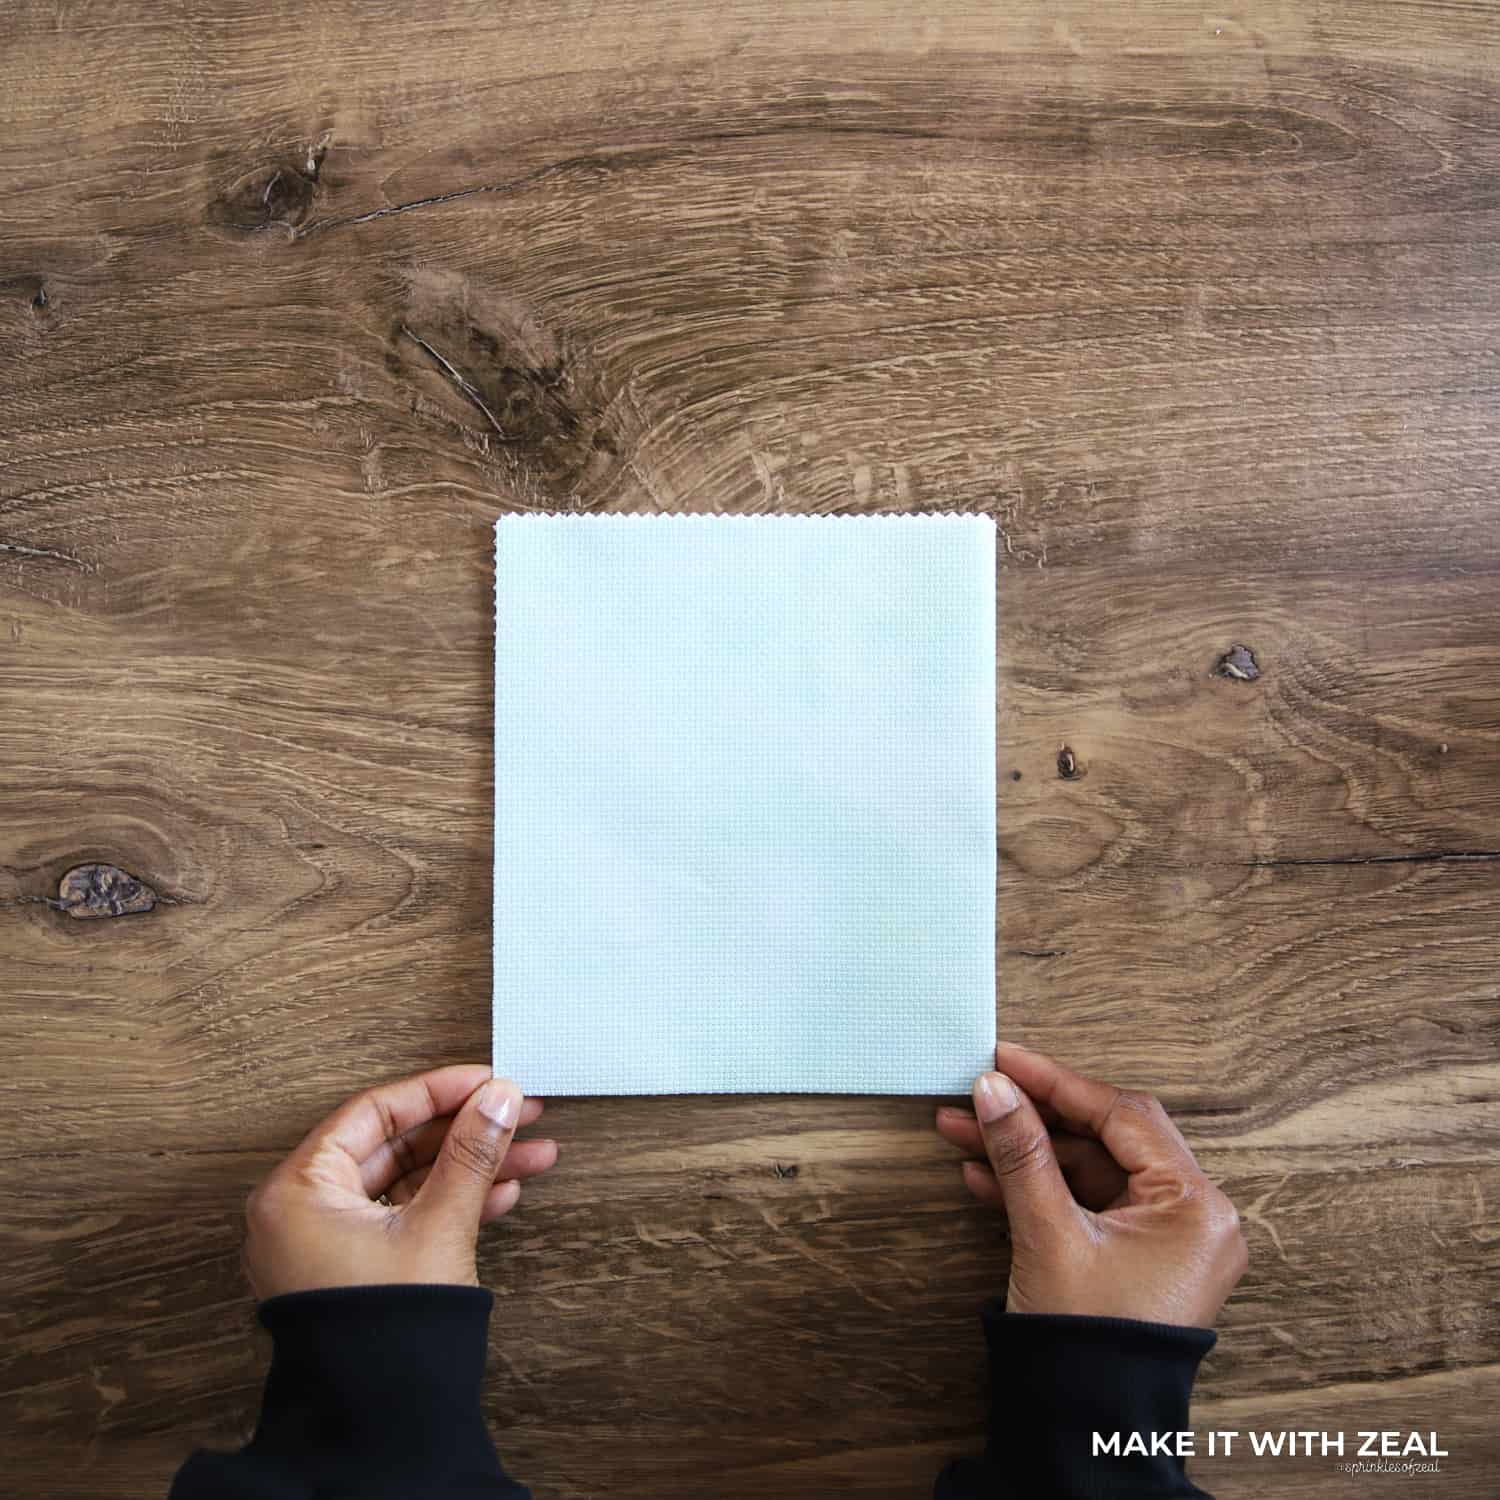
Step 1. After downloading and printing the pattern, you will need to cut approximately 11.5″- 12″ of 14 ct Aida fabric using Clover’s Patchwork Scissors. I chose to use DMC’s Printed “Morning Dew” Aida because it reminded me of the colors within the aquarium tank.
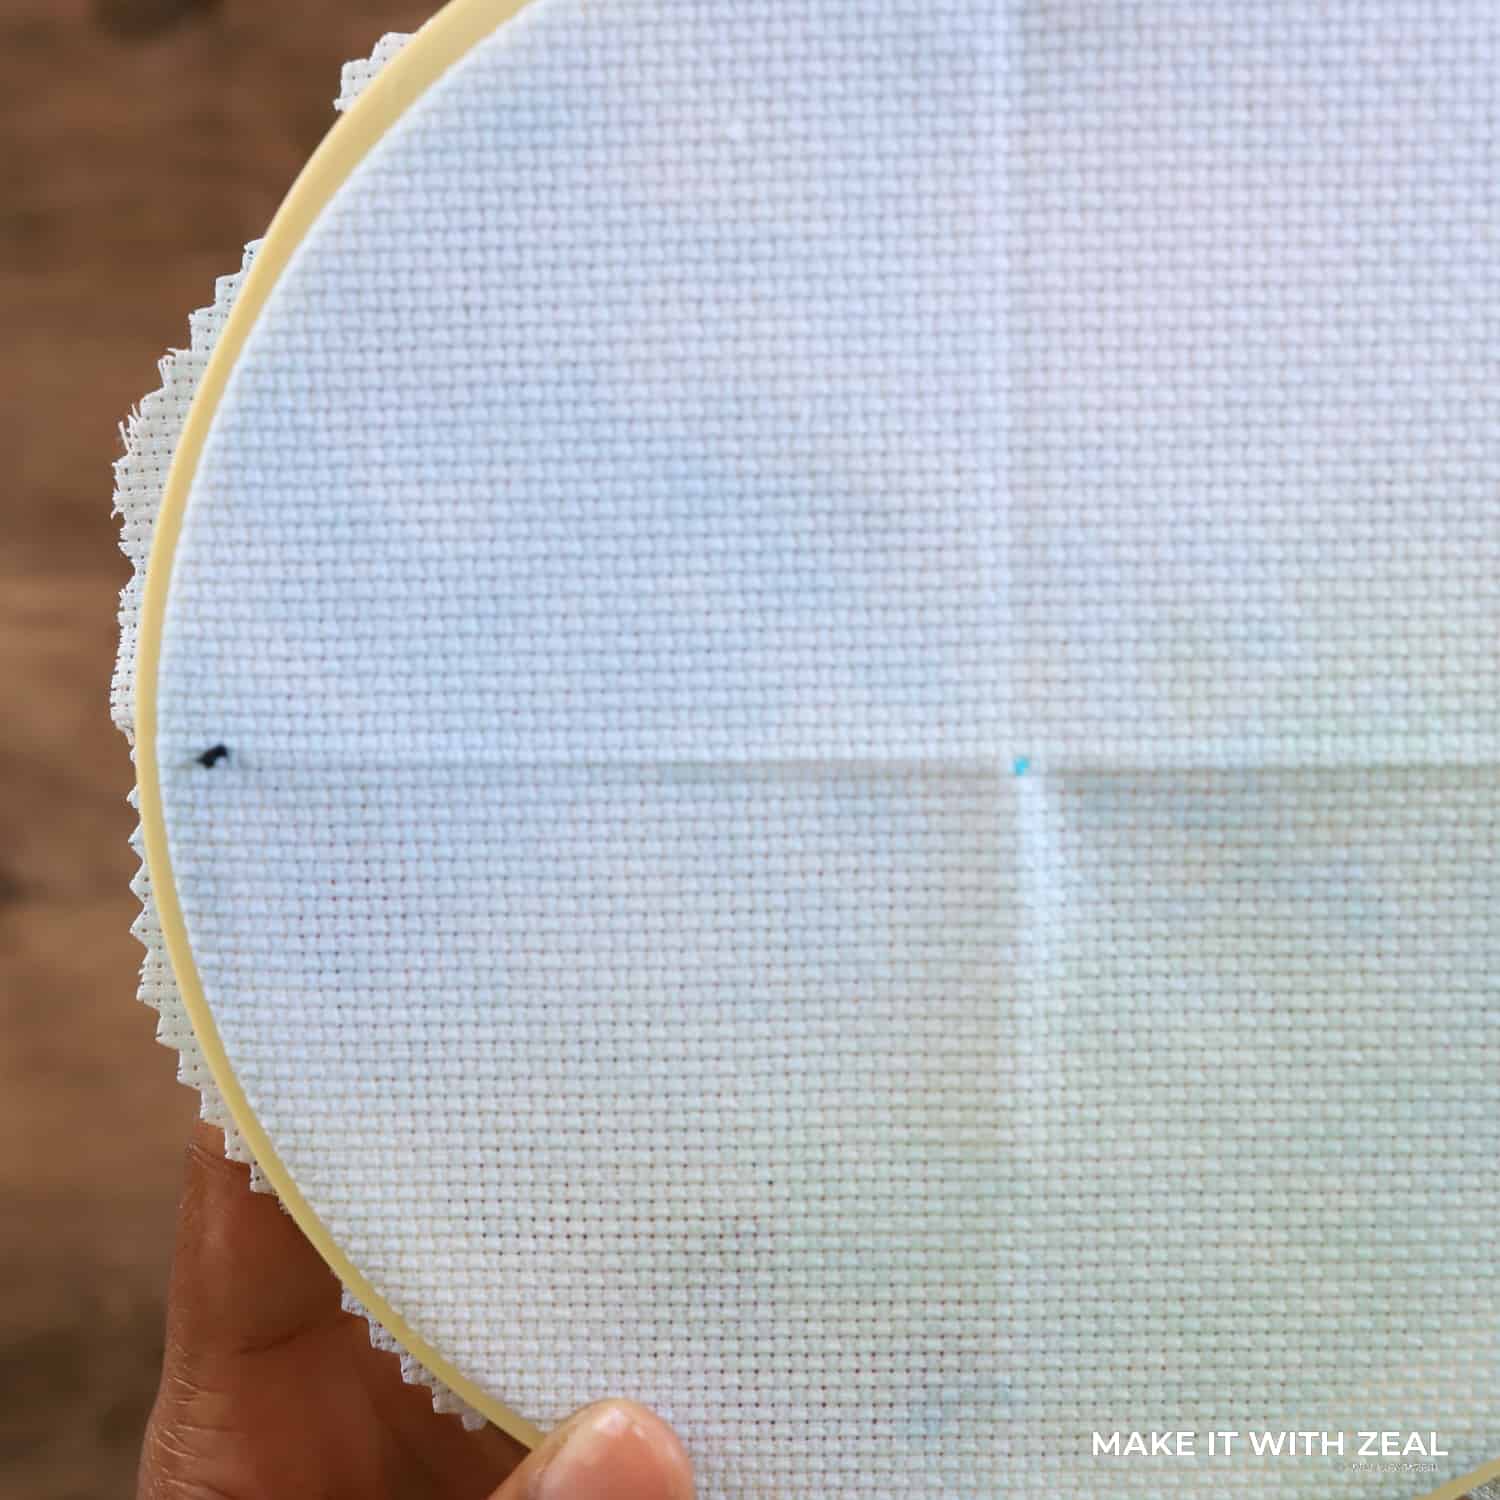
Step 2. Fold the Aida in half twice, then create a dot using Clover’s Water Erasable Marker to indicate the center of the Aida.
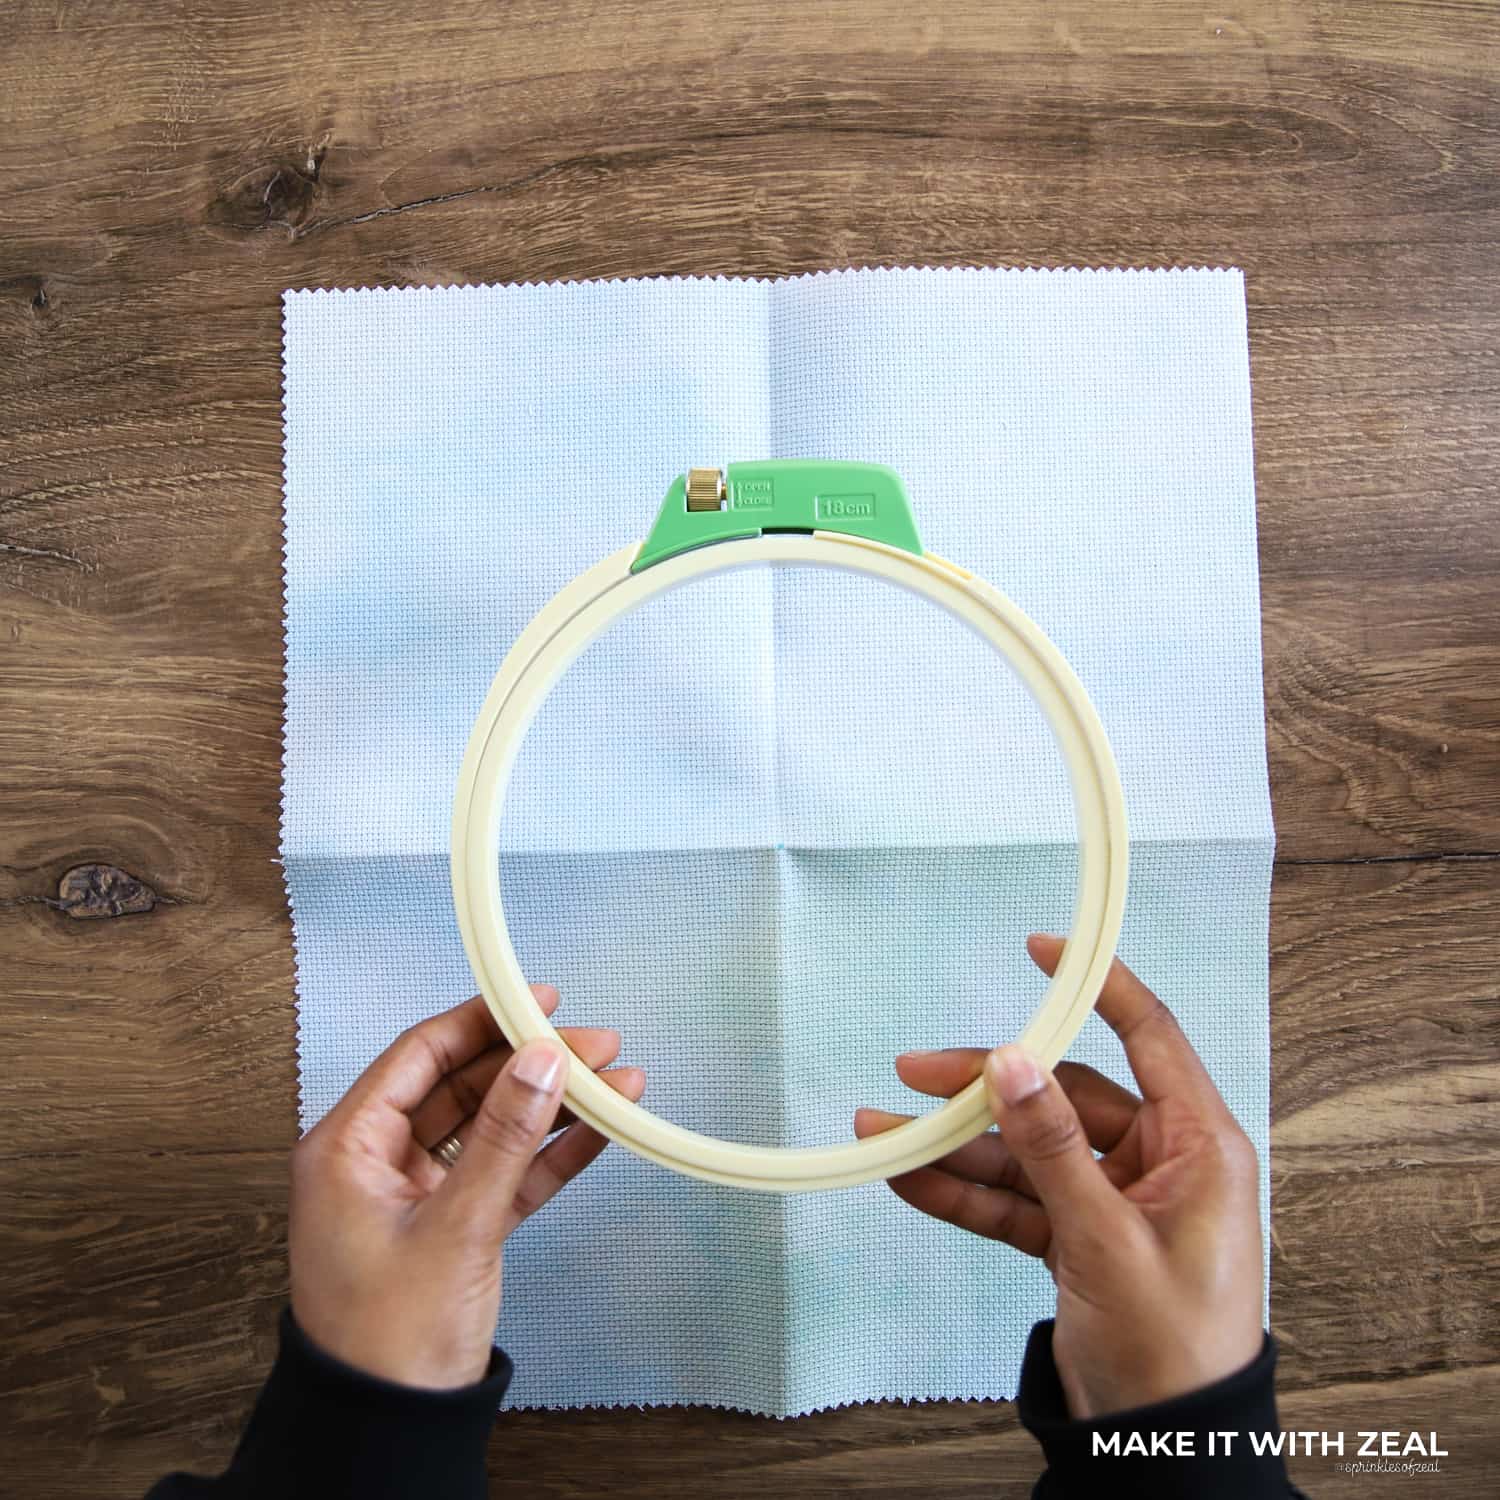
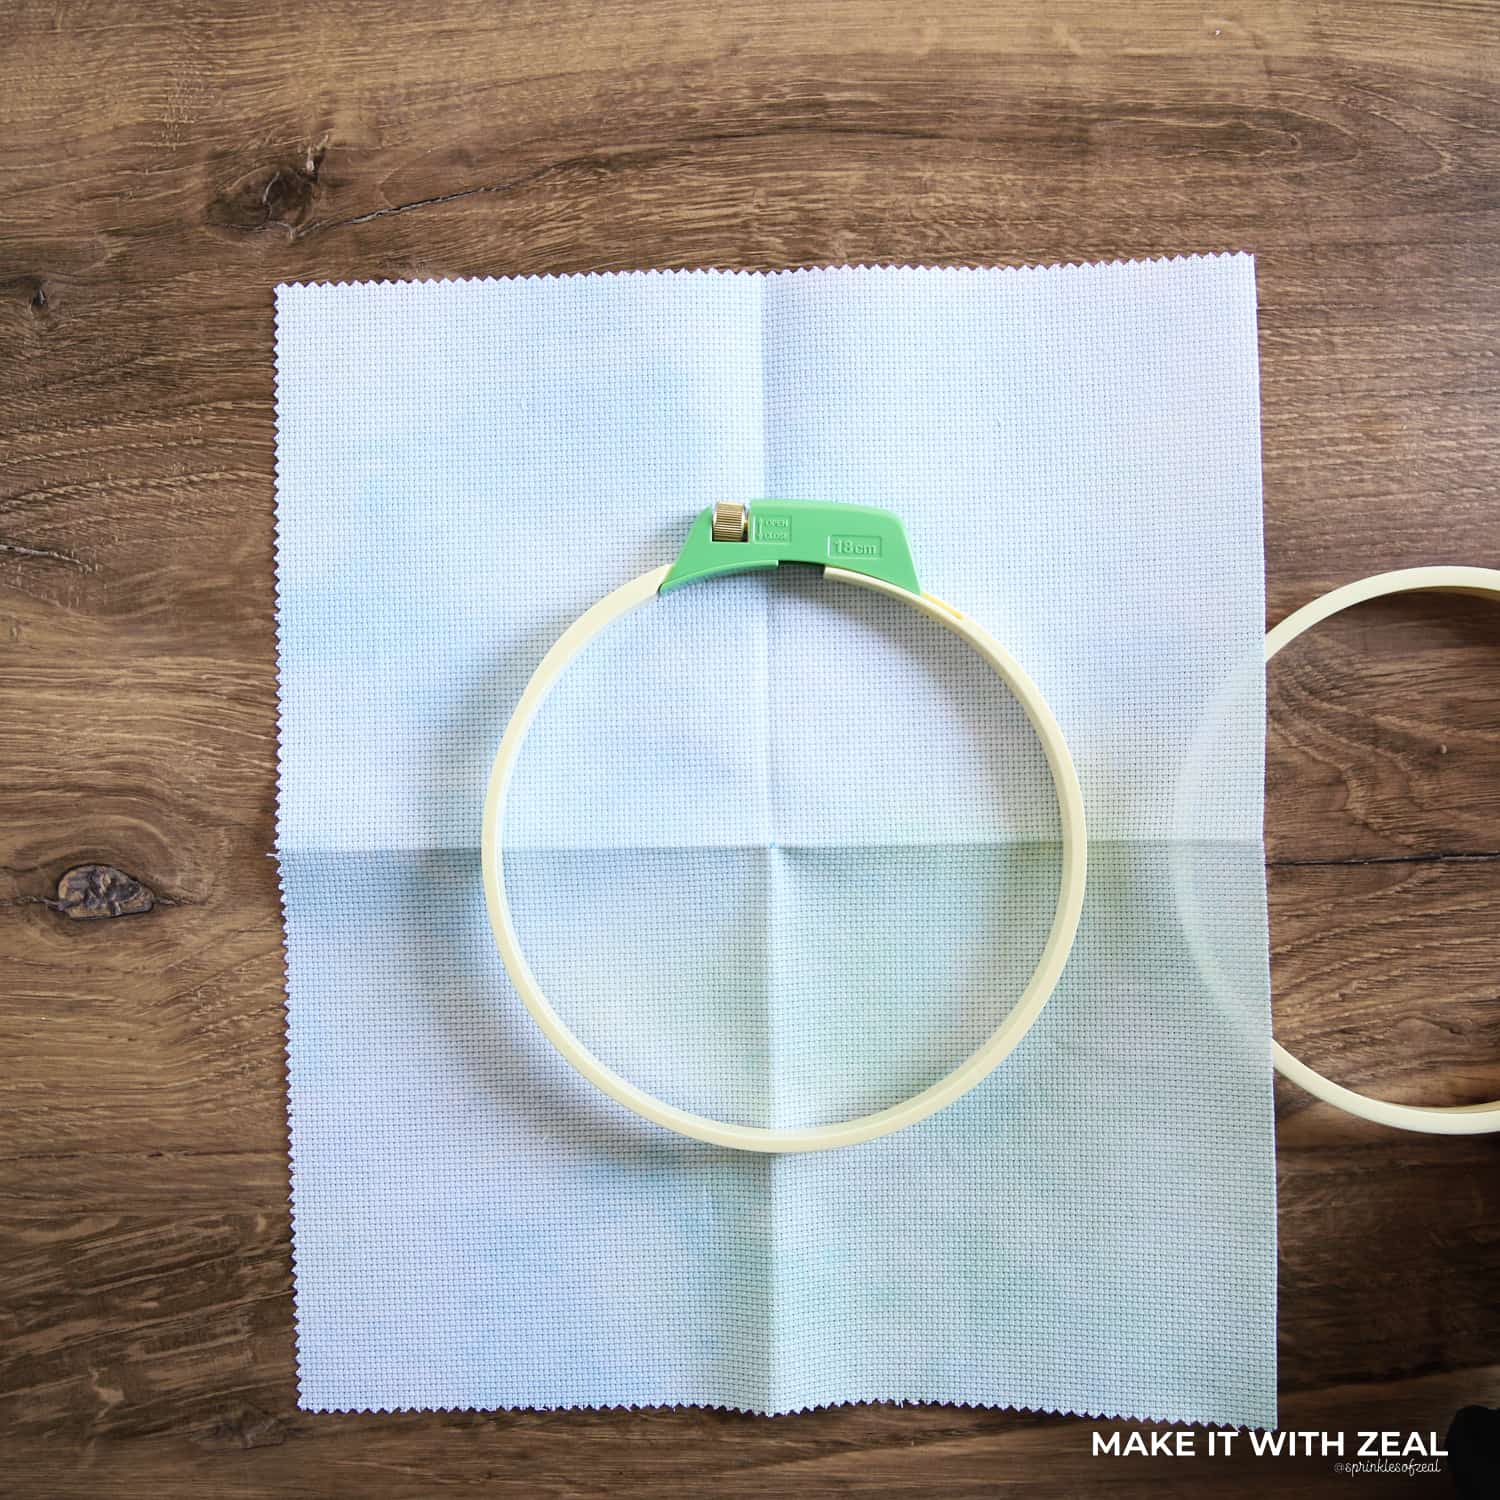
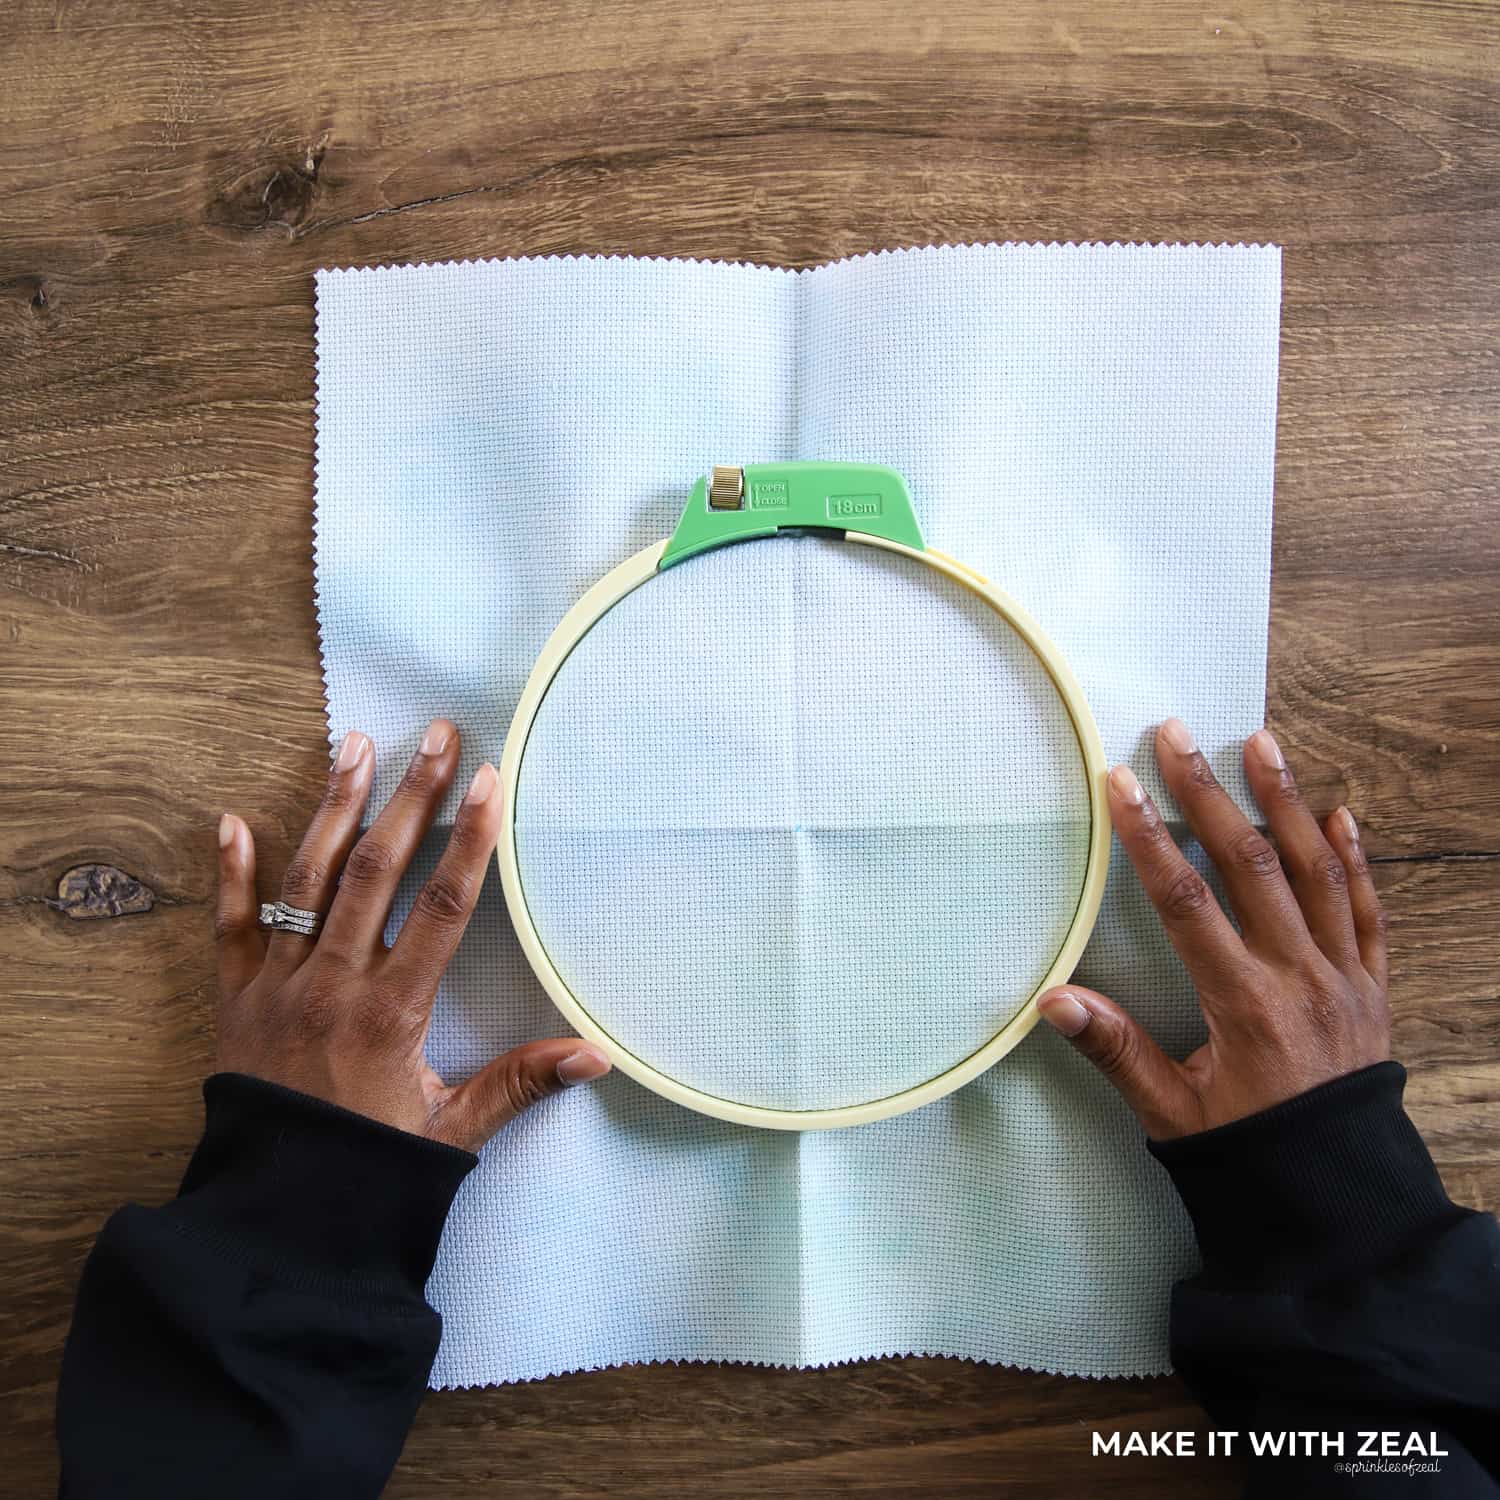
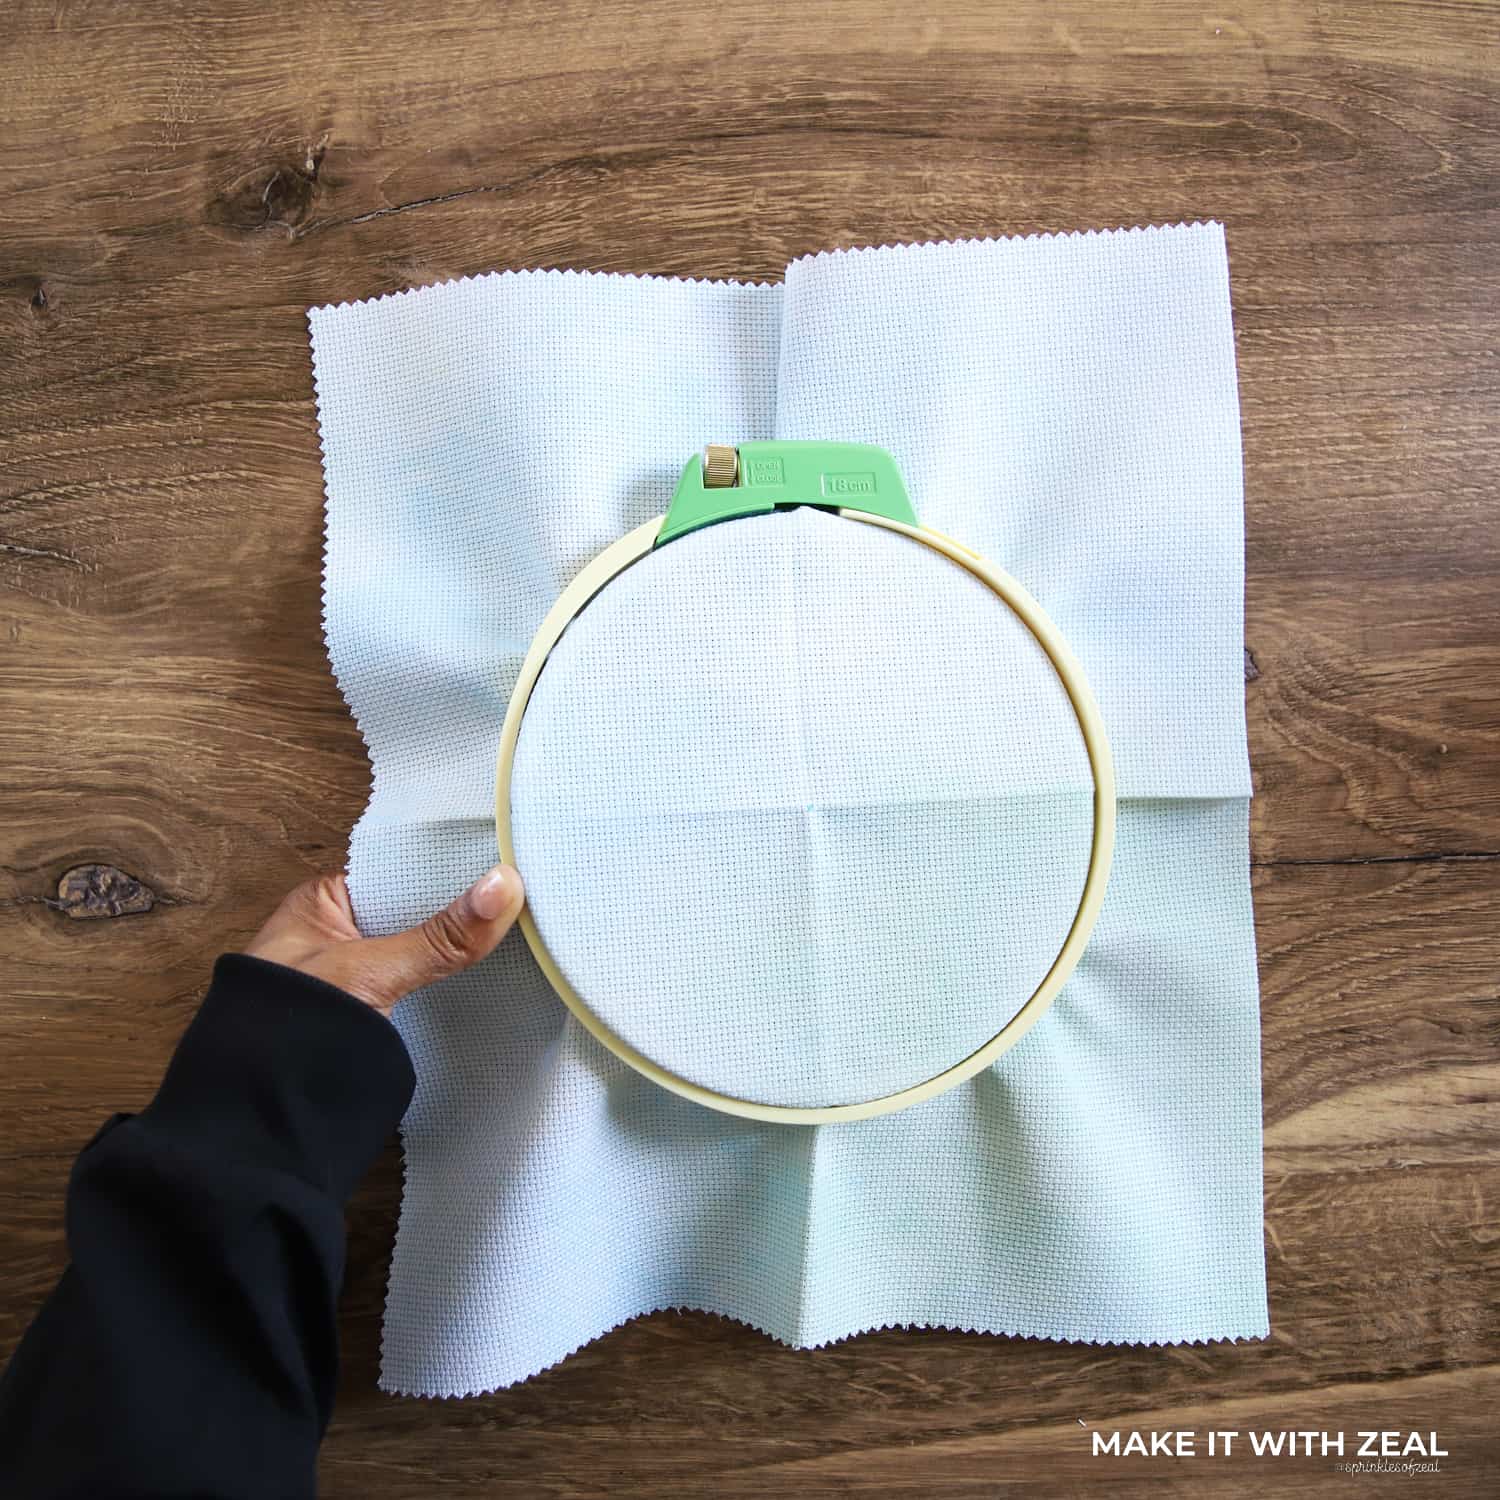
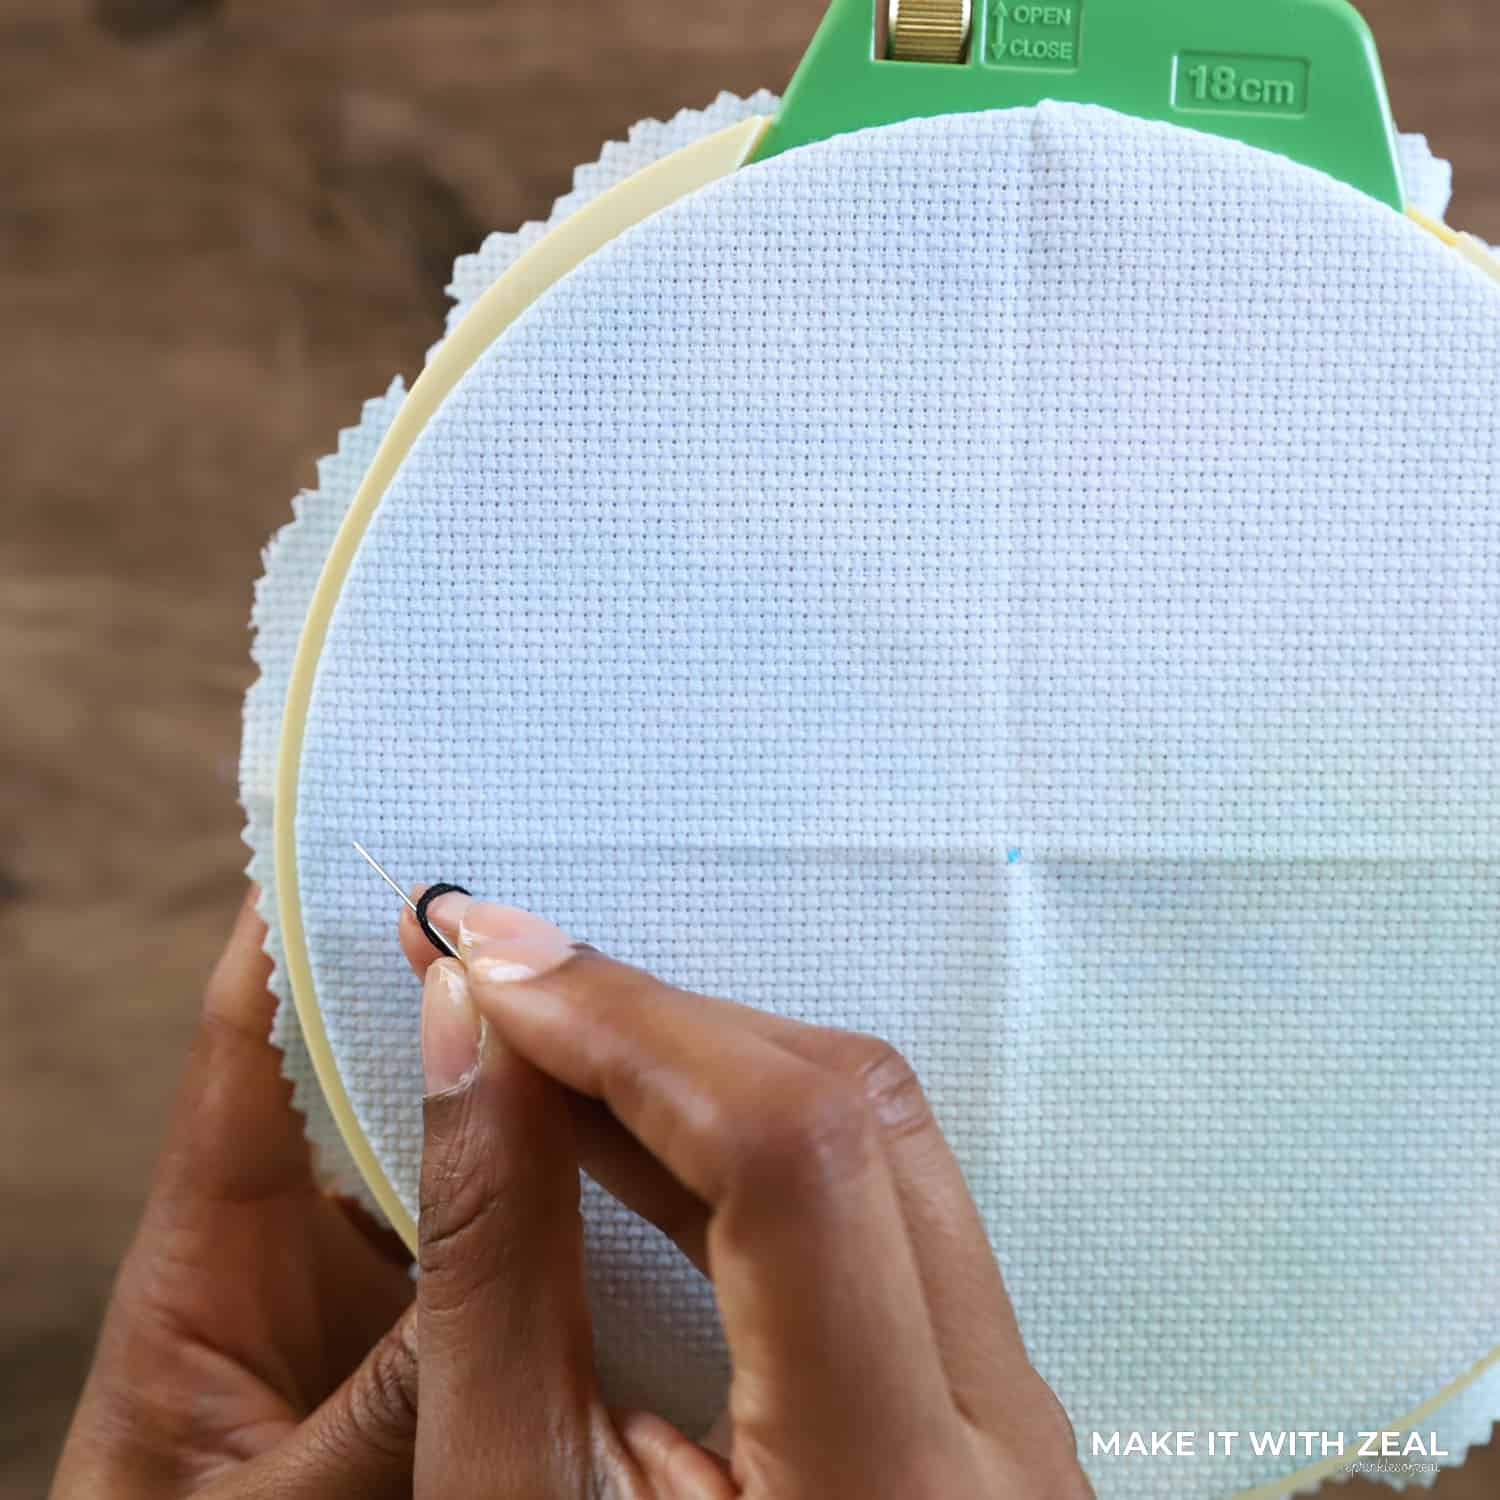
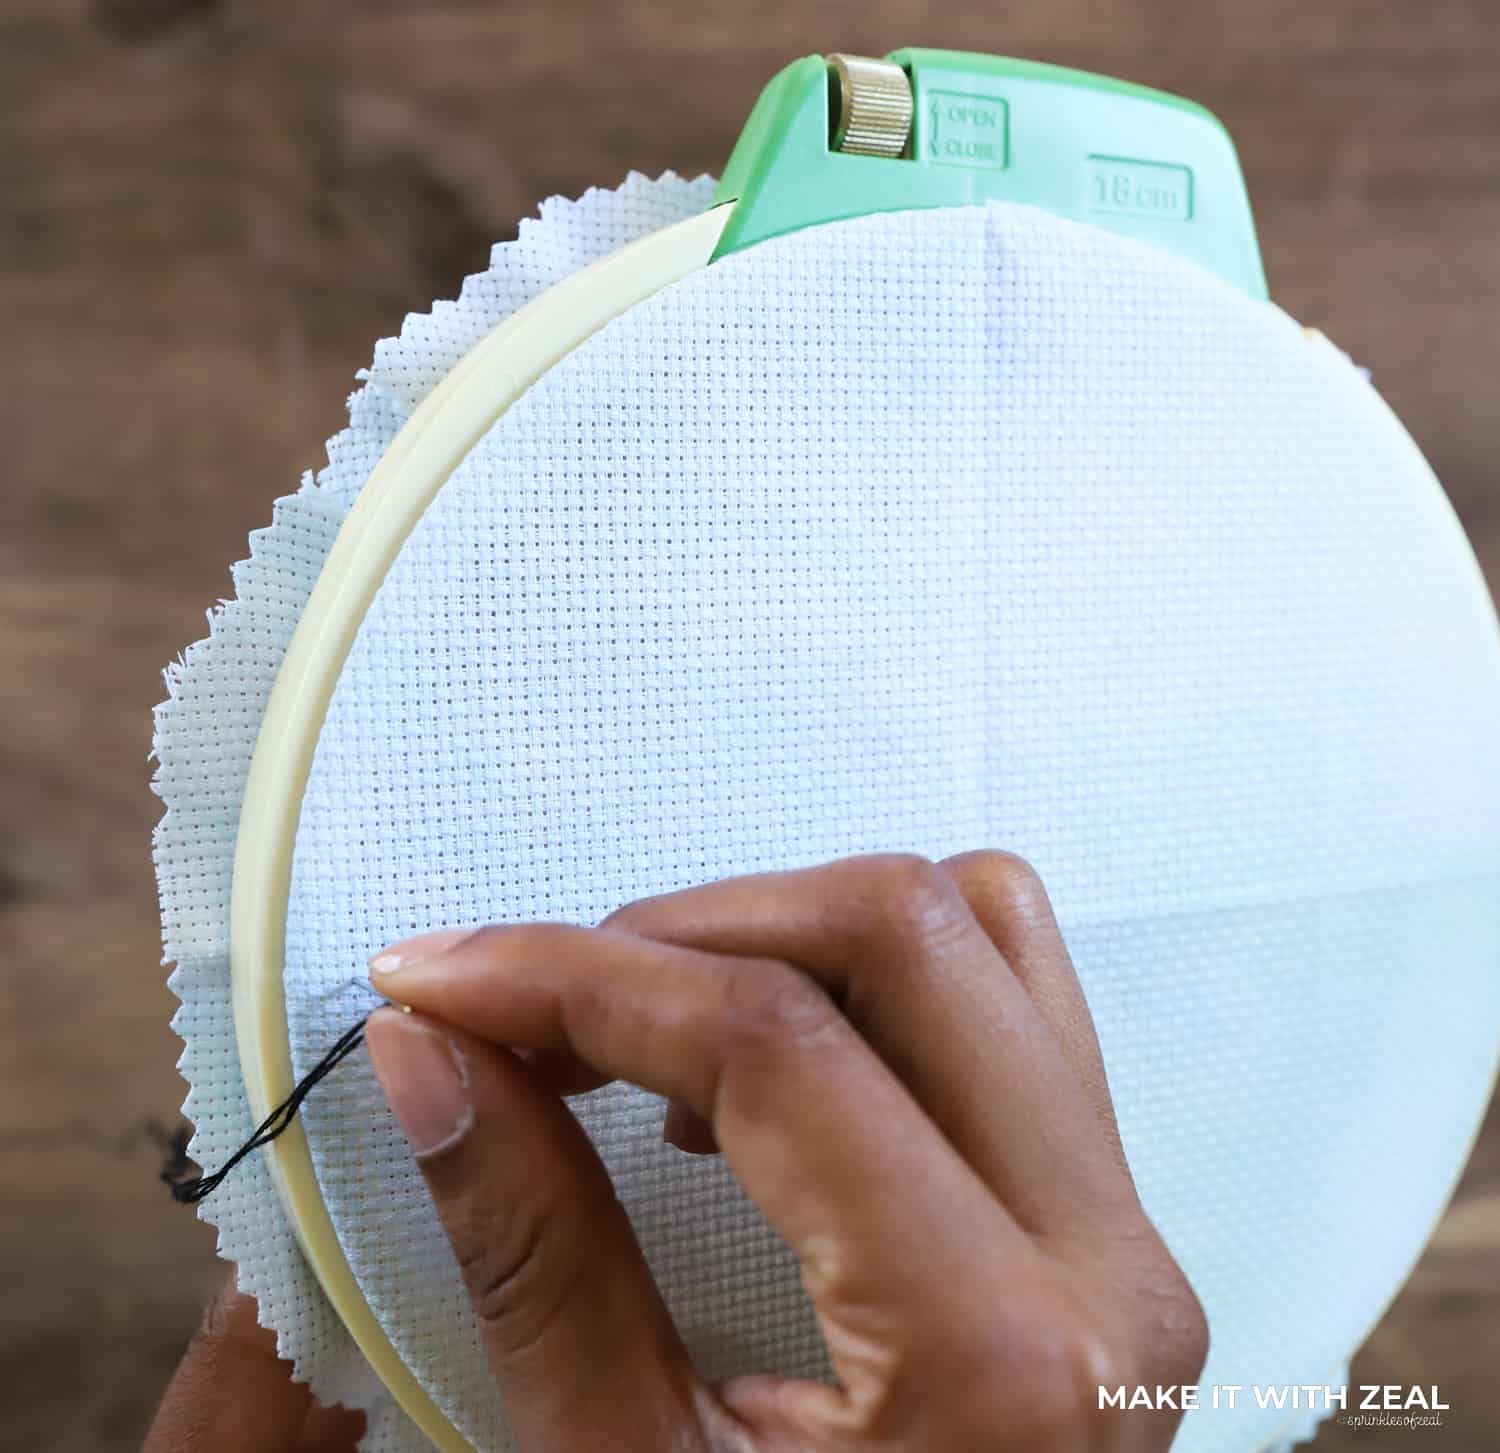
Step 3. Add the Aida to Clover’s Embroidery Hoop 7″ and tighten.

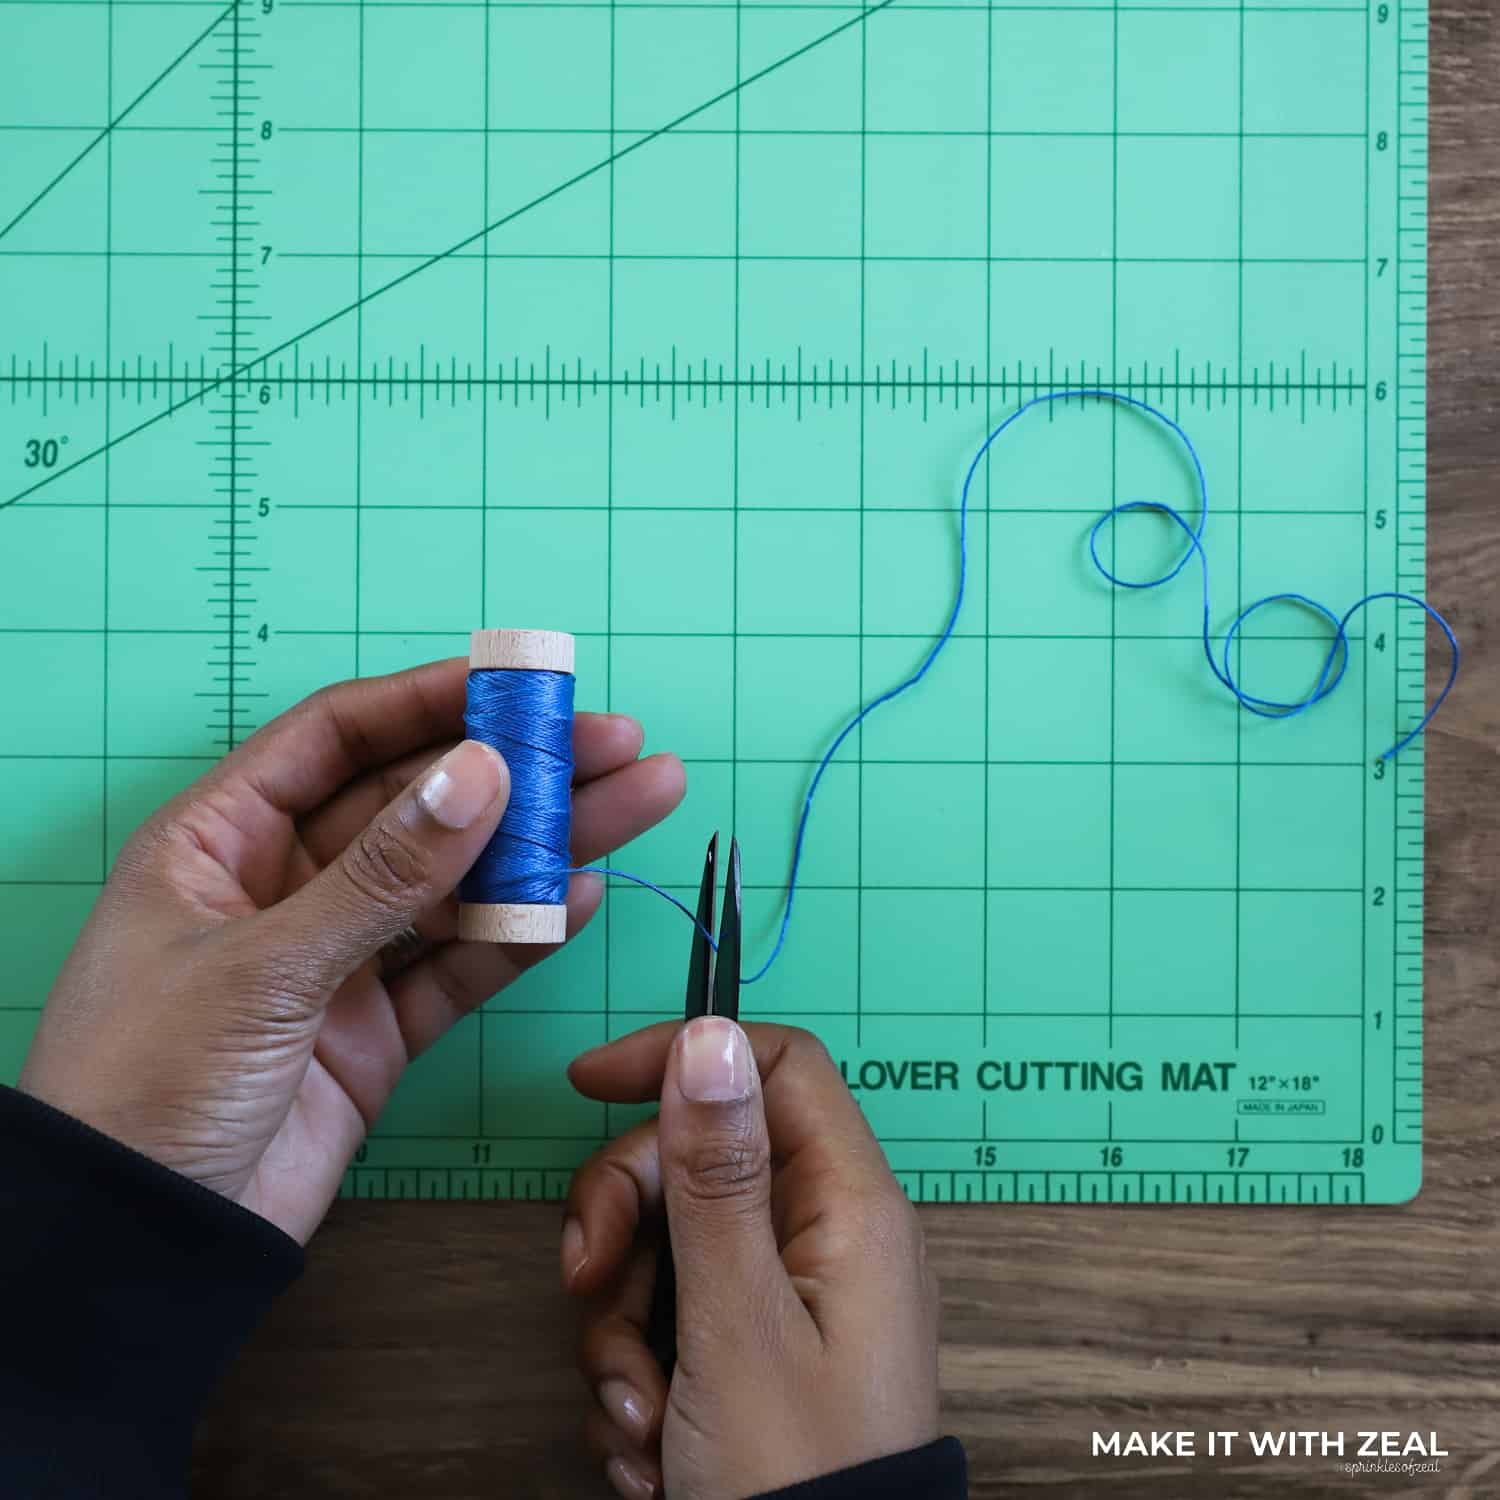
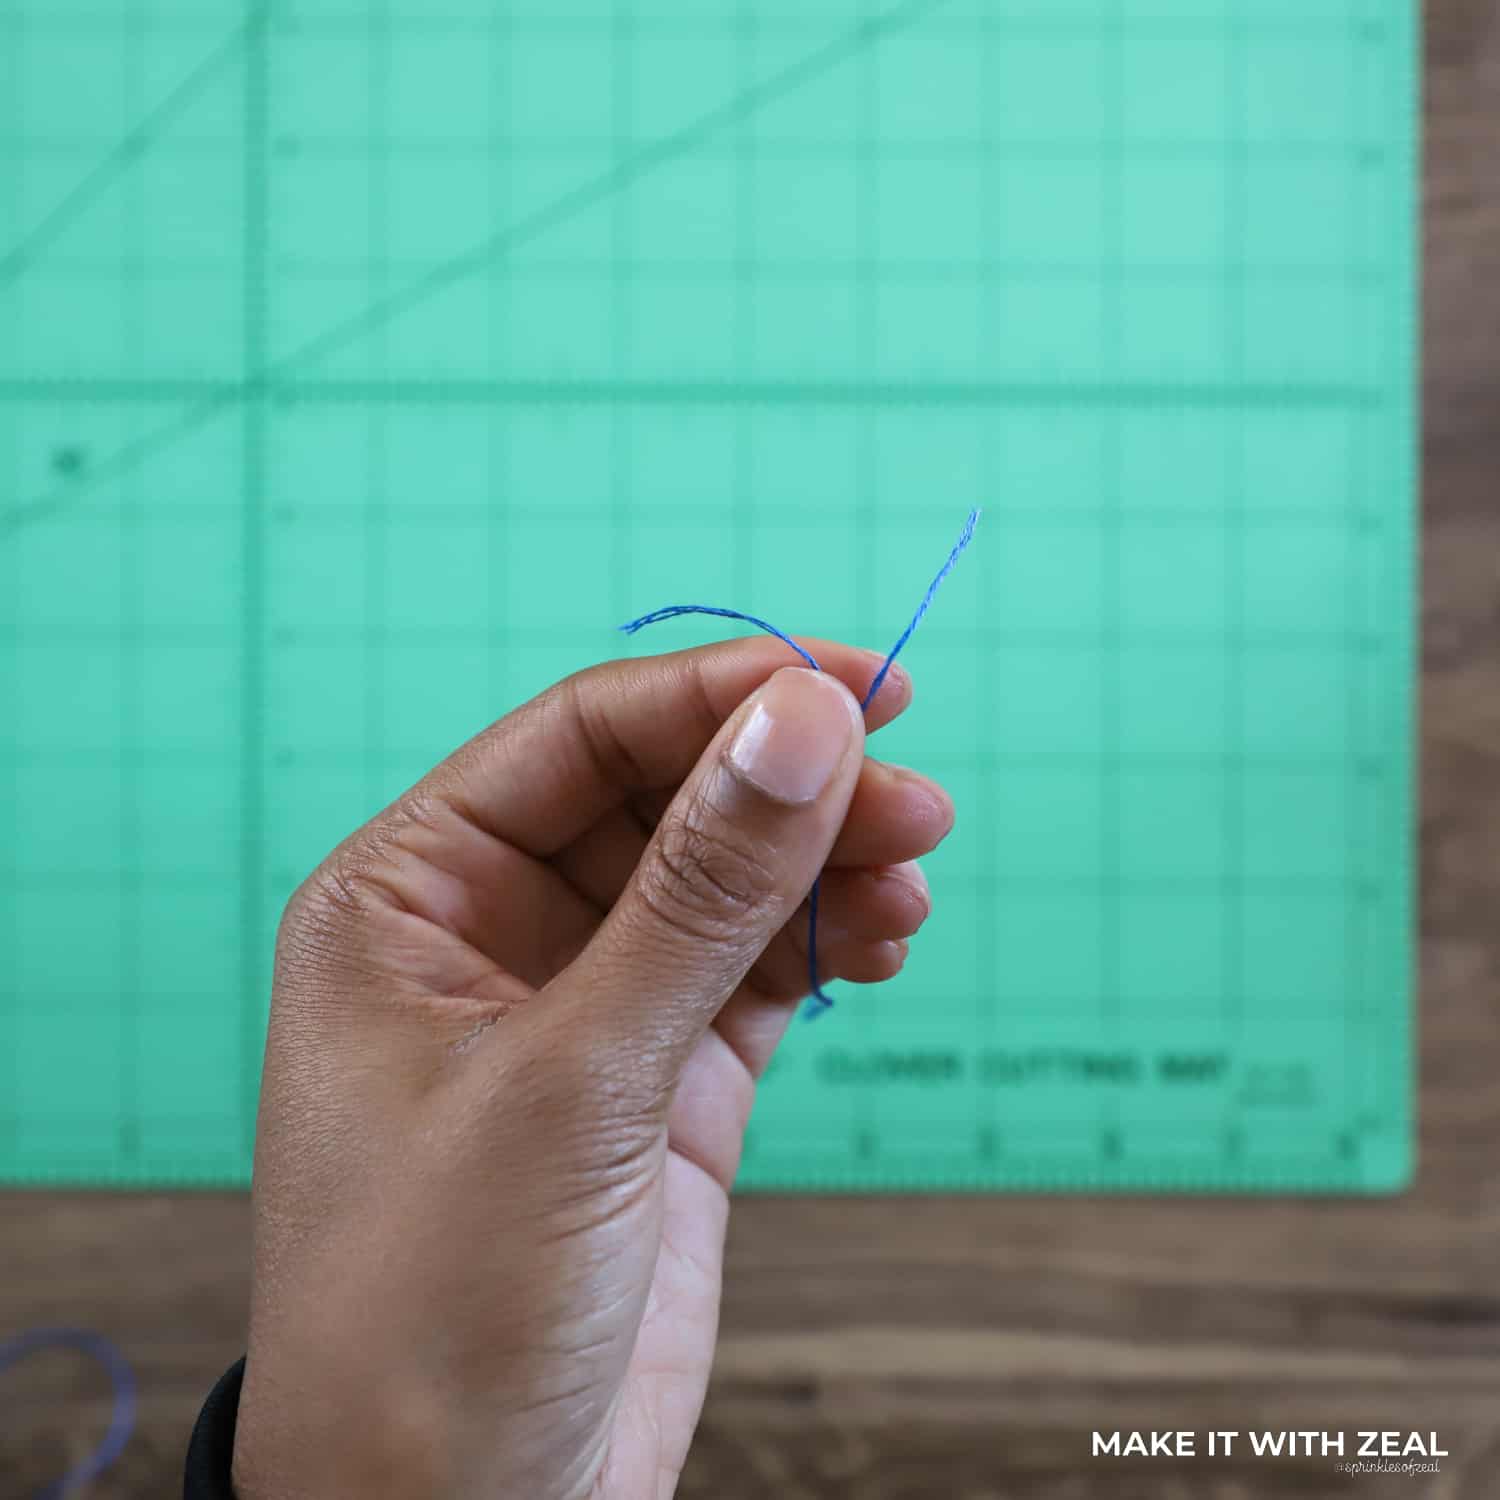
Step 4. Now that the Aida and the embroidery hoop are prepped, it’s time to cut and separate the embroidery thread using Clover’s Thread Clippers. I found that 3 strands worked great for filling out the cross stitches and 2 strands for backstitching the text.
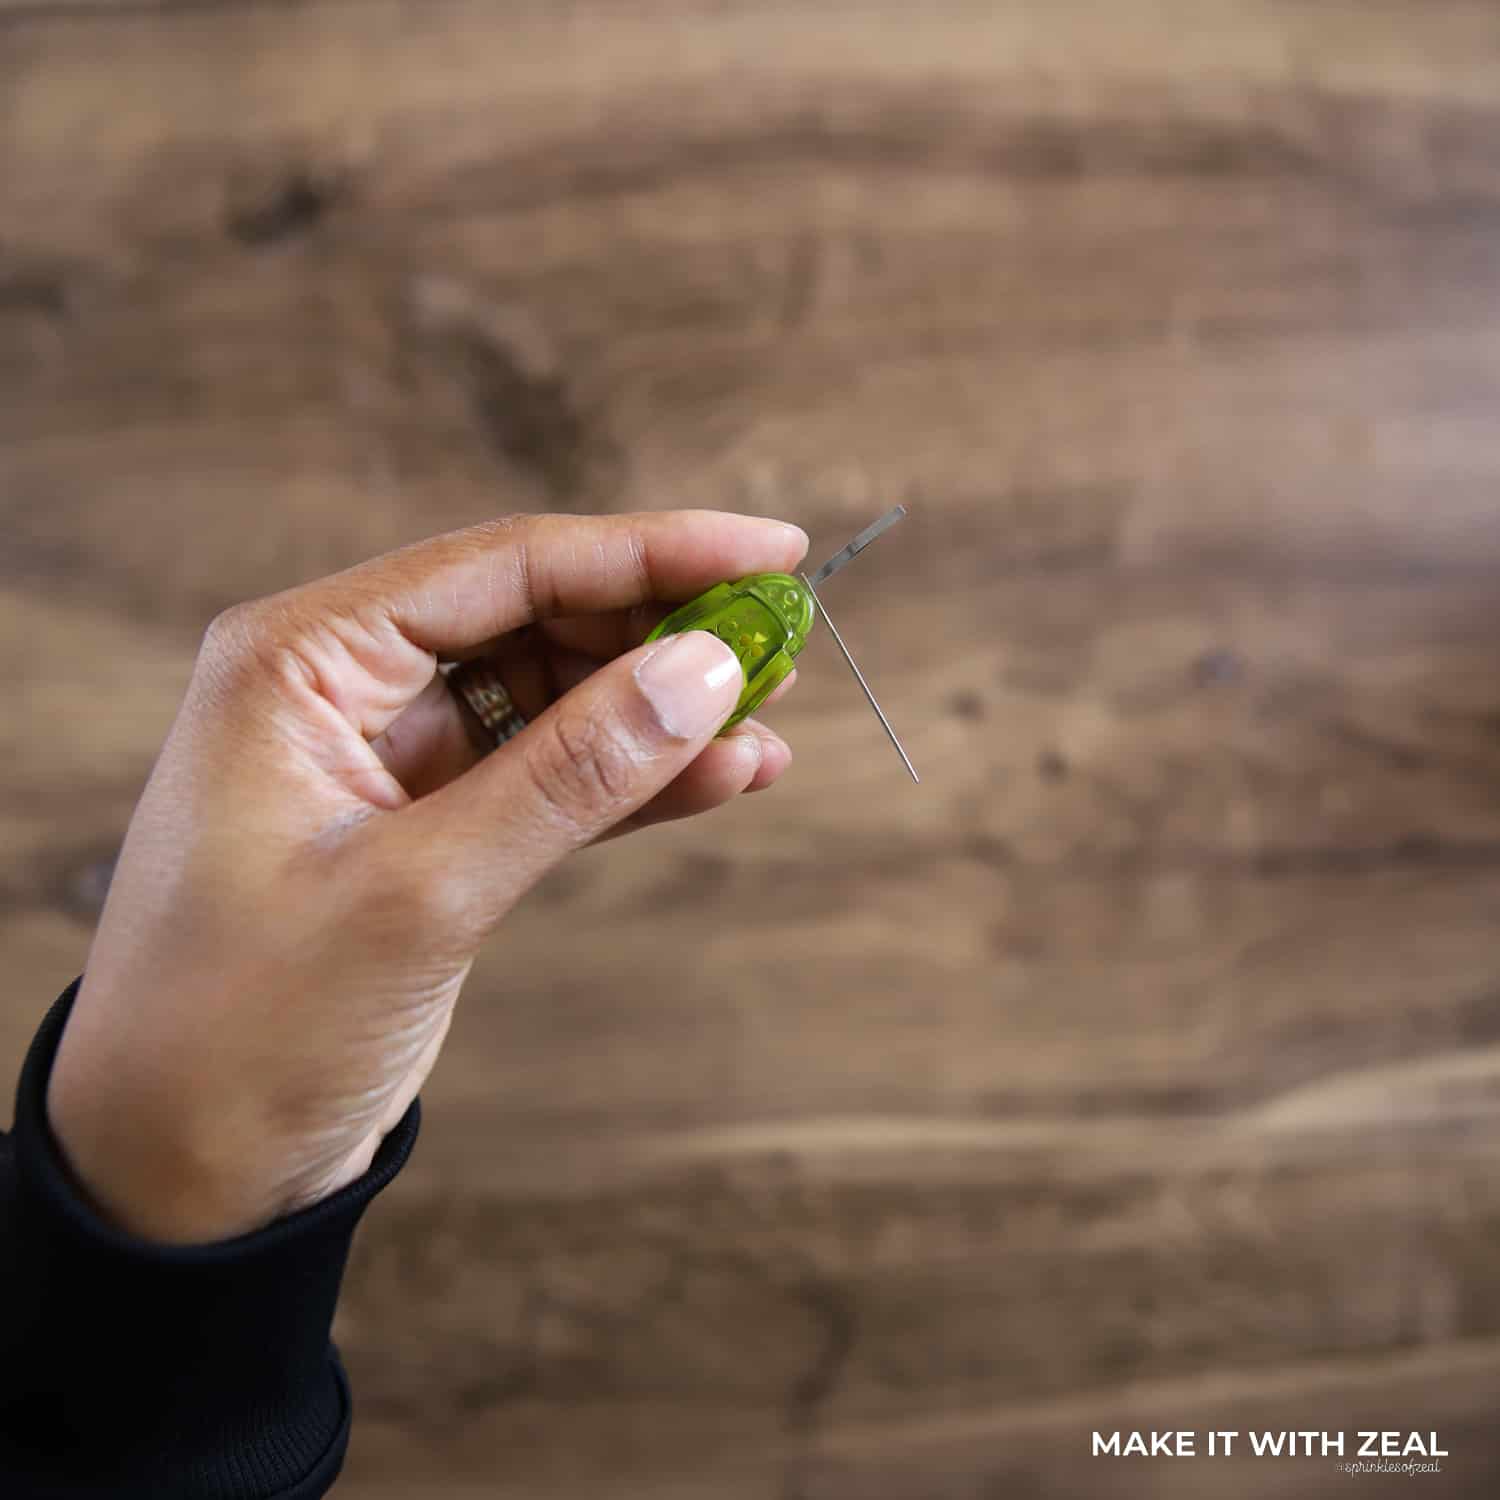
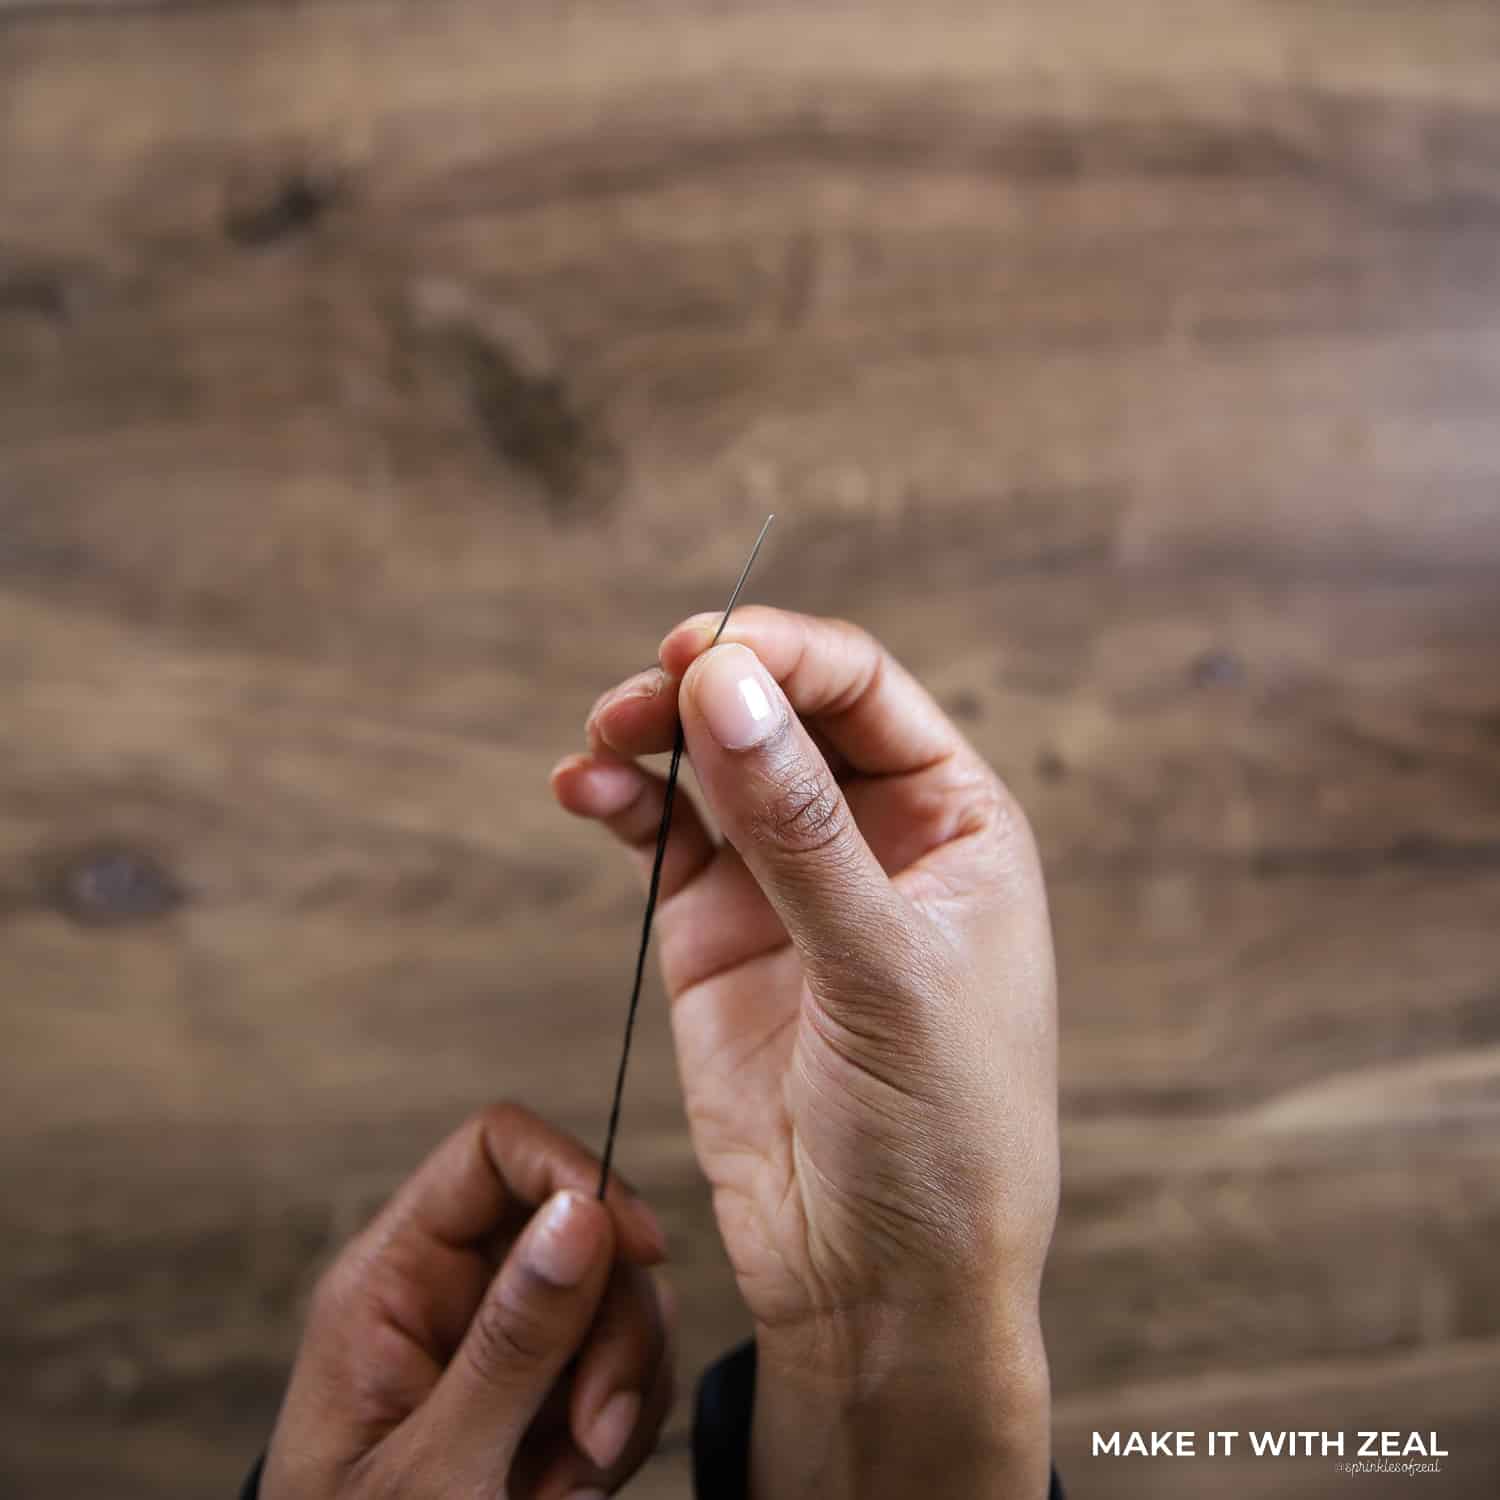
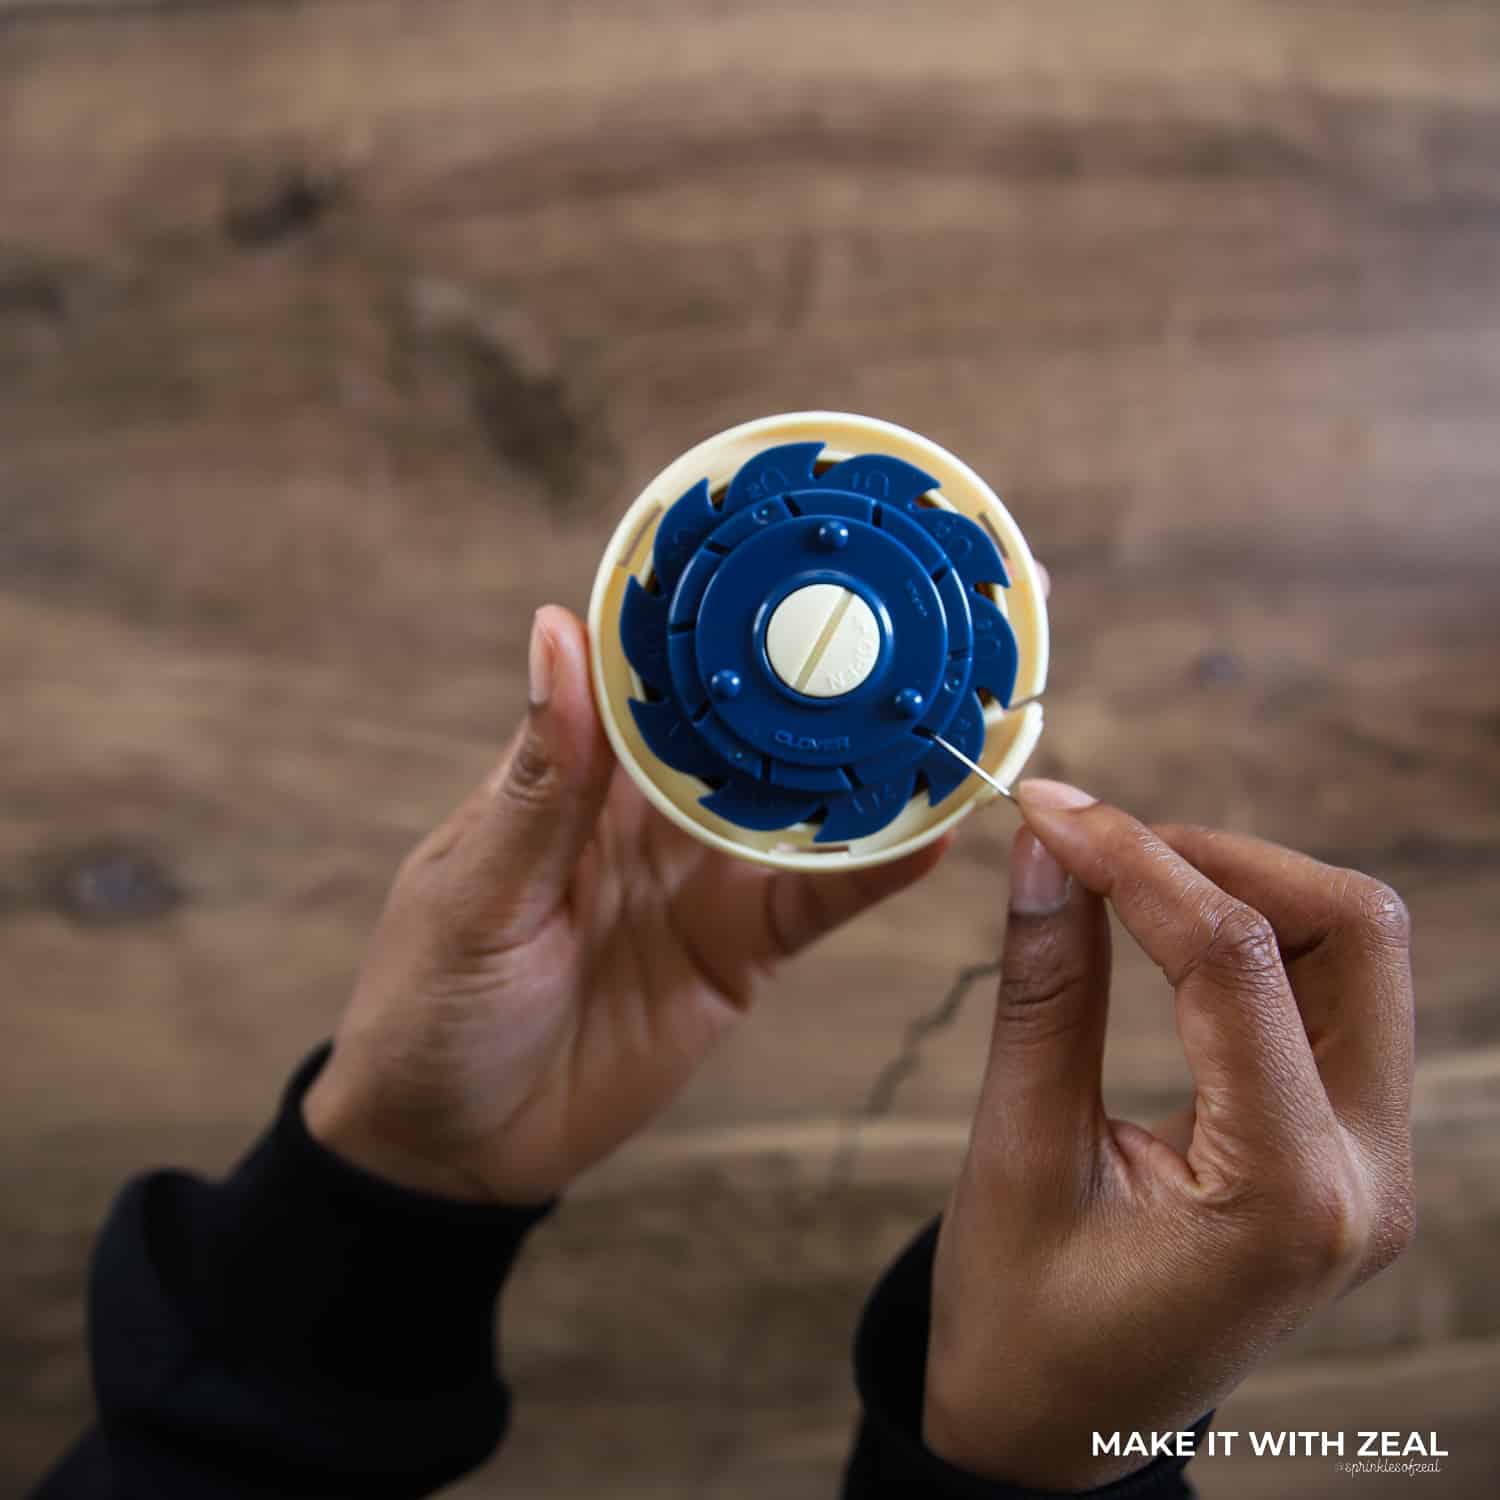
Step 5. Thread all 6 tapestry needles using Clover’s Embroidery Threader for each color, then house the needles in Clover’s Dome Threaded Needle Case to help switch the threads with ease. If you would like to see a guided tutorial for using the Dome Needle case, check out my Newborn Cross Stitch Plaque blog for a more in-depth breakdown.
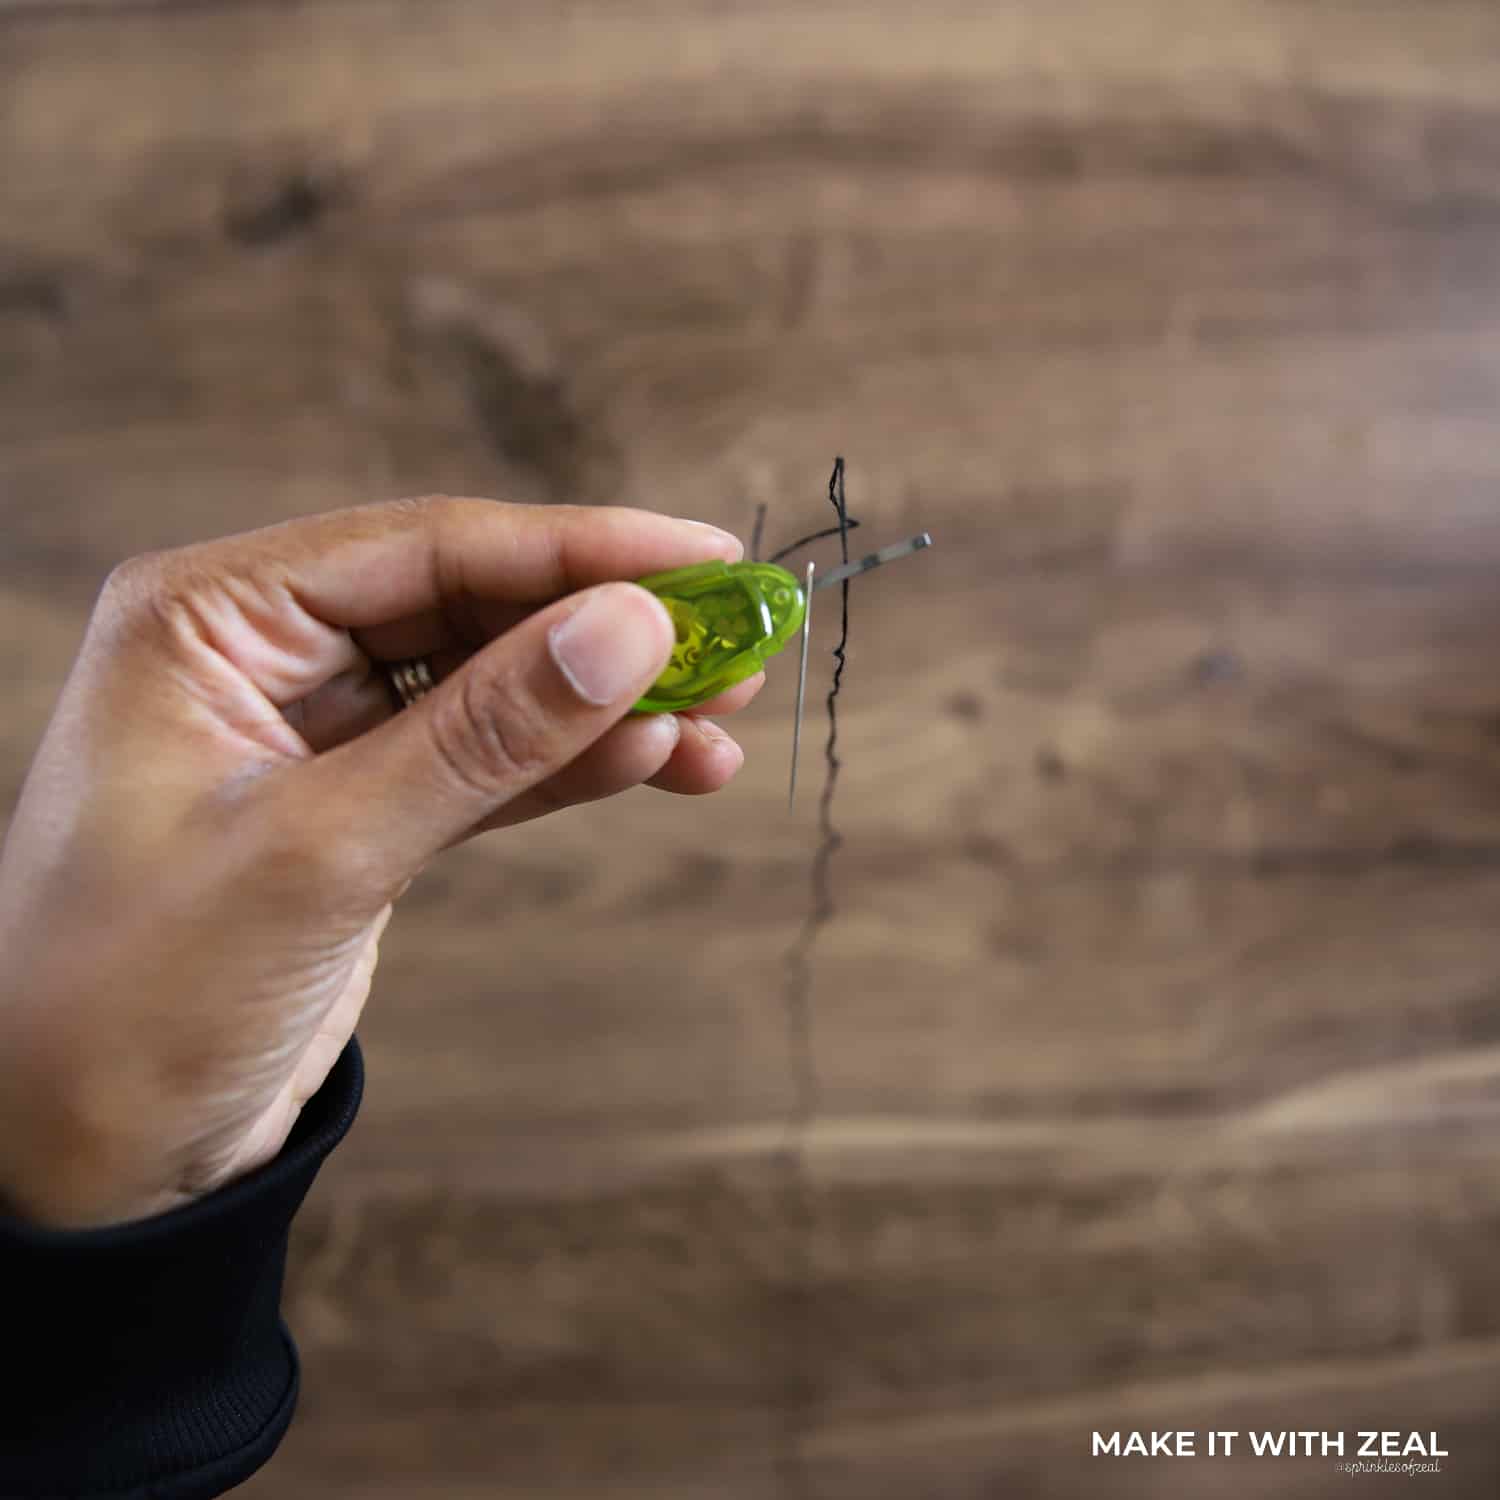
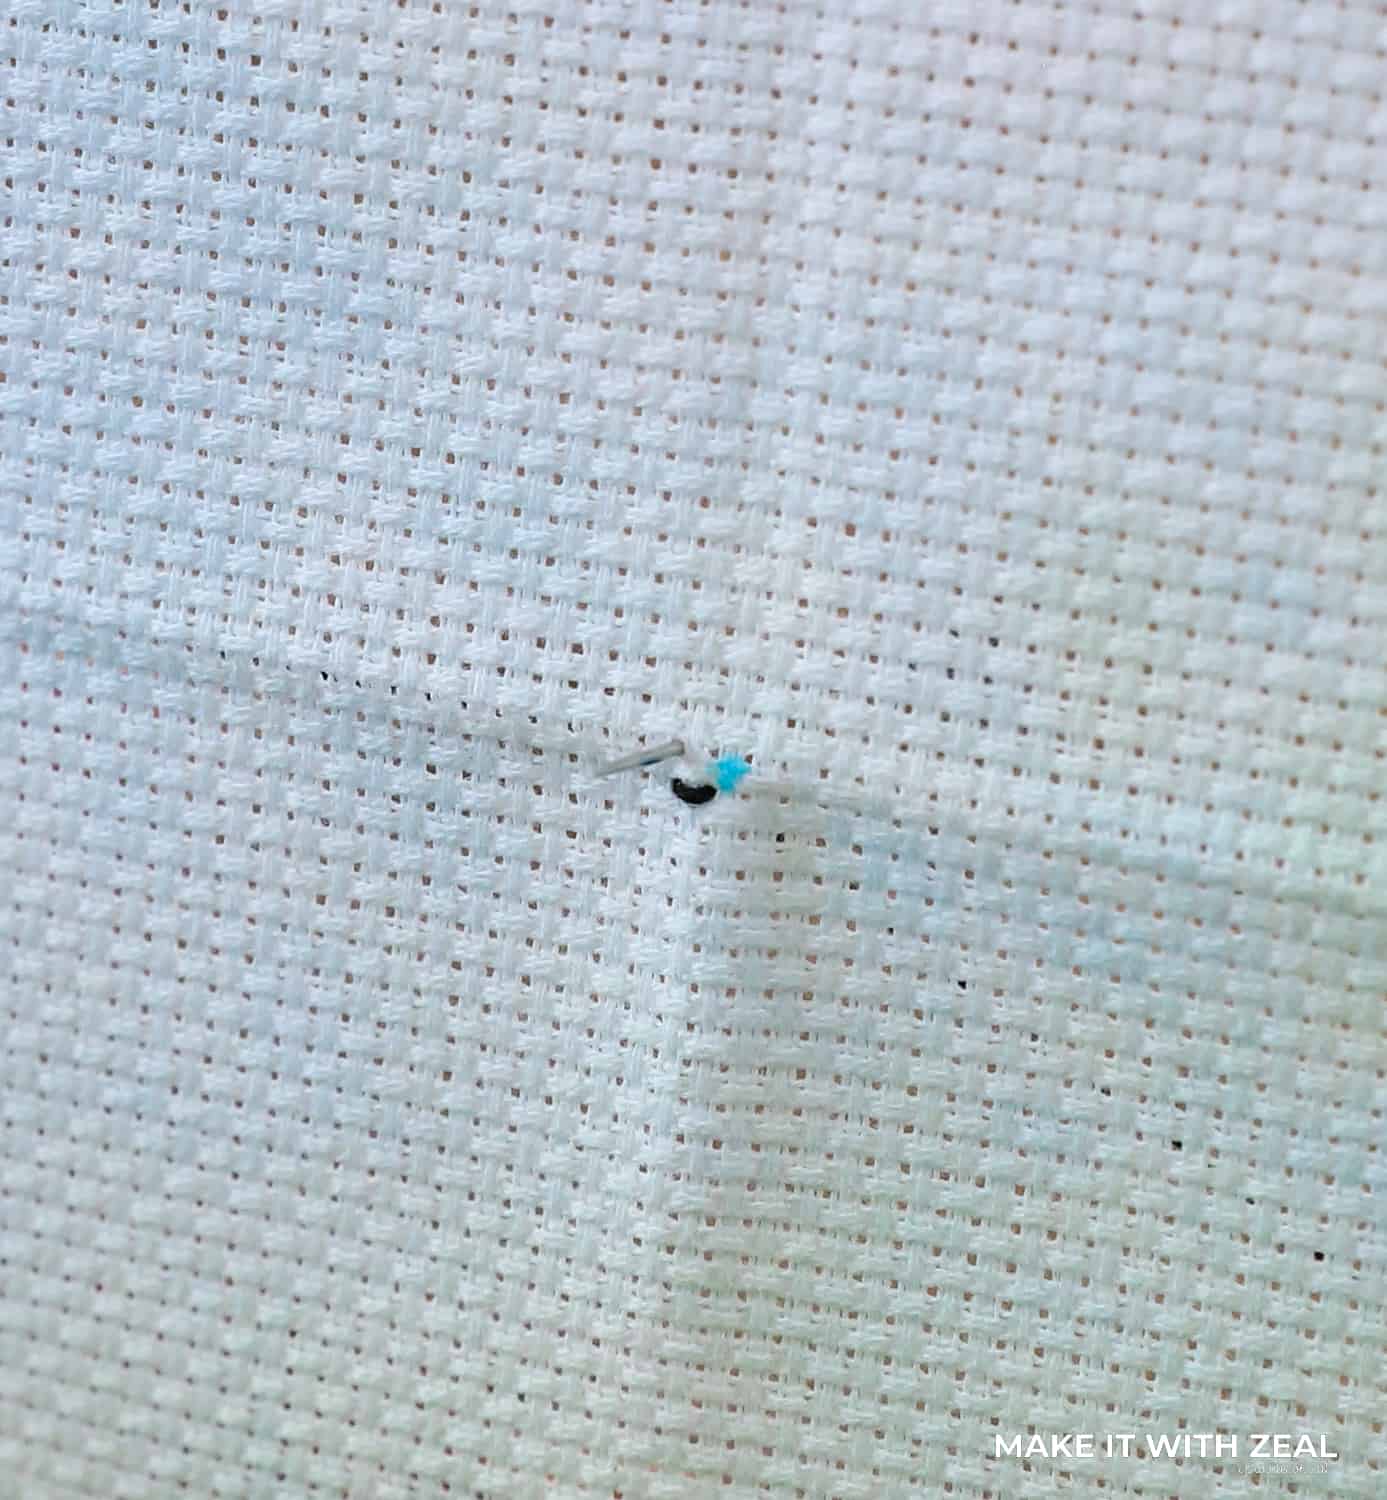
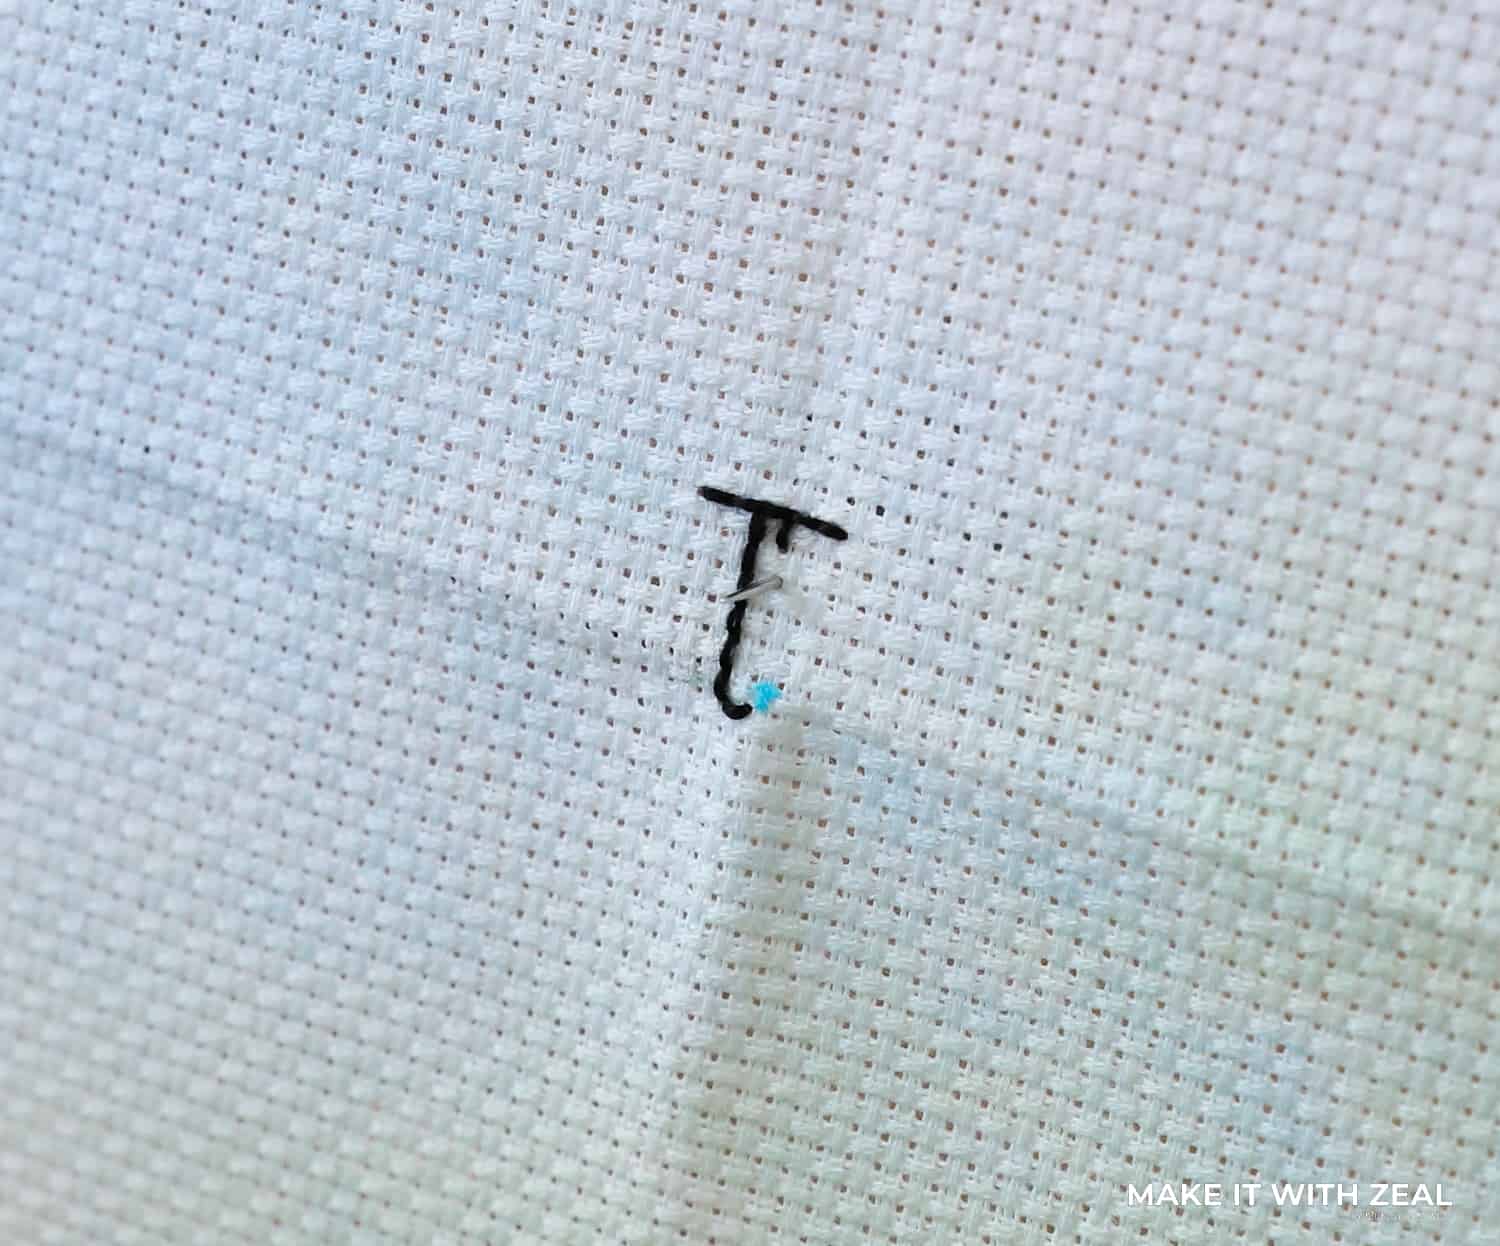
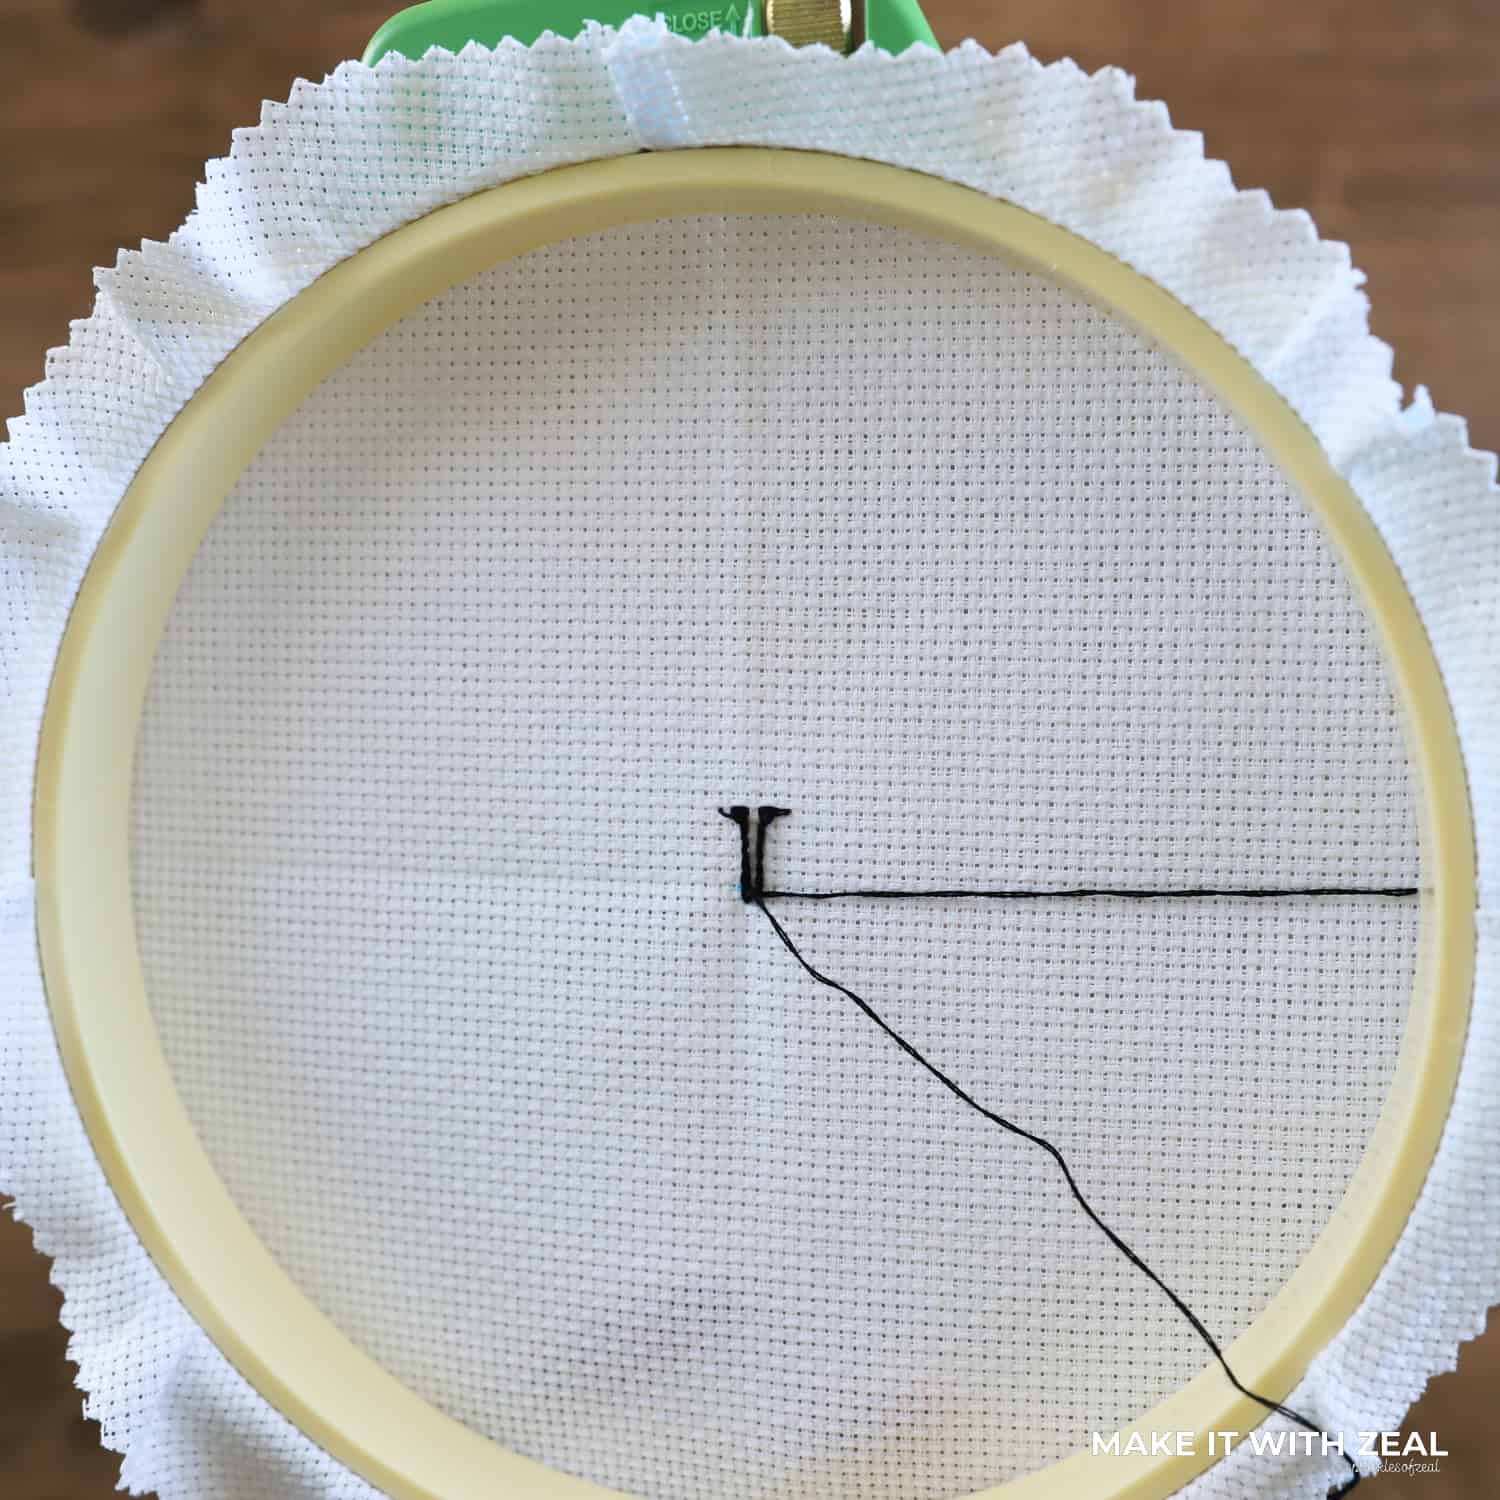
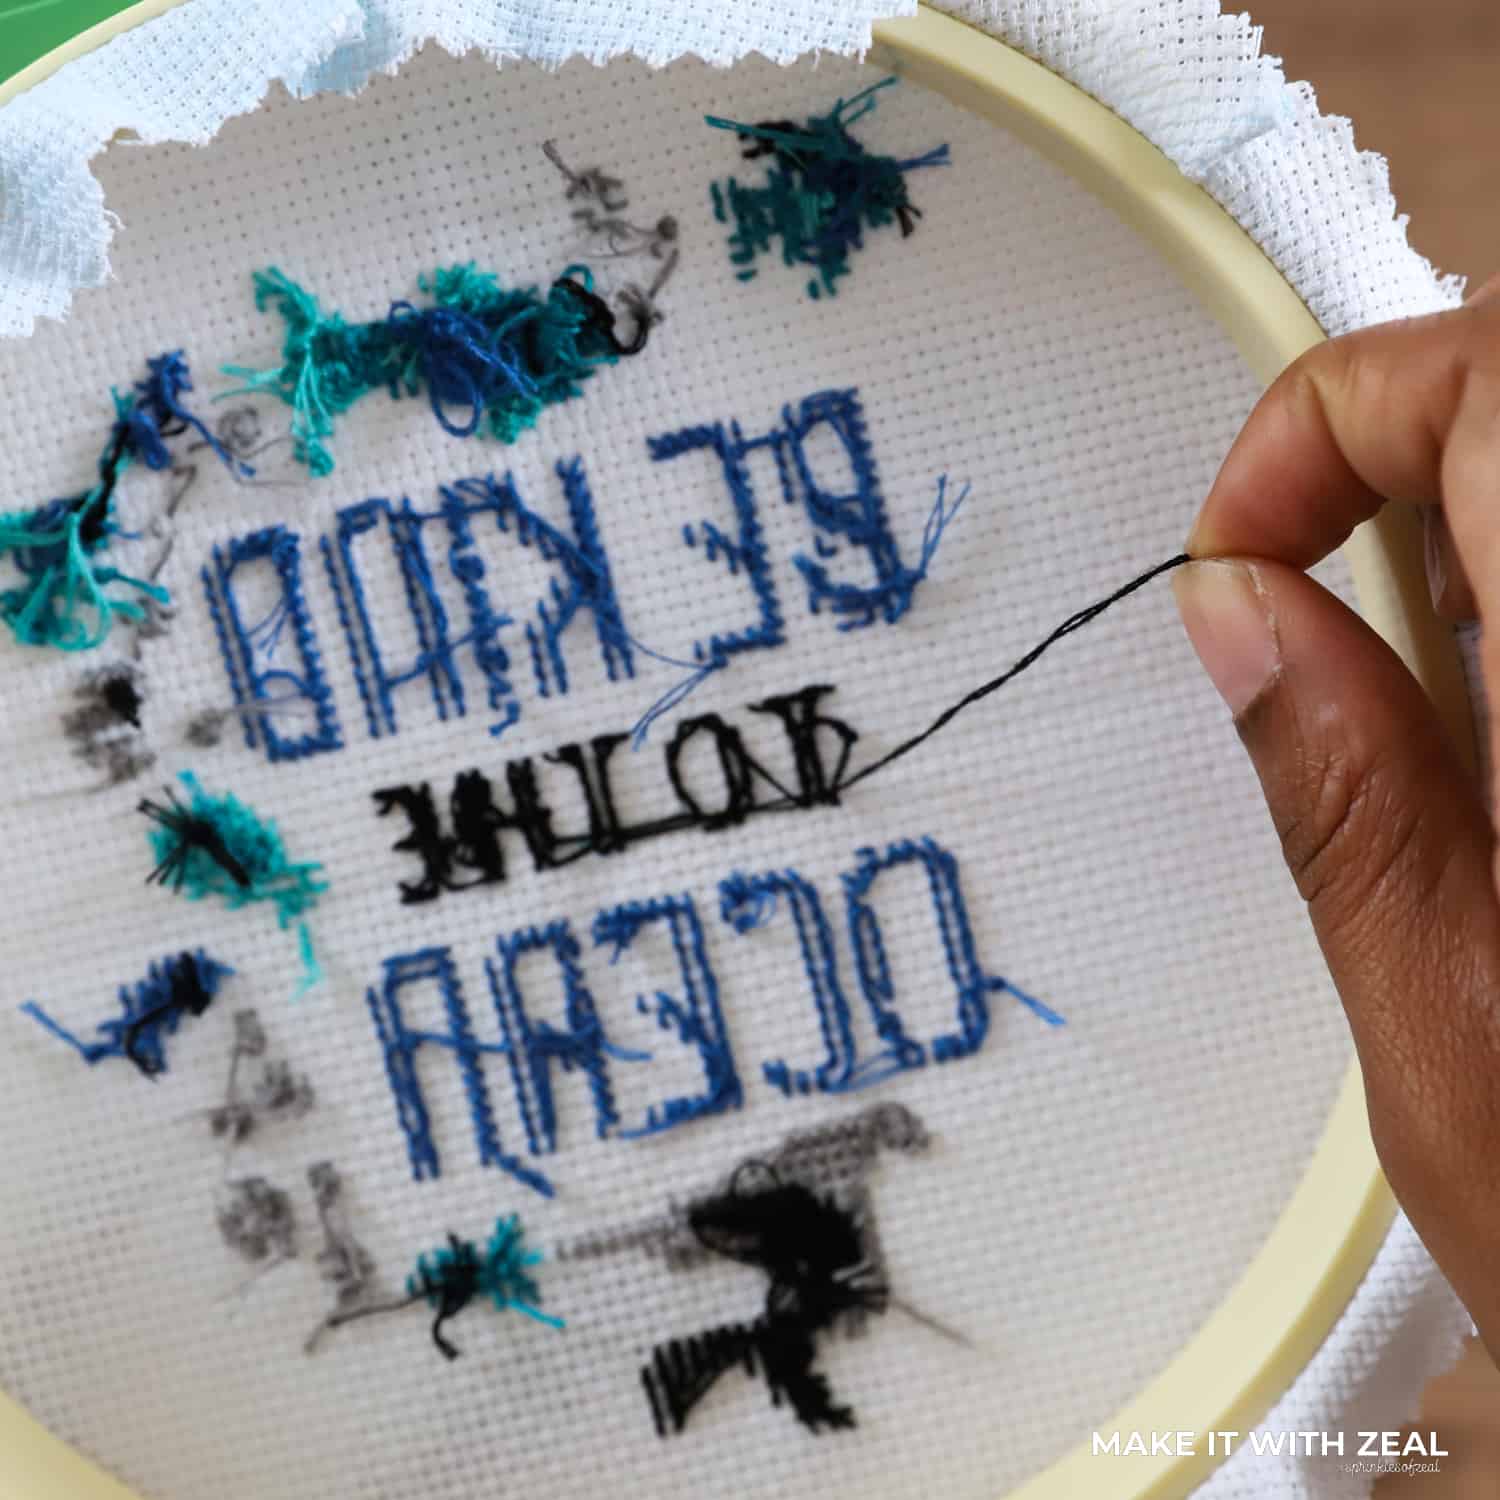
Step 6. Let’s begin by creating a “waste knot”. Waste knots are helpful to use when you begin stitching. The knot is cut off, and the thread is weaved into the back of the stitches.

Note: If this is your first time adding backstitching to Aida, follow along with the pictures below. If not, then feel free to continue scrolling pass this step.
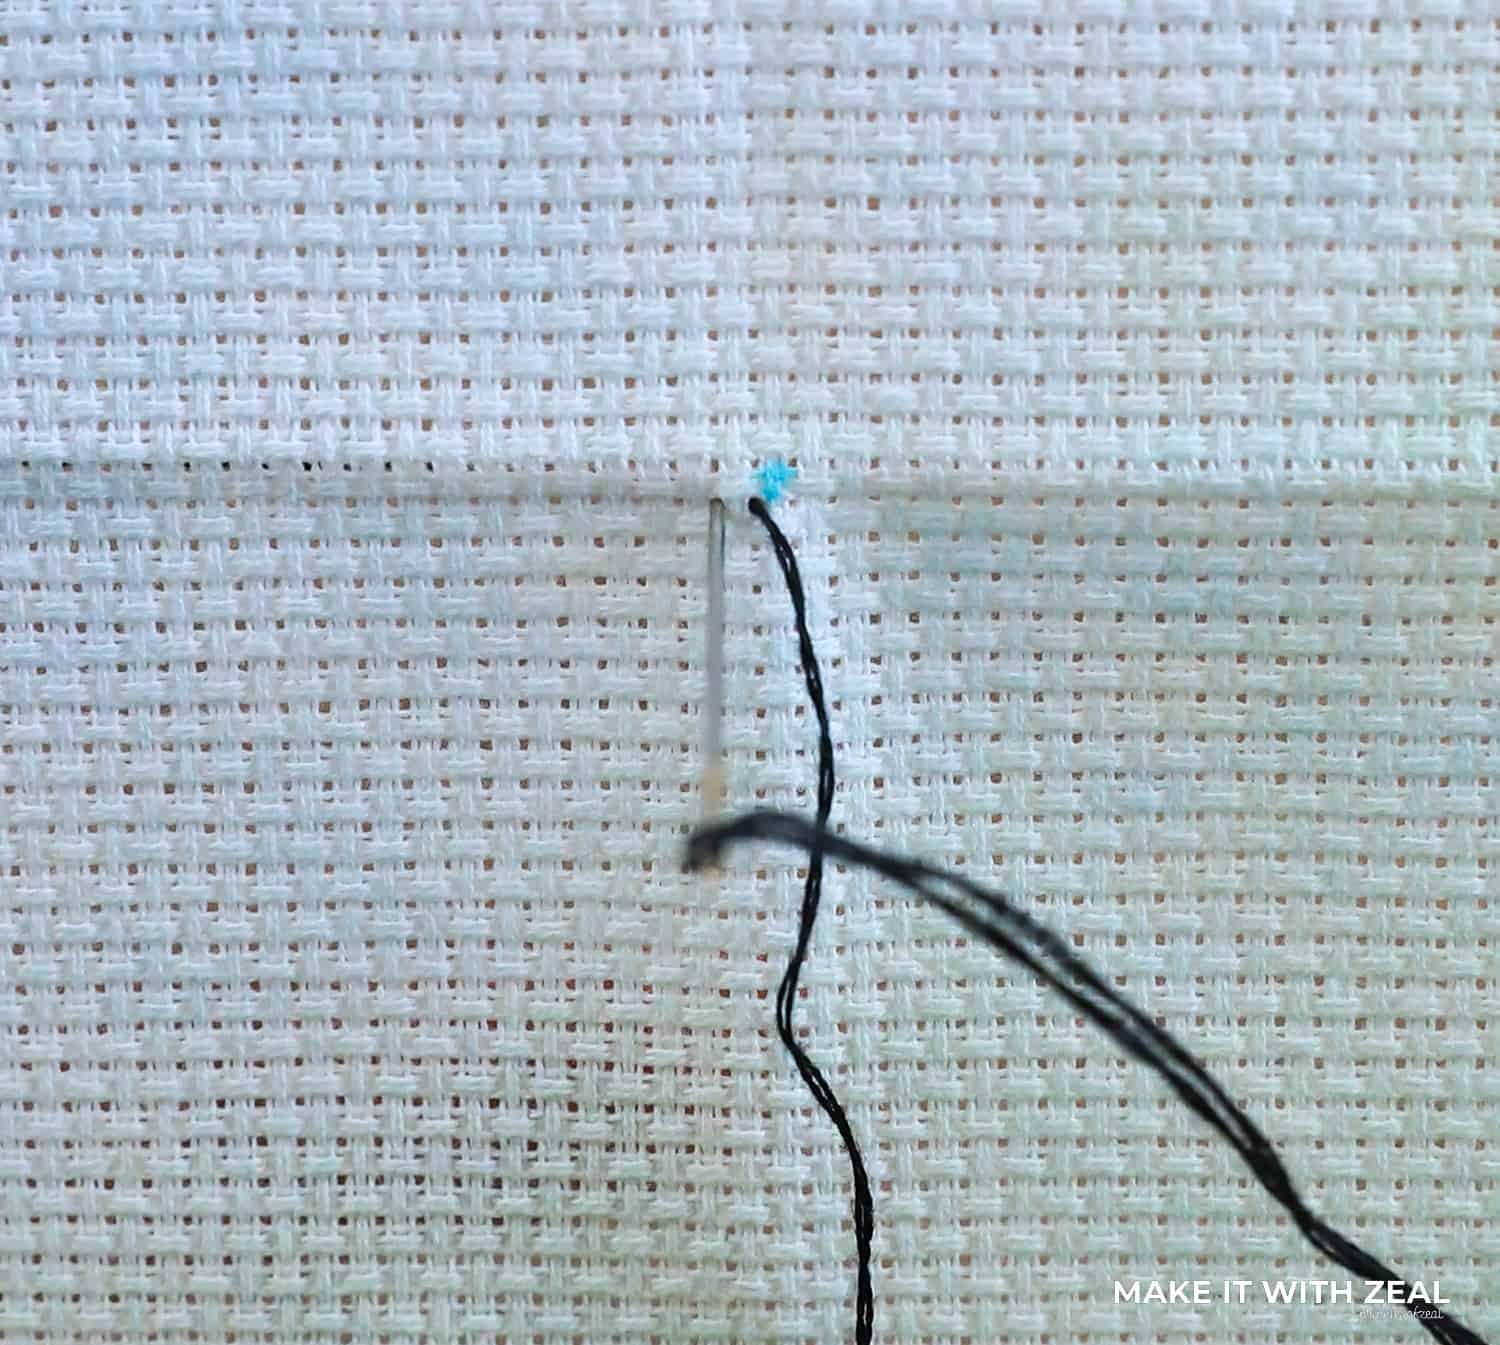
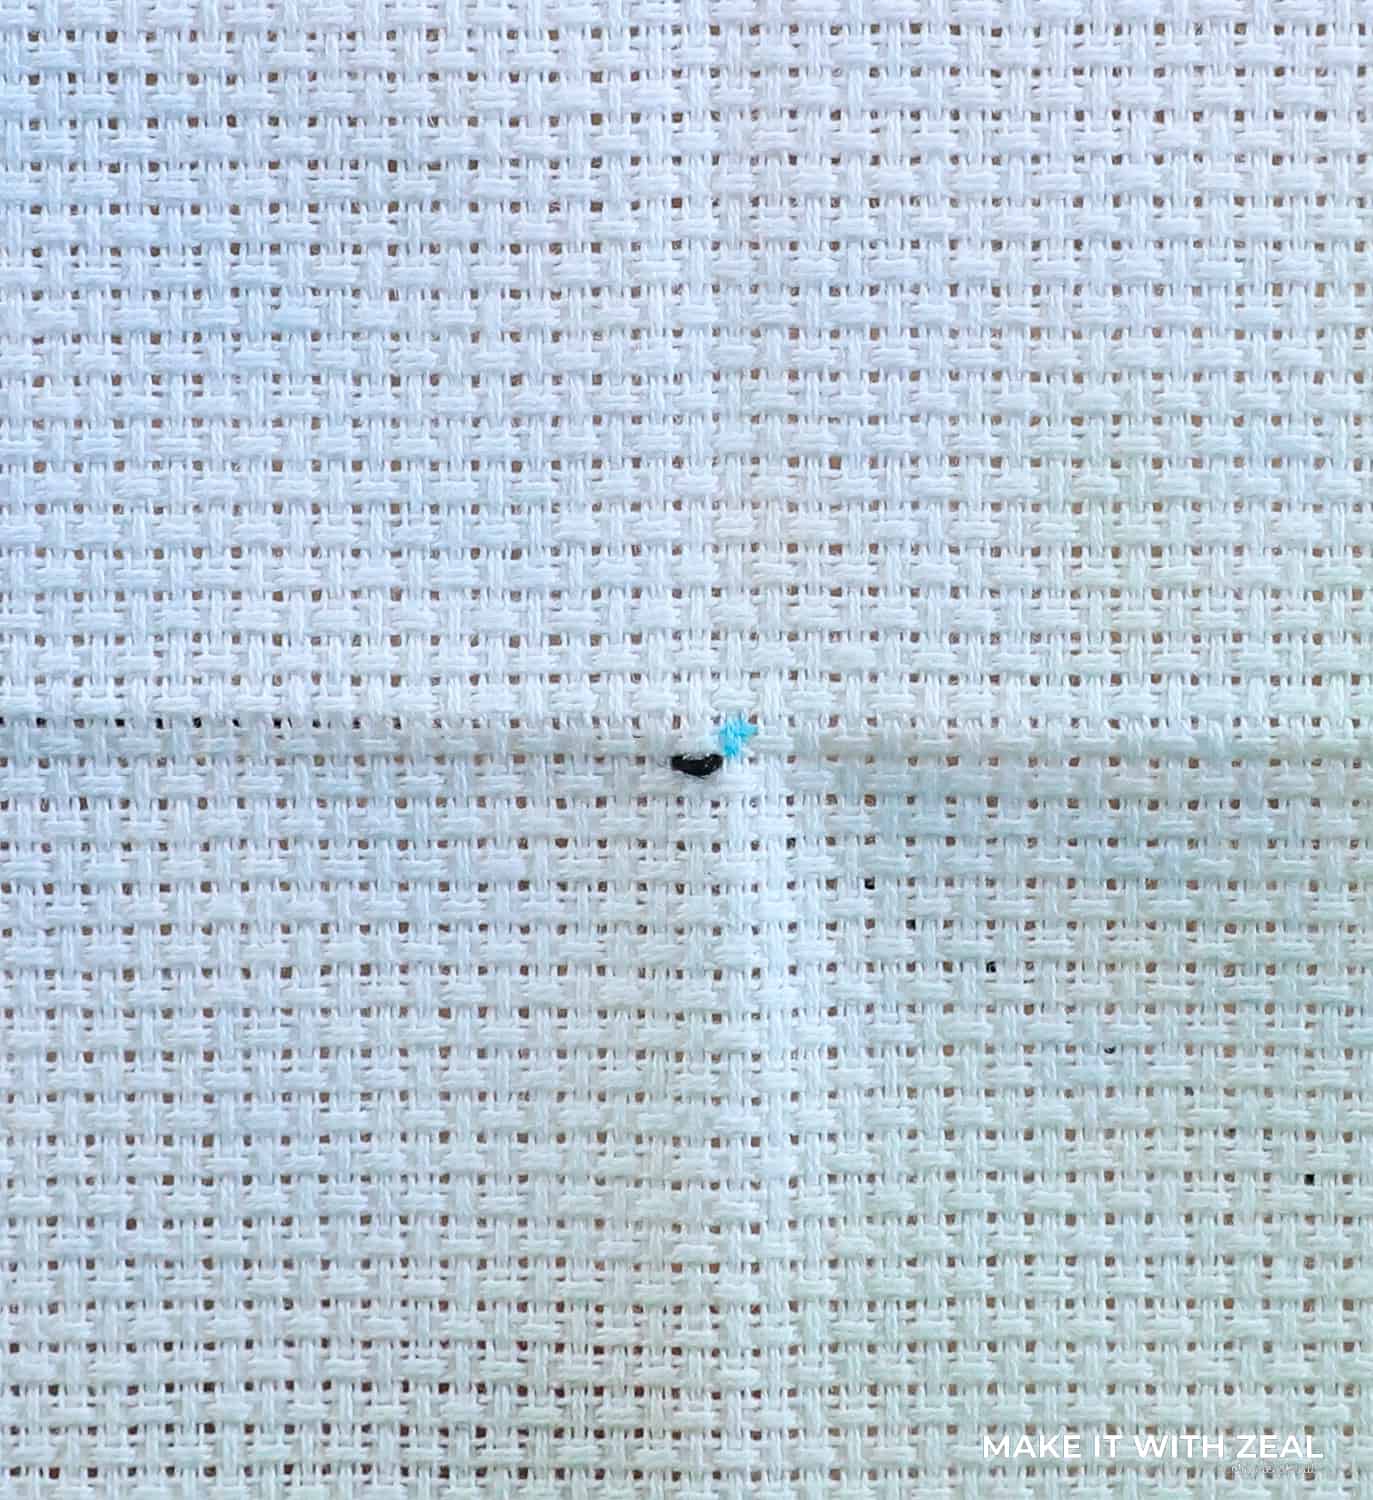
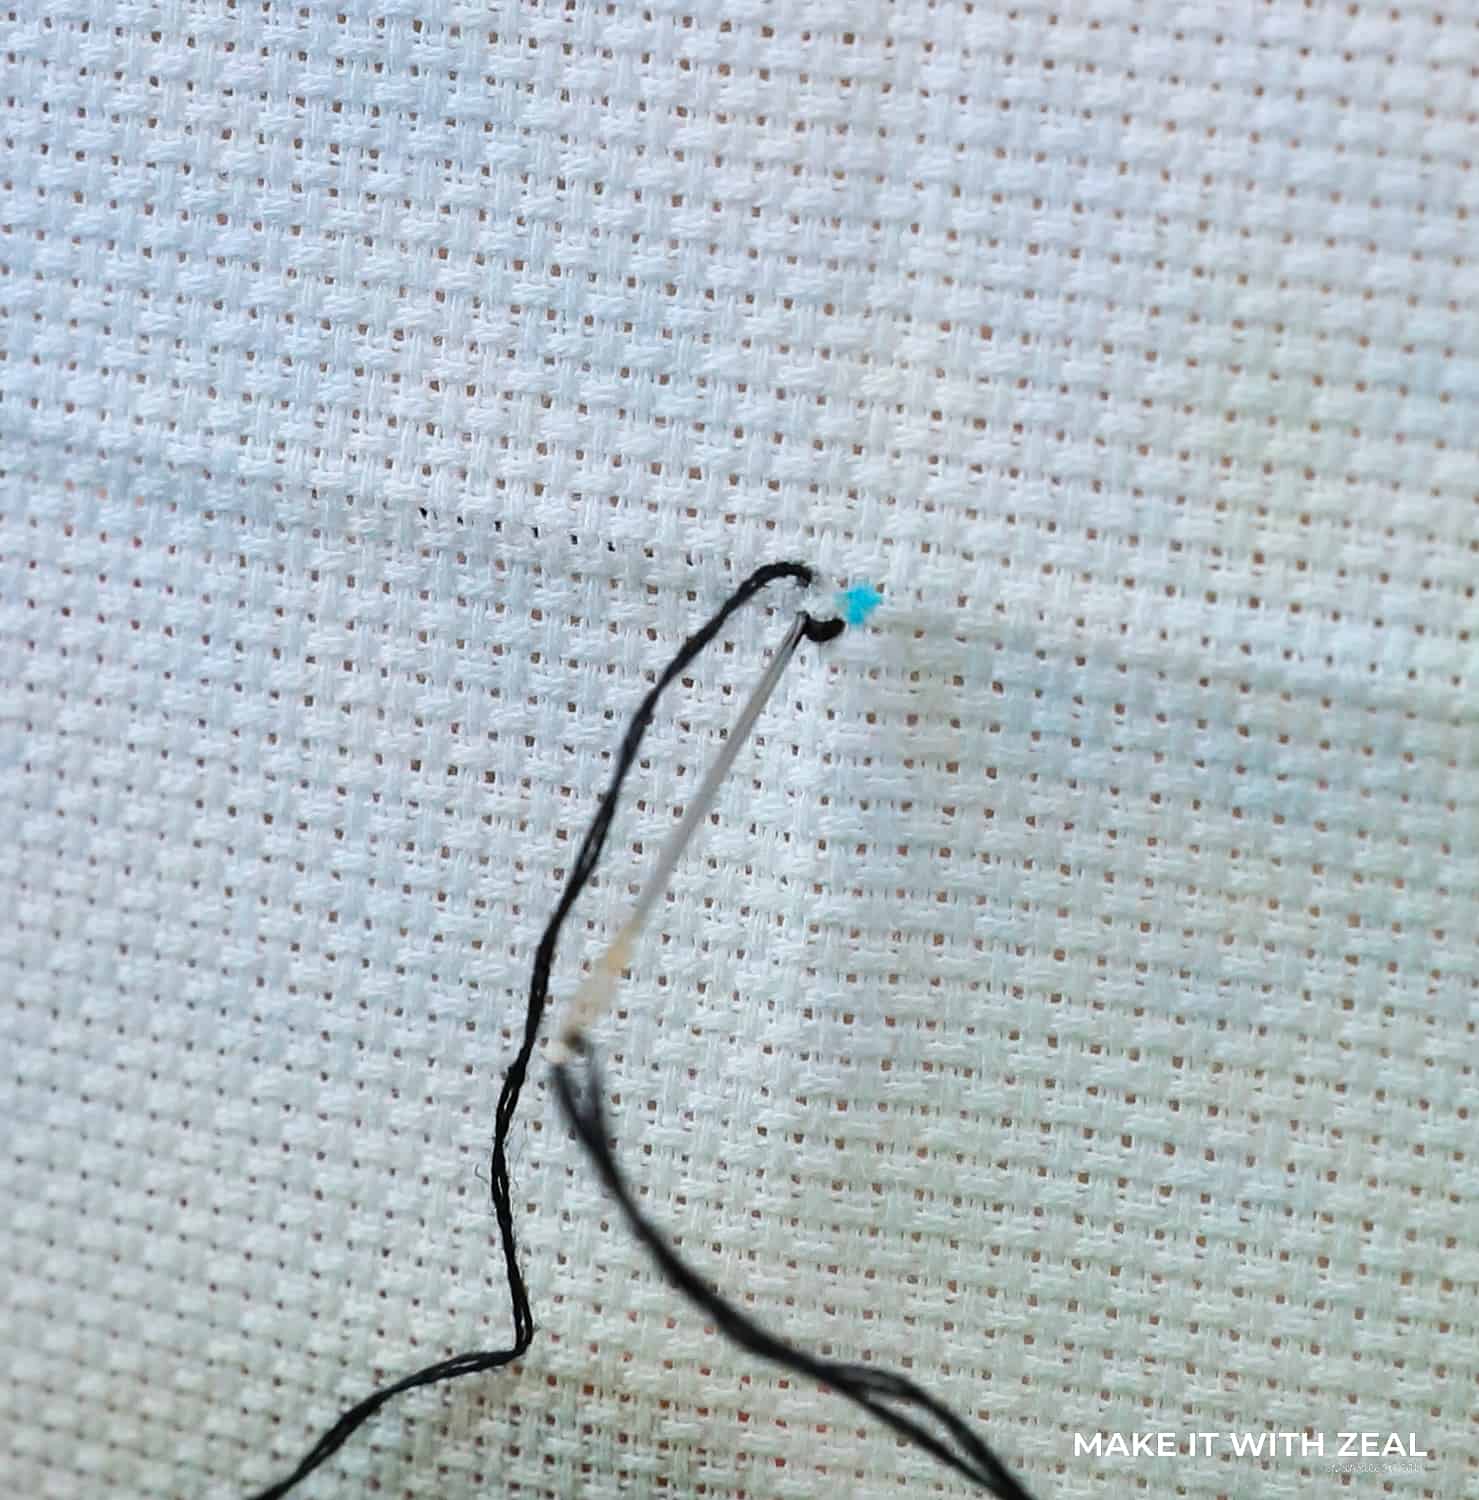
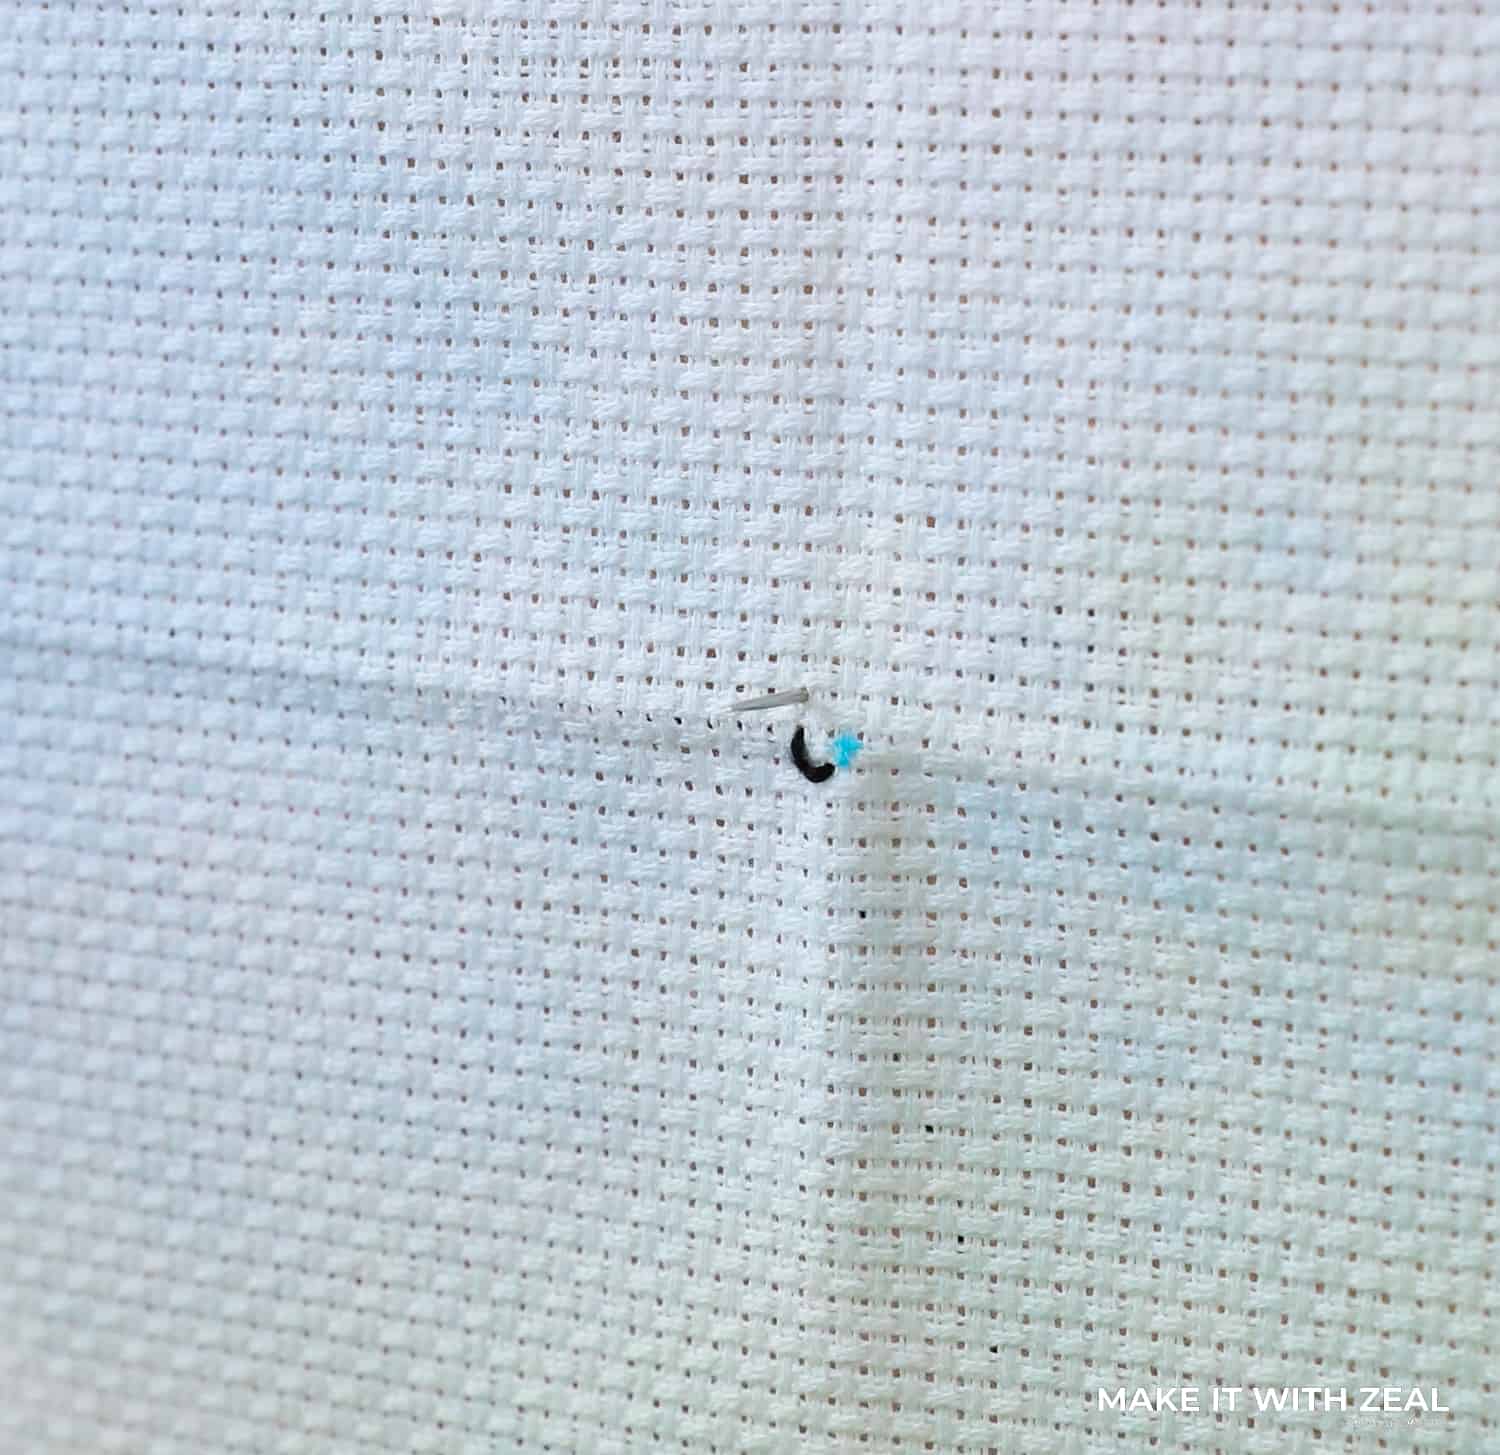
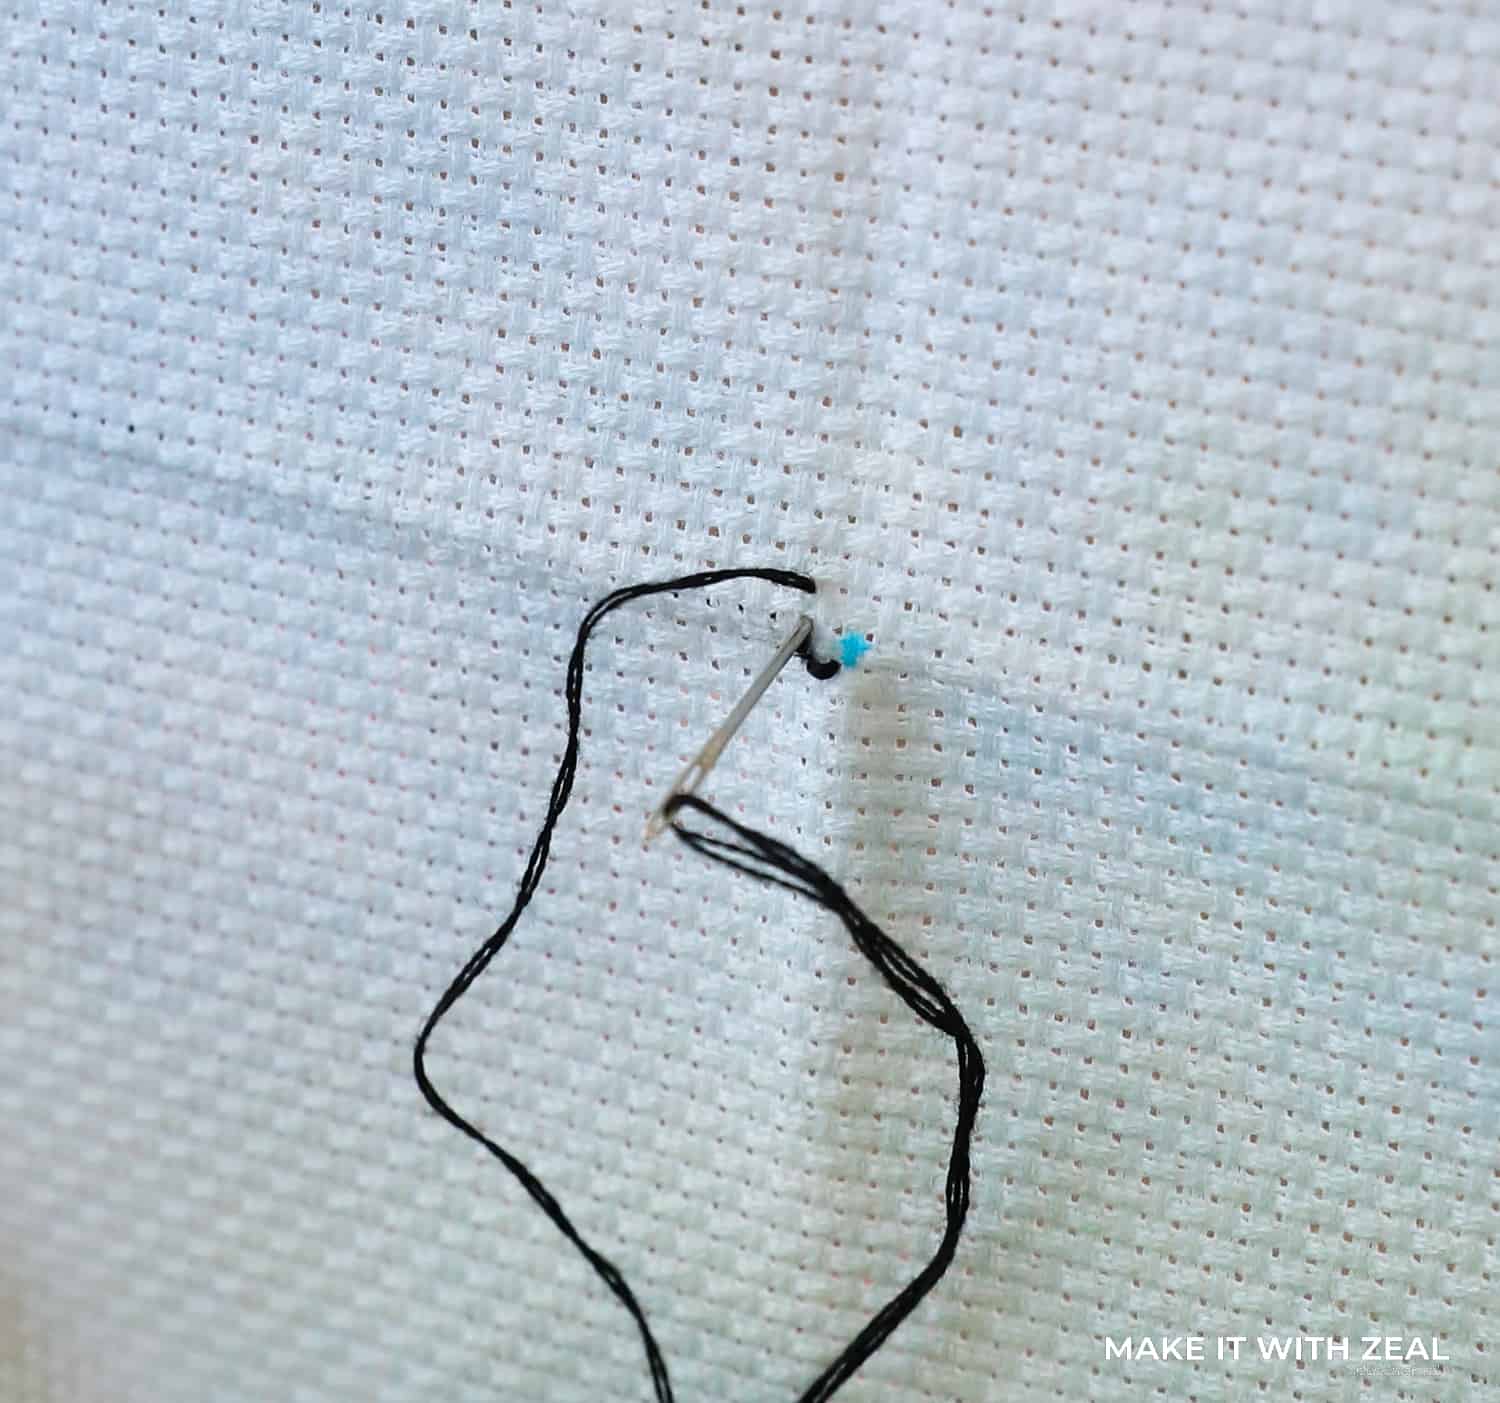
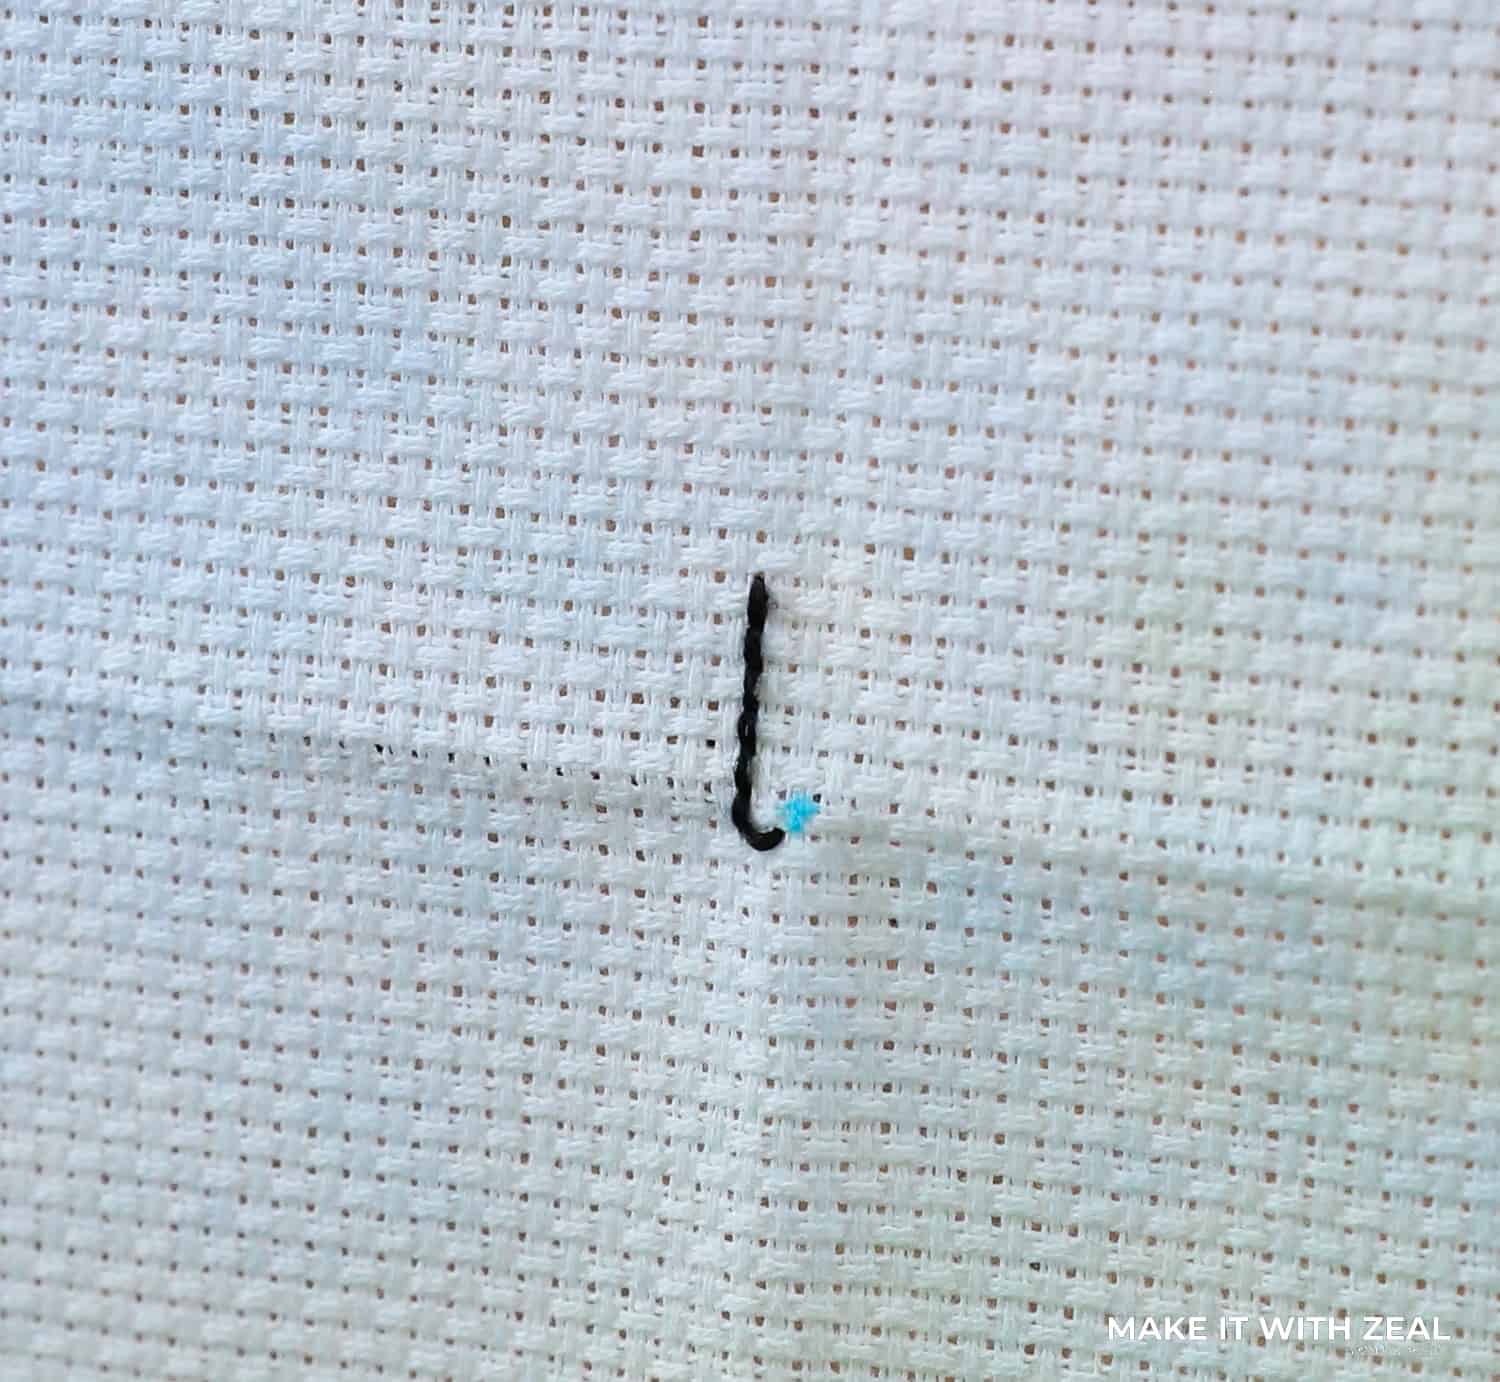
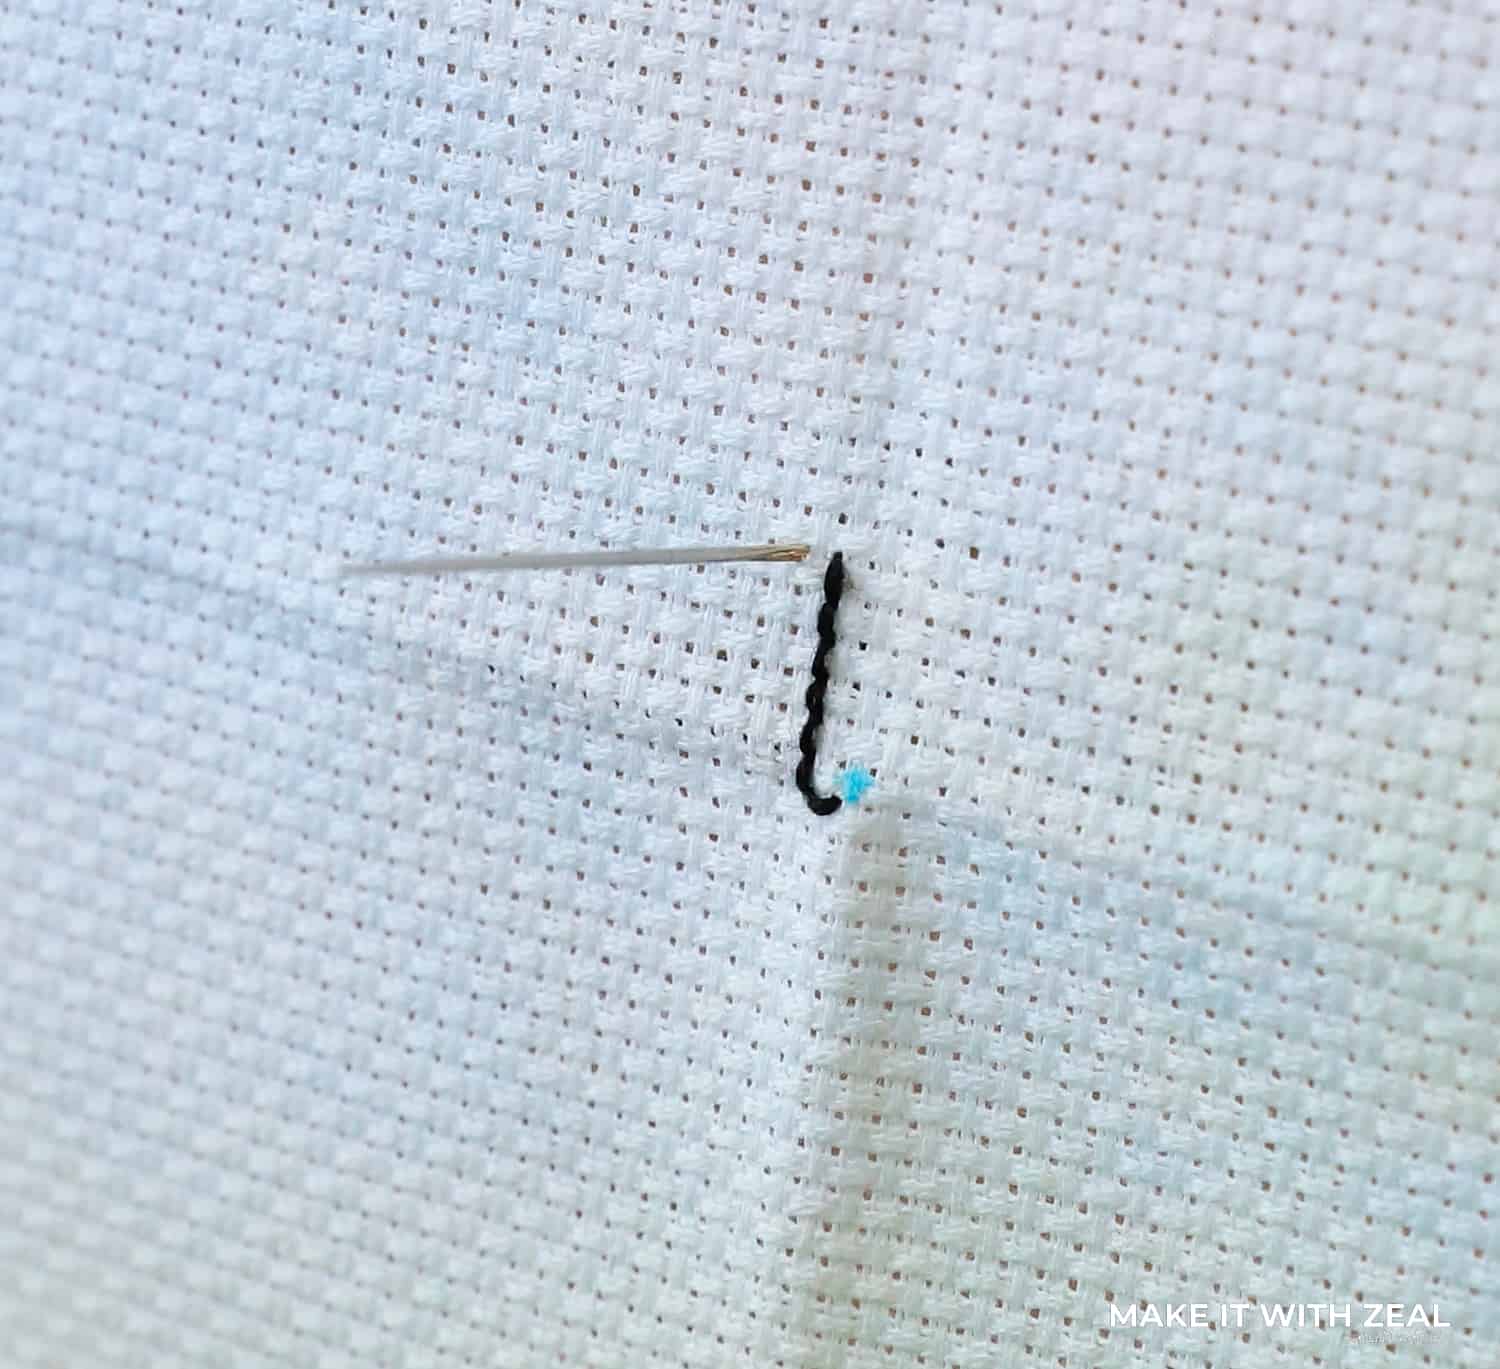
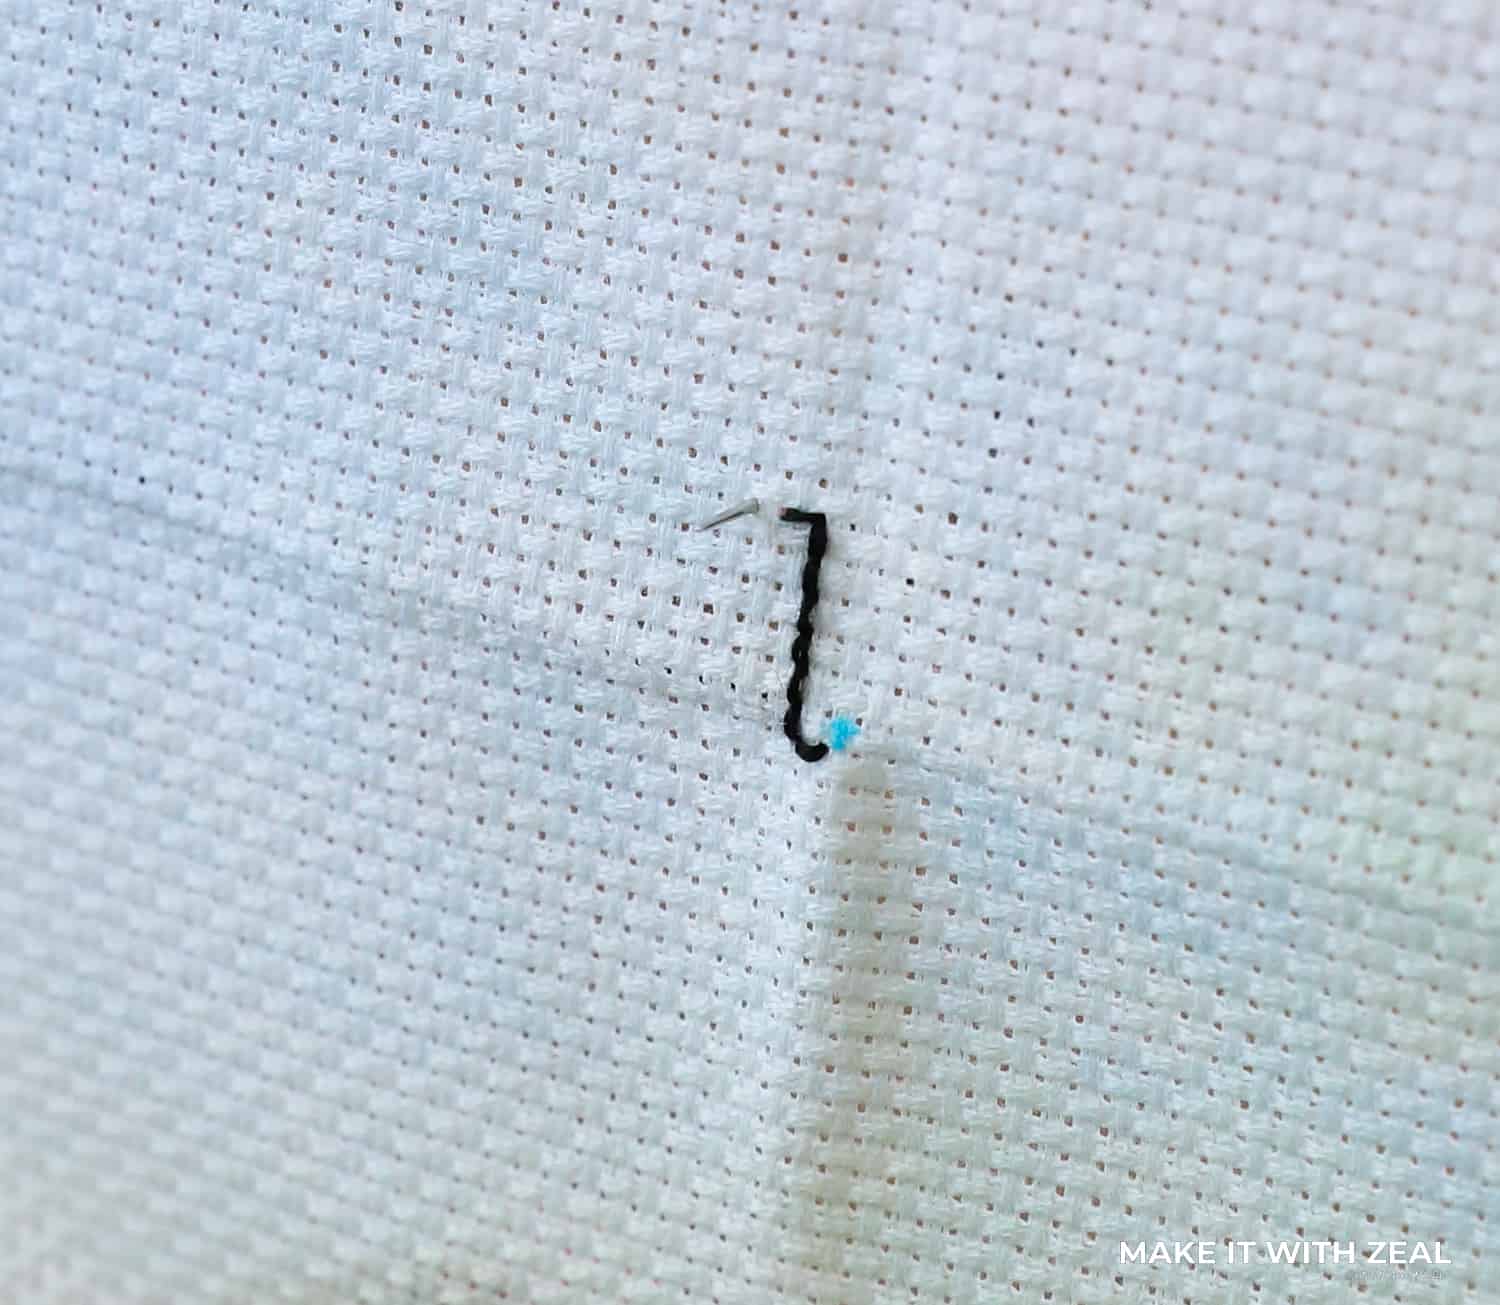
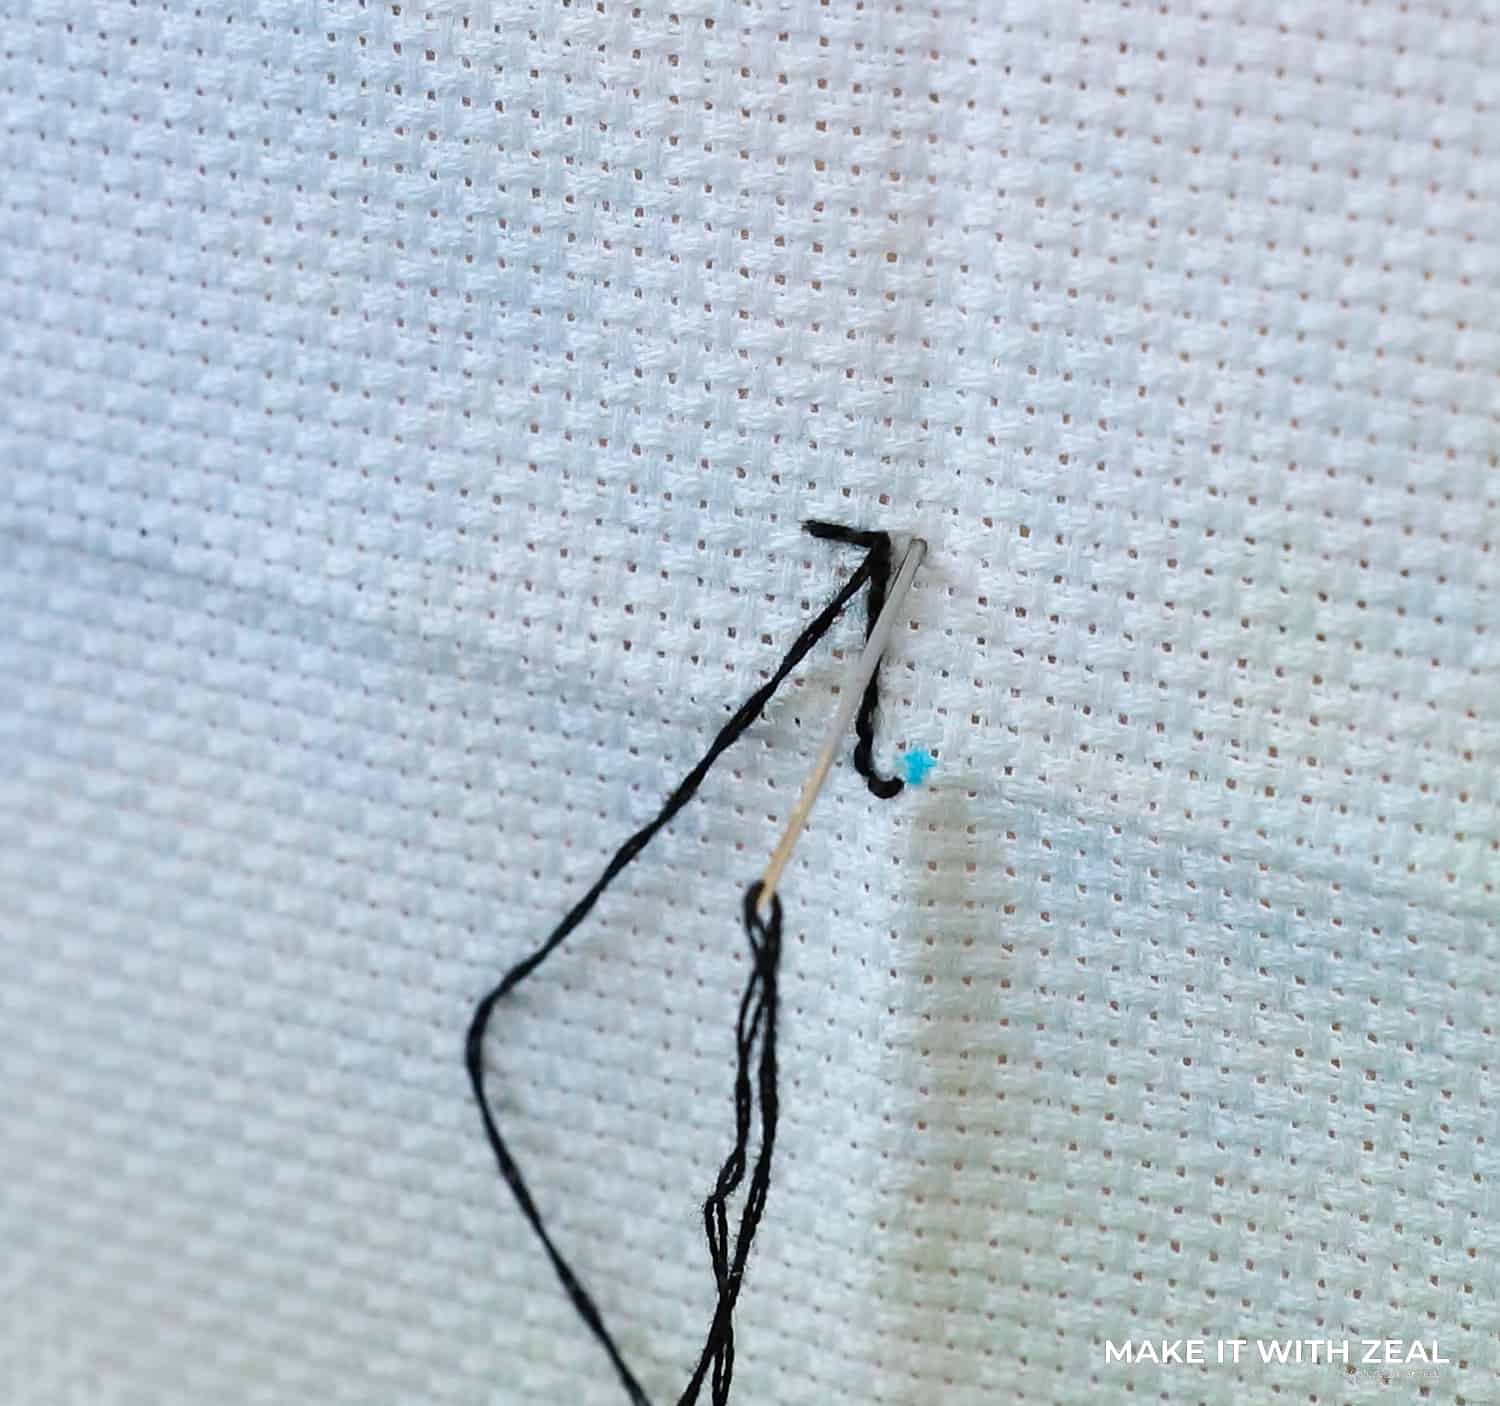
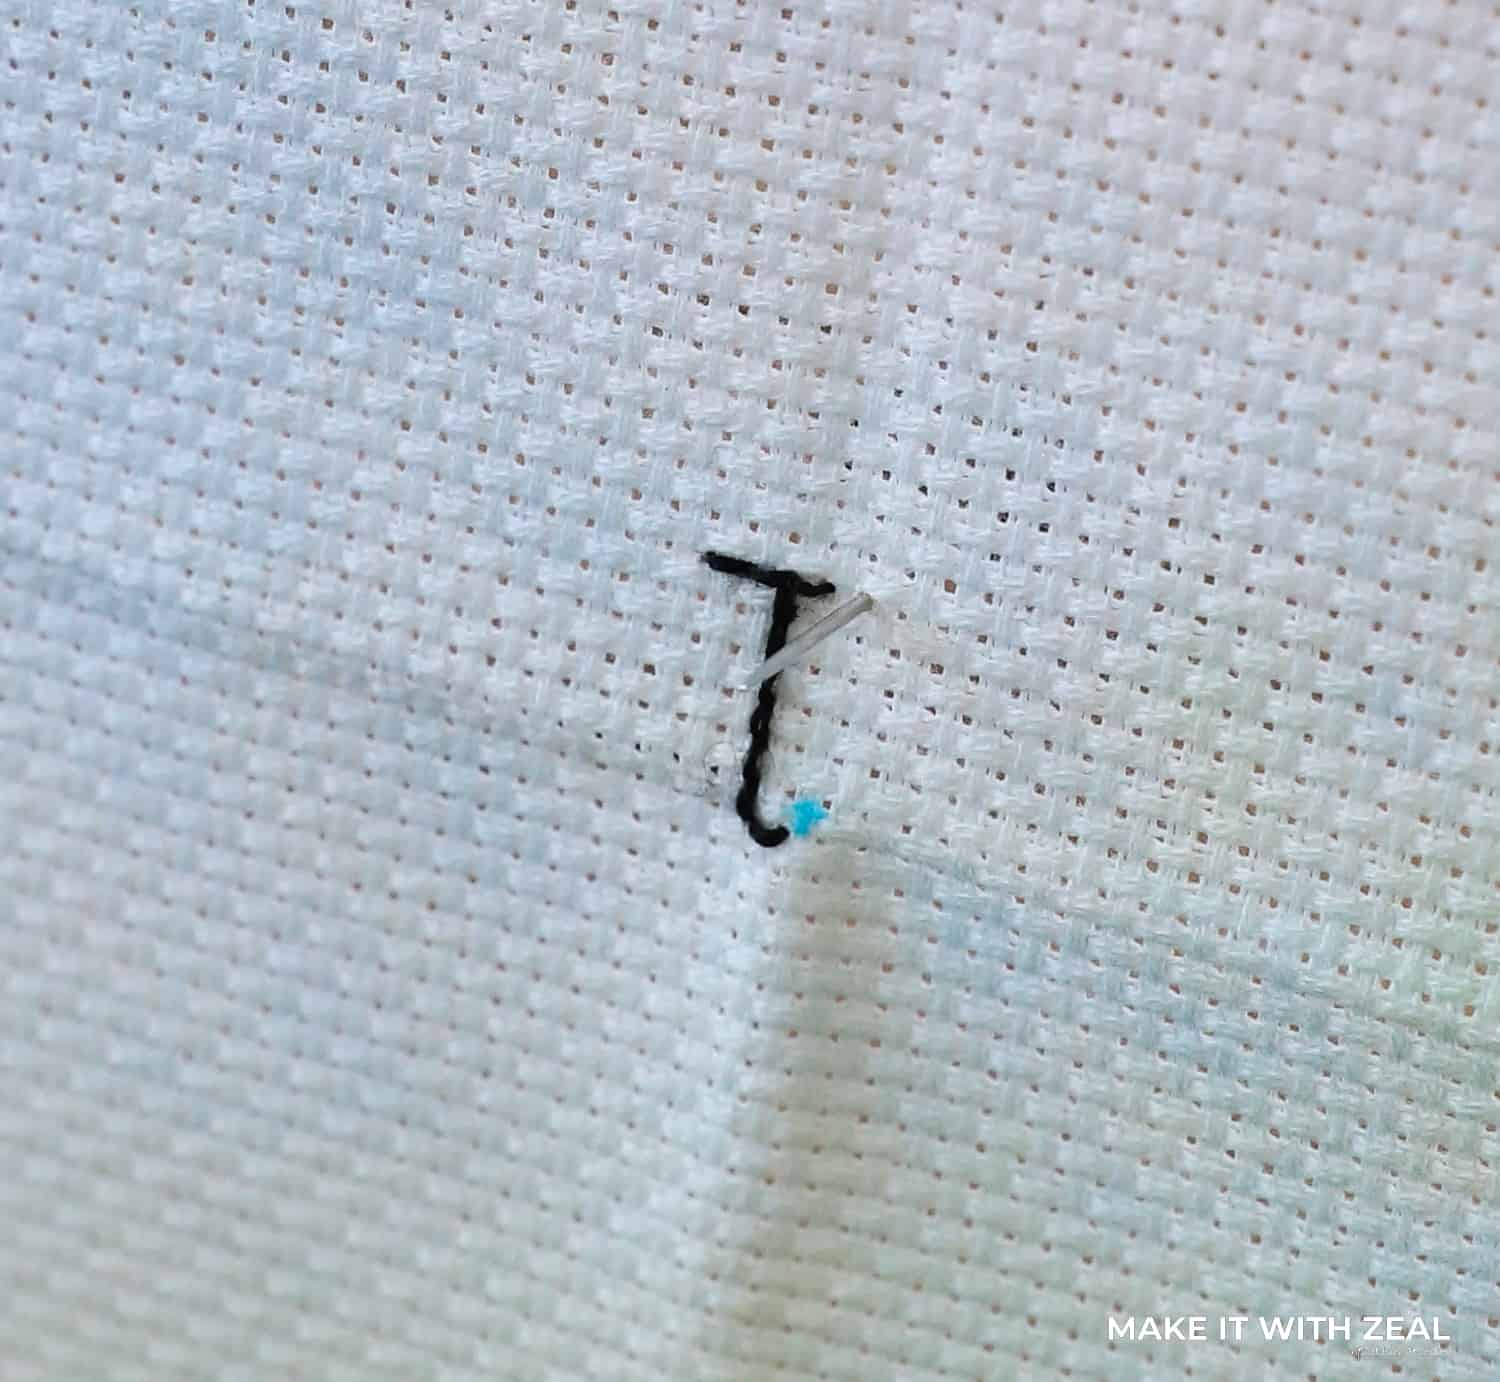
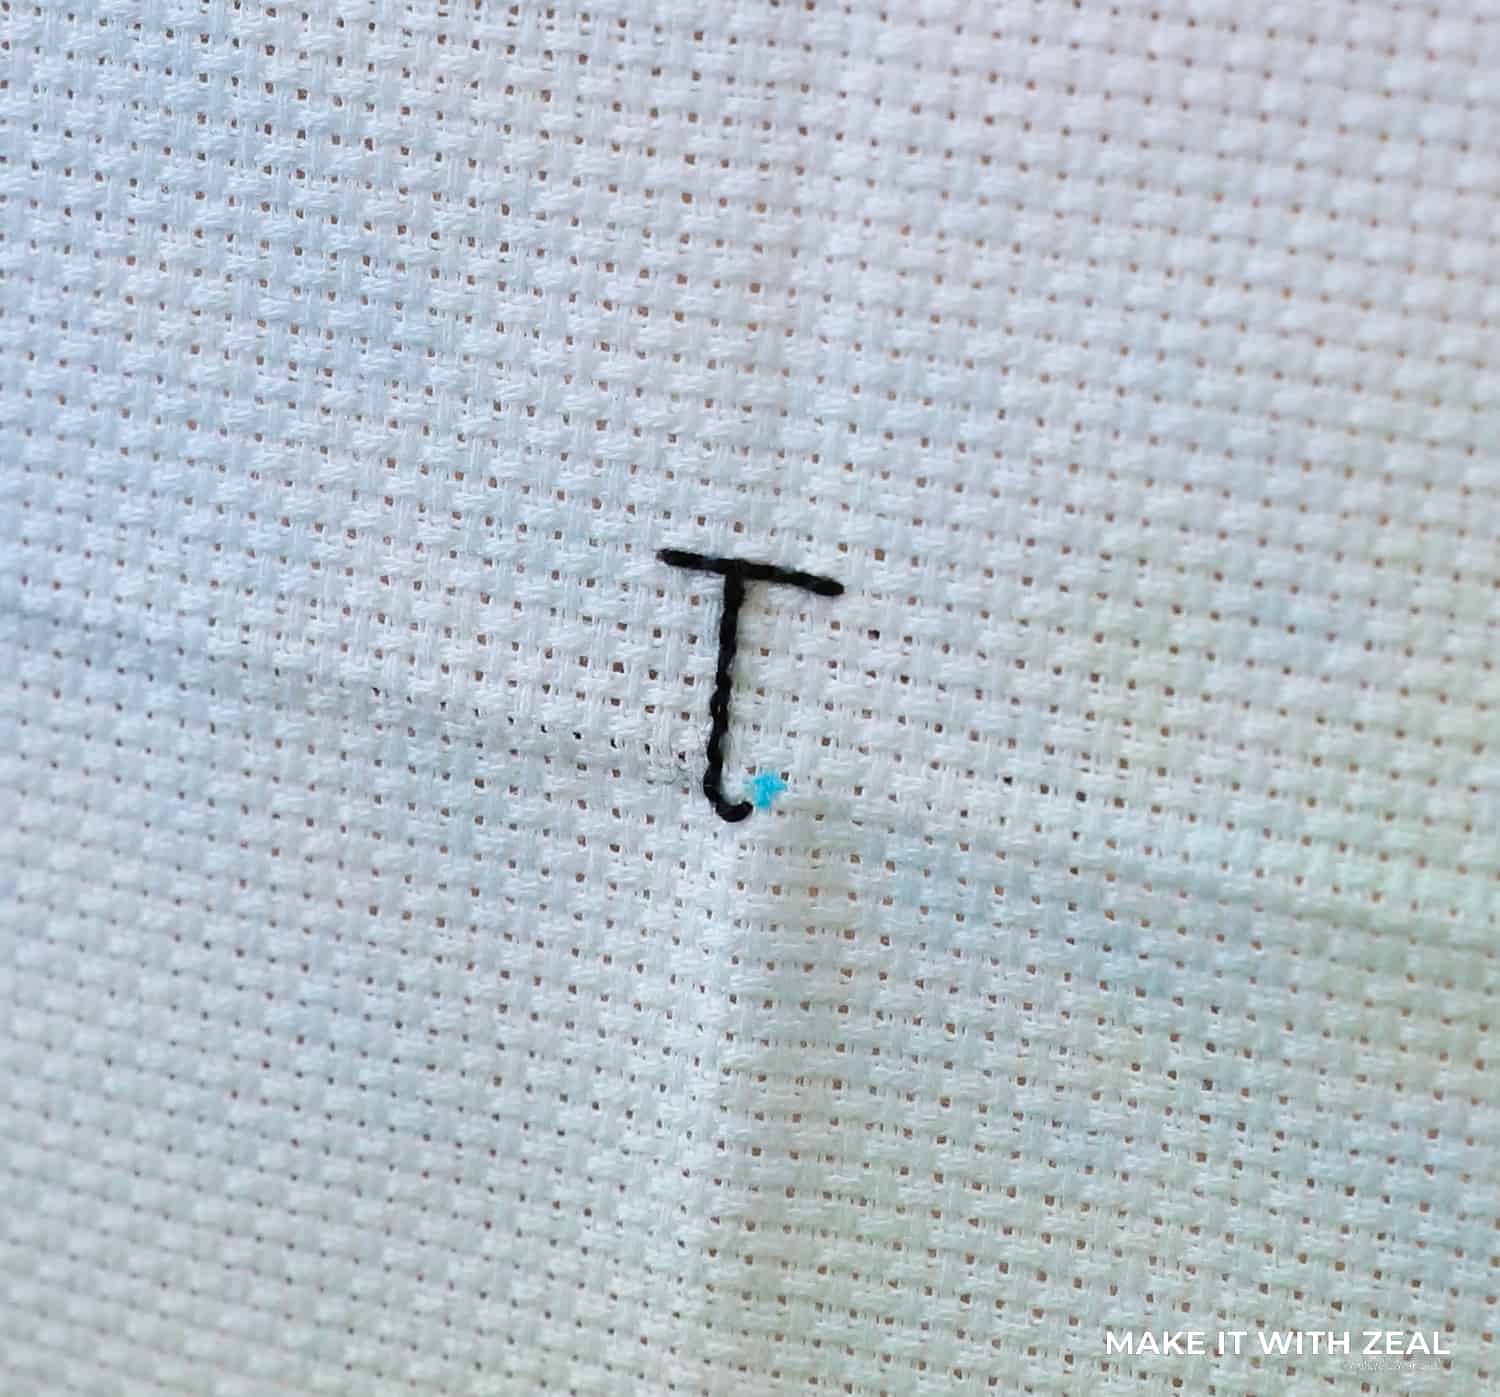
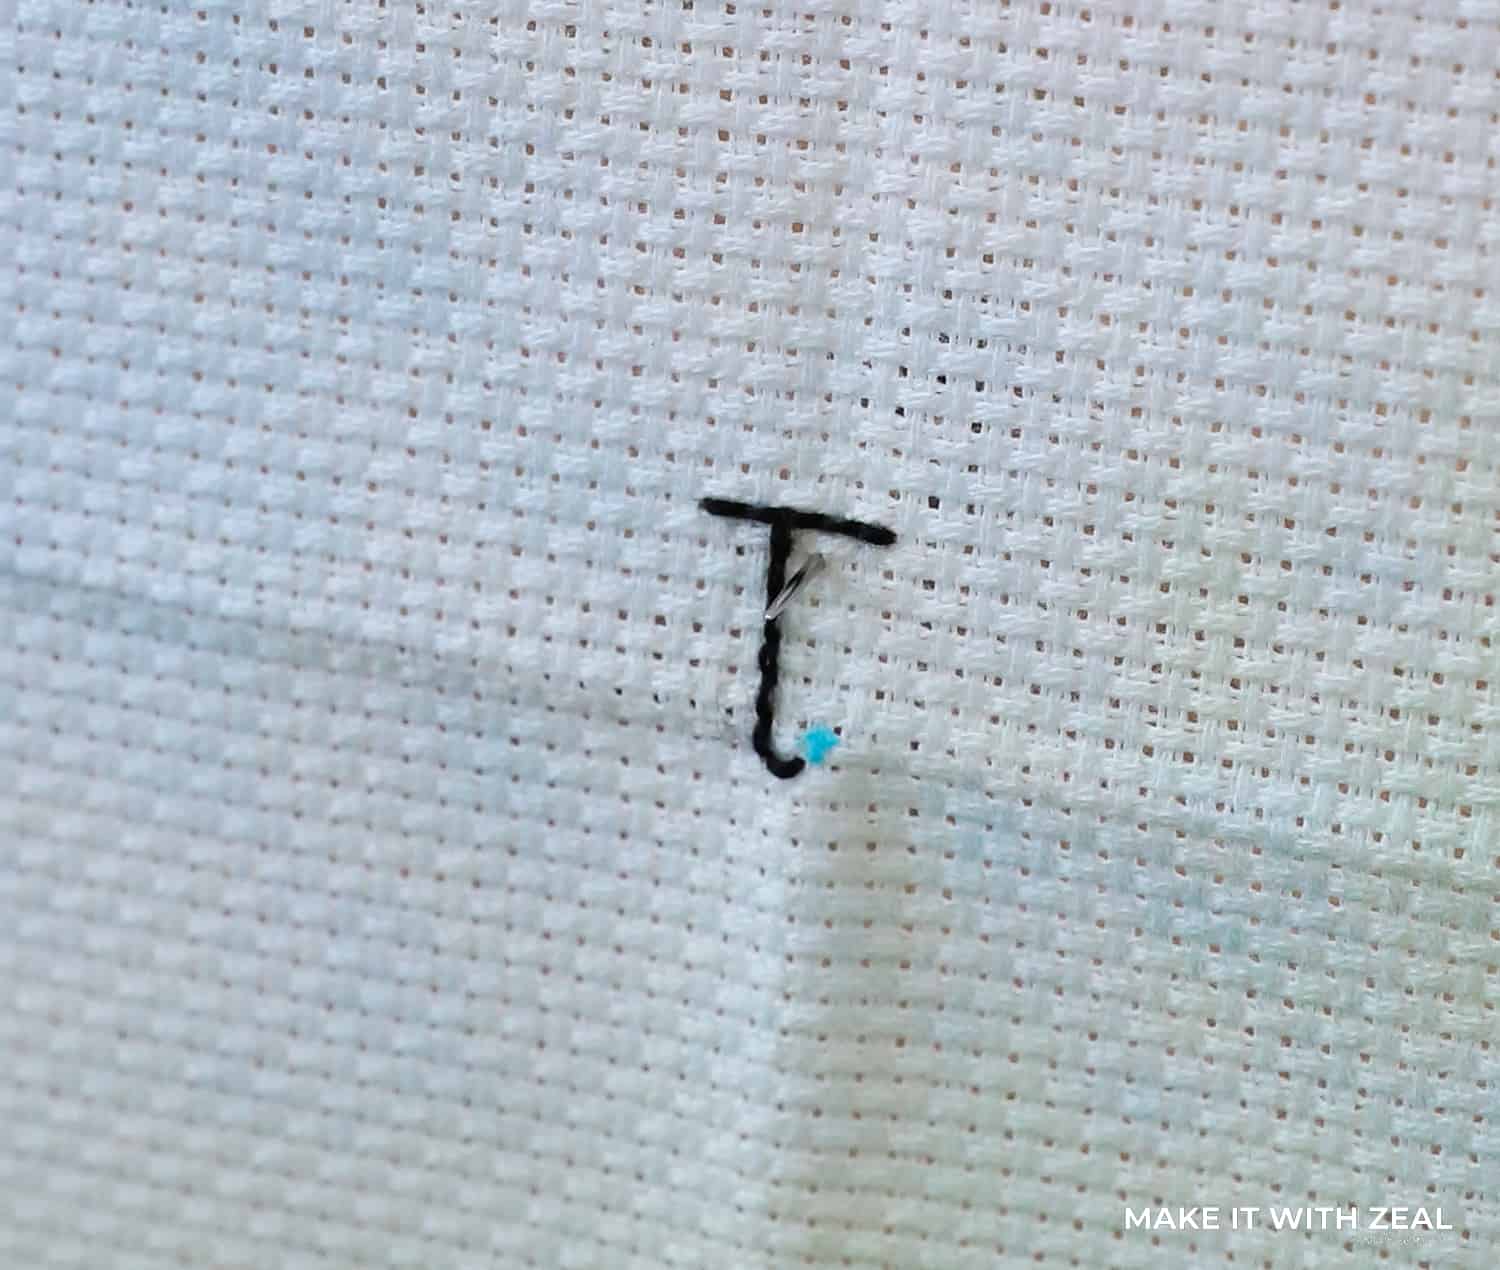
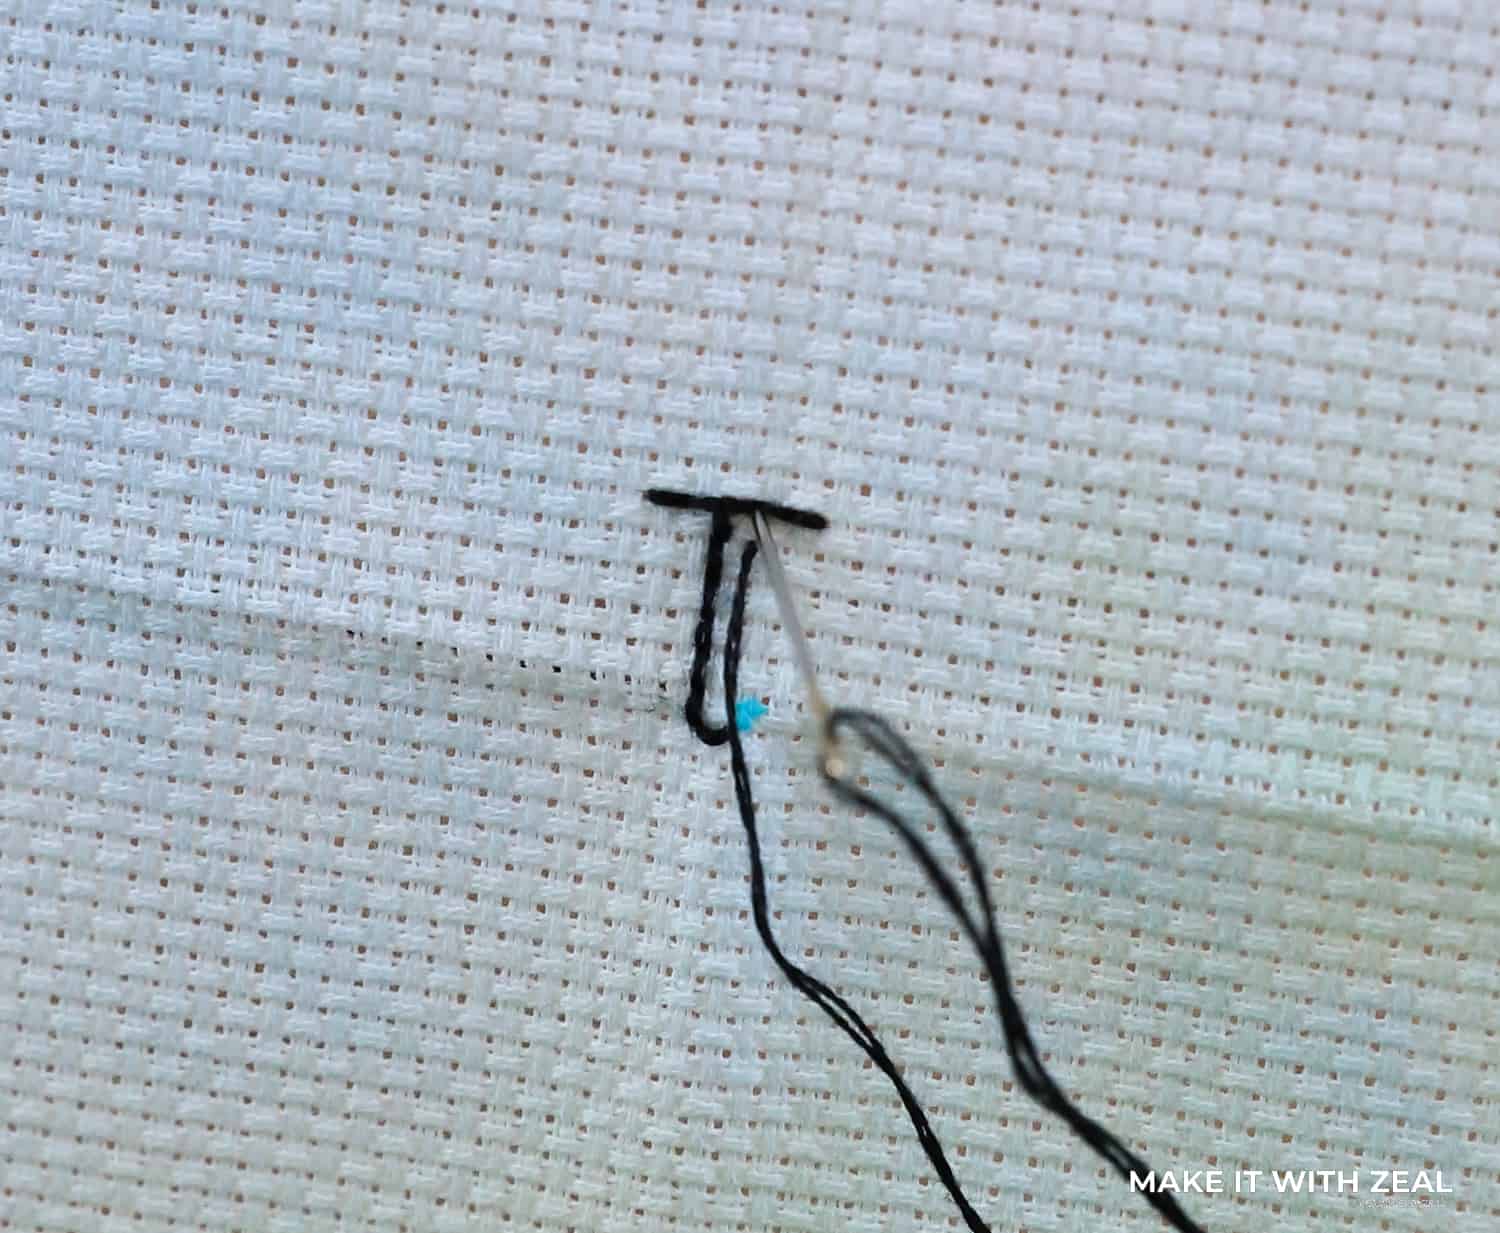
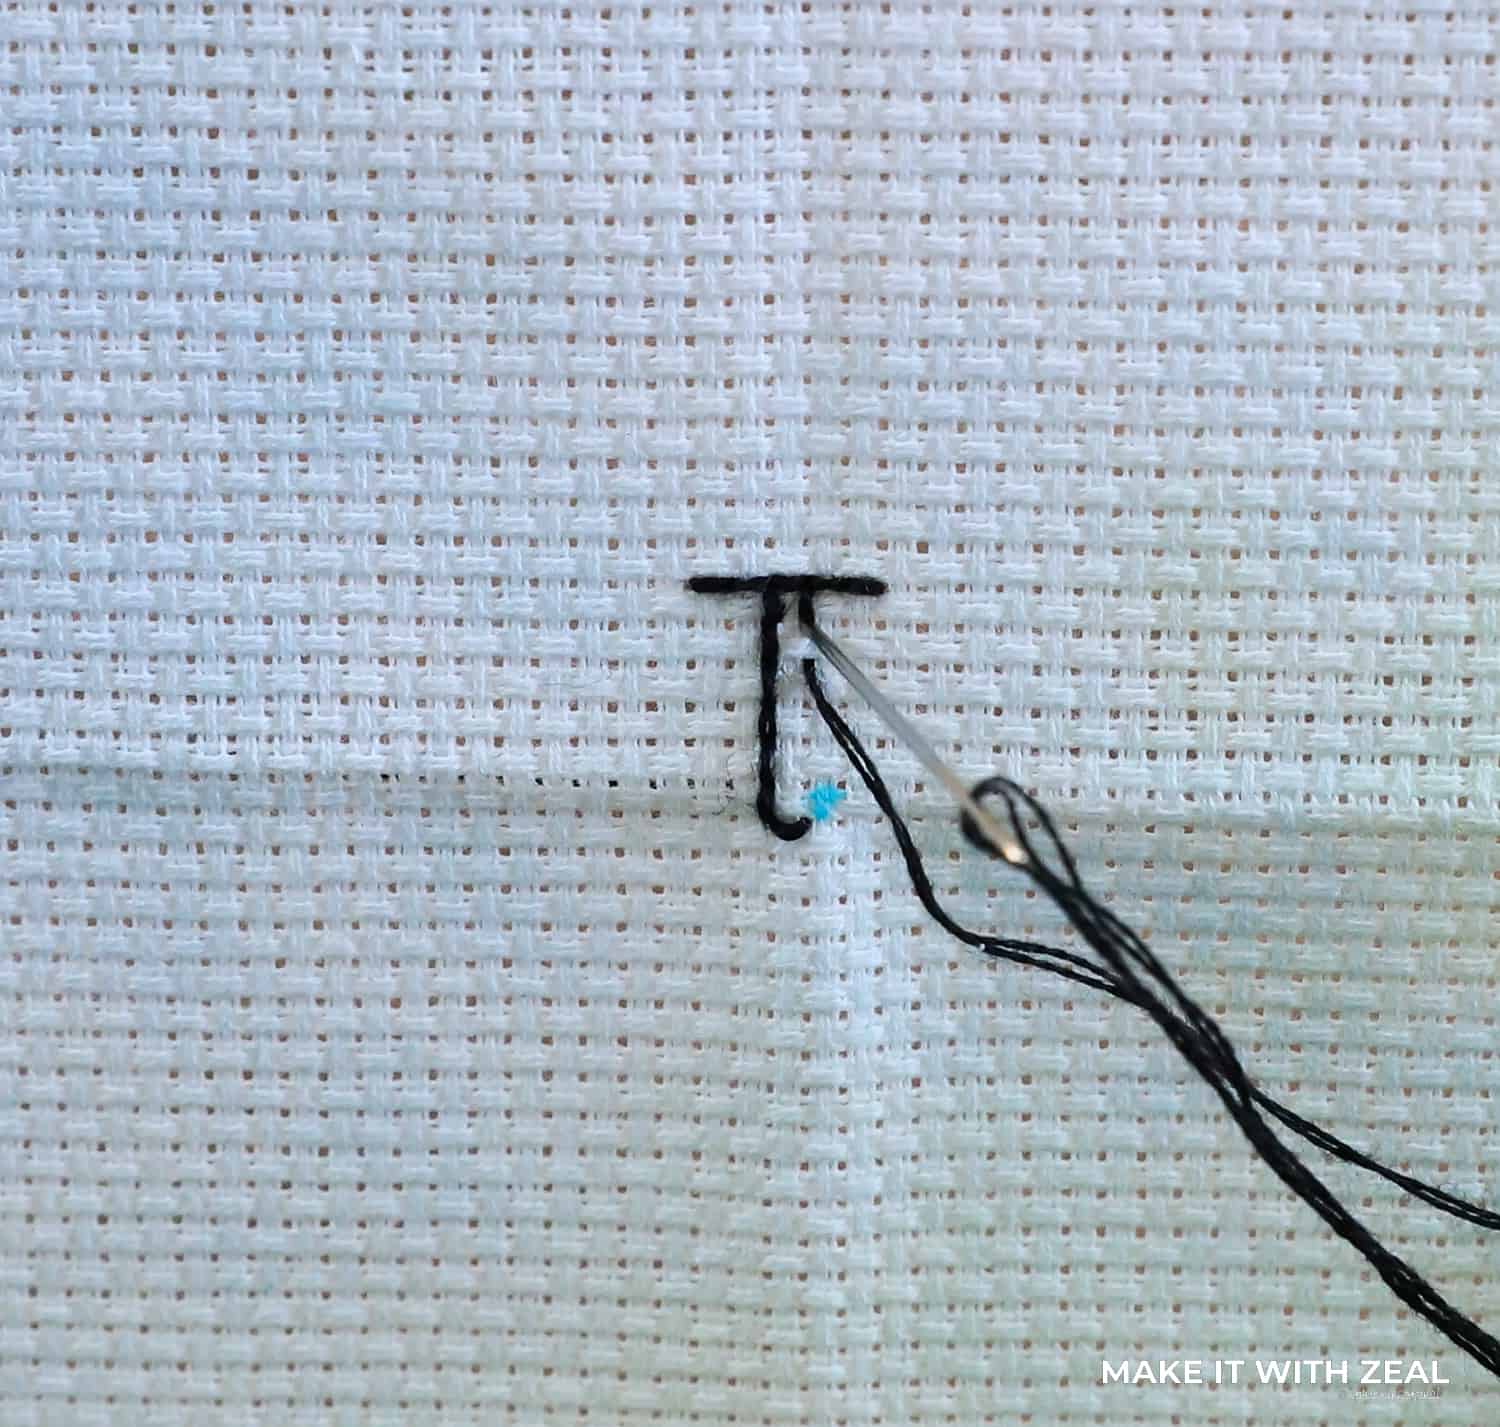
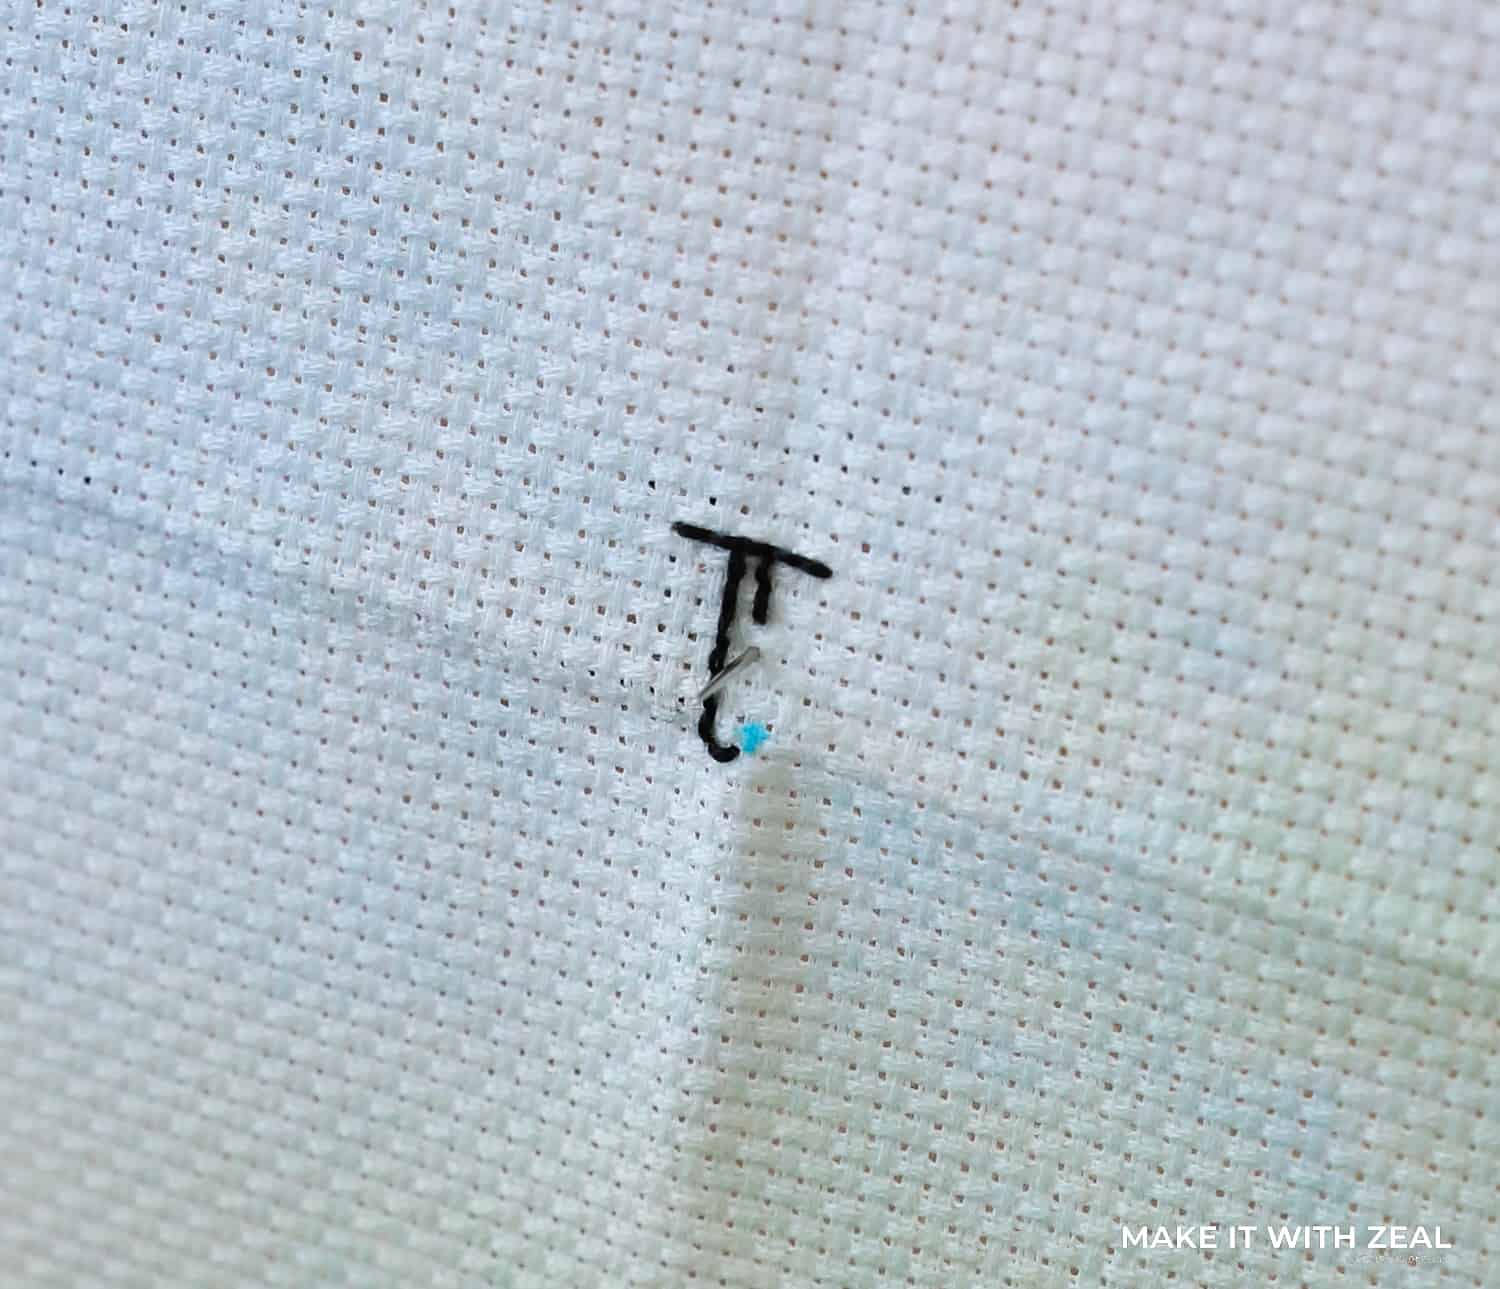
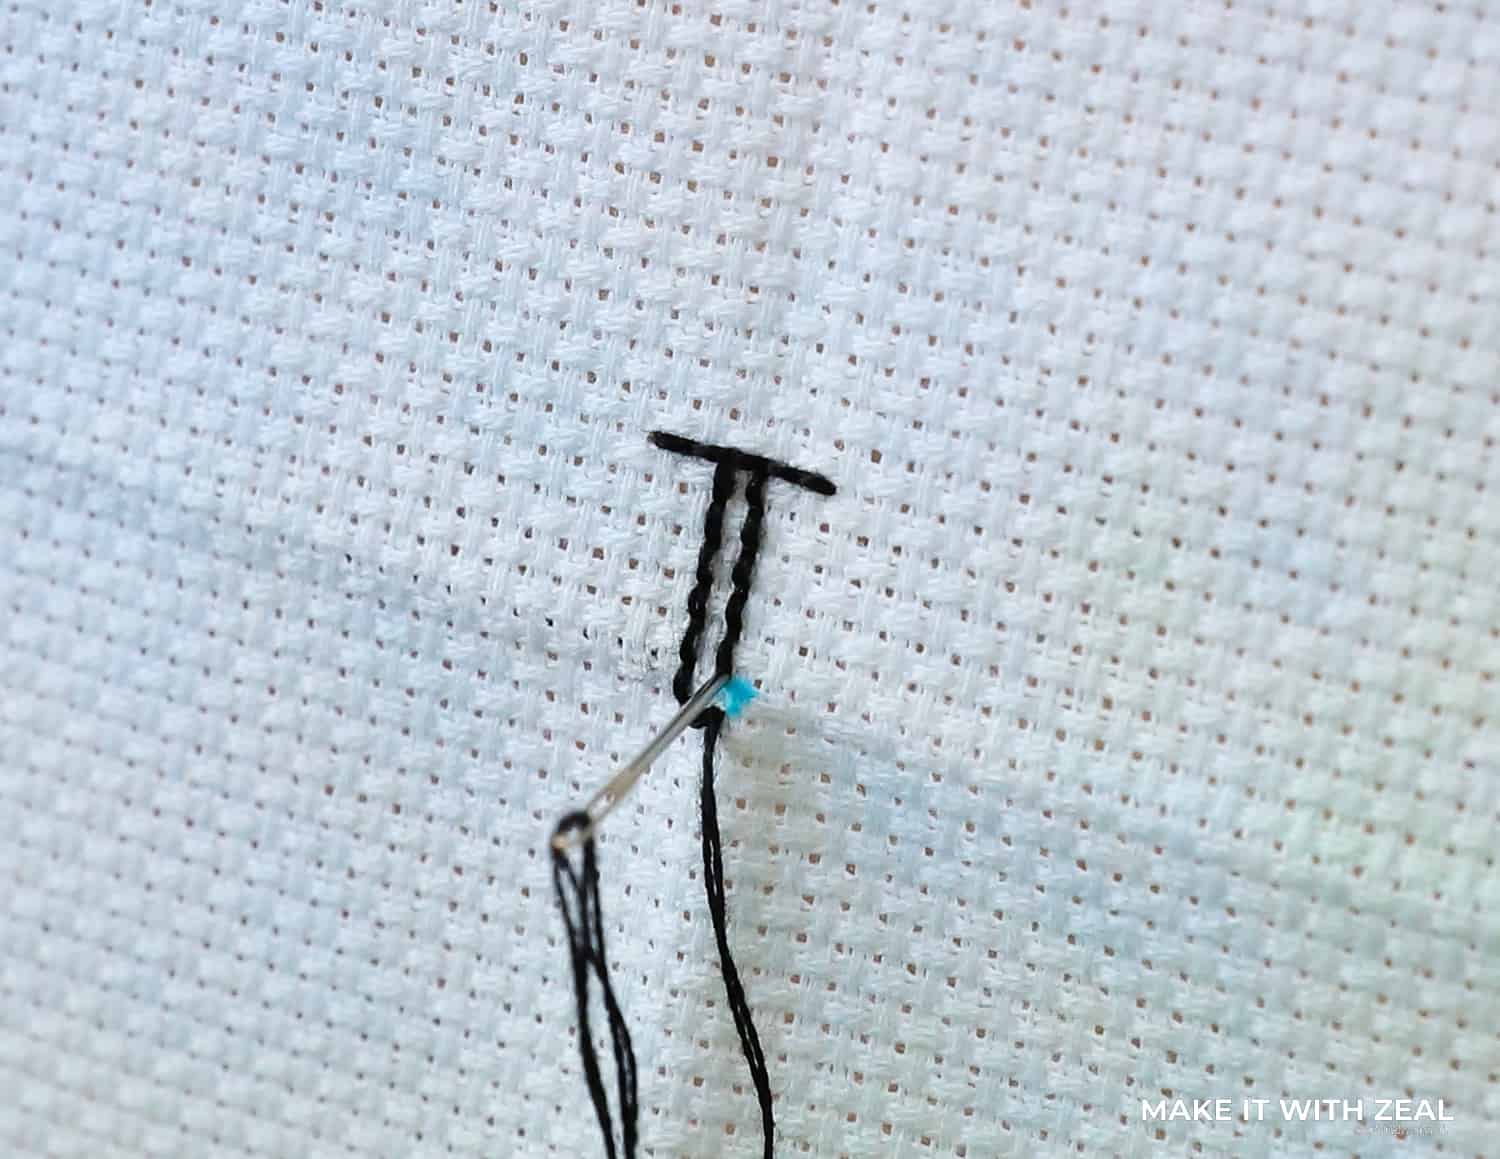
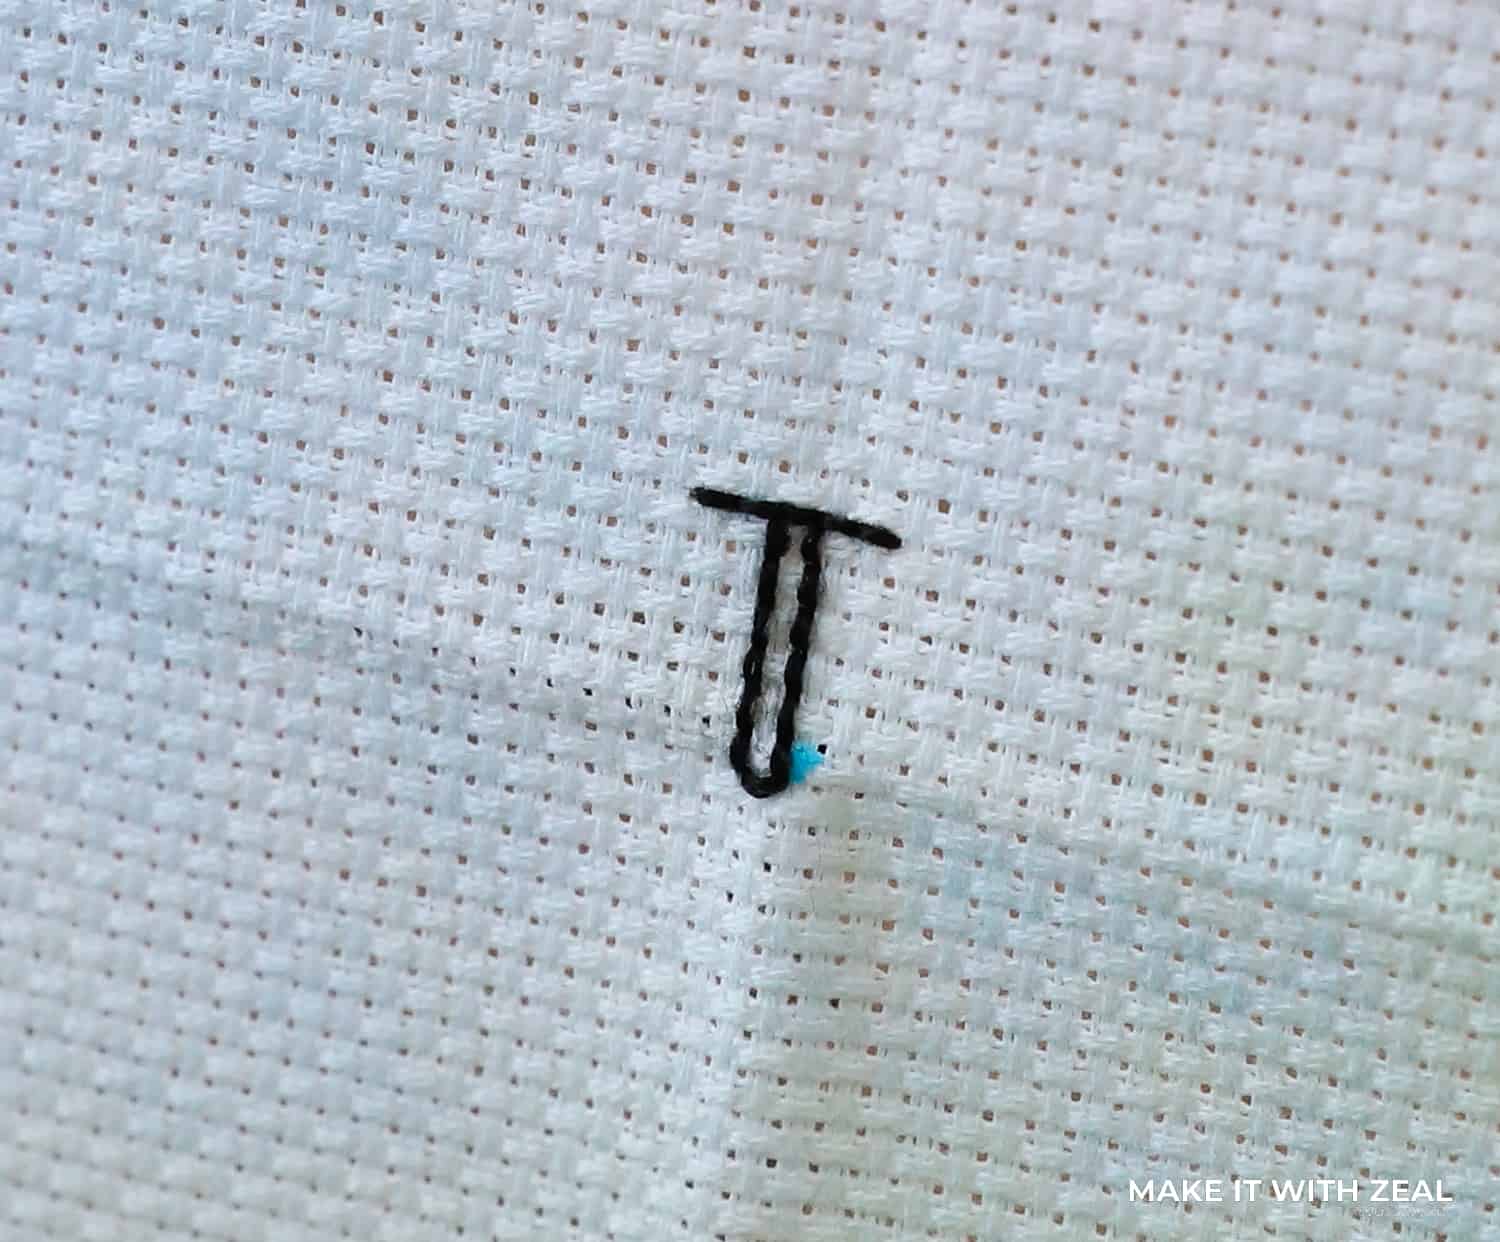
I hope the additional photos helped break down how I backstitched the “T”.
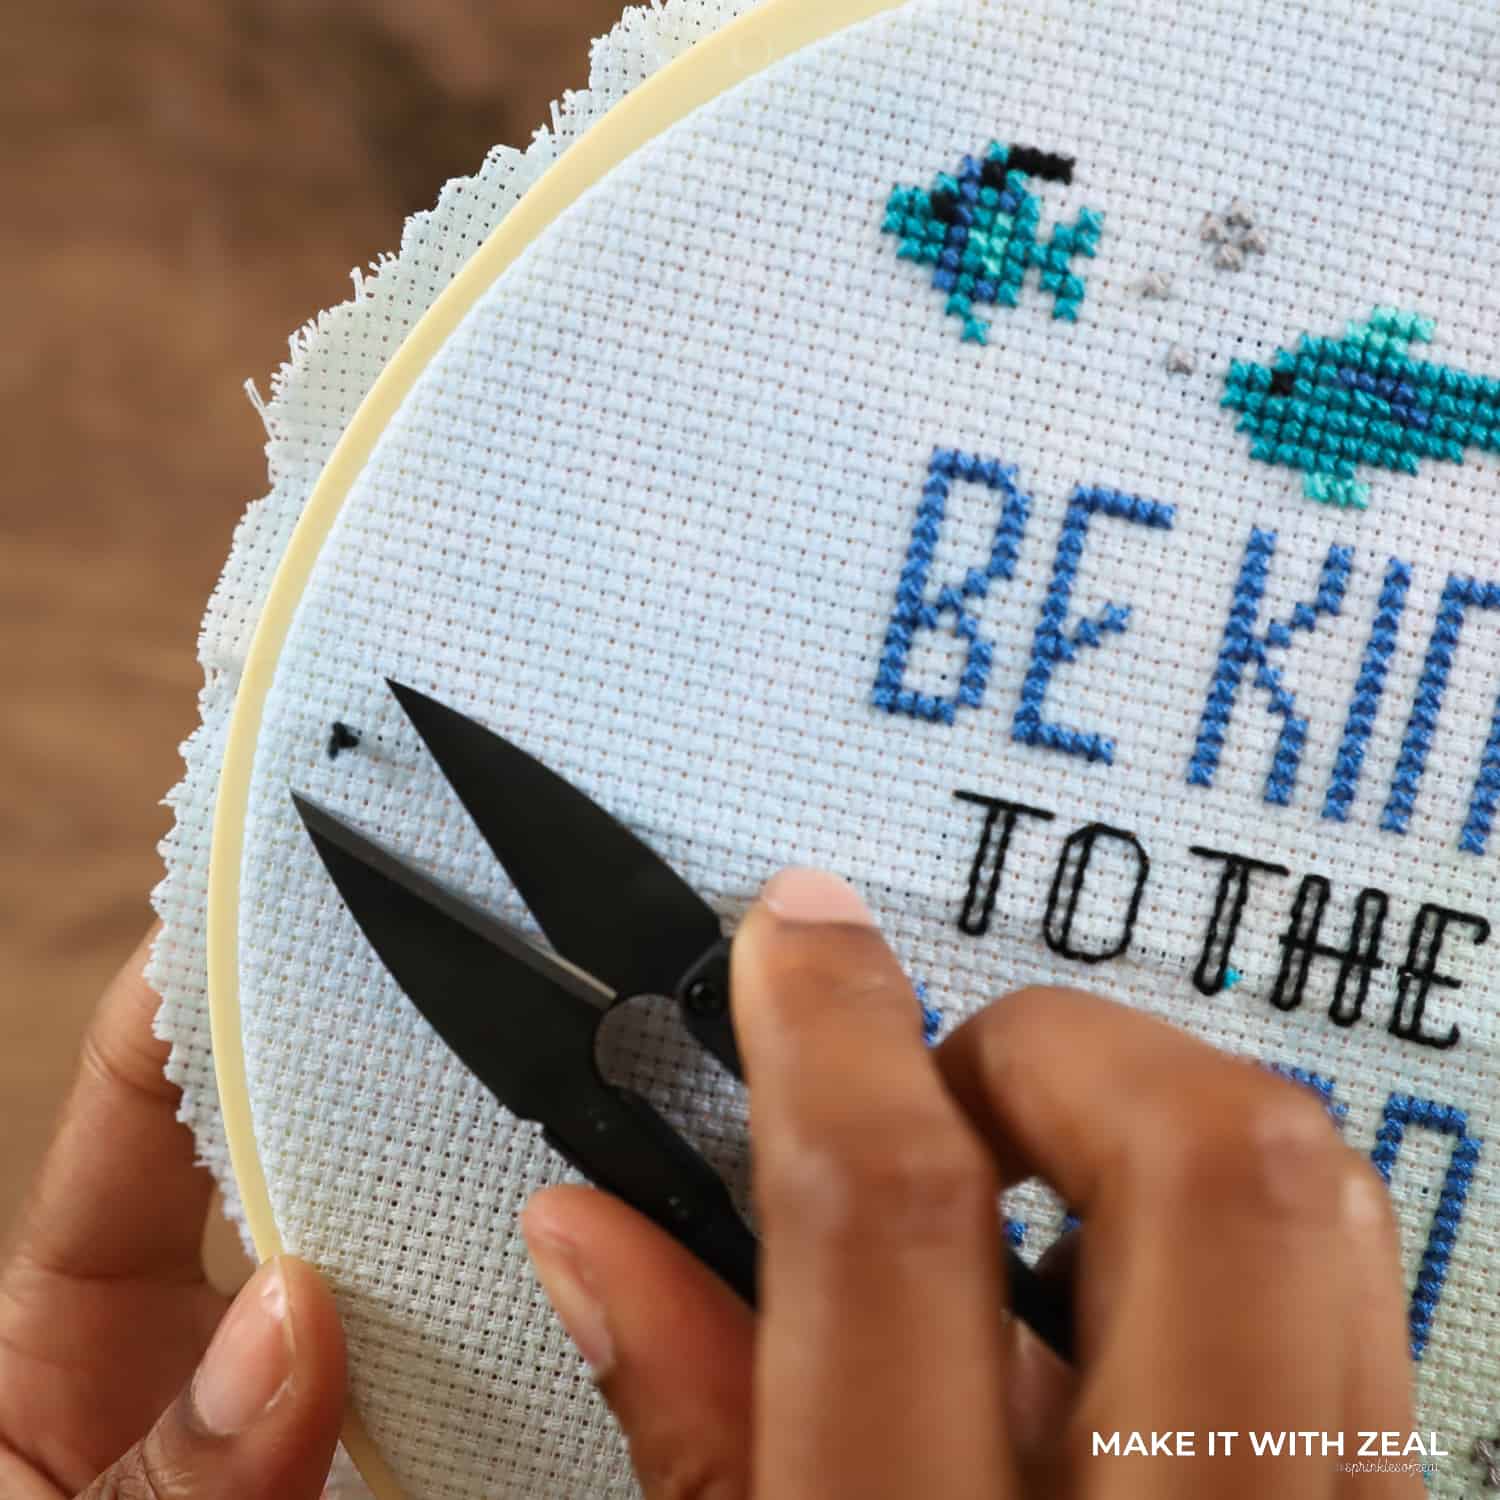
You can cut the waste knot now or later.
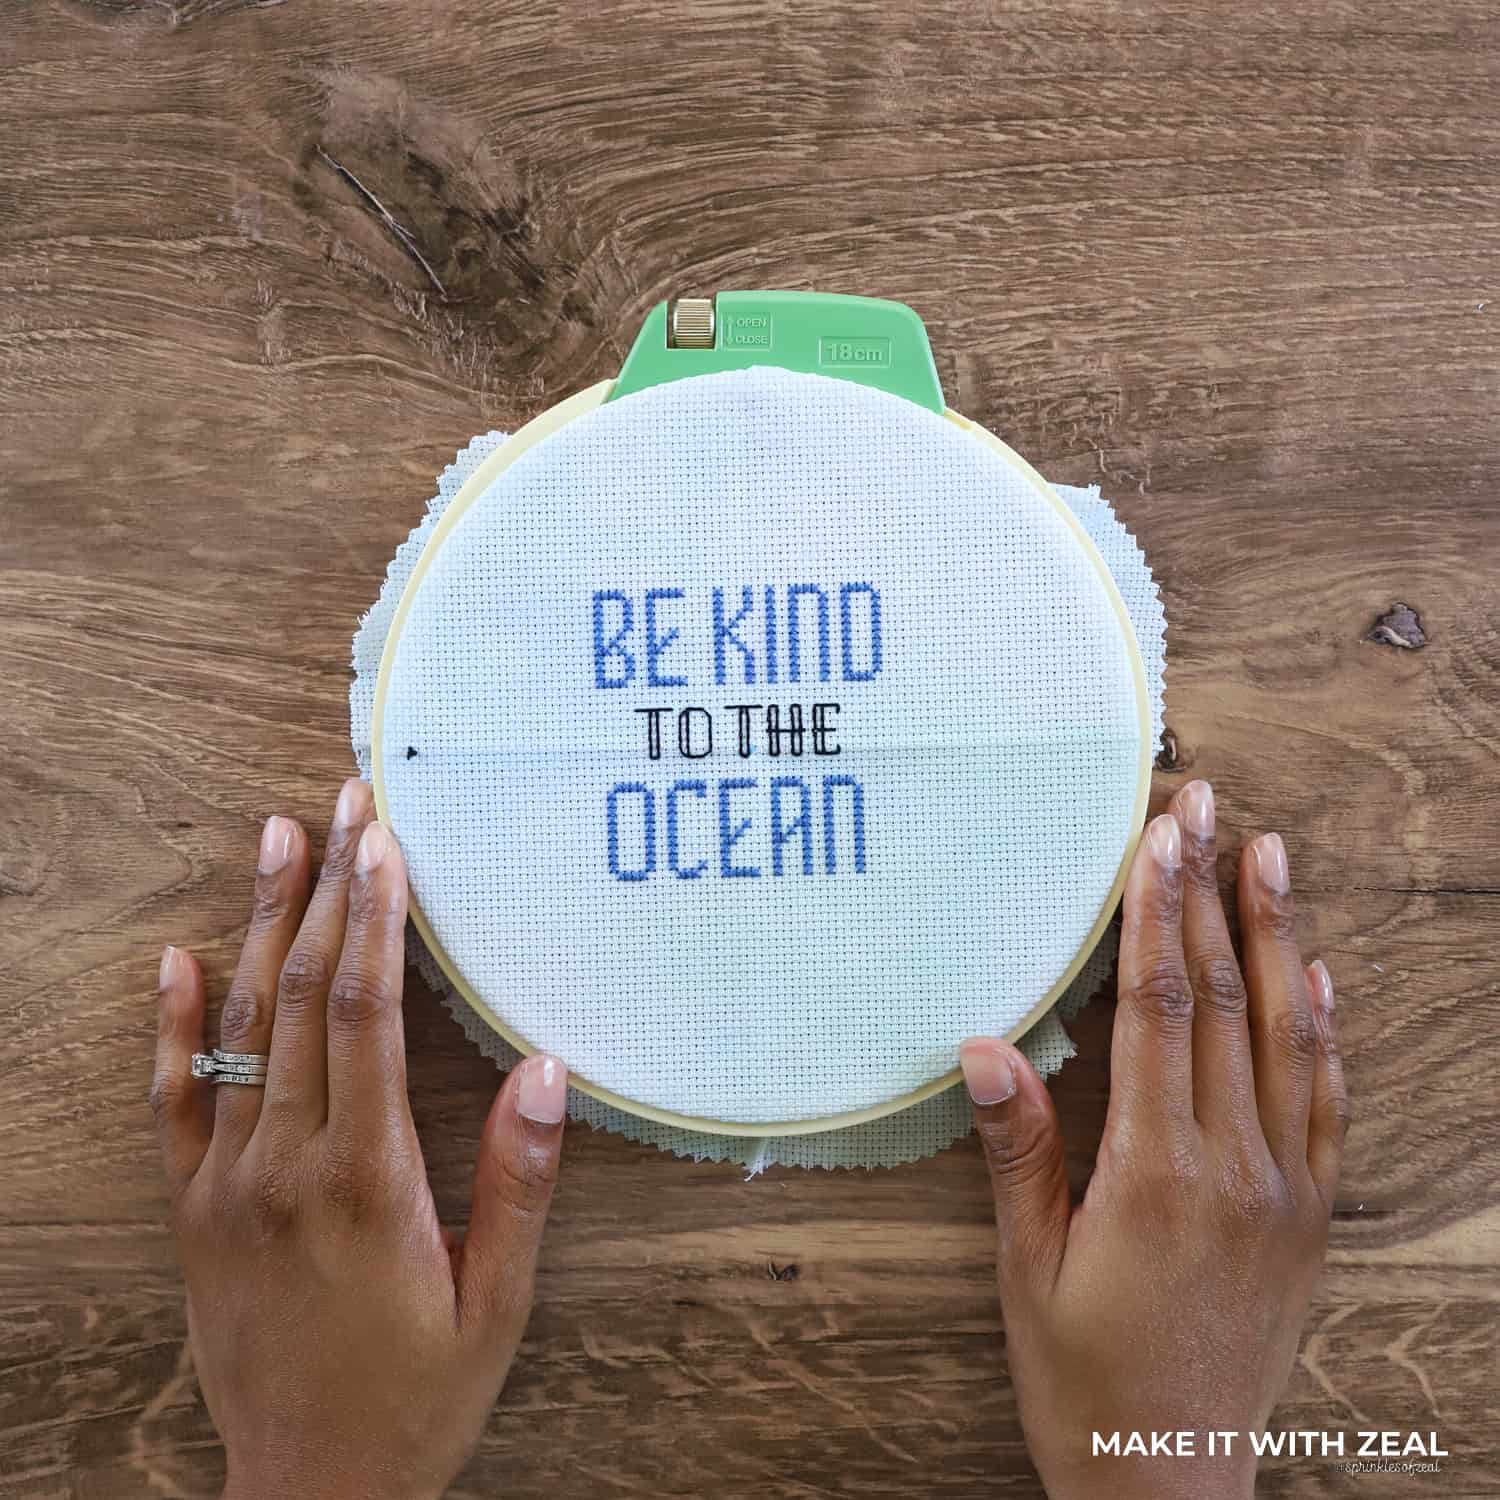
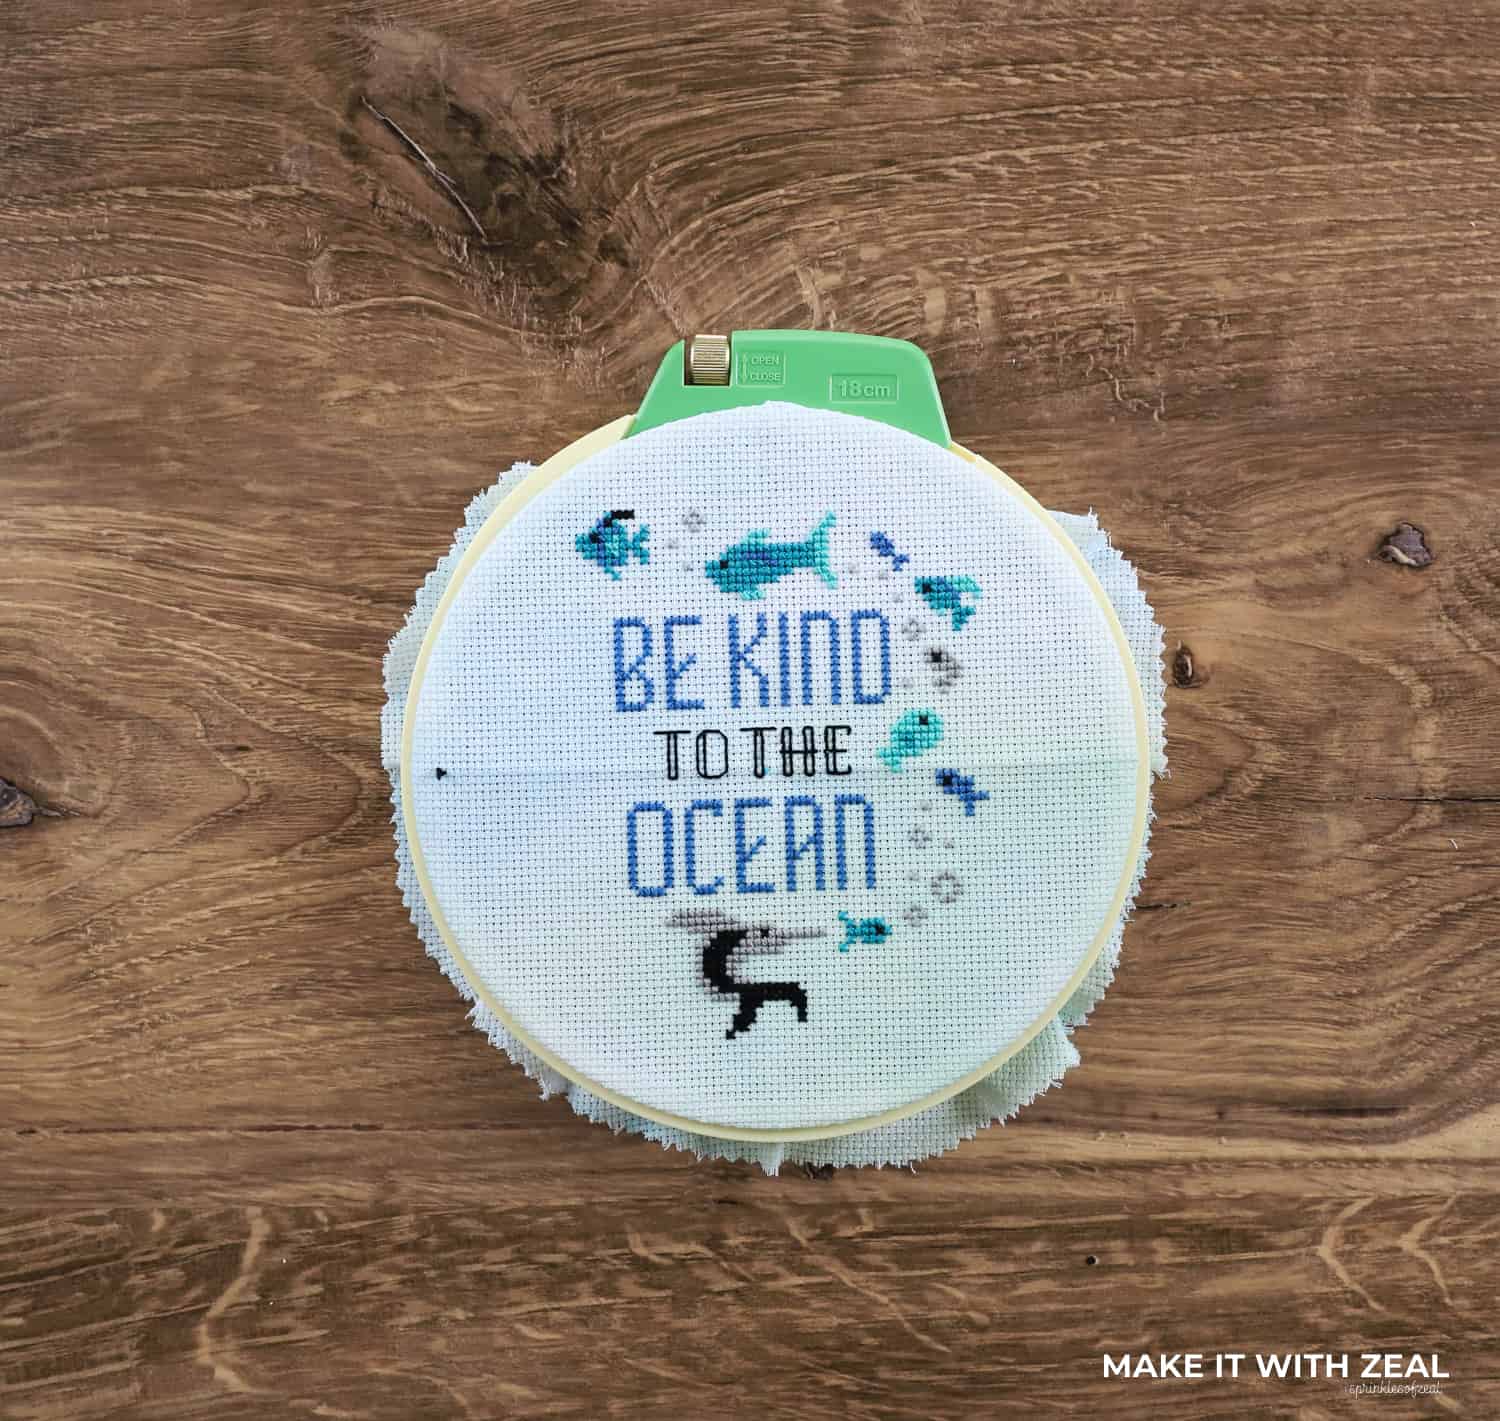
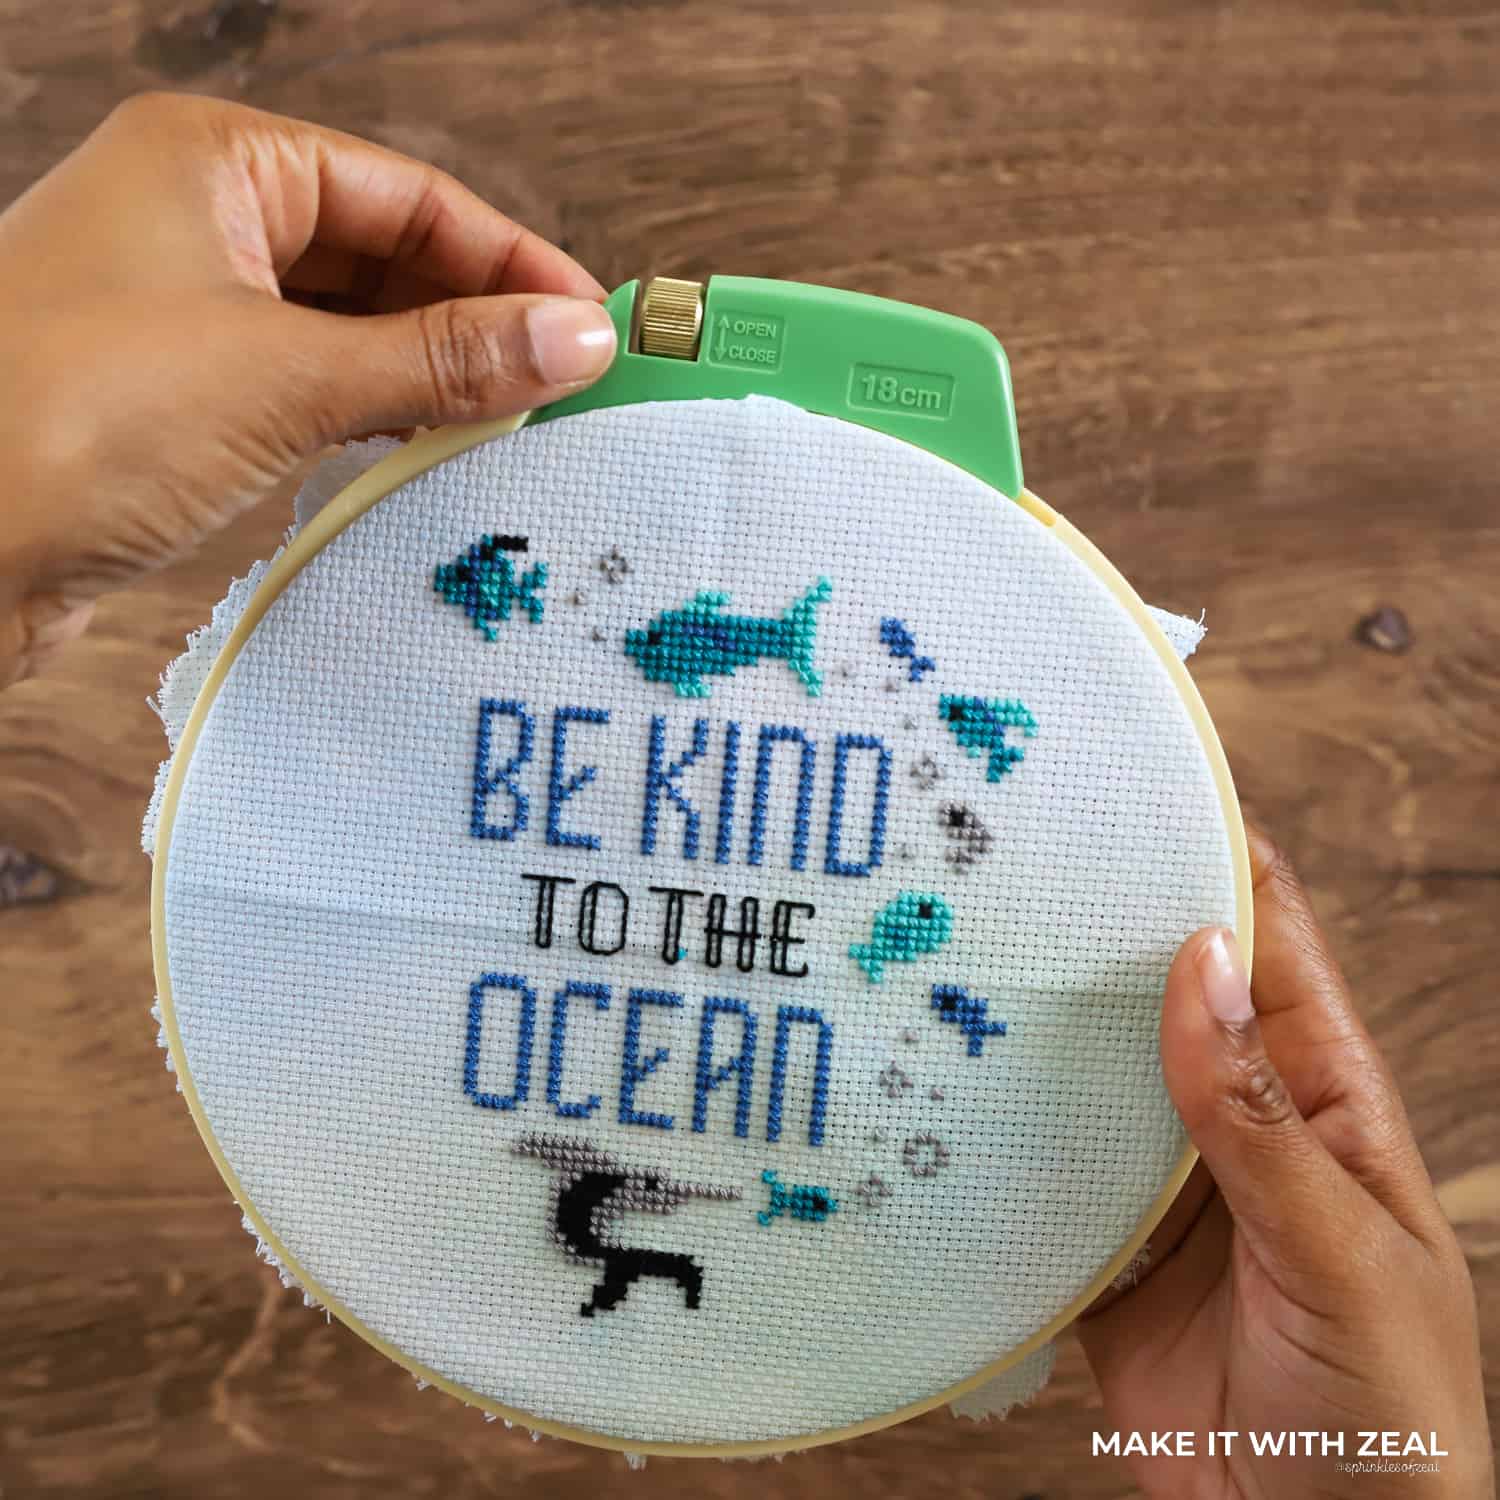
Check out the finished text section and fully stitched pattern below. Doesn’t it look sea-tastic?!
Step 7. If you haven’t trimmed your waste knot, trim it and weave it into the back stitches.
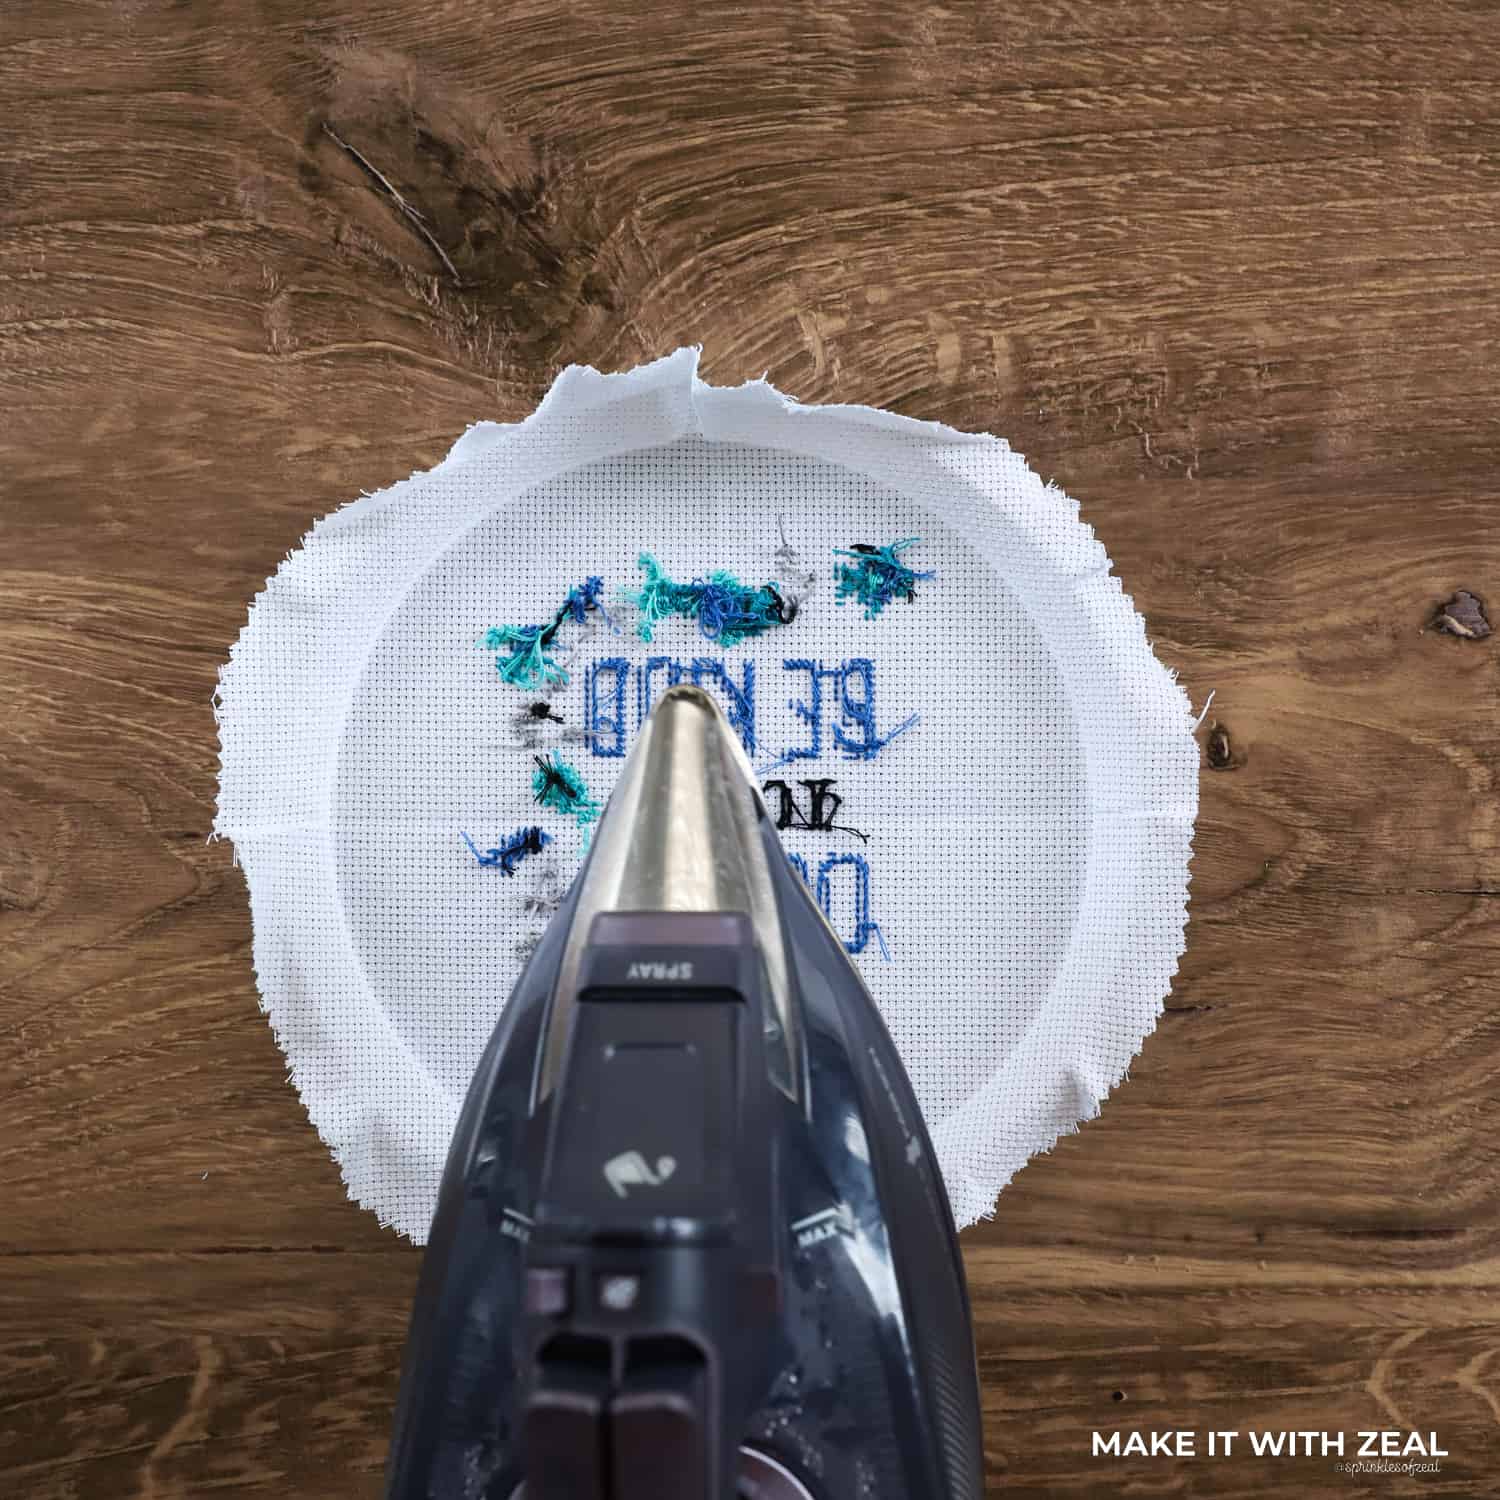
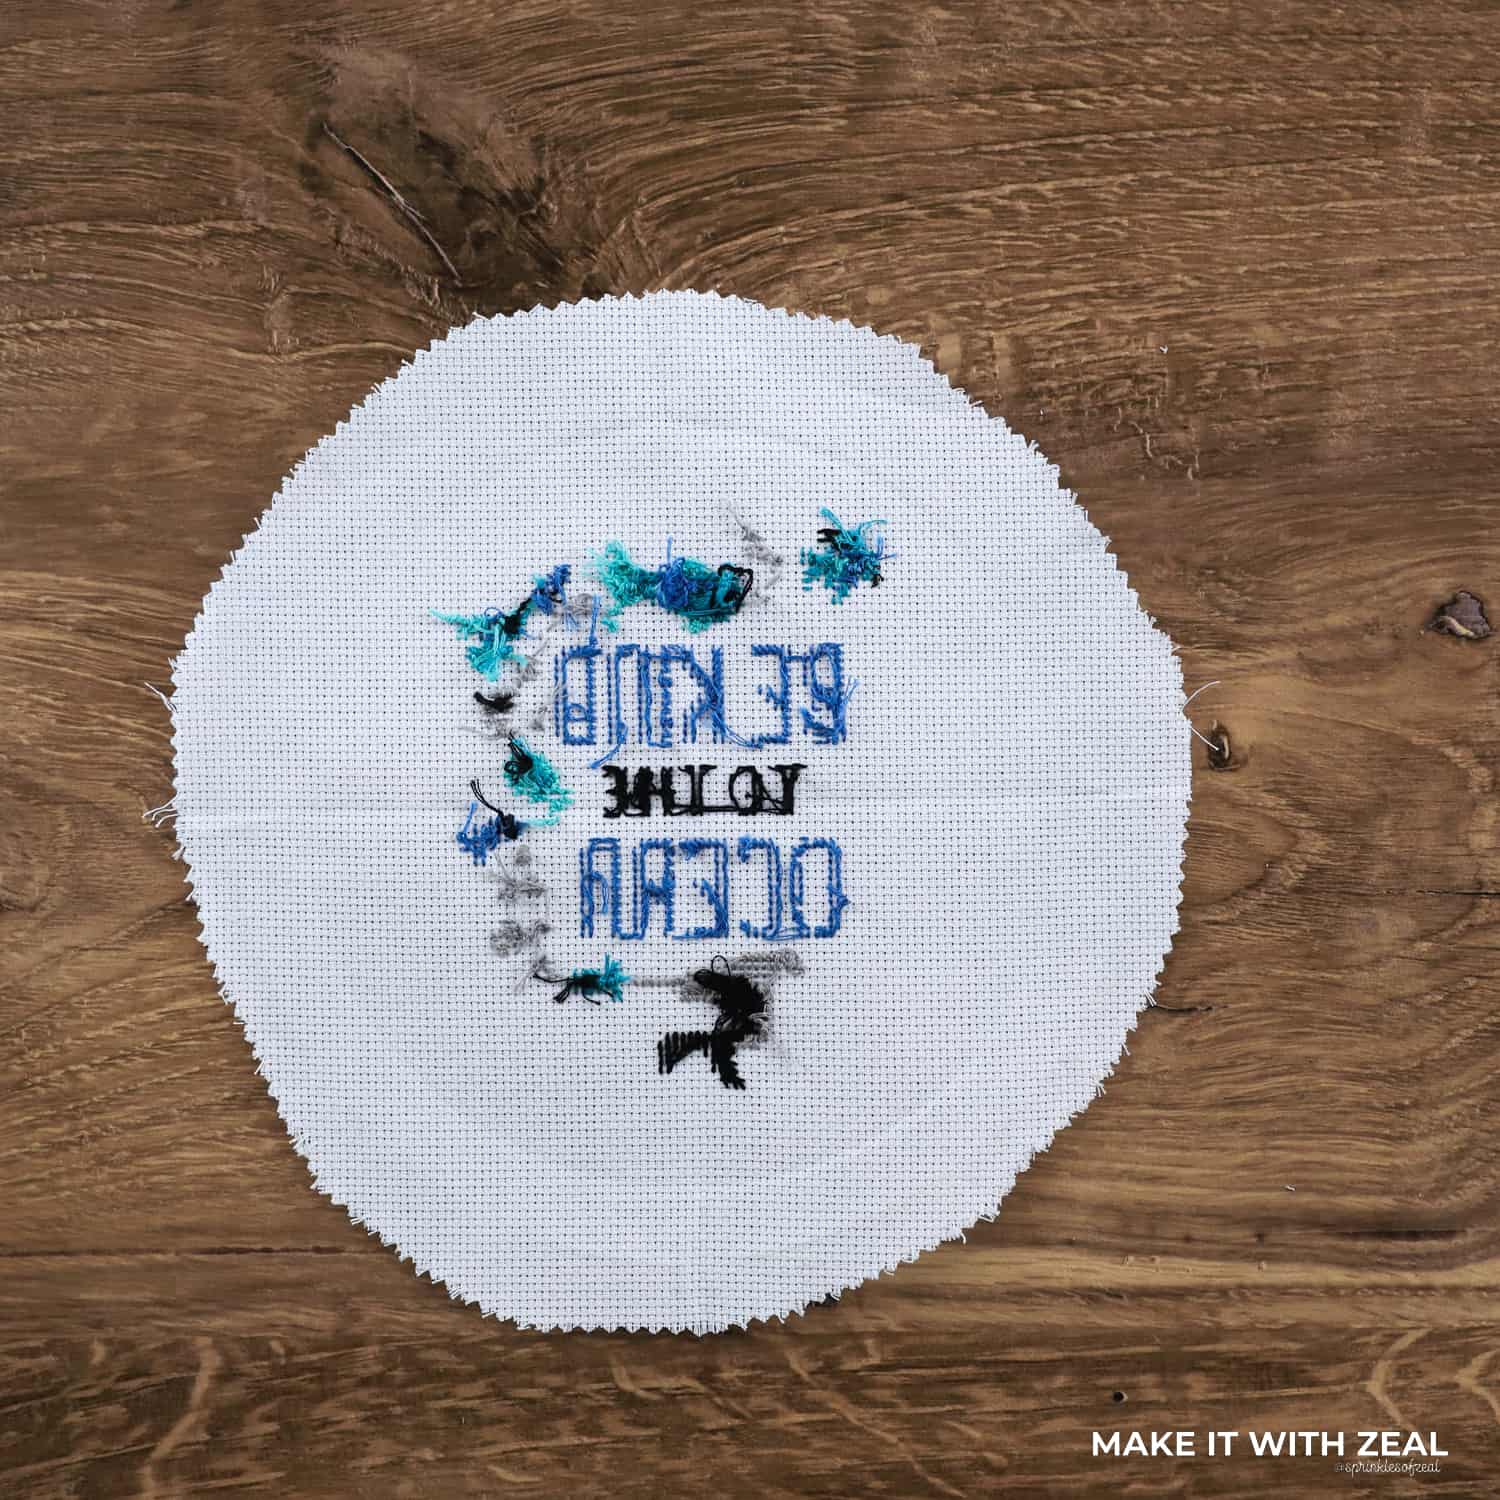
Step 8. Remove the Aida from the embroidery hoop and iron out the creases.
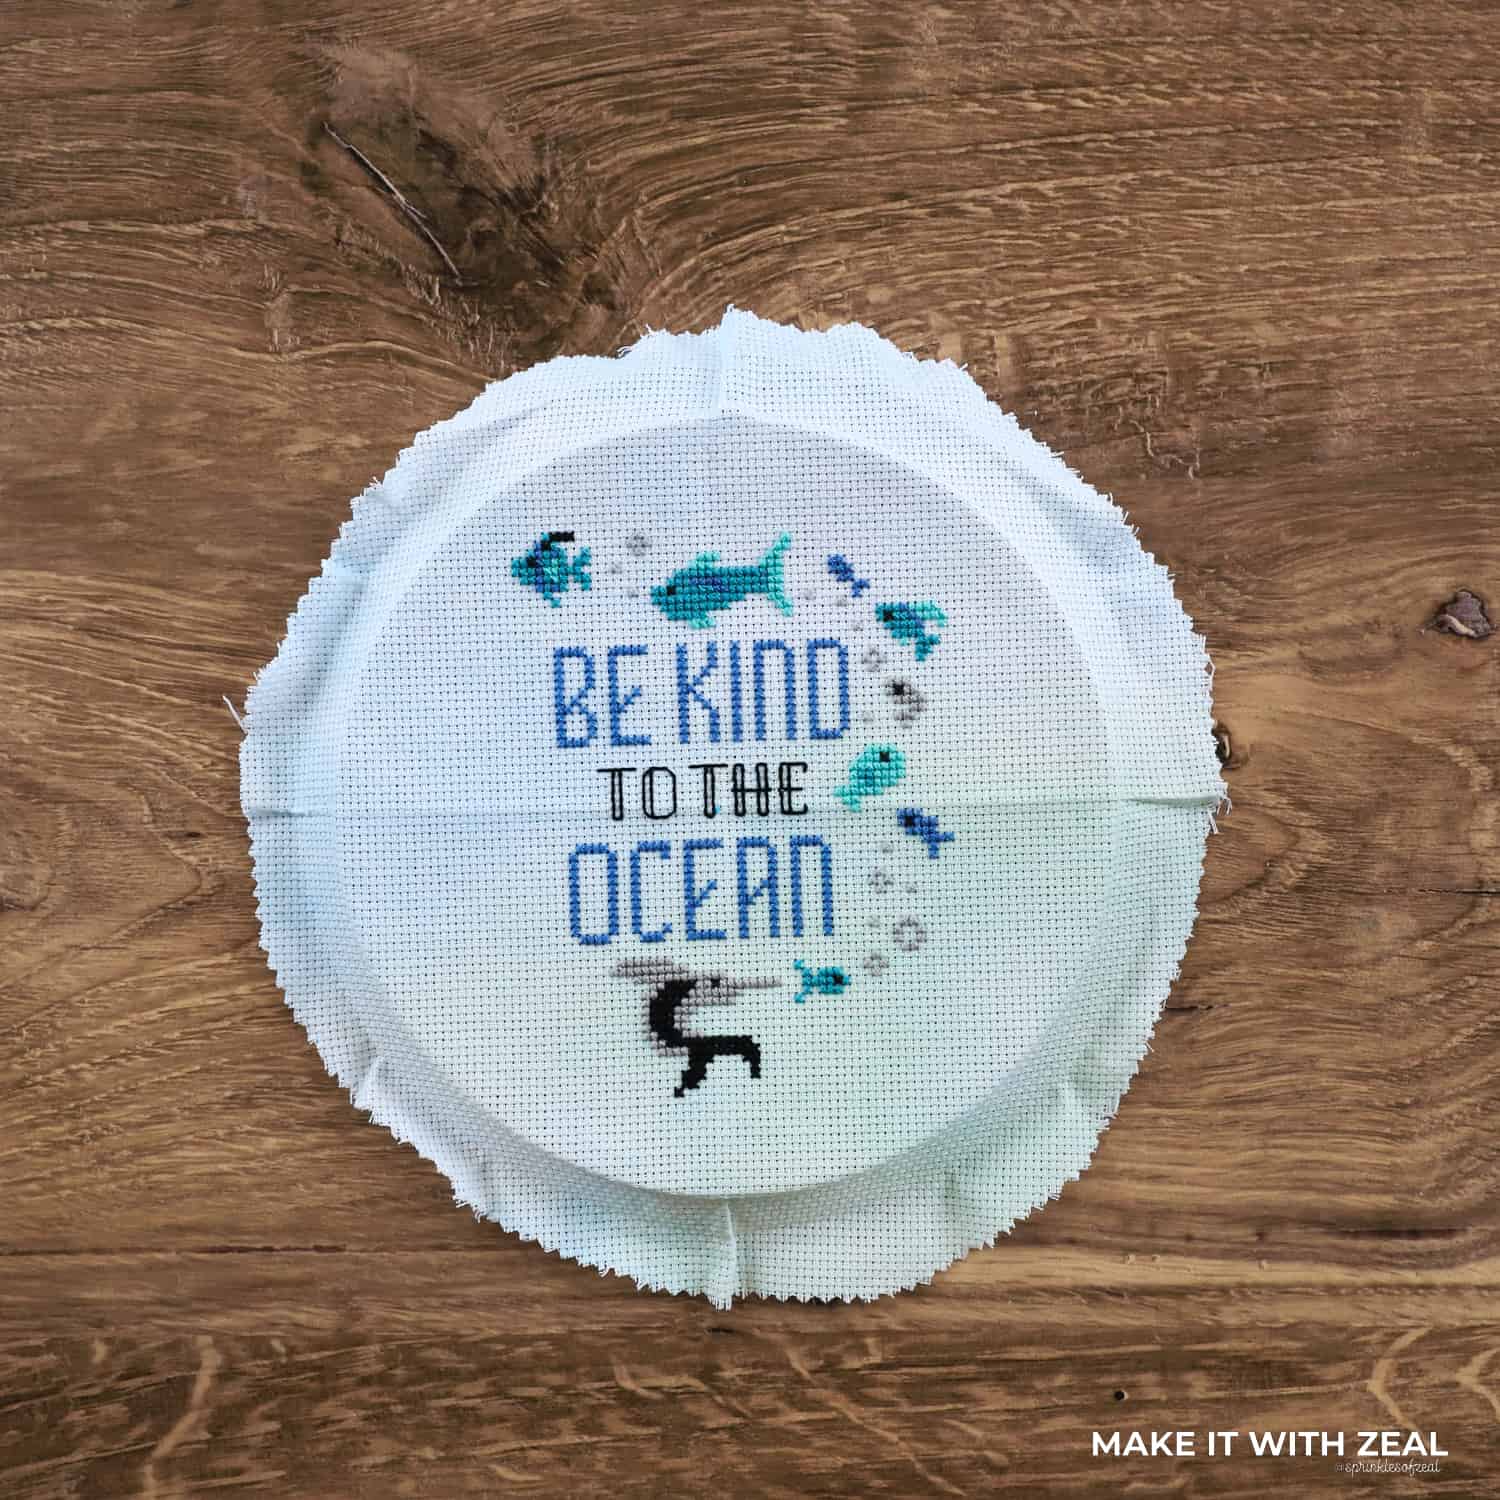
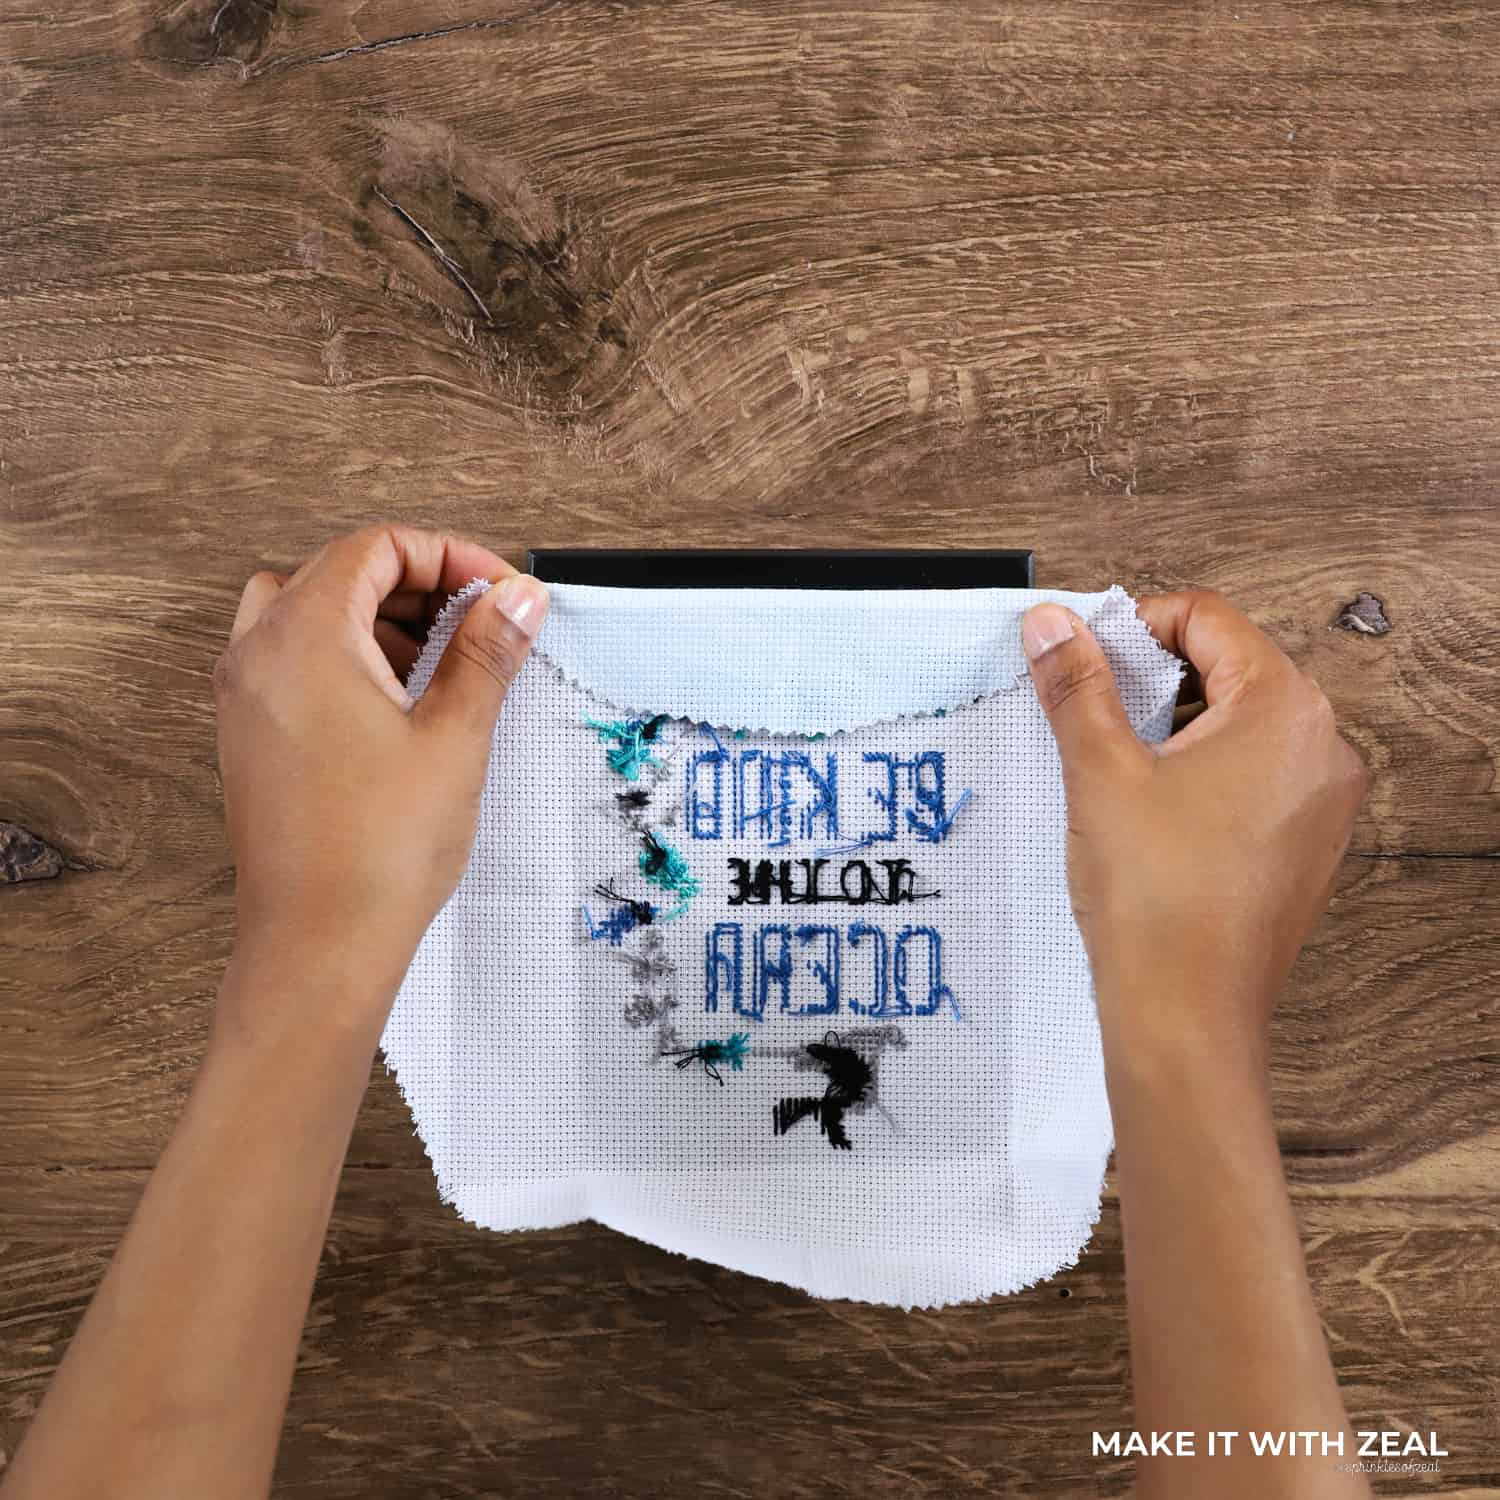
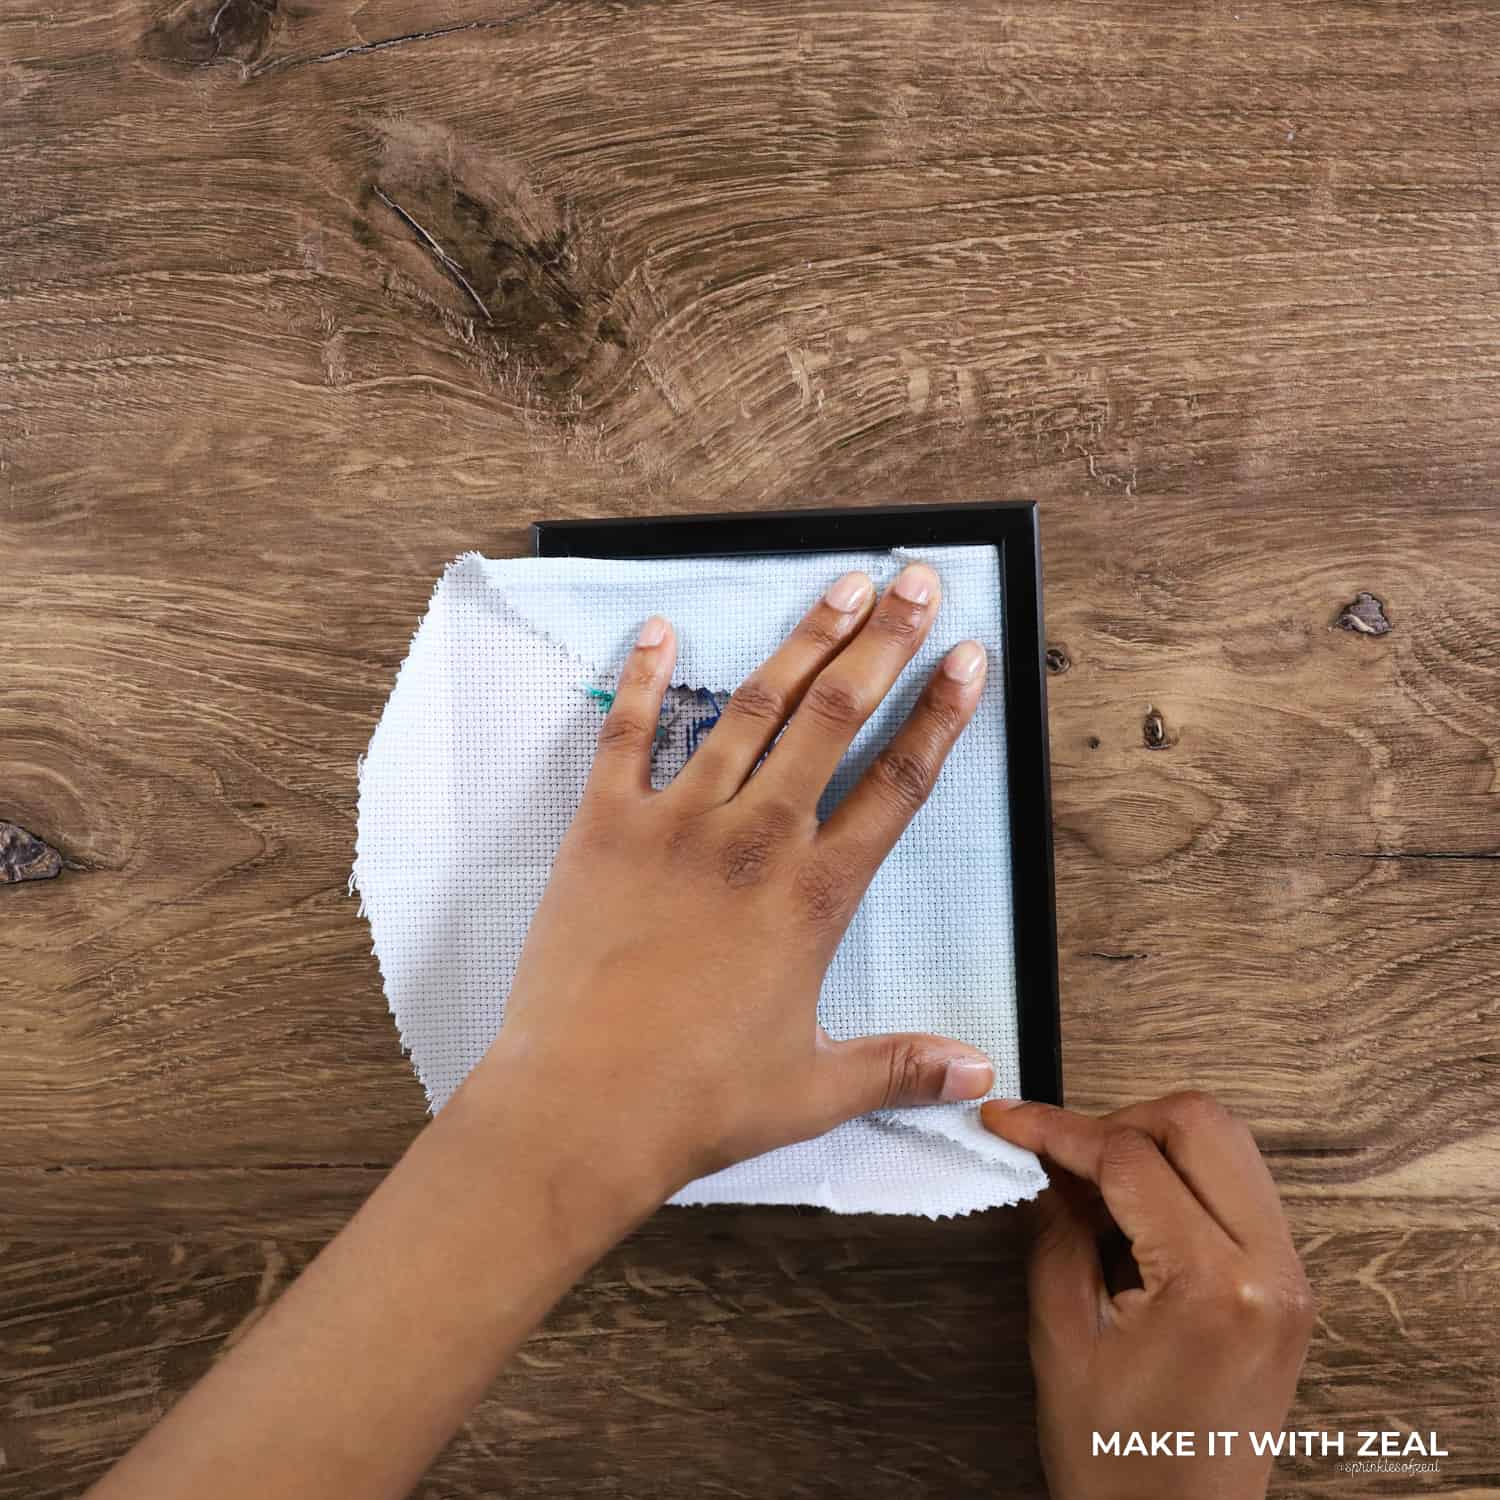
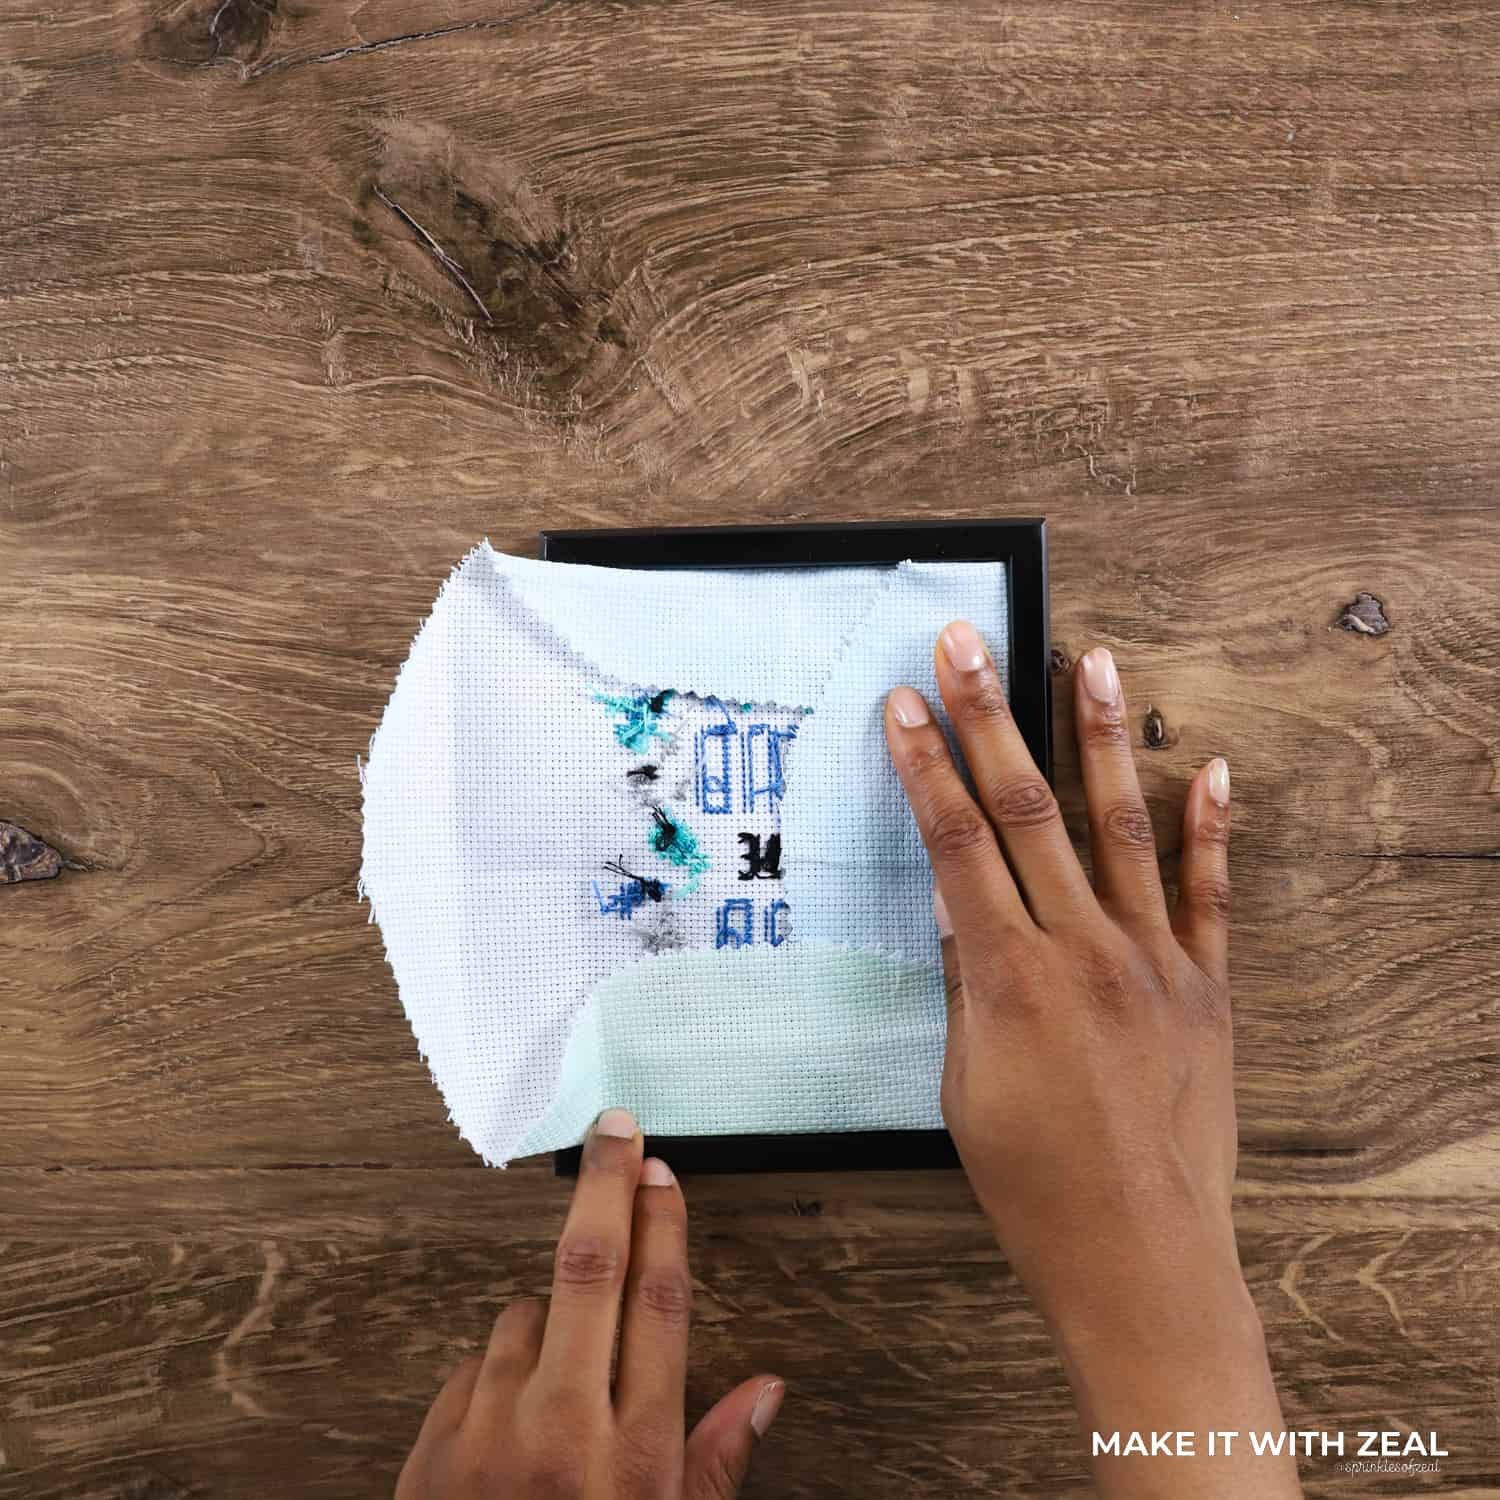
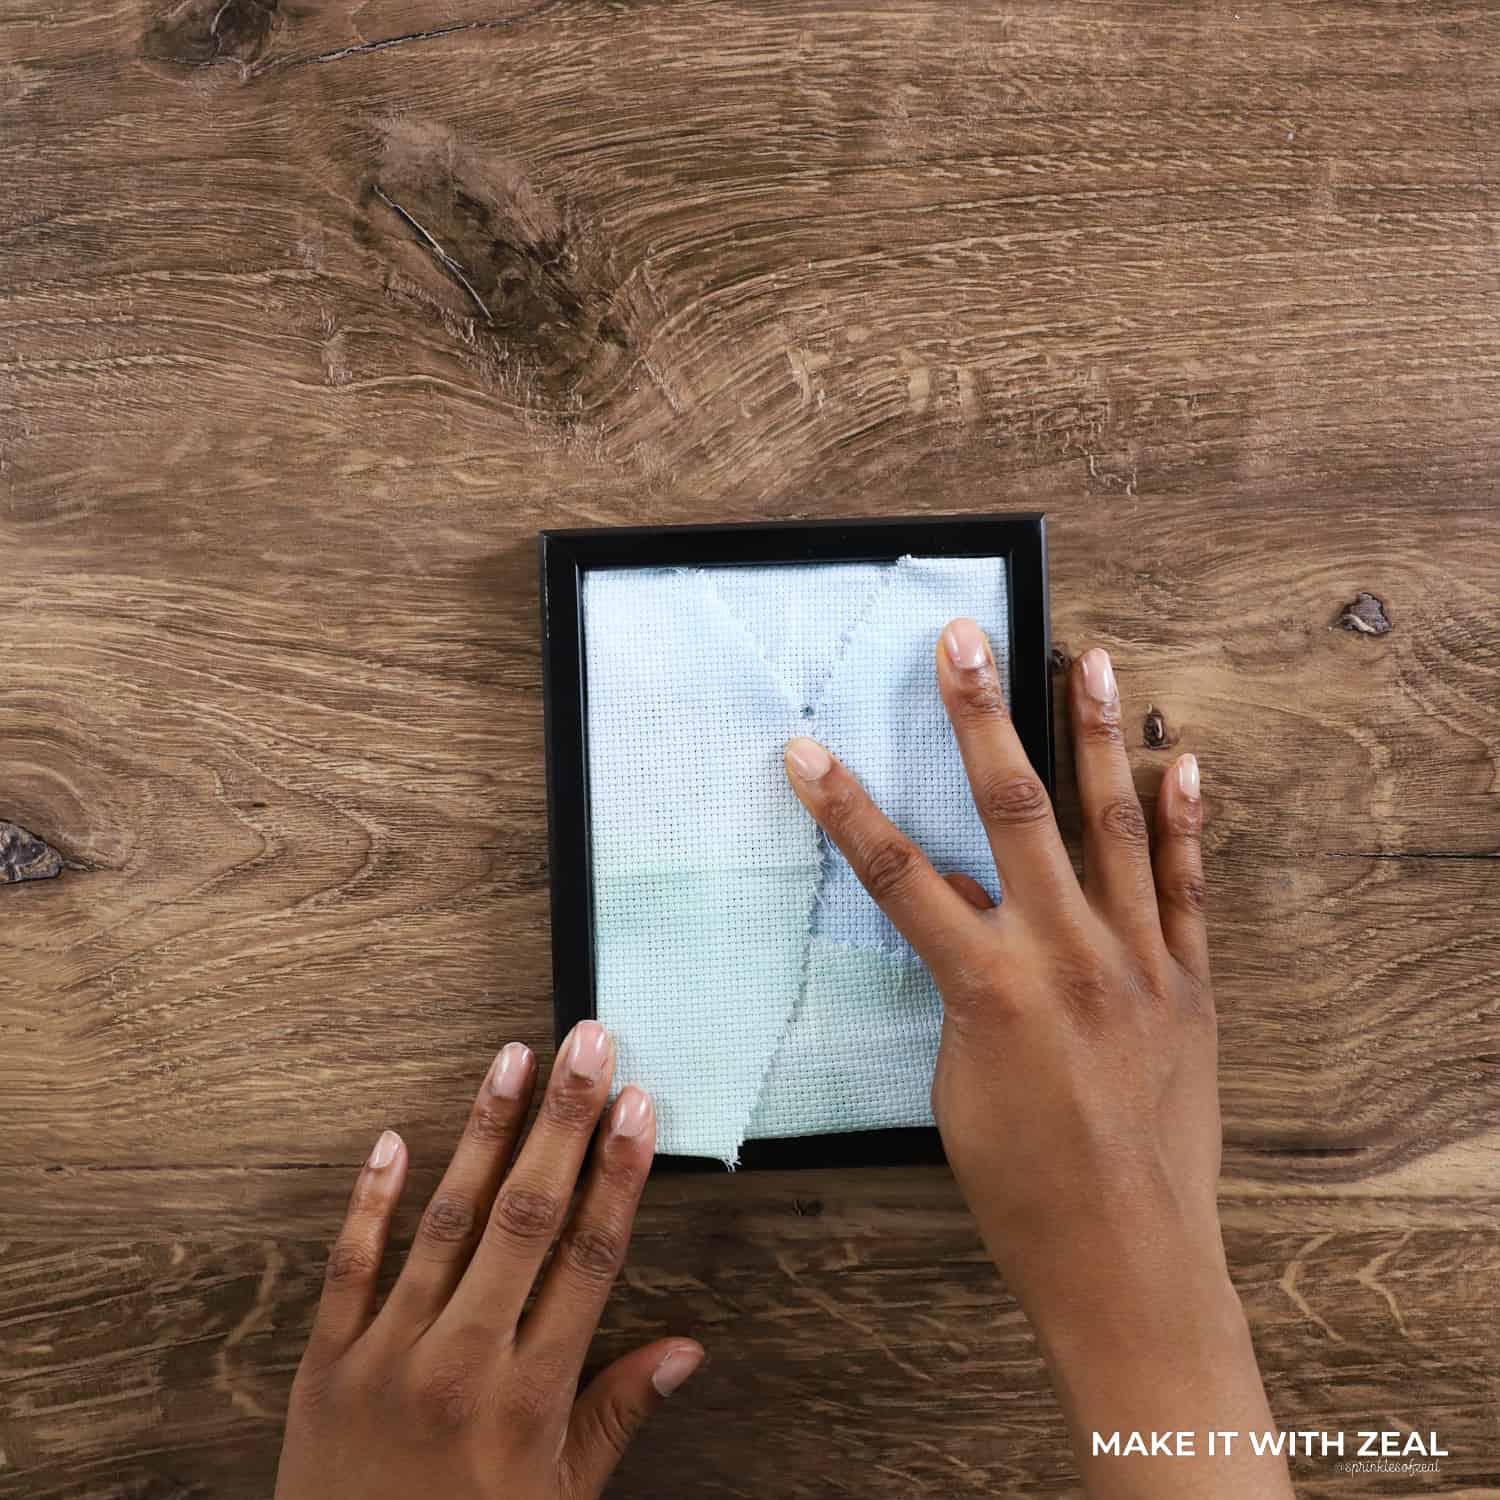
Step 9. Enclose the design inside a picture frame of your choice and that’s it!

I hope you have a wonderful time stitching out this pattern and also
consider how you can act to keep our earth beautiful.
If you decide to stitch this out, tag me @sprinklesofzeal and #cloverusa in your post on social media.
I can’t wait to see your work!
Happy Earth Day!
-Danielle
Want to check out more of my blogs and tutorials? Here are my social links below!
Blog | Instagram | Facebook | Pinterest | YouTube
Stay connected with Clover on Facebook | Twitter | Instagram | Pinterest | YouTube | Ravelry