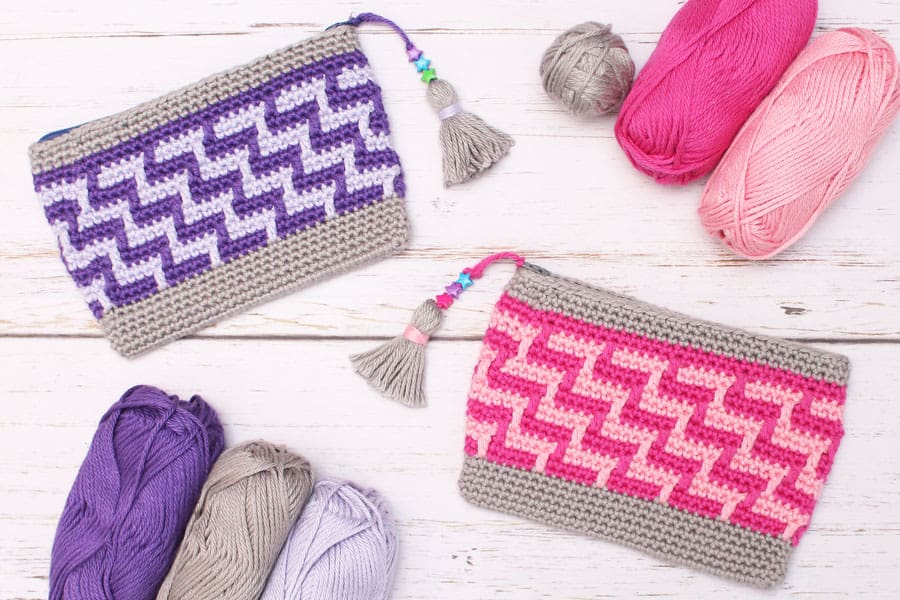
Mosaic Crochet Bag with Tassels
Hello! I’m Amanda from Loops and Love Crochet I am so excited to be sharing my latest design on the Clover blog today! The Mosaic Zig Zag Bag is such a fun project that works up nice and quickly with endless color possibilities. This is a practical little pouch to store and organize items, such as crochet hooks, pencils, make-up, kid’s toys, etc.

I’ve included the crochet pattern below, or if you’d like the inexpensive, printable PDF version, you can grab it in my Etsy or Ravelry shops.
After I made these little bags, I had fun using my Clover Tassel Maker to add a cute tassel to the zipper pull. I had so much fun with this tool and making perfect tassels every time! If you’d like to see how to make your own tassels using the tassel maker, I’ve included the link to the video tutorial below.

The Mosaic Zig Zag Bag crochet pattern is an intermediate-beginner project. If you’d like a visual on how it works up or need a little help or extra explanation along the way, I have also made a video tutorial to go along with the pattern.
You can find the following videos on my YouTube Channel that will be helpful in this project.
- Mosaic Zig Zag Bag Video Tutorial
- How to Add a Zipper to a Crochet Bag
- How to Make Tassels with the Clover Tassel Maker
- How to Sew a Lining into a Crochet Bag
Let’s get started on this project! I hope you enjoy making your Mosaic Zig Zag Bag!
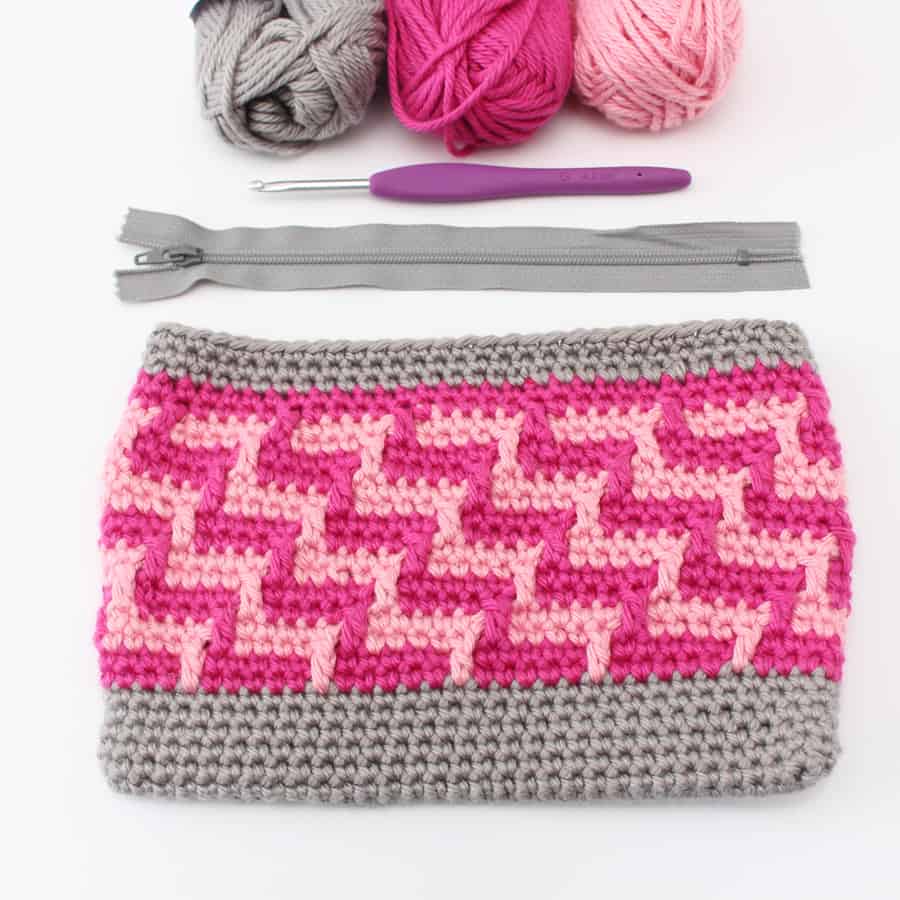
Materials
- Amour Crochet Hook G (4.0mm) – Art No. 1045/G , or size needed to obtain gauge.
- Clover Tassel Maker Small – Art No. 9940
- WeCrochet Shine Worsted (#4) Cotton Yarn – 120 yards split almost evenly between three colors. For the bags pictured here, the colorways I used are Robot, Cosmopolitan, Blush, Iris, and Wisteria.
- Zipper – I used a 7” zipper, but your zipper length will depend on the width of your bag. A longer zipper can easily be cut to the length needed for your project.
- Darning Needle Set – Art No. 339 (Yarn Needle for weaving in ends).
- Sewing needle and thread for attaching zipper.
- Optional – if you’d like to line your bag, you’ll need some fabric (cotton works great)

Stitches Used:
Ch – chain Sl St – slip stitch SC – single crochet
MDC – mosaic double crochet. Yarn over, insert hook into stitch, draw up a loop in front of the chains of the previous rows, yarn over, pull through two loops, yarn over, pull through last two loops on hook.
Gauge:
- Gauge is not imperative for this bag to turn out unless you need it to fit a specific zipper length. In the bags pictured, but 2 inches square is approx. 10 rows of 9 SC stitches.
Finished Size:
- When laying flat, this bag is approximately 7.5 inches wide and 5.25 inches tall. This bag was the perfect width to sew in a 7” zipper. If your bag is turning out wider, you can go down a hook size or two, depending on your crochet tension. Or you can use a longer length of zipper and easily cut it to the length required for your bag (just sew a few loops over the zipper close to the end so that the zipper-pull doesn’t come right off the zipper).
Important Notes:
- Joined Rounds – This bag is worked in joined rounds. At the end of each round, you will be joining the last stitch of the round to the first stitch with a slip stitch.
- Color Changes – All color changes are worked in the last stitch of the round. Complete last stitch of the round up until the last yarn over, yarn over in the new color and pull through. Join with a slip stitch to first stitch. For the mosaic crochet portion in the middle of the bag, each color is used for 2 rounds.
- Mosaic Crochet – The body of this bag is worked in mosaic crochet technique. Please read the notes below for working up this section of the bag. This pattern includes the written instructions, as well as the graphs for the mosaic crochet section.
- Video Tutorial – Remember to check out the videos that I have made for this project. This includes how to work the base, mosaic crochet section, and the adding the zipper.
Mosaic Crochet Graph and Notes for Bag Body
Below, you will see the mosaic crochet graph for the middle section of the bag.
Here are some important Mosaic Crochet notes:
- Each row in the graph counts as two rows of crochet stitches.
- The color of the first stitch of the row indicates the color you are using for the next two rows of the graph. You will be changing color after each row in the graph or every two rows in your crocheted work.
- Each square of the graph shows 1 stitch or 1 skipped stitch. When squares of different colors appear in the row, they should be skipped. When you skip these stitches, replace them with chain stitches. Always chain one more chain than the number of stitches you are skipping. This will prevent your work from pulling and looking uneven. In this pattern, for each stitch you skip, you’ll chain 2.
- Every box marked with an “X” indicates where you will be working a Mosaic Double Crochet (MDC) stitch. All MDC stitches will be worked in the main color and will be worked over top of the chain stitches that you worked in the previous 2 rows. Note that the first time you crochet the row (for example, 1a), you’ll work the MDC stitches where the X’s are. The second time you work the row (for example, 1b), you will work SC stitches where you placed the MDC stitches.
- Remember to watch the video tutorial if this all sounds kind of confusing. It’s quite easy to get the hang of when you see a visual, especially if you are new to the mosaic crochet technique.

You may choose to follow the graph and/or the written instructions in the pattern.
- The graph shows 30 stitches, however, there are 66 stitches in each round. Continue the pattern for each row of the graph until you reach the end of the round of the bag.
- The pink boxes represent the main color, the white boxes represent the accent color.
- Alternate between your main color and accent color every 2 rows.
- Row 6 on the graph shows a white and pink box. This is because you will be working the row in the accent color, but the first stitch will be a chain 2 due to the MDC stitch that will be worked over those chain stitches when row 7 is worked in the main color.
The Pattern
Bottom of Bag:
Round 1: In base color (grey), Ch 32, 2 SC in 2nd chain from hook, SC in each chain across, make 4 SC in the last chain. Now continue around so you are working on the other side of the chain. SC in each stitch across, make 2 SC in last stitch. Join with a sl st to first SC, ch 1. (66)
Rounds 2-6: SC in each stitch around, change to main color (for the mosaic section), join, ch 1. (66)
You have finished with the bottom rounds of the bag; next you will be moving on to the mosaic crochet section in the middle of the bag.
Middle of Bag (Mosaic Crochet Section):
Round count will start back at 1 here so that if you choose to follow along with the graph the rows and rounds will match up. Rounds 1a and 1b in the written pattern below coordinates with row 1 on the graph. The written instructions go along with the graph above, but you can use either the graph or the written pattern for the mosaic crochet section.
Round 1a: SC first 5 sts, ch 2, skip next st, *SC next 5 sts, ch 2, skip next st, repeat from * around, join, ch 1.
Round 1b: Repeat round 1a above, change to accent color, join, ch 1.
*Remember your chain 2 stitches should line up directly above your chain 2 stitches from the previous round.
Round 2a: SC first 4 sts, ch 2, skip next st, MDC, *SC next 4 sts, ch 2, skip next st, MDC, repeat from * around, join, ch 1.
*Remember to work all MDC stitches into the skipped stitches from 2 rows down. See the video tutorial to check the placement of your stitches if you aren’t sure where they go.
Round 2b: SC first 4 sts, ch 2, skip next st, *SC next 5 sts, ch 2, skip next st, repeat from * around until 1 st left, SC in last st, change to main color, join, ch 1.
Round 3a: SC first 3 sts, ch 2, skip next st, MDC, *SC next 4 sts, ch 2, skip next st, MDC, repeat from * around until 1 st left, SC in last st, join, ch 1.
Round 3b: SC first 3 sts, ch 2, skip next st, *SC next 5 sts, ch 2, skip next st, repeat from * around until 2 sts left, SC in last 2 sts, change to accent color, join, ch 1.
Round 4a: SC first 2 sts, ch 2, skip next st, MDC, *SC next 4 sts, ch 2, skip next st, MDC, repeat from * around until 2 sts left, SC in last 2 sts, join, ch 1.
Round 4b: SC first 2 sts, ch 2, skip next st, *SC next 5 sts, ch 2, skip next st, repeat from * around until 3 sts left, SC in last 3 sts, change to main color, join, ch 1.
Round 5a: SC first st, ch 2, skip next st, MDC, *SC next 4 sts, ch 2, skip next st, MDC, repeat from * around until 3 sts left, SC in last 3 sts, join, ch 1.
Round 5b: SC first st, ch 2, skip next st, *SC next 5 sts, ch 2, skip next st, repeat from * around until 4 sts left, SC in last 4 sts, change to accent color, join, ch 1.
Round 6a: Ch 2, skip first st, MDC, *SC next 4 sts, ch 2, skip next st, MDC, repeat from * around until 4 sts left, SC in last 4 sts, join, ch 1.
Round 6b: Ch 2, skip first stitch, *SC next 5 sts, ch 2, skip next st, repeat from * around until 5 sts left, SC in last 5 sts, change to main color, join, ch 1.
Round 7a: MDC, *SC next 4 sts, ch 2, skip next st, MDC, repeat from * around until 5 sts left, SC in next 4 sts, ch 2, skip last st, join, ch 1.
Round 7b: SC first 5 sts, ch 2, skip next st, *SC next 5 sts, ch 2, skip next st, repeat from * around until 1 st left, ch 2, skip last st, change to accent color, join, ch 1.
Round 8a: SC first 4 sts, ch 2, skip next st, MDC, *SC next 4 sts, ch 2, skip next st, MDC, repeat from * around, join, ch 1.
Round 8b: SC first 4 sts, ch 2, skip next st, *SC next 5 sts, ch 2, skip next st, repeat from * around until 1 st left, SC in last st, change to main color, join, ch 1.
*Round 8 is the last round that the accent color will be worked. In round 9a and 9b, only the main color will be used to complete the last part of the mosaic crochet section.
Round 9a: SC first 4 sts, MDC, *SC next 5 sts, MDC, repeat from * around until 1 st left, SC in last st, join, ch 1.
Round 9b: SC in each stitch around, change to base color (to finish the top of the bag), join, ch 1. (66)
The mosaic crochet portion of the bag is complete, next you’ll move onto the instructions below to finish the top of the bag.
Top of Bag
In this top section of the bag, we will finish with 3 rounds of SC in the same color as you used for the base section. The round count will start at 1 and each round will be worked once (not twice as in the mosaic crochet section).
Rounds 1-3: SC in each stitch around, join, ch 1. (66)
*Do not chain 1 after round 3. Fasten off and weave in any ends.
The crochet portion of your bag is now complete.
Next, you’ll need to sew in a zipper. You may also want to add a lining to your bag, depending on your preferences. Be sure to watch the video tutorials in the “Important Notes” section above if you need help with adding the zipper and/or the lining.
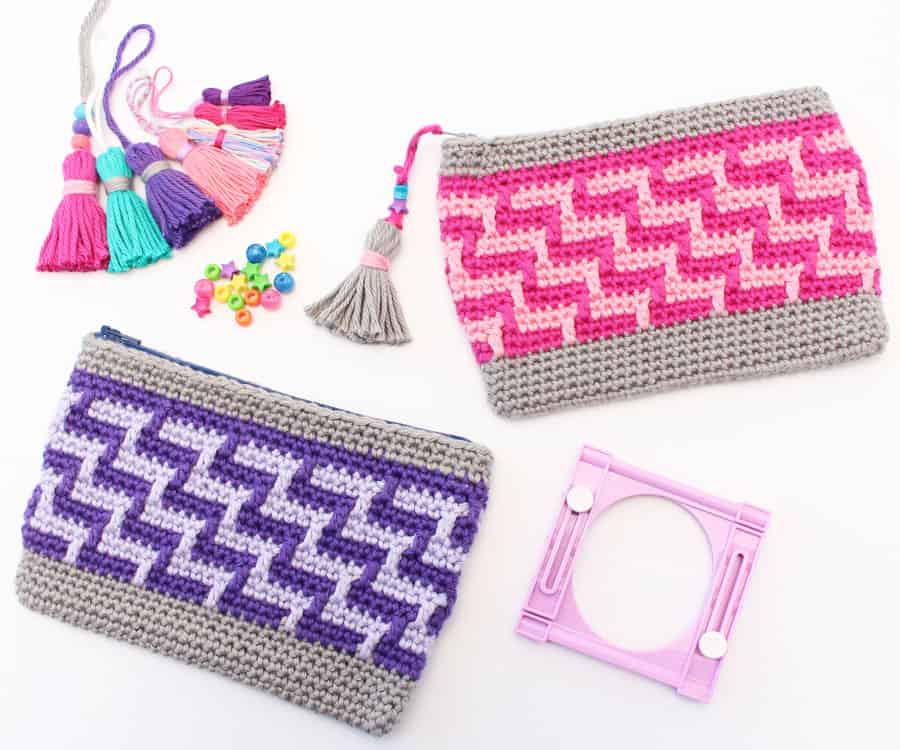
Finally, it’s time to add the tassels for an extra fun bag! I used my Clover Tassel Maker and yarn in the same colors as the bag, but you can use any colors you like. I also added some beads to my tassel to make it extra cute.
I made a step-by-step video tutorial to show you how to use the tassel maker to make your tassel and add it to the zipper on your bag.
I hope you loved working up your Mosaic Zig Zag Bag! If you are sharing on Instagram, I’d love to see it! Please tag @loopsandlovecrochet when you post your project.
If you’re looking for more crochet patterns, tutorials, and inspiration, be sure to follow me at these links: Blog | Instagram | Facebook | Etsy | Ravelry | YouTube | Newsletter