DIY Rainbow Bead Bracelet
Hello from Texas! Elizabeth here, and I am the DIY and Craft blogger behind Country Peony. Today I am so excited to share a fun project with you showcasing a new Clover product: Clover’s Bracelet Maker.

Clover’s Bracelet Maker brought me right back to my childhood, when I would spend hours creating friendship bracelets. With this tool, you can create 8 different bracelet styles with endless possibilities based on the yarns, threads, and beads that you use.
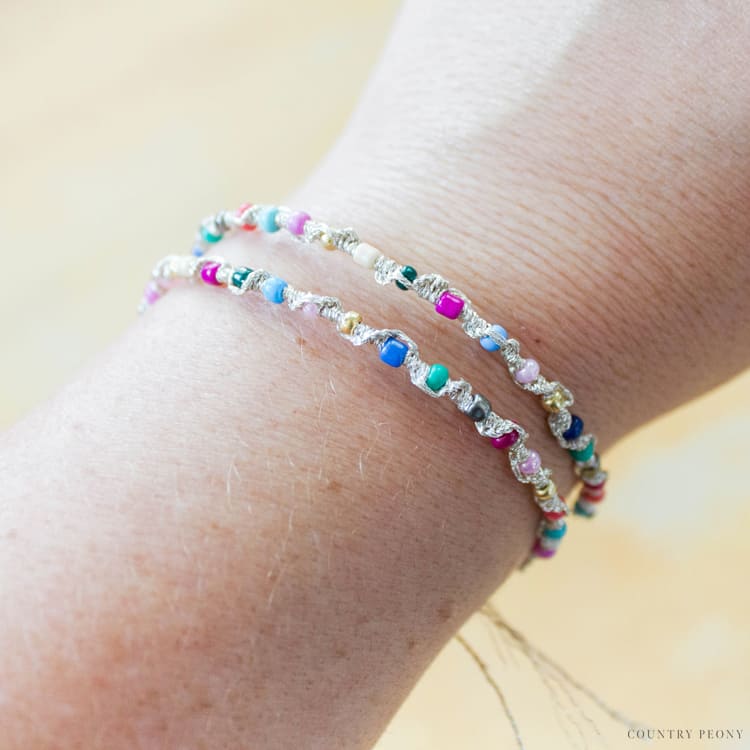 For today’s project I wanted to focus on a simple bracelet design with an elevated look by using glass beads.
The beauty in today’s DIY is that you can customize it to your favorite color of thread or beads. You can even incorporate different knots for a completely custom look. So many wonderful possibilities!
I had so much fun crafting with Clover’s Bracelet Maker to create today’s project, and I look forward to playing with it in the future for more fun projects. I hope you enjoy crafting with it just the same.
Please follow below for the step-by-step tutorial and video to make your own DIY Rainbow Bead Bracelet using Clover’s Bracelet Maker
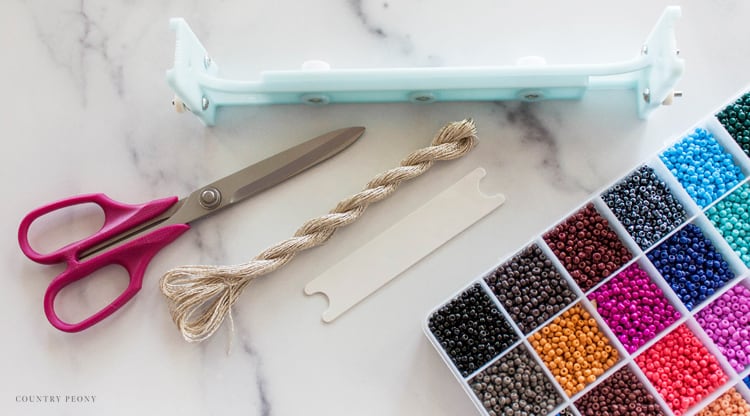
To make your own Rainbow Bead Bracelet, you will need:
- Bracelet Maker (Art. No 9943)
- Embroidery Thread. I used No. 5, but you can also use No. 25.
- Glass Beads. I used size 8/0 for this project.
- Swift Bead (Art. No 2300)
- Bordeaux Ultimate Scissors (Art. No 4941)
Set Up the Warp
Decide on the length of the bracelet. There are two parts to the warp: Part A and Part B. Part A is up to 7 1/16 inch long. You can extend the tool by bringing out Part B, and create a bracelet up to 9 inches long. I just used Part A. Once you decide on the length, secure the side of the warp by tightening the adjustment screw.
Add the Thread to the Warp
Wrap two strands of embroidery thread around the screw on the side.
Twist the screw to secure the thread.
Bring the embroidery thread through the hole on the side.
Add the Beads to the Embroidery Thread
*Skip this step if you don’t have beads on your bracelet.
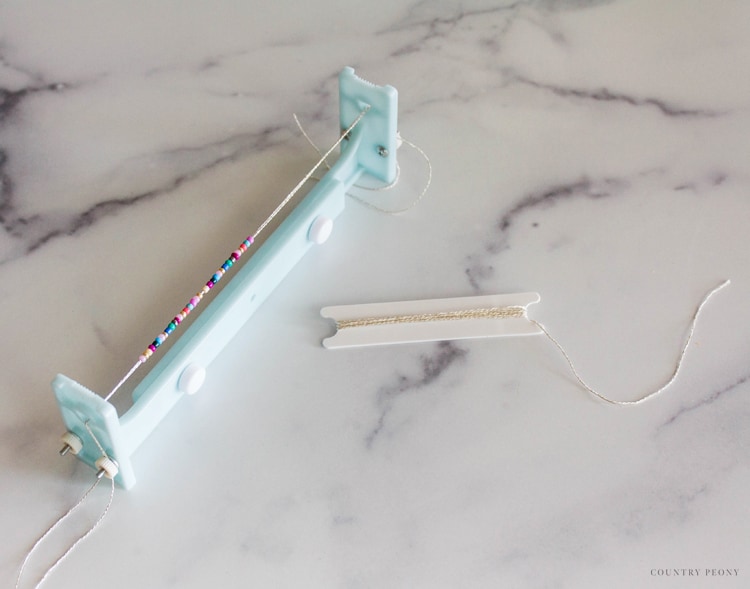
Before you secure the embroidery thread to the other side of the warp, add the beads to the embroidery thread.
To help with this process, I used Clover’s Swift Bead tool to add the beads to the embroidery thread.
*The bead holes were too small to add them to both embroidery threads at once with the Swift Bead tool. So, I added the beads to each embroidery thread separately, but the process was very quick with the help of Clover’s Swift Bead.
Continue to add the beads to the embroidery thread. For this project I used 30 colorful beads.
Secure the Thread to the Other Side of the Warp
Once you add the beads, bring the thread through the hole on the other side of the warp.
Secure with the embroidery thread by wrapping it around the screw and tightening it.
Wrap Embroidery Thread Around the Shuttle
Tape the thread to the shuttle, then wrap it around the shuttle.
Make the Bracelet
Double knot the embroidery thread from the shuttle onto the embroidery thread on the warp.
Then, start to create your bracelet. Create a half stitch knot.
Add a bead after every 5th half stitch knot.
Continue to add half stitch knots and beads until you finish the bracelet.
End the bracelet with 5 half stitch knots.
Remove the Bracelet from the Warp
Once the bracelet is complete, unscrew the knobs on both ends of the warp to remove the bracelet.
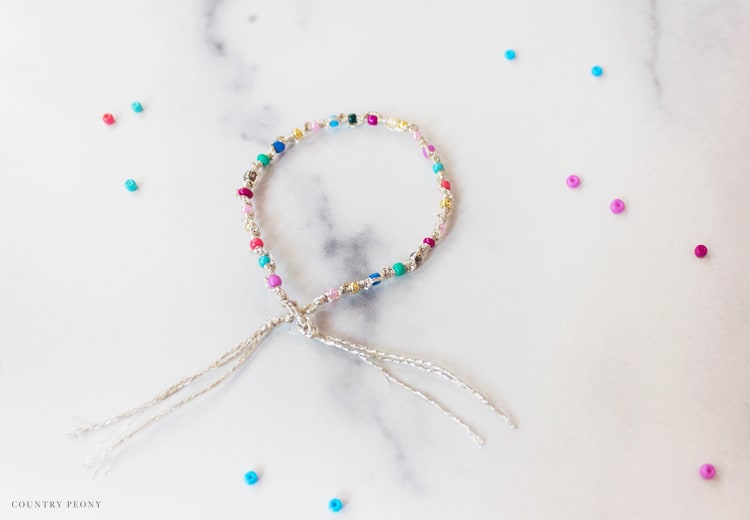
Finish the Bracelet
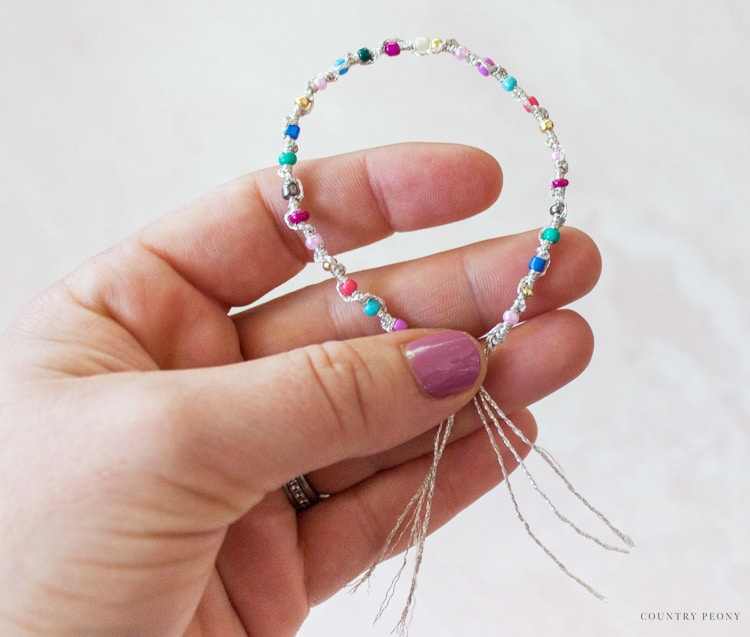
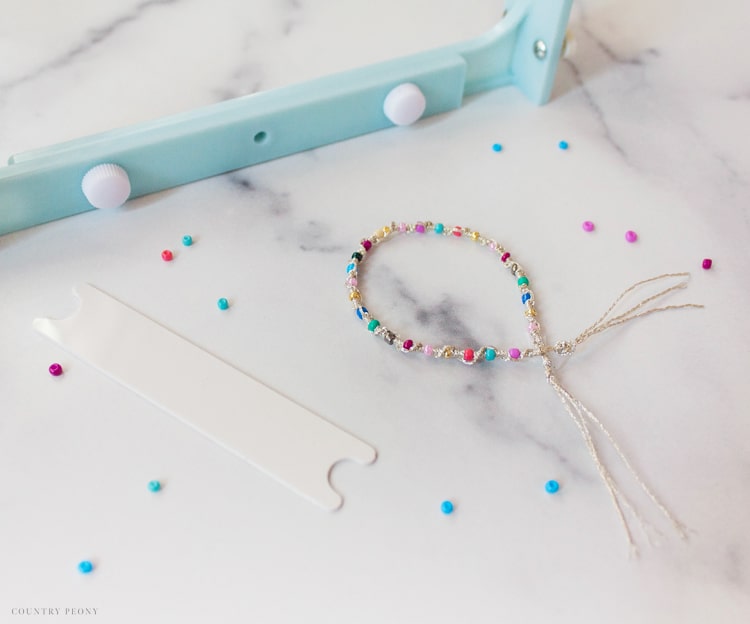
Double knot each end of the bracelet to secure the knots and beads.
Then, leave about 2 inches of the embroidery thread and cut off the rest of the thread.
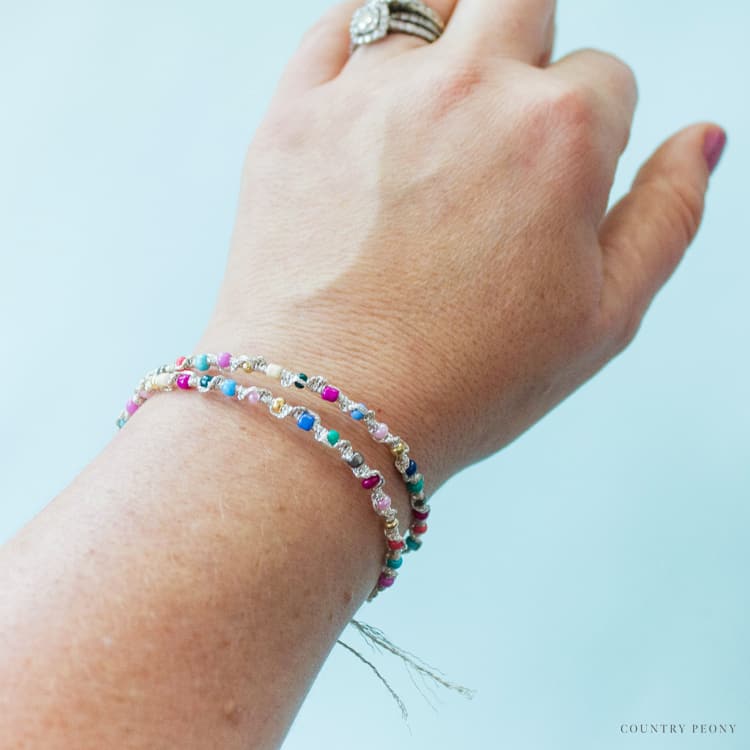
Enjoy Your Custom Bead Bracelet!
Tie the bracelet onto your wrist, and enjoy your beautiful creation!
Thank you to Clover for this fun opportunity to create this bracelet using their fantastic Bracelet Maker.
If you want to see more projects I created with Clover’s tools, please CLICK HERE.
I can’t wait to see your custom bracelets. Please tag me @thecountrypeony, and use the #countrypeony so I can see and share your project.
Thank you so much for following along today.
Happy Crafting!
Elizabeth
Please feel free to follow along on my DIY and crafting adventures through my Blog | Instagram | Facebook | Pinterest | YouTube | TikTok
Stay connected with Clover on Facebook | Twitter | Instagram | Pinterest | YouTube | Ravelry