Over the Top Present Toppers
 Tis the season of giving. If you are anything like us you love the shopping, but the wrapping that goes along with it, not so much.
Then once you have the paper on the package you realize that your pretty package looks tad bit naked… it needs something. Here is where we can really get creative. With just a little thread, some fabric scraps and the Clover Tassel Maker you’ll have that package looking over the top in no time at all.
The Clover Tassel Maker makes these toppers come together in mere minutes, but your family and friends will think you took hours to make these toppers look so fab. Added bonus, once they open the present they get to keep the tassel!

Watch the video tutorial:
Or scroll down for written instructions.
What you’ll need:
Notions and Tools
- Tassel Makers (Art. No 9940 & 9941)
- Scissors – Clover has a great selection!
Fabric
You’ll need a selection of fabric strips cut to around 1/2” wide and as long as you like.
At the minimum your fabric strips will need to wrap one time around the Tassel Maker.
We suggest you look into Cherrywood Hand Dyed Fabric “Mops”
We love using Cherrywood “Mops” for this project. The suede effect of their dying process makes the finished project look rich and expensive!
Thread
We chose to use Kreinik metallic thread. You can use any kind of embroidery floss or shiny thread you happen to have around. Use at least 3 colors together for an “over the top” effect.
Instructions
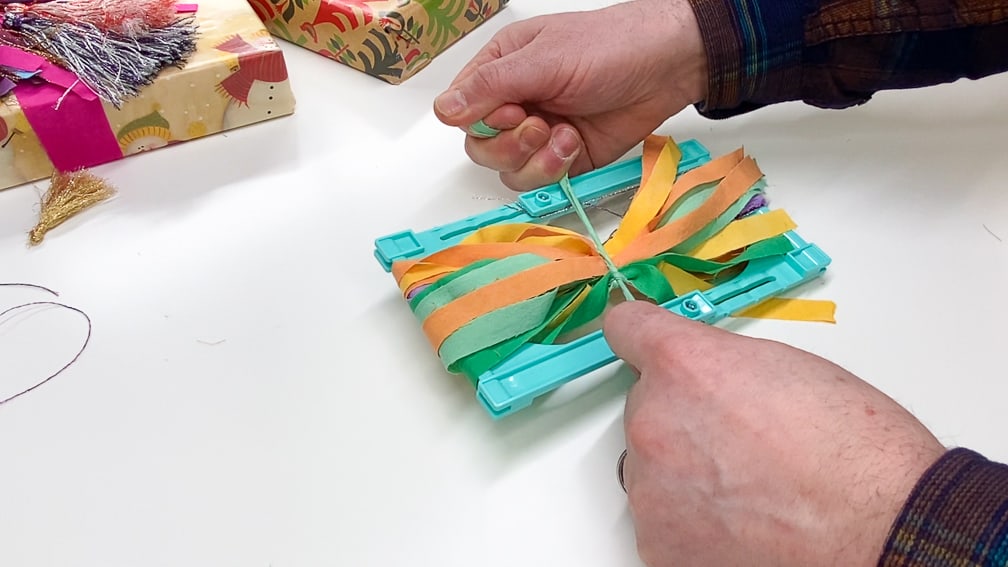
Step 1: Make the “Bow”
- Using at least 3 colors of thread, follow the first steps of the instructions for making a tassel that come with the maker, wrapping the thread. Do not tie or cut yet.
- Wrap any long pieces of fabric in the same manner around the Tassel Maker.
- If you have shorter pieces to add put them on last.
- Tie the middle of the fabric and thread bundle with a contrasting colored piece of fabric.
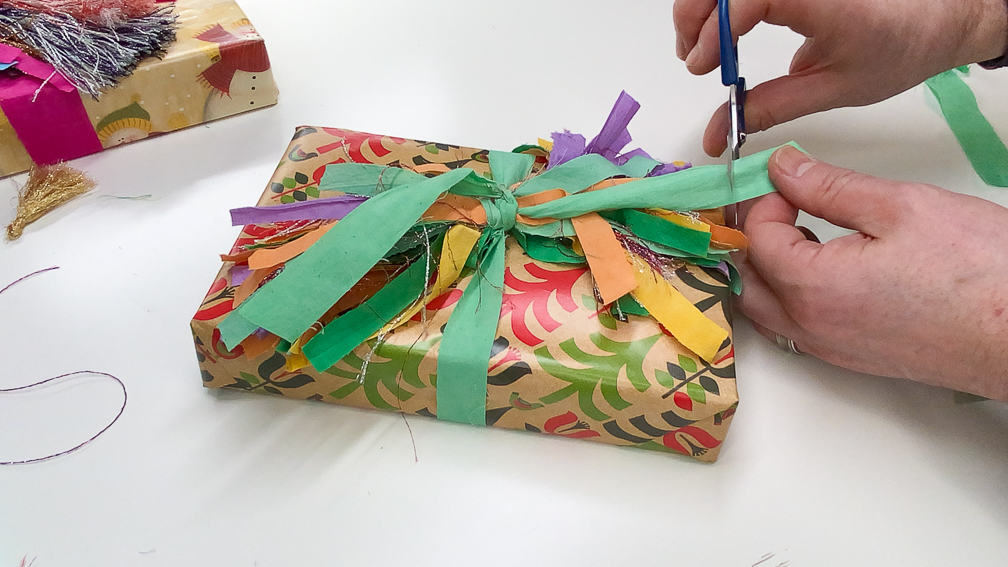
- Using the groove in the Tassel Maker, cut the ends of both sides.
- Trim as needed to even out the ends
- Fluff as you like.
- You’ll now have fabric and thread in a tied bundle.
Step 2: Tie the Box
- Tie a long piece of fabric, 1/2” to 1” wide, around the box, being sure to knot it, leaving long tails on both ends
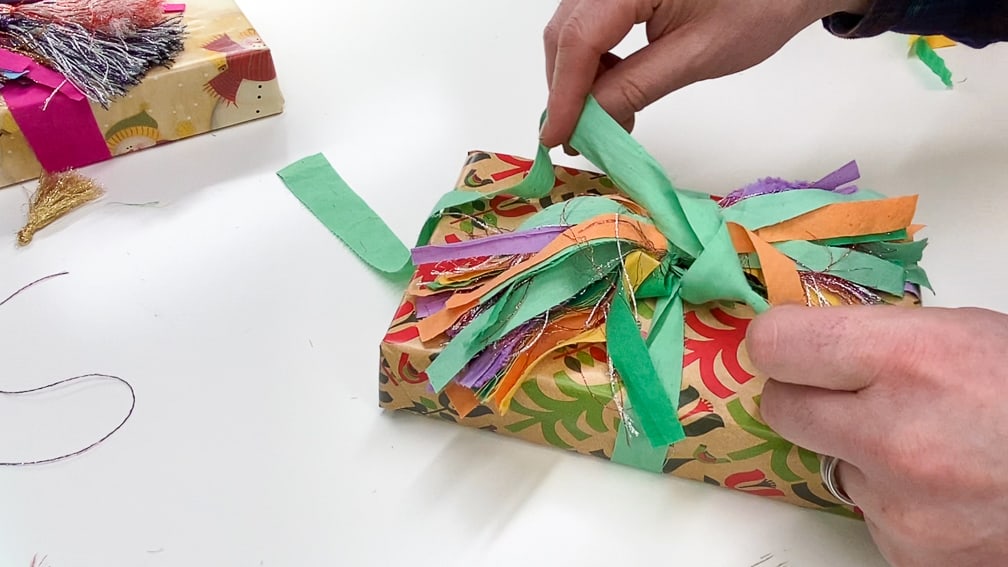
- Using the ends of the fabric from the box tie the bow to the box securely around it’s center.
- Trim the ends of that fabric to match the ends of the bow.
- Neaten as needed.
Step 3: Make Some Tassels
- Follow the instructions that come with the Tassel Maker and make 2-3 tassels per package.
- Use 2-3 colors of thread for each tassel
- Leave a long tail at the head for tying to the bow
We like using tassels of varying sizes, e.g. tall and short tassels together.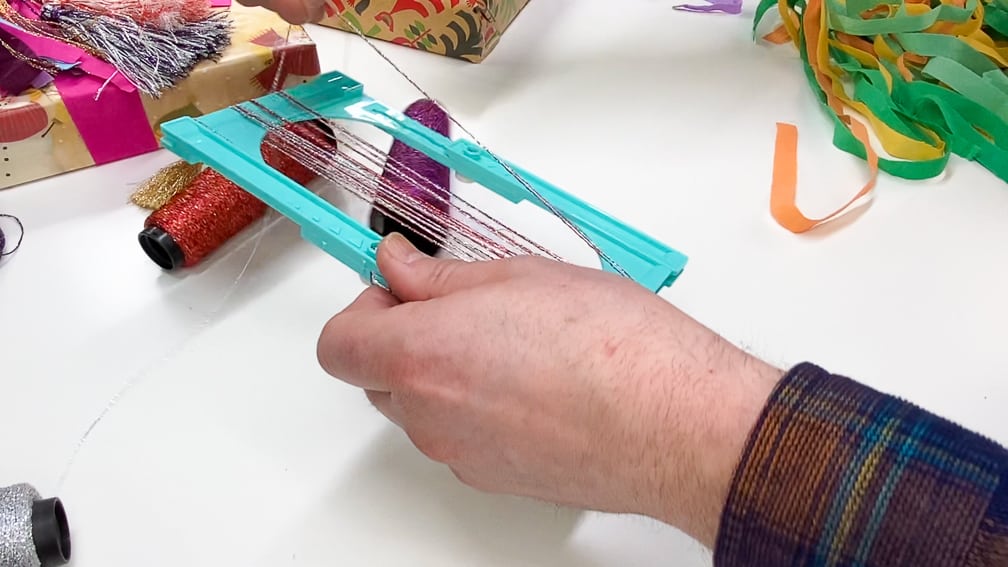
Step 4: Tie the Tassels to the Bow
Lift the right or left side of the bow and tie the tassels around the center.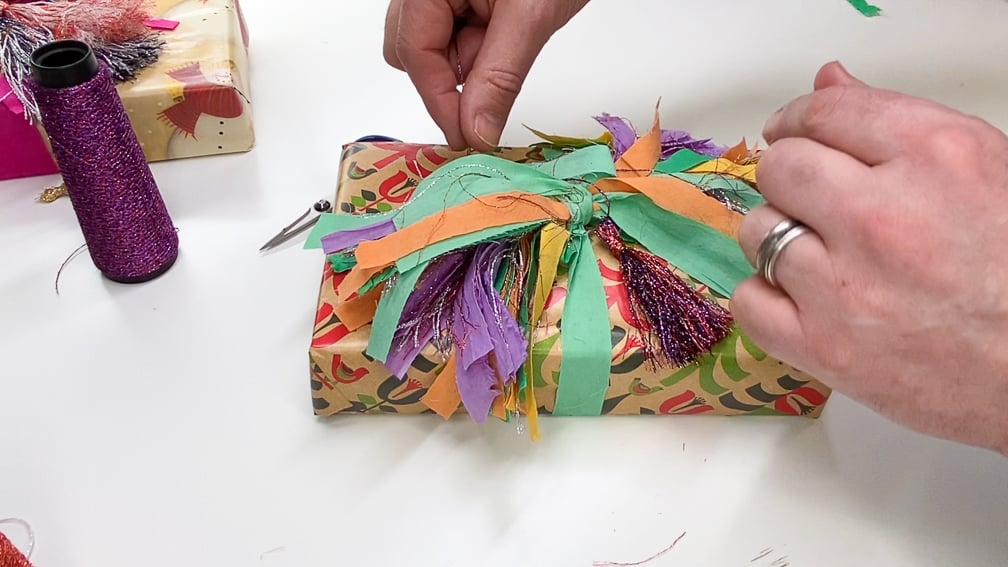
DONE!
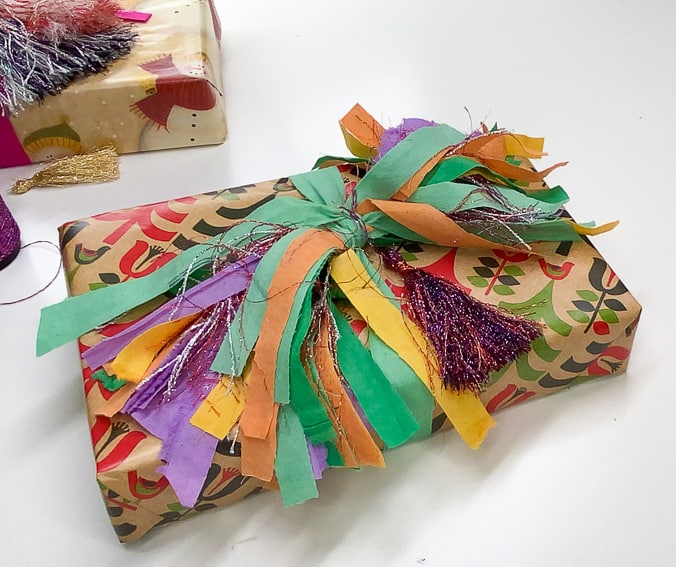
This could not be easier!
Try using the colors from the wrapping paper in your fabric to tie it all together if you like that sort of thing… For us, we love lots of different colors!
Watch the video tutorial:
Find the Shibaguyz on Facebook | Twitter | Instagram | Pinterest
Stay connected with Clover on Facebook | Twitter | Instagram | Pinterest | YouTube | Ravelry
[mc4wp_form id=”11289″]